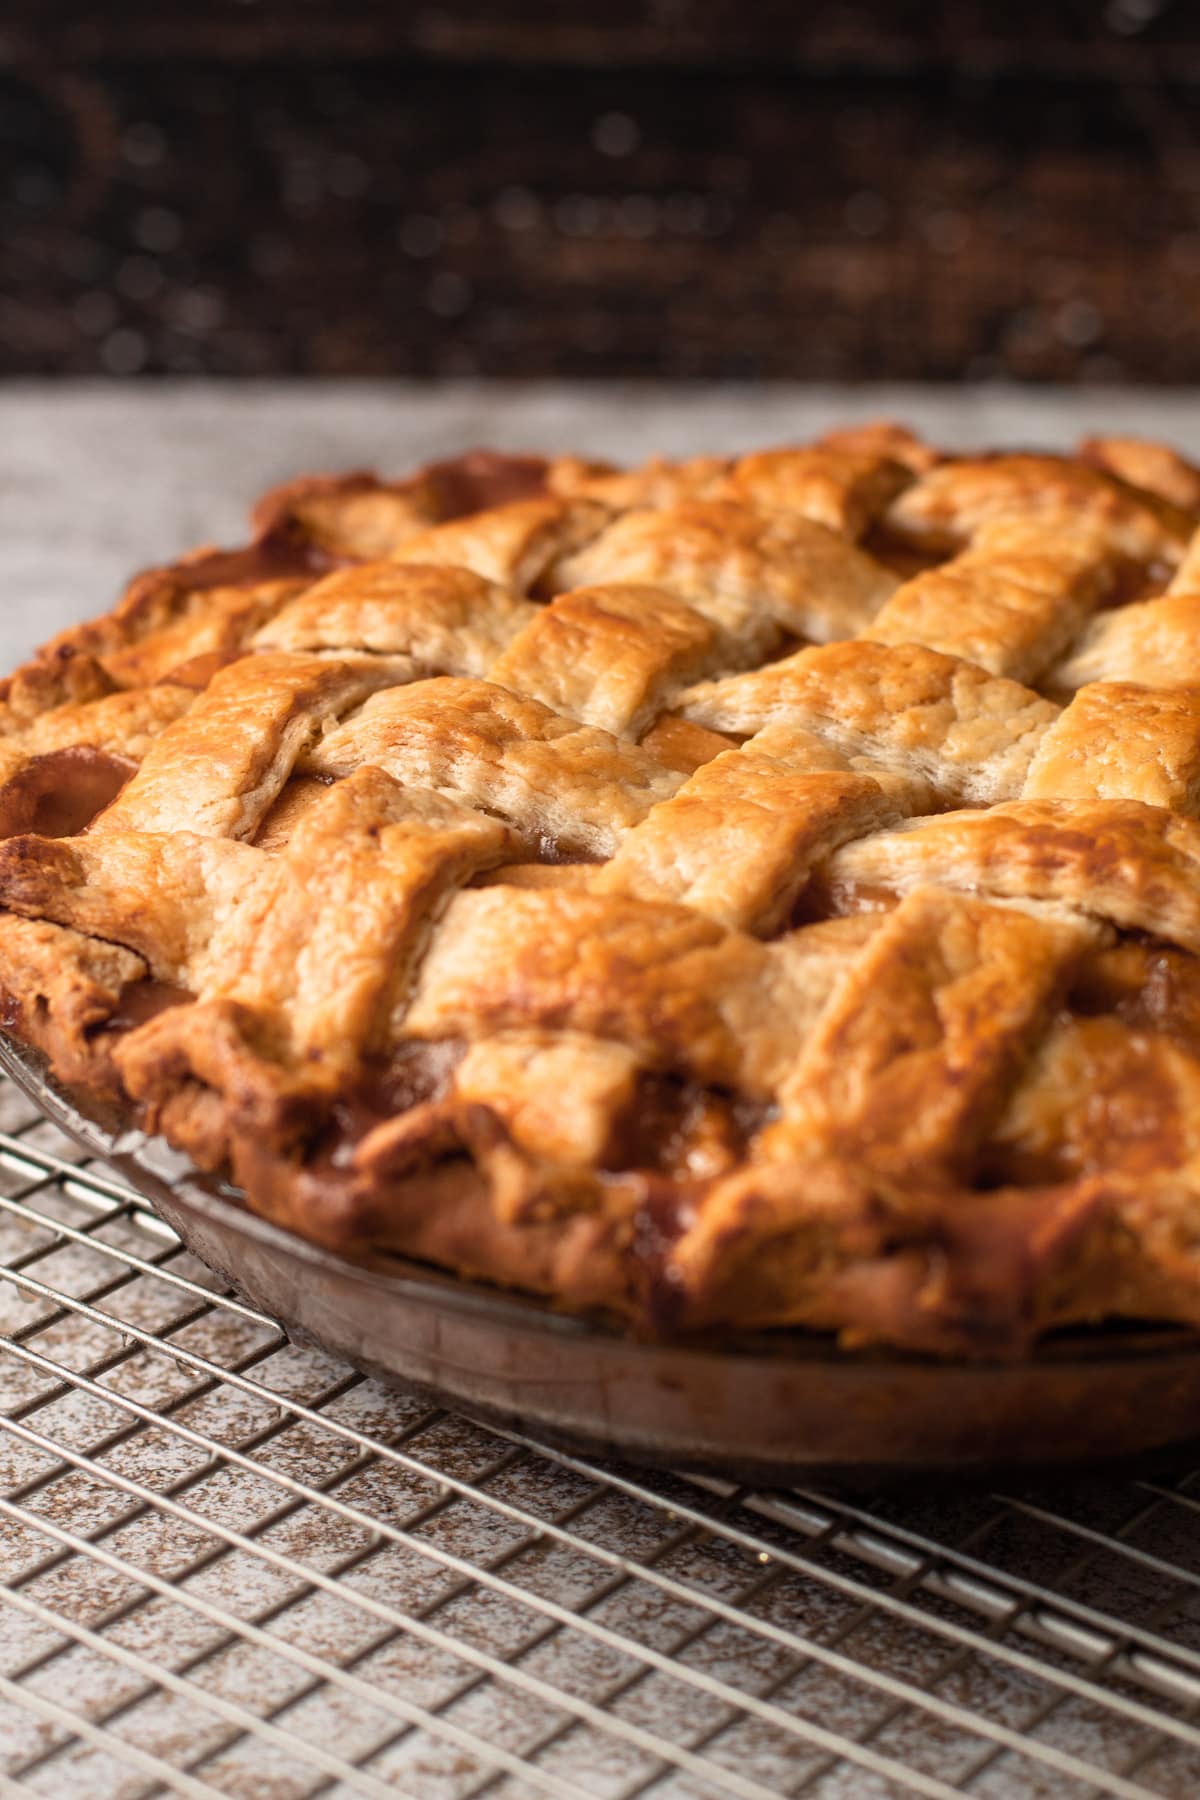
Looking to make a classic double-crust pie from your own recipe? Or, want some helpful tips to get the best bake while using a double-crust? This guide is all about How to Bake a Double Crust Pie!
Want to save this recipe?
Enter your email & I'll send it to your inbox. Plus, get weekly updates from me!
Tips for Baking Double Crust Pie Recipes
One of the most frequently asked questions people reach out to me about is how to get the best bake with a double crust pie. While there are many recipes on this site that will direct you precisely on how to do so, I thought it was time to compile a dedicated guide to share tips and get the best bake out of a double-crust pie recipe.
With this knowledge, you can get creative in the kitchen and make your own pie recipe using your choice of filling and a pie pastry.
Let's Start with the Pastry
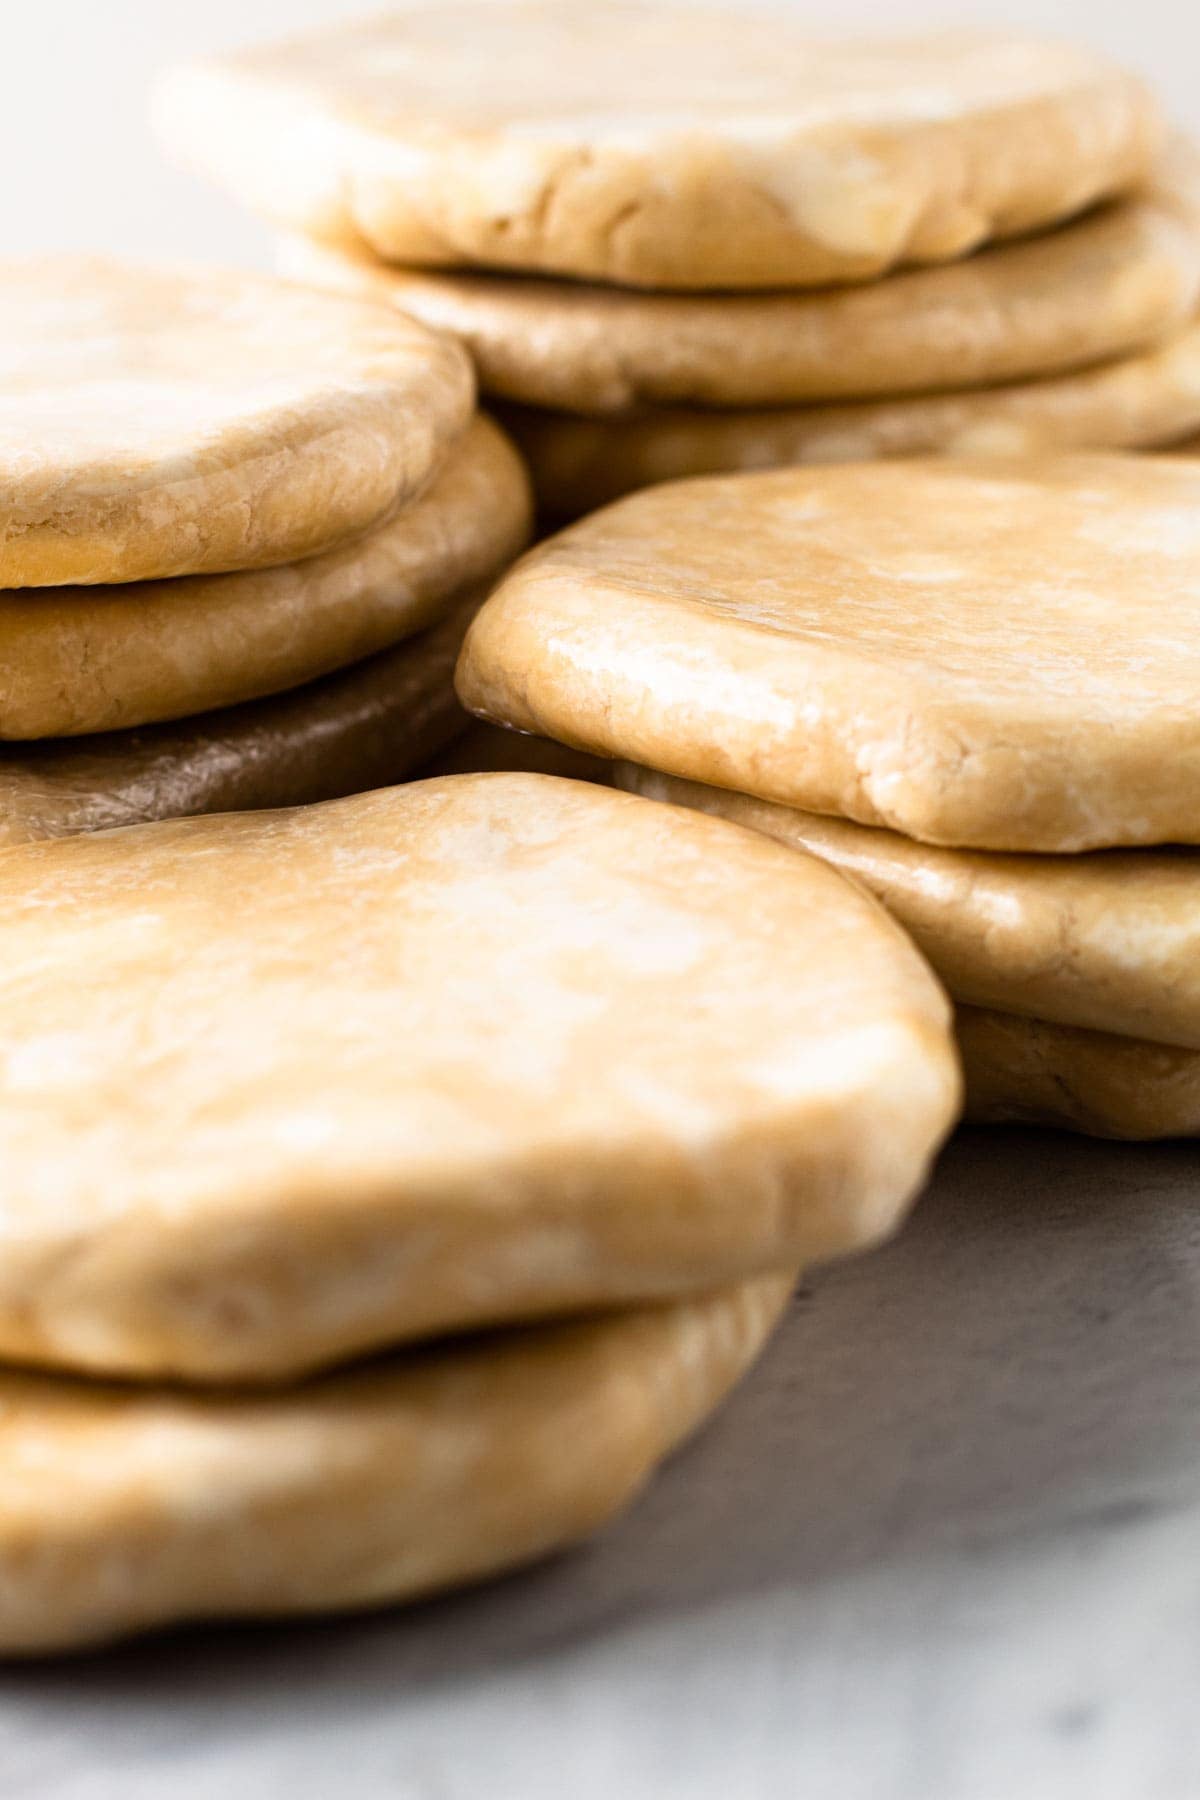
There are two significant parts of a double crust fruit pie: the crust and the fruit! Both play an equal role in making a delicious final product. So, let's dive into what makes the perfect pastry for a double-crust pie.
Plan to make whatever pastry you will use a day ahead of time. This gives the dough time to hydrate fully, for the butter to chill, and for the gluten to relax to make for a better final product.


Different Types of Pie Crust
When most people think of a double-crust pie, they're thinking of a flaky, buttery pie crust. It's typically made without any added sweetener and, ideally, the final pie is well baked, tender, and flaky.
However, there are many other crust options to consider. Some have different textural components, such as being a bit crisper, while others have an extra flavor element.
Alternative Pie Crust Options:
- Pâte Brisée: A standard french butter pie dough with a slight amount of flakiness.
- Pâte Sucrée: This is also known as sweet pie crust. The added sugar not only makes the pie dough sweet, but it also makes it crisper and more tender.
- Whole Wheat Pie Crust: This recipe is hearty, more nutrient-dense and simple to make. This wholesome pie dough has a well-rounded flavor perfect for most any savory pie and even some sweet ones. Plus, there is no necessary chilling time needed before rolling out this dough, which makes it a great option for quick pies.
- Spelt Pie Crust: This whole-grain pie dough is not only very easy to work with, but also has a hearty and well-rounded flavor perfect for most any pie.
- Chocolate Pie Pastry: Using a chocolate pie crust can add a unique element to your pies. This chocolate pastry is basically a chocolate cookie baked in a pie tin, and it's perfect for so many different types of pie.
Lattice Vs. Full Top Crust
What type of top crust you choose is a personal preference; though, some types of pie work better with a lattice top.
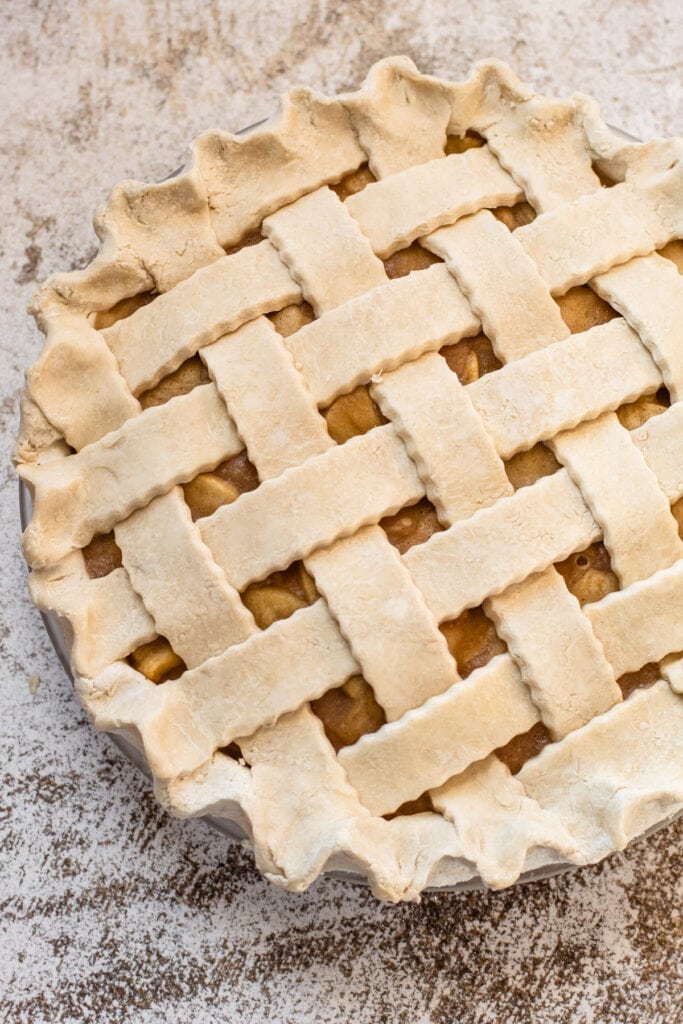
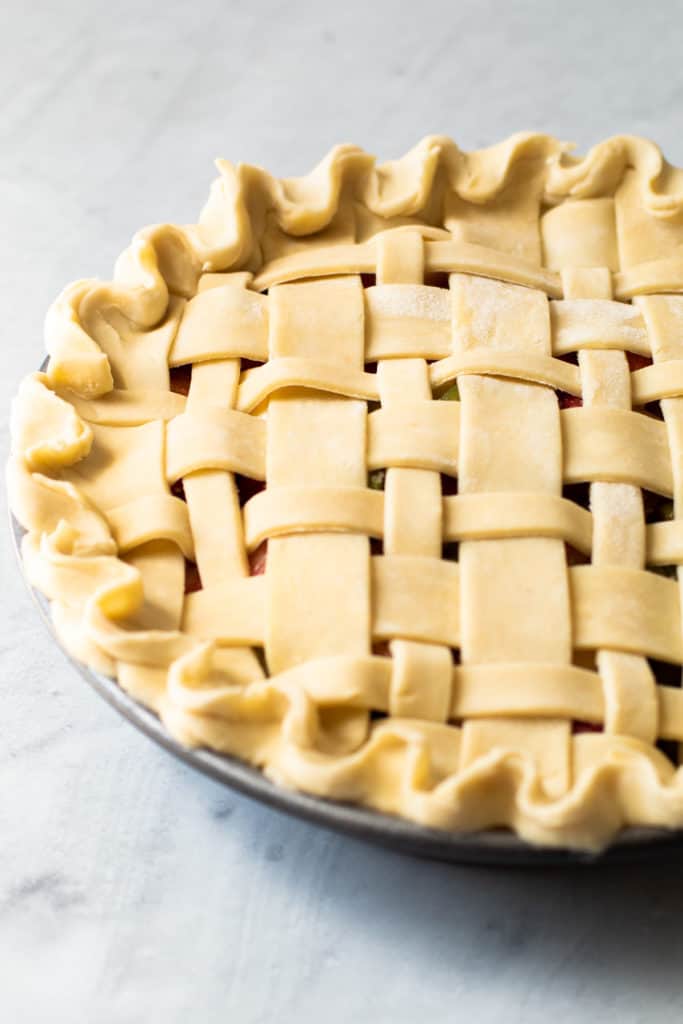
If you want that classic Americana finish to your homemade pie, a lattice will undoubtedly do the trick. Many people are intimidated by making a lattice pie crust, but it’s pretty simple to do if you follow a few easy tips and tricks. Here is a complete Guide to Making a Lattice Pie Crust if you are unfamiliar with the technique.
Aside from being extremely beautiful, a lattice does serve a purpose! Some pies (especially fruit pies) need to have a means for the built-up steam from baking to escape. A lattice pie is essentially built-in ventilation. So, if you have a fruit pie made with very wet uncooked fruit--such as berries--a lattice might be a good choice.
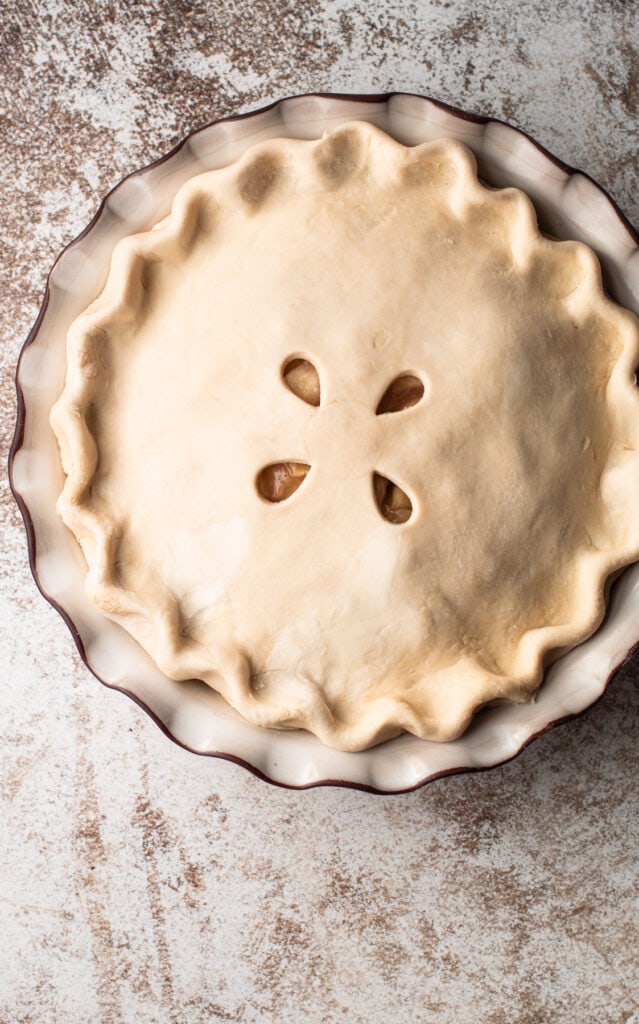
However, a full top crust is much easier to put on a pie. All you have to do is roll out pie dough to about a 10" to 11" circle and place it on top of the pie. Tuck the edges underneath the crust and crimp as desired. Do not forget to poke steam holes in the top though. Do this after you egg wash (more on this below), so the steam holes don't get sealed.
Alternatively, you could use pastry stamps or cutters to make a decorative design on the full top crust. These designs also serve the purpose of ventilation, so you don't need to do any additional cuts in the pie.
Finally, once you decide on your top crust, you'll need to determine if you are using an egg wash and topping with coarse sugar. An egg wash gives the pie a pleasing look once it has finished cooking. Brushing an egg wash on a pastry not only lends it a nice golden color but also gives it an appealing shine. New to egg wash? Check out this Guide to Making and Using an Egg Wash.
Additionally, double-crust fruit pies can be enhanced with a dusting of coarse sugar added on top of the egg wash on an unbaked pastry, which helps brown the crust and adds a textural variety to it.
About the Filling
There are two main things to consider regarding the filling: will the fruit be raw or precooked? Both have their pros and cons, and it just depends on what your preference is.
Raw Fruit Filling
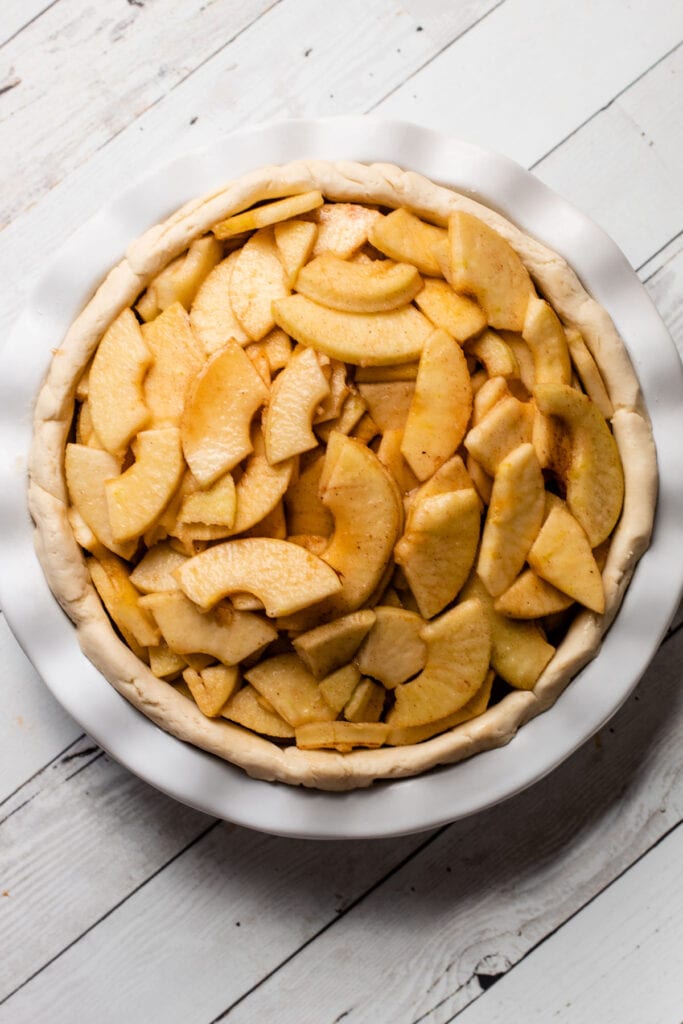
Raw fruit filling would be my number one choice in most instances. This is because I like to cook my double-crust fruit pies for a long time, to ensure a crisp bottom pastry (more on that below), and raw fruit will hold up better with a long bake. This is especially true when it comes to apple pie, but this is just a personal preference. Many people like to precook their apple pie filling to ensure very soft apples in the end result.
However, the downside to using raw fruit is that it often holds a ton of moisture. Moisture in the fruit is released when baked; and, if not handled properly, it can make for a soggy crust, and a sunken filling once cooled. This happens because the moist fruit filling will first puff up when baked, and then as it cools, it shrinks. This leaves a gap between the crust and the filling.
Thankfully, there are a few tips for avoiding these pitfalls, depending on the type of fruit you are using.
Thickeners
Make sure you are using a suitable thickener. The choice of thickener will primarily be dependent on the fruit filling recipe you are using if you are using a recipe.
If you are making up your own recipe, there are two main types of thickeners I recommend:
- For most standard fruit recipes, cornstarch is my go-to. Typically you would use about 3-4 tablespoons for a traditional fruit pie. Three tablespoons will usually result in a thickened but slightly runny/juicy filling. Using four tablespoons will result in more of a set filling.
- For exceptionally moist fruit, such as strawberries or cherries, I like to use quick-cooking tapioca. Quick-cooking tapioca is great because it works by absorbing the juicy filling in the tapioca granules, creating a thick filling without leaving it cloudy or gumming it up too much.
Cutting the Fruit
If your fruit needs to be cut, you want to make sure it is similar in size. Also, if the fruit needs to be sliced such as apples, you want them semi-thin about ½" thick. This ensures all the fruit cooks evenly.
Macerate the Fruit
Macerate the fruit before you begin to bake. Macerating the fruit in sugar helps draw out the moisture from the fruit, causing the fruit to soften and shrink before it enters the pie. This step alone will drastically reduce any gap between the crust and the filling.
A trick I sometimes use (that I learned from Rose Levy Beranbaum) is to let the fruit macerate longer, then strain the juice into a pot and boil it down until it has slightly thickened. This will heighten the fruit flavor and ensure you don't have a thin filling.
Layer the Fruit
Instead of just pouring in slices haphazardly, you want to literally layer in the fruit to eliminate gaps in the filling. If there are significant gaps between fruit, once it cooks and softens, those hollow spaces will get filled in and the pie will sink even further.
Pre-cooked Fruit Filling
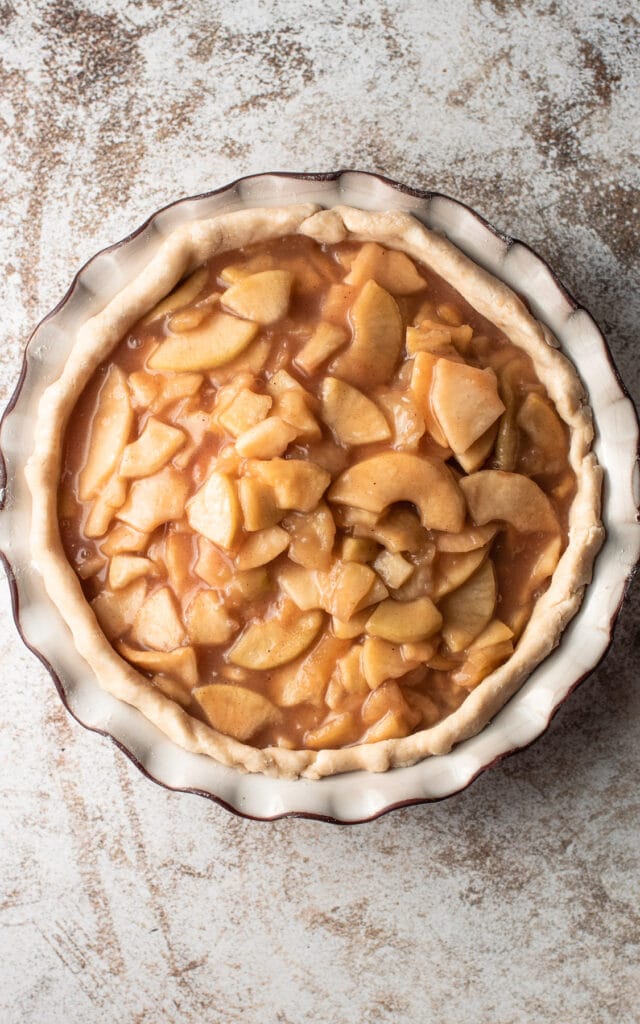
Precooked pie filling refers to a fruit filling cooked on the stovetop first, such as this Apple Pie Filling or Blueberry Pie Filling.
Using a pre-cooked pie filling can decrease the amount of time needed to bake the pie and it prevents the crust from separating from the filling. This is because the fruit has already shrunk since it's been previously cooked. A pre-cooked filling also ensures that your filling has the correct consistency, as you don't have to wait for it to bake to see if you've used enough thickener.
The downside of using a precooked filling is that if your pie is in the oven too long, it can overcook the fruit. Or, you might accidentally undercook the crust since it doesn't technically need as much time to bake, considering you aren't relying on the fruit in the middle of the pie to start to bubble.
Cold Pie + Hot Oven
There is one main rule to remember when baking a double butter pie crust: the very cold dough should be put in a very hot oven. All butter pie pastry should be thoroughly chilled before baking and then baked at a high temperature, ideally around 425ºF.
As a general rule of thumb, it's always best to chill a rolled pie crust either in the freezer for 10-20 minutes or in the refrigerator for 30 minutes to 1 hour before you bake it. While this is an extra step, it makes all the difference in the world.
One of the most common problematic questions bakers ask me is why their pie crust melted or lost its shape. The most common reason for this is that the crust was too warm, the oven wasn't at the right temperature, or a combination of both.
You want the butter to stay cold up until the moment it hits the hot oven. Cold butter left in chunks will create the flakiest layers if that is what you are trying to achieve. Additionally, melted butter releases liquid into the flour, making the pastry tough, which you want to avoid. So, make sure to chill your pie crust or assembled pie and fully pre-heat your oven!
However, not all pie crusts can be baked at a very high temperature, so be sure to look at the specific pie crust you are using for more instruction on that.
Tips for Getting a Baked Bottom Crust
We've already covered one of the biggest tips for getting the bottom crust to bake through thoroughly, and that is what is mentioned above: put a very cold pie into a very hot oven.
Now, let's dive into the specifics about your oven. The first tip is to know your oven. Most ovens are not calibrated correctly, and their actual temperature isn't what the display reads. For instance, my oven is off by 15ºF. That can make a big difference when it comes to pie crust. I know this because I have an inexpensive thermometer (affiliate link) I use to get an accurate read on my oven temperature.
The second tip is to strategically place the racks in your oven. The recipe below instructs for the pie to be baked initially on the lowest rack in the oven. Then, towards the end of cooking, the pie is moved up to the middle rack. Cooking it on the lowest rack will help ensure the heat reaches up to fully bake the bottom crust. It's moved to the middle rack towards the end of cook time to ensure the top crust is also fully baked, as the heat bounces back down from the top of the oven. This advice is geared towards ovens that have the heat coming up from the bottom. If your oven has your heat coming from a different source (such as the back of the oven or the top), then this advice will not apply.
One trick that works really well to make sure the bottom crust is well cooked is to use a pizza stone (affiliate link)! Place it on your lowest rack while the oven is preheating and cook the pie on it.
How to Tell When a Fruit Pie is Done
There are a few signs to look out for to know if your fruit pie is done.
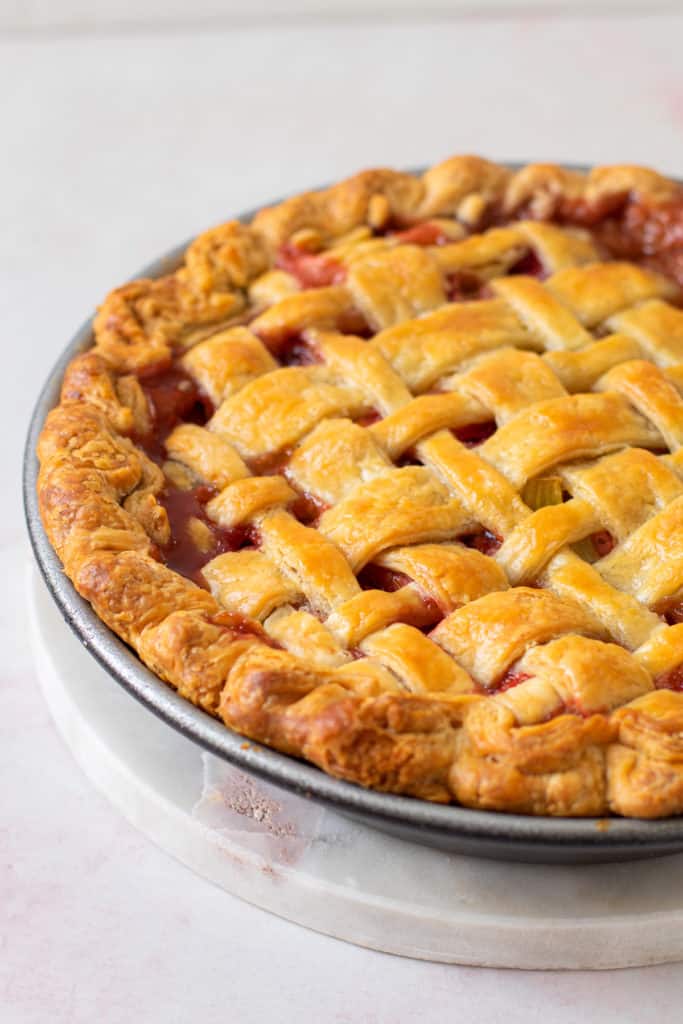
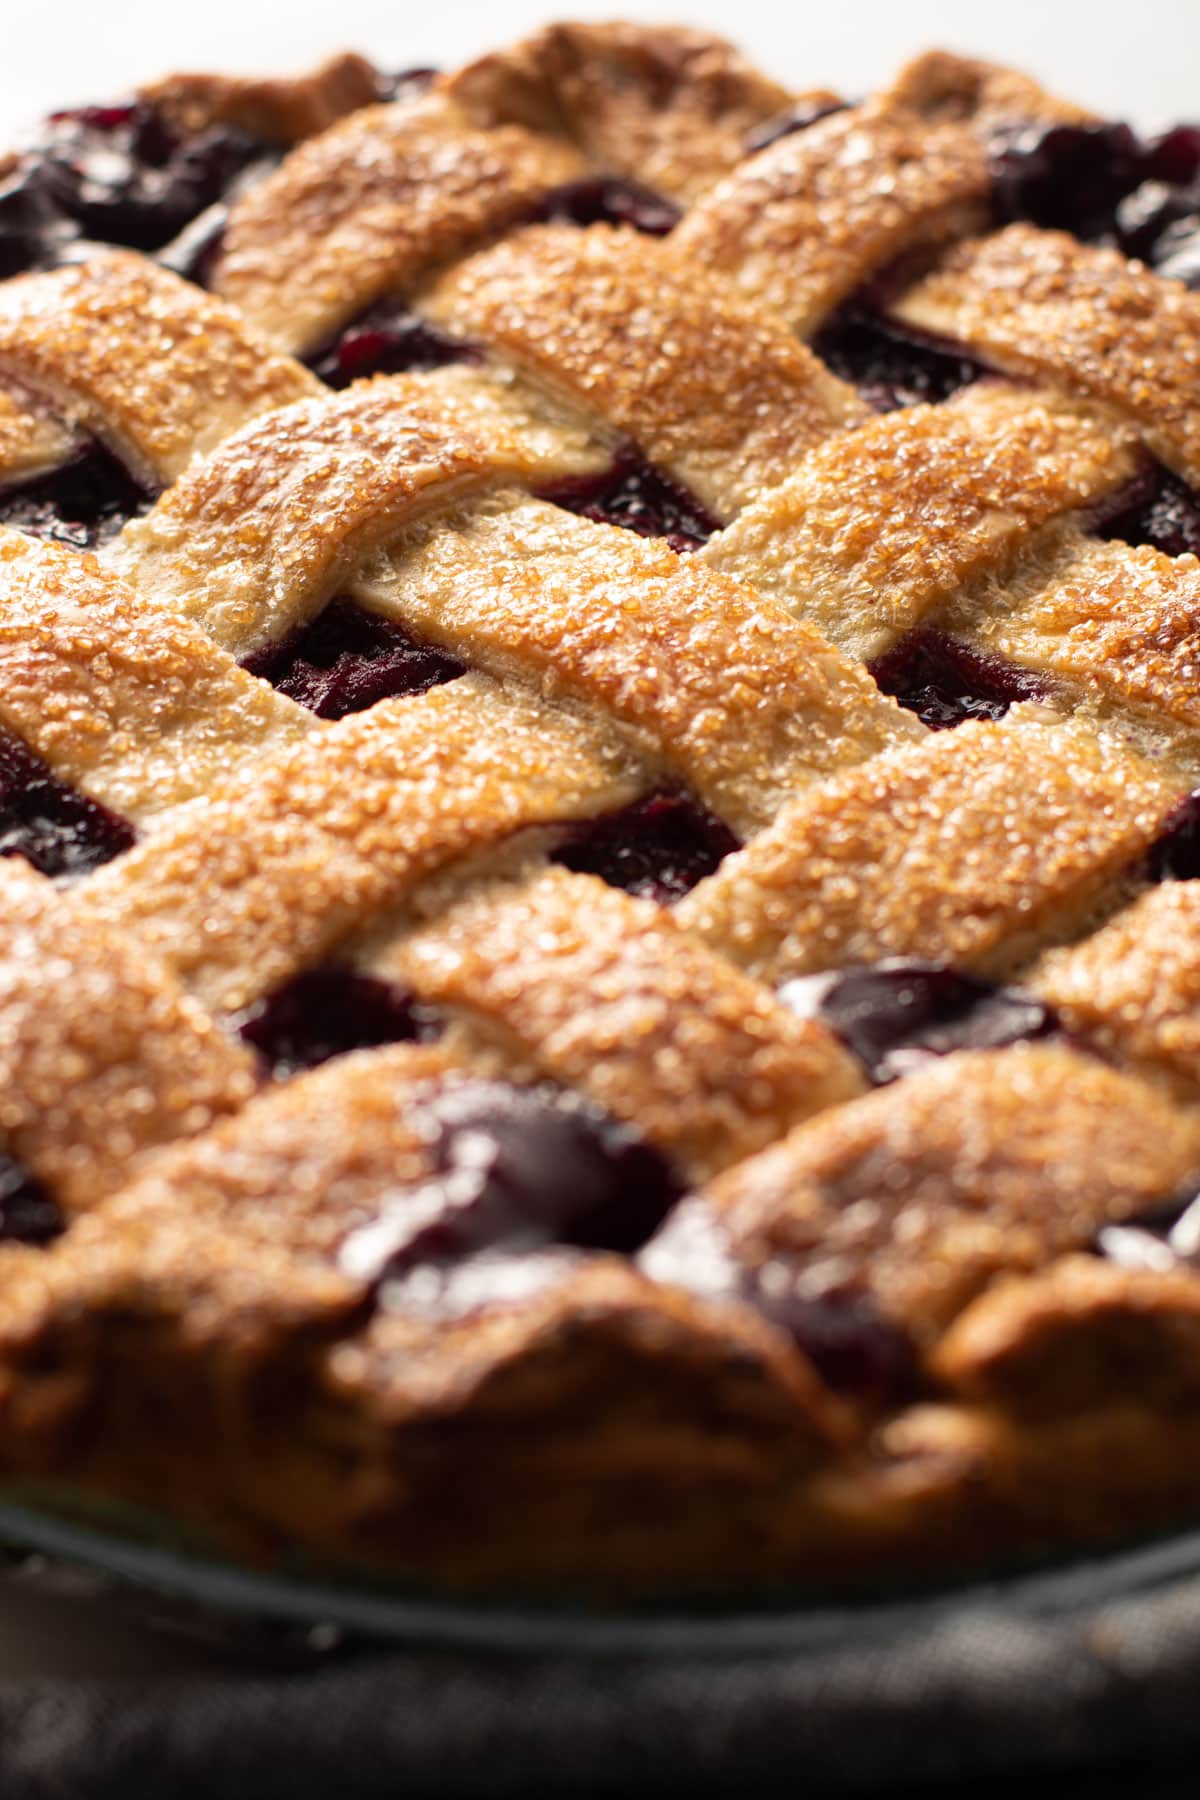
The first is by sight. Visually look for the pastry to be golden, flaky, and crisp.
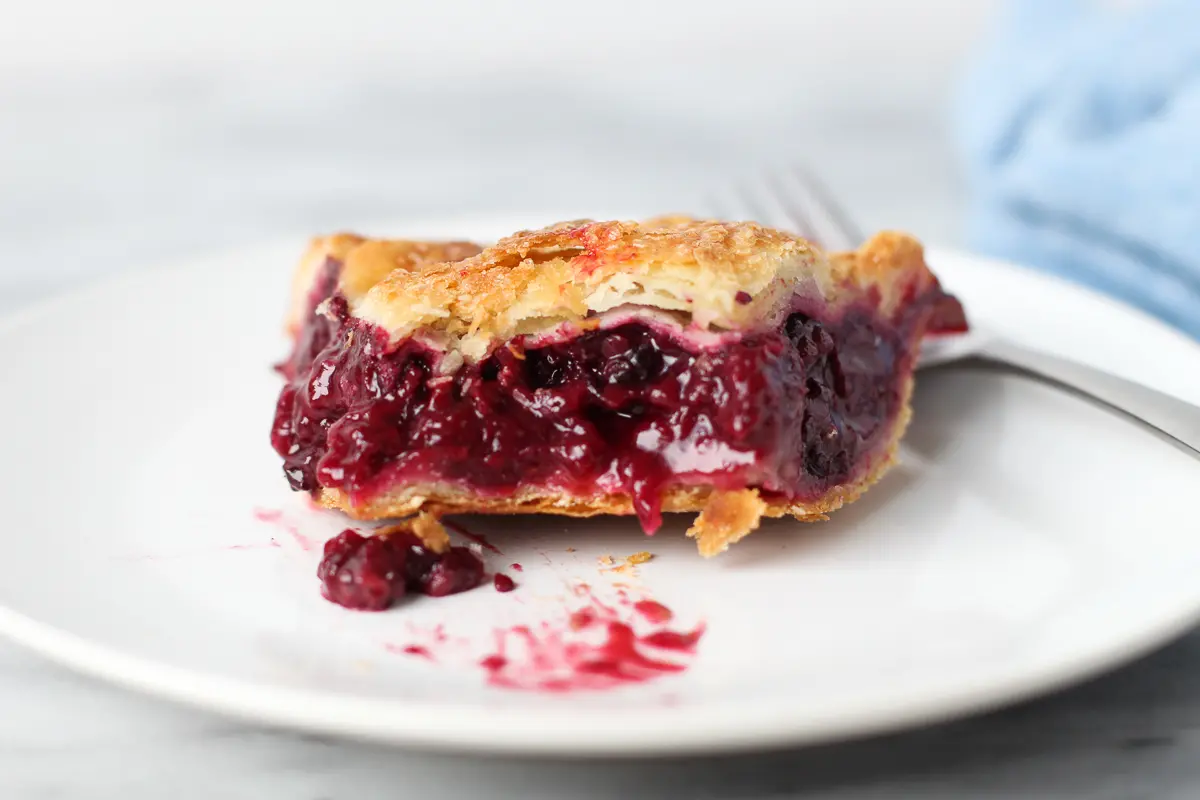
Another way to tell if your pie is ready is to look for the filling to be bubbling from the middle of the pie. The bubbling doesn't need to be rapid, just look for at least one bubble while checking the pie.
If your fruit filling is raw, it's essential to be certain the filling has cooked through to the proper temperature to ensure the thickener is activated. The internal temperature of a fruit pie needs to be above 200ºF to ensure that the thickener has activated. An instant-read thermometer (affiliate link) is a great way to check this, or you can look to see that the pie has puffed around the edges, and the filling in the middle has at least one juicy bubble popping up.
How to Serve a Double Crust Pie
A double crust fruit pie needs the proper time to cool down before serving. When the pie is straight from the oven, the filling will be very runny. The pie should cool down for at least an hour, but better yet, up to four hours.
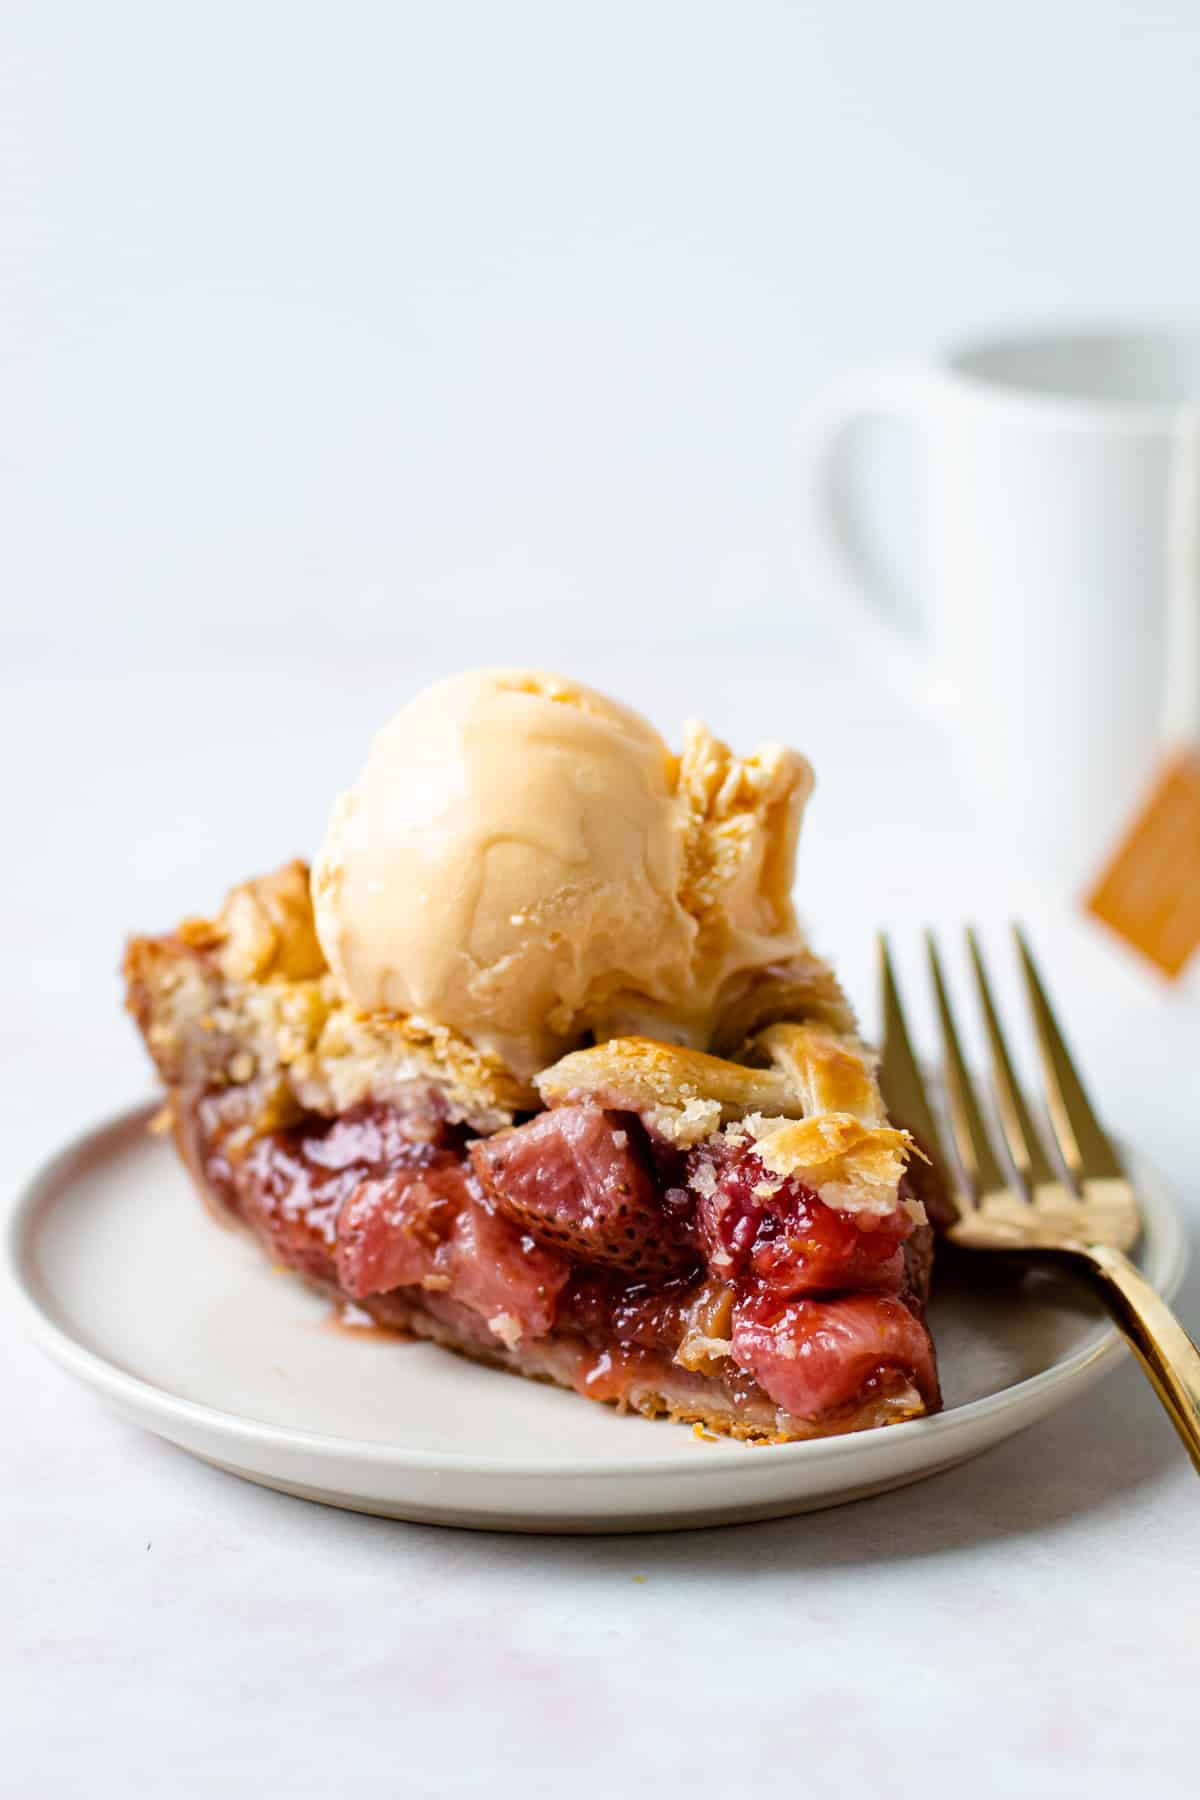
Once the pie has cooled down, slice and serve as is or with whipped cream or ice cream!
A Note about Savory Fillings
This guide primarily focuses on baking a double crust pie with a fruit filling. However, many of the tips here will also work well for a double crust savory pie, such as this Winter Vegetable Pot Pie.
Double Pie Crust Recipes
Below is a list of double-crust fruit pie recipes. To be clear, this post is not about one specific recipe, but merely some helpful tips for assembling and baking a fruit pie with a double crust. If you are looking for a recipe, check out the list below.
You can also use this as a guide for creating your own pie using a pie filling recipe (such as Apple Pie Filling, Blueberry Pie Filling, or Cherry Pie Filling).
- Sweet Cherry Pie
- Spiced Blackberry Pie
- Ginger Strawberry Rhubarb Pie
- Cranberry and Blueberry Pie
- Mile-High Apple Pie
- Gluten-Free Apple Pie
Pie Pastry Recipes
Looking for some good pie pastry options for double-crust pie? Here are some favorites:
- All Butter Pie Crust
- Cream Cheese Pie Crust
- Whole Wheat Pie Crust
- Pâte Brisée (Shortcrust Pastry)
- Pâte Sucrée (Sweet Pie Crust)
- Spelt Pie Crust
- Chocolate Pie Pastry
- Gluten Free Pie Dough
Looking for More Pie Tutorials?
Want more tips for baking pies? Here are some useful tutorials for baking up a better pie!
- Why You Should Use a Kitchen Scale
- All Butter Pie Crust
- How to Make (and Use) an Egg Wash
- How to Make a Lattice Pie Crust
- How to Make Pie Crust By Hand
- 10 Baking Tips for Perfect Pies
Full Recipe
How to Bake a Double Crust Pie
Looking to make a classic double crust pie from your own recipe? Or want some tips to get the best bake on one? This guide is all about How to Bake a Double Crust Pie. Many of the tips for getting the best bake can be found above this recipe. And below is a recipe quideline for creating your own double crust fruit pie.
- Prep Time: 00:20
- Cook Time: 00:60
- Total Time: 1 hour 20 minutes
- Yield: 8-10 slices
- Category: Cooking Tutorial
- Method: Bake
Instructions
- Prepare pie dough, preferably a day ahead.
- Preheat the oven to 425ºF and place an oven rack in the lower and middle part of the oven.
- Roll out the pastry: Roll out 1 pie pastry disk to an 11″ circle. Fit the pastry in a 9” pie plate, making sure to press the pastry into the sides and the bottom. Roll out the second pastry to a 10” circle and slice strips to make a lattice, if desired, or leave the pastry whole. Place in the refrigerator until ready to use.
- Prepare filling, add to the pastry-lined pie dish.
- Place the rolled out pastry or lattice strips on top of the pie filling. Crimp the edge of the pie, as desired.
- Brush the crust with an egg wash and sprinkle with coarse sugar, if desired.
- Bake on the lower rack for 25 minutes.
- Lower the oven temperature to 400ºF (see note about precooked filling). If the crust is browning, cover the outer edges with aluminum foil or a pie shield, leaving the middle of the crust exposed. Continue to bake on the lower rack for 20 minutes.
- Then move the pie up to the middle rack to let the top crust brown more, for an additional 15-20 minutes, or until the juices are bubbling and the temperature of the middle of the pie reaches above 200ºF.
- Let the pie cool for about 1-4 hours for the juices to set up.
Notes
Have a question or looking for tips? The text written above the recipe is always a great first place to start! There are always loads of explanations, tips and technical advice shared before the recipe.
If you are using a precooked filling, the filling doesn’t need to be bubbling and will take less time. However, because of this, it should be cooked at 425ºF the entire time, to help ensure the bottom crust is fully cooked through. Check out the section of the post about baking the pie above for more tips.
Some of the links on this page may be affiliate links. Everyday Pie is a participant in the Amazon Associates Program. As an Amazon Associate I earn from qualifying purchases, at no extra cost to you.


Barbara
We are planning to spend this Christmas Eve afternoon with our children 3 hours away. My son-in-law has asked me to bake an apple pie for him. I just made the pre-cooked apple pie recipe. However, it has been several years since I baked an apple pie, and have never traveled with one.
So I am trying to figure out the best method. Do I bake the pie the day before, then refrigerate? Then warm it slightly before serving? Or should I make the crust, fill and freeze, and bake it when we get there? IF frozen how much extra baking time would be needed? Might be partially thawed, although I would put it in our plug-in ice chest, which keeps things very cold.
Kelli Avila
Hi Barbara. Either method you mentioned can work. For baking a pie from frozen, check out this article: How to Bake a Frozen Pie
Emma
Hi! Question - if using your pre cooked apple pie filling. Should the filling be thawed before putting in the pie crust, or cook from frozen? Thanks!
Kelli Avila
From frozen!
Althea
Question: Using your precooked apple pie filling, I would follow the cooking directions 1 thru 6. Then for step 7, I would bake the pie at 425℉ for 45 minutes on the lower shelf.
Then I would move the pie up to the middle rack and continue baking an additional 15-20 minutes.
Is this correct? I want to be sure I have my information right before I try the recipe.
Kelli Avila
No, that is not exactly accurate, as there is a temp change in there. I will not re-write the recipe instructions, because I've written them already above, so go ahead and go back to the recipe and re-read it. Also, since you are using pre-cooked filling, you might not need quite as much time, so start checking it sooner. Again, this is written above in the text. Hope that helps!
Colton
If using precooked filling, such as your sour Cherry filling, do you bake it for the same length of time as listed in steps 7, 8, and 9 all at 425°F or do you decrease the bake time?
Kelli Avila
You likely will need less baking time! But the best judge is to make sure the pastry is deeply golden. It's less important to get full bubbling, but if you do have bubbling, it's a good sign your pie has likely baked long enough for the bottom pastry to be done.
Valerie
This is the second time I have made this pie and its always a crowd pleaser. My husband says that it's better then his moms.
Debbie Peters
Made this recipe. It turned out great!
Karen
What kind of pan did you use?
Ariel
Hi! Is there any need to blind bake the crust? I’m looking forward to making your recipe!
Kelli Avila
Hi Ariel! If you are making a double crust fruit pie, it does not need to be blind baked! Reach out if you have anymore questions! Happy baking!