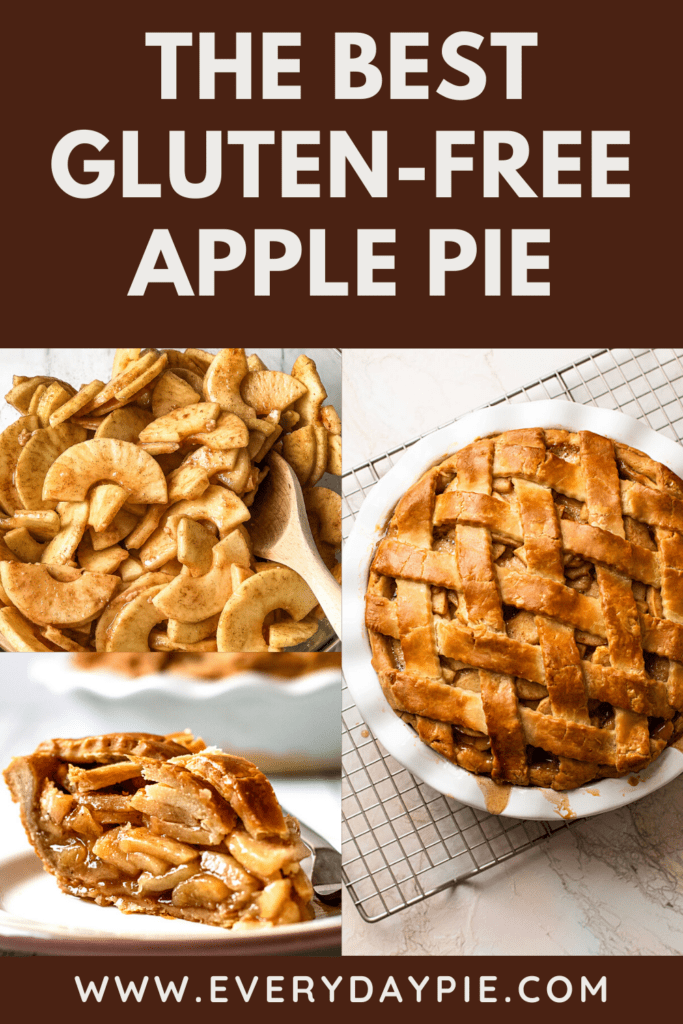
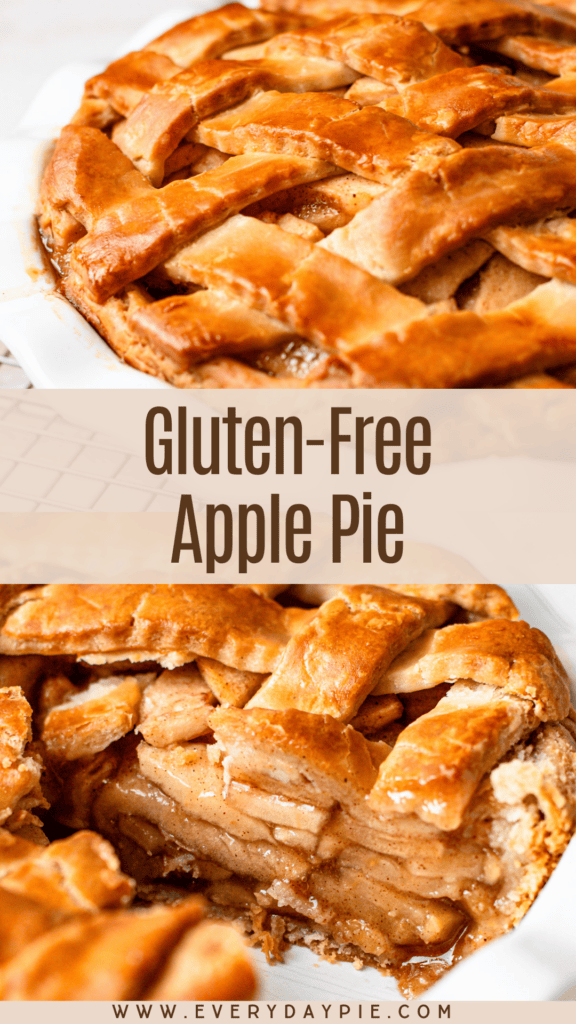
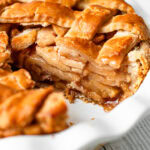
Packed with juicy apples and subtle hints of cinnamon and vanilla, this buttery and delicious Gluten-Free Apple Pie recipe will be loved by everyone.
Want to save this recipe?
Enter your email & I'll send it to your inbox. Plus, get weekly updates from me!
Everyone deserves to enjoy a classic apple pie, whether they can have gluten or not. After being diagnosed with a severe raw wheat allergy a few years ago, I had to go gluten-free while figuring out how to safely work with raw wheat again after a scary allergic reaction. During that time, I experimented a lot with gluten-free recipes, and this gluten-free apple pie is one of the results!
I won’t claim that a gluten-free apple pie tastes exactly like one made with regular flour. Mostly because the gluten is in fact missing; therefore it will be different. But it is absolutely possible to create a gluten-free pie that’s just as delicious and holds its own against the traditional version.
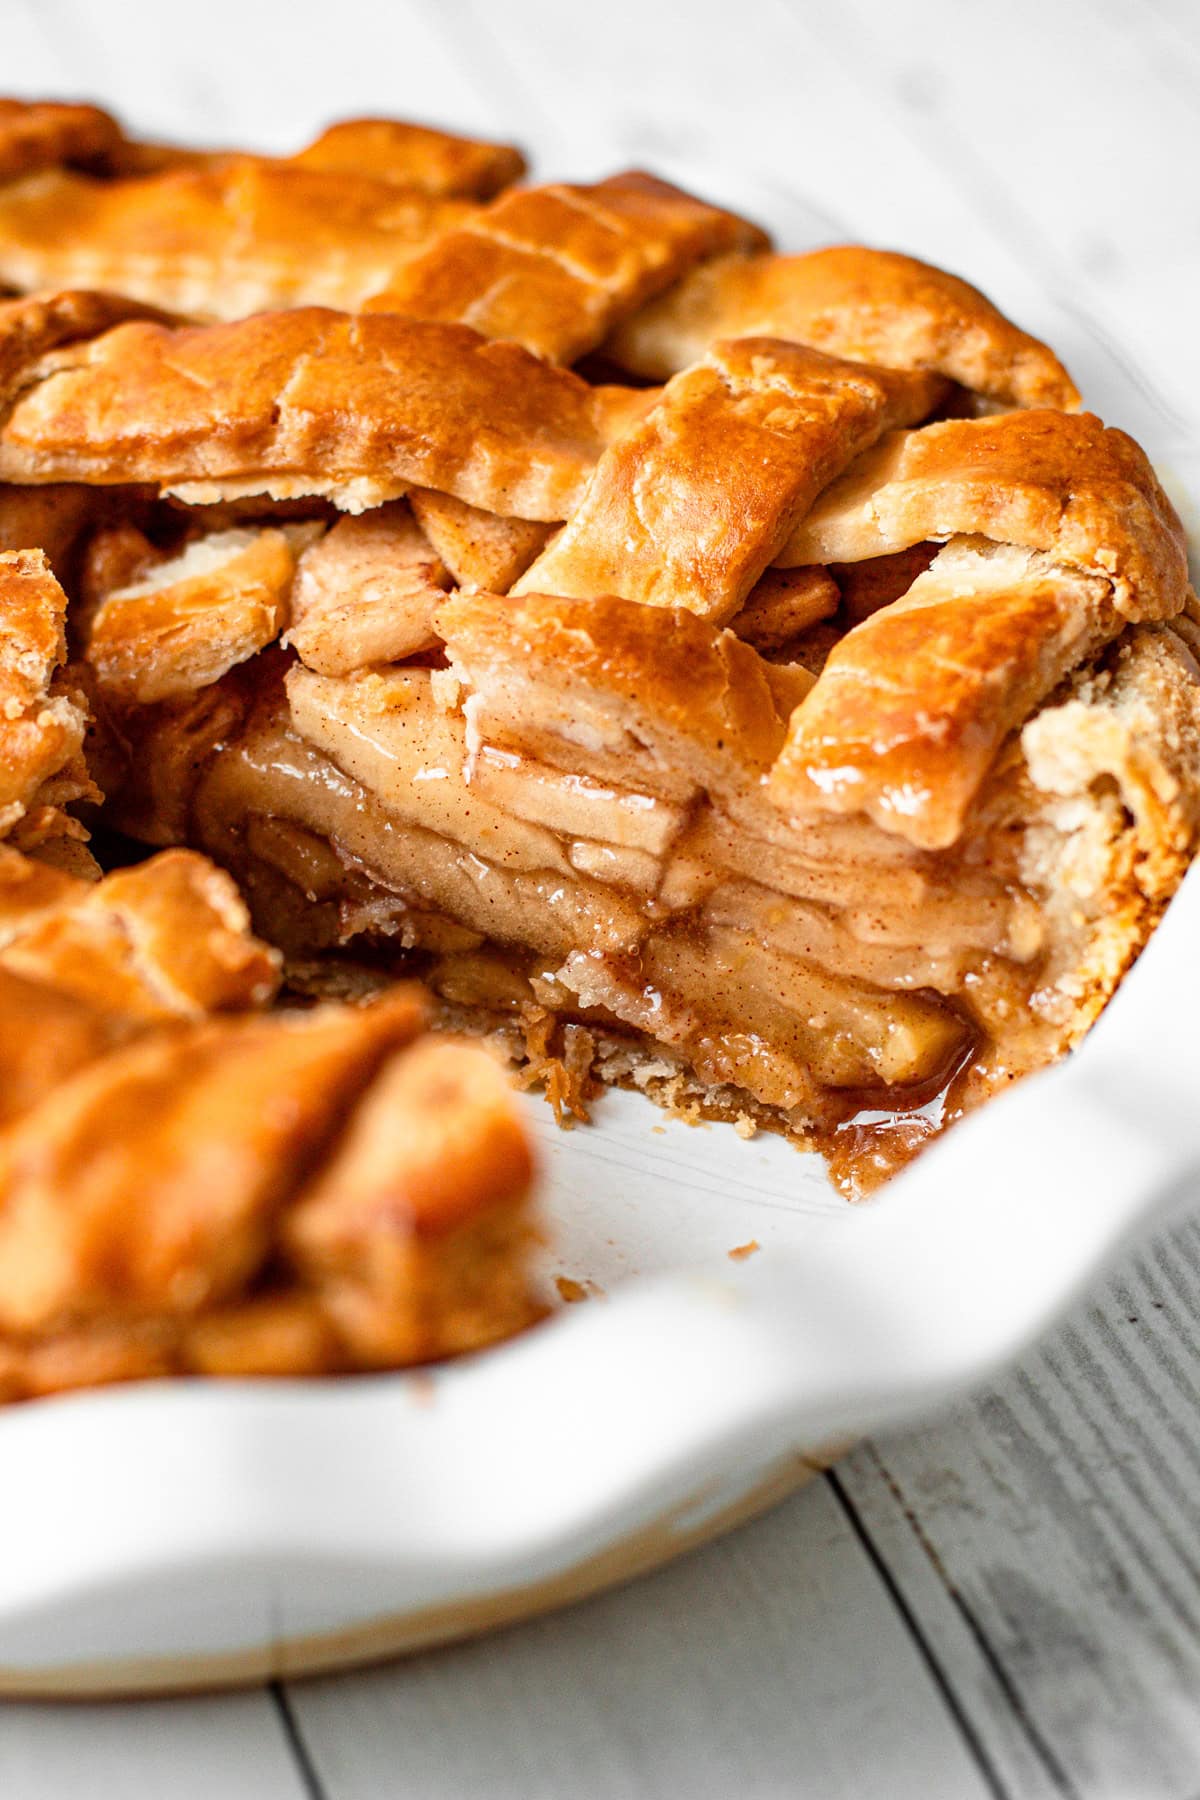
And this recipe delivers. The crust is light and crumbly with a rich, buttery flavor, while the filling is everything you’d want in a classic apple pie—juicy, perfectly cooked, and warmly spiced. Plus, if you're new to gluten-free pies, I’ve included plenty of tips below to help you succeed!
So, let's get to making it, shall we? The article below is jam-packed full of useful information. You can jump around using the menu below, or skip to the end of the article for the full recipe.
Jump to:

Ingredients Needed
Here is an overview of the ingredients needed for this recipe. The full recipe is listed below in greater detail.
- baking apples (see below for my recommendations)
- gluten-free pie crust ( if you are new to working with gluten-free recipes be sure to check out this dedicated Gluten-Free Pie Crust guide.)
- unsalted butter
- cornstarch (this thickens the pie filling)
- brown sugar + white sugar
- cinnamon + nutmeg
- lemon juice
- vanilla extract
- salt (This recipe was tested using Diamond Crystal coarse kosher salt. If you use Morton's kosher salt or fine salt, decrease by about half for volume, or use the same amount by weight. See this Guide to Baking with Salt)
Best Baking Apples
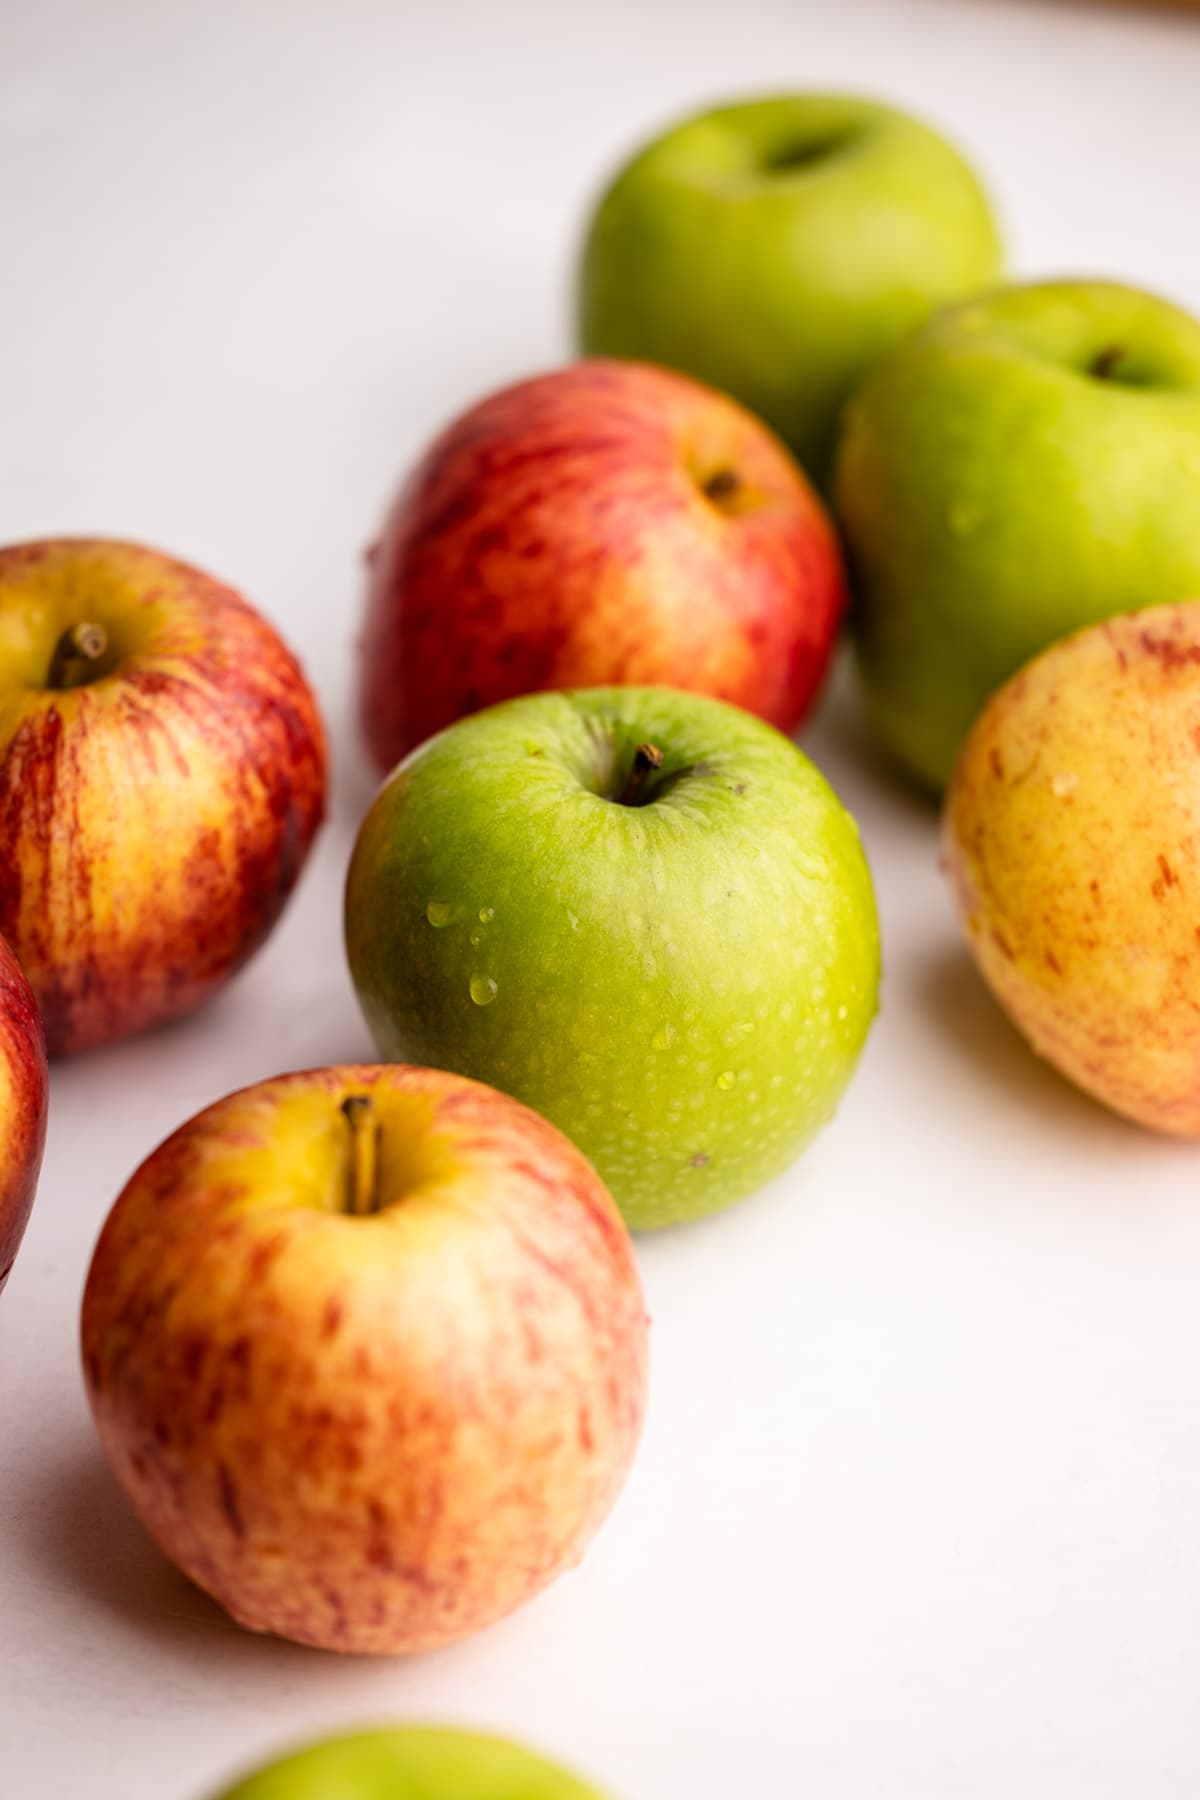
While all apples are delicious, they each have different roles in baking and cooking. For apple pie, you’ll want apples that hold their shape, offer a nuanced flavor, and have a bit of tartness to balance the sweetness of the sugar.
Using a mix of apple varieties is ideal, as it brings a range of flavors and textures to the pie.
My go-to apples for any apple pie are Gala and Granny Smith.
Some other favorites are:
- Cortland
- Yellow Delicious
- Braeburn
- Pink Lady
- Ginger Gold
- Jonagold
See this guide to the Best Apples for Apple Pie for more information!
Making the Gluten-Free Pastry
If you are new to gluten-free baking, there are a few things you should know about before you attempt to make this gluten-free apple pie. If you aren't new, you still may find this useful!
The first thing I'd suggest is that you let go of any assumptions you might have about how to make pie because gluten-free dough just works differently than traditional pie dough. This recipe calls for a 1-to-1 gluten-free flour blend. There are a few different brands out there, and I've used both Bob's Red Mill and King Arthur Flour cup for cup, or 1-to-1 flour blends. Look for a blend that says it will work as a complete swap for all-purpose flour. I have not tried this with any other gluten-free flour besides the two listed above.
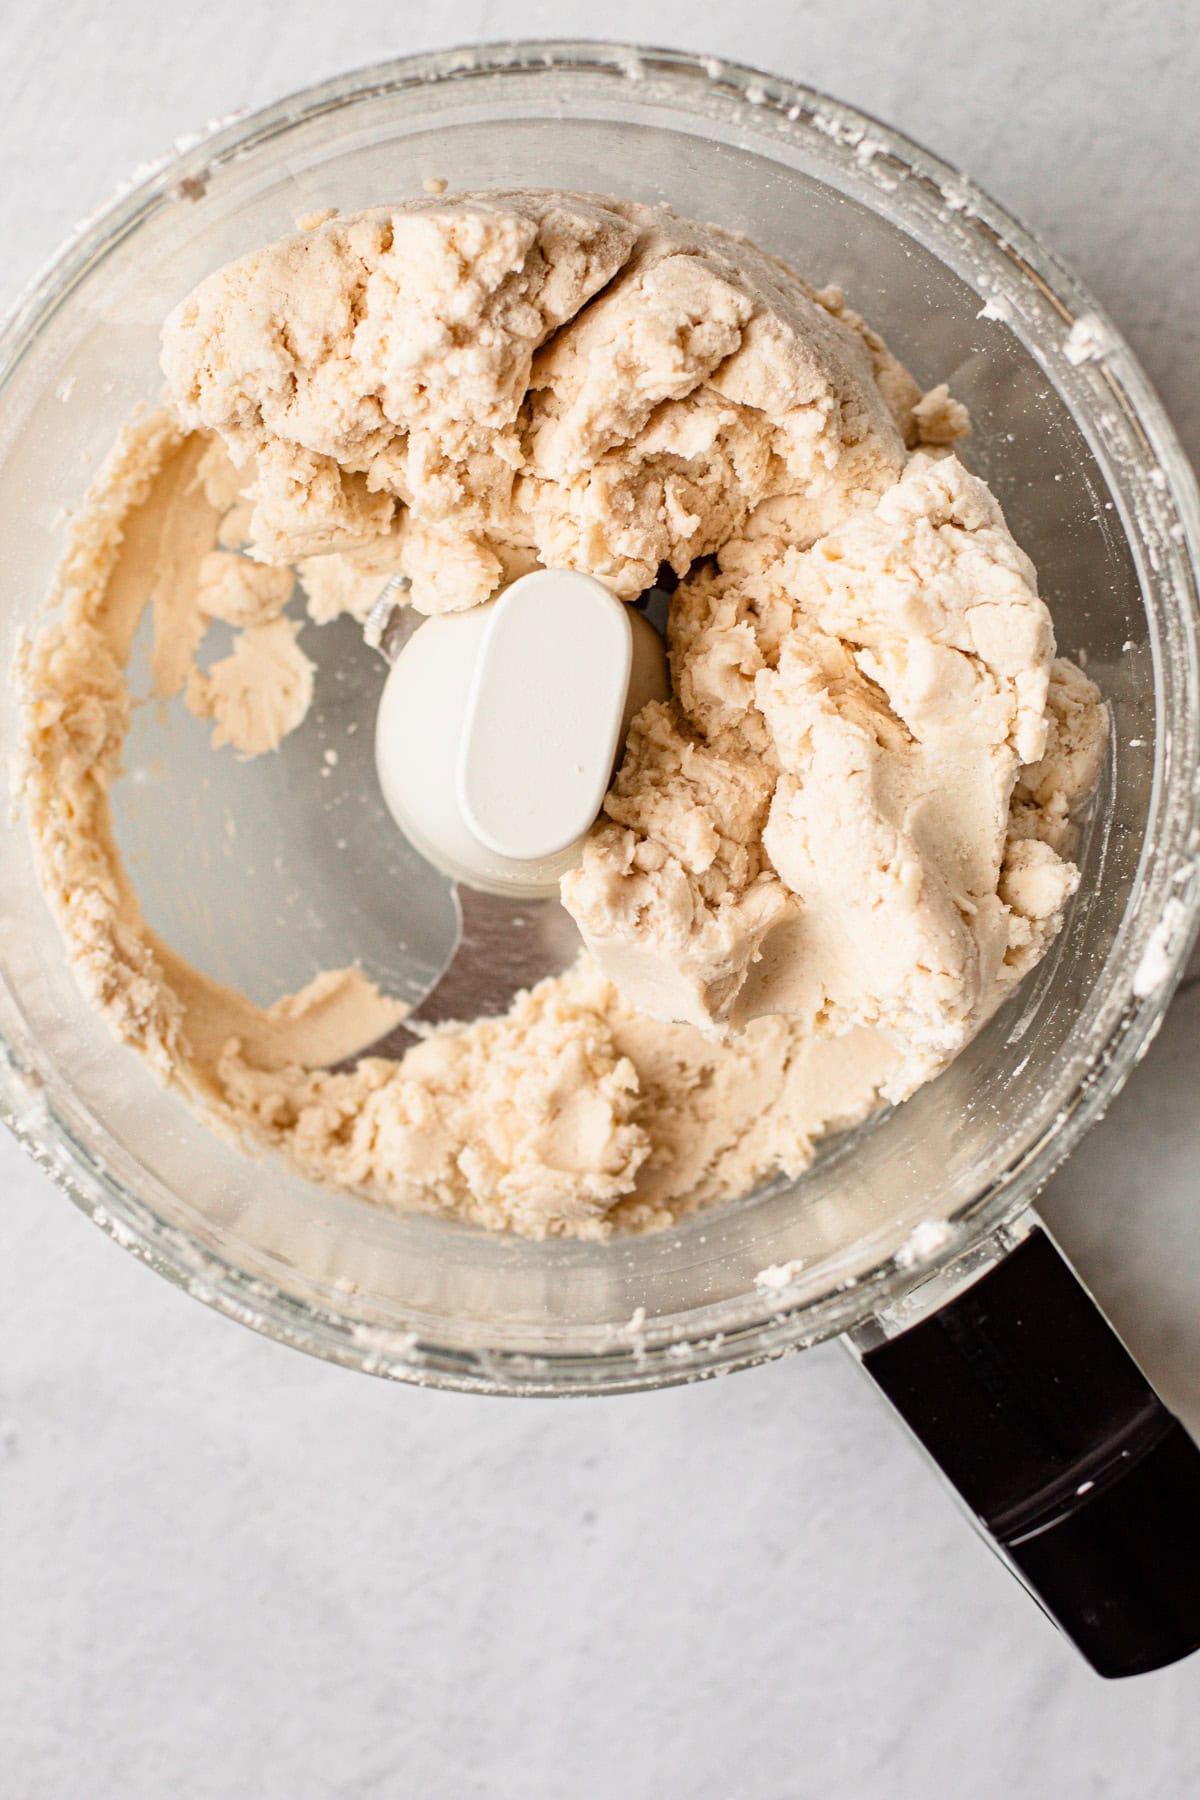
The dough can be made in a food processor or stand mixer by pulsing the flour and salt, adding butter and cream cheese, and slowly incorporating a vinegar-water mixture until the dough clumps together. Unlike traditional dough, the butter is fully incorporated, making it easier to handle.
Here's a bonus: this gluten-free pie dough can be rolled out right away. Unlike traditional pie dough, no gluten means no need to rest the dough to prevent too much gluten formation! Just make sure your butter isn't too soft. You'll know your butter has softened too much when the dough starts sticking and becomes difficult to work with. Chill it for about 10-15 minutes if this happens.
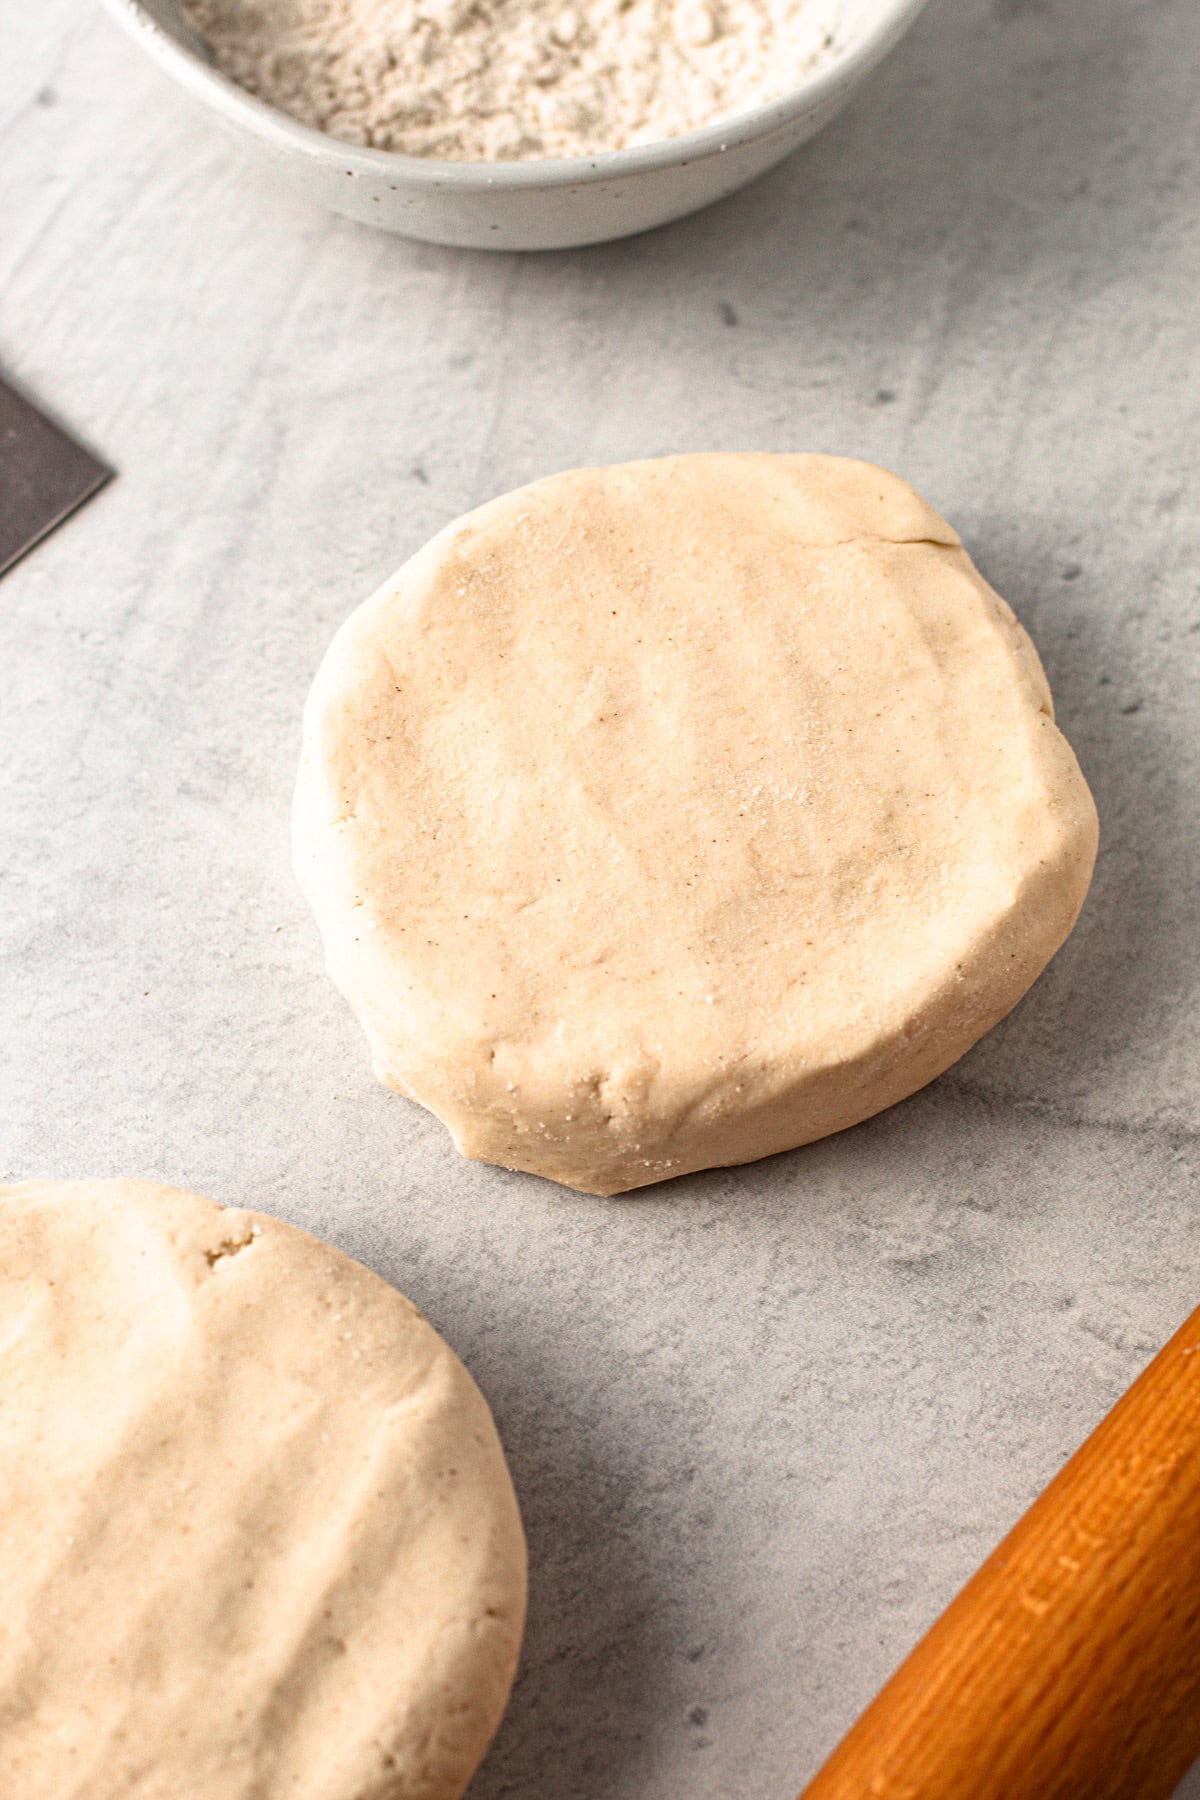
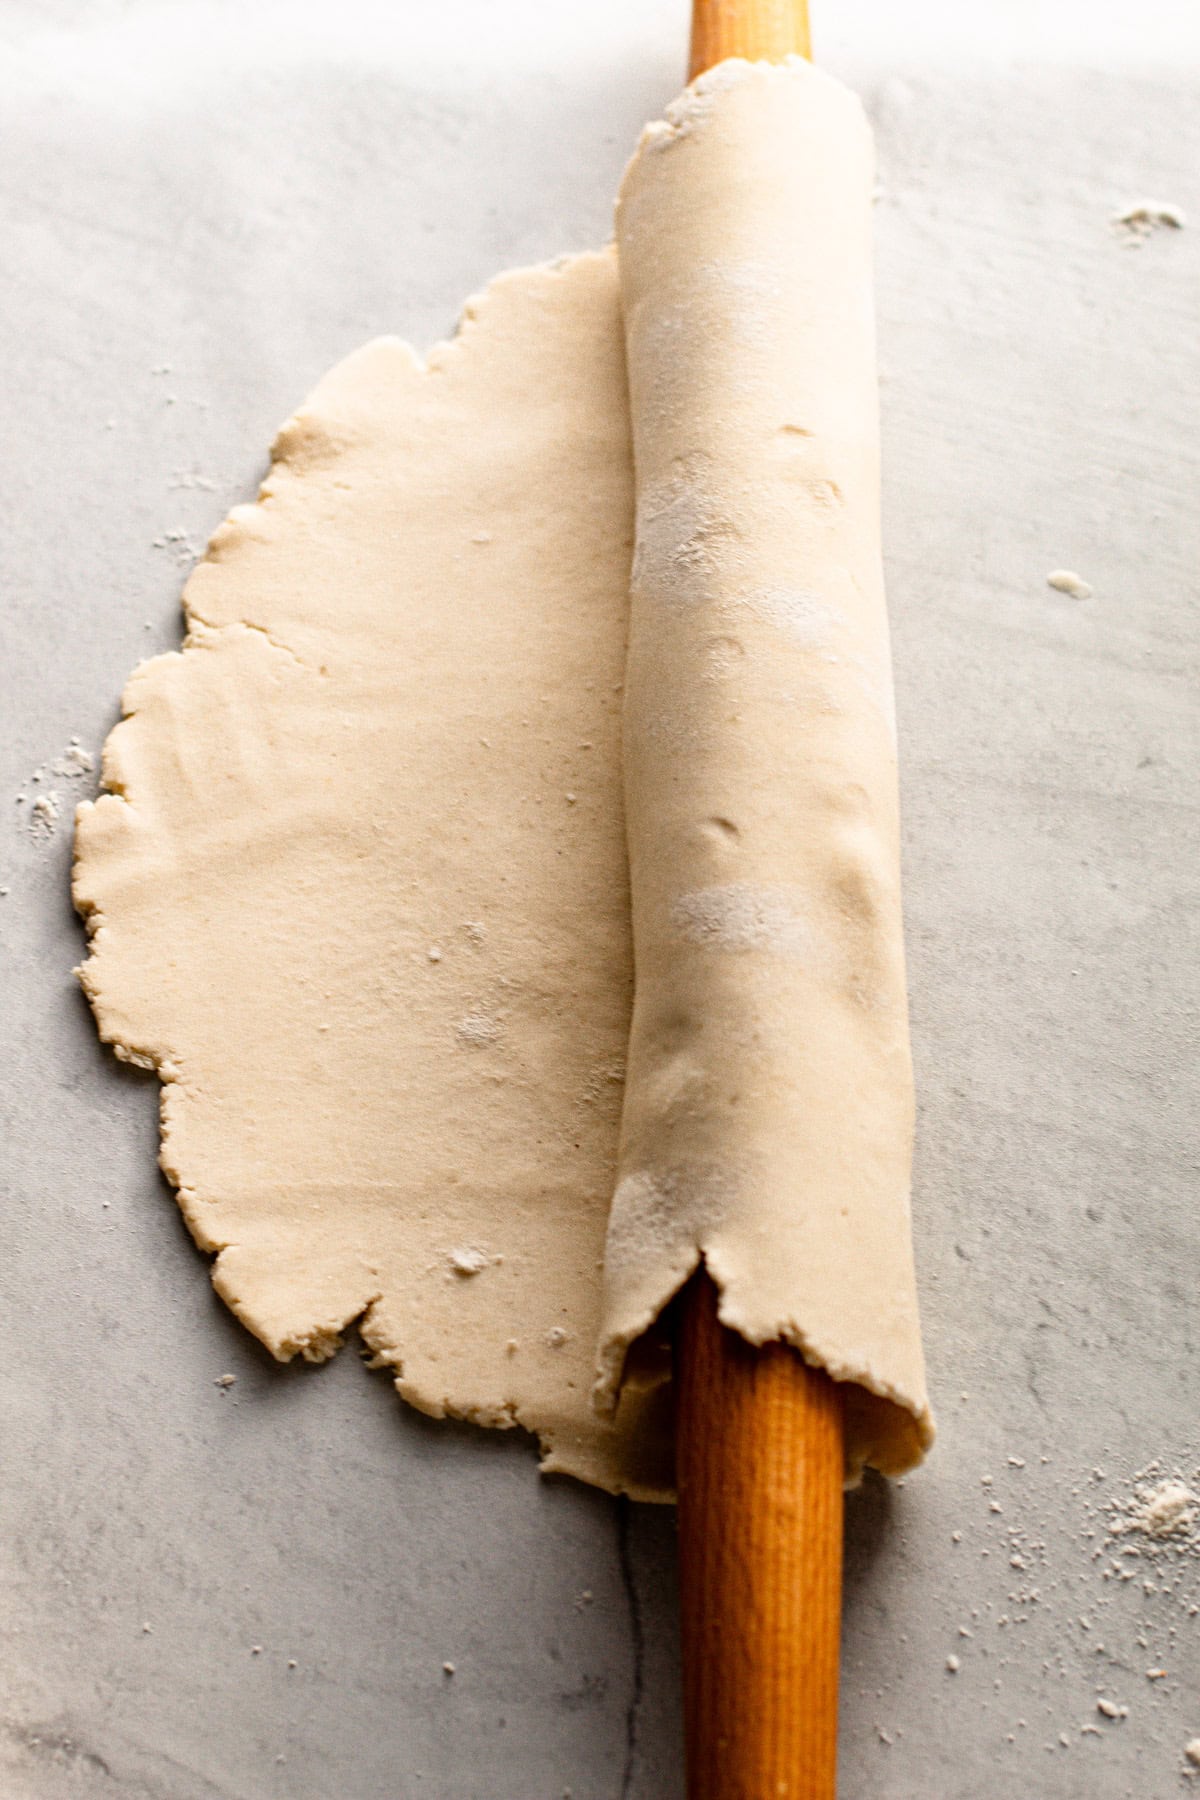
If you're not using the dough right away, wrap each disk tightly in plastic wrap and roll it out it with a rolling pin to seal. It can be stored in the fridge for 3-4 days or in the freezer for up to 3 months. Let the dough soften at room temperature before rolling it out. Generously flour your work surface, and if the dough tears, simply patch it in the dish. Once rolled into an 11-inch circle and transferred to the pie plate, crimp the edges and chill before baking or filling.
You can also check out this post about gluten-free dough which goes into more detail with tips and tricks.
How to Avoid a Sinking Apple Pie Filling
Apples release a lot of moisture as they cook, causing them to shrink. When you bake an apple pie, the filling first puffs up, but as it cools, it shrinks, which can create a gap between the filling and the crust.
To minimize this, there are a few tips to follow:
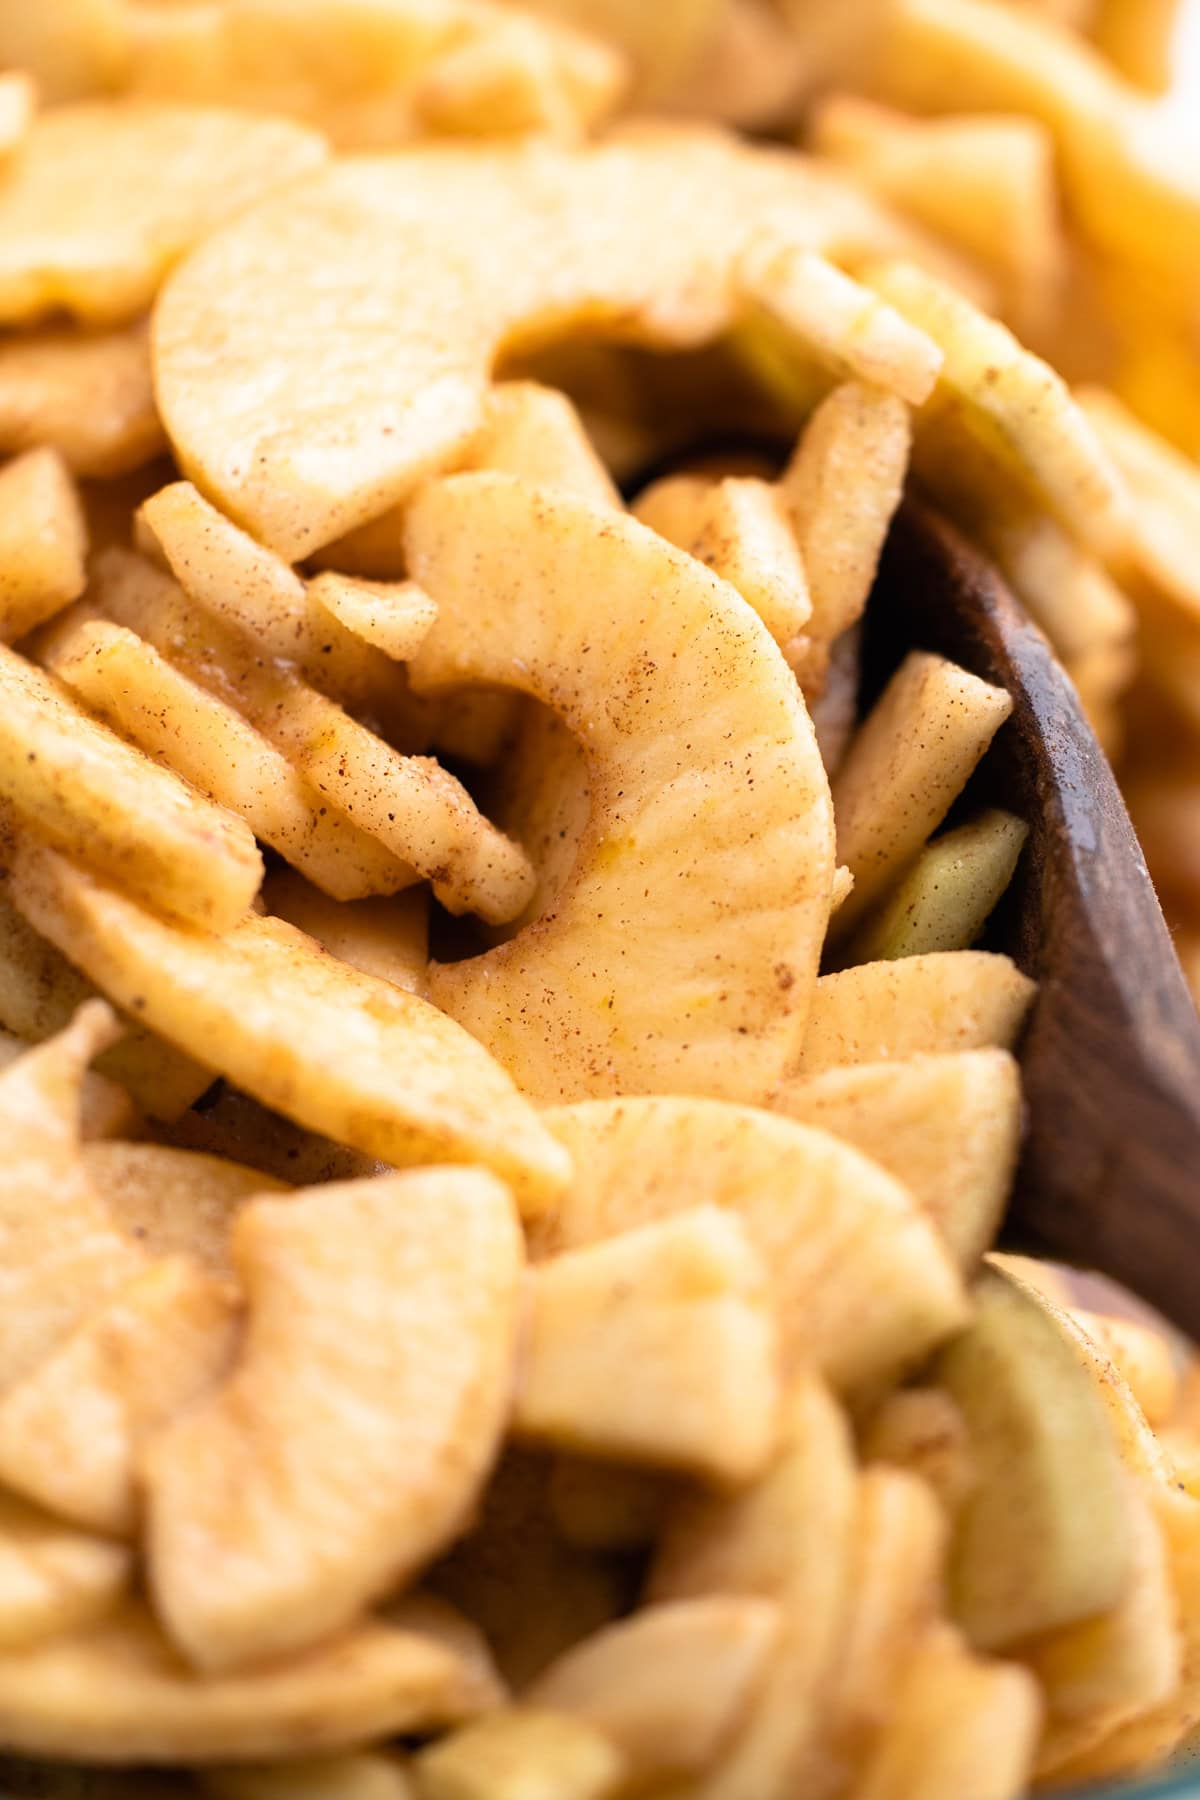
- Slice your apples into semi-thin, uniform pieces—no thicker than ½ inch. This ensures even cooking and prevents some apples from shrinking more than others. I recommend using an apple peeler (affiliate link), which makes the process easier and is worth having, even if you only use it occasionally.
- Macerate the apples before baking. Tossing the apples in sugar helps draw out their moisture, causing them to shrink before they go into the pie. This reduces the chance of a large gap between the filling and crust. For even better results, you can strain the juice after macerating, boil it down until slightly thickened, and then add it back to the apples. This concentrates the flavor and prevents a runny filling (a tip I learned from Rose Levy Beranbaum).
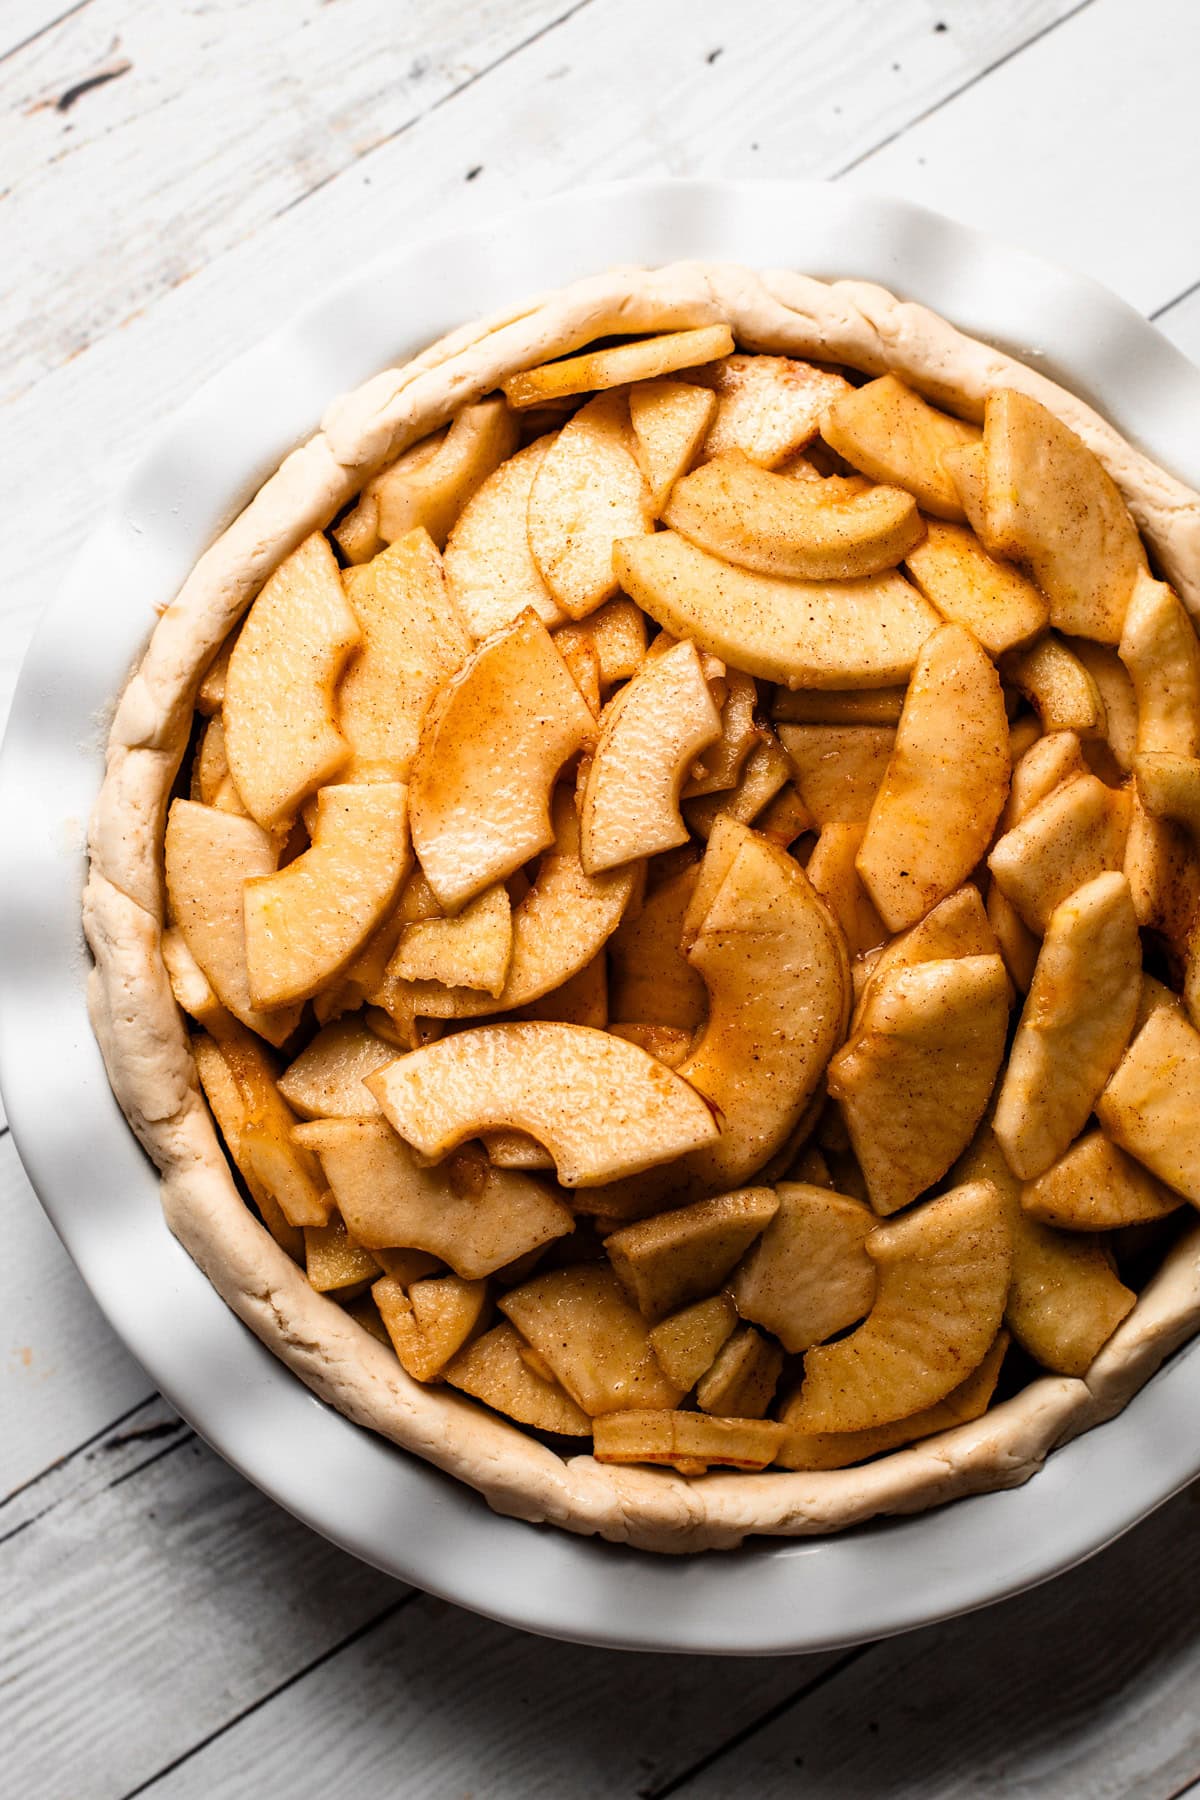
- Carefully layer the apple slices in the pie instead of just dumping them in. Eliminating gaps between the slices reduces the space that can fill with juice as the apples cook and shrink, which helps prevent the filling from sinking too much.
Gluten-Free Apple Pie Baking Tips
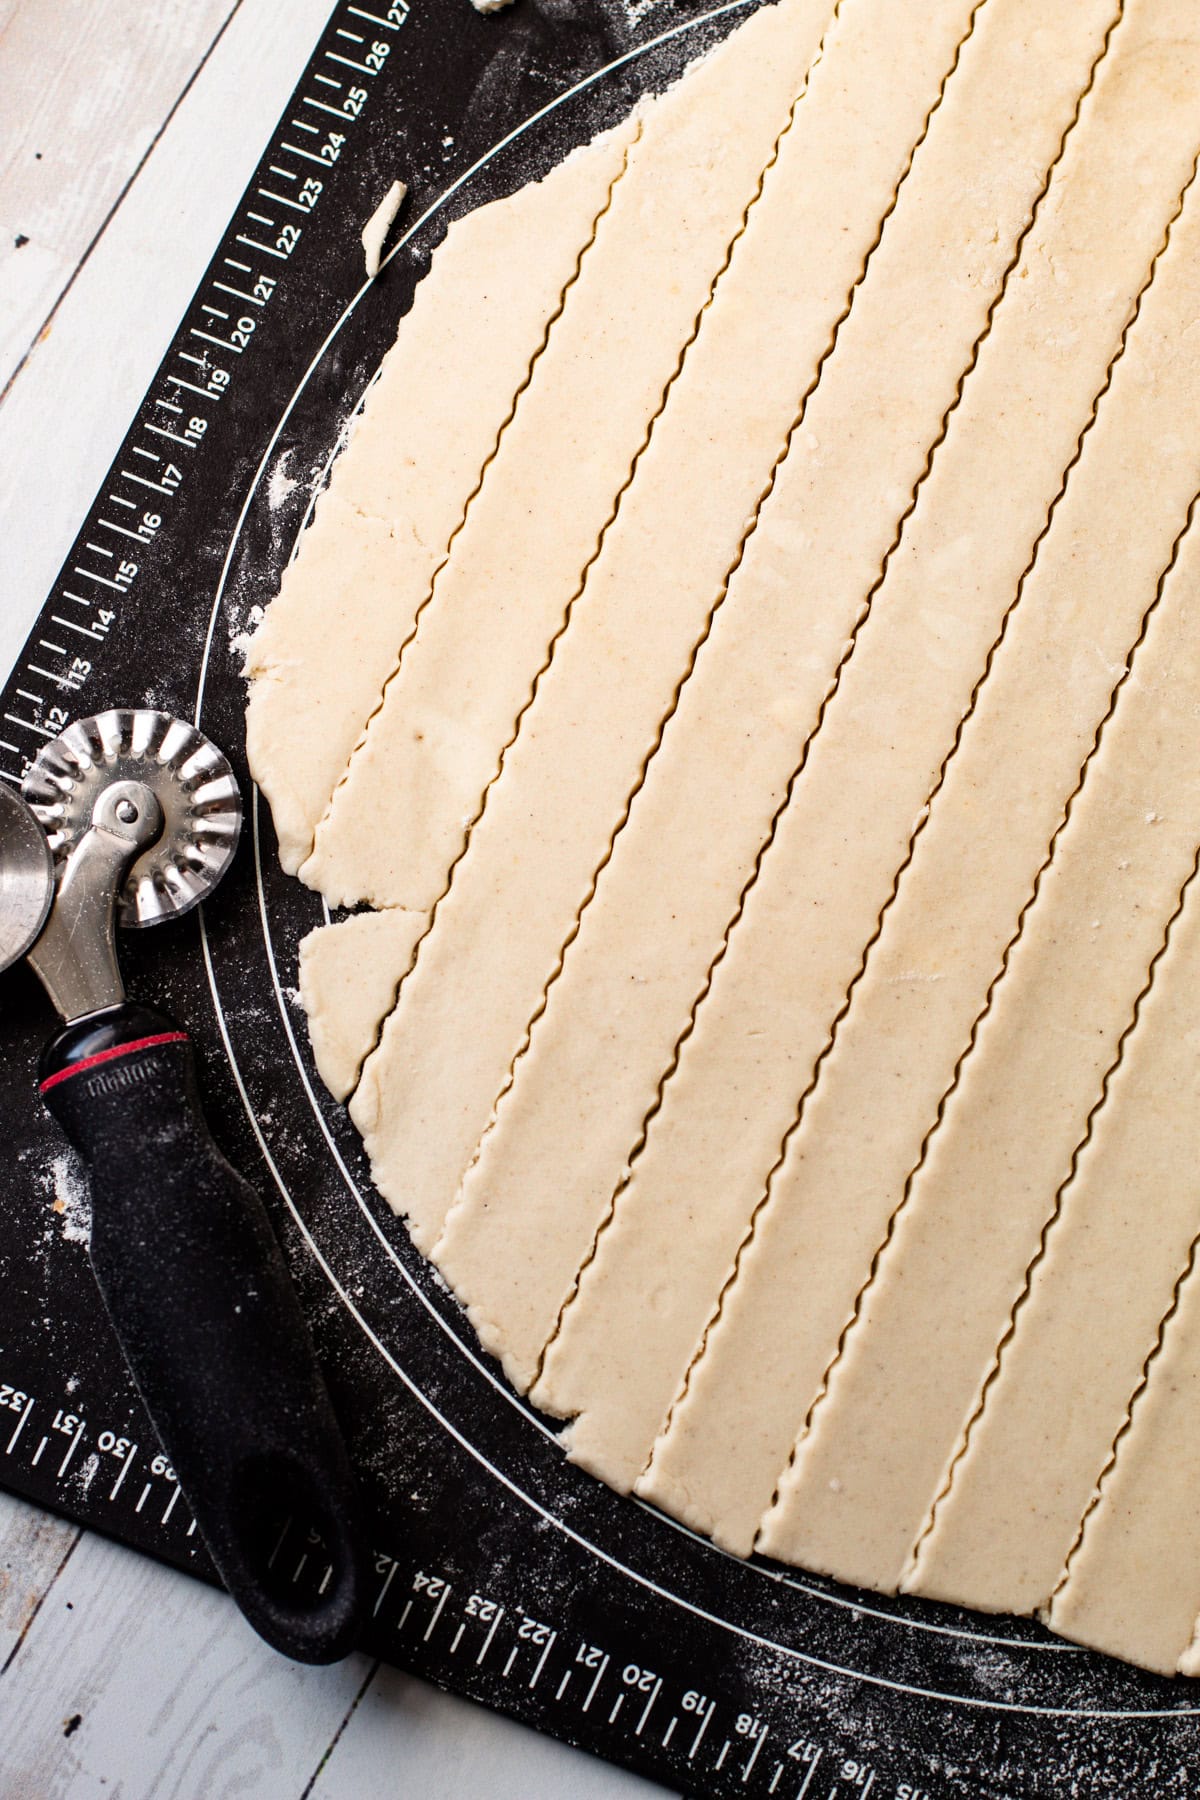
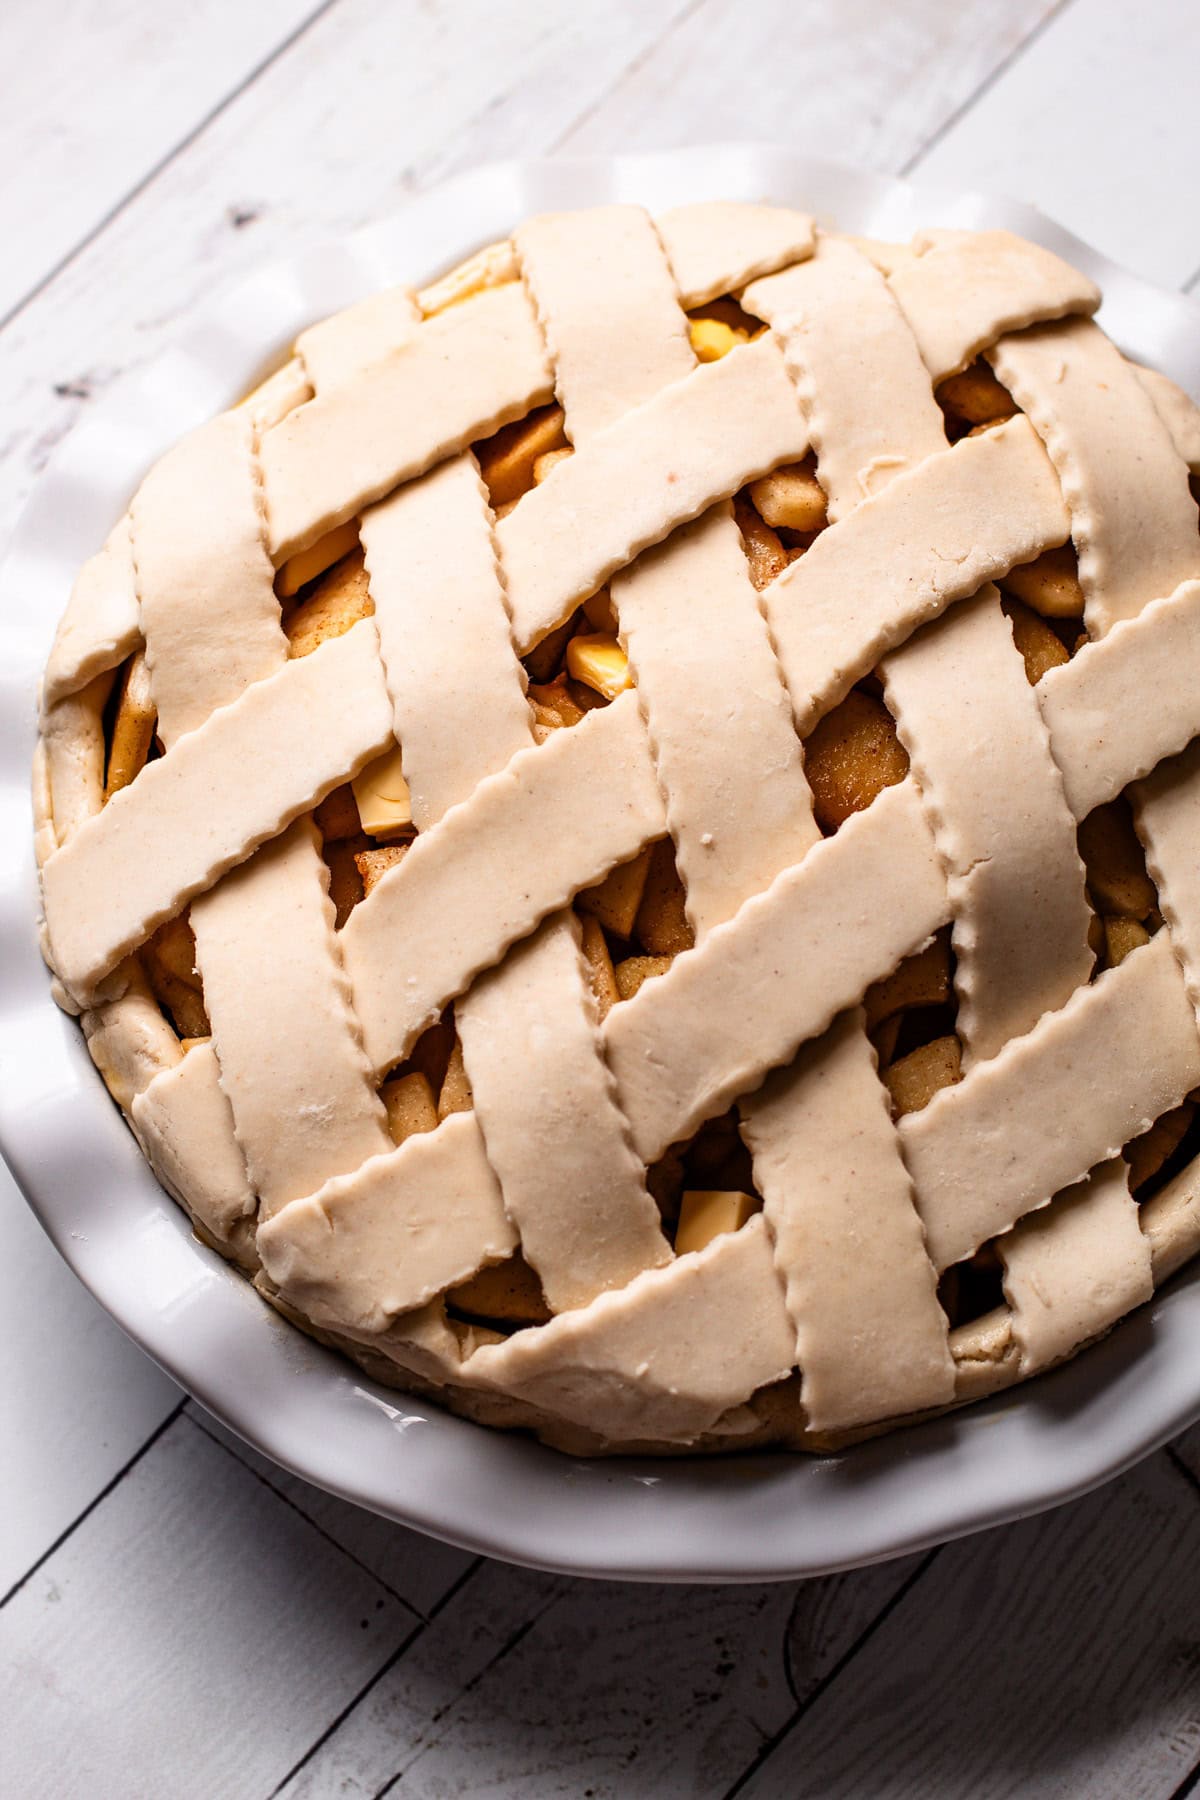
If you want that classic Americana finish to your apple pie, a lattice will undoubtedly do the trick. Here is a complete Guide to Making a Lattice Pie Crust if you are unfamiliar with the technique. Gluten-free pie crust is more delicate, so you'll need to be more careful when handling the lattice strips.
However, a full top crust is much easier to put on a pie. All you have to do is roll out pie dough into roughly a 10" to 11" circle and place it on top of the pie. Tuck the edges underneath the crust and crimp as desired. Do not forget to poke steam holes. Do this after you egg wash, so the steam holes don't get sealed.
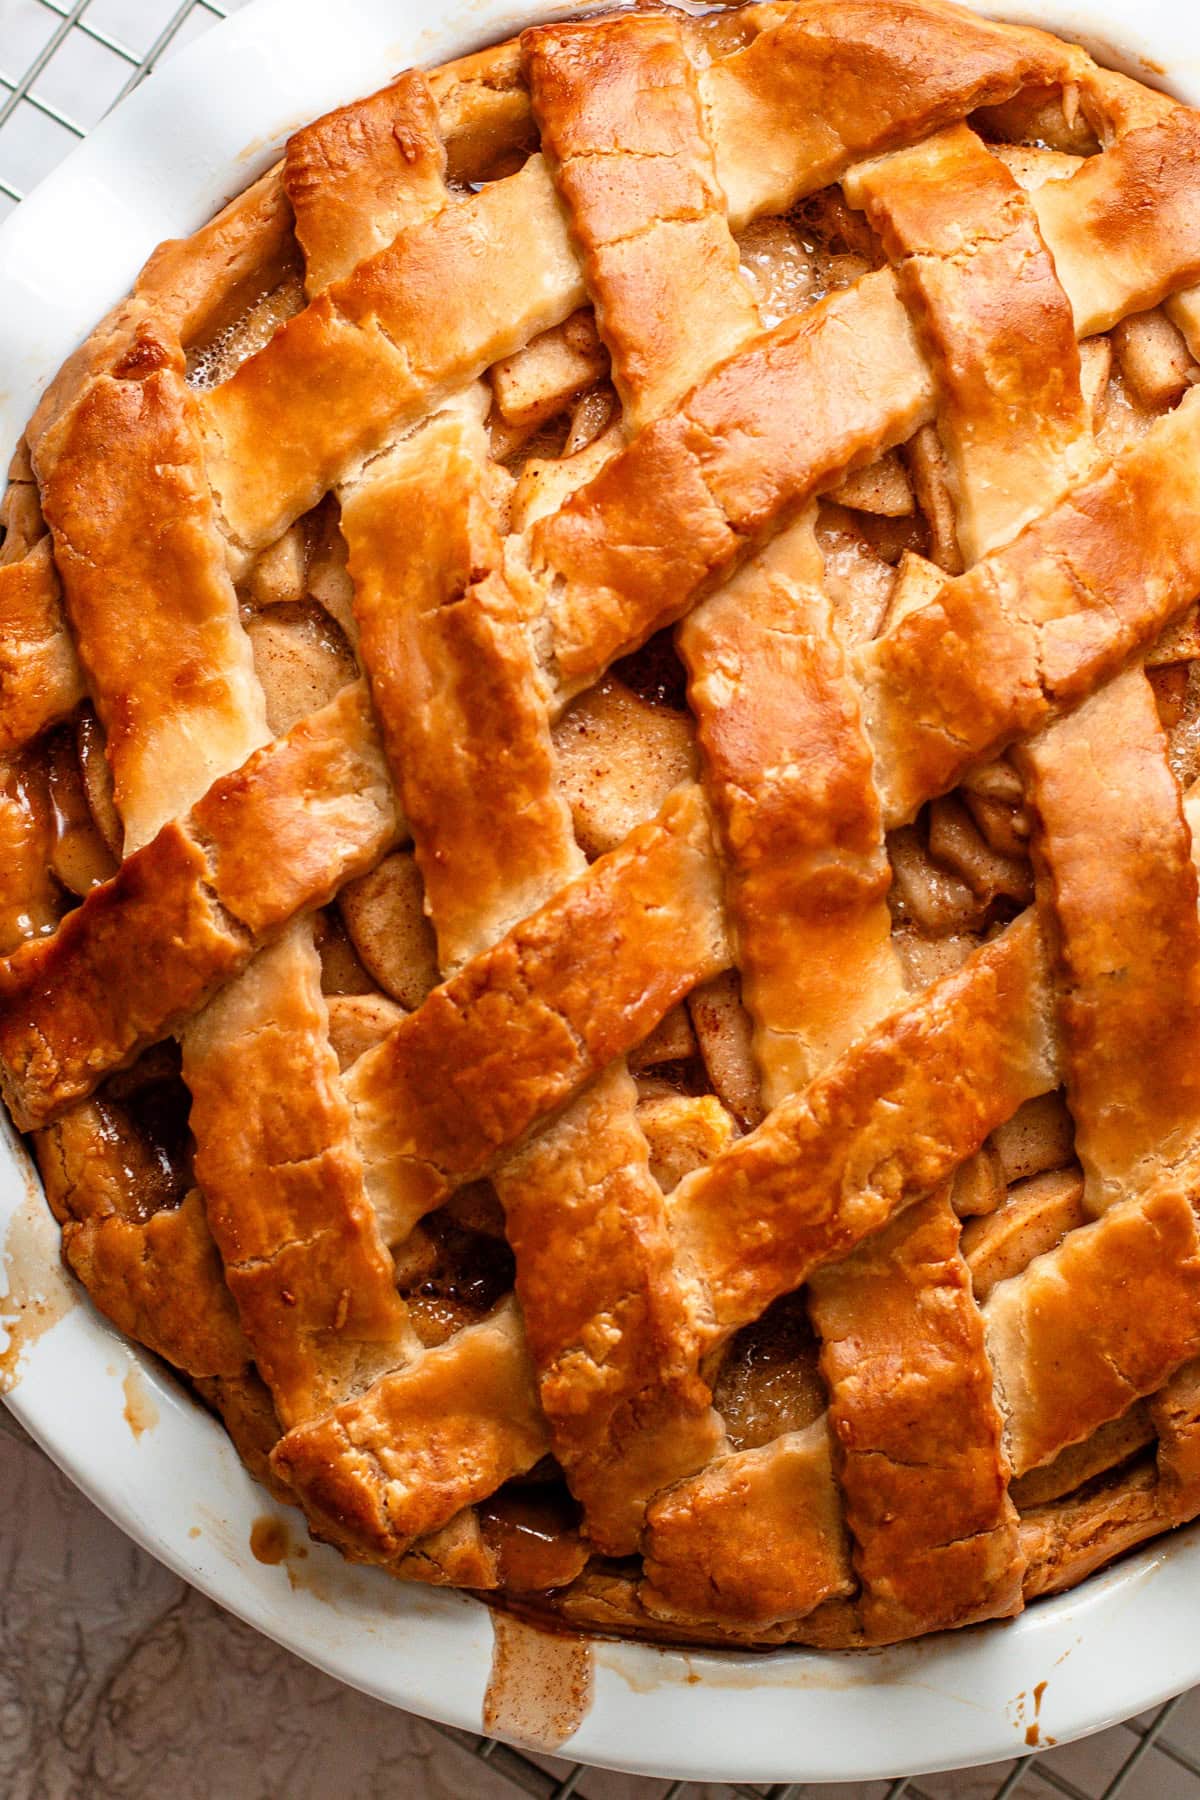
Gluten-free pie crust burns easier than traditional crusts, so bake this pie at 400ºF. To ensure the bottom crust is fully cooked, use a metal pie plate, as it conducts heat better (see this Guide to the Best Pie Pans for more details). Place the pie on the lowest oven rack (if your heat source is from the bottom) to bake the bottom crust thoroughly, then move it to the middle rack toward the end for a golden top. For extra help with the bottom crust, preheat a pizza stone on the lowest rack and bake the pie on it.
Ever had a watery apple pie? It’s likely the filling wasn’t cooked long enough or lacked enough thickening agent. This pie uses cornstarch, which needs to be heated near boiling to activate. To ensure it's fully baked, look for a golden crust that is starting to slightly puff, with some bubbles in the filling. Or use an instant-read thermometer to check that the internal temperature reaches over 200ºF.
This pie can be prepared ahead and frozen before baking. To freeze, place the pie on a sheet pan in the freezer for at least 12 hours, then wrap it tightly in plastic wrap twice, followed by aluminum foil. Bake within 3 months for the best flavor, and you can bake it directly from frozen. For more details, see How to Bake a Frozen Pie.

Serving + Storing Tips
Serve this pie slightly warm or at room temperature. It can be served as is, with whipped cream, or a la mode with vanilla ice cream (or try cinnamon ice cream, it's incredible!)
To store the pie, you can leave it at room temperature, covered, for 2 days. For longer storage, store in an air tight container in the refrigerator for up to 4 days.
Gluten-Free Apple Recipes:
- Apple Pie Filling
- Healthy Apple Crisp (substitute the wheat flour for oat flour or 1:1 gluten-free flour)
- Apple Butter Pie (use a gluten-free pie crust)
- Almond Apple Rose Pie (use a gluten-free pie crust and substitute the small amount of wheat flour in the frangipane for 1:1 gluten-free flour)
Gluten-Free Pie Filling Ideas
These recipes feature gluten-free fillings and will pair perfectly with gluten-free pie crust.
I am so honored when you make a recipe from my site! If you make this Gluten-Free Apple Pie, please leave a star ⭐️⭐️⭐️⭐️⭐️ rating with your experience! If you have any questions about this recipe, feel free to comment here, and tag me on instagram!
Full Recipe
Gluten-Free Apple Pie
Filled to the brim with juicy apples laced with cinnamon and vanilla, this buttery and delicious Gluten-Free Apple Pie will be loved by everyone.
- Prep Time: 00:35
- Cook Time: 00:60
- Total Time: 1 hour 35 minutes
- Yield: 8 slices
- Category: Sweet Pie
- Diet: Gluten Free
Ingredients
For Gluten-Free Crust:
- 2-½ cups (300 grams) 1:1 gluten-free flour blend, more for work surface
- ½ teaspoon coarse kosher salt
- ½ teaspoon baking powder
- 16 tablespoons (226 grams) cold butter, cut into ¼-inch pieces
- 4 tablespoons (55 grams) cream cheese, cubed
- 1 tablespoon (15 grams) apple cider vinegar
- ⅓ cup (75 grams) ice water
For Filling:
- 4 pounds (about 9 medium) baking apples, peeled, cored, and sliced thin
- 1 tablespoon lemon juice (about half a lemon)
- ⅓ cup (85 grams) light brown sugar
- ¼ cup (50 grams) granulated sugar
- 3 tablespoons (21 grams) cornstarch
- 1-½ teaspoons ground cinnamon
- 1 teaspoon coarse kosher salt
- 1 teaspoon vanilla extract
- ¼ teaspoon grated nutmeg
- 2 tablespoons (30 grams) unsalted butter, cut into small pieces
- Egg wash
Instructions
Make the Gluten-Free Pastry:
- Add the gluten-free flour blend, salt and baking powder to the bowl of a food processor and pulse to combine.
- Add in the butter and cream cheese and pulse 7 times.
- Add the vinegar to the water. With the motor running, pour the water mixture into the flour. Continue to process the dough until it forms together into a ball around the blade.
- Remove the dough from the processor and divide it into two equal portions.
- At this point, you can roll out the dough immediately on a well floured surface, or you can store the dough in plastic wrap for up to 3 days in the refrigerator (or 3 months in the freezer).
Assemble and Bake:
- Preheat the oven to 400ºF and place an oven rack in the lower part of the oven.
- In a large mixing bowl, combine the sliced apples and lemon juice. Add in the brown sugar, granulated sugar, cornstarch, cinnamon, salt, vanilla, and nutmeg and mix until the apples are well coated. Let sit until the apples have released some of their juices, at least 20 minutes.
- Meanwhile, on a well-floured surface, roll out one pie pastry disk to an 11-inch circle. Fit the pastry into a 9-inch pie plate, making sure to press the pastry into the sides and bottom. Roll out the second pastry disk and slice into strips to make a lattice, if desired, or leave whole to make a simple double-crust pie.
- Place the macerated apple pieces inside of the pie crust, taking care to layer the apples together and leaving very little space in between the apple pieces. Pour any remaining apple juices into the pie pastry. Place the pieces of butter on top of the filling, then top the pie with a lattice or the rolled-out pie dough with a few slits or small shapes stamped out of it to let steam escape. Crimp together the bottom and top crusts as desired.
- Brush the crust with an egg wash and sprinkle with coarse sugar, if desired.
- Bake on the lower rack for 55-65 minutes, covering with foil if the crust is browning too quickly. The pie should reach an internal temperature above 200ºF and the filling should be bubbling throughout.
- Transfer to a wire rack to cool. Let the pie cool for at least an hour to let the juices set up.


Notes
Not all gluten-free flours are created equal. In fact, they vary greatly. This recipe calls for a 1-to-1 gluten-free flour blend. There are a few different brands out there, and I've used both Bob's Red Mill and King Arthur Flour cup for cup or 1-to-1 flour blends. Look for a blend that says it will work as a complete swap for all-purpose flour. I have not tried this with any other gluten-free flour besides the two listed above.
This recipe was tested using Diamond Crystal coarse kosher salt. If you use Morton's kosher salt or fine salt, decrease the volume by half.
Use a mix of baking apples, such as gala and Granny Smith.
Pie can be stored, covered, at room temperature for up to 2 days. For longer than 2 days, store in the refrigerator.
Some of the links on this page may be affiliate links. Everyday Pie is a participant in the Amazon Associates Program. As an Amazon Associate I earn from qualifying purchases, at no extra cost to you.
Angie
Finally had time to try one of your recipes. Everything looks so yummy but I have a hard time digesting gluten so this is the one I started with and it's a perfect recipe! So good
Kelli Avila
Angie, thanks for sharing! So glad you enjoyed! -Kelli