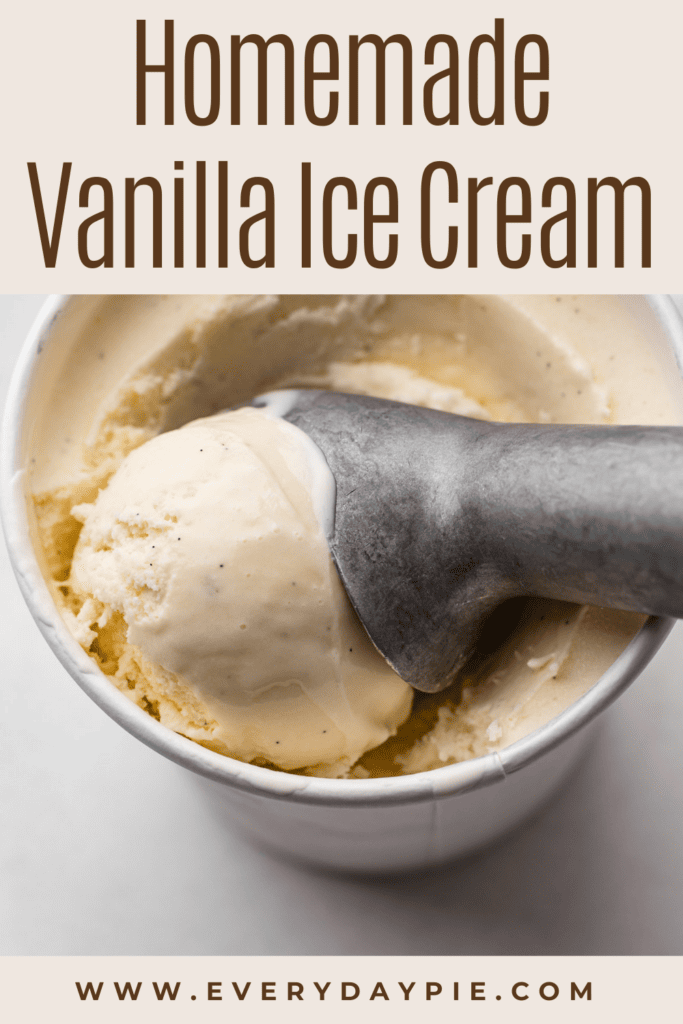
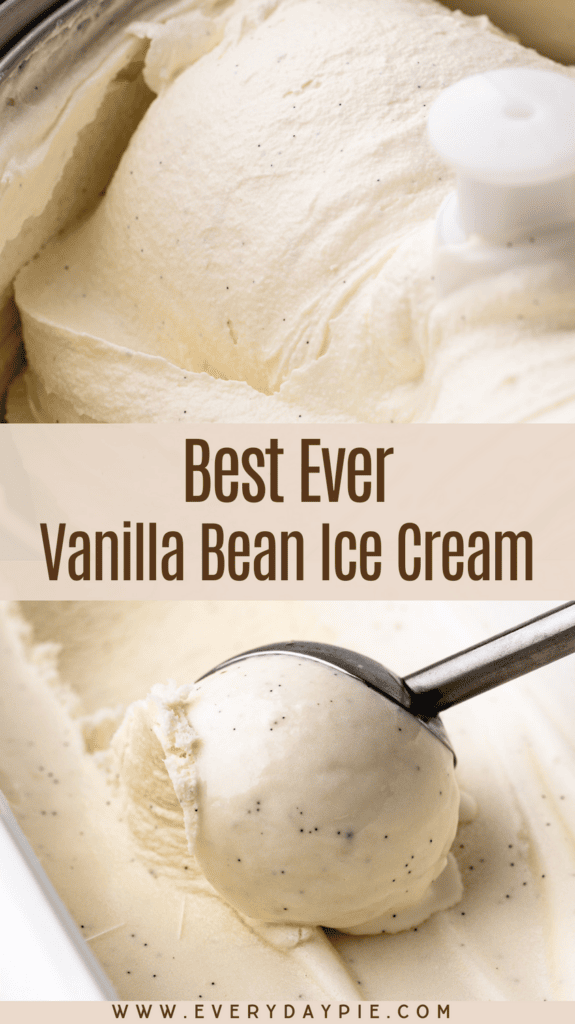
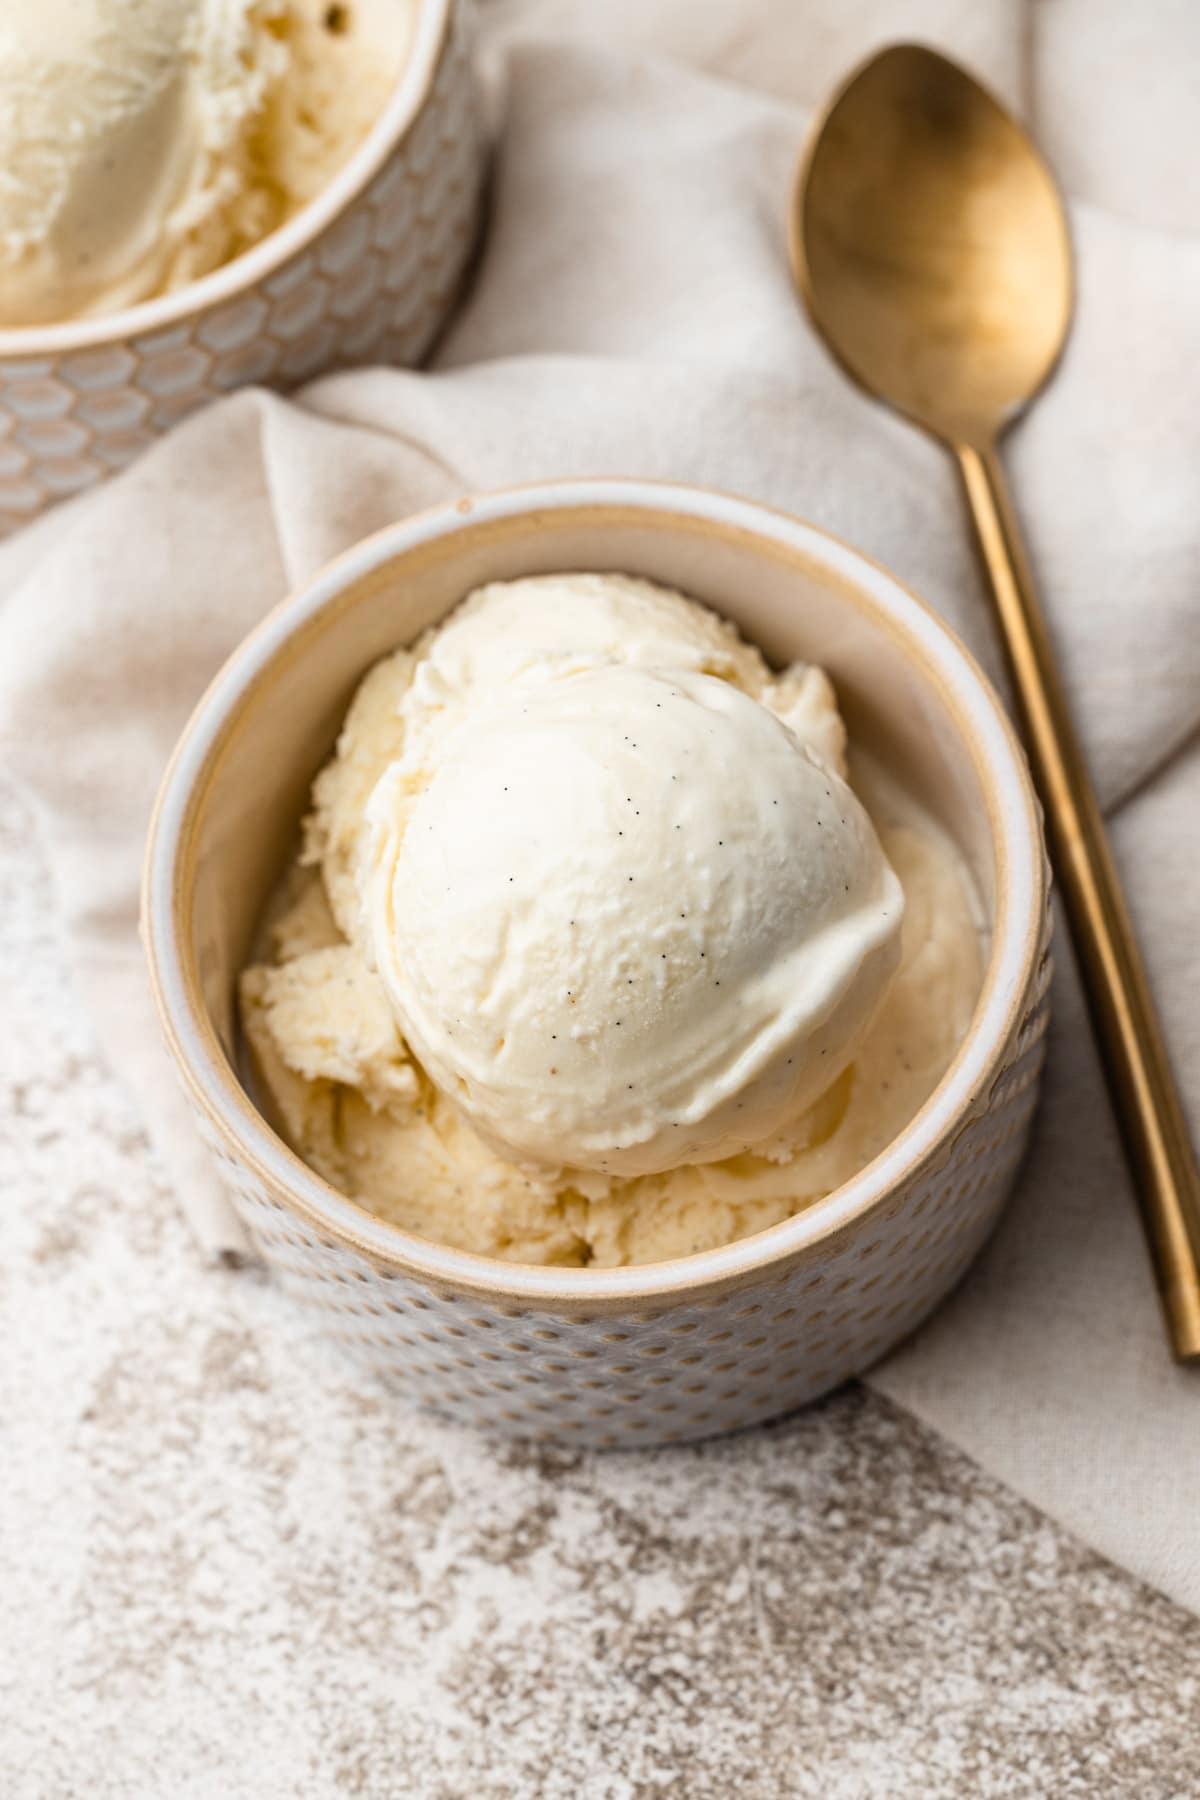
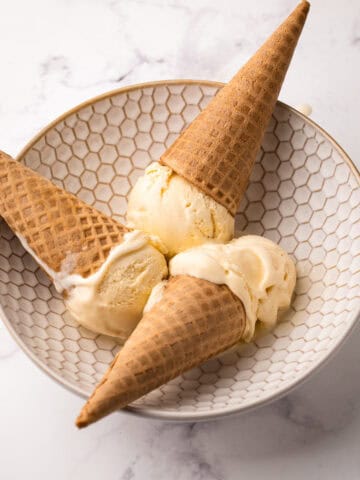
This is the best Vanilla Bean Ice Cream recipe, made using simple ingredients like eggs, cream, and milk to make for an ultra-creamy and vanilla-forward taste and consistency.
Want to save this recipe?
Enter your email & I'll send it to your inbox. Plus, get weekly updates from me!
This Vanilla Bean Ice Cream recipe is both simple and deeply flavorful. It transcends the typically bland connotation of vanilla and instead honors the vanilla bean in all its glory. It's a true celebration of the exquisite ingredient with its intricate floral notes, indulgent richness, and almost creamy essence.
Like this Cinnamon Ice Cream and Peach Ice Cream recipe, this Vanilla Bean Ice Cream is a custard-style ice cream that is cooked on the stovetop first and then spun by an ice cream maker. I almost always prefer custard-style (almost! but with some exceptions, such as this Chocolate Ice Cream recipe).
So, let's get to making it, shall we? The article below details all the information you need to know to make these successfully, concluding with the recipe at the end. You can jump around using the menu below, or skip to the end of the article for the full recipe.
Jump to:
Behind the Development of this Recipe
When developing this recipe, I did not aim to create a “base vanilla recipe” but to embrace the vanilla bean as a whole flavor.
Although the overall ingredients for vanilla ice cream are typically consistent, I was determined to experiment with its texture and emphasize the rich flavor of the vanilla bean. This meant adjusting the number of eggs used.
Ultimately, I ended up using a lower quantity of eggs than most standard vanilla ice cream recipes call for. Instead, my recipe uses two whole eggs rather than just yolks. Using a high quantity of egg yolks, of course, aids the texture of the ice cream, but it also masks the vanilla bean flavor and leaves the color of the ice cream extremely yellow, which is more in line with a French Vanilla ice cream.
Instead, this recipe (similar to my approach with this Vanilla Panna Cotta recipe) has the perfect balance of lightness, creamy texture, and pure vanilla bean flavor.
Ingredients Needed
Here is an overview of the ingredients needed for this recipe. The full recipe is listed below in greater detail.
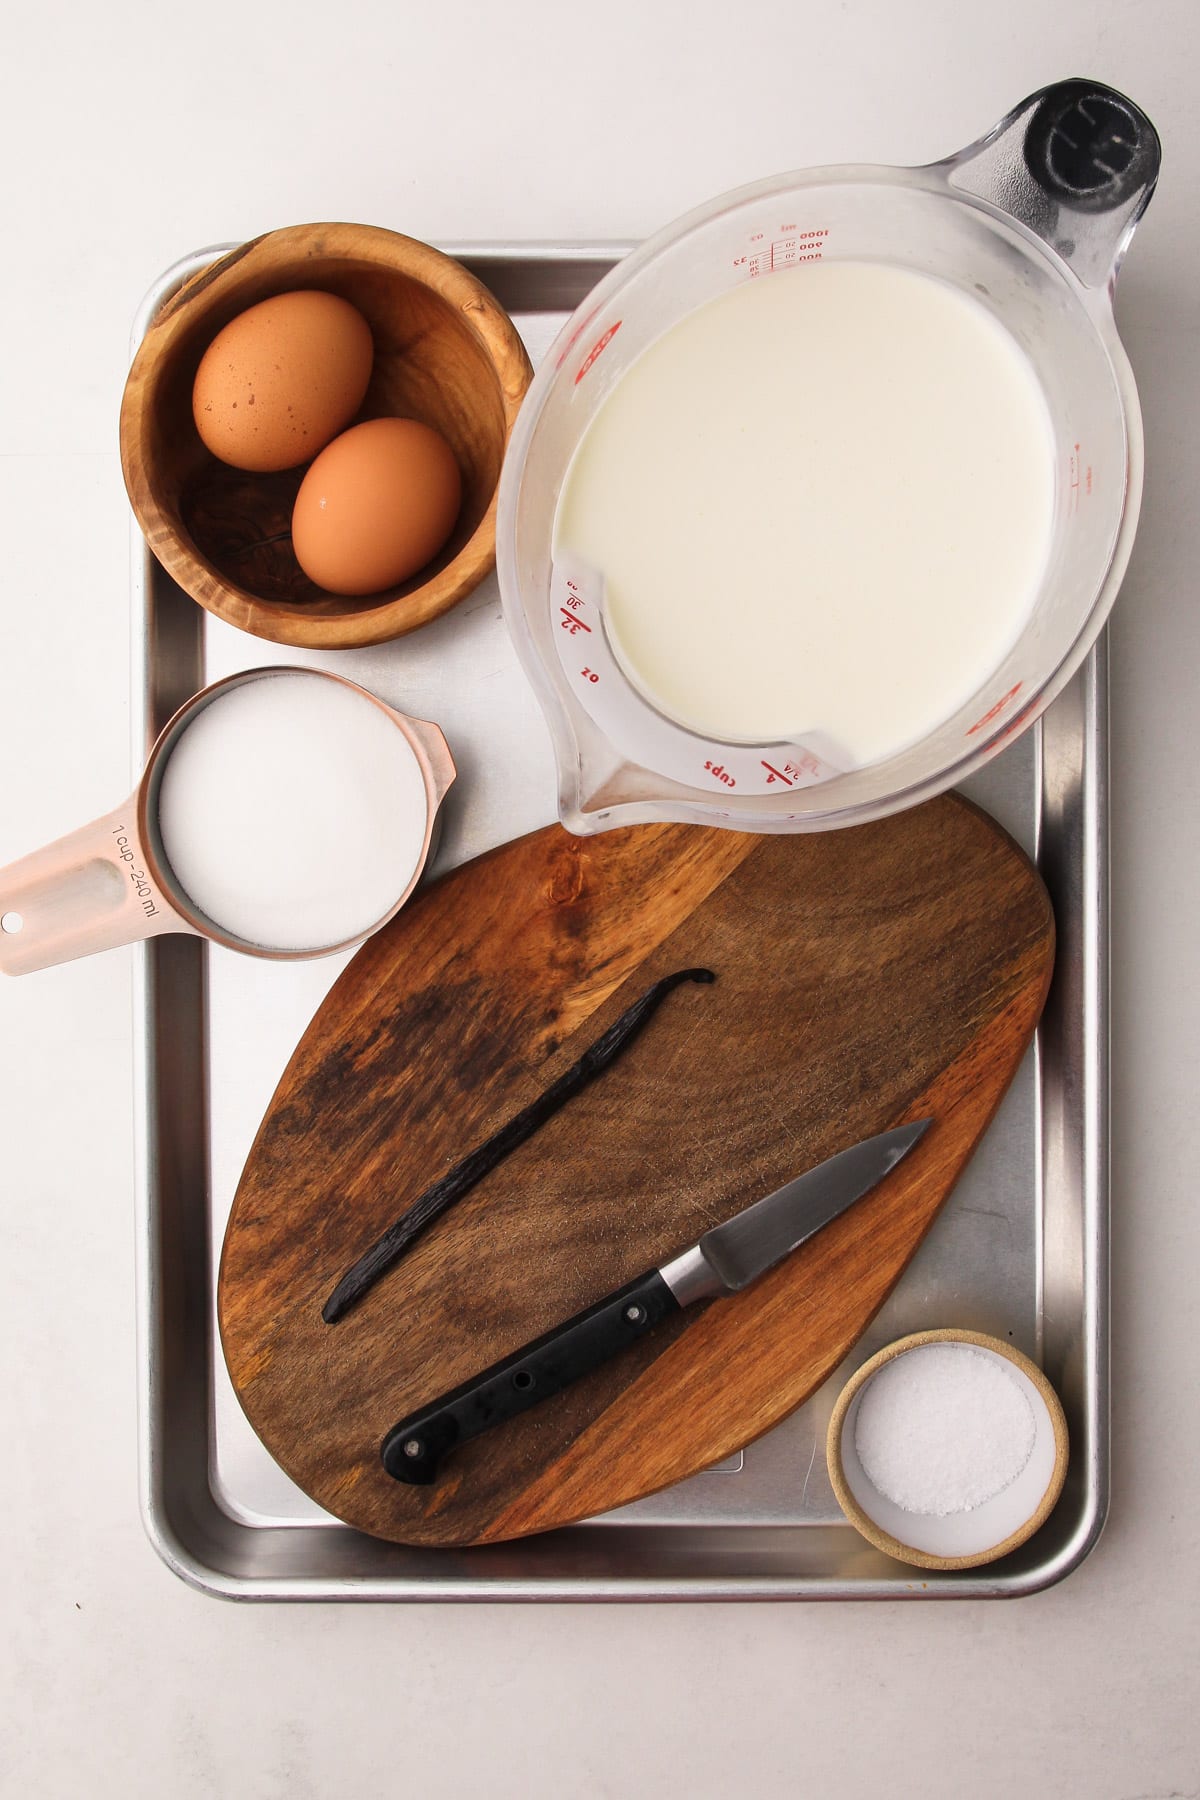
- granulated sugar
- grade A vanilla bean (see below for more on vanilla beans)
- eggs
- coarse kosher salt
- heavy cream
- whole milk
New to working with vanilla beans?
For this recipe, you will need one Grade A vanilla bean. It's essential that you use a high-quality, plump, and fresh-looking bean. See this post on Making Homemade Vanilla Extract for more details about the different types of vanilla beans.
Vanilla is precious and, therefore, expensive, and there is no way around it. However, it's more cost-efficient to purchase vanilla beans online, instead of buying them in the store. They can cost upwards of $10 for one vanilla bean when you purchase them in a store, which feels a steep price to pay.
I typically buy vanilla beans in bulk to save cost.
My favorite brand to buy Grade A beans is Slo Food Group.
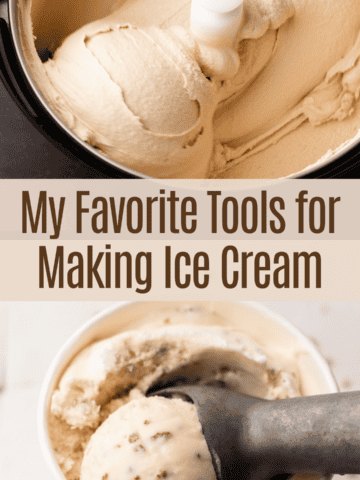
Useful Tools to Make This Recipe
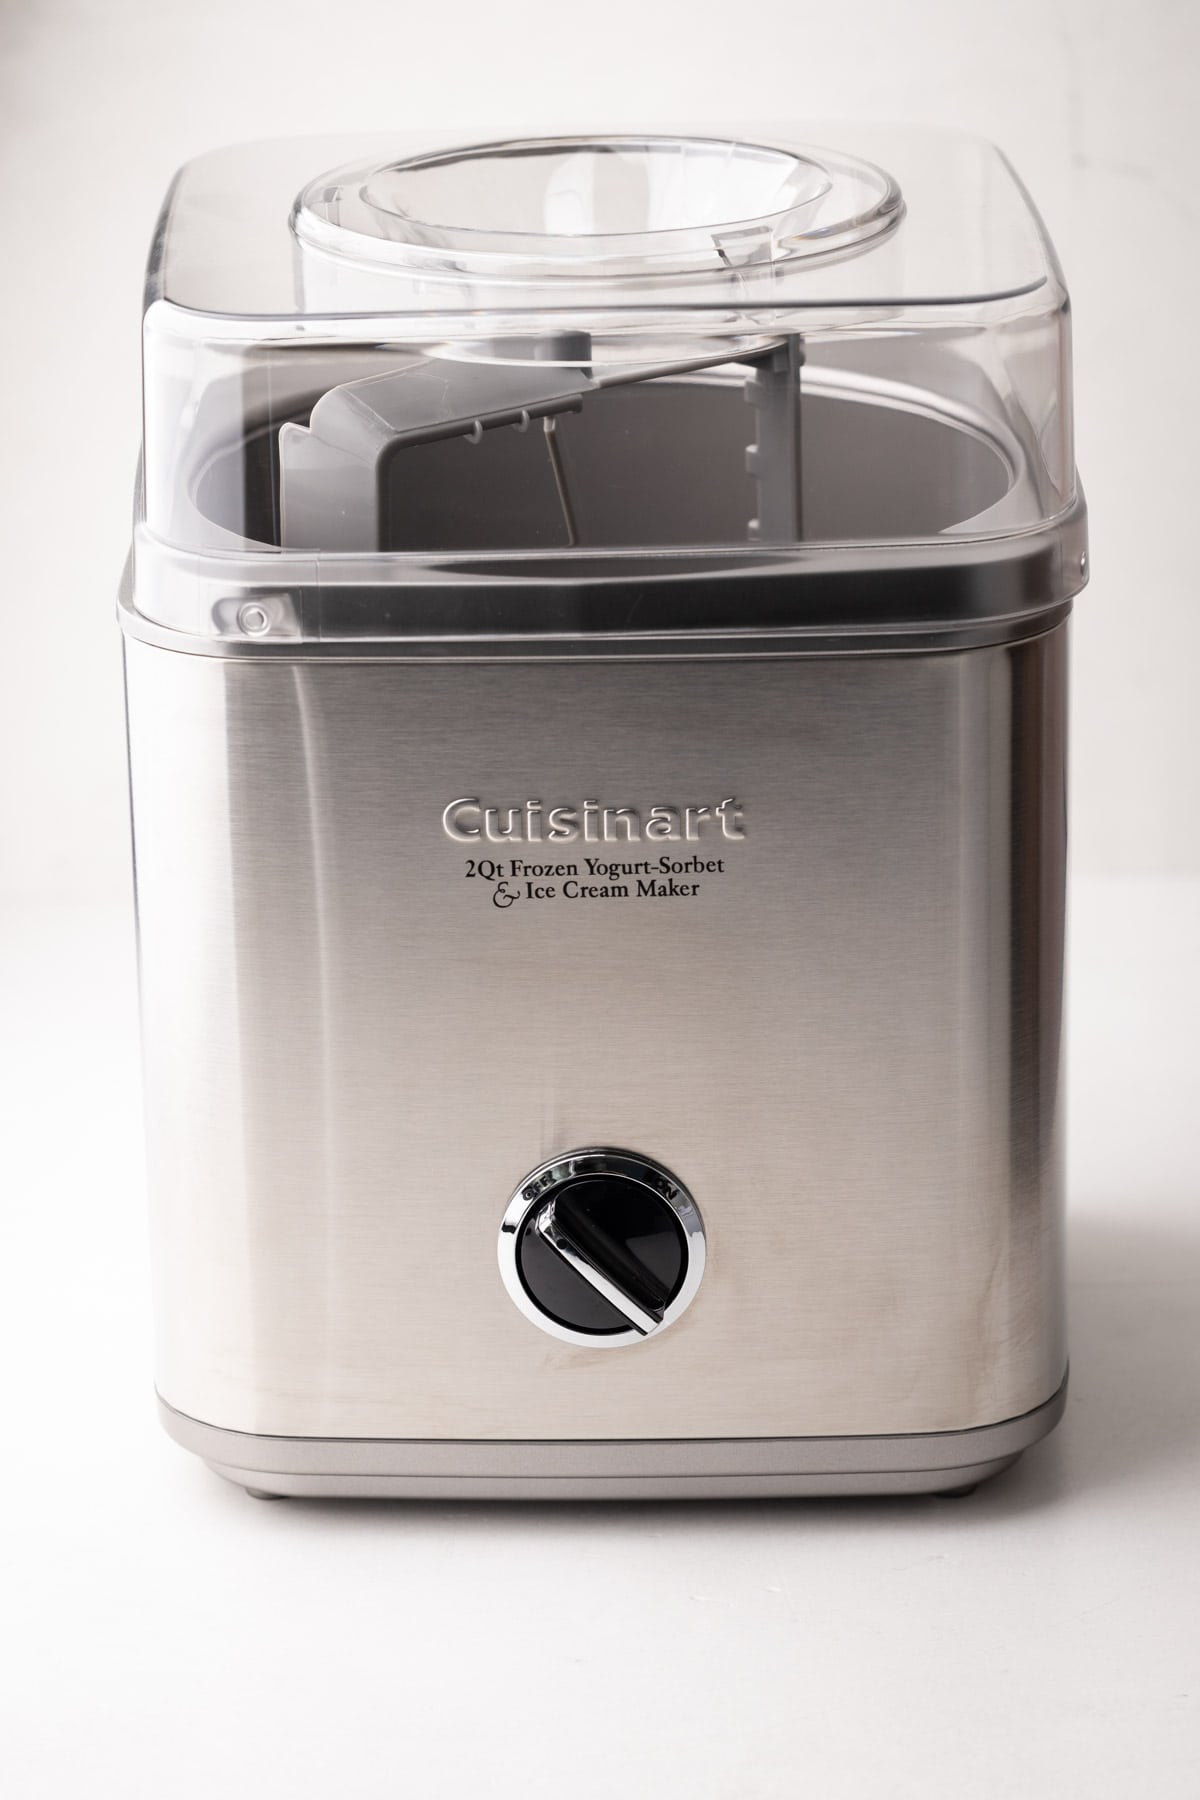
Yes, you will need an ice cream maker for this recipe! Here is a list of the primary tools I use in this recipe.
- instant-read thermometer (this is super useful when making custards, though it's possible to make it without one)
- medium heavy bottomed sauce pan
- one large metal bowl, one medium metal bowl
- fine strainer
- whisk and spatula
- ice cream maker
- containers to store ice cream
- kitchen essentials: measuring utensils, wooden spoon
How to Make the Vanilla Bean Custard Base
Don't be intimidated by making the custard for the ice cream. Even though almost all recipes call for it, tempering eggs when making an ice cream custard is unnecessary. This is because the eggs will be gradually heated from the get-go, and aren't at risk of scrambling. In addition, the added sugar and even distribution beforehand (aka whisking really well) helps protect the eggs from scrambling before the custard has set.
Here is a quick visual overview of the steps needed to make this recipe. This is not the actual recipe, which is located at the end of this article and has much greater details to ensure success.

1. Rub the sugar and vanilla bean caviar together to prevent any clumping.

2. Add in the eggs and yolks and whisk vigorously until the mixture is lightened.

3. Whisk in the cream and milk. Transfer to a medium pot.

4. Cook over medium heat, until it reaches 175°F on an instant-read thermometer, about 8 minutes.
Tips for Successful Custard Making
As mentioned above, this recipe forgoes the typical call for tempering, because it’s truly unnecessary, however, follow these tips to ensure success with your custard:
- Use a medium heavy-bottomed saucepan which helps distribute heat evenly and reduces the risk of scorching or burning the custard. Using too large of a pot can increase the speed at which the eggs cook due to increased surface area.
- Use medium to medium-low heat. Controlling the temperature is important to avoid curdling, or cooking the eggs too quickly.
- Stir constantly, taking care to get in the edges of the pan. A rubber spatula is best.
- Don’t walk away. This process takes about 10 minutes at most. But the custard can go from perfectly done to boiled (i.e., curdled) in a few seconds.
- Use a thermometer, if possible. The recipe calls for cooking the custard to 175Fº initially. Make sure that the thermometer is accurately taking the temperature from the middle of the liquid. Once it reaches 175Fº, pull it off the heat and stir for about a minute to let the custard slowly come up to 180Fº, before straining into an ice bath. 180Fº is an ideal temperature of the custard, but going over it is getting dangerously close to boiling it.
- Strain the cooked custard. Often the chalazae from the egg white tends to get cooked, and it’s best to strain that out. Just don’t use too fine of a strainer that would strain out the vanilla beans.
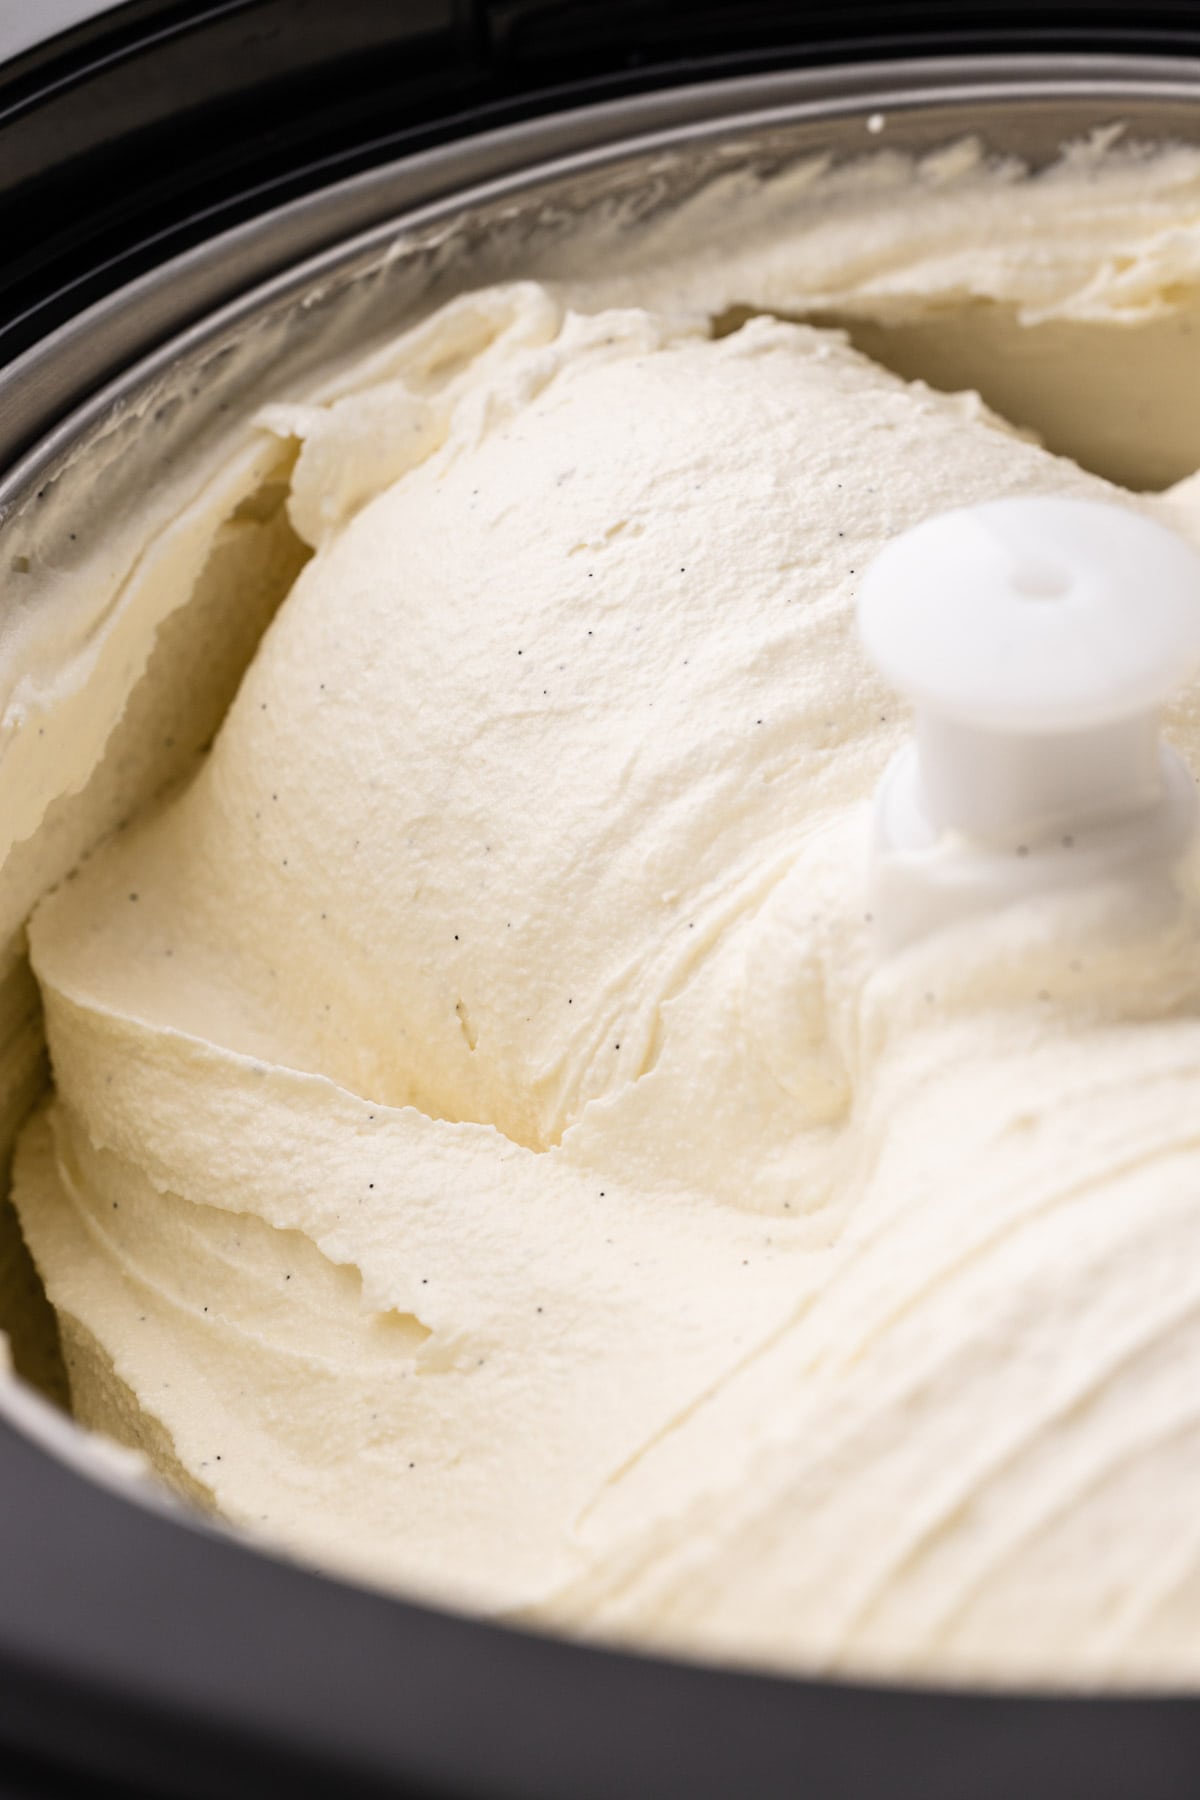
Freezing the Ice Cream
Before freezing, keep two things in mind: the ice cream base must be very cold (below 40ºF is a must, but the lower the better) and if your ice cream machine needs to be frozen, it should be in the freezer for at least 24 hours before use.
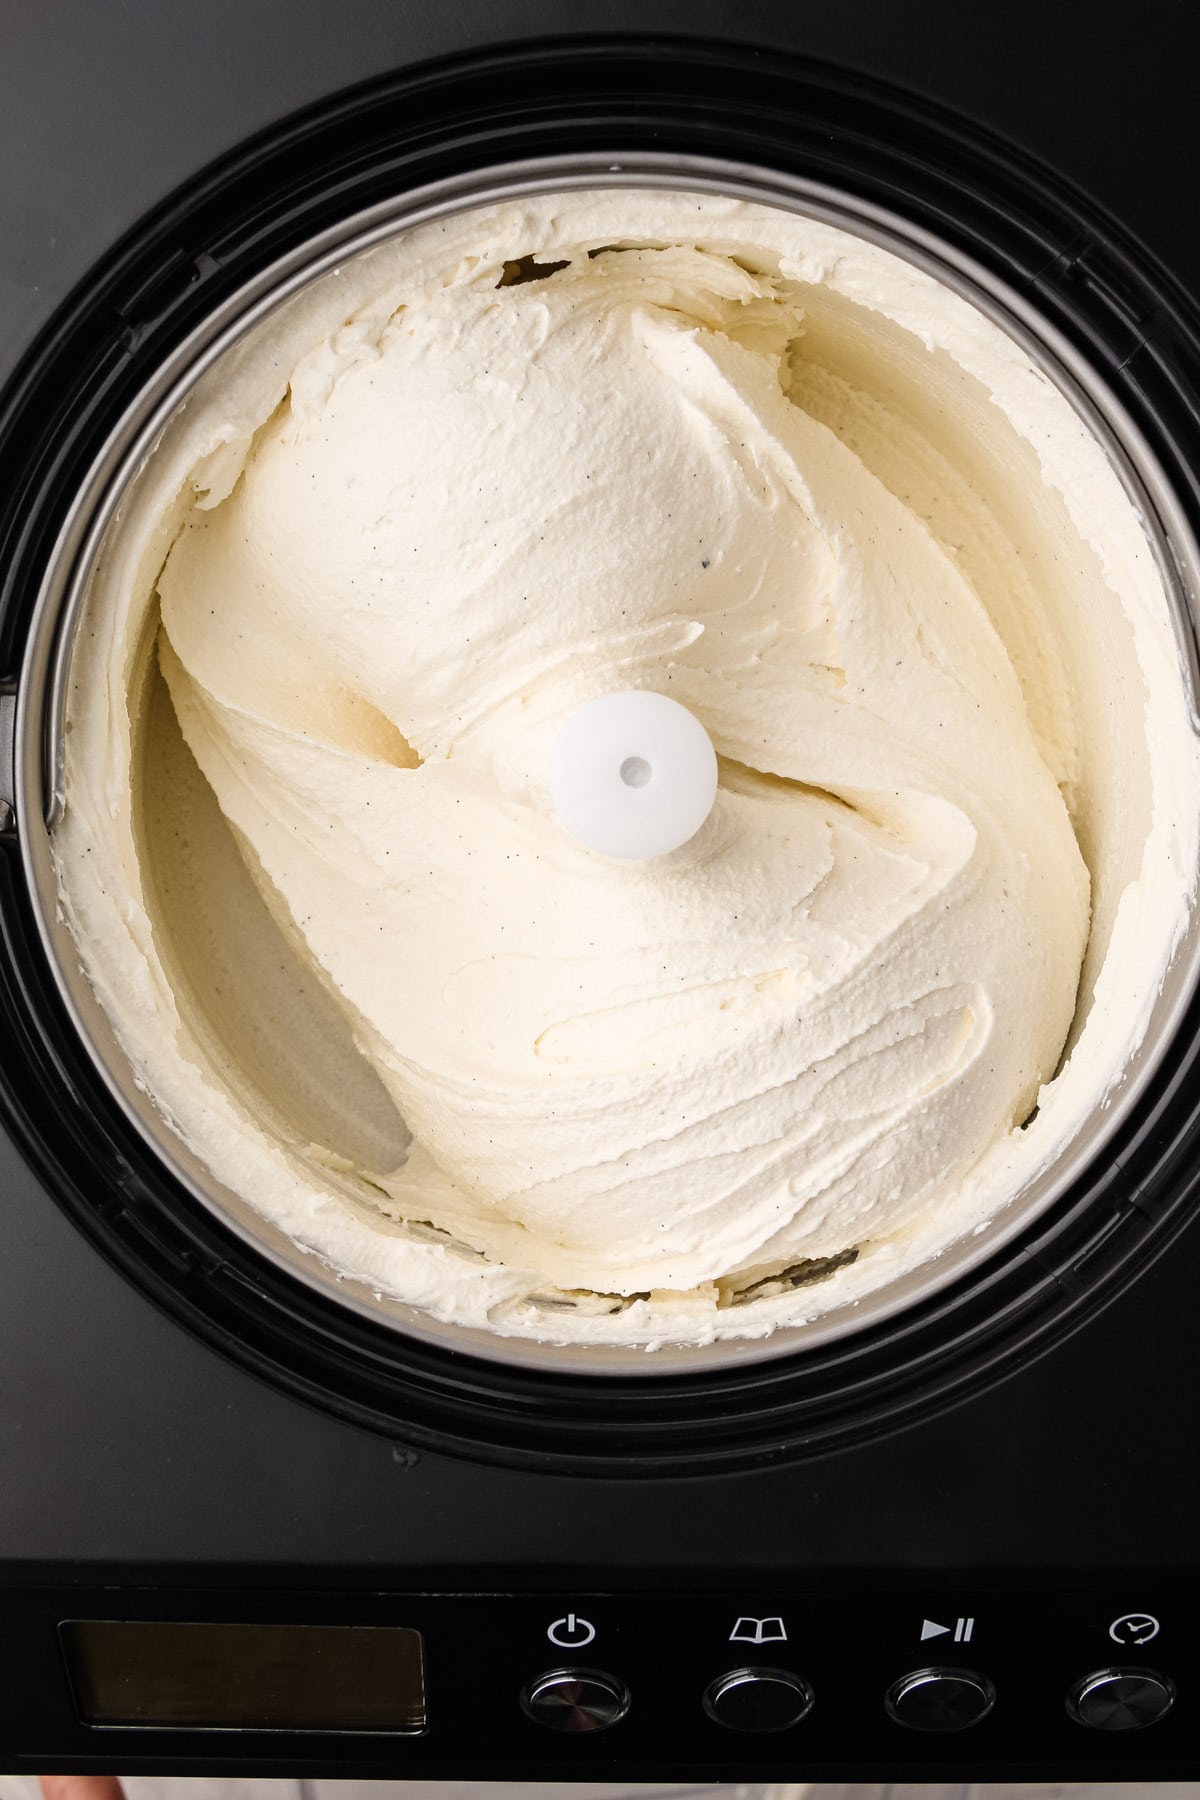
Generally speaking, churn until the ice cream reaches the soft serve stage. In my machine, I notice a change in the noise it makes when the ice cream is ready.
When making ice cream at home, avoid over-churning the mixture. Excessive churning can introduce too much air into the ice cream, leading to a less dense and potentially less desirable texture.
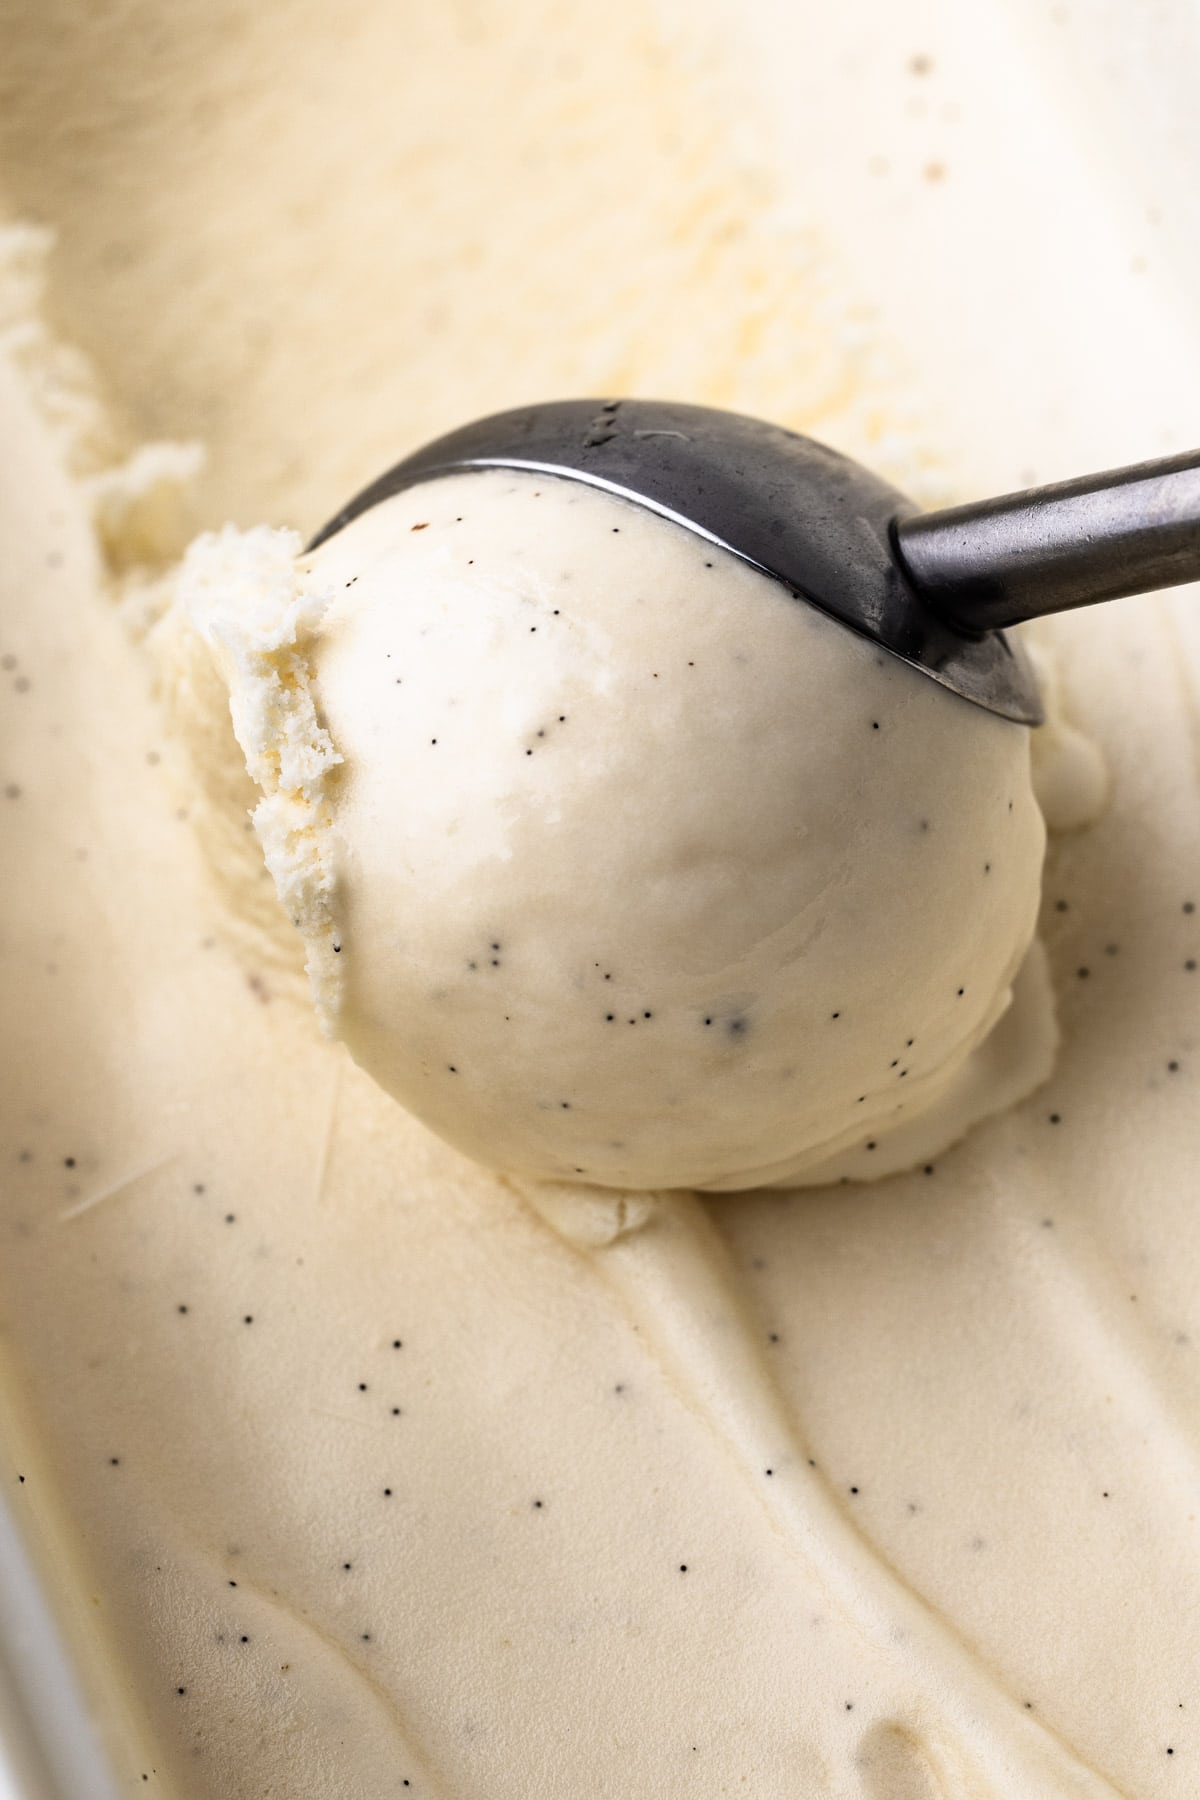
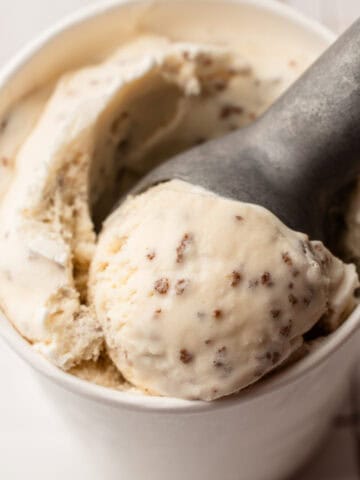
Storing the Ice Cream
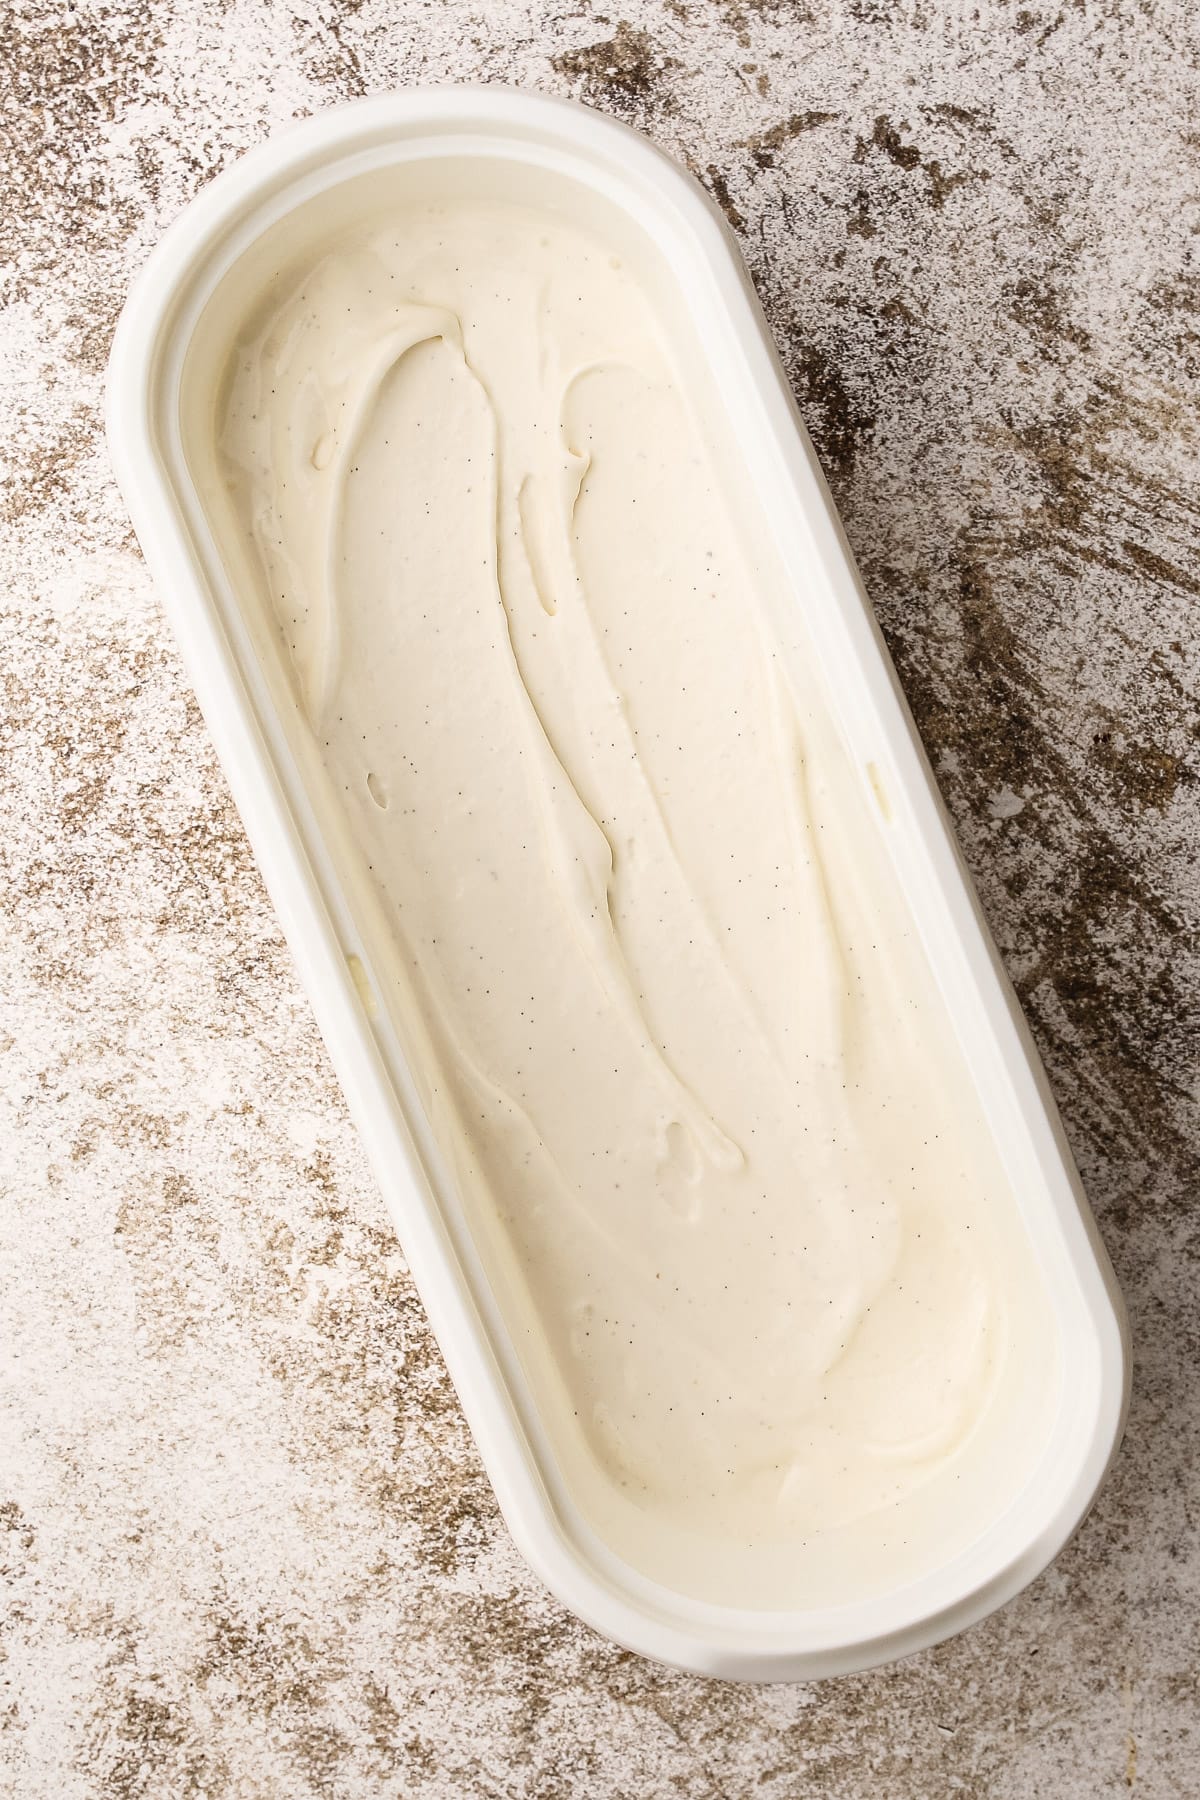
The last step in making homemade ice cream is to store it properly. After the ice cream has been churned and frozen, it needs to harden in the freezer for a period of time, also known as "ripening". This chilling period fully sets up the ice cream to the correct consistency.
The faster it hardens, the smaller the ice crystals and the smoother the ice cream.
You can harden the ice cream in one large container or multiple small containers. While dedicated ice cream containers are convenient for frequent ice cream making, any container available in your home can be used.
Here are some things to consider in terms of storage:
- It should be a container with a tight-fitting lid to help prevent air from entering and ice crystals from forming.
- It should be a container that is safe to freeze, of course! As in, some plastic or glass containers might not be freezer-safe.
- A shallow, or small container is best because it allows the ice cream to freeze and harden more evenly and quickly.
For best results, place a piece of parchment paper on the surface of the ice cream to minimize air exposure from the ice cream and freeze promptly and thoroughly.
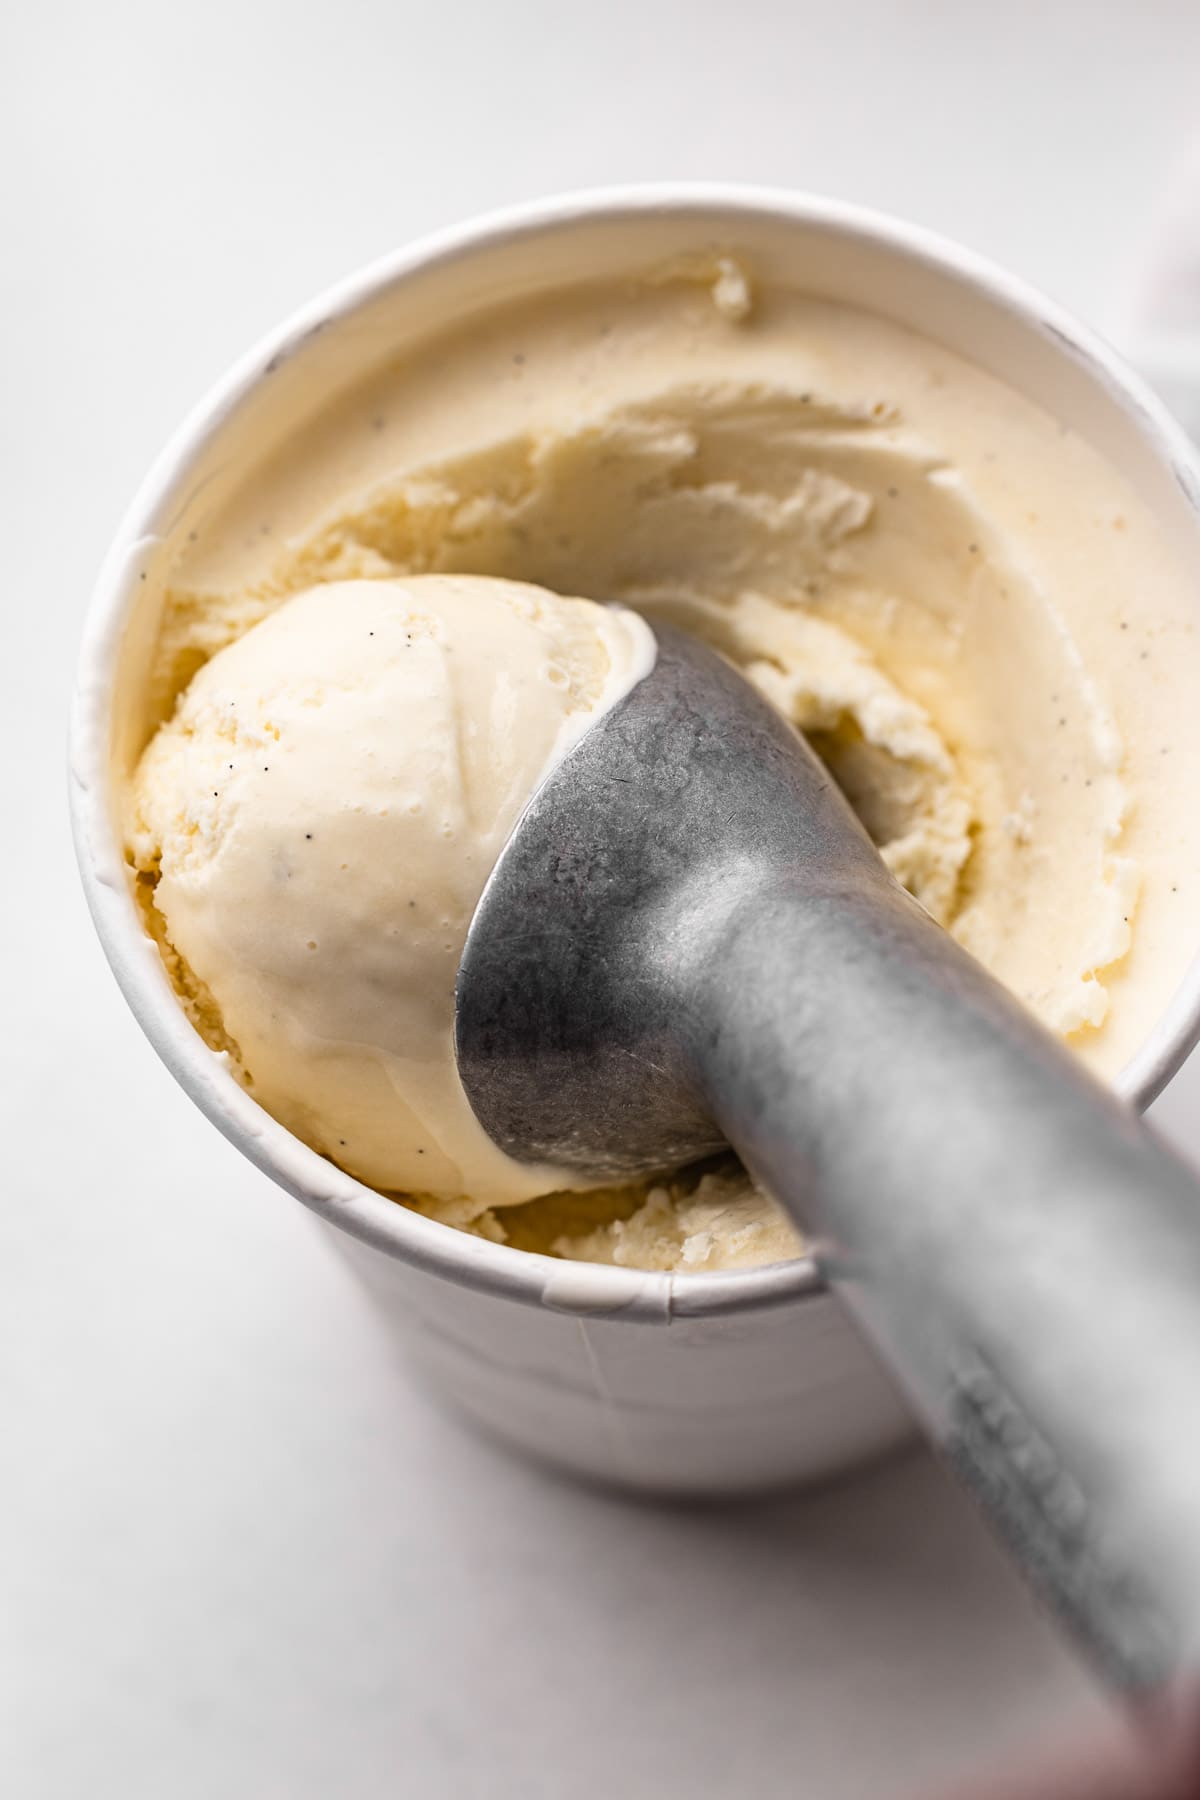
How Long Will Homemade Vanilla Bean Ice Cream Keep?
Homemade ice cream honestly doesn’t keep as long as you might suspect, because it doesn’t have any stabilizers or preservatives added to it.
Homemade ice cream is best consumed within a week or two of making it. Different factors can affect this timeline, including how cold your freezer is, what type of ice cream it is, what container it is kept in, and if it has thawed at any point in the freezing process.
More Ice Cream Recipes
I am so honored when you make a recipe from my site! If you make this Vanilla Bean Ice Cream recipe, please leave a star ⭐️⭐️⭐️⭐️⭐️ rating with your experience! If you have any questions about this recipe, feel free to comment here, and tag me on Instagram!
Full Recipe
Vanilla Bean Ice Cream Recipe
This is the best Vanilla Bean Ice Cream recipe, made using simple ingredients like eggs, cream, and milk to make for an ultra-creamy and vanilla-forward taste and consistency. This guide for making vanilla ice cream talks through the science behind ice cream, which steps are absolutely necessary (and which aren't), and tips for success with every batch.
- Prep Time: 00:10
- Chilling Time: 16:00
- Cook Time: 00:08
- Total Time: 16 hours 18 minutes
- Yield: 1 quart ice cream base, about 3 pints frozen
- Category: Ice Cream
- Method: French-Style
Ingredients
- 1 Grade A fresh vanilla bean
- ¾ cup (150 grams) granulated sugar
- 2 large eggs
- ¼ teaspoon coarse kosher salt
- 2 cups (456 grams) heavy cream
- 1 cup (227 grams) whole milk
Instructions
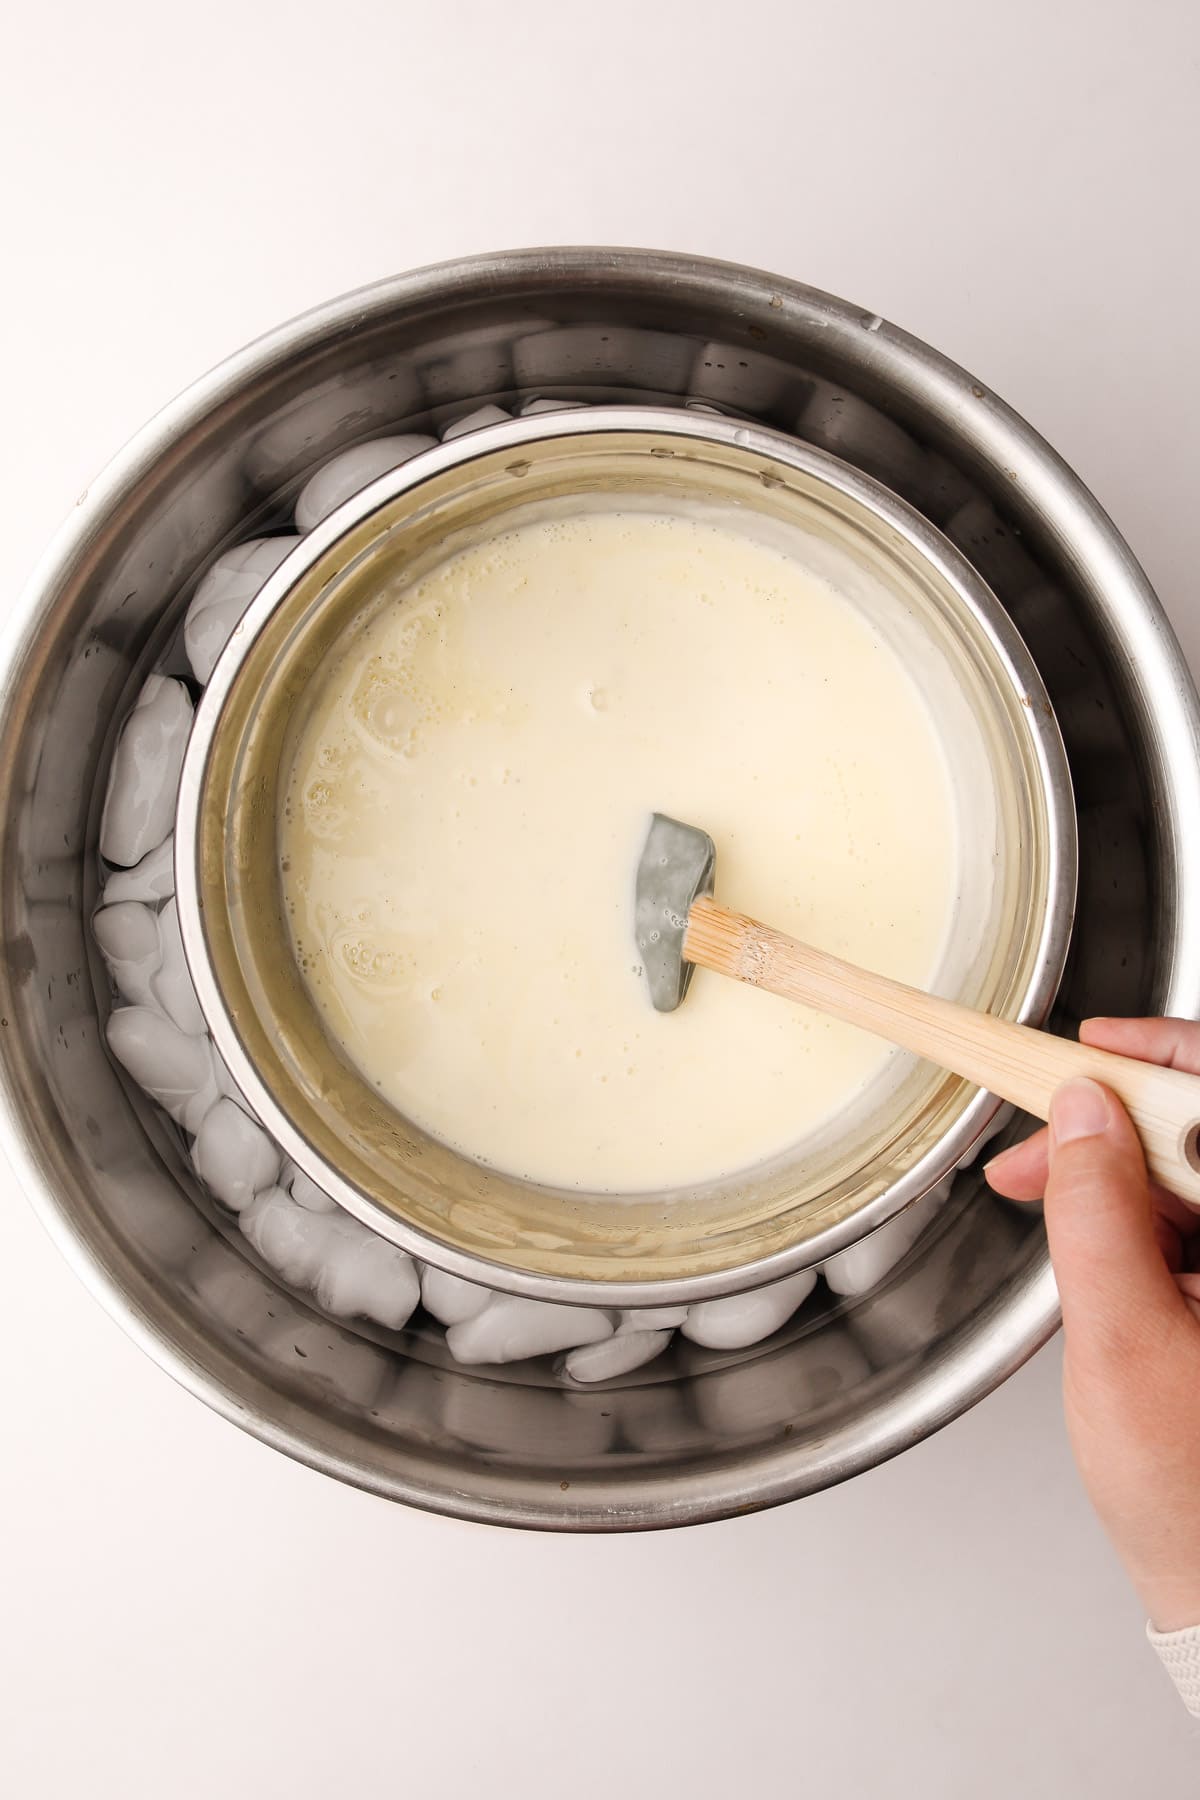
- Set up an ice bath with two nesting metal bowls.
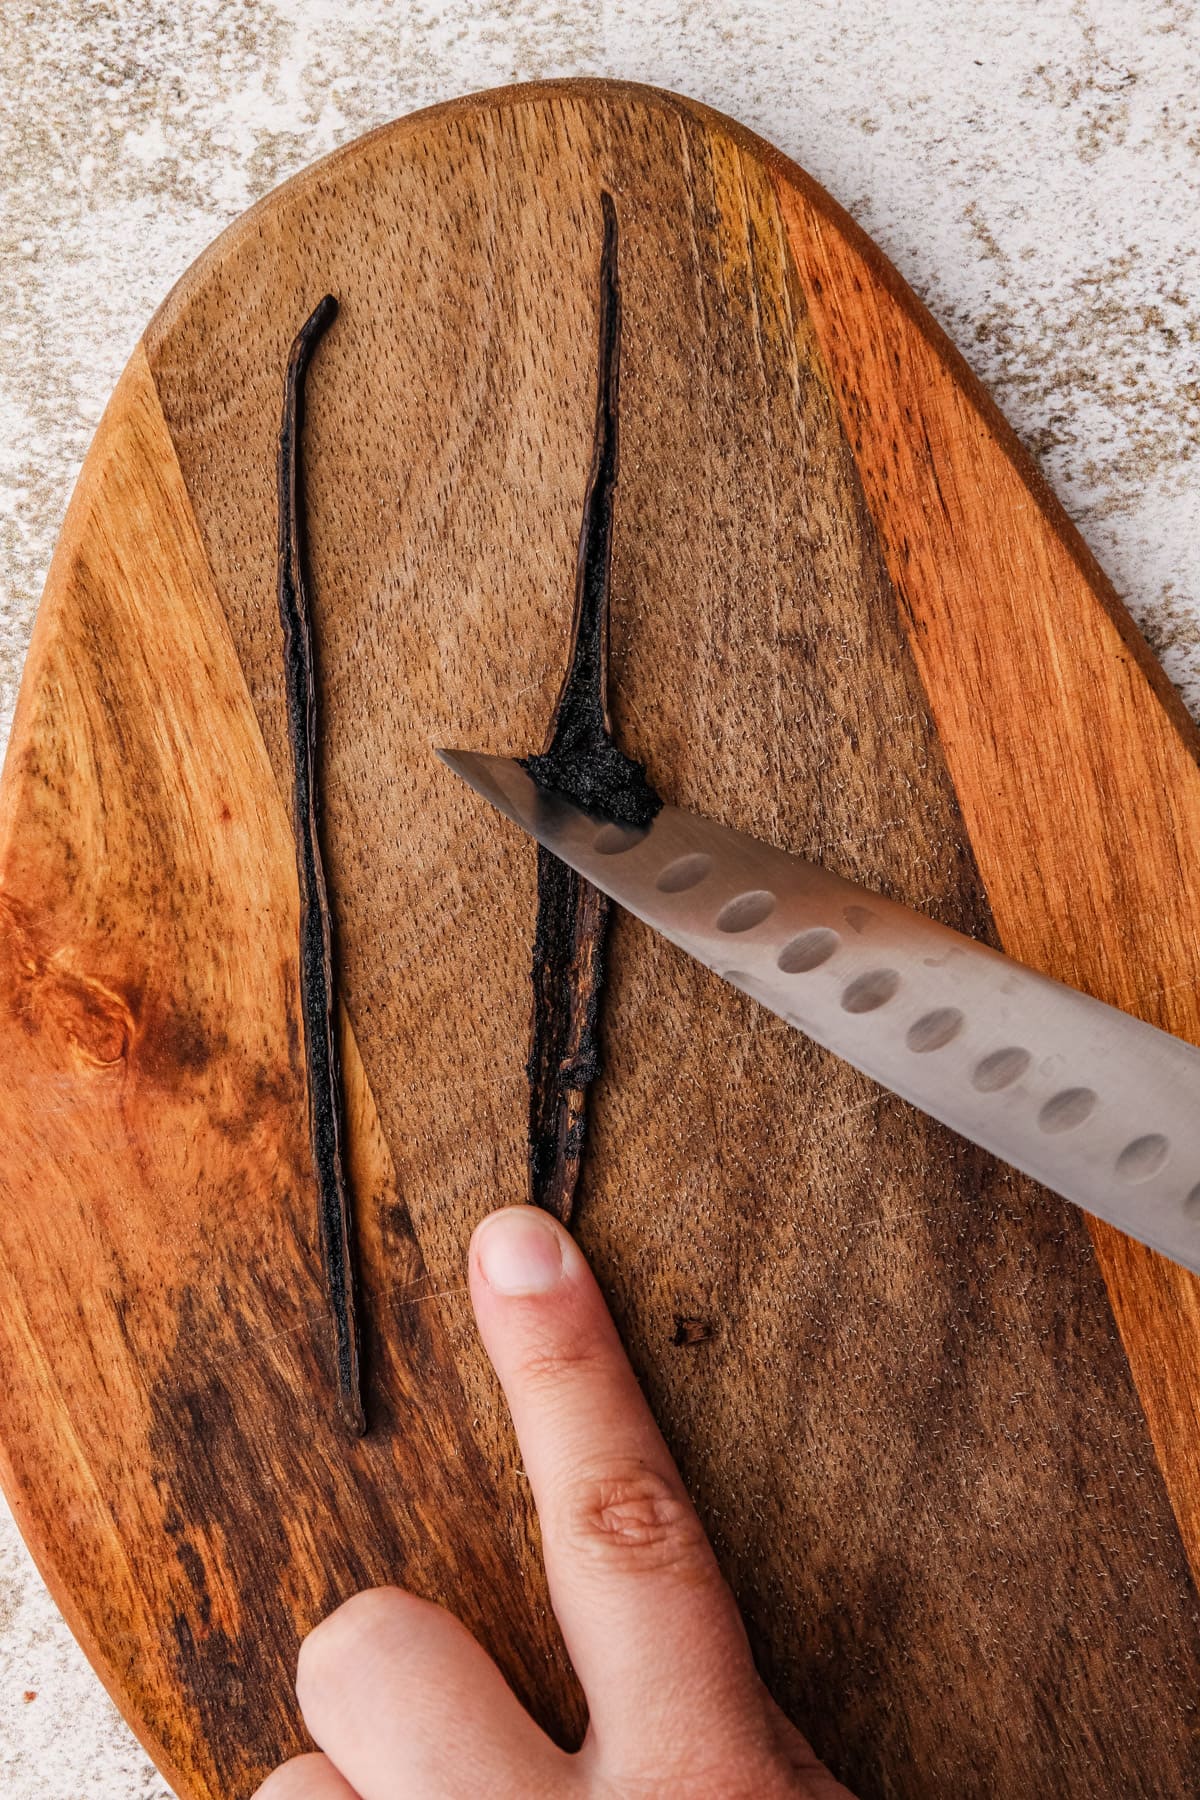
- Use a sharp knife to cut the vanilla bean in half lengthwise. Scrape out the vanilla caviar from inside.
- In a medium bowl, combine the sugar and vanilla caviar. Rub the vanilla together with the sugar to break up the clumps.
- Add in the eggs and salt and whisk vigorously for one minute until the mixture is lightened.
- Whisk in the cream and milk.
- Transfer the mixture to a heavy-bottomed medium pot and add in the vanilla bean pod.
- Cook over medium heat, stirring and scraping constantly with a rubber spatula, especially along the edges and the bottom of the pot. Cook until the mixture reaches 175°F on an instant-read thermometer, about 8 minutes. The mixture will be slightly thickened. To check if the custard is set without an instant-read thermometer, coat wooden spoon with the custard. Draw a horizontal line on the back of the spoon with your finger. If the line “holds,” then your custard is set. If the line collapses immediately, the custard needs another minute or so. Be careful not to bring the mixture to a boil; this will curdle the custard.
- Immediately shut off and remove the pot from the heat. Continue to stir the custard for 1 minute. This helps bring it all the way up to 180ºF.
- Strain the custard through a fine-mesh strainer into the inner bowl of the prepared ice bath. Transfer the vanilla bean from the strainer back into the custard to allow it to continue to steep.
- Cool the custard in the ice bath to room temperature, stirring occasionally.
- Chill the custard thoroughly in the refrigerator until at least 40ºF, preferably overnight.
- Discard the vanilla bean pod. Freeze the custard, following the recommended manufacturer’s instructions of your ice cream maker, until the ice cream has reached a soft-serve consistency.
- Transfer the ice cream to one or more airtight containers. Place a piece of parchment on the surface to prevent any freezer burn. Freeze until firm, at least a few hours.


Notes
Have a question or looking for tips? The text written above the recipe is always a great first place to start! This Vanilla Bean Ice Cream was developed with love, and I always include loads of explanations, tips, step-by-step photos and technical advice shared before the recipe.
Vanilla Bean Ice Cream is best consumed within a week, but will last for several in the freezer.
If you need to freeze your ice cream canister, make sure to do so 24 hours before you plan to spin your ice cream.
This recipe was tested using Diamond Crystal coarse kosher salt. If you use Morton's kosher salt or fine salt, decrease the volume by half.
Some of the links on this page may be affiliate links. Everyday Pie is a participant in the Amazon Associates Program. As an Amazon Associate I earn from qualifying purchases, at no extra cost to you.
Melissa
This is very nice, however I swear this tastes more like French vanilla than vanilla bean. The egg flavor overpowers the vanilla, which reminds me of why I prefer vanilla bean over French vanilla. I would love a version of this recipe that didn’t use eggs.
Michelle
I've tried several vanilla bean ice cream recipes and this not only produces rich, creamy ice cream but it uses the whole egg and less eggs than others. I still have egg whites in the freezer a year later from other recipes. My latest attempt I used duck eggs and dark brown sugar - superb! I like to 1.5 X the recipe for my 2 qt. cuisinart ice cream maker. However, even as written, I can't cook it to temperature in less than 20-25 minutes. I also add 1 T dark rum the last five minutes of churning. So easy and so tasty!
Amanda
Made this after getting an ice cream Kitchen Aid attachment. I think it’s amazing! A few friends have said it is the best vanilla bean ice cream they’ve had in their life. Everyone that tries it loves it. I’ve had a few requests for their own pts. It’s absolutely a winner!! Thank you for sharing the yummy recipe!!! I’ll deff be trying some others from your site!
Chey
Hi there, for step 11 - are we chilling the custard overnight and then churning it the following morning before storing it to freeze?
Thank you 🙂
Jerome K
When I chill my base, I generally wait a full 24 hours, sometimes longer depending on the flavor I am making. Time is the basic guideline. The important part is chilling it to 40°F before you churn it. This helps to reduce the time it takes in the machine resulting in a better texture. If you can not freeze the tub beforehand, you can run the ice cream machine before you add in the base. I run it for 15-20 minutes before adding in my base. It will form a really nice frost layer on the tub and that's when it's ready! Careful not to run it too long while empty because the auger can get stuck and overheat the machine. You'll notice throughout the recipe, that she keeps all ingredients as cool as possible at each step. Even when heating is necessary, it is just long enough to reach the desired temperature and then chilled as quickly as possible without using the freezer. When the machine is done churning, get the ice cream into a container and in the freezer as quickly as possible! (This is where a lot of people "mess" it up) That's why she also suggests several smaller containers during the ripening to get it as cold as possible as quickly as possible. Hope this all helps!
Addison stout
Anybody who’s thinking about using this recipe, do it! I enter the local ice cream competition and won some $$. It was amazing, added a little bit of almond extract and everyone loved it!
Jill
Oh my gosh, this is so good! Easy to follow directions, common ingredients, magical results!
Sandy
I made this, and I’m not sure I’ll ever be able to go back to commercial ice cream again. The flavour is divine and the texture is spectacular.
True to form, the recipe is a breeze to follow. Kelli’s instructions are clear and detailed, making this easy to execute—even if it’s your very first time making ice cream ever (hi, that’s me!)
I’ll be making this again after we eat up the first batch. Which will be very soon.
Tiesh
Perfect recipe! The flavor is beautiful. The 2 whole eggs made the perfect amount of richness without being too much. I used 1/2 cup maple syrup and sweetened to taste with stevia to reduce the sugars. I was worried the maple would take over the vanilla but I couldn't pick out any maple flavor at all the vanilla being so center stage like this. Thank you for the great recipe!!
Kelly
I have made this recipe soooo many times. I share it with my coworkers and they RAVE over it. It’s smooth, creamy, and decadent. I use vanilla bean paste instead of a whole bean and it has worked well. You will not be disappointed with this recipe!
Kelli Avila
Love hearing that it turned out well! Appreciate you taking the time to comment. –Kelli
Amber Ames
Kelly, thank you. I was going to see if anyone used the vanilla paste in place of the bean. Glad to see it worked well. I'm going to try it today.
Liz
Hi there,
Would this recipe work in a 4 qt electric mixer? We just got one (Nostalgia brand) for Christmas and I’m hoping to try it out with your recipe. Thanks!
Kelli Avila
I believe it should be just fine. Mine is a 2 quart, and I've not tried it with anything larger but I can't think of why it wouldn't work in a larger unit. Let me know how it goes!
jamie
made this a few times (5-6?) and i have liked it alot, has been a little too soft and melty but thats most likely my fault for not cooking it another minute or so, overall a very good recipe for vanilla ice cream
Sheila
We absolutely love this ice cream. I've made it at least 5x in the last few weeks. It turns out perfectly every. single. time. That's saying a lot as English weather is so unpredictable.
I've now started experimenting but stay within the recipe. We've made mint chocolate chip by soaking 6 mint hard candies in the milk overnight. We've made heath bar crunch by switching out 50g of the white sugar with brown sugar and stirring in crushed heath bars and a bit of salt flakes at the end of the freezing cycle.
We can't wait to try more variations. Kelli, you're a genius.
Kelli Avila
Sheila you are so sweet! Happy you are having a summer filled with ice cream!
Lesley Brice
I have used this recipe several times and my family loves it! This time I had to use a tablespoon of vanilla bean paste. I guess grade A vanilla beans are in short supply. Turned out great!
Pamela Patrick
This is the best ice cream recipe I've found! Do you have more recipes for other flavors?!
Lane
Perfect, easy recipe. Will definitely be my new go to. Can’t wait to use it as a base for different flavors.
Joy
This recipe will give hagan daaz a run for it's money. I've made it and use the Ninja Creami to spin it. It is amazing. I love that it calls for whole eggs instead of the yolk which makes a better colour and texture. Unfortunately, my vanilla seeds sinks to the bottom of the container. I may have to freeze it for 30-45 min to get it to thicken and shake it again before popping it back in the freezer.
Kelli Avila
Glad you've enjoyed it! I'm not familiar with the ninja creami and how that works, and wonder if that is impacting the homogenization of the vanilla seeds in the mix?
Elizabeth
Hi Kelli. Recipe instructions omit when to add salt. And do you just toss empty pod into custard as it’s cooking? Couldn’t find that info. About to make it now!
Elizabeth
Kelli Avila
Hi Elizabeth! Recipe errors fixed! Hope you and your family enjoyed the ice cream! -Kelli
Shannon
I have never made homemade ice cream. Kelli’s directions made this a seamless and super easy process. My family was blown away by the taste! It will be hard to eat anything but homemade from on! Don’t hesitate to make this delicious, thoughtful, and approachable recipe!!