
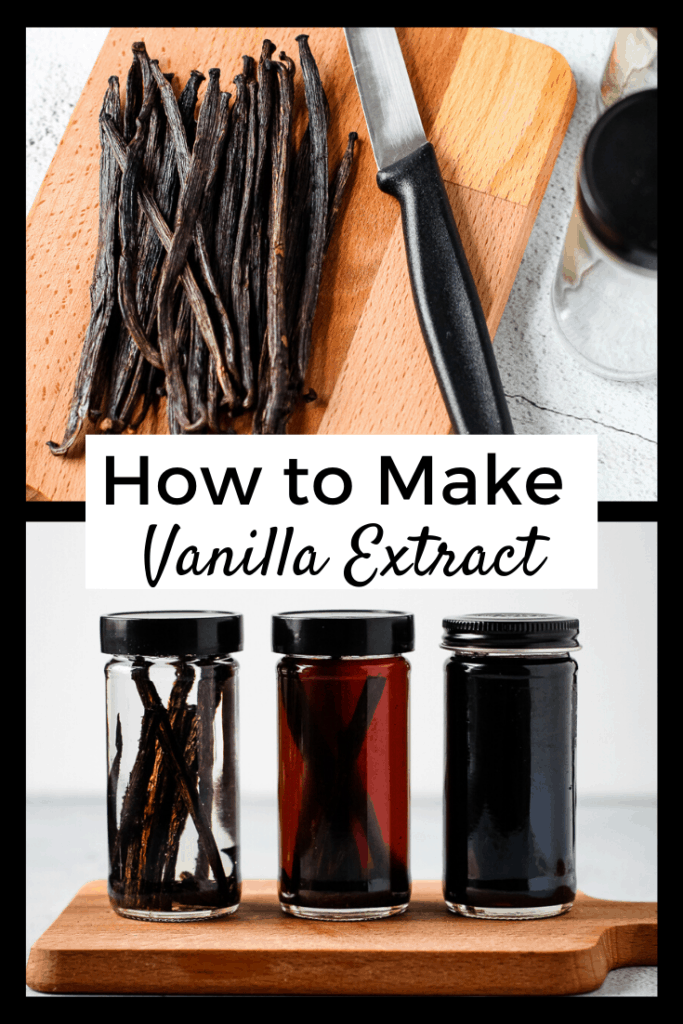
Homemade Vanilla Extract is hands down way better quality and far more cost-efficient than anything you can buy at the store. Easily made with just two ingredients, it is worth making at home.
Want to save this recipe?
Enter your email & I'll send it to your inbox. Plus, get weekly updates from me!
Homemade Vanilla Extract Recipe
Vanilla extract made at home is far superior to almost anything you can buy at the store. Not to mention, these days, the price of vanilla beans and vanilla extract can be incredibly steep. The vanilla market has been volatile for some time and vanilla has increasingly become more expensive; and there doesn't seem to be any end in sight. Knowing this, it only makes sense to make vanilla extract at home.
I'm sharing all the tips I've gathered over the last few years for exactly how to do it. You only need two ingredients and, time.
So, let's get to making it, shall we? The text below offers tons of tips and helpful notes, or you can scroll to the bottom to grab the recipe and get started!
What do you need to make homemade vanilla extract?
You need only two ingredients:
- whole vanilla beans (affiliate link)
- alcohol
Aside from that, you'll need:
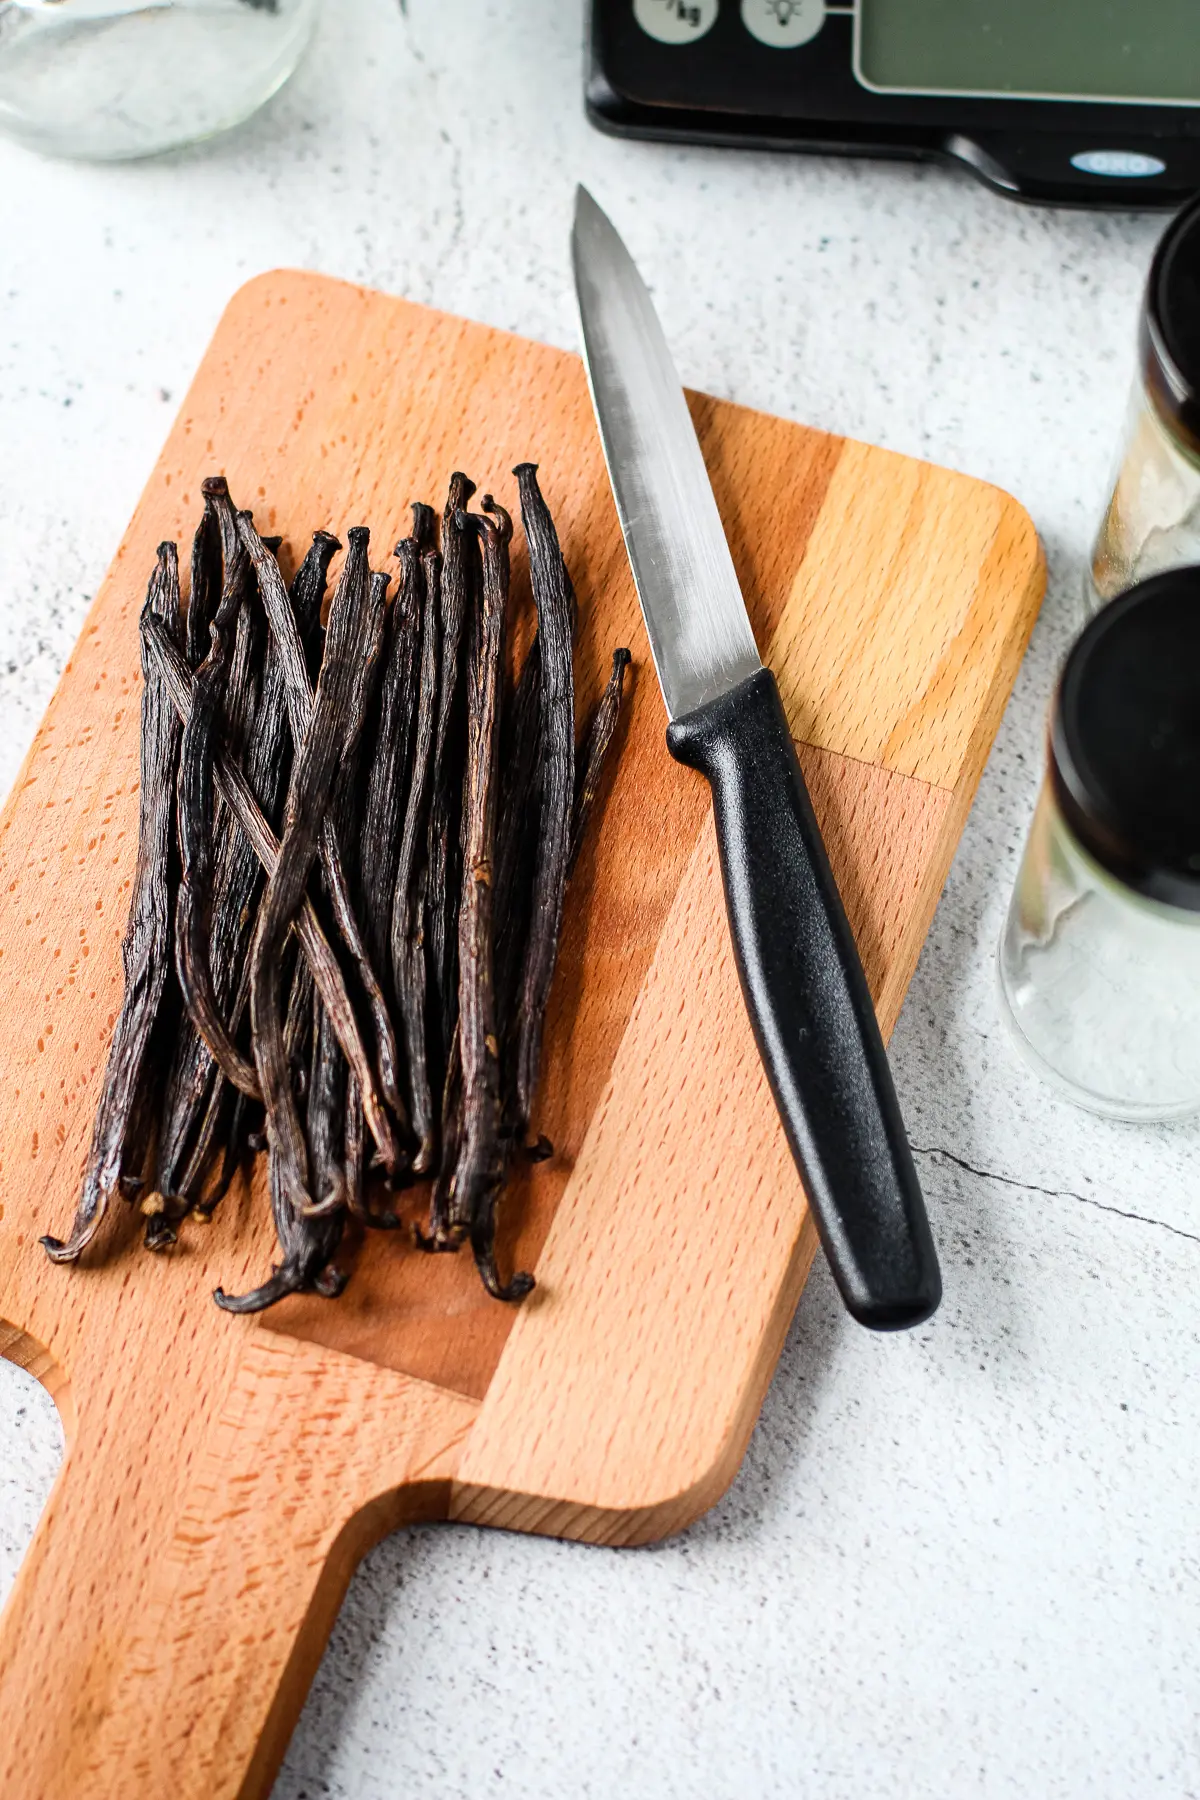
- a pairing knife, or scissors, to cut the vanilla beans to size and to split in half
- jars (affiliate link) or recycled jars
- labels
Let's Talk Vanilla Beans
Vanilla beans are classified into two categories: Grade A and Grade B.
Grade A (also known as "prime" or "gourmet") beans contain more moisture in the beans, and are generally desired for extracting the vanilla seeds, also known as the "caviar". Sounds fancy, huh? If you are looking to get the vanilla caviar to add to a dessert such as a creme brûlée, than you might want to buy Grade A because they will infuse quickly into a dessert. While you can certainly use Grade A beans for extract, it makes the most sense to use Grade B.
Grade B beans are the better choice for extract because they contain less moisture than Grade A and therefore have a higher concentration of flavor. However, because they are dry, they require a longer period of time to transfer the flavor. Sometimes, Grade B will be labeled as "split". This is because Grade B are more dry, and they are more susceptible to splitting during the drying process. This has no impact on the extract itself, so go ahead and use Grade B split vanilla beans.
The Different Names of Vanilla Beans
Beyond the grade of the beans, vanilla can be labeled with several different names. The name often refers to the region where they come from.
Regardless of the label, vanilla beans can generally be divided into two different varietals: Planifolia beans (commonly listed from Madagascar or Mexico) and Tahitensis beans (commonly listed from Tahiti or Indonesian).
Bourbon Madagascar vanilla beans have that classic vanilla flavor that most store-bought vanilla beans have. Tahitian vanilla beans have a more nuanced, floral flavor. All varietals will work for vanilla extract.
Vanilla is precious and therefore expensive, and there is no way around it. However, it's more cost-efficient to purchase vanilla beans online, instead of buying them in the store. They can cost upwards of $10 for one vanilla bean when you purchase them in a store.
Here are two brands of vanilla beans that I personally use (affiliate links):
What Type of Alcohol To Use
Alcohol in this recipe is the "solvent," or the substance that will transfer the flavor from the vanilla beans.
The most important thing to note is the proof of alcohol used. It should be at least 80 proof alcohol. The most common type of alcohol to use is vodka. Vodka is flavorless and odorless, so it really lets the vanilla shine through. However, don't buy flavored vodka, as it will take away from the delicate vanilla flavor.
I would not recommend buying the absolute cheapest brand of vodka, but instead, buy one that you would be okay with actually drinking. If you don't drink and aren't sure which brand to buy, go on the safe side and buy a medium-priced brand. This advice is contrary to what most other recipes recommend. My mindset is this: I wouldn't use a type of wine to cook with that I hated the taste of, so I don't want to use a vodka in an extract that would be horrible to drink. I know this from experience. I've made that mistake of using the cheap stuff, and that batch of the extract wasn't very good... especially when used in no-bake desserts.
Can You Use Alcohol Other than Vodka?
Yes. You can also try making extract with other alcohol such as rum (either clear or spiced), bourbon or brandy. But do know, the flavor of that alcohol can come through in the final product, so try to pair it with a baked good that would be enhanced by it.
How to Make Vanilla Extract
Very simply put, to make vanilla extract you must infuse the solvent (in this case, it is the alcohol) with the vanilla beans. There are a few different ways to do this, but the most important thing to keep track of is the ratio of vanilla beans to extract when you make it for the first time (more on that later).
There are many different recommendations out there for the number of beans to alcohol, but I recommend actually paying attention to the weight of the beans vs. the count. Vanilla beans can vary in size and therefore, one bunch of smaller beans will yield an extract that is weaker than one bunch of bigger beans.
To begin a batch of extract, use a minimum ratio of 1 ounce of beans to 1 cup (8 ounces) of alcohol. How many beans that actually is will vary but it is most commonly 5-8 vanilla beans. Kitchen scales come in handy here!
Once you have chosen what jar you are using, you want to figure out how many ounces of alcohol it will hold, then determine how many beans by weight you should include.
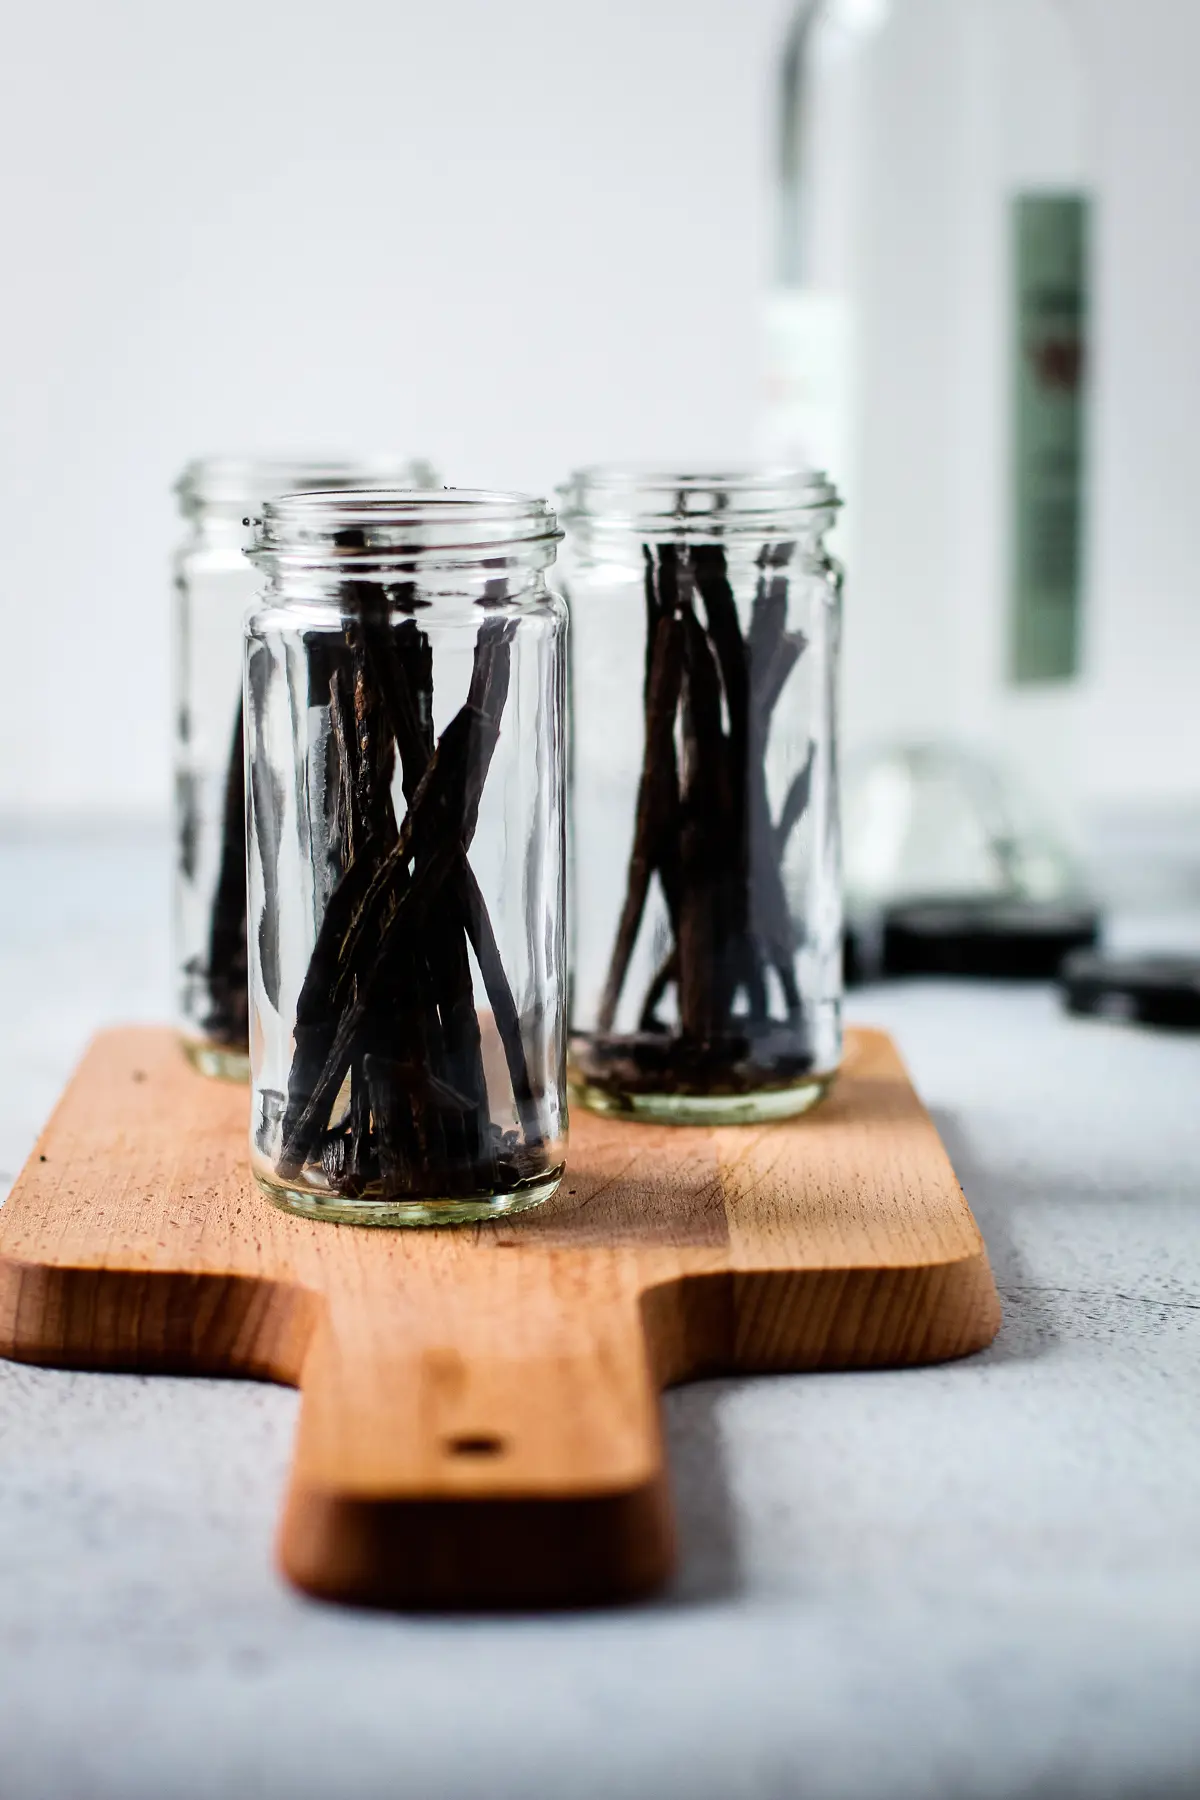
How to Prepare the Vanilla Beans to Make Extract
There are a few different ways to prepare the beans to make vanilla extract, and over the years I've tried different ways to all with great success.
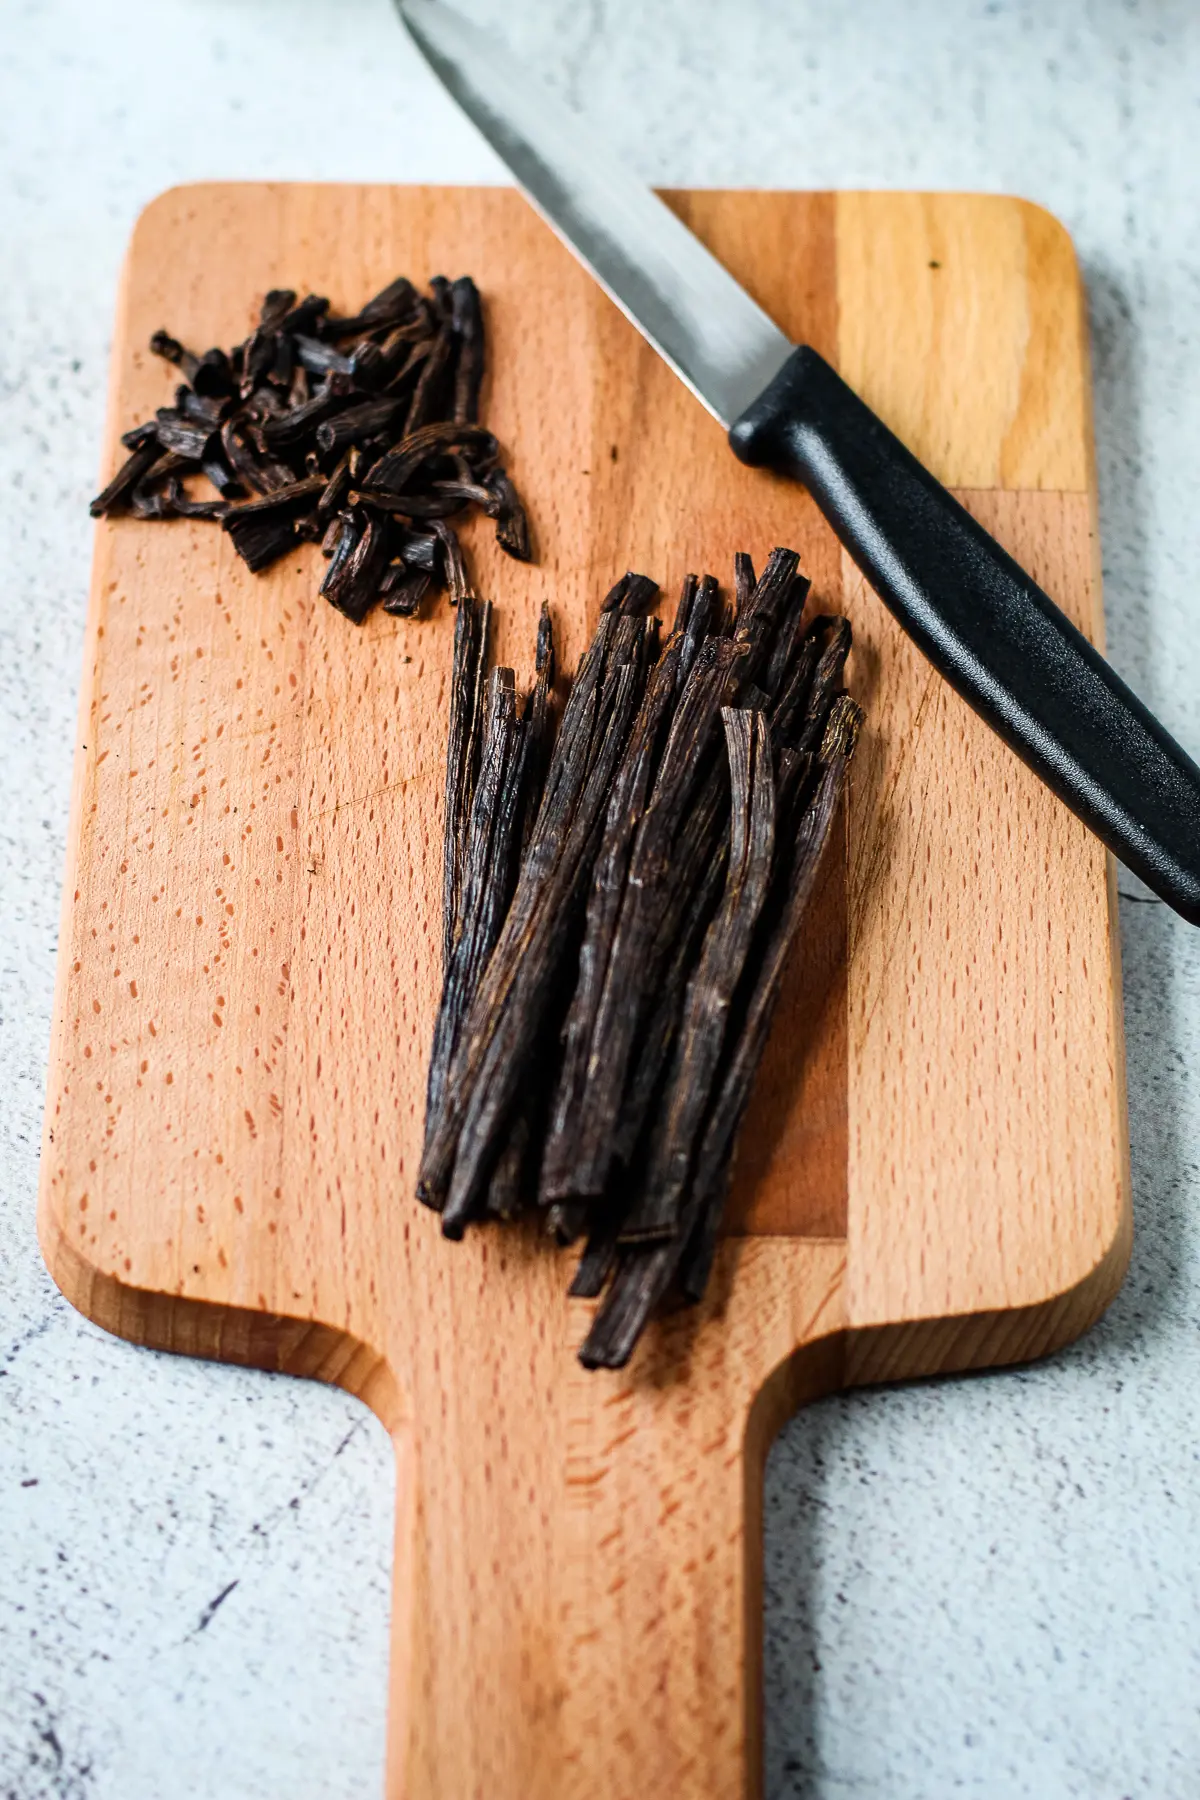
When I first started making extract, I used to carefully split the bean down the center and scrape out the caviar, and then place the vanilla bean and the caviar in the jar. Later on, I trimmed off the ends, split the beans and then stuck them both in the jar. But lately, I've just been trimming the beans with a pair of kitchen shears and putting all the pieces in the jar.
Pro-tip: if you beans are extremely dry, it may be too difficult to split them down the middle, and you'll be safer just to chop or snip them into ½" pieces.
Regardless of how you prepare your vanilla beans, the most important aspect is that you somehow get the caviar exposed to have contact with the alcohol, which helps it infuse better. Plus, you'll get those beautiful vanilla specks in your finished product.
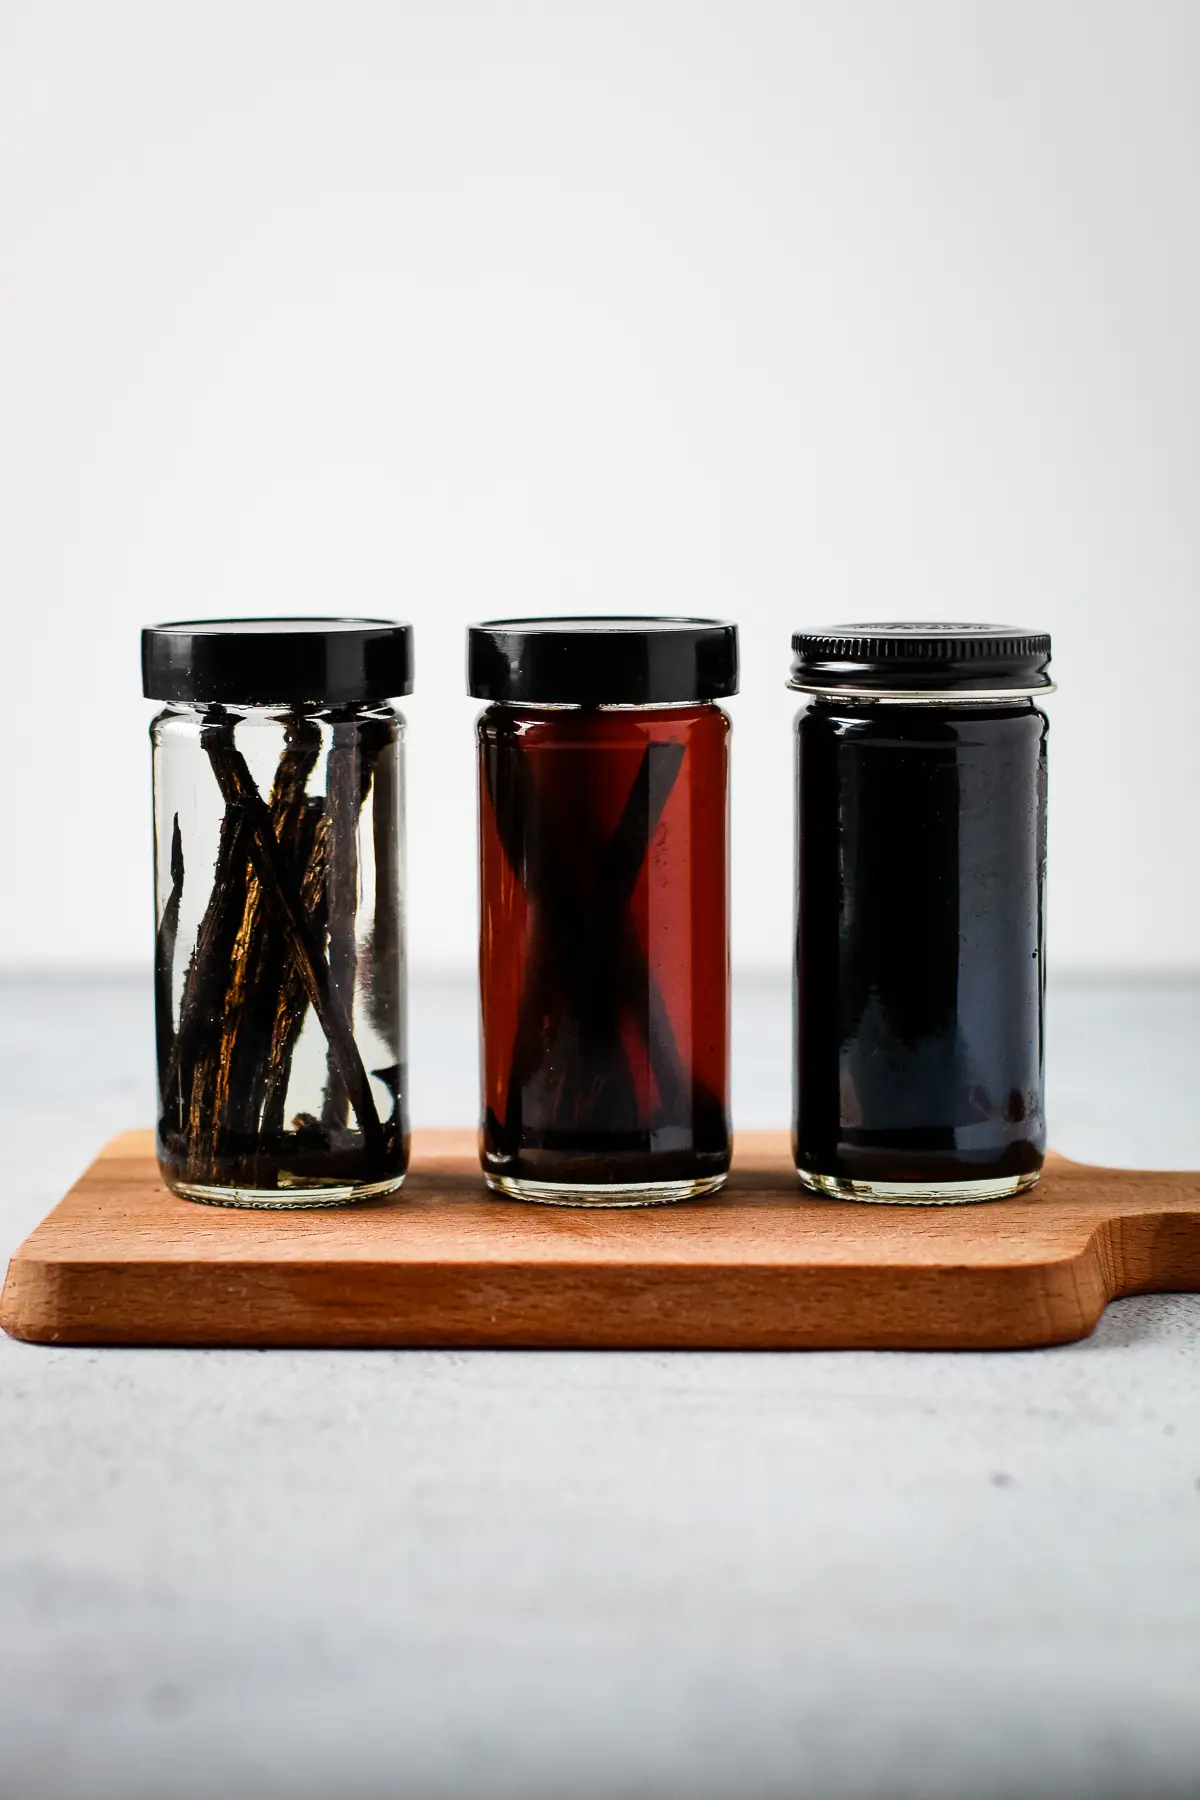
How Long Does it Take to Make Vanilla Extract
Once the beans and the alcohol is in the jar, cover and store it in a cool and dark place for at least 6 weeks at a very bare minimum. Shake the jar when you can remember to, at least once a week. It is better to wait for 6-12 months to use the extract, as it will be more fragrant.
There is a photo below showing vanilla extract on day 1, week 6 and month 8. As you can see the 8 month infused extract is much darker, which means more flavorful.
To Strain or Not to Strain
It is optional whether or not you want to strain your extract before using, or whether or not you want to keep the beans inside of the extract while using.
It is recommended that you do keep your beans submerged at all times though, so keep that in mind if you keep them inside of the jar while you are using.
How to Have an Infinite Supply of Vanilla Extract
The one downside to making vanilla extract at home is that it takes time for the vanilla to steep. But if you are strategic, you can always have ready-to-use vanilla extract on hand. And, one of the best parts about using vanilla beans to make vanilla extract at home is that you can reuse the beans!
Once you've used up the extract from a batch, you can reuse the beans (with added fresh ones) to make a new batch of extract. There are a few ways to do this, and depending on how often you go through extract will determine which method works for you.
But first, here are a few facts to understand:
- Once the vanilla beans have been infused for a period of time, some of the flavor from the beans has been transferred to the alcohol. This means that the longer you reuse a bean, the less aromatic it becomes. Because the price of beans is high, I choose to reuse the beans a few times before tossing them out. I know when it's time to take out the bean because the bean will start to break down in the extract and the bean will significantly lighten in color.
- To keep the vanilla beans "fresh", make sure they are always submerged in the alcohol. The alcohol is what stops any growth of mold or other unwanted substances. Cut the vanilla beans short if you choose to keep them in the jar while you are actively using the extract.
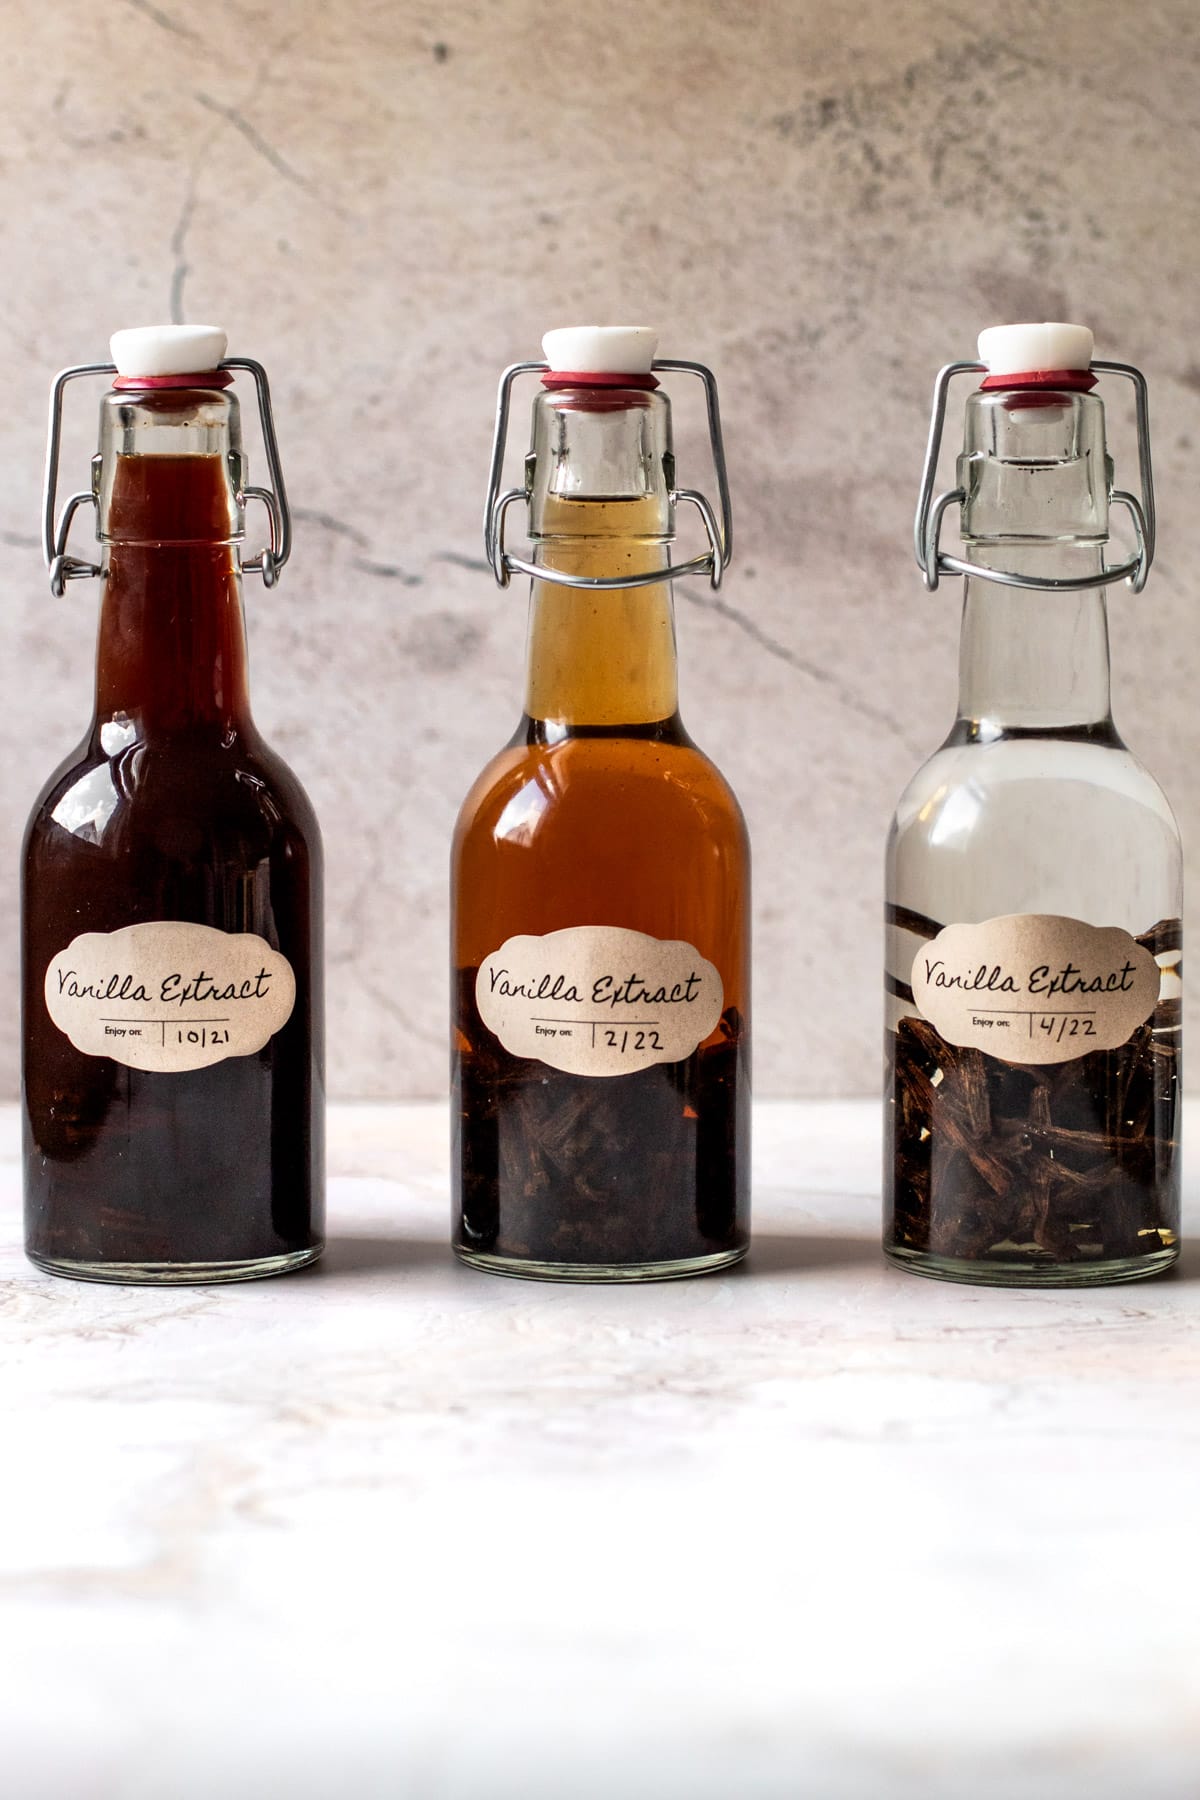
To keep an endless supply of extract, start by making at least 2 batches of extract at once. Once they have matured, begin using one of the jars. When you have used up half of the jar, go ahead and add a few more fresh vanilla beans to it, and top it off with alcohol. Set that jar aside to mature until you are ready for it. Now begin using the other matured extract. At this time, you should also make a new fresh batch with fresh vanilla beans.
This will mean you have three jars in total:
- One new batch working to mature
- One batch that is halfway ready
- One batch that is ready-to-use.
This way, when you have finished one batch, you have one that is completely ready (and one that will be ready by the time you finish up your second batch). Rotate these three jars, making sure to start a new batch when you finish one.
How Long Can I Re-Use Beans to Make Extract?
It is up to you when you want to discard the old beans and start fresh. I choose to use them 2-4 times, depending on the quality of the beans, how long the extract has been sitting and if I've been careful about making sure the beans stay submerged at all times.
If I'm ever questioning whether the beans are good to use, I'll go ahead and discard and start fresh.
Generally speaking, when my jar gets very full of beans, I know it's time to discard them entirely and start fresh. To do this, I'll strain the ready-to-use extract into a fresh jar, and then start a new batch of vanilla extract with fresh beans in a clean jar.
Frequently Asked Questions
The text above is very full of information. However, I've pulled out some commonsly asked questions about making extract!
Yes, but I haven't tried. I'm more comfortable making extract with alcohol in terms of safety. Here is a reputable website that offers more information for making extract without alcohol.
extract, and Madagascar vanilla beans are the most common type to use. See the section above labeled "Let's talk about vanilla beans" for more detailed information about it.
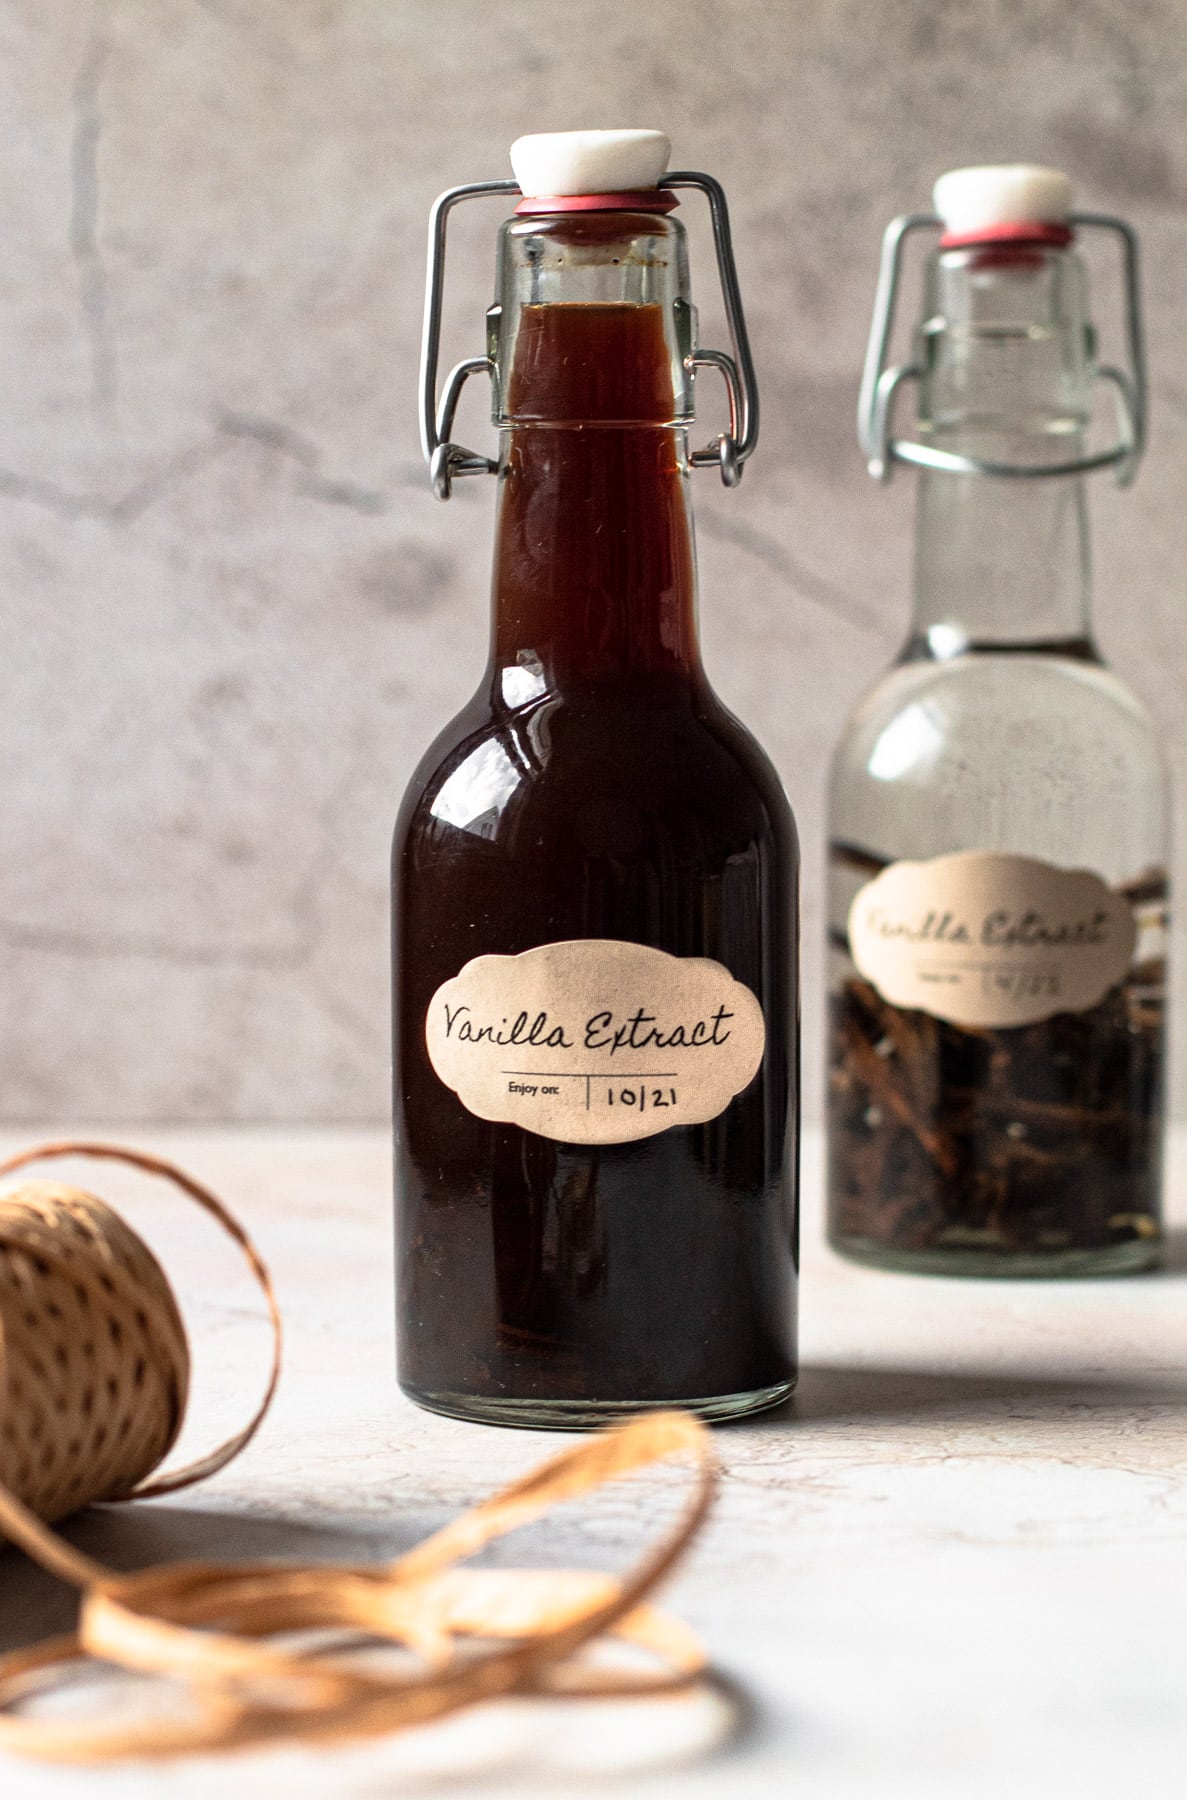
There are some commercially available jars that are made just for extract, found here. Those are perfect for gifting vanilla extract. I also like to reuse (clean) spice jars to store my vanilla extract. Or you can make vanilla extract in a large quantity, such as placing vanilla beans directly into the jar of alcohol that you are using. Just make sure to use the correct ratio to start.
Let steep for at least 6 weeks at a very minimum. It is better to wait for 6-12 months to use the extract, as it will be more fragrant.
Un-strained vanilla extract will have flecks of vanilla "caviar" in it! If you want to avoid having any vanilla bean flecks in it, go ahead and strain it. Sometimes, depending on the age of the extract, there may also be some natural pieces of the vanilla bean pod in your finished extract. If that bothers you, go ahead and strain it. Otherwise, it's perfectly okay to use it unstrained.
Strained vanilla extract will last indefinitely. Keep in a cool dark place. Vanilla extract with beans inside of it should last a few years, if stored properly and if the beans are kept submerged.
When heated, the actual alcohol burns off so it is considered safe for kids. And even if it is being used in a no-bake recipe, a typical recipe calls for only 1-2 teaspoons of extract in a whole batch. I use this with my kids at home for both types of recipes, knowing there is little to no actual alcohol in the final product. But ultimately that is a decision for you.
You will find that properly matured homemade vanilla extract will be stronger and more powerful than store-bought vanilla, especially if you are used to purchasing the "single-fold" vanilla. Your baked goods using vanilla will have a better vanilla flavor. If you aren't looking to overpower a particular delicately flavored baked good with vanilla flavor, you can use about ½ of the amount called for in a recipe.
Recipes to make with homemade vanilla extract:
- Chocolate Cream Pie
- Homemade Vanilla Pudding
- Malted Milk Chocolate Pie
- Mile-High Apple Pie
- Simple Whipped Cream by Hand
Full Recipe
Homemade Vanilla Extract
Homemade Vanilla Extract is hands down better quality and more cost efficient than anything you can buy at the store. Easily made with just two ingredients (vanilla beans and alcohol) it's worth making at home. After making it for years at restaurants and at home, I've picked up a lot of tips throughout the way. The recipe shared here is the bare minimum information you need, but please refer to the body of the post as there is a lot of questions covered there.
- Prep Time: 00:05
- Total Time: 5 minutes
- Yield: 8 ounces
- Category: Baking Basics
- Method: No Bake
- Cuisine: Sweet
Instructions
- Either chop the vanilla bean in ½" pieces or if they are soft enough, split them in half lengthwise and then cut to the length needed for the size jar you are using.
- Place the vanilla bean pieces inside of an 8 ounce jar. Pour the alcohol in the jar to cover the bean completely. Cover the jar and store in a cool and dark place for at least 6 weeks, but better to wait for 6-12 months to use the extract as it will be stronger. Shake the vanilla extract when you remember, at least once a week.
- When the jar has matured, you can choose to strain out the vanilla (and make new vanilla extract with the beans) or use the extract with the beans and vanilla flecks inside of it.
Notes
- The body of the post is so very full of information. Please refer to that for any questions on how to make vanilla extract.
Some of the links on this page may be affiliate links. Everyday Pie is a participant in the Amazon Associates Program. As an Amazon Associate I earn from qualifying purchases, at no extra cost to you.
Cindy
I just made my first batch. I chose your site as you had the clearest and most user friendly instructions! (Thank you!)
However, when I opened my jars up, (I let them infuse for 11 months), it didn't smell quite like vanilla, and the taste wasn't that great. Is this normal? Should it taste and smell like the vanilla I purchase at the store? Maybe because it is pure vanilla, and I should only use 1/2 of what a recipe calls for like you mentioned above?
TonyaB
I bought grade B beans. I used my scale and 1 oz of beans is NOT 5-8 beans! It's more like 25! What's up with that???
Kelli Avila
Hi there, copy and pasted from the post: "To begin a batch of extract, use a minimum ratio of 1 ounce of beans to 1 cup (8 ounces) of alcohol. How many beans that actually is will vary but it is most commonly 5-8 vanilla beans. Kitchen scales come in handy here!"
An
I haven’t used this recipe yet, but giving it 5-stars for the clarity of explanation. I was wondering how important it is to shake the bottle every week. I’m planning to travel for about a month and don’t wanna do the extract if it absolutely has to be attended to? Thank you!
Kelli Avila
No need to attend to it while you are away. I must be honest, sometimes I forget about my extract for months at a time! I always have so many brewing! Don't sweat the shaking part too much. Do it if you remember, or when you get back.
Justine
Hi Kelli,
I made a batch of this about six months ago and I have just notice a strange growth out of the line I cut down the center of the beans. It’s not on every beans but at least two out of 8.
It looks quite odd, and I have decided to throw out the whole batch for safety’s sake. Have you ever seen or heard of this?
I made it before I found your recipe and I did not notice whether the beans were grade A or B, but it seems as though they have a mould or something. I’m very disappointed and it is a huge waste of money so hoping to find some advice on what it could be.
Thanks
Kelli Avila
Any chance you got a photo of it? That would be the biggest help in trying to figure it out. If you have a photo, send it to [email protected]
Sometimes the beans can break down in the alcohol and it can look like there is something growing on the beans, but in reality it is just the waterlogged beans breaking down, but that typically only happens after the beans have been used several times. Does that sound like it could have been what is going on? What color was it?
Nicole
Hi Kelli,
Sorry I am unsure of one thing. I have beans in vodka right now that have been in for a little over 4 months. When I’m ready can I just pour out the extract and refill the bottle with vodka to start another batch? Or do I have to strain it to reuse the beans.
Thanks!
Kelli Avila
Hi Nicole, that is totally up to you. If you want to keep the speckles of vanilla bean in your extract, don't strain it. I never do. But if you want a more refined extract, you can strain it. Yes you can then start another batch with the used vanilla beans, but I usually add in a few fresh ones as well. The article above the recipe talks about this, so give that a read! Let me know if you have any other questions.
Beth
Can you do anything with the “old beans” that you remove from the extract? Or do you toss them? Thank you!
Kelli Avila
I use them a few times, as the post discusses. Some people dry them out and blend them out. But I find by the time I've used them for extract, all the flavor has gone out and then it's just a little pointless to try to extract anything else.
AuntJoJo
🙏🏼 🙏🏼🙏🏼🙏🏼🙏🏼! I started my extract a long, long time ago (3 1/2 years) and have never strained it. I used a large bottle. We are traveling or I would verify the size, but know it is at least 1.25 liter and was a mid-grade vodka.
I actually used an exorbitant amount of beans (30) because I found B Grade that they were closing out because they were a little dry. They have always been submerged in the bottle, but I really could have used the information you compiled so eloquently back then!
I don’t know if it is good or bad, but I never split them before adding them to the bottle. I used a food grade (light duty) twine and tied each one so I could easily remove the bean(s) when wanting to make paste or use the caviar.
The few that I have removed for recipes have been really flavorful and I was able to squeeze quite a bit of it out and then used the hulls to make vanilla sugar.
As soon as we get home I will be shaking, straining and starting a new batch!
Jules
I love the fact that you mention that in order to be an extract it has to be 1oz of beans to 8oz of alcohol, however, you say it will be 5-8 beans. Because beans are different sizes, people must weigh their beans. 1oz could be as few as 3 beans or as many as 12 beans.
Marnie
Made this as gifts last year. Was a huge hit!!
Kelli Avila
Awesome! So happy to hear! - Kelli
Lynn
This was the most comprehensive explanation I’ve ever seen and read. Thank you! I made vanilla extract last year after seeing someone on IG make a post but her explanation was vague at best.
Wish I had your info then!
This was excellent!
I used Tito vodka in mine, btw.
Kelli Avila
Lynn, thank you for the kind words! And yes to the Tito's! It's my fav! -Kelli
Tamara Birch
Waiting impatiently 🙏👍
Mary Fry
I made my first bat h but will age it until Christmas.
Terica
Excellent and precise recipes so many are not specific on the fact you need 1 oz beans per 8 oz alcohol to be considered a vanilla extract per FDA standard. The only difference is I choose to keep my beans completely whole. Thanks for the excellent recipe!
Tammy
I love how thorough this was. I just completed my first batch (started it back in June) and will never go back to store bought vanilla. I’m starting my second batch now and have sent your link to a few other family/friends that were inspired by my experience. Thanks for sharing!
Kelli Avila
Thanks for sharing, Tammy! The flavor of homemade is just so much better (and can't beat the price!)