

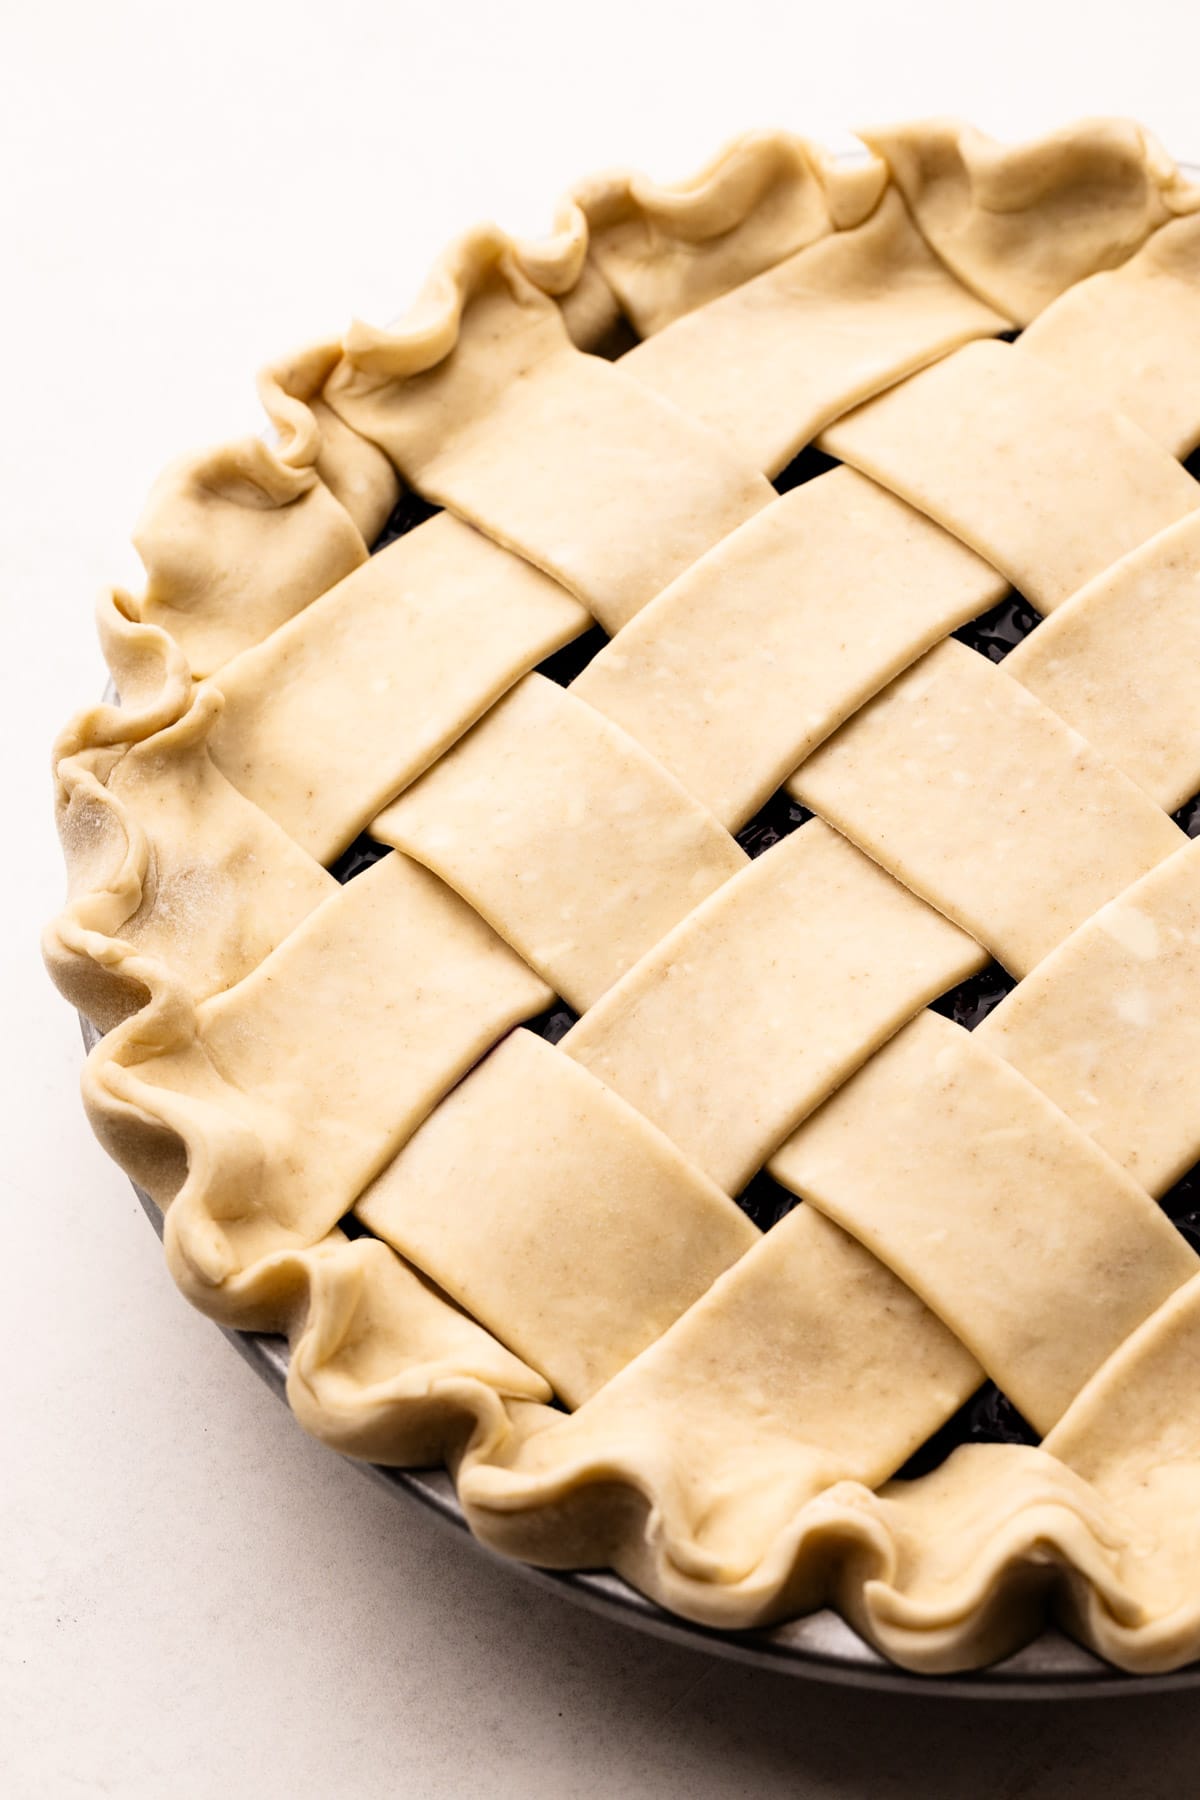
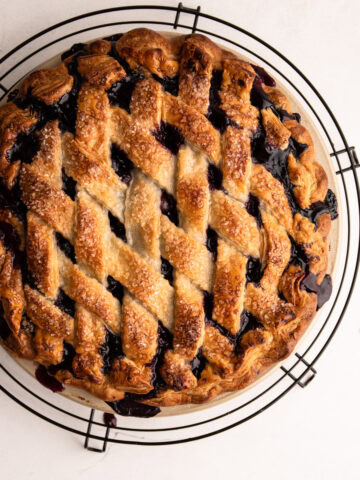
This Cream Cheese Pie Crust is made with both butter and cream cheese to make for a super tender, delicious and easy-to-make pie pastry.
Want to save this recipe?
Enter your email & I'll send it to your inbox. Plus, get weekly updates from me!
In both my savory cooking and sweet baking, I'm a big fan of adding cream cheese (like in this Key Lime Pie or Spinach Artichoke Quiche). Incorporating cream cheese not only enhances the taste but also contributes to the texture of whatever it is you are adding it to, and that is definitely the case with this Cream Cheese Pie Crust.
It not only improves the flavor by adding a creamy tang to it, but it makes the dough easier to work with, especially when it comes time to rolling it out. You'll find the dough to be slightly softer than an all-butter crust because cream cheese has more liquid in it than butter does (This is also the case with Sour Cream Pie Crust, too). If you struggle to roll out all butter crust, than this one might just be the perfect one for you.
This cream cheese pie crust was one of the first recipes I added to this website many years ago. Back when I made pies in bakeries, a butter cream cheese hybrid crust was my go-to recipe. This recipe is inspired by one by Rose Levy Beranbaum that includes the use of cream cheese. My own pie baking is greatly influenced by her work, especially from The Pie and Pastry Bible.
Over the years, this recipe has shifted, culminating in the one featured here that is a flavorful, tender and easy-to-work-with pie dough, perfect for both beginners and more experienced bakers.
So, let's get to making it, shall we? The article below is jam packed full of useful information. You can jump around using the menu below, or skip to the end of the article for the full recipe.
Jump to:
Ingredients Needed and Substitutions
Here is a brief overview of the ingredients needed for this recipe. The full recipe with quantities is listed below this text in the recipe card.
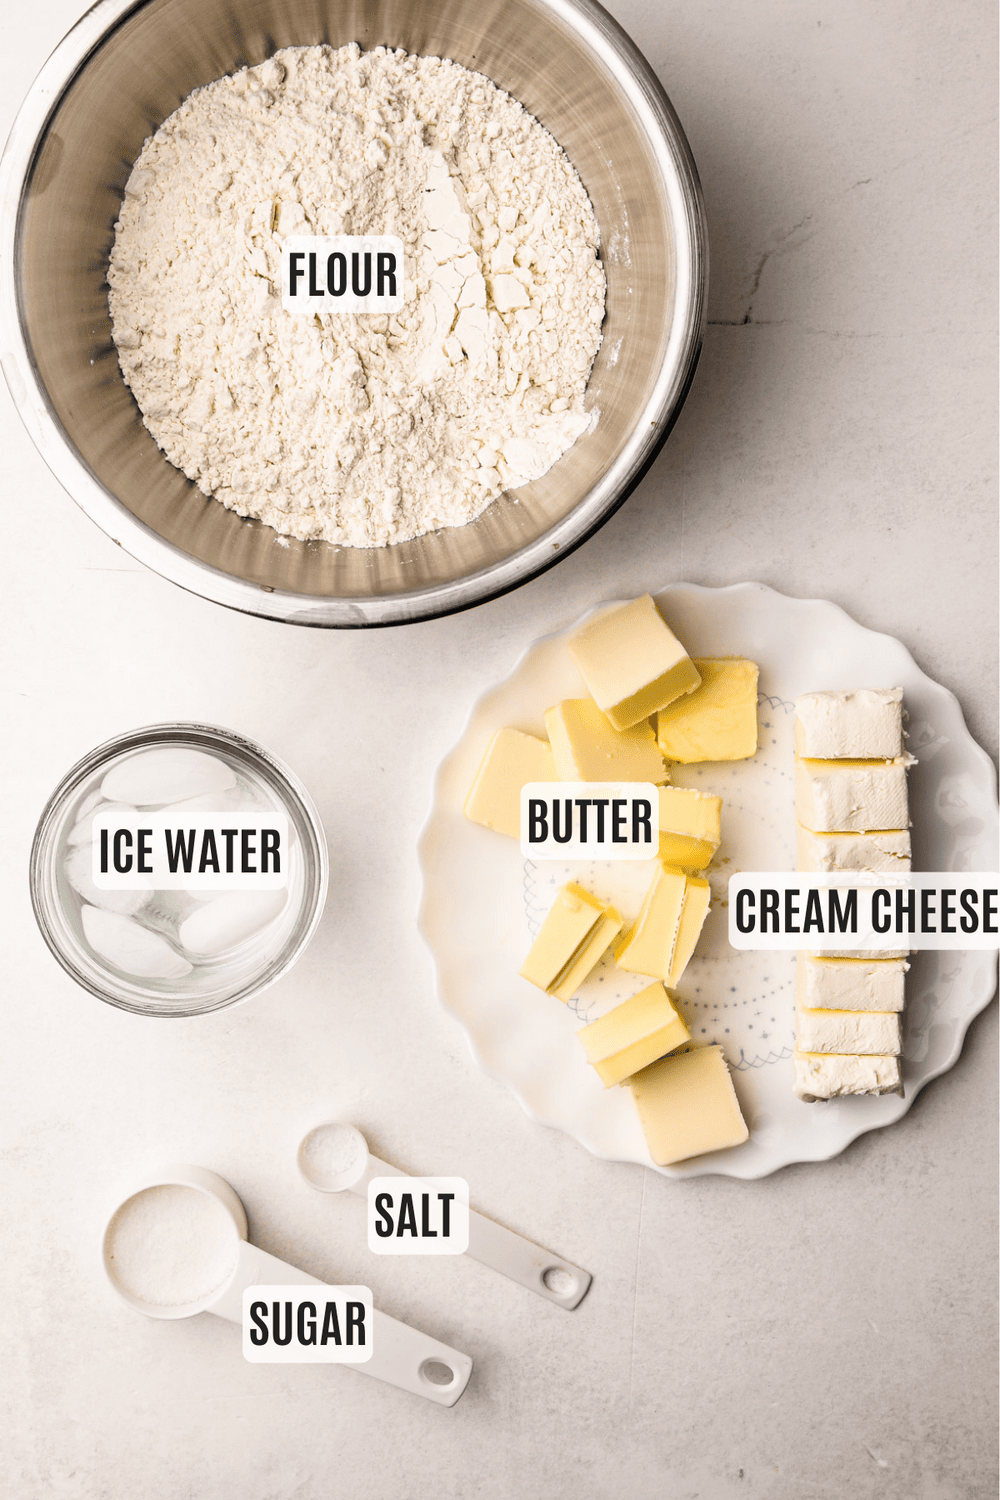
- all-purpose flour
- butter
- sugar (just a touch)
- cream cheese (make sure to use "block" cream cheese and not whipped cream cheese)
- ice water
Step-By-Step Recipe Overview
This is a quick visual overview of the steps needed to make this recipe, and not intended to be the full recipe. The full recipe is located towards the bottom, keep scrolling!
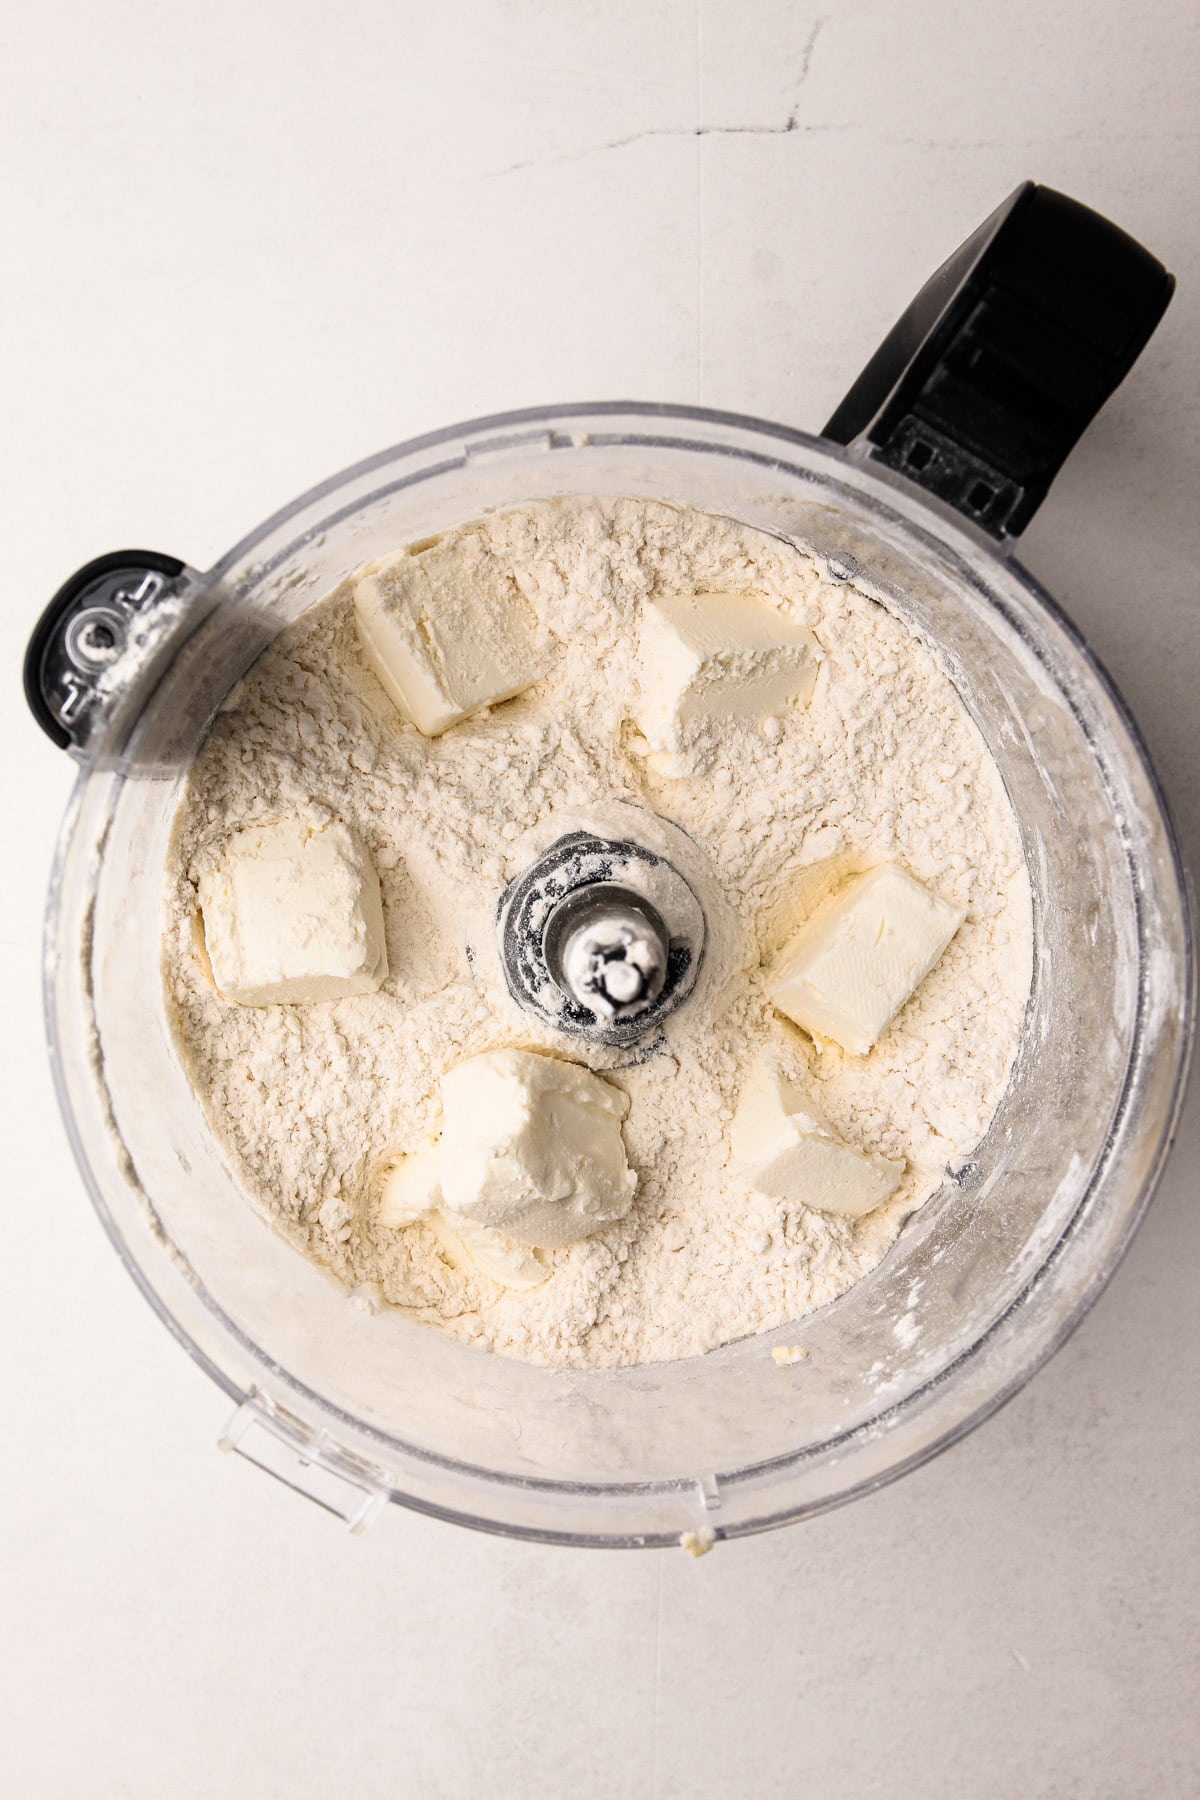
Step 1: Add the dry ingredients and the cream cheese.

Step 2: Pulse until the cream cheese is blended into the flour.
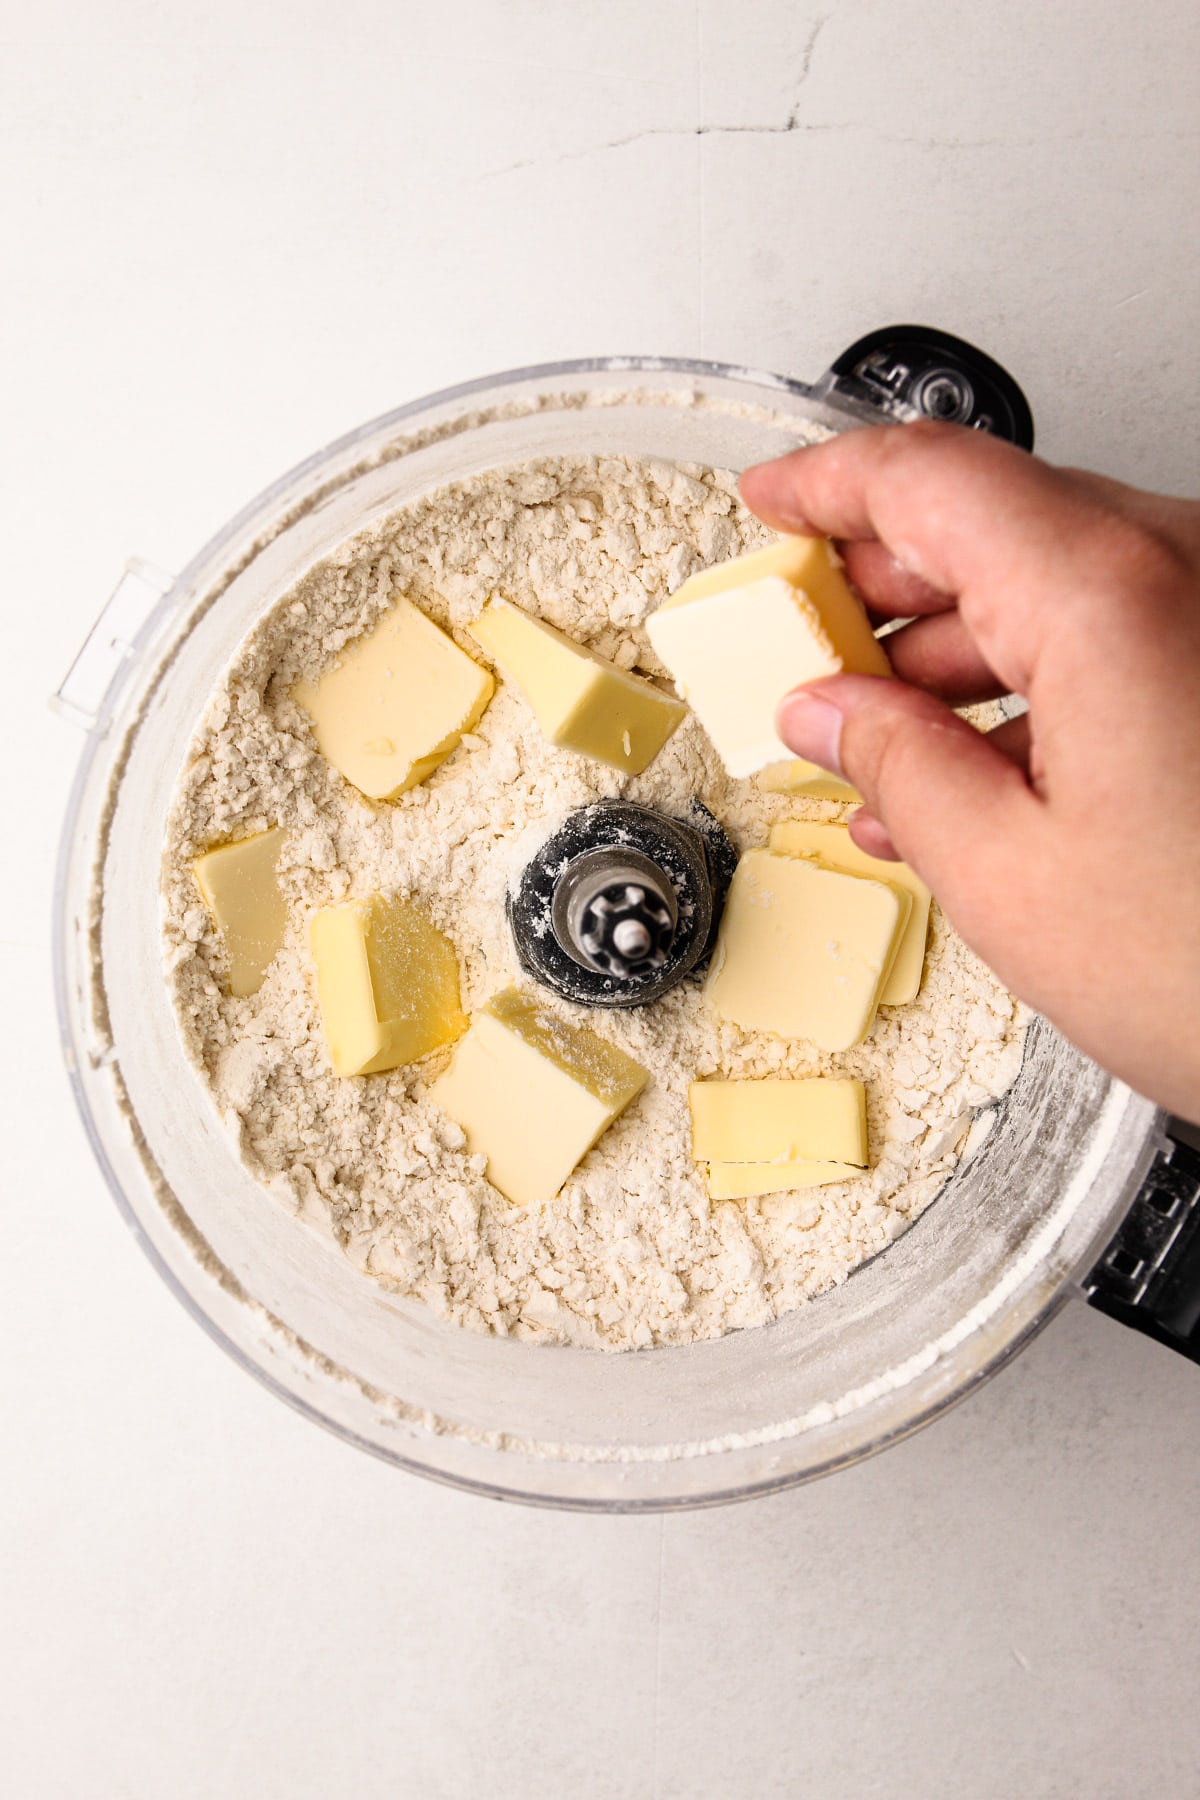
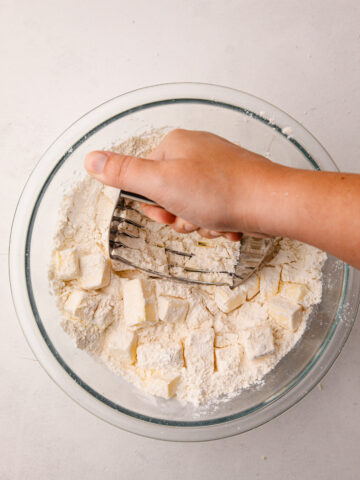
Step 3: Add the butter.
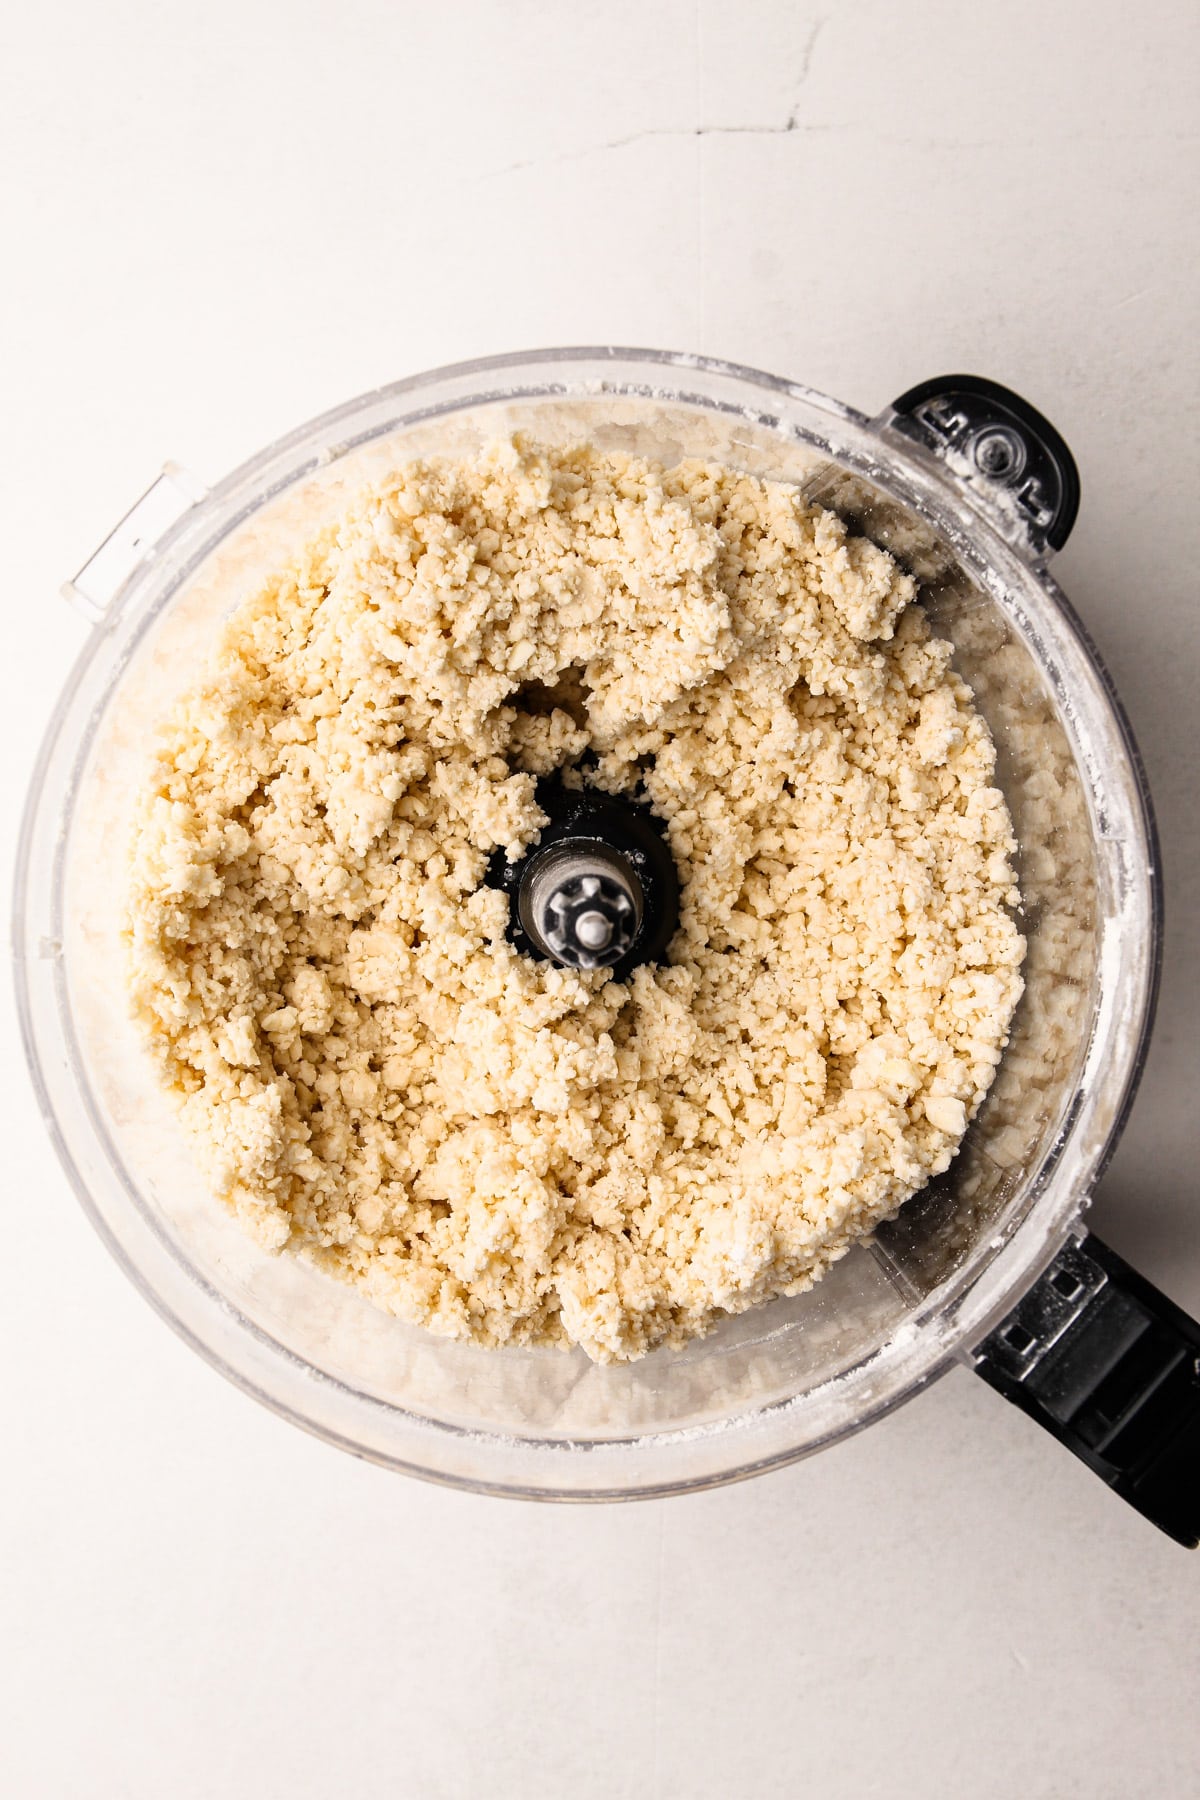
Step 4: Pulse until the butter is broken down into small pieces about the size of a pea. Stream in the water, then stop once all the water is added. Don't let the dough gather around the blade.
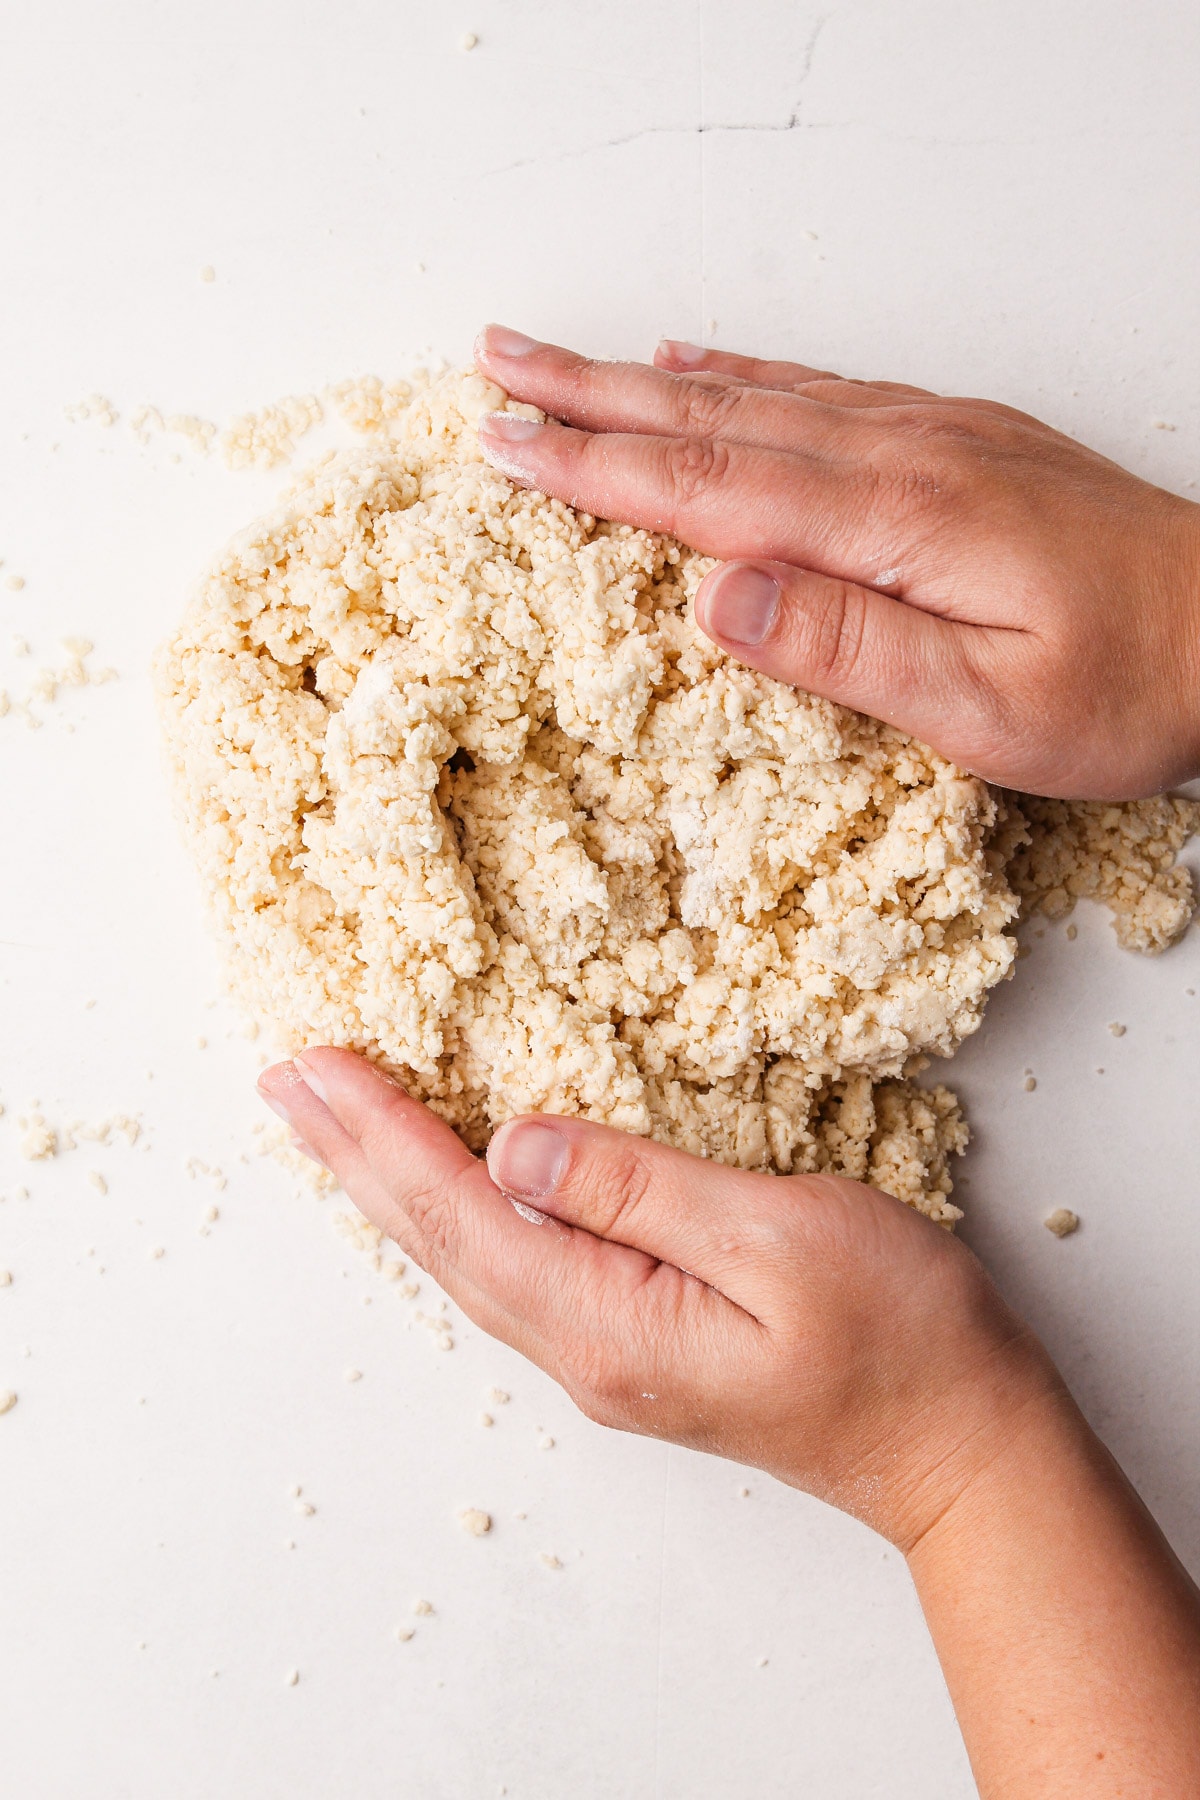
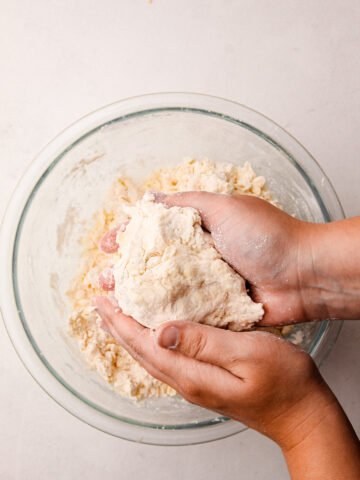
Step 5: Gather the dough together.
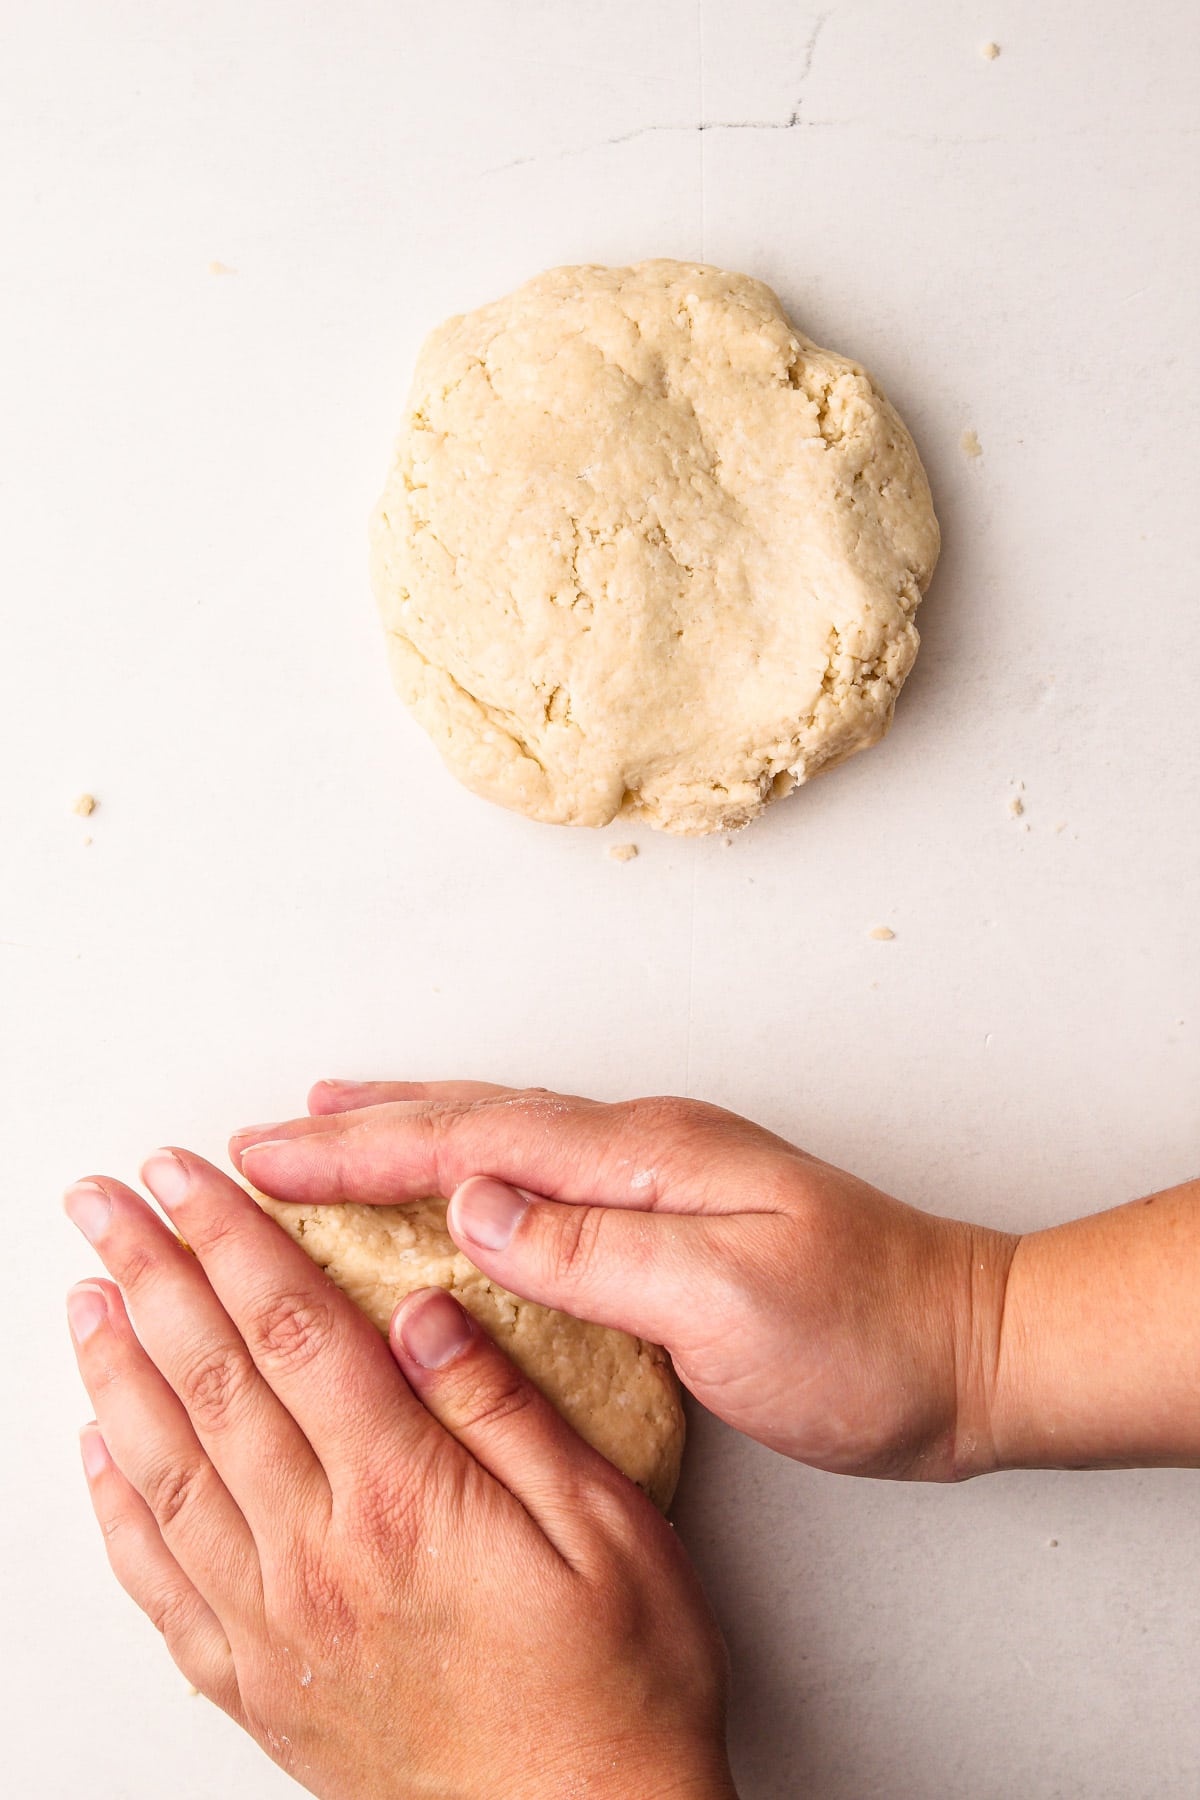
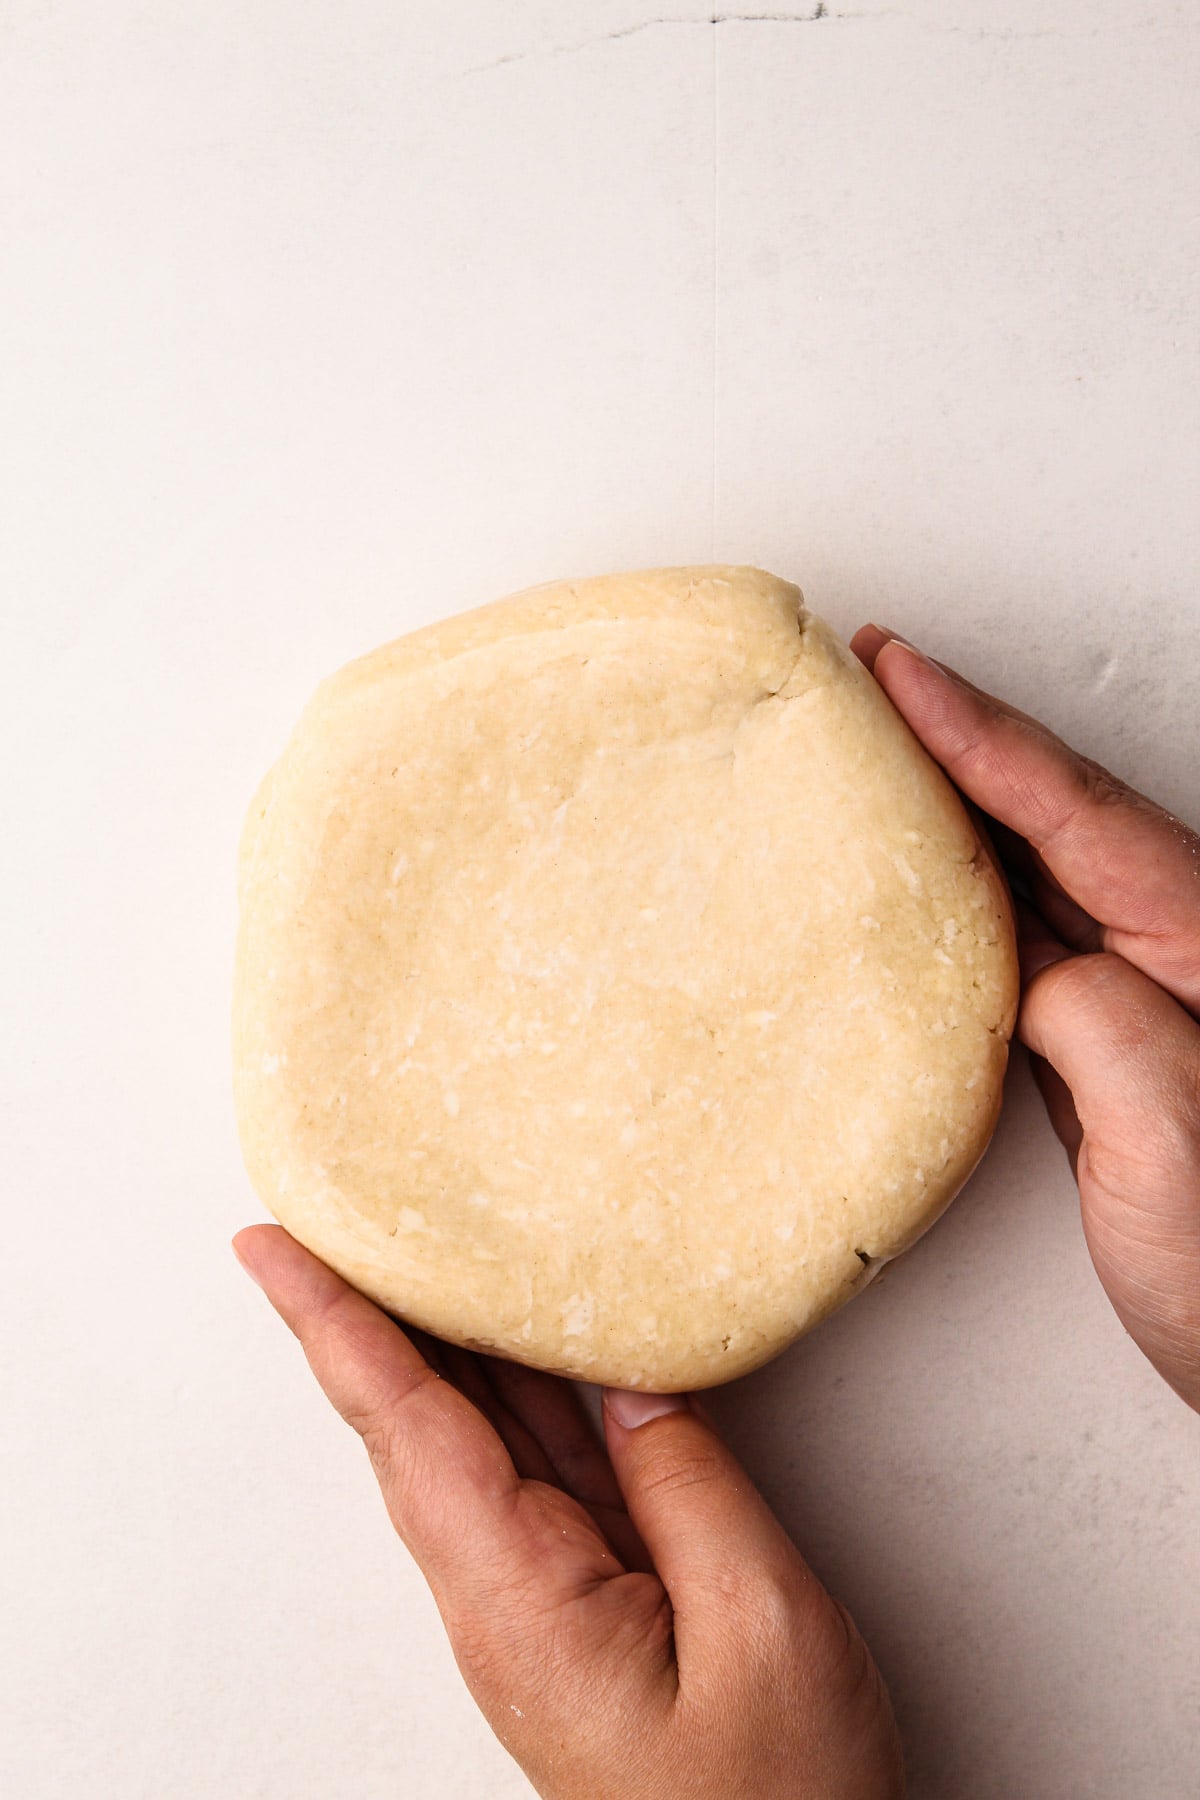
Step 6: Divide in half and wrap tightly in plastic. Let it rest, ideally overnight.
Kelli's Best Tips
Using a food processor for making pie crust takes a lot of guesswork out of this infamously tricky task. Pie pastry made in a processor doesn't result in the flakiest crust, but it does result in tender pie dough that is simple to make with just the push of a button. The dough hydrates easily so you won't have to add any extra water and it's not as messy as making it by hand. Here are some tips for success:
- Mise en place: Get all of the ingredients ready and have a clear a work surface. This is a pretty important step when making pie dough because you want to move quickly while you are actually making the dough. Gather all of your ingredients and prep anything that needs to be prepped (such as cutting the butter/cream cheese). Make sure the butter, cream cheese and water is cold, especially if your kitchen is warm.
- Make sure not to over-process the dough. The dough shouldn't quite look like dough at this stage. The photo above is what it should look like: crumbs.
- Once you dump the dough onto your work surface, if you do find any unhydrated spots of flour, use a kitchen-safe spray bottle to spritz them (or drip on a bit of water. My food processor often hides a bit of flour underneath the blade, so I always have to hydrate that bit.
- Divide the dough in half, place in plastic wrap and wrap tightly. Roll out the dough in the plastic wrap to create an airtight seal and let rest for at least 2 hours, but overnight is even better.
Storage Information
Store the tightly wrapped pie pastry in the refrigerator for about 2-3 days. It can be frozen for 3-6 months. Thaw out frozen dough in the refrigerator the night before you plan to use it.
What Pies Work Well With this Crust
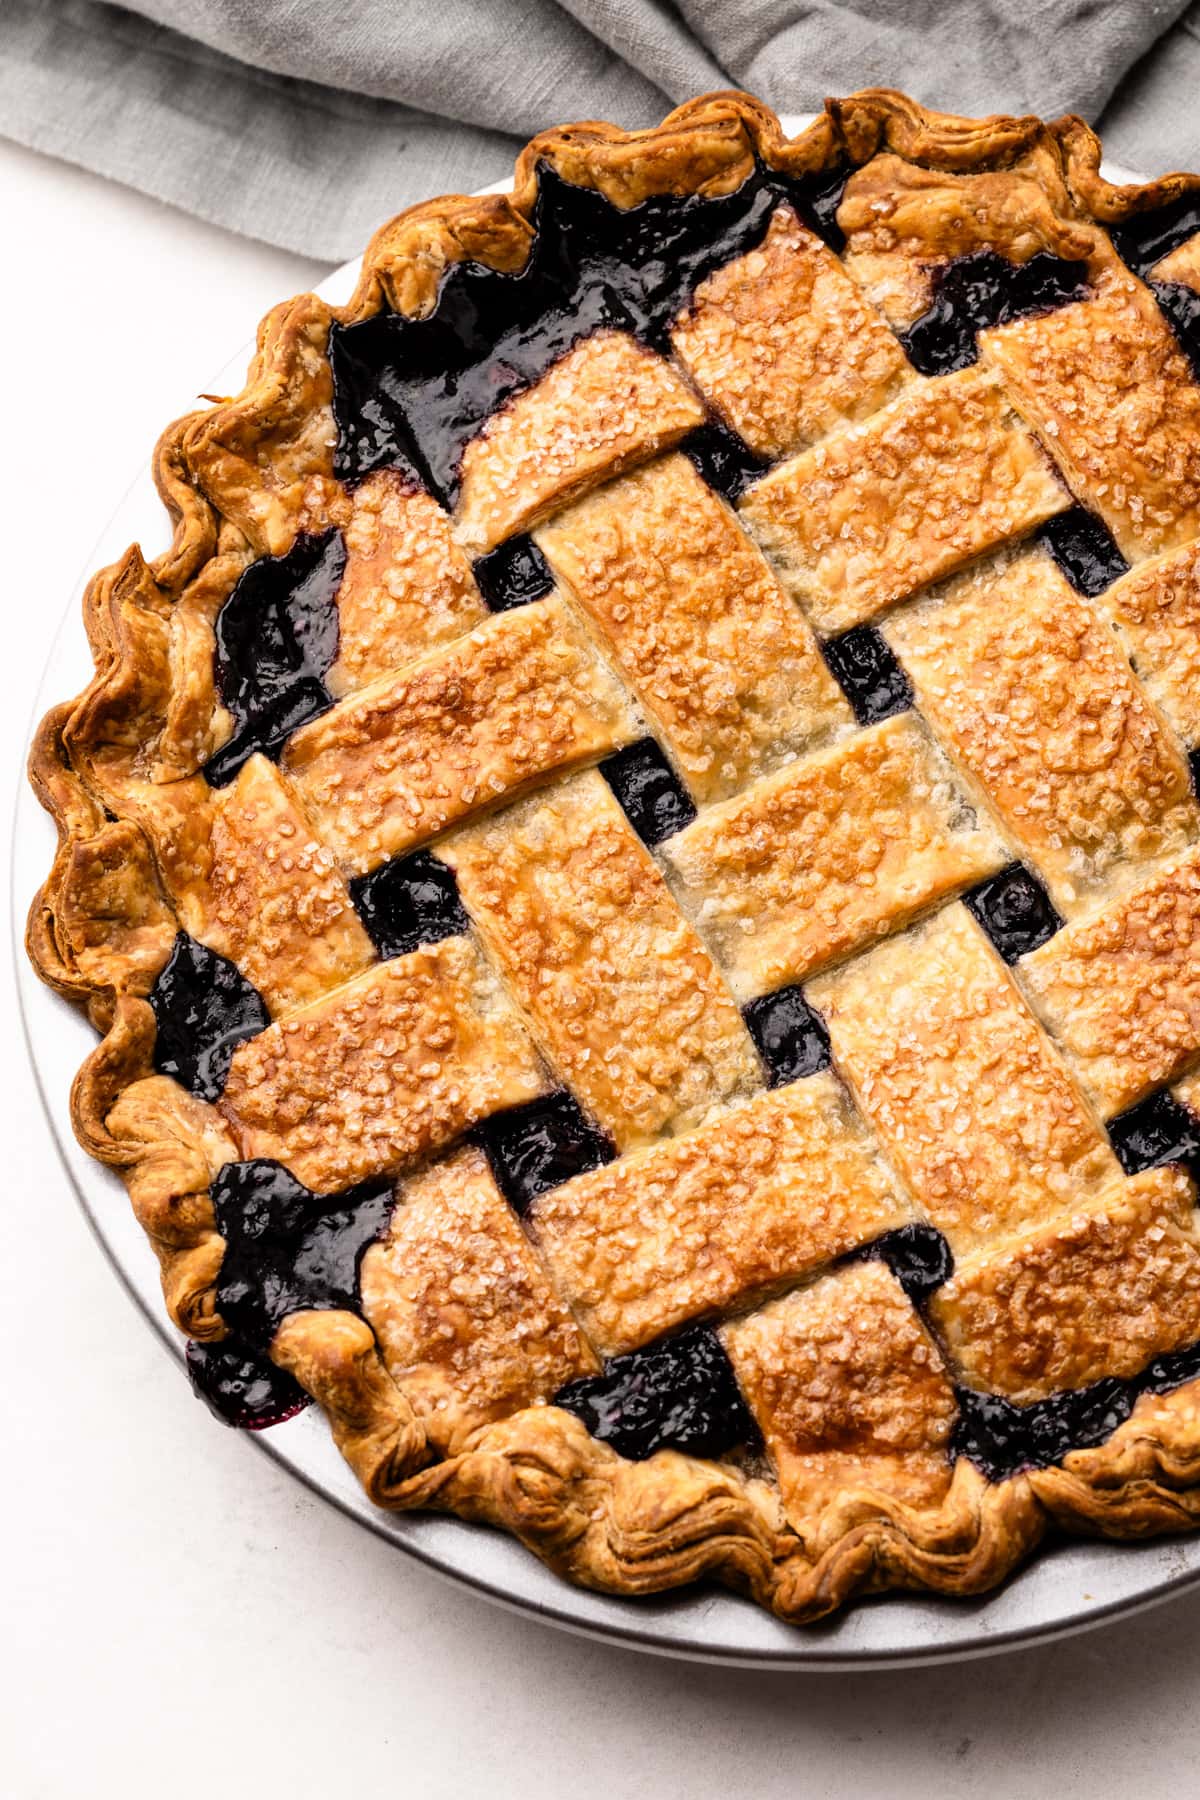
This pie is perfect for classic fruit pies or savory pies that will be served at room temperature or warm. I don't typically recommend pairing butter pie crusts with any filling recipe that needs to be served cold, like a cream pie, but this butter cream cheese pie is my one exception. This pie isn't super flaky, so it will work ok with a refrigerated pie dough. Though, I still contend there are better options for pies meant to be served from the refrigerator, like this Pâte Sucrée (Sweet Pie Crust) recipe or this Pâte Sablée (Sweet Tart Dough).
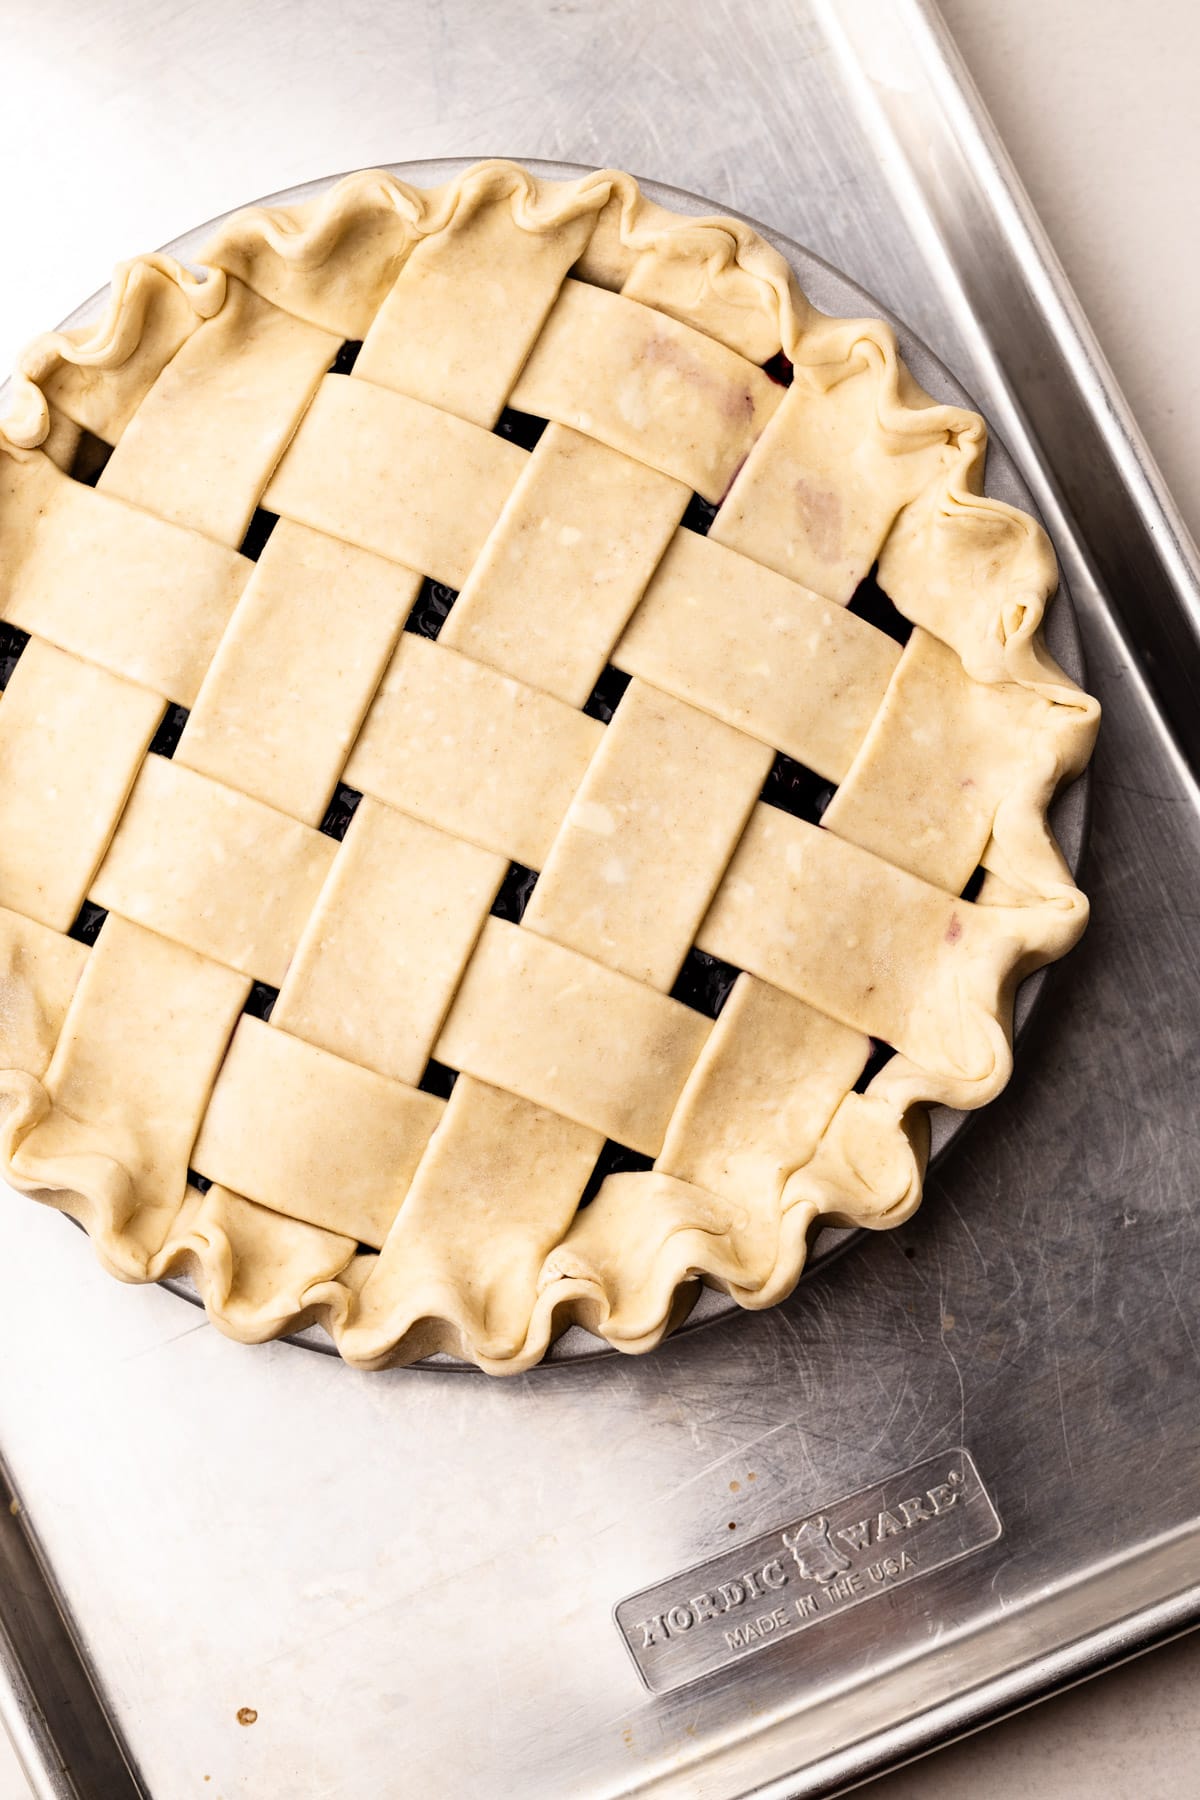
Baking Cream Cheese Pie Crust
Almost as important as how you prepare pie pastry is how you bake it. A butter cream cheese pie crust should be thoroughly chilled before baking, and baked at a high temperature, ideally around 425ºF. However, not all pie fillings can be baked at that high of a temperature, which means that sometimes the pie crust will need to be partially or fully blind baked. On this website, each pie recipe indicates how the pie crust should be baked, so reference those directions for pies using this flaky pie crust.
More Pie Crust Recipes

Pie Recipes That Pair Well
- Cranberry and Blueberry Pie
- Sour Cherry Pie Filling
- Ginger Strawberry Rhubarb Pie
- Sweet Cherry Pie
- Spiced Blackberry Pie
I am so honored when you make a recipe from my site! If you make this Cream Cheese Pie Crust, please leave a star ⭐️⭐️⭐️⭐️⭐️ rating with your experience! If you have any questions about this recipe, feel free to comment here, and tag me on instagram!
Full Recipe
Cream Cheese Pie Crust
This Cream Cheese Pie Crust is made with both butter and cream cheese to make for a super tender, delicious and easy-to-make pie pastry.
- Prep Time: 00:15
- Total Time: 00:15 plus chilling time
- Yield: 2-9" dough disks
- Category: Pie Crust
- Method: Food Processor
- Cuisine: American
Ingredients
- 3 cups (360 grams) all-purpose flour
- 1 tablespoon granulated sugar
- ½ teaspoon (2 grams) coarse kosher salt
- 8 tablespoons (113 grams) chilled unsalted butter chilled, diced
- 8 tablespoons (90 grams) full-fat brick cream cheese
- ½ cup ice water, plus more as needed
Instructions
- Add the flour, sugar and salt to the bowl of a food processor.
- Pulse until combined.
- Add in cream cheese and pulse 5 times. Add in cold butter and pulse 5-7 times.
- With the motor running quickly pour in the water. It should look crumbly!
- Empy the dough onto a work surface. Divide the pile into two, and shape each dough into a disk.
- Place in a piece of plastic wrap and wrap tightly.
- Using a rolling pin roll the dough out until until it stretches to the corner of the plastic wrap.
- Refrigerate for at least 2 hours, but preferably overnight
Notes
Have a question or looking for tips? The text written above the recipe is always a great first place to start! This recipe was developed with love, and I always include loads of explanations, tips, step-by-step photos and technical advice shared before the recipe.
Weighing your flour is the most accurate way to measure. If you aren't going to weigh it, make sure to spoon it into the cup, and then level it off. If you scoop the flour out with the measuring cup and then level, it could change the outcome of the final product.
This recipe was tested using Diamond Crystal coarse kosher salt. If you use Morton's kosher salt or fine salt decrease by about half for volume, or use the same amount by weight.
Recipe inspired from Rose Levy Beranbaum
Some of the links on this page may be affiliate links. Everyday Pie is a participant in the Amazon Associates Program. As an Amazon Associate I earn from qualifying purchases, at no extra cost to you.
Kelli Avila
Hi Barbara! Thanks for catching that. I used to previously call for apple cider vinegar (like I do in this pie crust: The Best Butter Pie Crust ) but I decided to leave it out for a few reasons. You absolutely can add in some, but no more than 2 tablespoons of it. So yes, you can replace some of the water with apple cider vinegar (which helps limit gluten formation and adds another element of flavor to the pie), but just 1-2 tablespoons. Hope that helps!
Barbara
Thank you for such a quick answer. I will do that and let you know how it turns out! I haven't made pie dough in many years, but am trying to satisfy a request from my son-in-law.
Karen
Kelli:
I don't have a food processor. Is there a different method I can use to achieve the same results?
Kelli Avila
I think a pastry blender might work ok!
Kelli Avila
Yes, omit the cornstarch and add in another 14 grams of pastry flour.
Alyssa
As always kelli has another delicious option for pie crust. Delicious!
Kelli Avila
I'm glad you like it! It's a favorite of mine too 🙂
Linda
My crust shrunk and the filling went over the edge of the crust and went between the crust and pan. I am new to pie crust. What did I do wrong?
Kelli Avila
Hi Linda! Sorry for your pie fail, BUT it's an opportunity to learn, so I'm glad you came back and asked. What filling did you make in it? More than likely, what happened is that your pie crust was too warm. The key to baking pie crust is a simple formula: cold pie crust and a hot oven. Was your crust properly chilled, or had it been sitting out for a while? Or was your kitchen very hot? If this doesn't sound like was the case for you, I'm happy to help you keep troubleshooting.
Karen
Feel like there should be more to this recipe. After you roll it out to the edge of the plastic and refrigerate, what’s next? The picture shows puffy little rounds. Do you use like a regular pie crust or something else?
Kelli Avila
Hi Karen. This is a recipe just for the dough! What information do you feel like it's missing?
Kelli Avila
Hi Nate! The recipe is correct on this, 12 tablespoons butter and 6 tablespoons of cream cheese! I've made some adjustments to the original one, which is why those comments reflected that. I've deleted them to avoid any confusion.
Ricki Hallock
Now I’m confused cuz the recipe I’m reading says 8 tbsp of butter and 8tbsp of cream cheese. Now you’ve got different measurements!
Kelli Avila
I'm confused about what you are confused about? The recipe calls for both butter and cream cheese. Can you clarify for me what you are confused about? -Kelli
Annie
I just made this recipe yesterday and it was spectacular! Tender, flaky, delicious! And so easy to roll out. My husband said “You NEVER have to try a different dough recipe - cause this is perfect.” And that’s saying something because I have tried SO MANY recipes. Thank you for this!
Kelli Avila
Annie! I'm so glad you loved it! Thanks for stoping by to share.
Linda
Would this be good for a pumpkin pie? I do not refrigerate mine.
Kelli Avila
Yes, this would be a great choice for pumpkin. If you did need to refrigerate it, just be sure to leave it at room temperature for the chill to come off the pie crust, or you can warm it briefly in a low oven. Hope you enjoy!