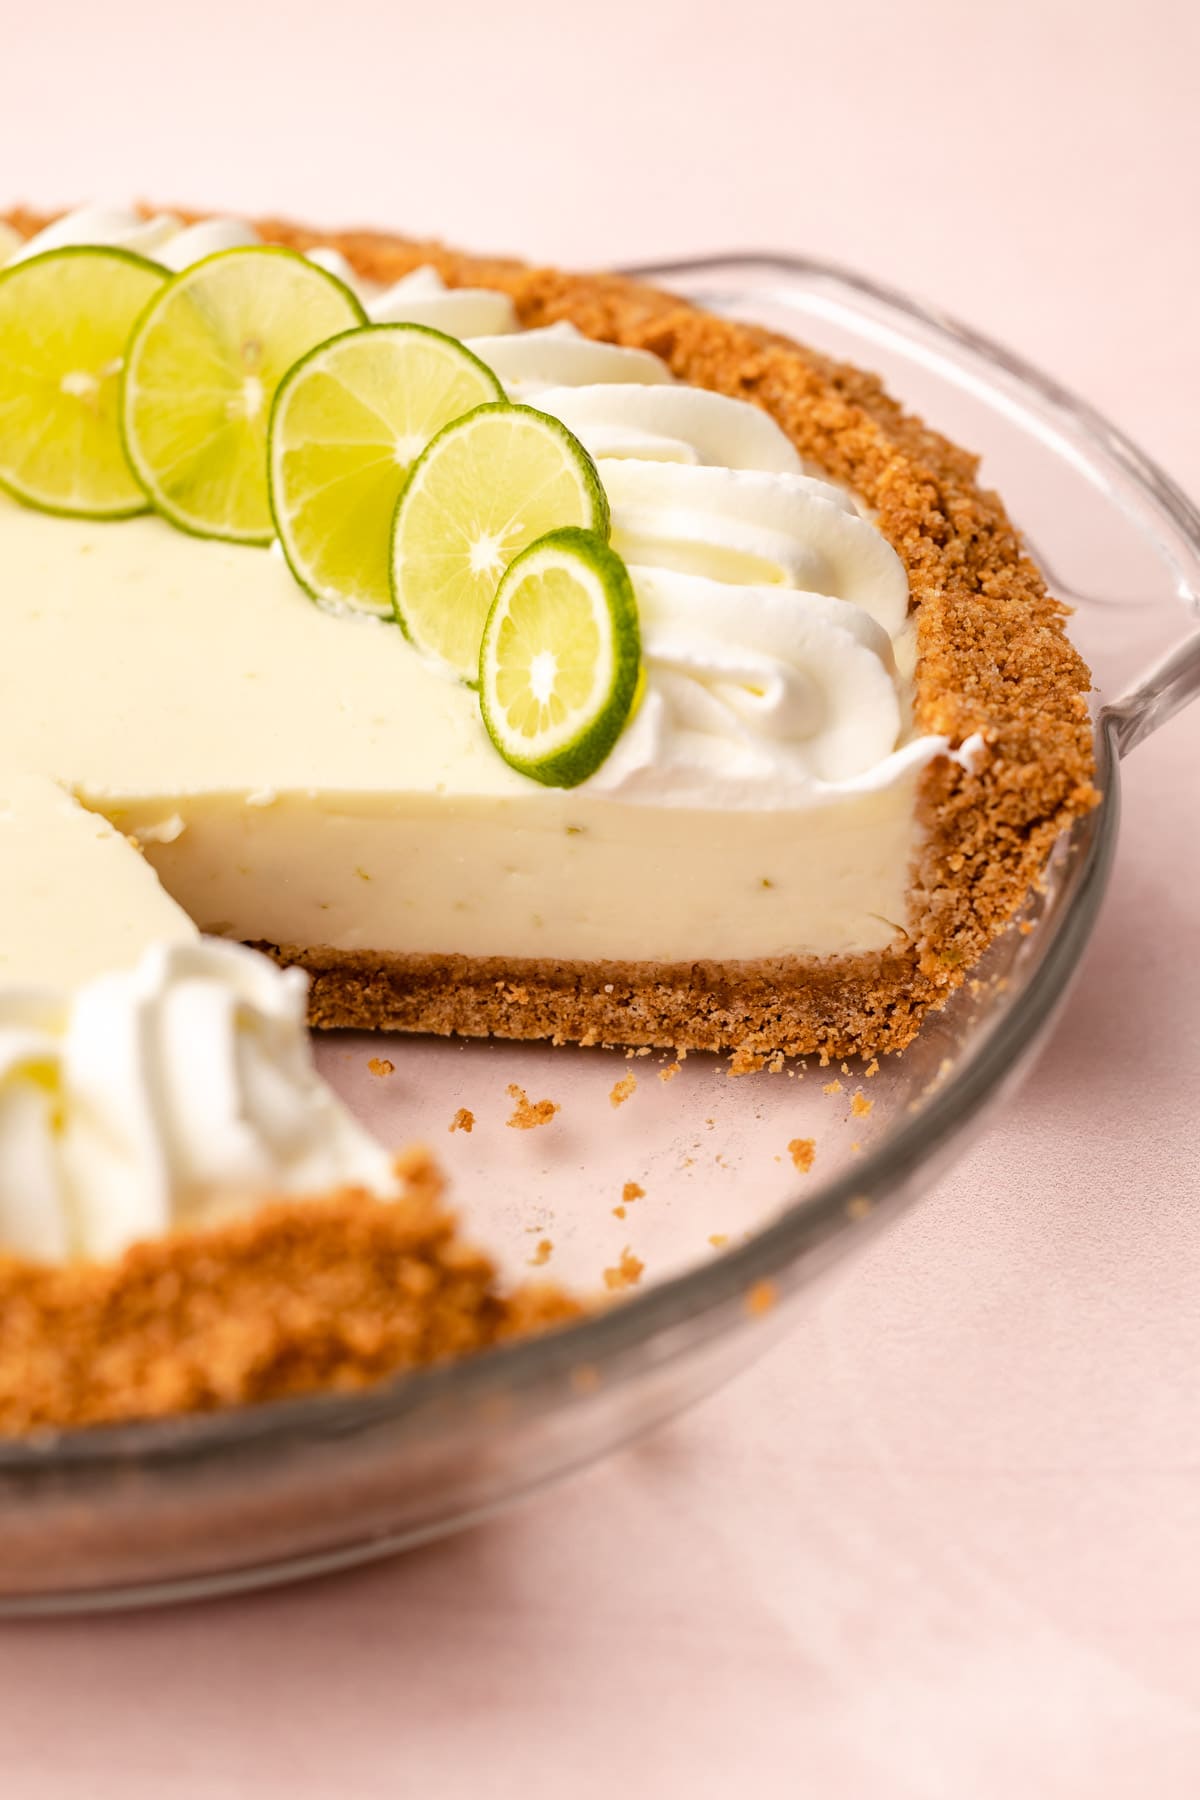
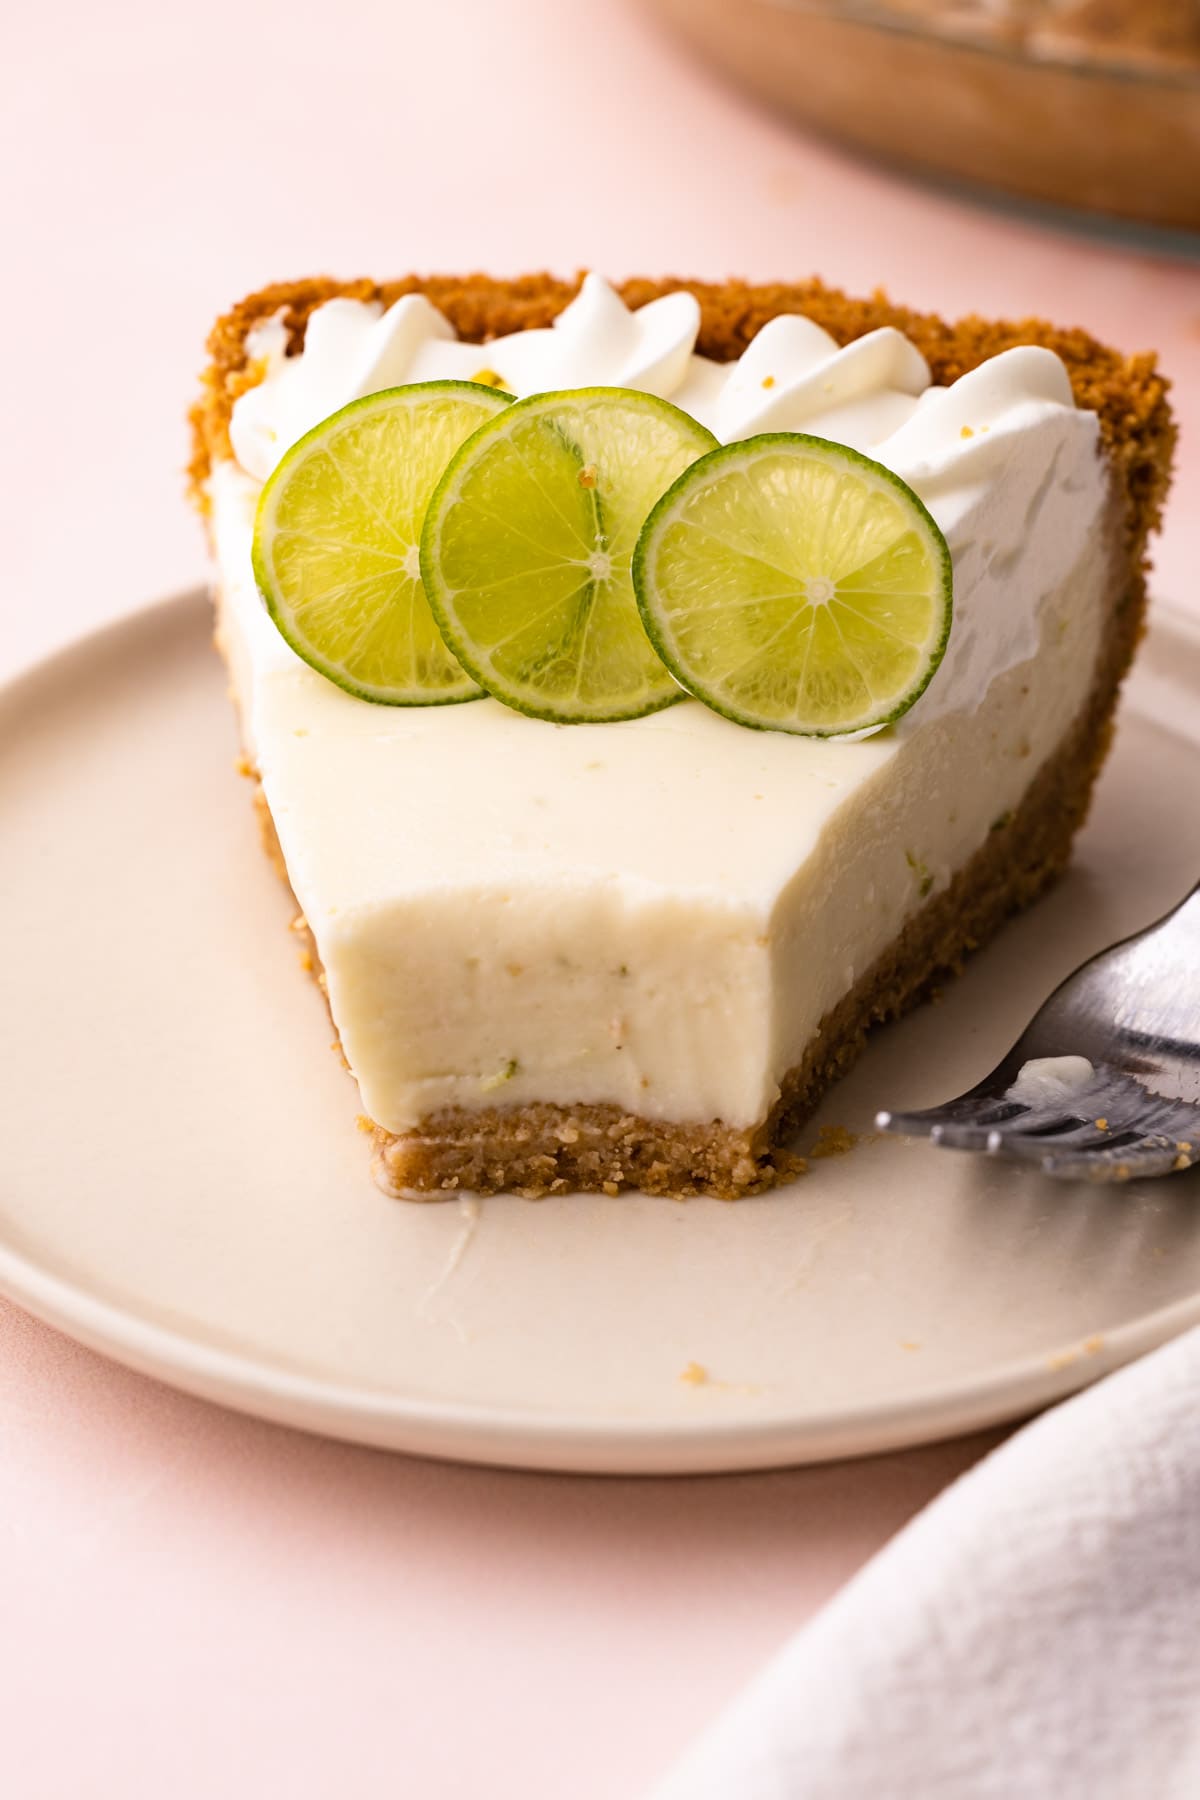
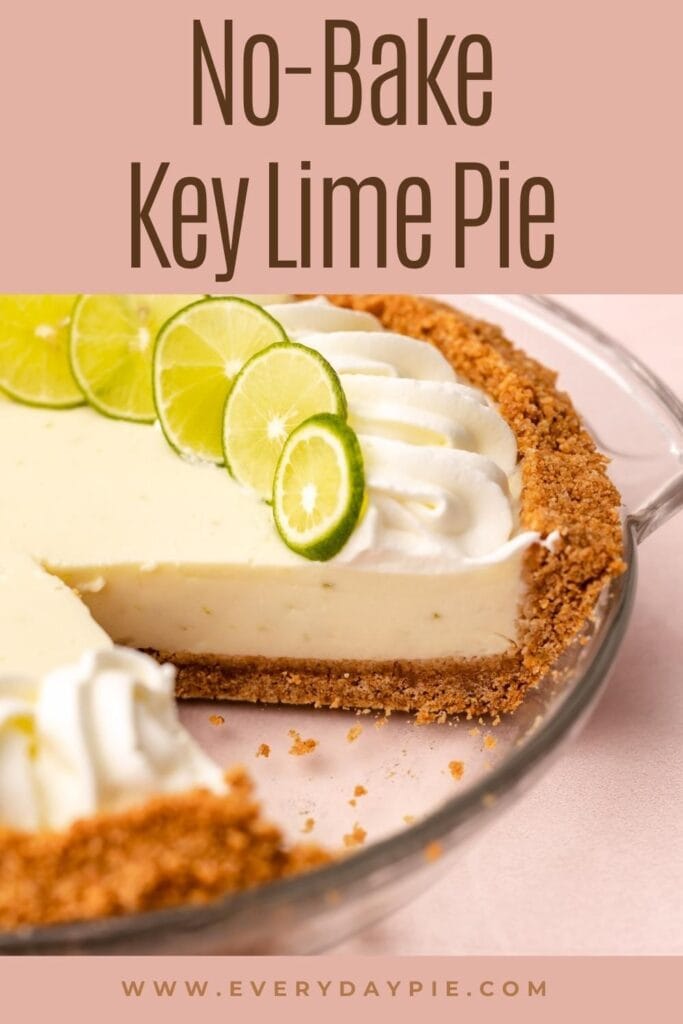
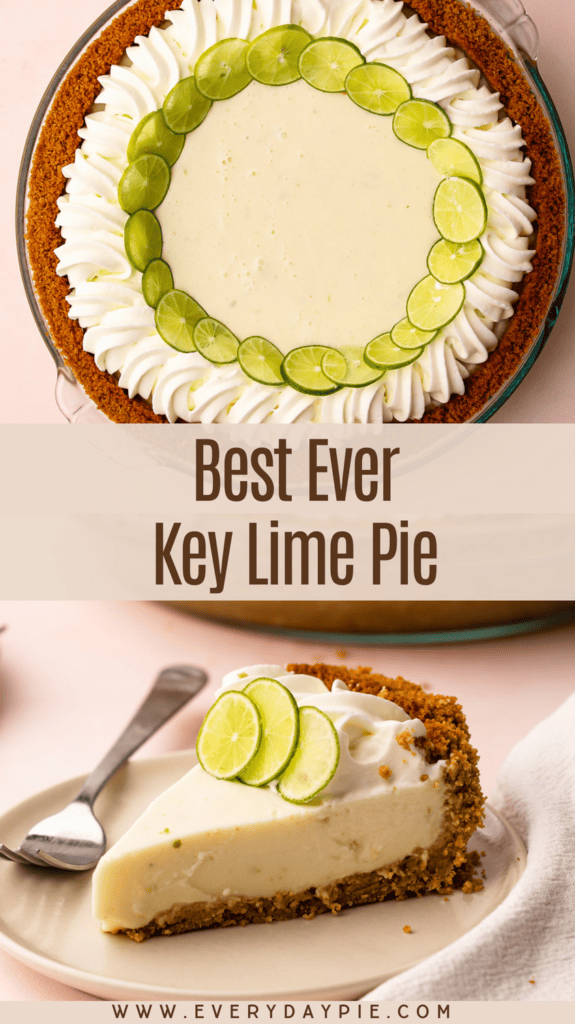
This unique no-bake Key Lime Pie recipe has a bright flavor, perfectly balanced between sweet and sour, with a creamy filling and a thick graham cracker crumb crust.
Want to save this recipe?
Enter your email & I'll send it to your inbox. Plus, get weekly updates from me!
Everybody is familiar with that classic three-ingredient Key Lime Pie that is ubiquitous. In fact, I bet if you google Key Lime Pie you will be hard-pressed to find a recipe that is something other than that three-ingredient recipe. And I’ve had that before, it’s good. But I’ve always found the taste very one dimensional: sweet. I love sweetened condensed milk as much as the next person, but what I want to taste in a key lime pie is key lime juice which is so nuanced and florally and lovely. And I believe that is exactly what this Key Lime Pie recipe does!
This filling in this Key Lime Pie is similar to a panna cotta, though not exactly. It does use gelatin to set the pie, but it’s really simple to make. It also happens to be a no-bake dessert. By setting the pie with gelatin and skipping the step of the oven, the key lime floral flavor is really able to shine through.
Unencumbered by eggs and the heat from the oven, this creamy filling has an amazing texture and super bright flavor.
You can make this pie from start to finish in about a half an hour (minus the chilling time before serving) and without ever turning on the oven. I’m pretty sure that makes this the perfect warm-weather sweet treat.
So, let's get to making it, shall we? The text below offers tons of tips and helpful notes, or you can scroll to the bottom to grab the recipe and get started!
More of a visual person? Check out the video of me making it below, located right above the recipe!
Behind the Scenes of the Development Process
From the start, I was determined to create a unique Key Lime Pie recipe that stands apart from the standard ones that all seem to be the same. However, I also wanted to maintain a classic taste while enhancing the key lime flavor. I have to confess that I didn't have a clear plan on how to achieve this at the beginning.
The very first test was based on my Lemon Meringue Pie recipe. It was a total fail. The texture was wrong, the flavor was wrong and it wasn’t pretty. But I did like the idea of making the recipe on the stovetop, so I started narrowing down stovetop techniques.
So I played around with some cornstarch based puddings, but never was happy with the result. I then moved on to the idea of maybe making a posett filling. A posett is a british no-bake pudding that uses citrus to “set” the custard. I ended up loving the flavor of that, it was so bright and really let the nuances of the key lime flavor shine through But again the consistency was all wrong. The citrus wasn’t strong enough to set the filling the way I was hoping. It was like a thick soup. I gave up after three tries.
But, those posett fails led me to the idea to make a similar filling based on a similar dessert: panna cotta. Panna cotta is a creamy eggless no-bake custard that is set with gelatin. However, there was one problem with this: I hated panna cotta. Ha!
But, what I hated about panna cotta is that it often feels too light, with a very jiggly filling that reminded me of jello, in a bad way.
So I played around with the recipe a bit, and ended up adding cream cheese into the filling. This introduced a thicker texture and mouthfeel to the key lime filling.
After a few more tweaks, such as using an immersion blender to bring the mixture together, I was left with just the filling I was looking for. And though it took a few months to get this recipe, I think the final results show it was worth it!
Ingredients Needed
Here is an overview of the ingredients needed for this recipe. The full recipe is listed below in greater detail.
- key limes (see more below)
- heavy cream
- unsalted butter
- granulated sugar
- graham crackers
- salt
- granulated gelatin (see section below for more on gelatin)
- whole milk
- cream cheese
- vanilla extract
Are Key Limes Absolutely Necessary?
Let's address the elefant in the room--is it really necessary to use key limes? My official answer is: no.
But here is why I think you should try: your pie is going to taste so much better.
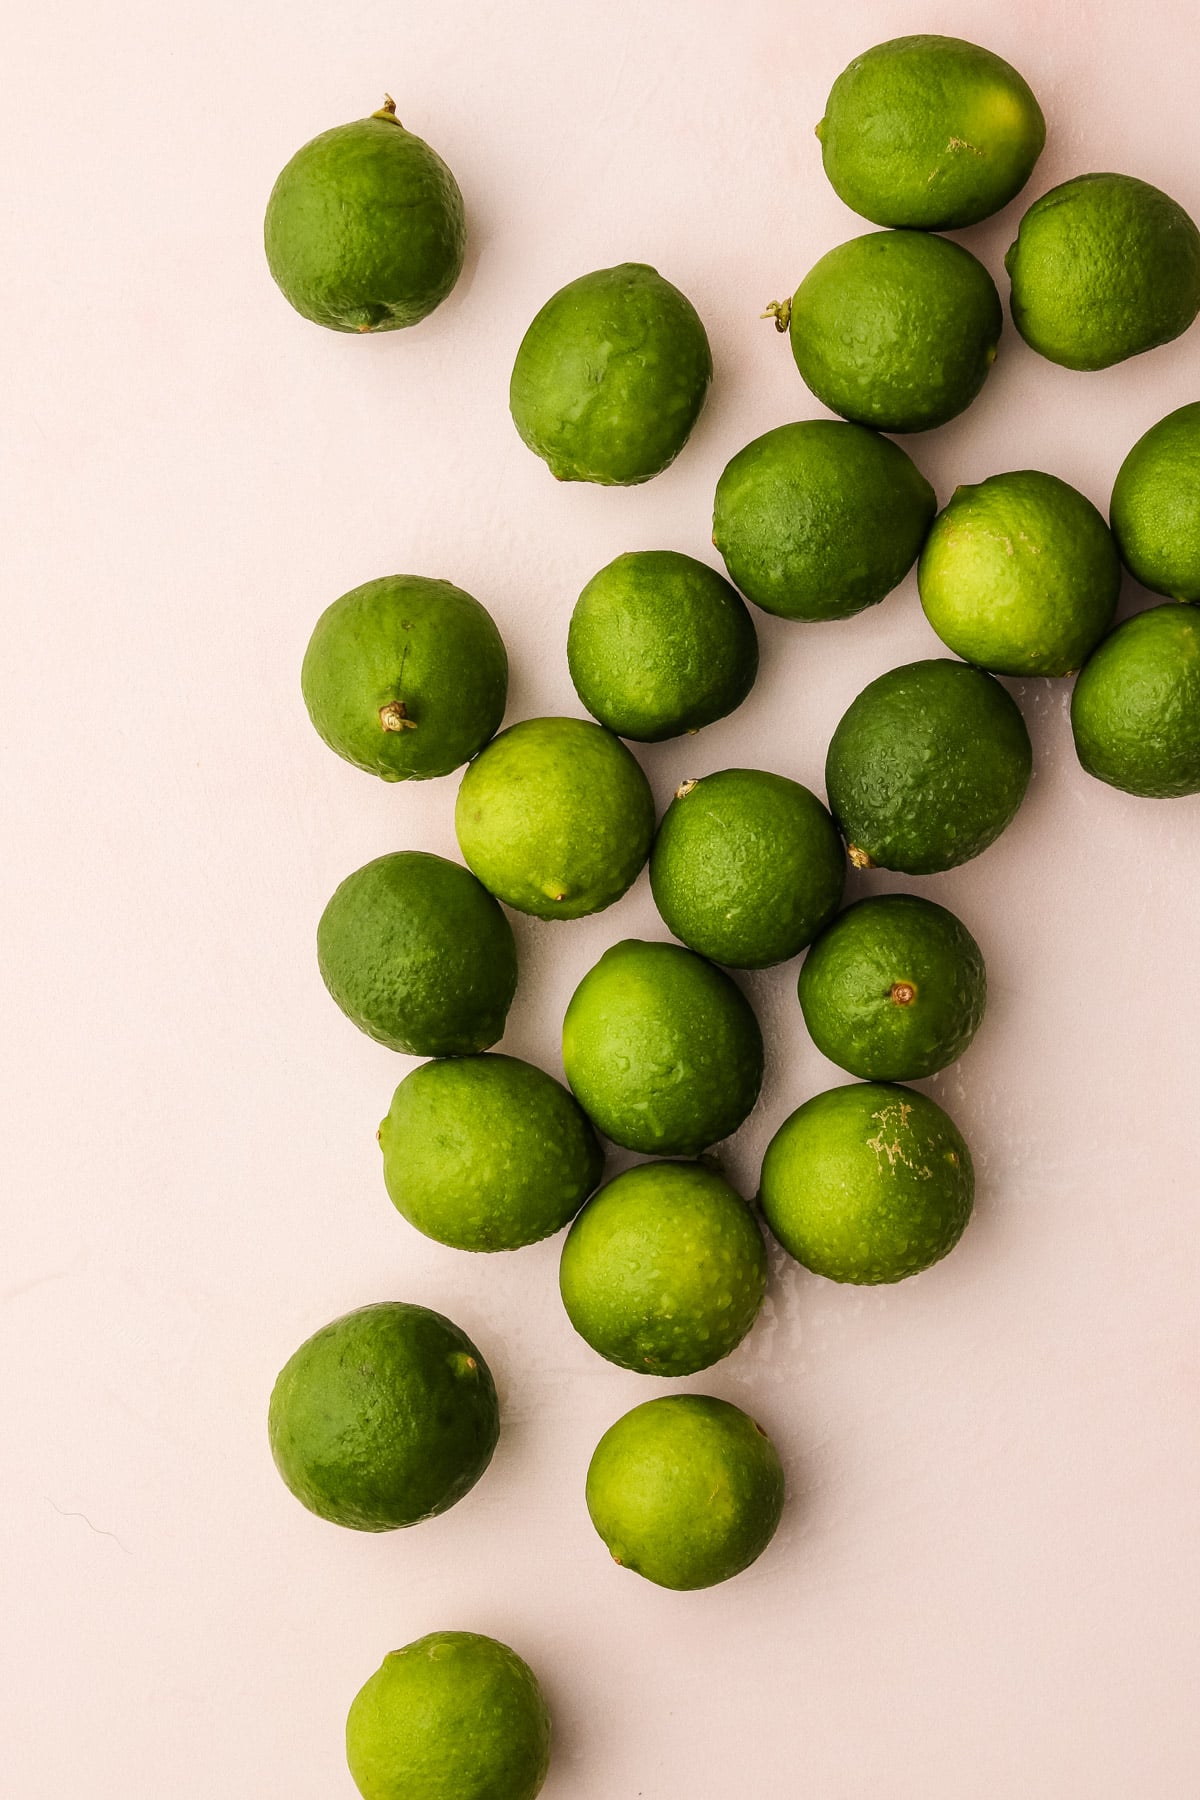
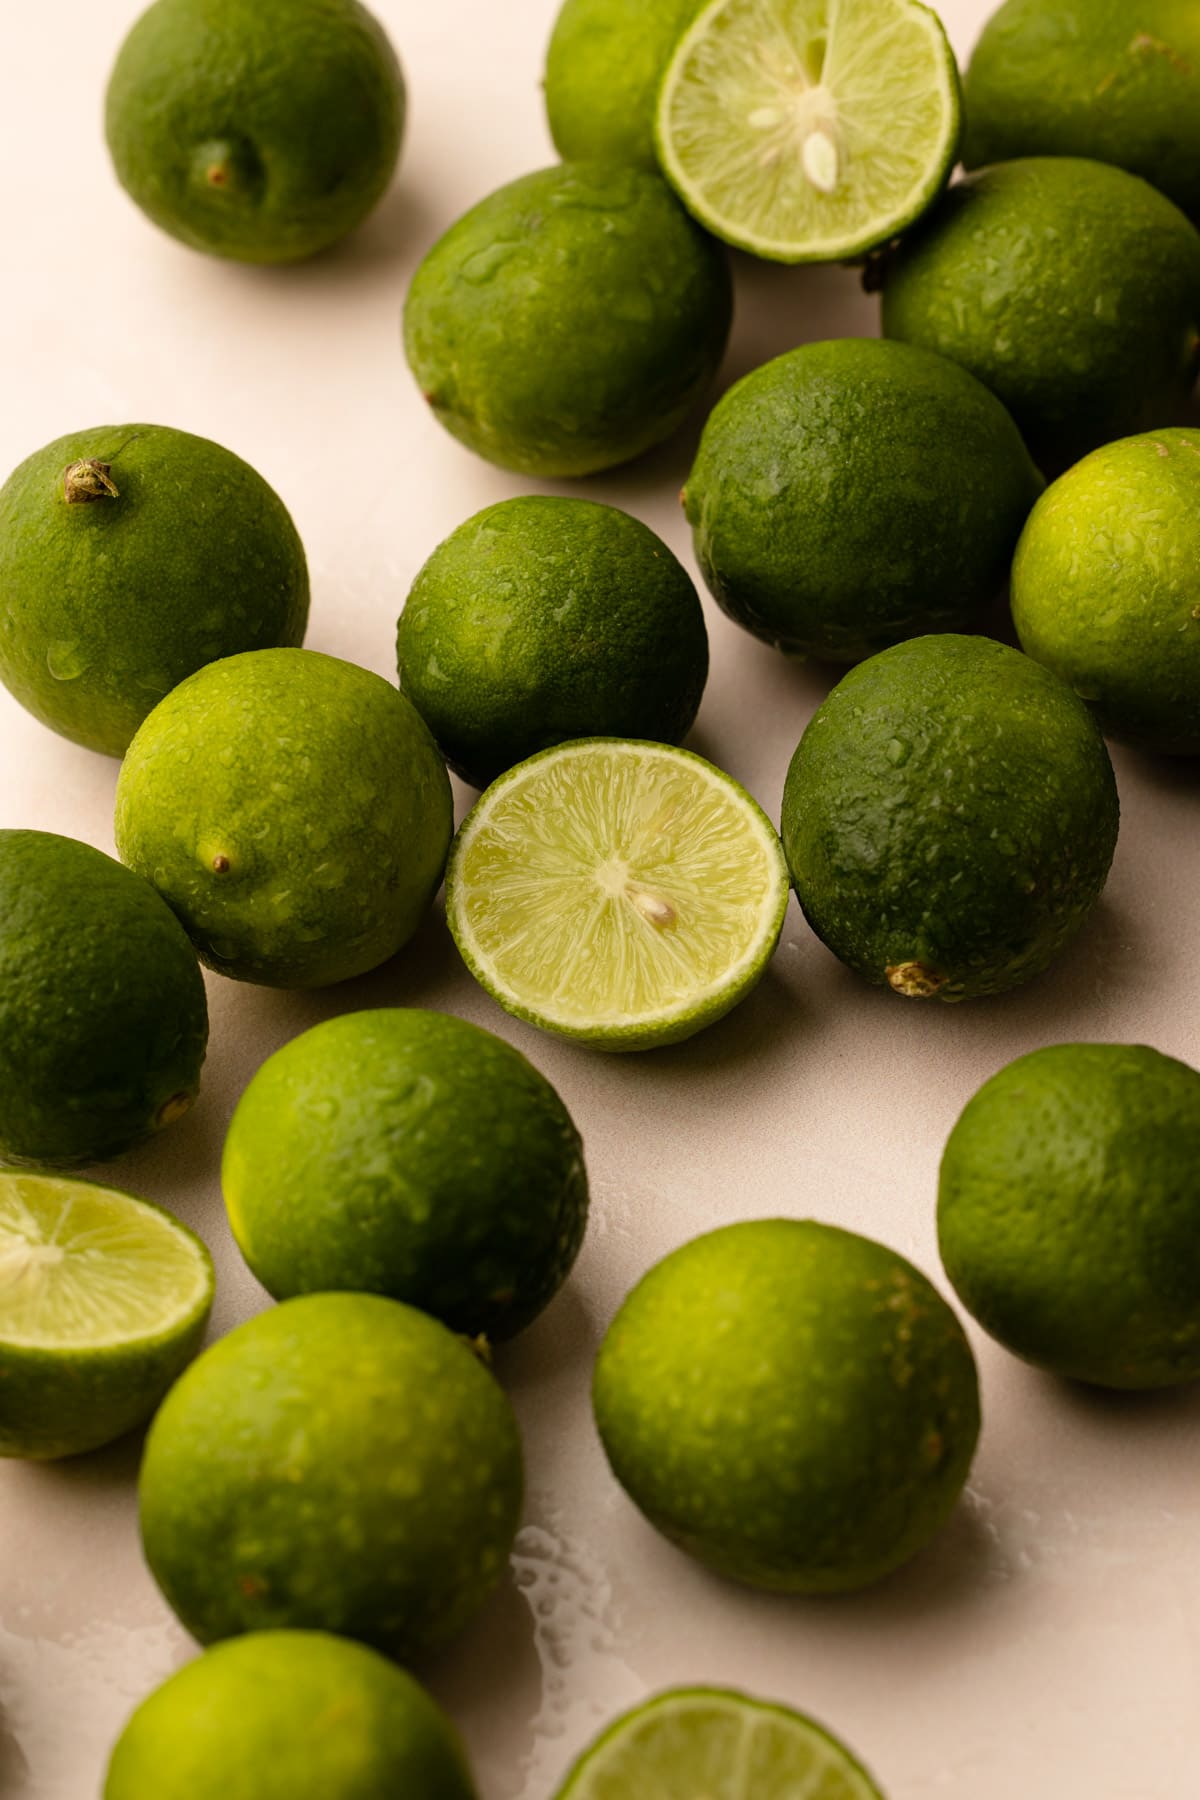
Key limes are different than regular grocery store limes (aka Persian limes). Aside from the visual fact that key limes are smaller, and sometimes with more of a yellow hue, they have a distinct flavor that is more complex than Persian limes. Key limes have a stronger acidic hit that takes on floral notes.
And in this pie recipe, that complex flavor isn't drowned out by sweetened condensed milk, so it's more worth it to find key limes if you can. You'll taste the difference.
Okay, now that I got that out of the way, do I think it's worth making this pie without key limes? Yep! And I'm even going to say that bottled key lime juice is okay too. I did test it with both. The bottled key lime juice tends to take on a more bitter note, but it's still good! Do use fresh lime zest though, even if you use bottled key lime juice.
Useful Tools to Make This Recipe
Here is a list of some of the primary tools I use in this recipe. You won't necessarily choose to use them all, but they are exactly what I used. Any links may contain affiliate links.
- food processor (to crush the graham crackers) or a bag and rolling pin
- 9" pie plate, preferably a glass one
- immersion blender (or stand blender)
- kitchen essentials: pot, baking scale, bowls, measuring cups and measuring spoons, rubber spatula
- electric mixer (to make optional whip cream) or whisk
Overview of Steps
If you aren’t familiar with using gelatin, you might be intimidated by this recipe. But please don’t be! Using gelatin is simple. There is a section dedicated to gelatin below, but take a look at this brief overview of steps to convince you that making this recipe is simple!
- Make and freeze the graham cracker pie crust
- Hydrate the gelatin by mixing it with milk
- Heat the dairy and the cream cheese until steaming.
- Pour the hot liquid into the gelatin to melt it.
- Briefly cool the dairy / gelatin mixture, then add key lime juice
- Blend the mixture to ensure it’s homogenous, with an immersion blender
- Add the zest and vanilla
- Pour it into the pie crust and let it set for 4-6 hours
- Serve!
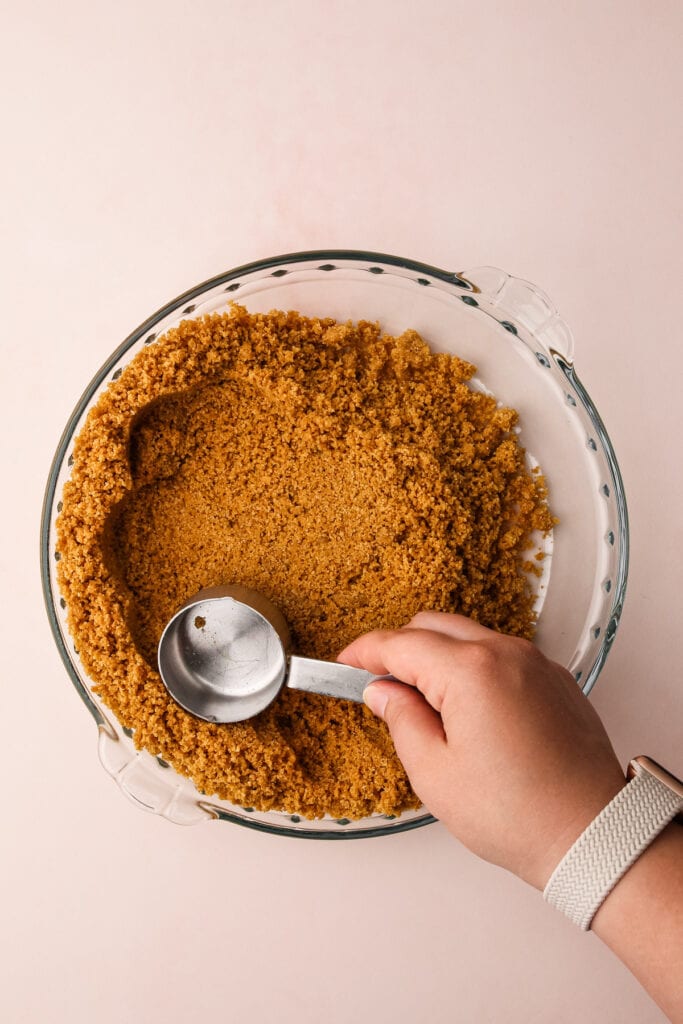
Making the Crust
Initially when testing this recipe I tried a few other pie crusts, but ultimately I wanted this recipe to have a classic Key Lime Pie taste, so I happily settled on an extra-thick homemade graham cracker crust. It’s a no-brainer and simple to make.
How to Make It
It couldn't be more easy!
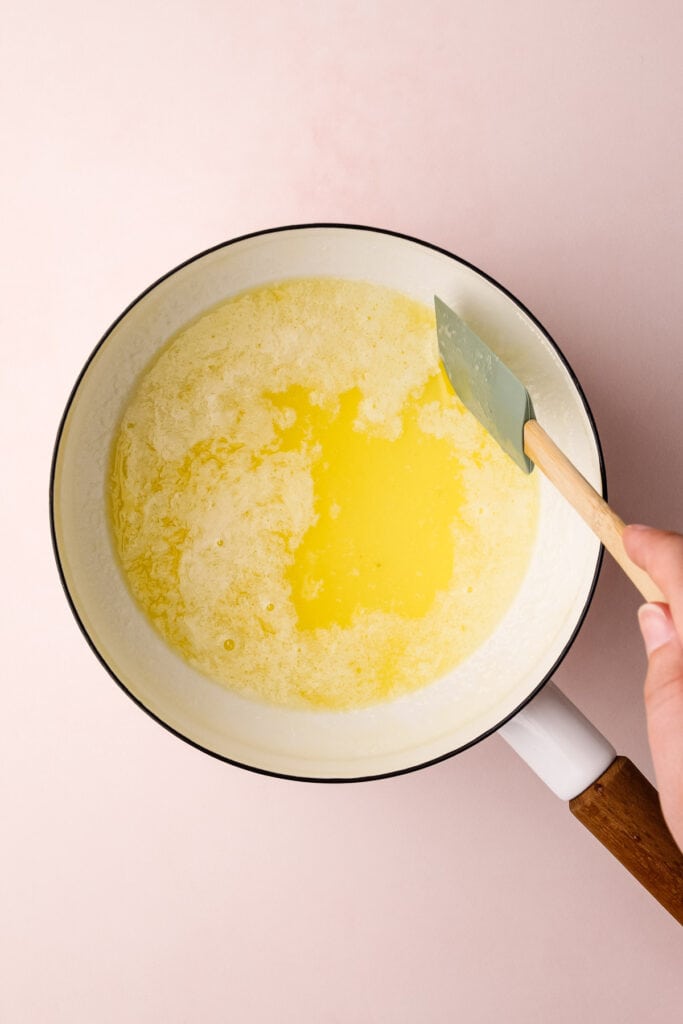
- Grind up the graham crackers until they are fine crumbs. Do this with a food processor, or you can smash the cookies in a plastic bag with a towel over it (to prevent the cookies from breaking through the plastic) with a rolling pin..
- Melt the butter on the stove in a medium pot. Shut off the heat.
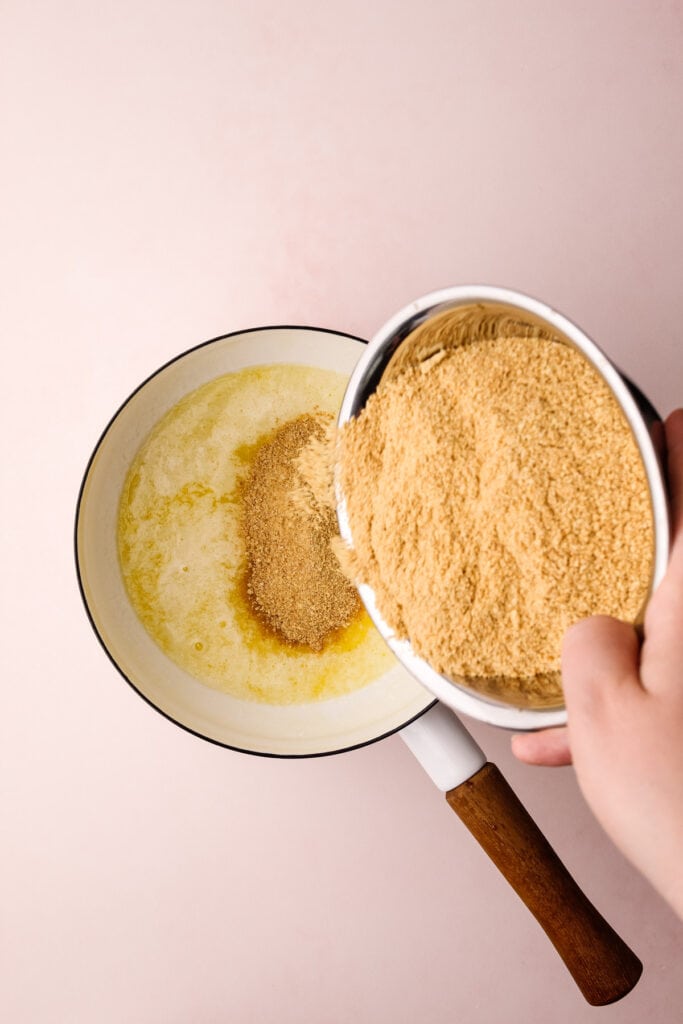
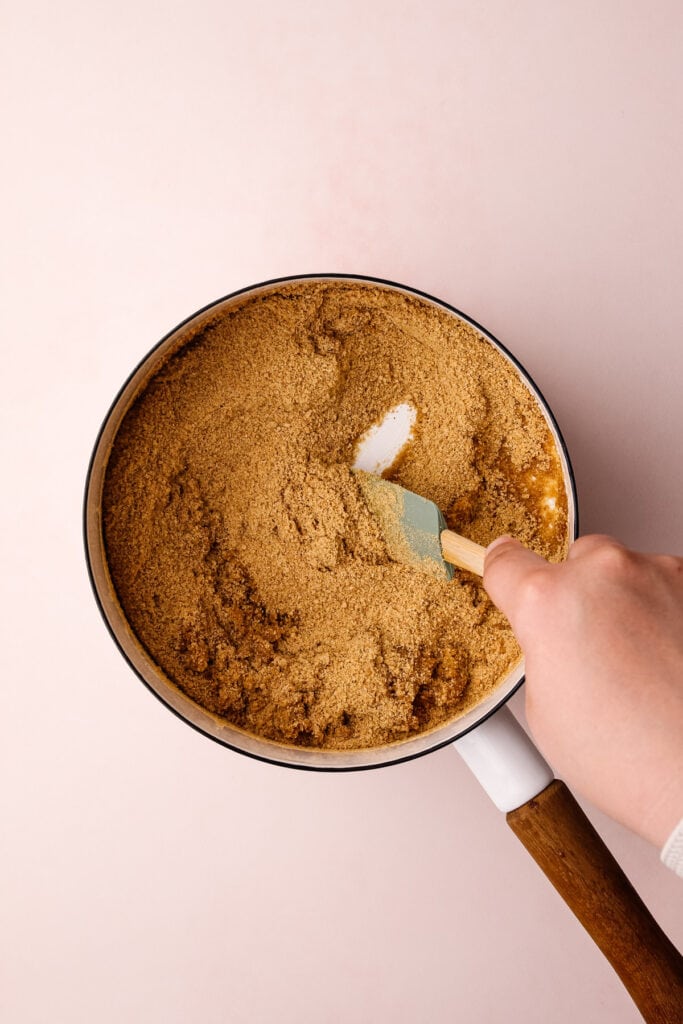
- Add sugar and graham cracker crumbs to the melted butter in a bowl or right in that pot (no need to dirty a bowl for this) and mix it well!
- Pour it into the pie pan and form it into the crust immediately. It’s best to do it immediately so that the sugar doesn’t “set” before you’ve formed your crumb crust.
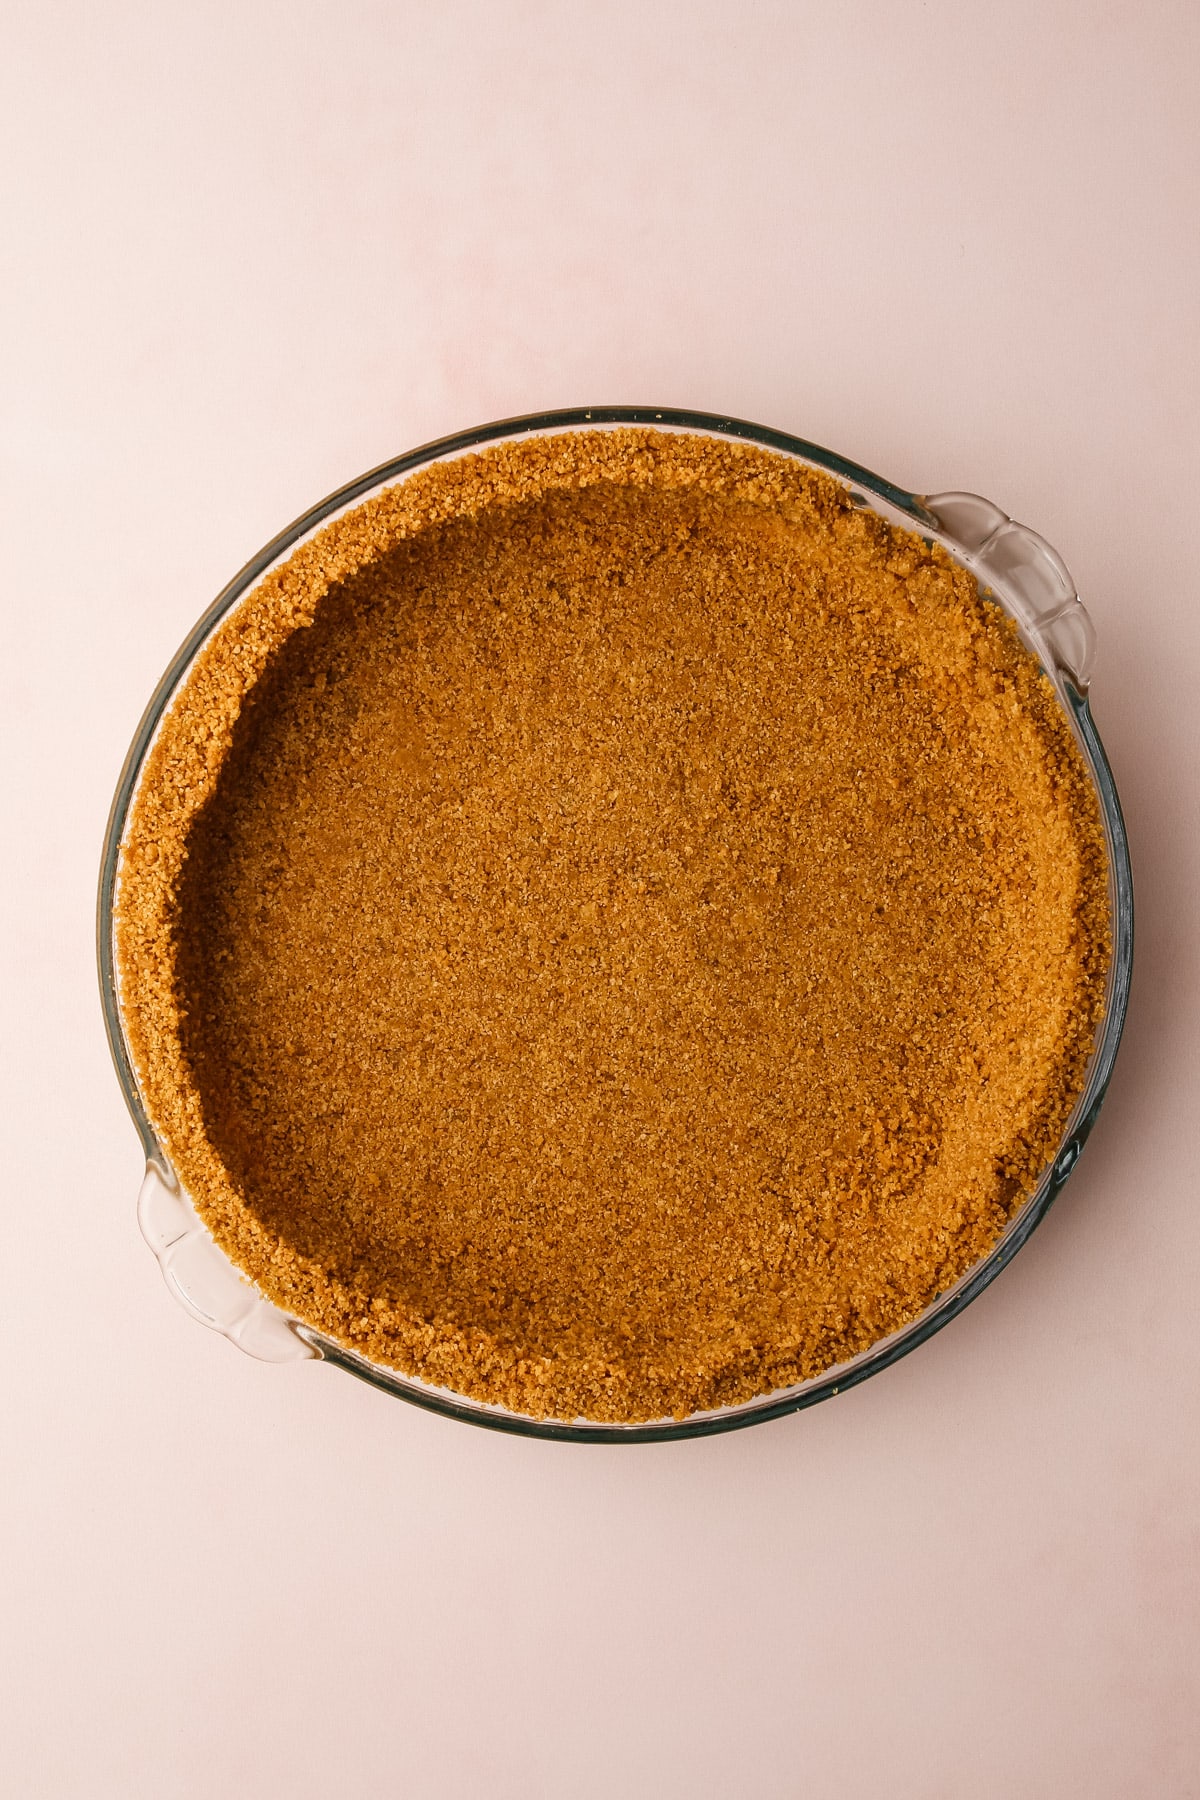
Why an Extra Thick Crust?
This crumb crust is extra thick for two reasons:
- It’s delicious
- It prevents the filling from breaking through and disintegrating the crumb crust. The filling is very liquid-y before the gelatin sets and without a thick crust, it could break through and compromise the structure of the crumb layer. With that being said, make sure to pack your layer of crumbs very tightly and inspect that there are no holes in it. Using a glass pie plan is great for this because it allows you to see any gaps in your crust.
Crust Troubleshooting Tips
If for any reason your crumb crust mixture is extremely dry, you can add 1 tablespoon of melted butter–one tablespoon at a time–to the crumbs until they are evenly moistened. Alternatively, if your mixture is too wet and it is hard to work with, add more cookie crumbs until it is pliable.
To Bake or Not to Bake
When you bake a crumb crust you are melting the added sugar, which then helps bond the crust together. Baking it results in a crispy crust with a nice caramelized flavor. I prefer this method and will always bake it if I can.
Freezing the crust works because the melted butter becomes solidified and bonds the crust together. The sugar might melt slightly from the warmth of the butter, but without the par-bake, the sugar doesn't melt enough to act as the bonding agent here. While freezing the crust is certainly easier than having to preheat an oven and par-bake the crust, it is not as sturdy as the baked version.
You choose which method works best for you, though I'll always say it's better to parbake it.
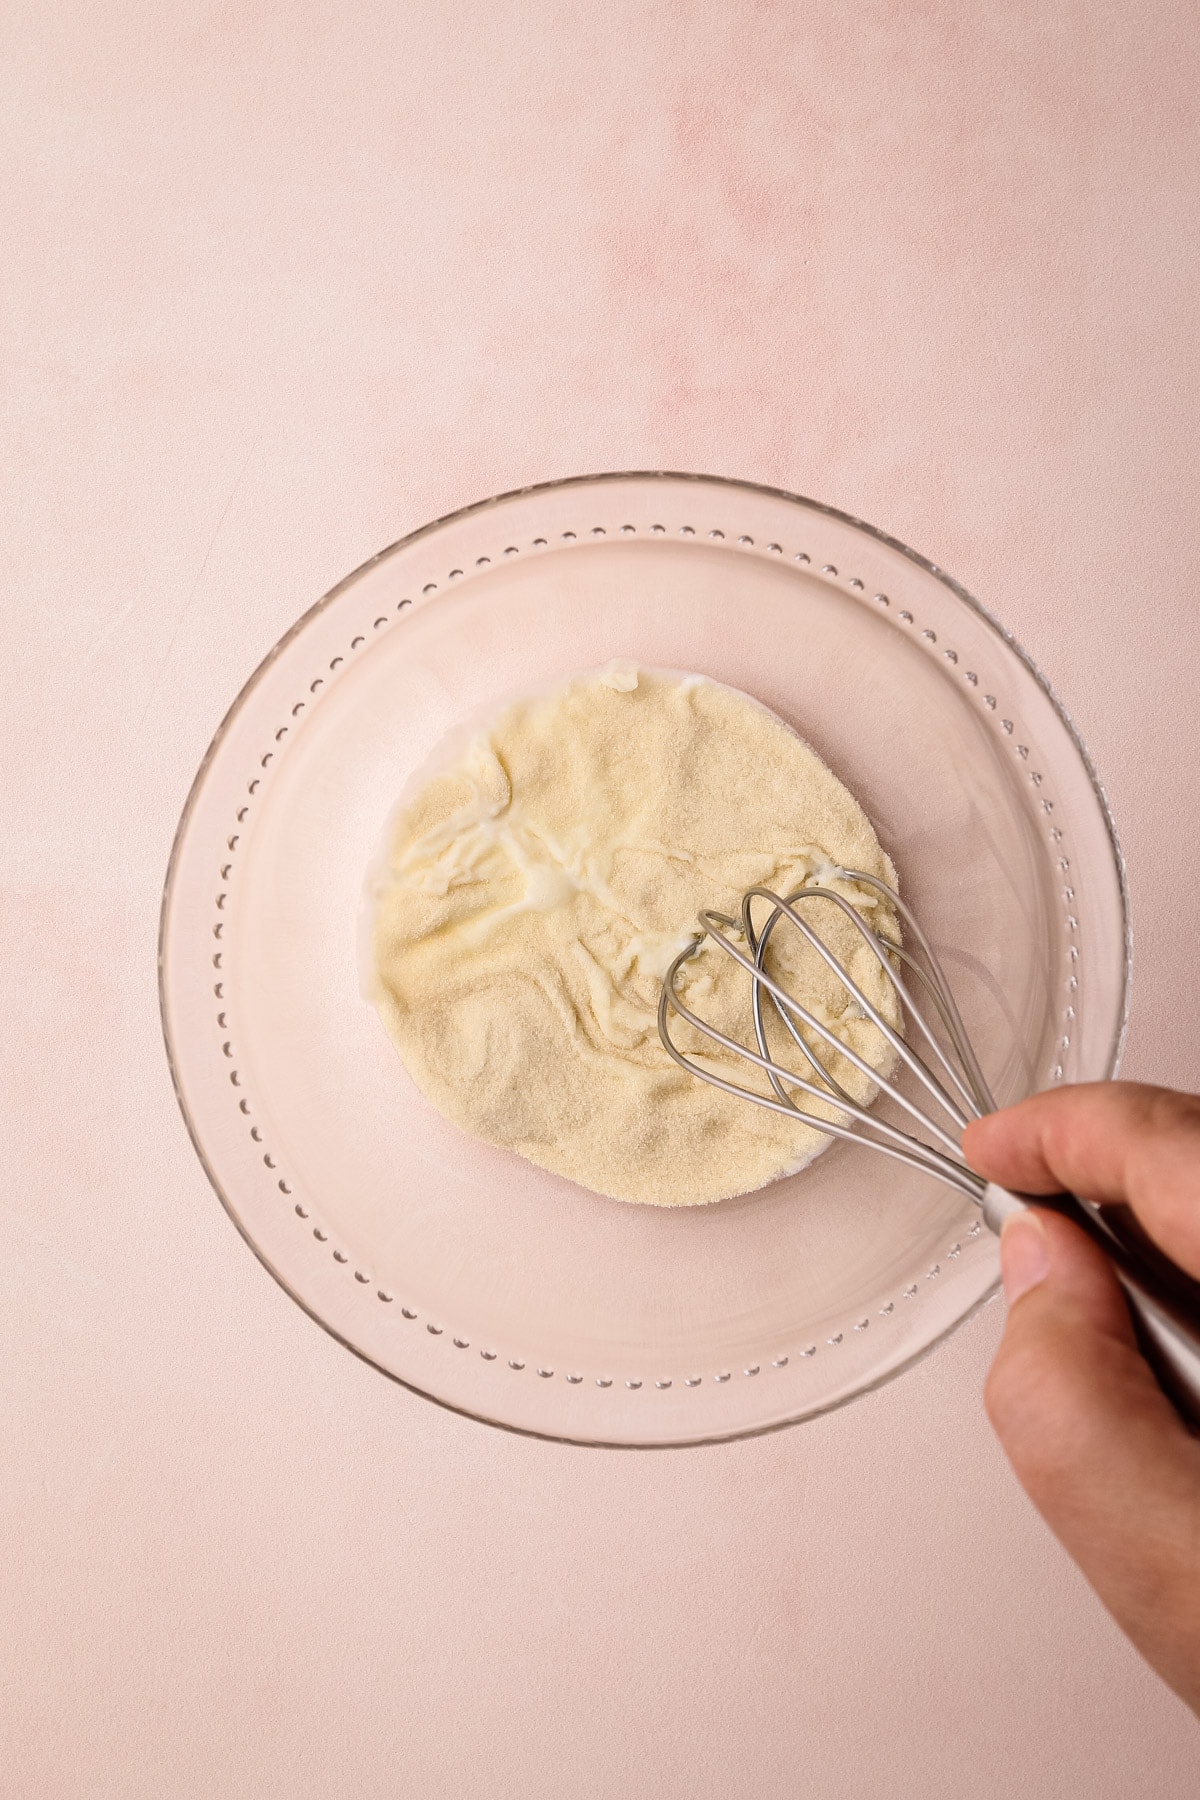
Let’s Talk Gelatin
Gelatin is concentrated animal protein derived from collagen. It is not a vegetarian product. Gelatin can come granulated or in sheets. In grocery stores, most unflavored gelatine comes packaged in pre-measured .25-ounce envelopes, but it can be purchased in 16-ounce containers online too.
This recipe was tested with regular store-bought Knox gelatin. I did not test this with sheet gelatin.
Gelatin must be dissolved before it can work its magic. Dissolving it is a (simple) two-step process:
- Separate the granules
- Melt them
First the gelatin granules must be separated so they can properly dissolve. This is typically done by hydrating them with a cold liquid so the granules swell. This is also called blooming the gelatin.
Once the granules are hydrated they need to be melted, usually by adding a hot liquid to them. After the granules are fully melted and dissolved into the liquid, they uniformly disperse and begin to form a network as the mixture cools down. This process is known as gelation, and it occurs when the protein chains from the gelatin bond together and form a network that traps or “gels” the liquid.
In this key lime pie recipe, this process looks like cold milk being used to bloom the gelatin granules, and then the filling mixture is heated and poured over the bloomed granules to dissolve them.
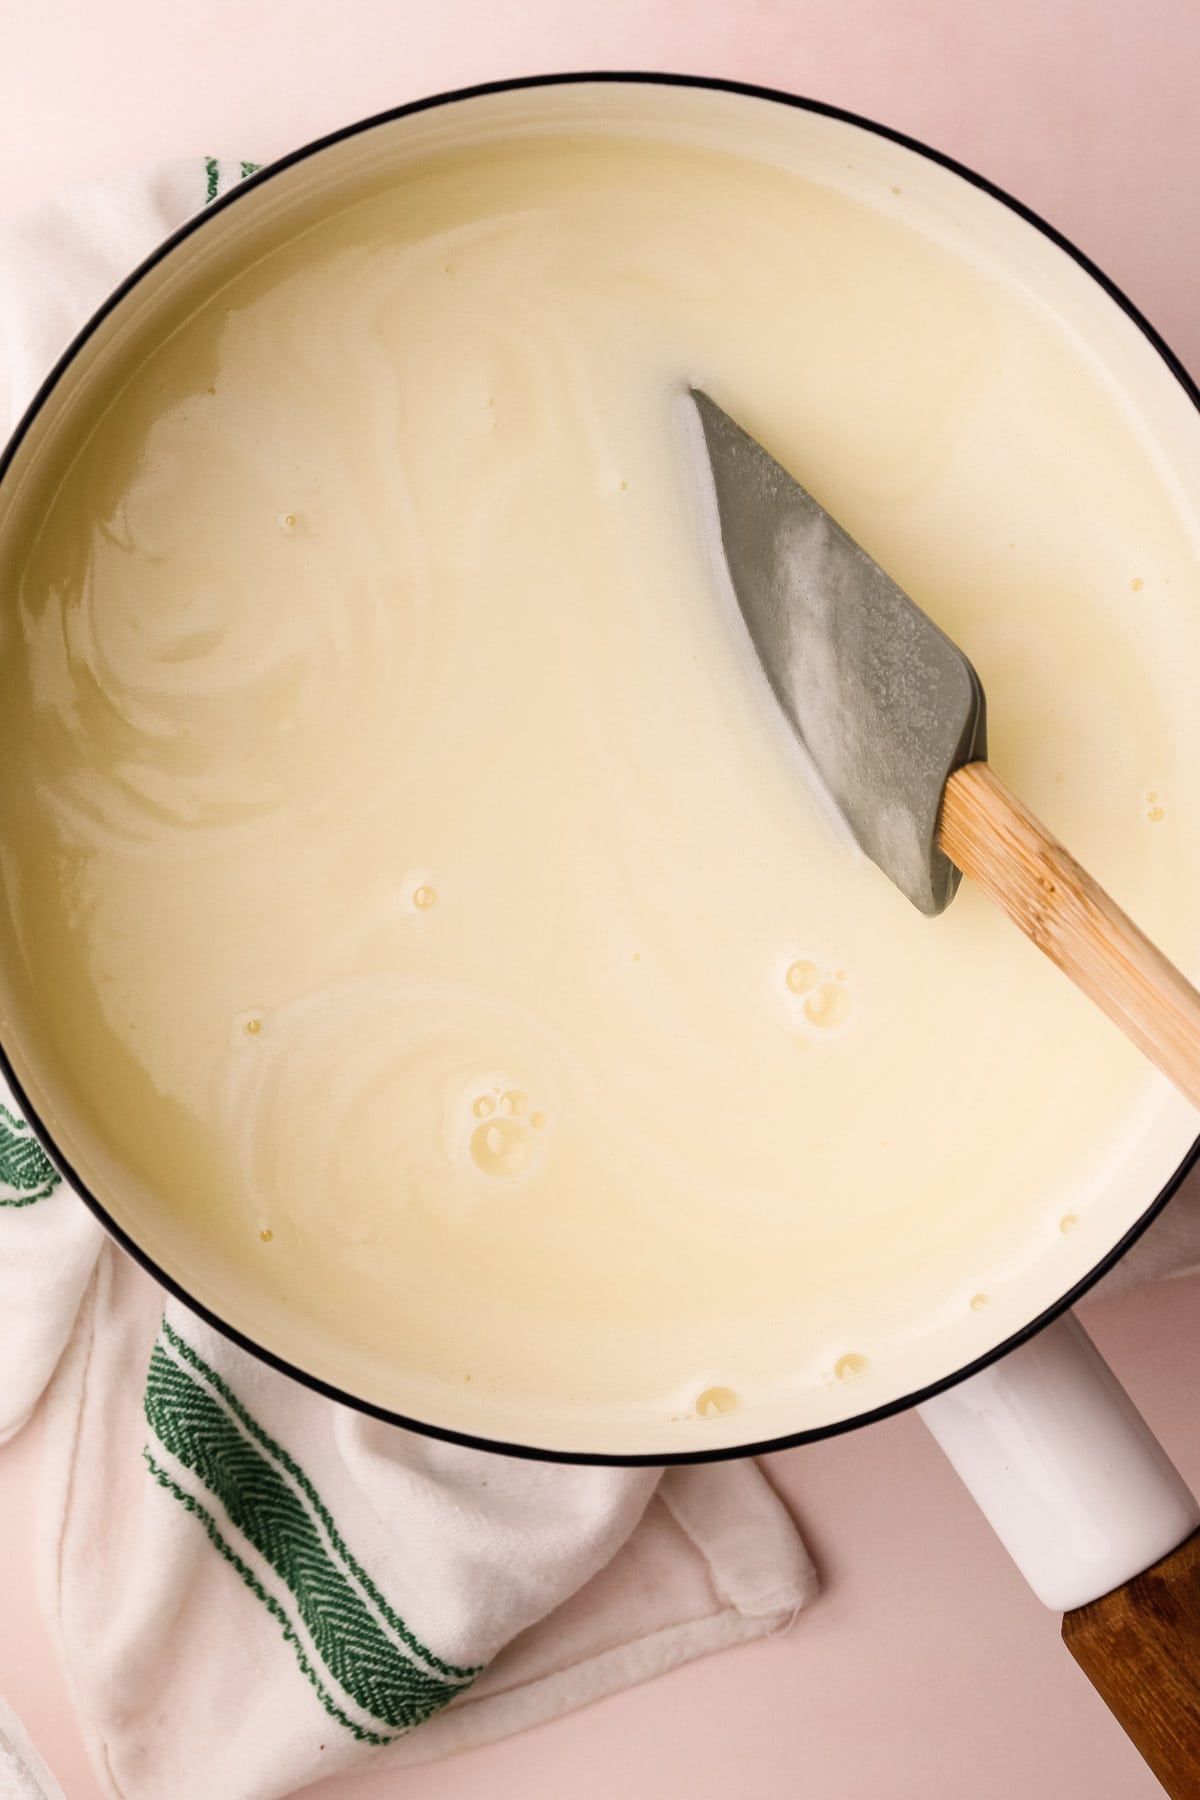
Having Success with The Filling
If you’ve ever made a panna cotta or even jello before, you’ll likely know that this filling is simple to prepare. But if you haven’t, it might some unfamiliar enough to seem hard.
If that’s you, read through the instructions a few times and familiarize yourself with the method and trust me when I say it’s a relatively straightforward preparation, and a lot easier than a lot of other pie fillings out there.
With that being said, a few tips for success:
- Have all your prep truly ready before you start your recipe. That’s generally always useful, but especially so with this recipe. Make sure your crust is in the freezer at least 15 minutes before starting on the recipe.
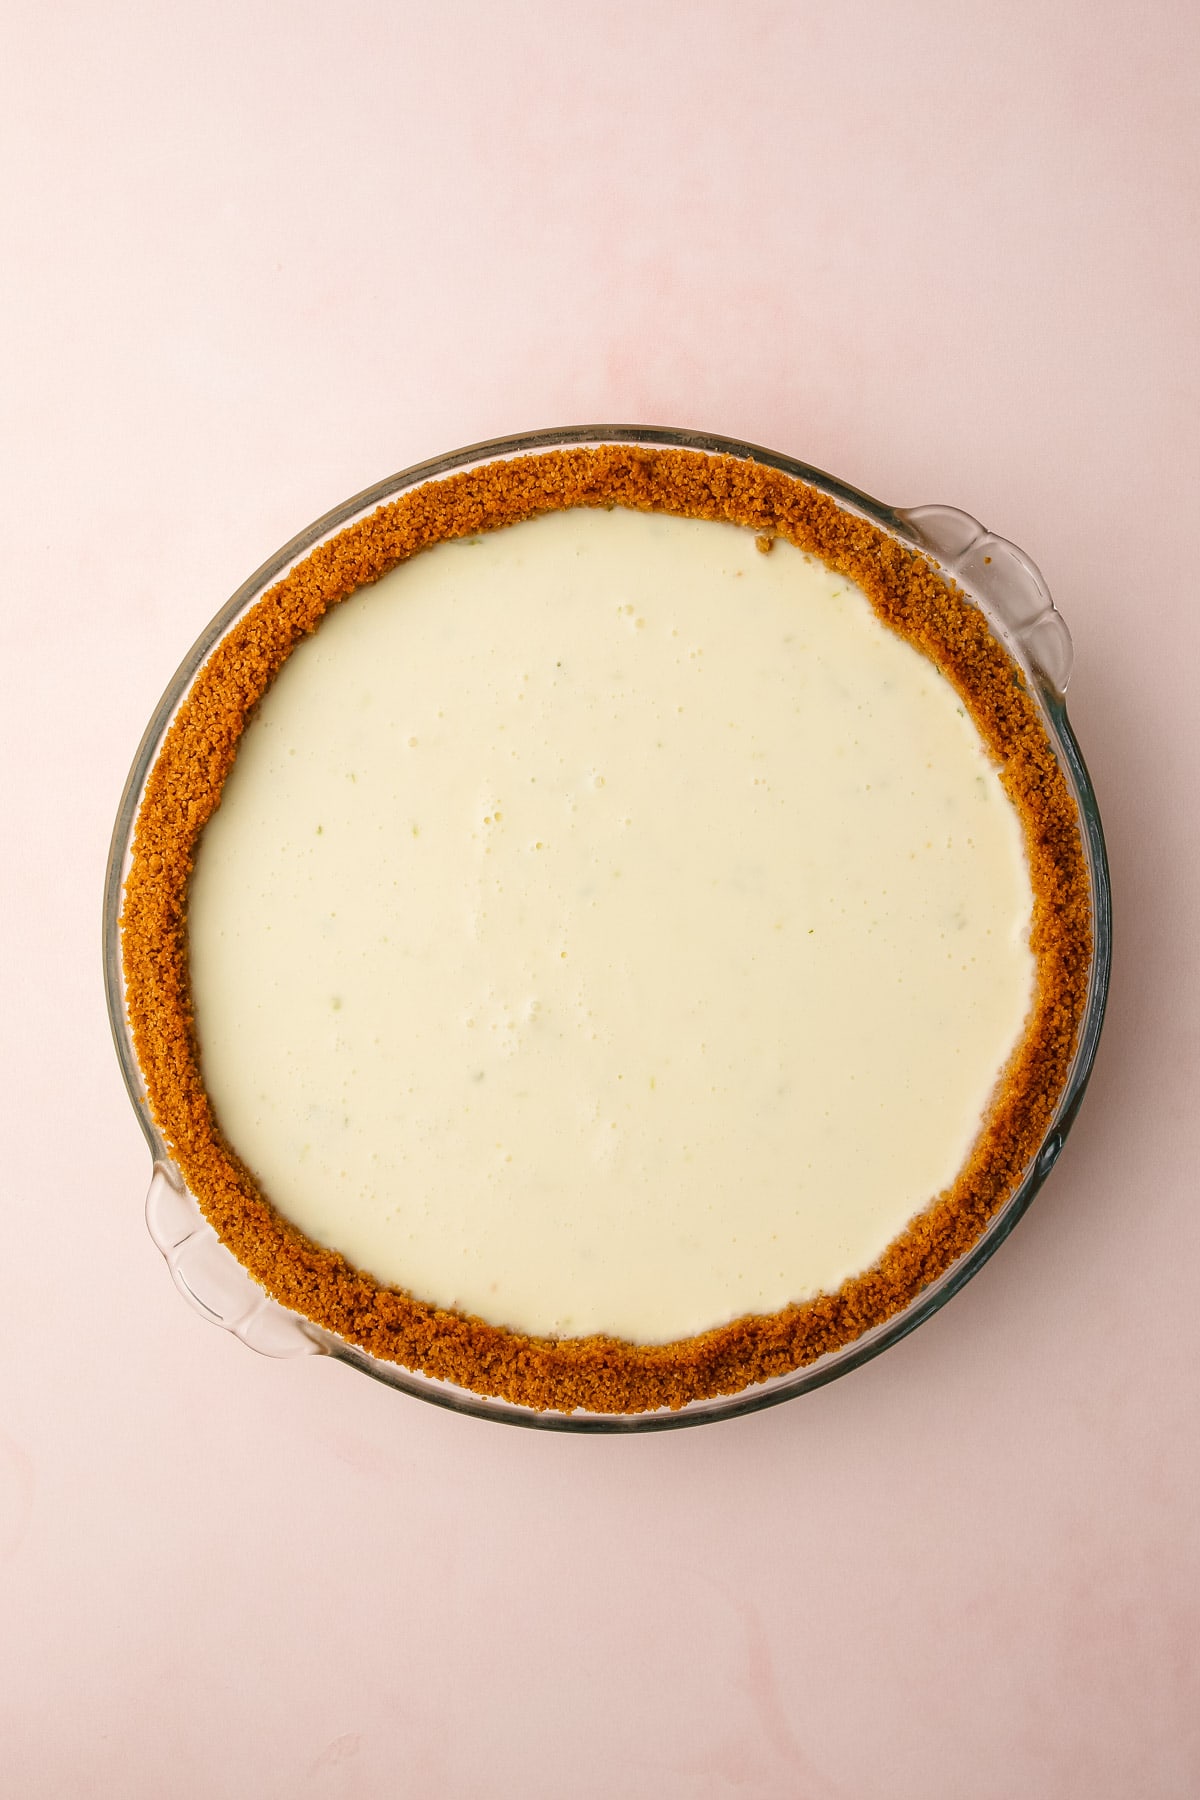
- Get an ice bath ready. This will help chill the filling faster, to the point where it’s starting to thicken. It’s best to pour a slightly thickened filling into the frozen crumb crust to ensure there is no breakage in the crust (see the section “Why an Extra Thick Filling” for more info on this)
- Blend the filling after the lime juice has been added, preferably with an immersion blender. This is helpful because whenever you introduce acid to a dairy product it has the chance to “split” it, or break it into curds and whey. This is due to the chemical reaction that occurs when the citric acid in the key lime juice reacts to the casein proteins in the dairy, that causes the dairy to curdle or thicken. The added sugar, cream cheese and gelatin in this recipe helps get in the way of this reaction, but blending it after the key lime juice ensures it’s emulsified and creamy. Just don’t over blend it so it gets frothy.
- Add the vanilla and lime zest after the filling has slightly cooled in the ice bath. This helps keep those volatile flavor compounds in those ingredients in tact, resulting in a better flavor.
- Let the filling fully set. It takes approximately 6 hours for the full gelation, or setting of the gelatin.
How to Serve It
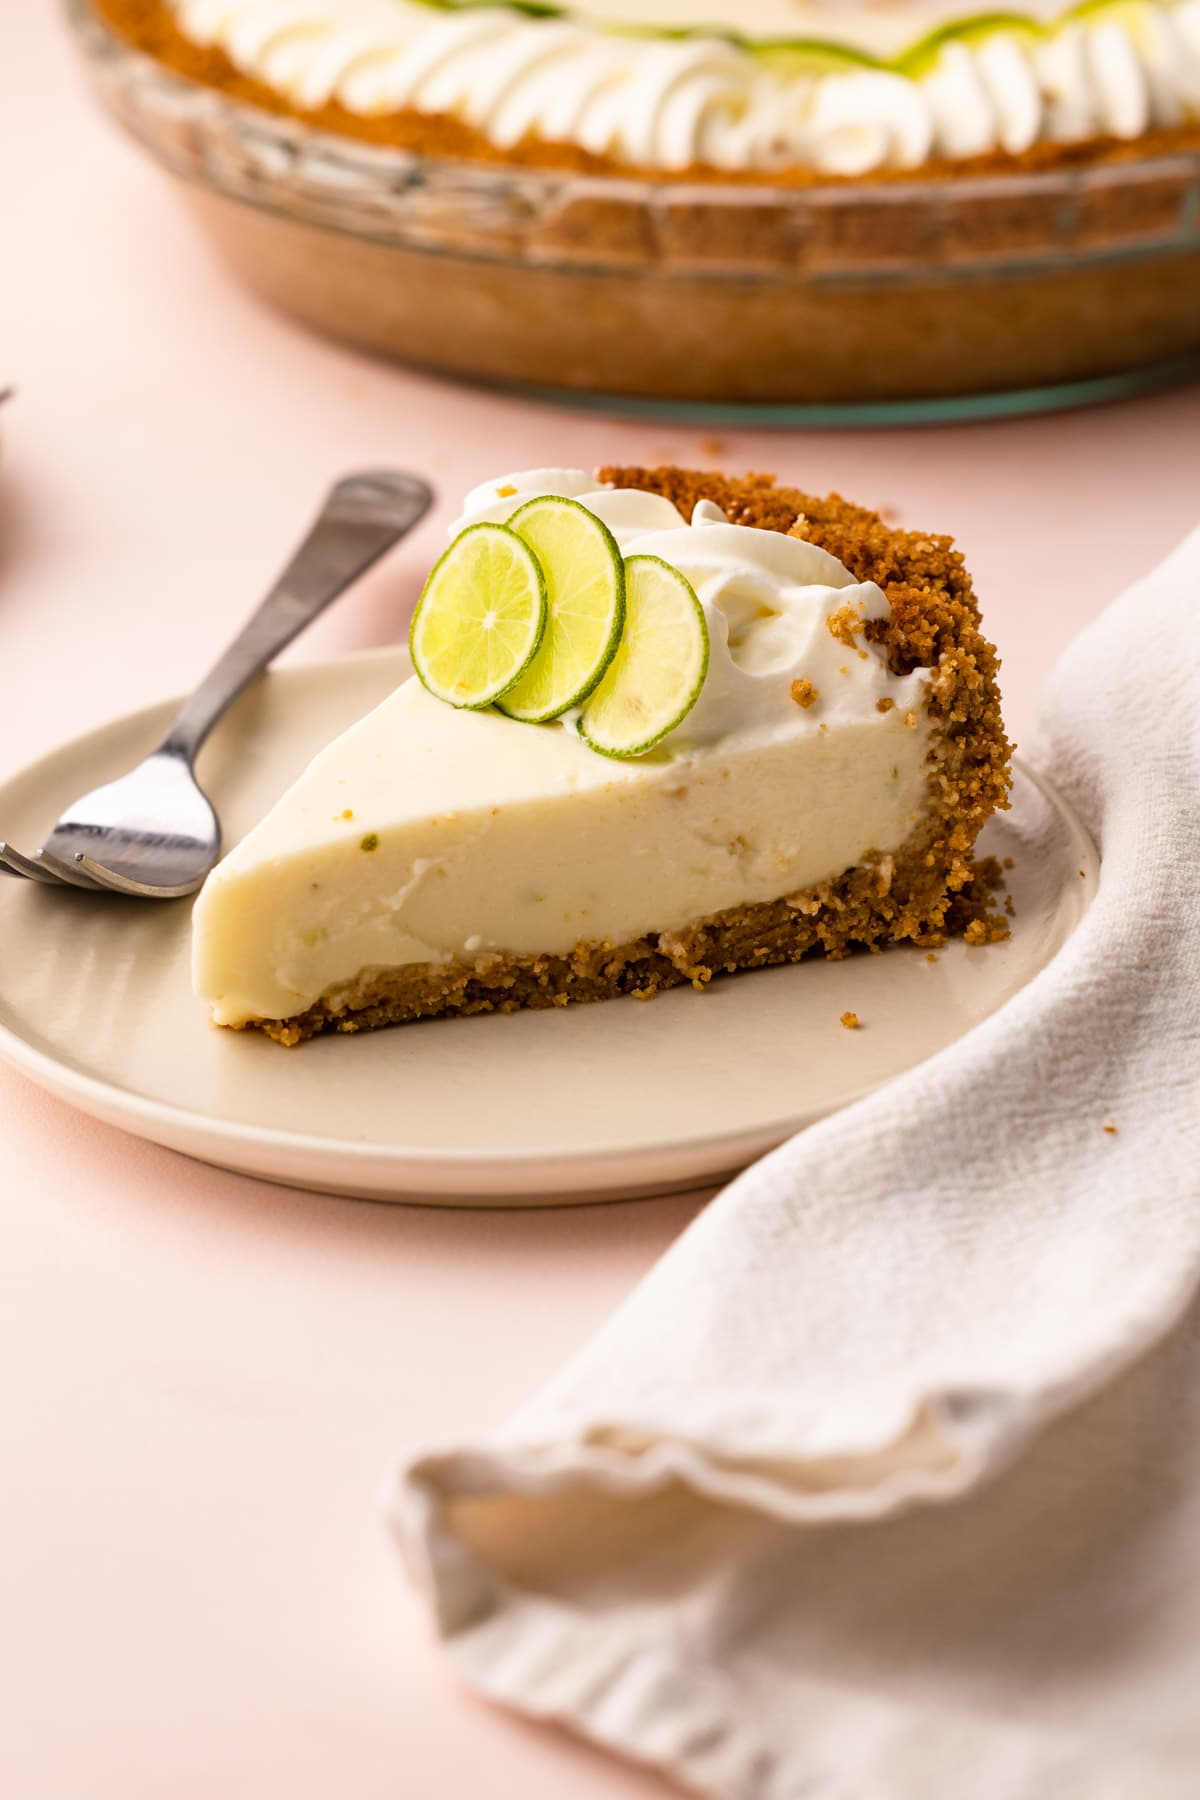
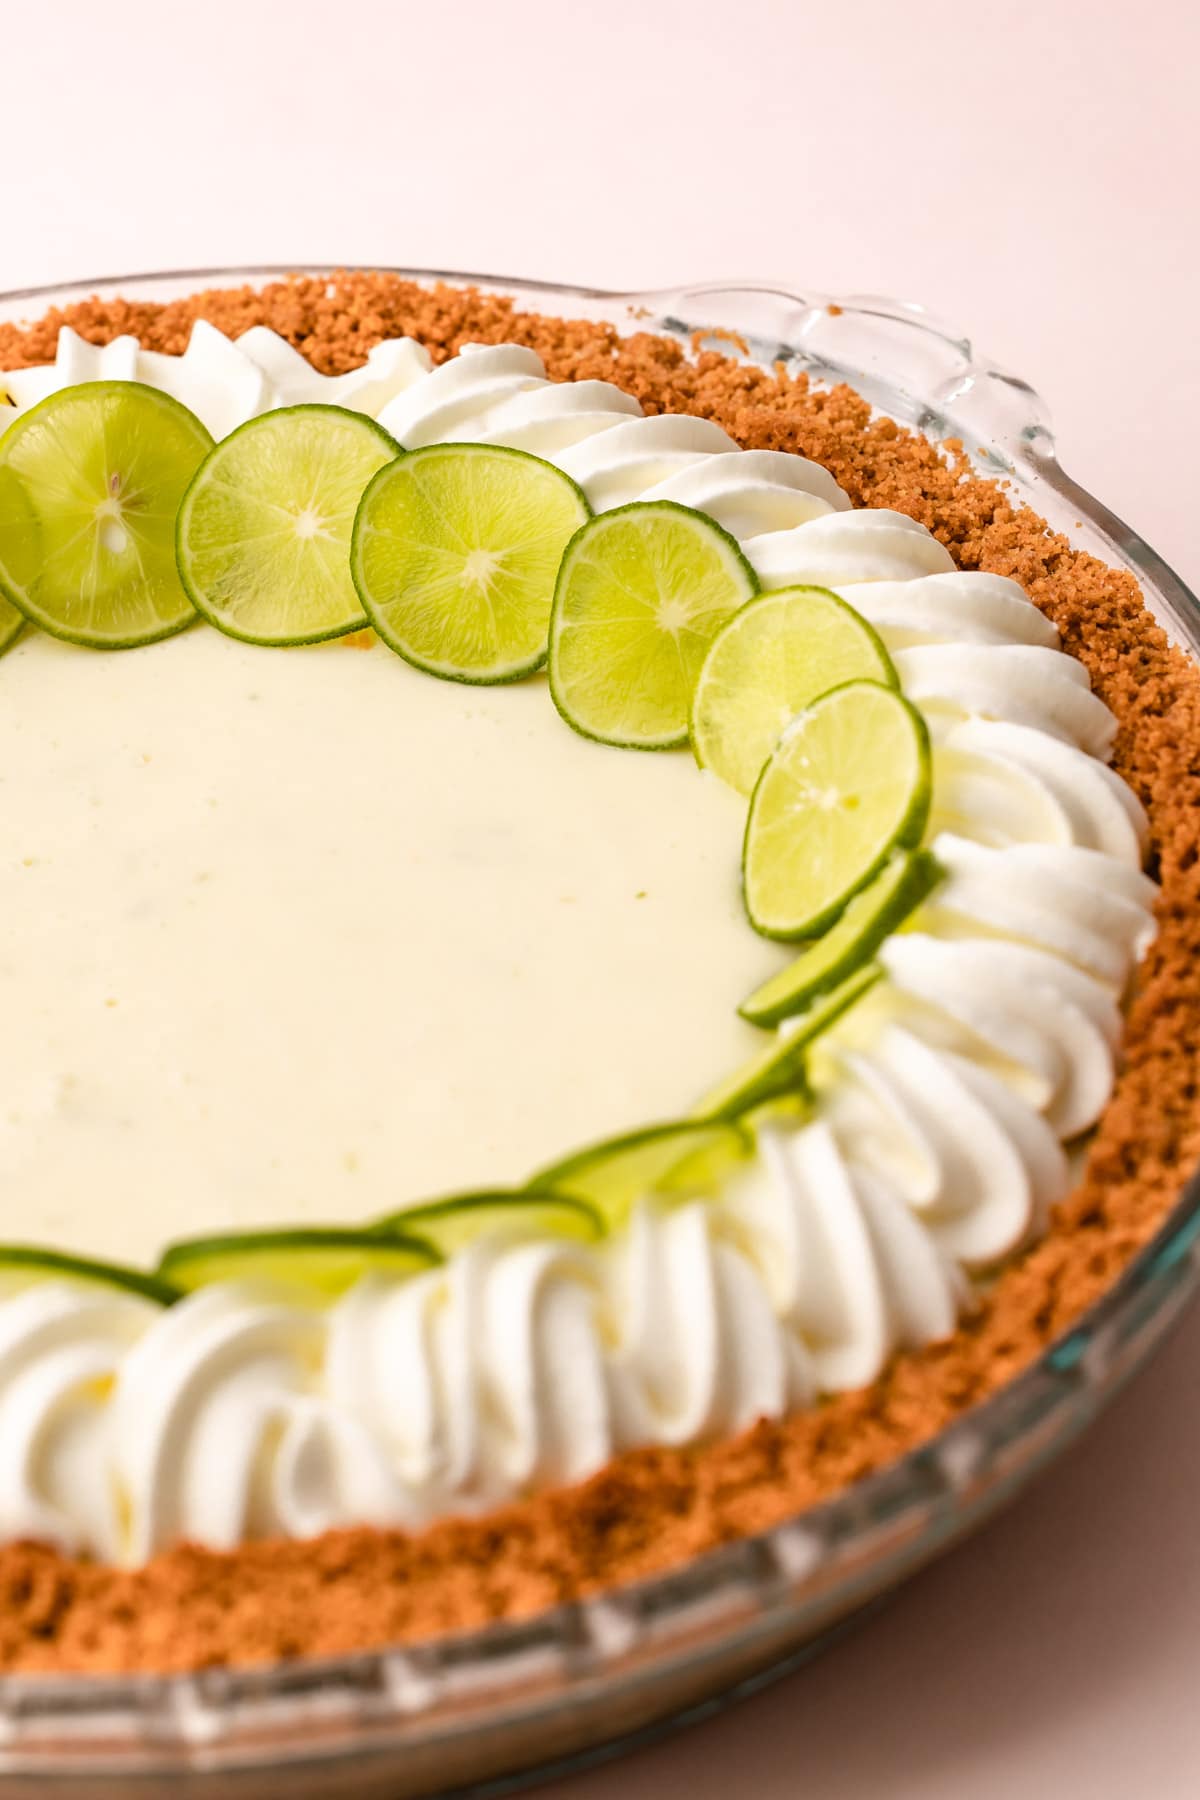
This key lime pie is ready to be served, and fully set about 6 hours after it is made. It’s best served chilled with a whipped cream garnish.
You can use regular whipped cream, or for a special element serve it with tangy whipped cream. The recipe for this is located in the recipe card as an optional addition.
More Citrus Recipes
I am so honored when you make a recipe from my site! If you make this Key Lime Pie, please leave a comment and a star rating with your experience! If you have any questions about this recipe, feel free to comment here, too!
PrintFull Recipe
Key Lime Pie
This unique Key Lime Pie recipe has a bright and unencumbered flavor that is all about that floraly bright citrus juice. It’s a no-bake recipe that is perfectly balanced between sweet and sour with a thick graham cracker crumb crust.
- Prep Time: 00:30
- Chilling Time: 06:00
- Total Time: 6 hours 30 minutes
- Yield: 8 pie slices
- Method: No-Bake
Ingredients
Pie Crust:
- 10 ounces (about 2 cups) graham cracker crumbs (about 10 full graham cracker sheets)
- ¼ teaspoon salt (see note)
- 2 tablespoons (25 grams) granulated sugar
- 10 tablespoons (130 grams) unsalted butter, melted
For the Key Lime Filling:
- 2-½ teaspoons gelatin (or one .25 ounce packet)
- 1 cup milk, divided (gelatin mixed with ½ cup milk)
- 1-½ cup heavy cream
- 1 cup (200 grams) granulated sugar
- 4 tablespoons (65 grams) cream cheese, diced into pieces
- Pinch coarse kosher salt
- ⅔ cups (150 grams) fresh squeezed key lime juice (see note)
- 1 tablespoon key lime zest (from about 6 key limes)
- 1 teaspoon vanilla extract
Tangy Whipped Cream (Optional)
- ¾ cup (180 grams) heavy cream
- ¼ cup (60 grams) sour cream
- 2 tablespoons granulated sugar
- 1 teaspoon vanilla extract
Instructions
Prepare the Pie Crust:
- Mix together the graham cracker crumbs, salt, granulated sugar and melted butter. Immediately (while it’s still warm from the butter) pour the crumbs into a 9” pie plate and start pressing the ingredients up the sides of the pie plate to form the edges first. Once the edges are formed work the crumbs down to evenly distribute into the bottom of the pie plate and pack it down into an even layer.
- The crumb crust can be parbaked in a 350ºF preheated oven for 10 minutes for a more toasted flavor, or this step can be skipped. Place the (chilled if baked) pie crust in the freezer to harden up.
Make the Key Lime Filling:
- Add ½ cup of milk to a medium bowl and sprinkle the gelatin over the top. Stir, and let the gelatin hydrate (also known as bloom).
- Meanwhile add the remaining milk, cream, sugar, cream cheese and salt to a medium-sized saucepan. Heat the mixture over medium heat, while stirring, until it is steaming and just shy of boiling, about 180ºF.
- Slowly pour in the warmed cream mixture to the bloomed gelatin while whisking. Whisk for a minute or two to ensure the gelatin dissolves.
- Keep stirring the mixture to let the steam escape for 2-3 minutes. After slightly cooling the mixture, pour in the key lime juice while stirring. Blend the mixture for a minute using an immersion blender (or a regular blender) to ensure everything is homogenized.
- Stir in the vanilla and key lime zest.
- The mixture can cool at ambient room temperature for about a half an hour, or an ice bath can be used to cool it down for about 10 minutes.
- When the mixture has slightly thickened, remove the pie crust from the freezer.
- Slowly pour the filling into the crust. Gently knock the pie plate on the counter / table to encourage any air bubbles to rise to the surface. Pop any remaining bubbles on the surface on the custard.
- Carefully transfer the pie to a refrigerator to chill for at least 6 hours, or overnight.
- When it's completely set up serve cold with optional tangy whipped cream and thinly sliced key limes for garnish!
Make the Tangy Whipped Cream (this is optional)
- Add all the ingredients to the bowl of an electric mixer and whip on medium speed until the cream has reached soft stiff peaks, about 2 minutes. Keep a close eye though because it will go from perfectly whipped to over-whipped in a matter of seconds.
Notes
Have a question or looking for tips? The text written above the recipe is always a great first place to start! This Key Lime Pie was developed with love, and I always include loads of explanations, tips, step-by-step photos and technical advice shared before the recipe.
Key limes are small. And this pie needs a lot of juice. It takes about 7 ounces of key limes to make about 1 ounce of juice. And this recipe needs 5.2 ounces of juice, so about 36 ounces of key limes are needed to make the ⅔ cups of juice. See section "Are Key Limes Really Necessary" for more minute details about using fresh vs. bottled by TL:DR use fresh or bottled key lime juice, or regular lime juice. Just be sure to use fresh zest, whether from key limes or regular limes.
Helpful tip: zest your limes before you squeeze them!
If for any reason you see pieces of undissolved gelatin, the mixture can be gently heated back up until they dissolve.
This key lime filling is well balanced between sour and sweet. If you want your key lime filling to bend more to the side of sour, you can reduce the amount of sugar in the filling to ¾ cup sugar.
Make sure to tightly pack down the crumbs for the graham cracker crust as tightly as you can. Freezing it before filling helps mitigate any crumbs from getting into the pretty thin filling liquid. Brushing off any excess loose crumbs before the filling is poured in can also help with this.
I use Diamond Crystal coarse kosher salt in my recipes, if you use Morton's kosher salt or fine salt you will likely need to decrease the amount of salt called for
This pie will keep for a few days in the refrigerator. It holds up "just ok" to freezing. The consistency can change when it thaws out, and it isn't quite as creamy and smooth as before it was frozen.
Some of the links on this page may be affiliate links. Everyday Pie is a participant in the Amazon Associates Program. As an Amazon Associate I earn from qualifying purchases, at no extra cost to you.


Mariceli Ramirez
This the best Key Lime I have tried. I live in Fort Lauderdale and travel to Key West a lot Key Lime Pie is always a treat after dinner. This Pie it's far better and tastier. Highly recommended.
Kelli Avila
I'm so glad you gave it a try! Thanks for sharing!
Teresa
Top Notch! The perfect amount of key lime flavor, not super sweet. The extra thick crust supported the filling. We chilled the crust only, receipe came together easily. Beautiful birthday dessert. Recommend.
Louise
Delish! I doubled it to serve in a 9 x 13 pan because I had a lot to feed. So creamy.... I also used fish gelatin and it worked perfectly! Will definitely make it again
Michael
Amazing recipe! This recipe was clearly tested with love and patience because it came out perfectly when following the directions the first time I tried. I was scared to use gelatin- but so glad I did!! Thanks!!
Kelli Avila
Michael! I'm so glad you enjoyed the recipe! And thank you so much for taking the time to come by and share such a nice comment! It made my day 🙂