Learning how to Blind Bake a Pie Crust is an essential skill to master for the art of making pie. It may seem intimidating, but it's quite simple to do! This comprehensive guide will take you through all the essential steps, including the required tools and techniques, to confidently par-bake your pie crust.
Want to save this recipe?
Enter your email & I'll send it to your inbox. Plus, get weekly updates from me!
There are few skills more important in pie-making than ensuring that the pie crust gets baked properly. A properly baked classic pie crust should be flaky, a bit tender and fully baked from the crust on down to the bottom. Many people are intimidated by blind-baking a pie crust, but it's actually quite simple to do if you follow a few easy tips and tricks.
So, let's get to it, shall we? The article below is jam-packed full of useful information. You can jump around using the menu below, or skip to the end of the article for the full recipe.
Jump to:

Tools Needed
You don't need a lot of tools, and in fact, I own nothing special for this. Some people like to use specially purchased pie weights, but I don't find them as helpful as using dried rice and beans. I like to use dried rice and beans because they are smaller, and can really pack into small crevices and do a great job holding up the edges of the crust so they don't sink down.
I keep the same rice and beans for many years and reuse them to blind bake pie crusts. Occasionally they will get too oily and they will need to be replaced. And over the years I add to the collection of blind baking rice and beans as needed, and by the time I am ready to replace the batch I've been holding on to, there are all different types of dried legumes and grains included in them. I've used everything from dried peas, to quinoa to forbidden rice.
Here are the tools I use to blind bake a crust:
- a pie plate
- parchment paper (preferable) or aluminum foil
- dried rice and or beans
- a fork to pierce holes in the dough to let steam escape (if applicable, more on that below)
Par-Bake Pie Crust vs. Blind Bake Pie Crust
Several terms describe the process of blind-baking a crust, and it might seem a bit confusing since they are often used interchangeably, despite having different meanings. Some use the term "blind baking," while others prefer "par-baking." Essentially, these terms are synonymous because they both involve partially baking the crust before adding the filling. But par-baking technically refers to a partial blind bake of the crust, meaning the crust is only cooked about ¾, with the expectation that the crust will cook for additional time with the filling. Whereas a full blind bake, means that the crust is entirely baked through.
A pie crust should be fully blind-baked if the filling is of the no-bake variety. Meaning you bake the pie crust entirely, and then fill it with something, such as for this Pistachio Cream Pie.
A pie crust might be partially blind-baked first when it is intended to be filled with a pie filling that is baked at a low temperature, such as a this Ham and Cheese Quiche.
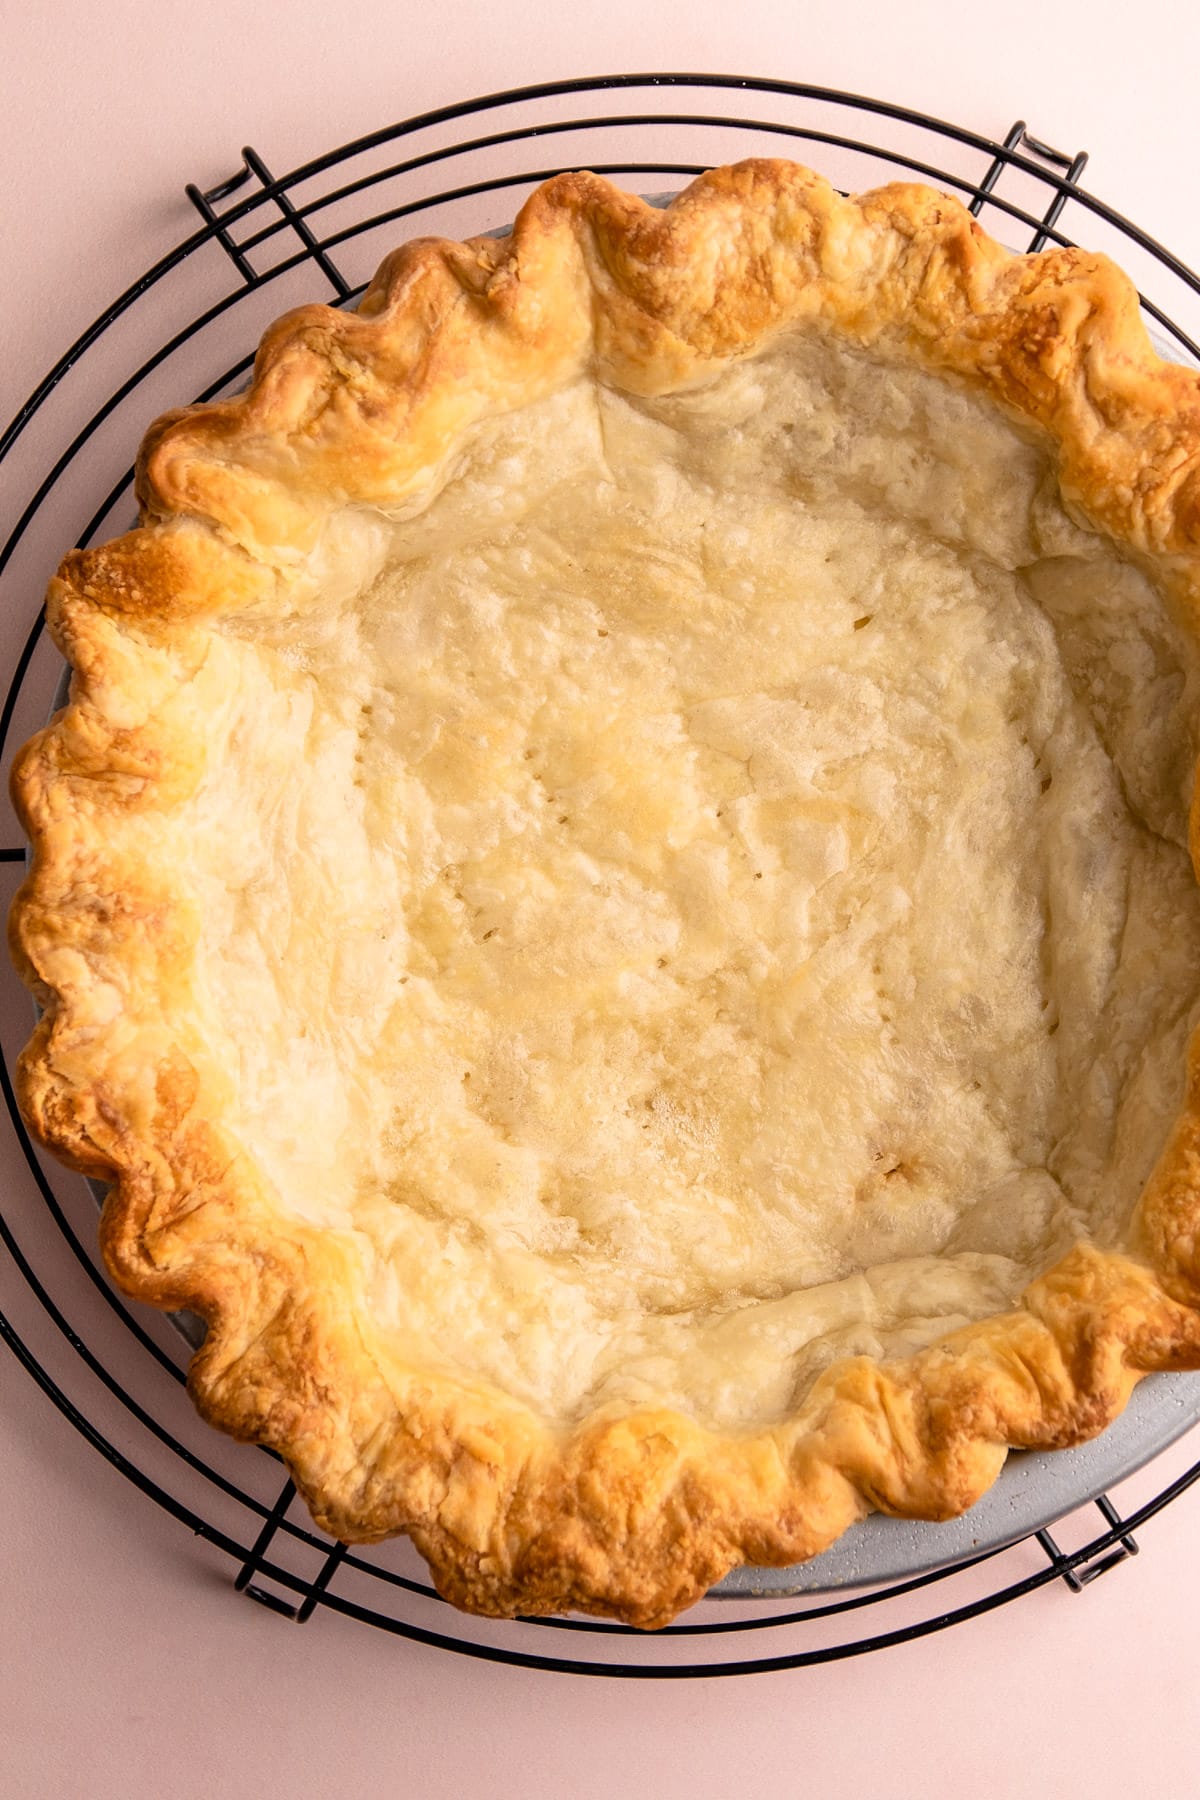
I find that there are only a few minutes difference in terms of baking time between these two baking distinctions. For a partial blind bake, I generally look to make sure the pie crust isn't at all raw, in that it's fully cooked, but just barely. For a full blind bake I look to see that the crust is flaky with a light golden color in the middle of the pie crust.
What Types of Pies Need Blind Baking
Nearly any pie that has a filling that needs to be baked below a temperature of 400ºF should be blind bake. The reason for this is that a pie crust, at least a classic butter pie crust, needs a long baking time at a high temperature in order to be fully baked through.
Pie types that benefit from blind baking:
- most single-crust pies (such as this Apple Butter Pie)
- quiches (Like this Caramelized Onion Quiche)
- custard pies (Like this Classic Custard Pie)
- no-bake pies such as cream pies (Like this Chocolate Cream Pie)
- chiffon pies
Pies that don't need blind baking:
- double crust fruit pies (Like this Blackberry Pie)
- single crust fruit pies with a crumble topping (Like this Apple Crumb Pie)
- double crust savory pies (like this Chicken Pot Pie)
Visual Step-by-Step

Step 1: Place pastry in the pie tin, crimp as desired. Chill it.
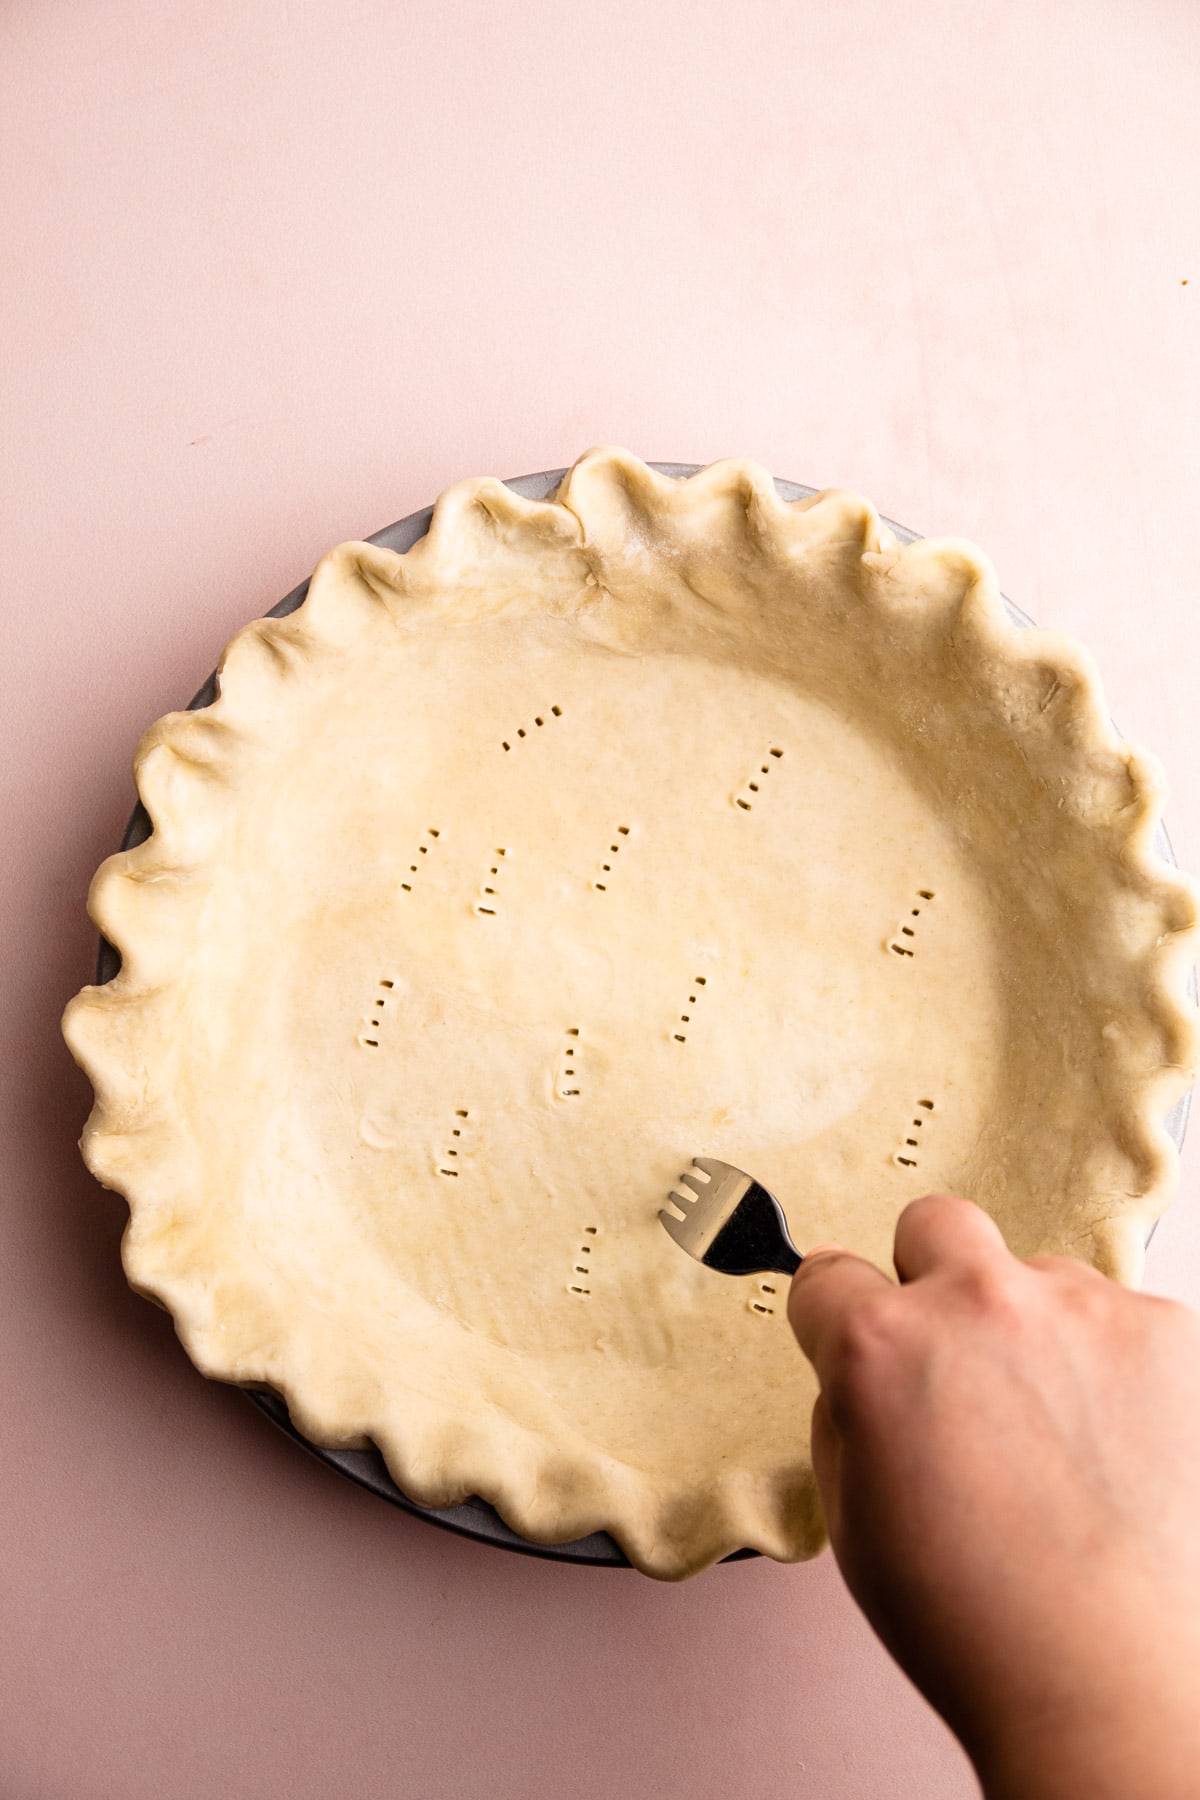
Step 2: Dock the pie crust to let steam escape (unless recipe specifies not to do this)
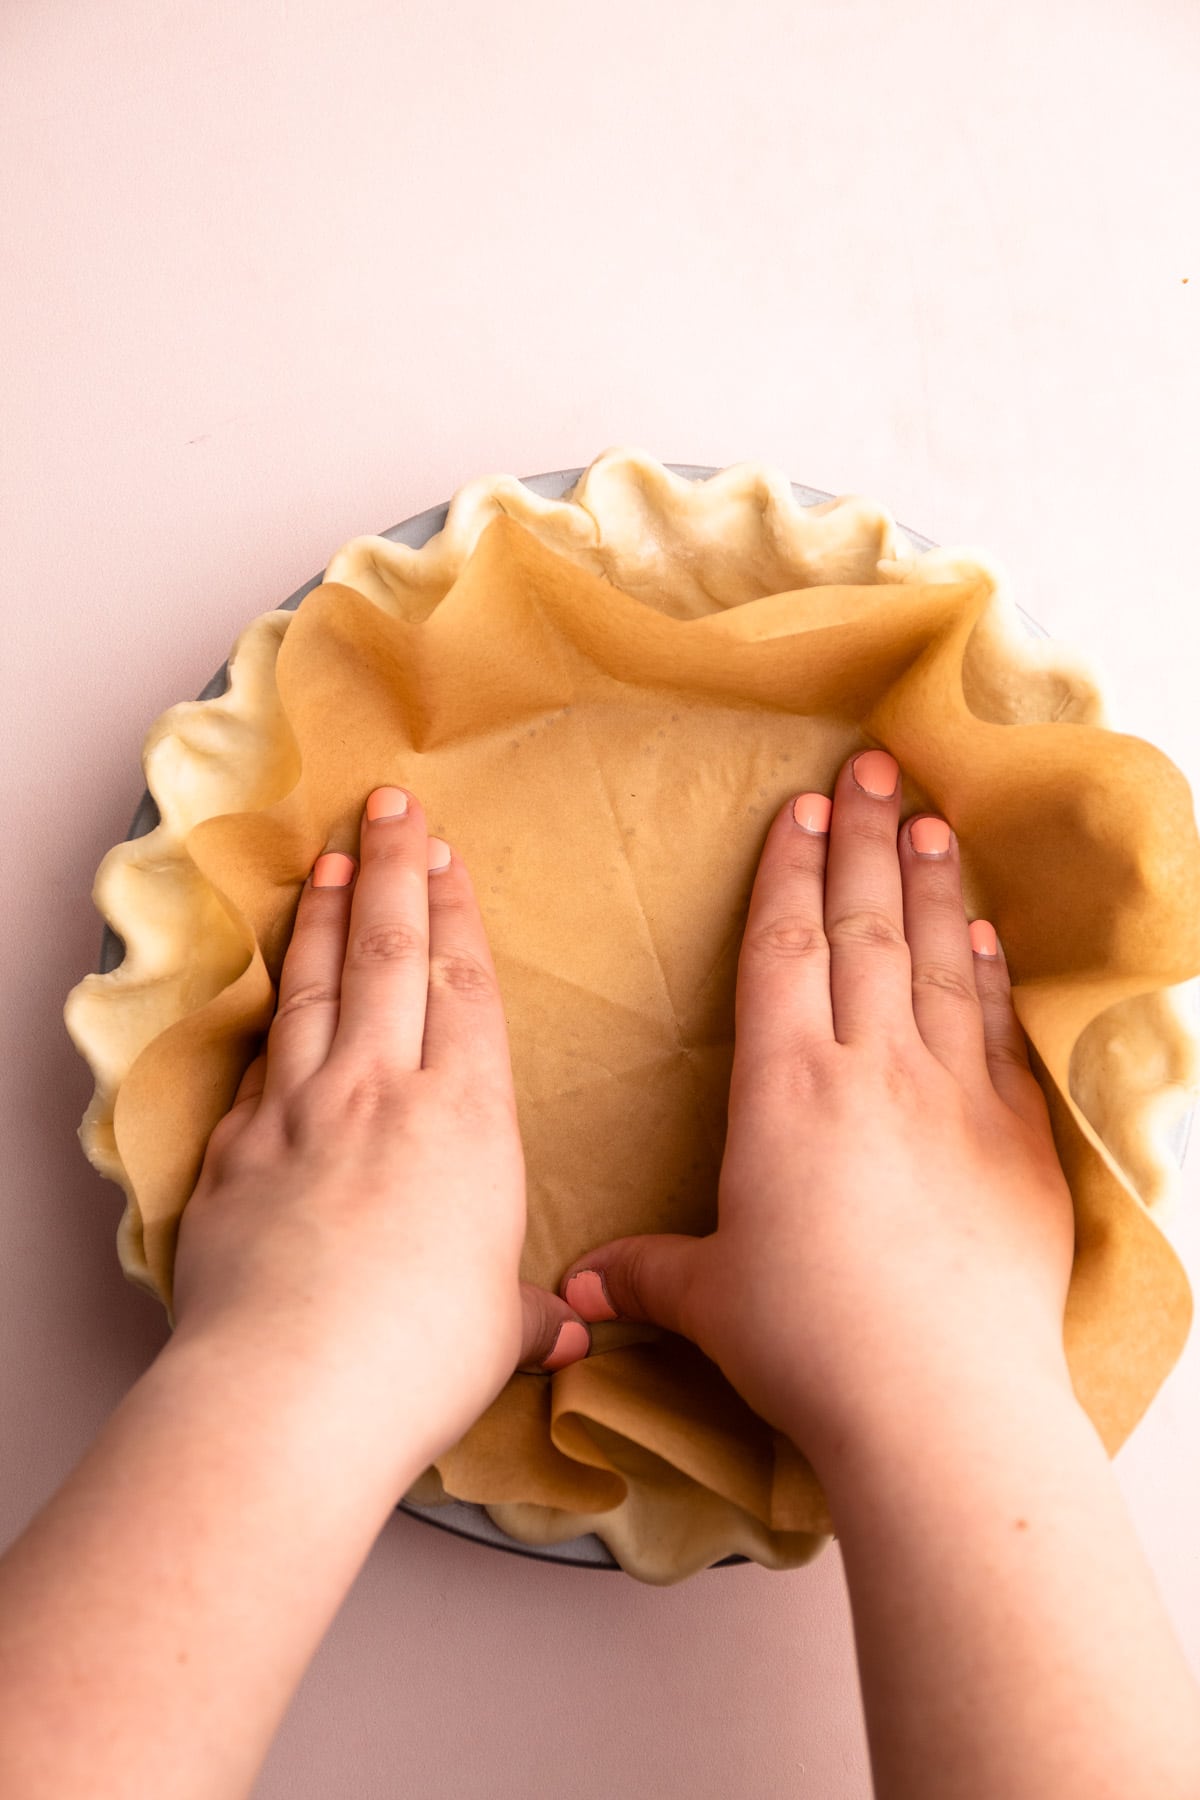
Step 3: Place parchment inside of the pie.

Step 4: Pour the pie weights (aka dried rice and beans) on the parchment.
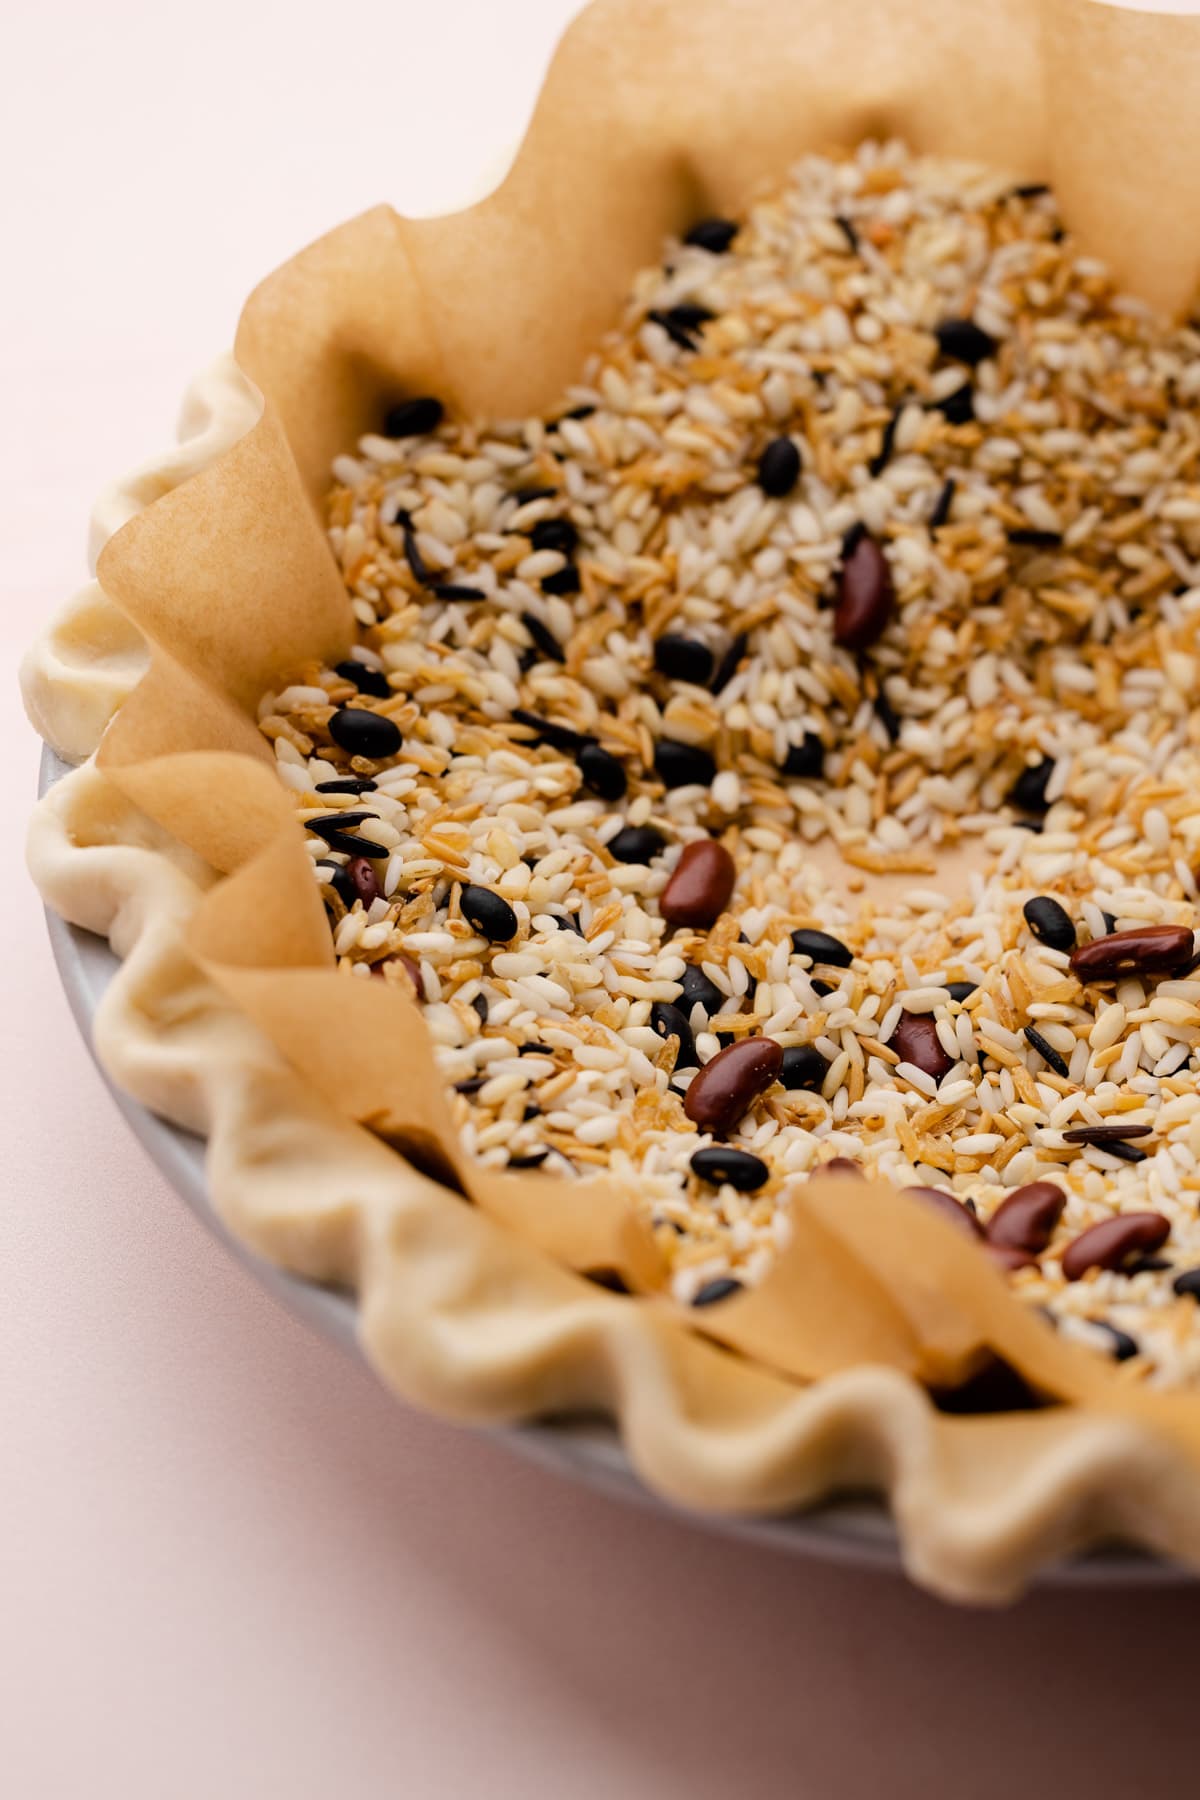
Step 5: Push the pie weights up against the sides of the edge.
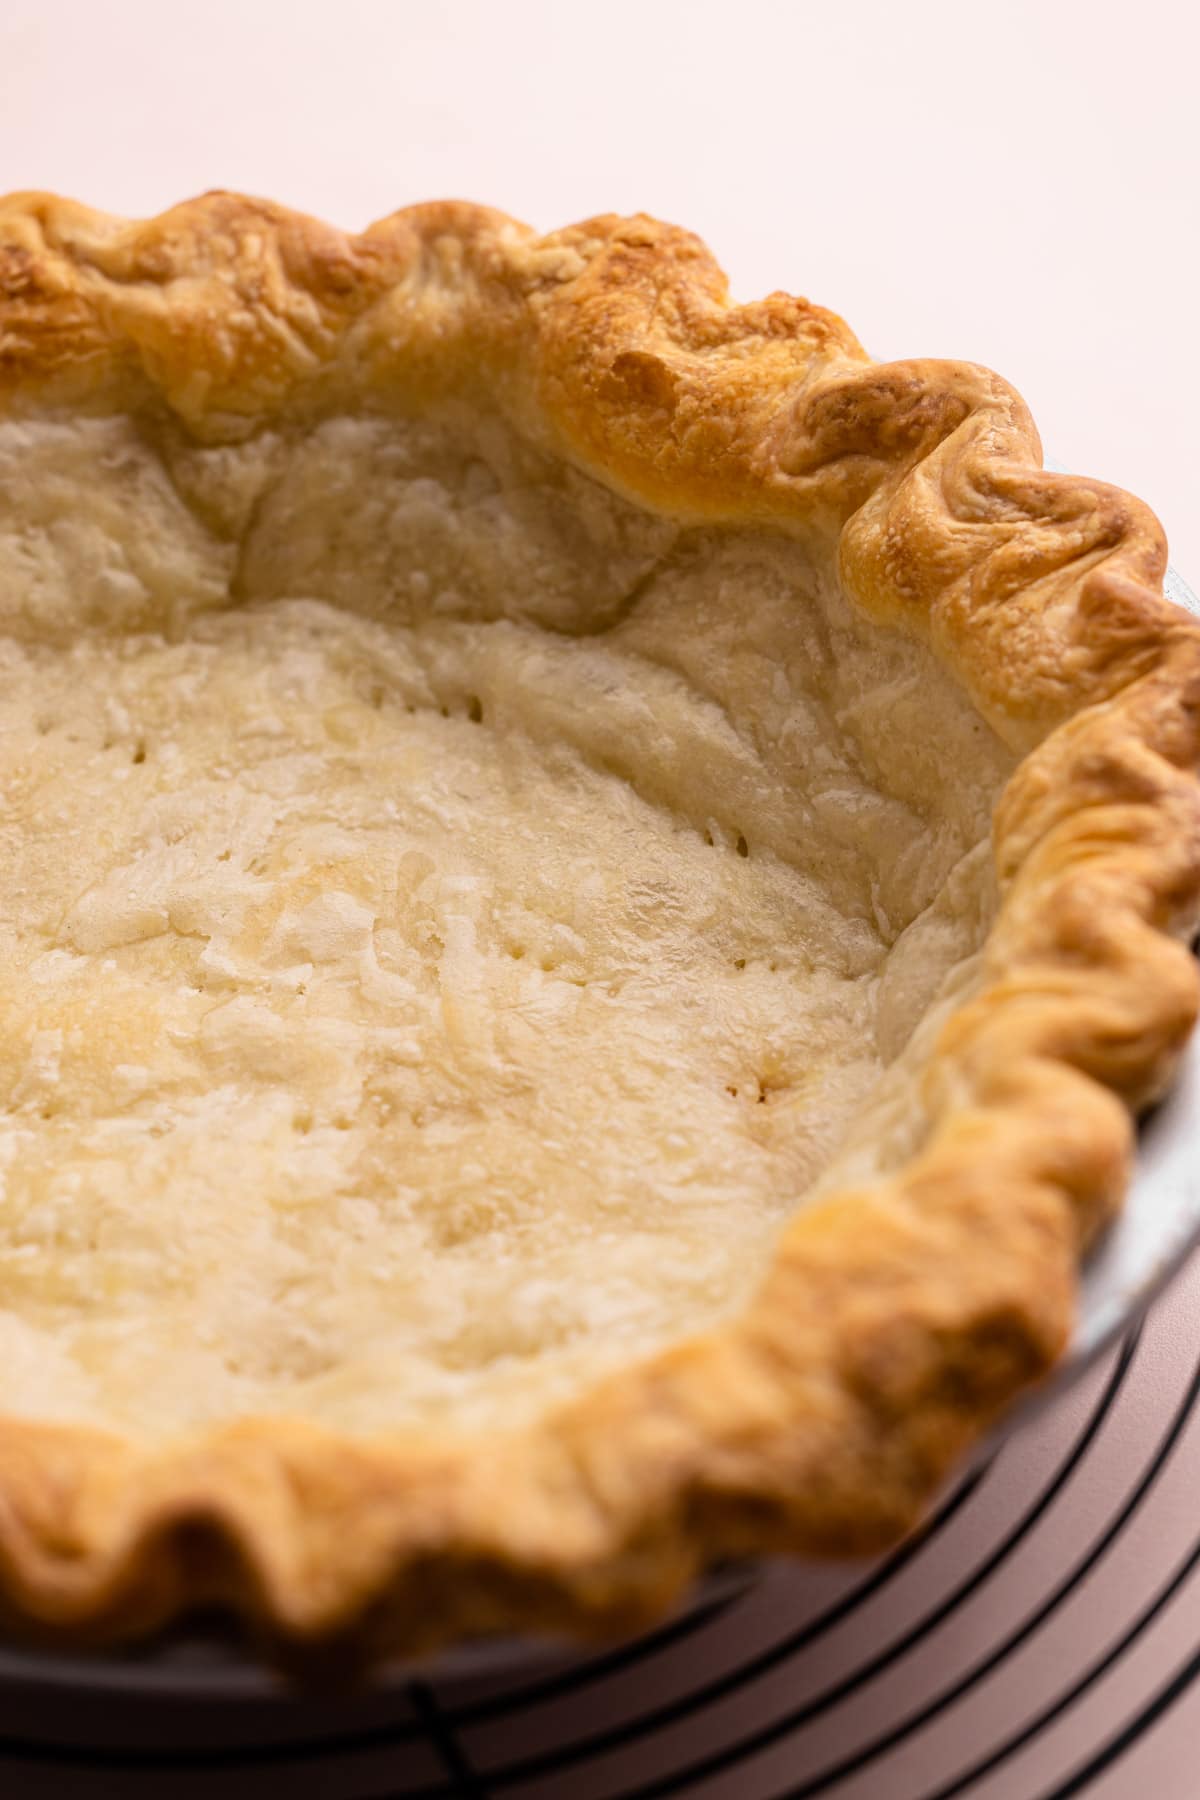
Step 6: Place in the oven and partially blind bake or fully blind bake.
Blind Baking Different Types of Crusts
This website is filled with all types of different pie crusts, made from all types of different ingredients, ranging from the Basic Butter Pie Crust to a sweet pie crust known as Pâte Sucrée. While the process for blind-baking is nearly identical for all pie crusts, what does change is the oven temperature and the length of time needed to blind bake.
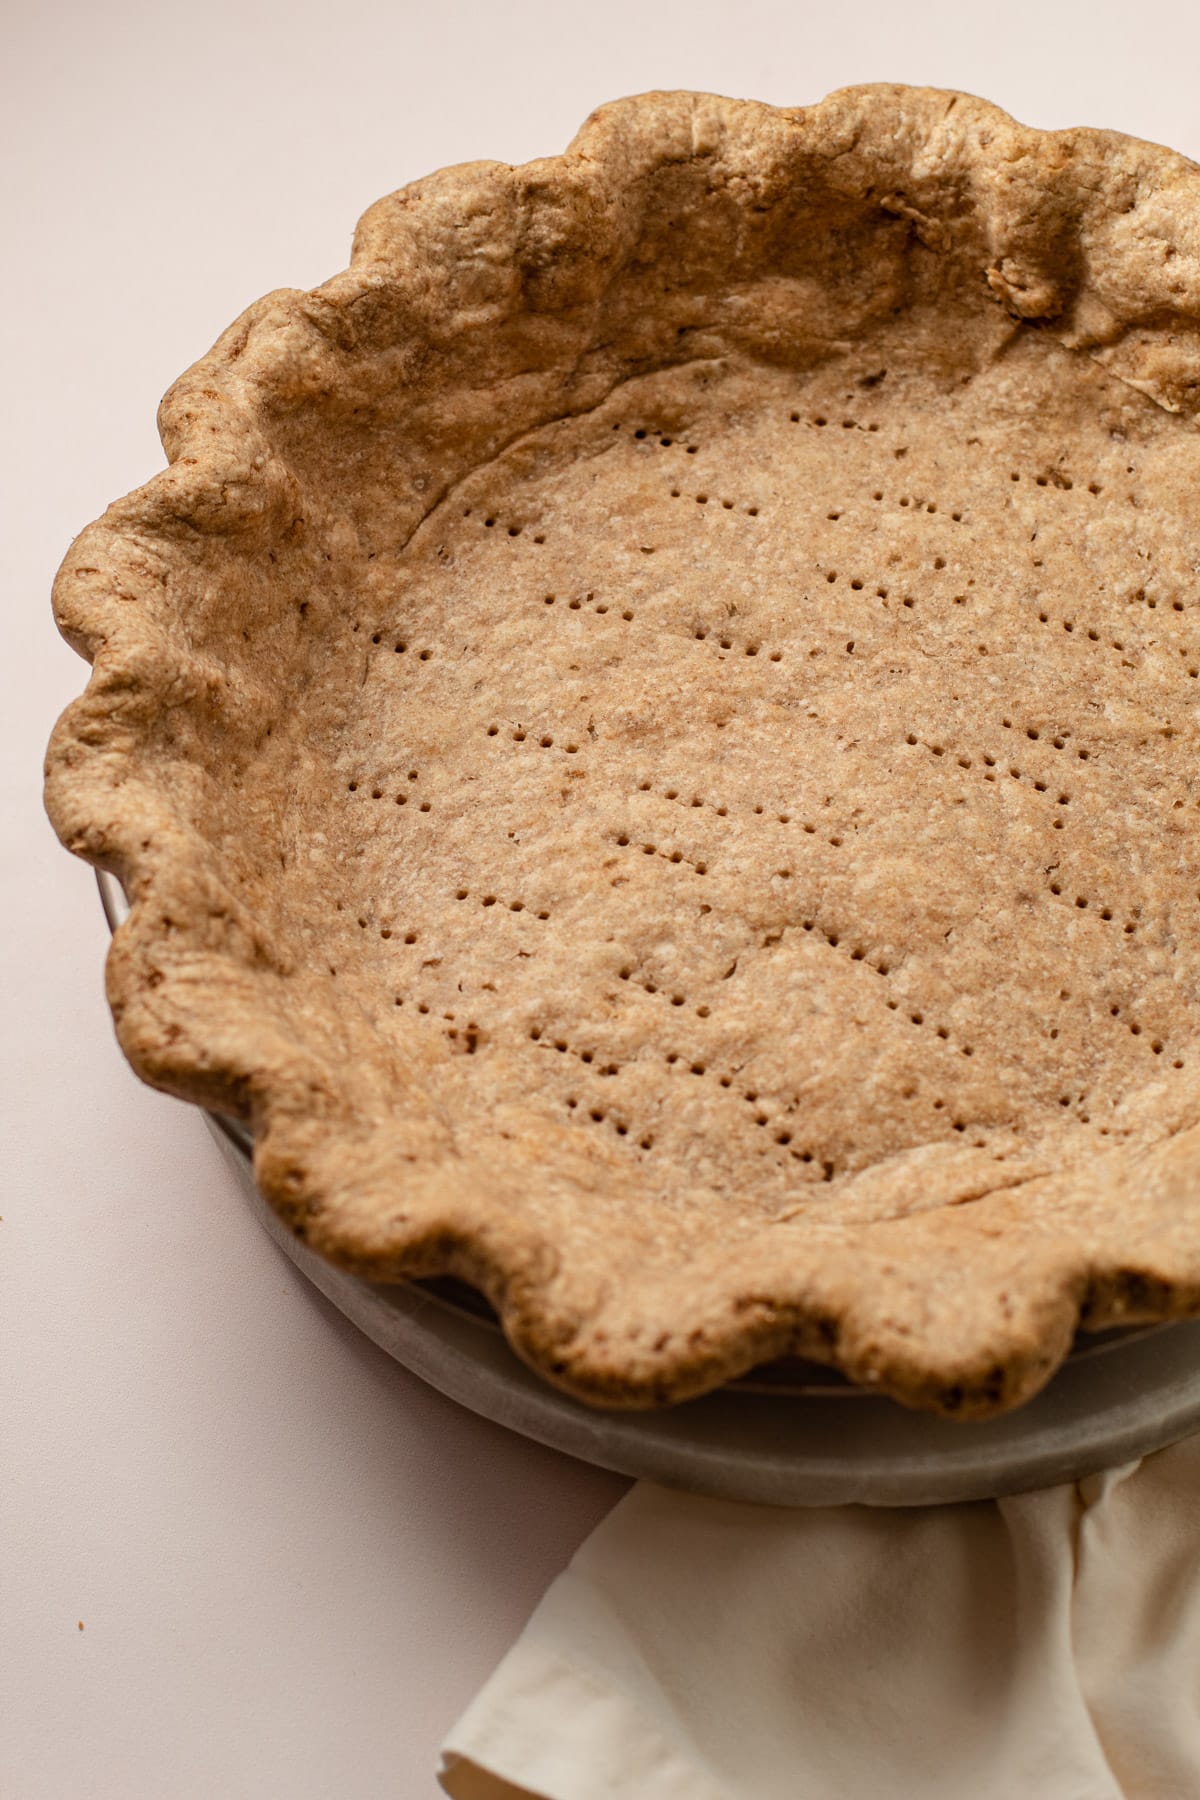
A basic pie crust that consists primarily of white flour and butter always benefits from blind-baking at 425ºF. However, if sugar is added to it, it's better to bake it at a lower temperature of 400ºF, to prevent the sugar from burning. Though, it will need to be baked for longer to ensure it's fully baked through.
Similarly, if a pie crust uses whole grain ingredients such as spelt or whole wheat flour, it's also best to bake it at the lower temperature of 400ºf and increase the length of baking time to prevent burning the whole grains. The photos in this post are of a whole wheat pie crust.
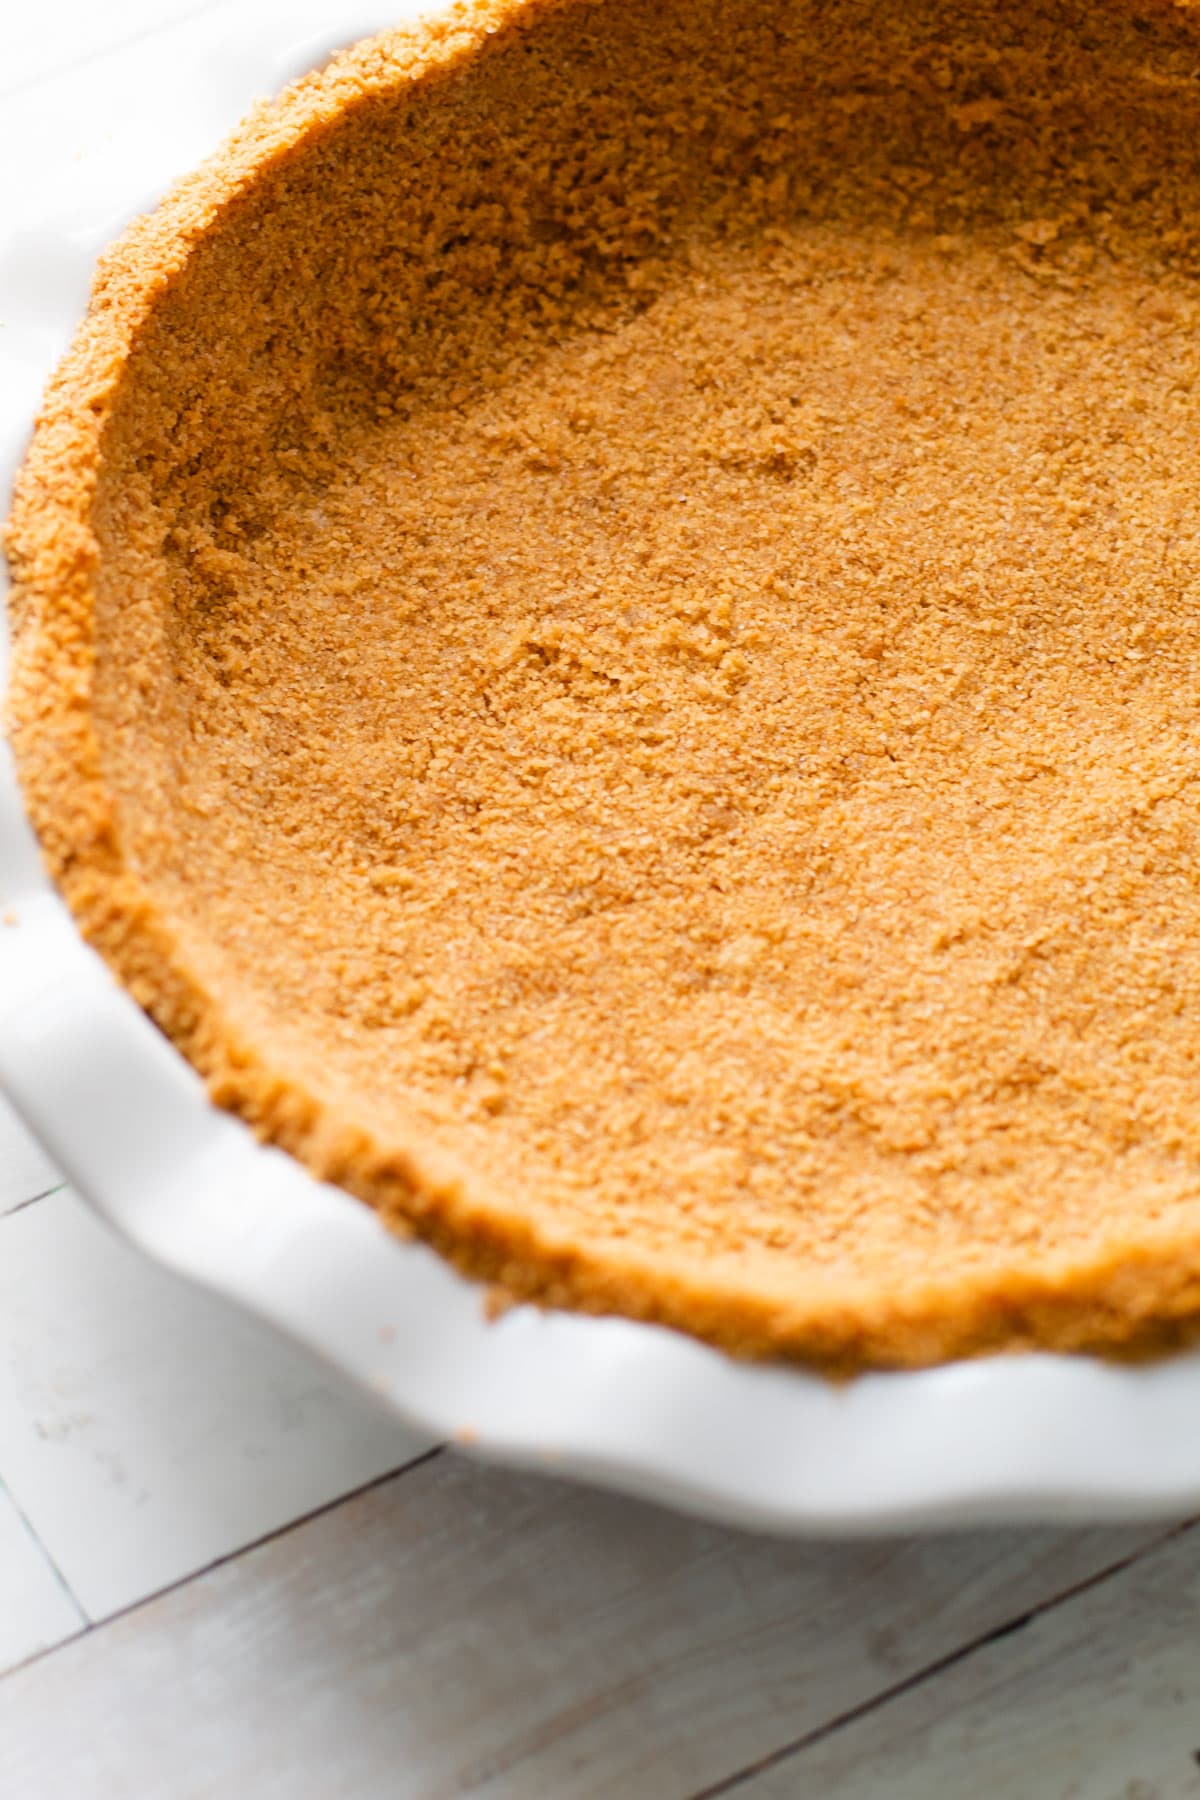
A crumb crust, such as a graham cracker crust, does not act the same way as a raw flour pie crust, but still can be blind baked to ensure it is crisp and that it holds together. It should be baked at the lowest temperature to blind bake of 350ºF for a short 10 minutes, or until it starts to get fragrant in the oven.
Kelli's Best Tips
After over a decade blind baking pie crusts, I certainly have a few tips to share!
- Place pastry in the pie tin properly! Make sure the pastry fits snugly in the pie plate, eliminating large air gaps that can prevent proper browning and baking.
- Chill the pastry! I never roll out a pie crust and then immediately bake it. Always chill the rolled out pastry for at least 15 minutes in the freezer, or 30 minutes in the refrigerator. This is a minimum requirement. It's better to let it rest for a few hours to relax the gluten.
- Create steam holes, but only on certain pies! Take a fork and dock the pie crust all over so that the steam escapes during baking. If you don't do this, the pie crust will puff up and steam is created in between the crust and the pie tin. Steamed pie dough is never a good thing. However, some pie recipes do best by skipping this step, such as Lemon Meringue Pie, so be sure to read the recipe of the pie you are planning to use before you blind bake.
- Use a round piece of parchment. I find that actually cutting out a circle of parchment is helpful than using a square piece of parchment because it allows you to really evenly get into the edges of the pie crust. It's important to push / fold the parchment paper circle into the edges of the pastry. This helps keeps the side of the dough from slipping in.
- Use your senses, not the kitchen timer! It's always useful to have a time guideline, but never rely on that fully. Use your senses (such as sight and smell) to help you decide if the pie crust is done blind baking. For a partial blind bake make sure there is no evidence of raw dough. For a full blind bake the crust should have a matte appearance and depending on how crisp you want the crust, it should be starting to turn light golden to tan.
Blind Baking FAQs and Troubleshooting
This happens for a few reasons. The first possibility is that your pie crust wasn't chilled enough. If the butter is too soft, your crust will melt before it has a chance to actually bake. Pie crusts must be chilled before baking.
A second possibility was that the oven was at too low of a temperature, and similarly to the butter being too soft, the crust melted before it has a chance to bake.
A third and more likely case is that the sides weren't supported enough. Make sure that the parchment paper is pushed directly up against the sides of the crust, and the pie weights are supporting them. This is crucial to ensuring your pie crusts edges don't sink in before they get a chance to fully bake and stabilize.
For a partial blind-bake, the edges of the pie crust will be light golden, and the bottom of the pie crust will not look raw or wet in any areas, and will be very light in color, but fully cooked through. It should appear flaky.
For a full-blind bake, the edges of the pie crust will be light golden, and the bottom of the pie crust will also be puffy and light golden in spots.
The pie crust is light in color on the bottom, but I followed the time in the recipe! Why?
Bake it for longer! Oven temperatures may vary, so if your pie crust is still a bit uncooked in the alloted amount of time, bake it for longer.
There are two possible reasons for this. The first is that the pie crust wasn't completely chilled. If the butter is too soft, your crust will melt before it has a chance to actually bake. Pie crusts must be chilled before baking.
The pie dough also may have been overworked. If the pie dough is overworked, the gluten is fully activated the pie crust will shrink and become misshapen during the bake.
Follow the directions for baking the pie!
More Pie Tutorials
I am so honored when you make a recipe from my site! If you use this Blind Baking Tutorial, please leave a star ⭐️⭐️⭐️⭐️⭐️ rating with your experience! If you have any questions about this recipe, feel free to comment here, and tag me on instagram!
PrintFull Recipe
How to Blind Bake Pie Crust
Learning how to Blind Bake a Pie Crust is an essential skill to master for the art of making pie. It may seem intimidating, but it's quite simple to do! This comprehensive guide will take you through all the essential steps, including the required tools and techniques, to confidently par-bake your pie crust.
- Prep Time: 00:10
- Cook Time: 00:30
- Total Time: 40 minutes
- Yield: 1 Pie Crust
- Category: Cooking Tutorial
- Method: Bake
Instructions
- Preheat your oven to 425ºF and place the rack in the lower middle part of the oven.
- Place your pastry inside of your pie dish. Take a fork and dock the pie crust all over so that the steam escapes during baking.
- Cut out a parchment paper circle and press it in the pie dish, taking care to push it into the edges of the pastry.
- Add dry rice / beans (see note about pie weights in post) to the parchment, making sure to push the rice all the way to the edges.
- Bake for 20 minutes, then remove from oven and remove the parchment and pie weights. Return the pie crust to the oven and bake for an additional 5 minutes for a partial blind bake or for 10 minutes for a full blind bake. If you are doing a partial blind bake, look for the pie crust to be fully cooked through, but not very brown. For a full blind bake, look for fully cooked and lightly golden pie crust on the bottom.
Some of the links on this page may be affiliate links. Everyday Pie is a participant in the Amazon Associates Program. As an Amazon Associate I earn from qualifying purchases, at no extra cost to you.



Karen
Should a gluten free pie crust be blind baked?
Sandy
Super helpful post to ensure a properly blind-baked pie crust. I am wondering how long in advance you can blind bake a crust - a few hours? A day?
Kelli Avila
A day at most. It shrinks a little bit after it has completely cooled (a natural process called retrogradation) usually after 12 hours or so. But not by a lot.
Judy Heinemann
Love how you explain everything in depth.
I’m new at making good pies and your directions are so helpful. Thank you.
Jackie
HI, If I don't have rice or beans, can you use another pie plate for the blind baking?
Kelli Avila
You can use sugar! It won't melt in the oven at that temp.
Car
Love your well explained instructions
aba
It is necessary to brush egg wash on the bottom and sides of the crust before return it to the oven? Some people say it creates a waterproof layer but does it really work? Thank you.
Kelli Avila
Hello. It's not at all necessary, but depending on the filling, it can help. I use this technique in my lemon pie recipe, and you can see the instructions here: Lemon Custard Pie