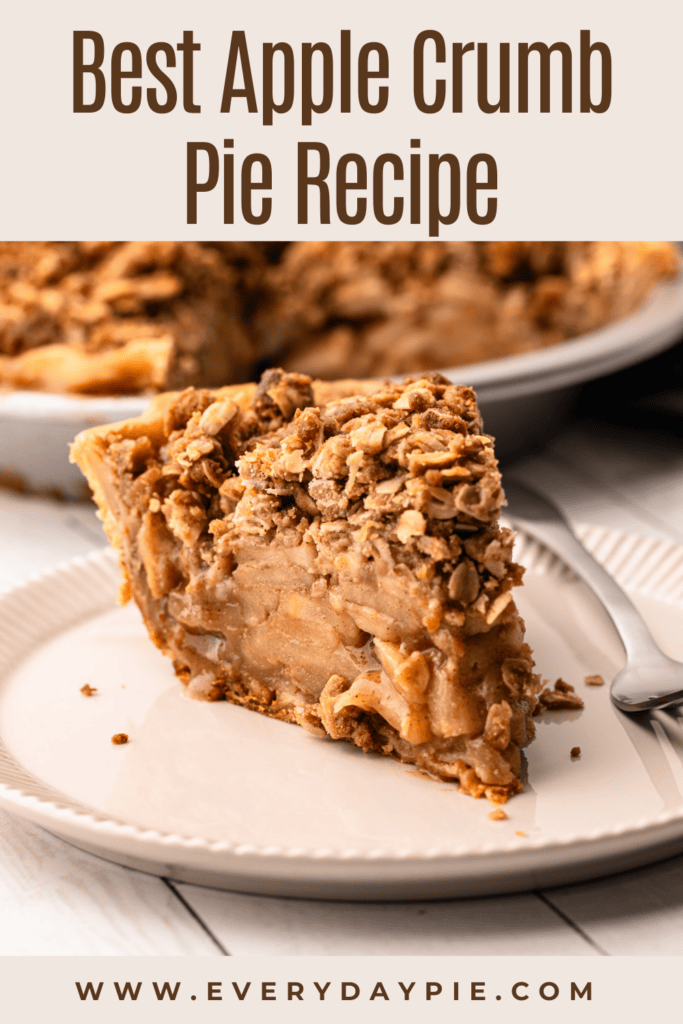
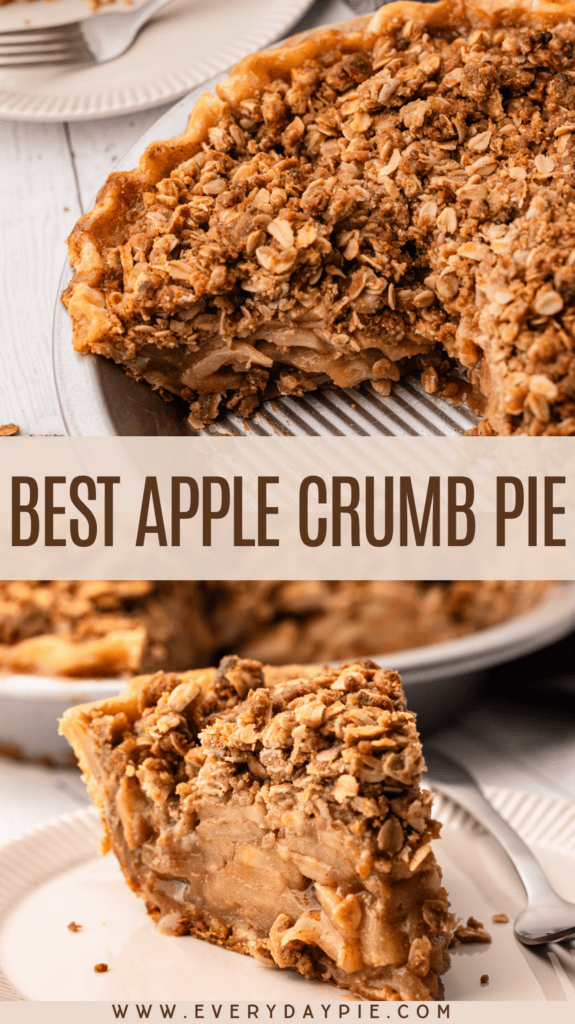
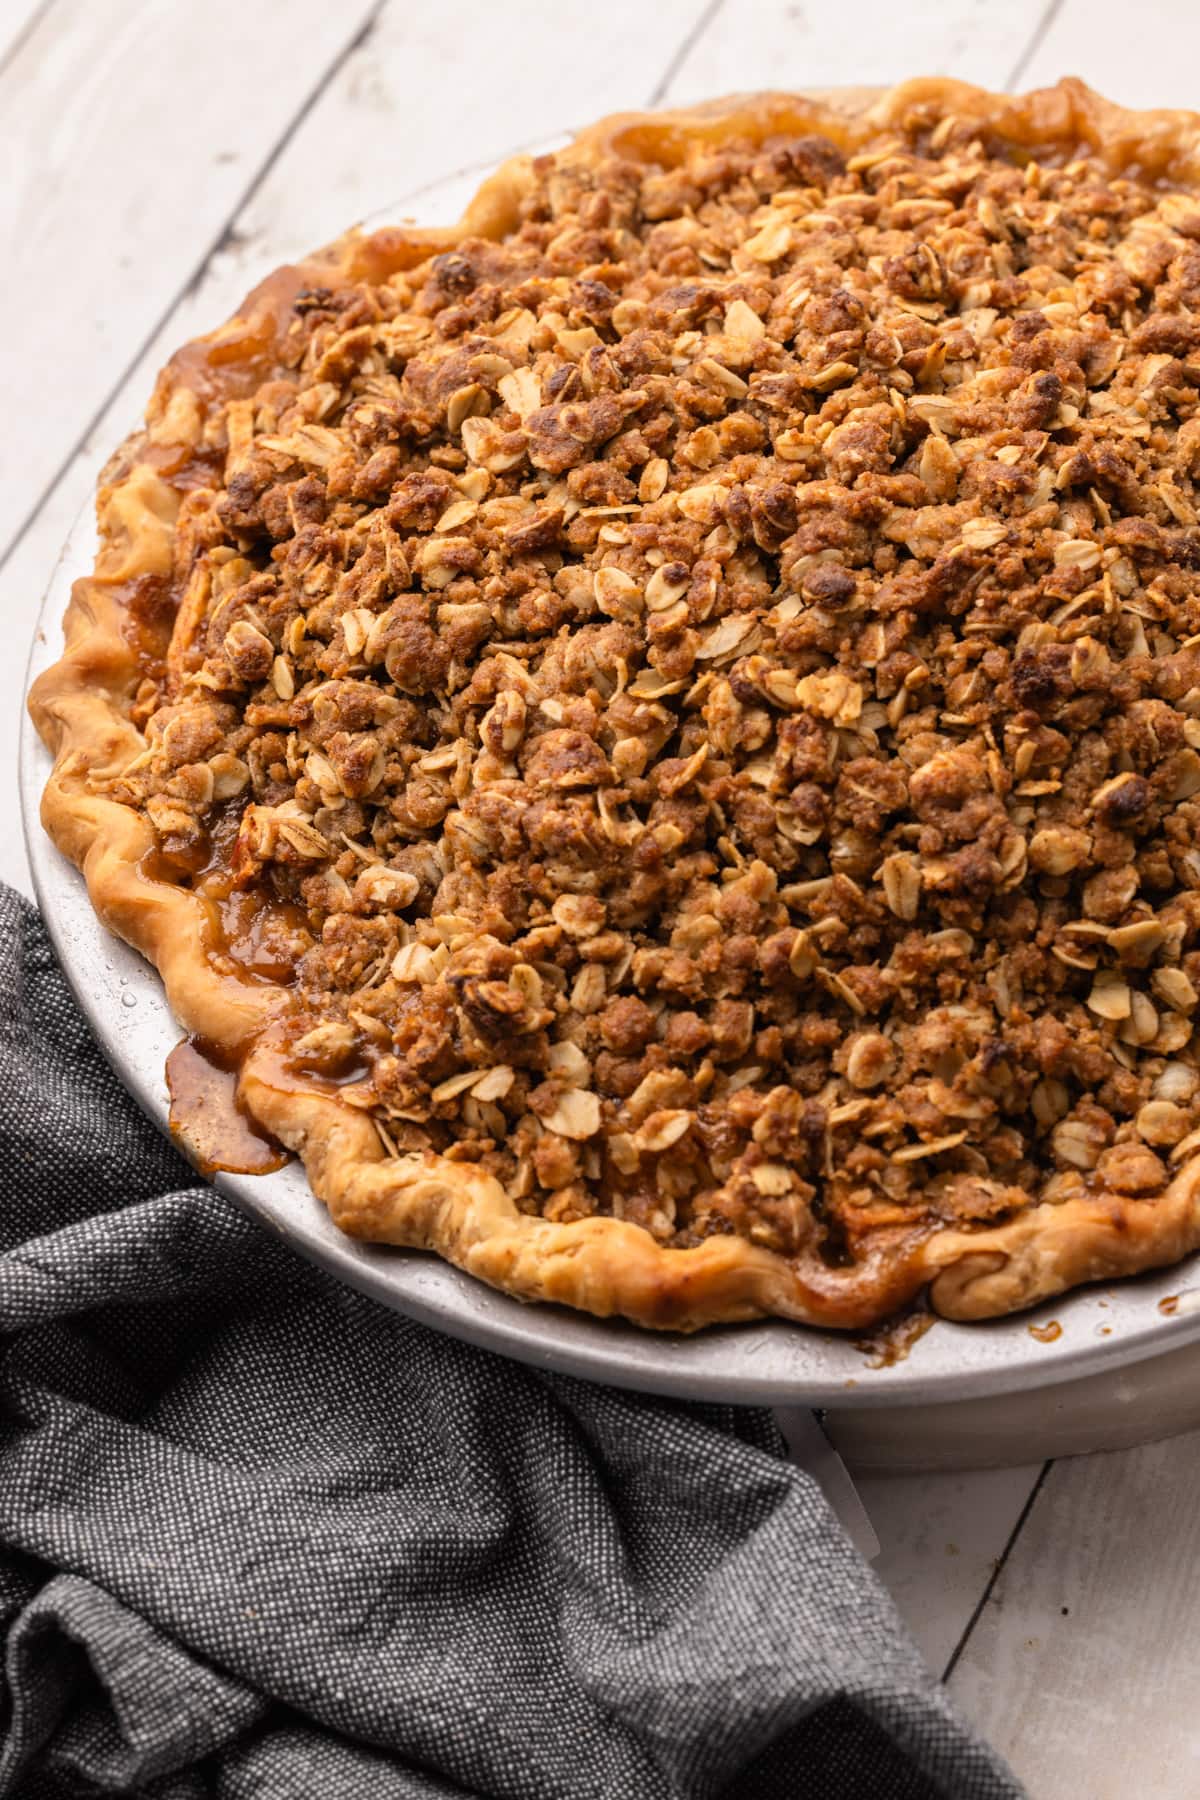
An absolute classic, this Apple Crumb Pie has a buttery, flaky pie crust filled to the brim with juicy, cinnamon-laced apples, baked off with a delicious oat crumble on top.
Want to save this recipe?
Enter your email & I'll send it to your inbox. Plus, get weekly updates from me!
Can I let you in on a secret? I failed at making a good apple pie for the first few years of my baking career. Even after I was making pies full-time, I could never make an apple pie I was entirely happy with. Despite trying multiple recipes, I just felt the apples were never the right consistency and they lacked that oomph of flavor I was after. Looking back now, I realize I was using whatever apples came my way from the farmer's market, or whichever apples my chef would order at the restaurant, and that was a big part of the problem.
Things changed when I started working with a local farm and I got into the nitty-gritty research of apples in general. I learned a lot, but most importantly, I learned which apples are truly best for apple pie. For me, the holy grail is a combination of Gala and Granny Smith apples. Now, having found this magical medley, I've never looked back.
The blend of Gala and Granny Smith are perfect in this Apple Crumble Pie! (And also in this Cinnamon Roll Apple Pie and this Apple Pie Filling recipe.) This pie starts off with a flaky pie crust (or this one works well), filled with juicy and tart, cinnamon-laced apples, topped with a crunchy oatmeal crumble. This pie is classic elegance.
So, let's get to making it, shall we? The article below is jam-packed full of useful information. You can jump around using the menu below, or skip to the end of the article for the full recipe.
Jump to:
Ingredient Overview
Here is an overview of the ingredients needed for this recipe. The full recipe is listed below in greater detail.
- baking apples (see below for my recommendations)
- all-purpose flour
- butter
- brown sugar + white sugar
- cinnamon + nutmeg
- oats
- lemon juice
- salt
- vanilla extract
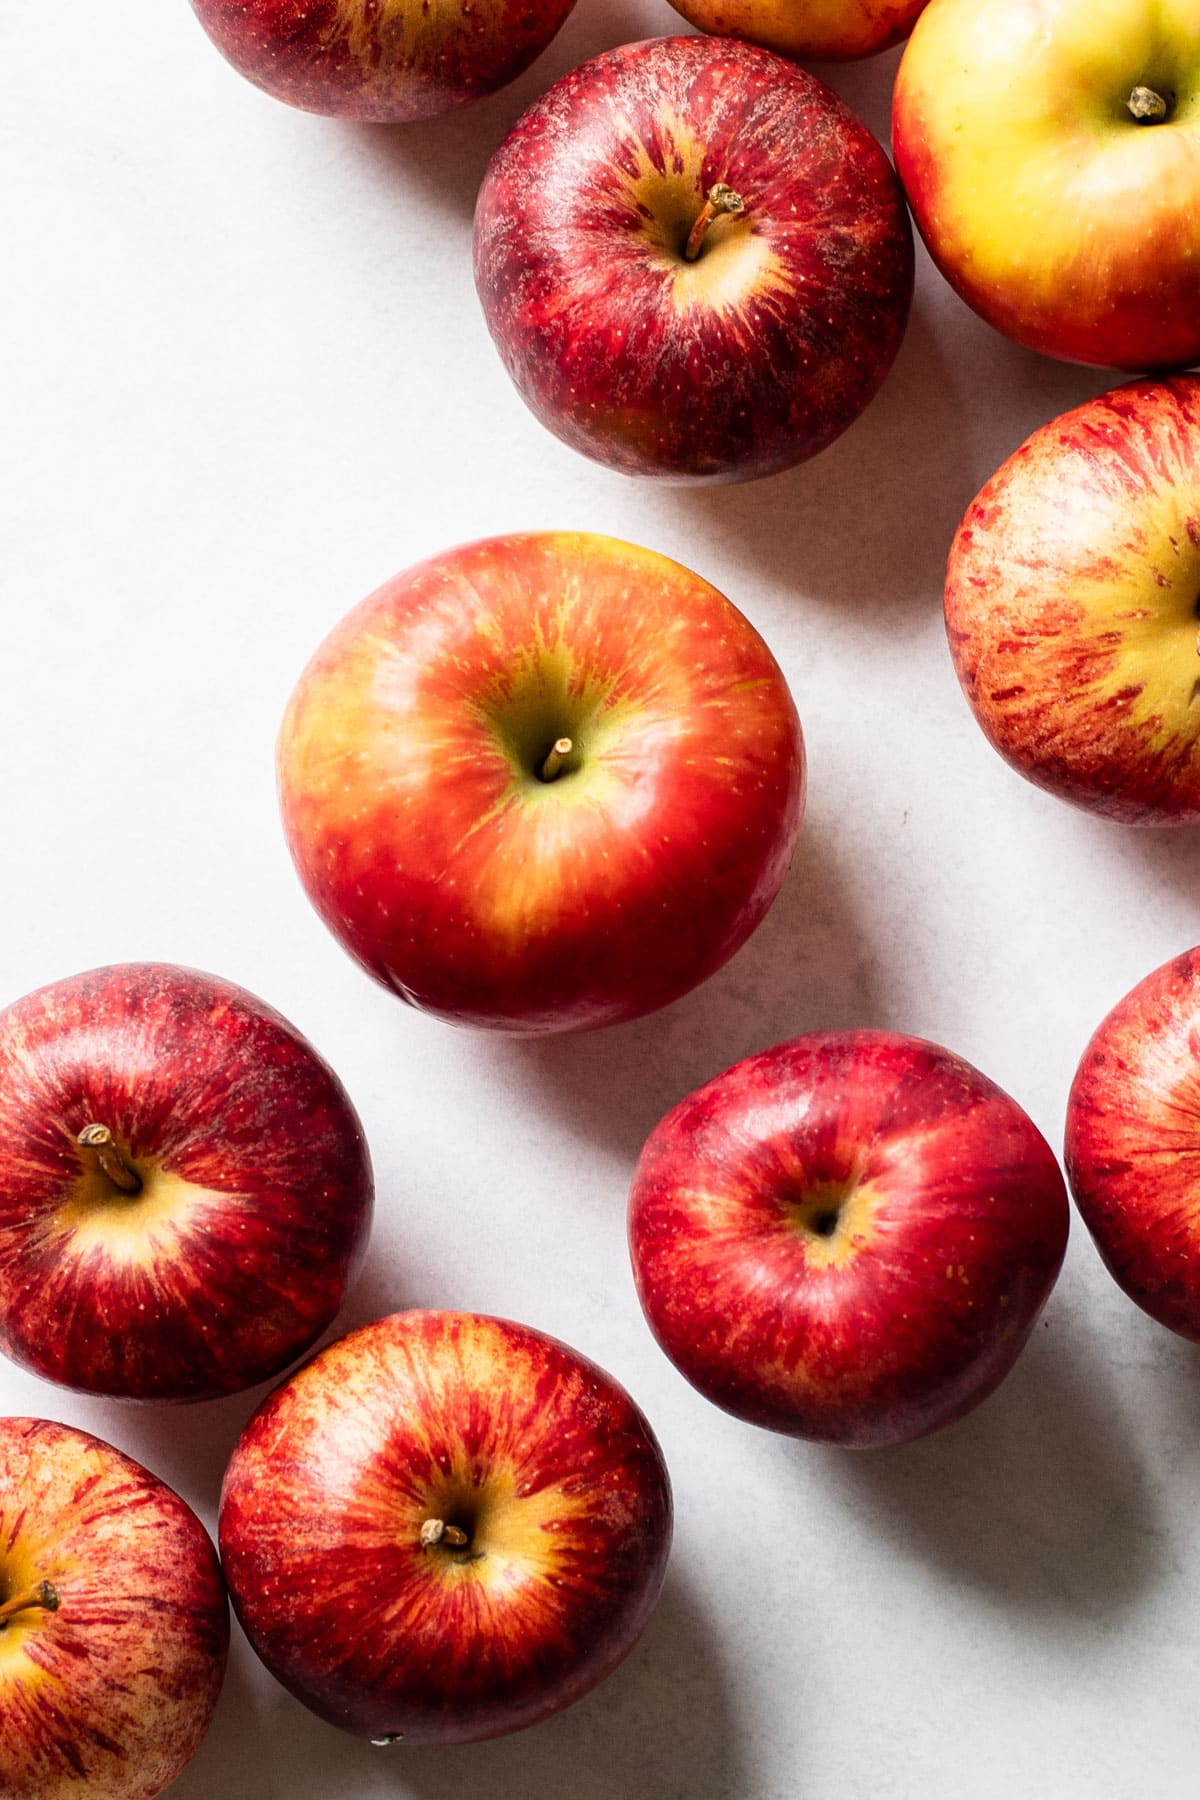
Best Apples for Apple Crumb Pie
For a pie, you want an apple that can hold its shape during baking and has a nuanced flavor with a slight tartness to break up the sweetness of the sugar. A combination of apples is helpful because it introduces a variety of flavors and textures to the pie.
Gala and Granny Smith apples are good choices for apple pie because they don't get mushy after a long bake in the oven, and they have a balanced sweet-and-tart flavor.
Here are some other great apples for baking:
- Honeycrisp
- Cortland
- Golden Delicious
- Braeburn
- Pink Lady
- Ginger Gold
- Jonagold
Pie Crust Options
This pie tastes best with a homemade buttery pie crust. The recipe below lists full instructions for a classic butter pie crust made by hand. However, feel free to use a store-bought pie crust or your favorite homemade version.
Looking to switch things up a bit? Here are some additional pie crust options:
Whatever pie crust you use, you'll only need a bottom crust, so if the recipe you are using makes two, simply freeze the other crust for another use.
New to making pie crust? I suggest you take a look at my Ultimate Guide for All Butter Pie Crust.
The Crumb Topping
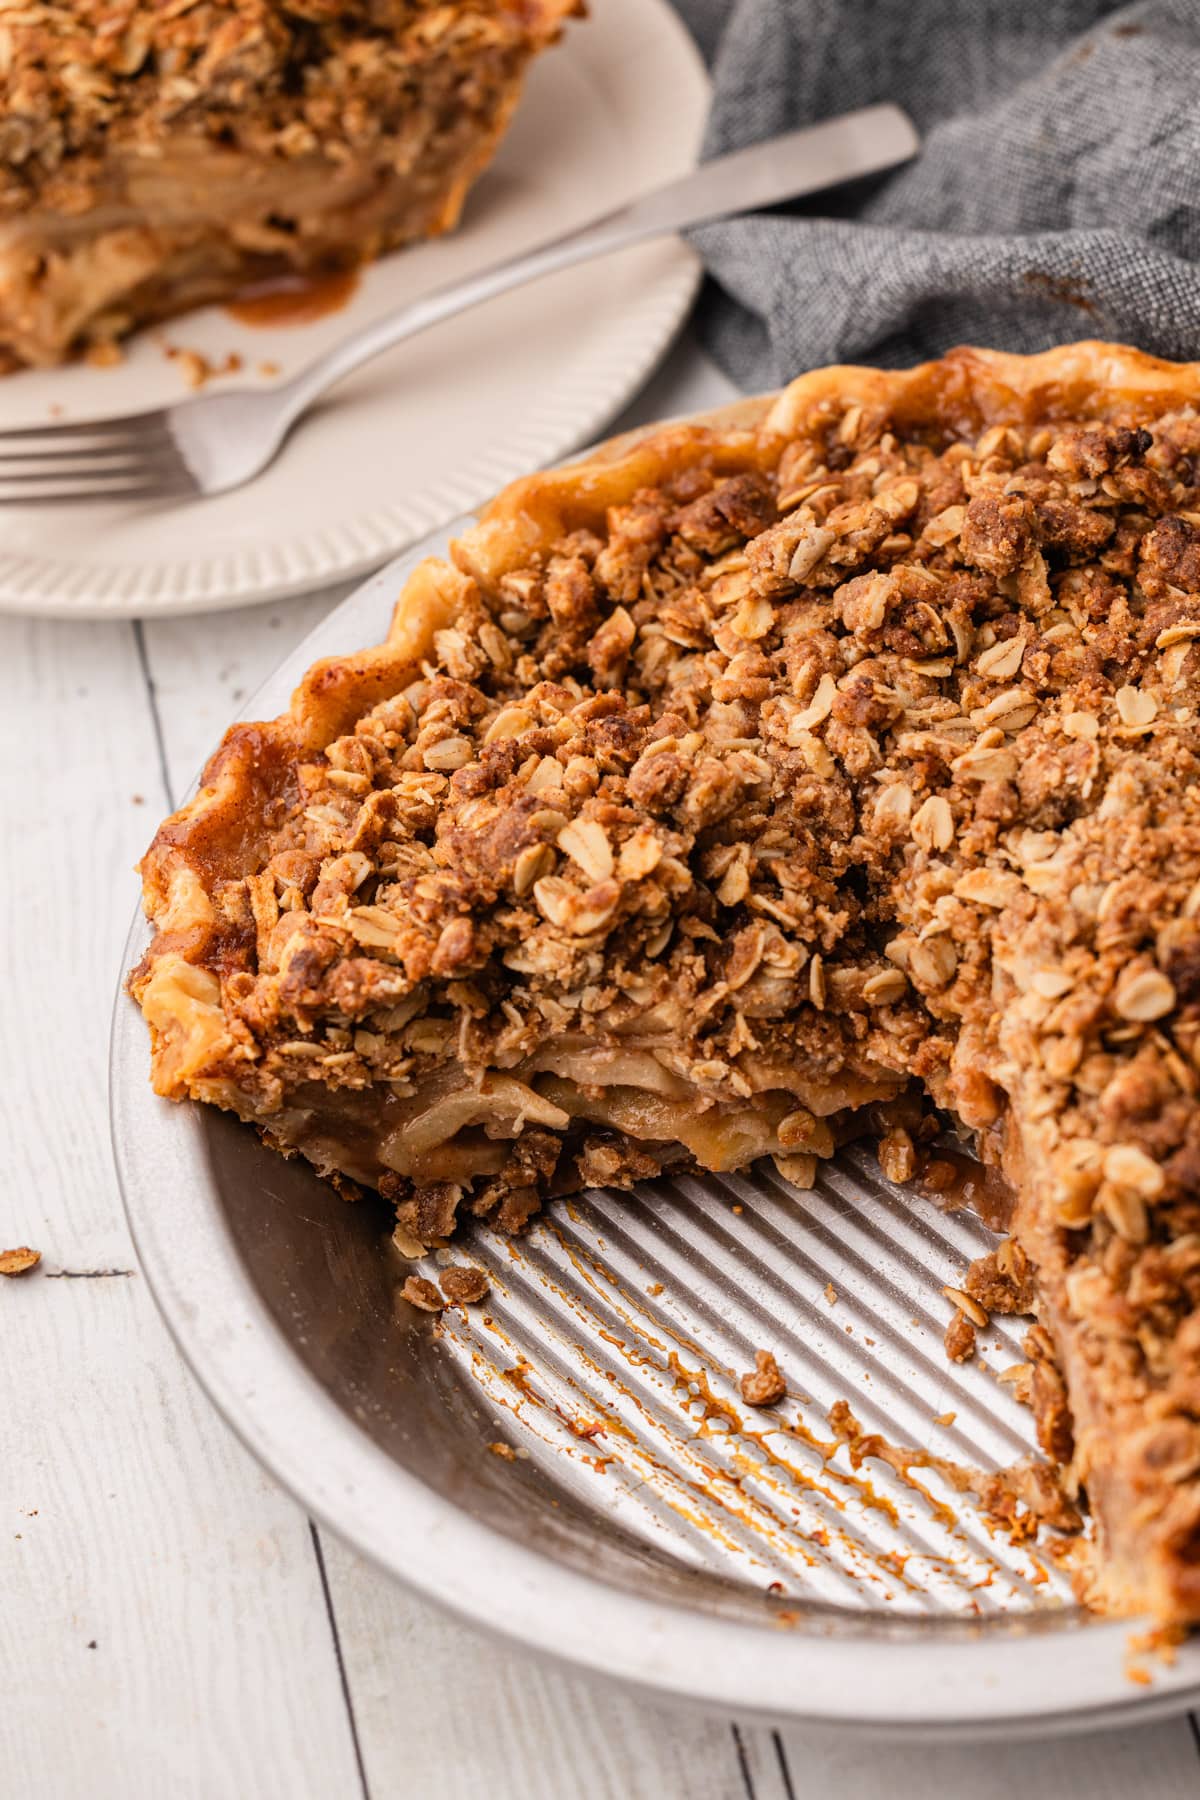
Let's talk about that crumble topping. You can call it whatever you want: Dutch apple pie, apple streusel pie, apple crumb pie; I like to call it delicious! The crunchy-sweet oat streusel is very straightforward to put together.
Some streusel recipes call for you to cut cold butter into the flour and sugar mixture. When you melt the butter instead, I've found that it produces a crisp crumble topping that partners well with the juicy apple filling.
How to Make it:
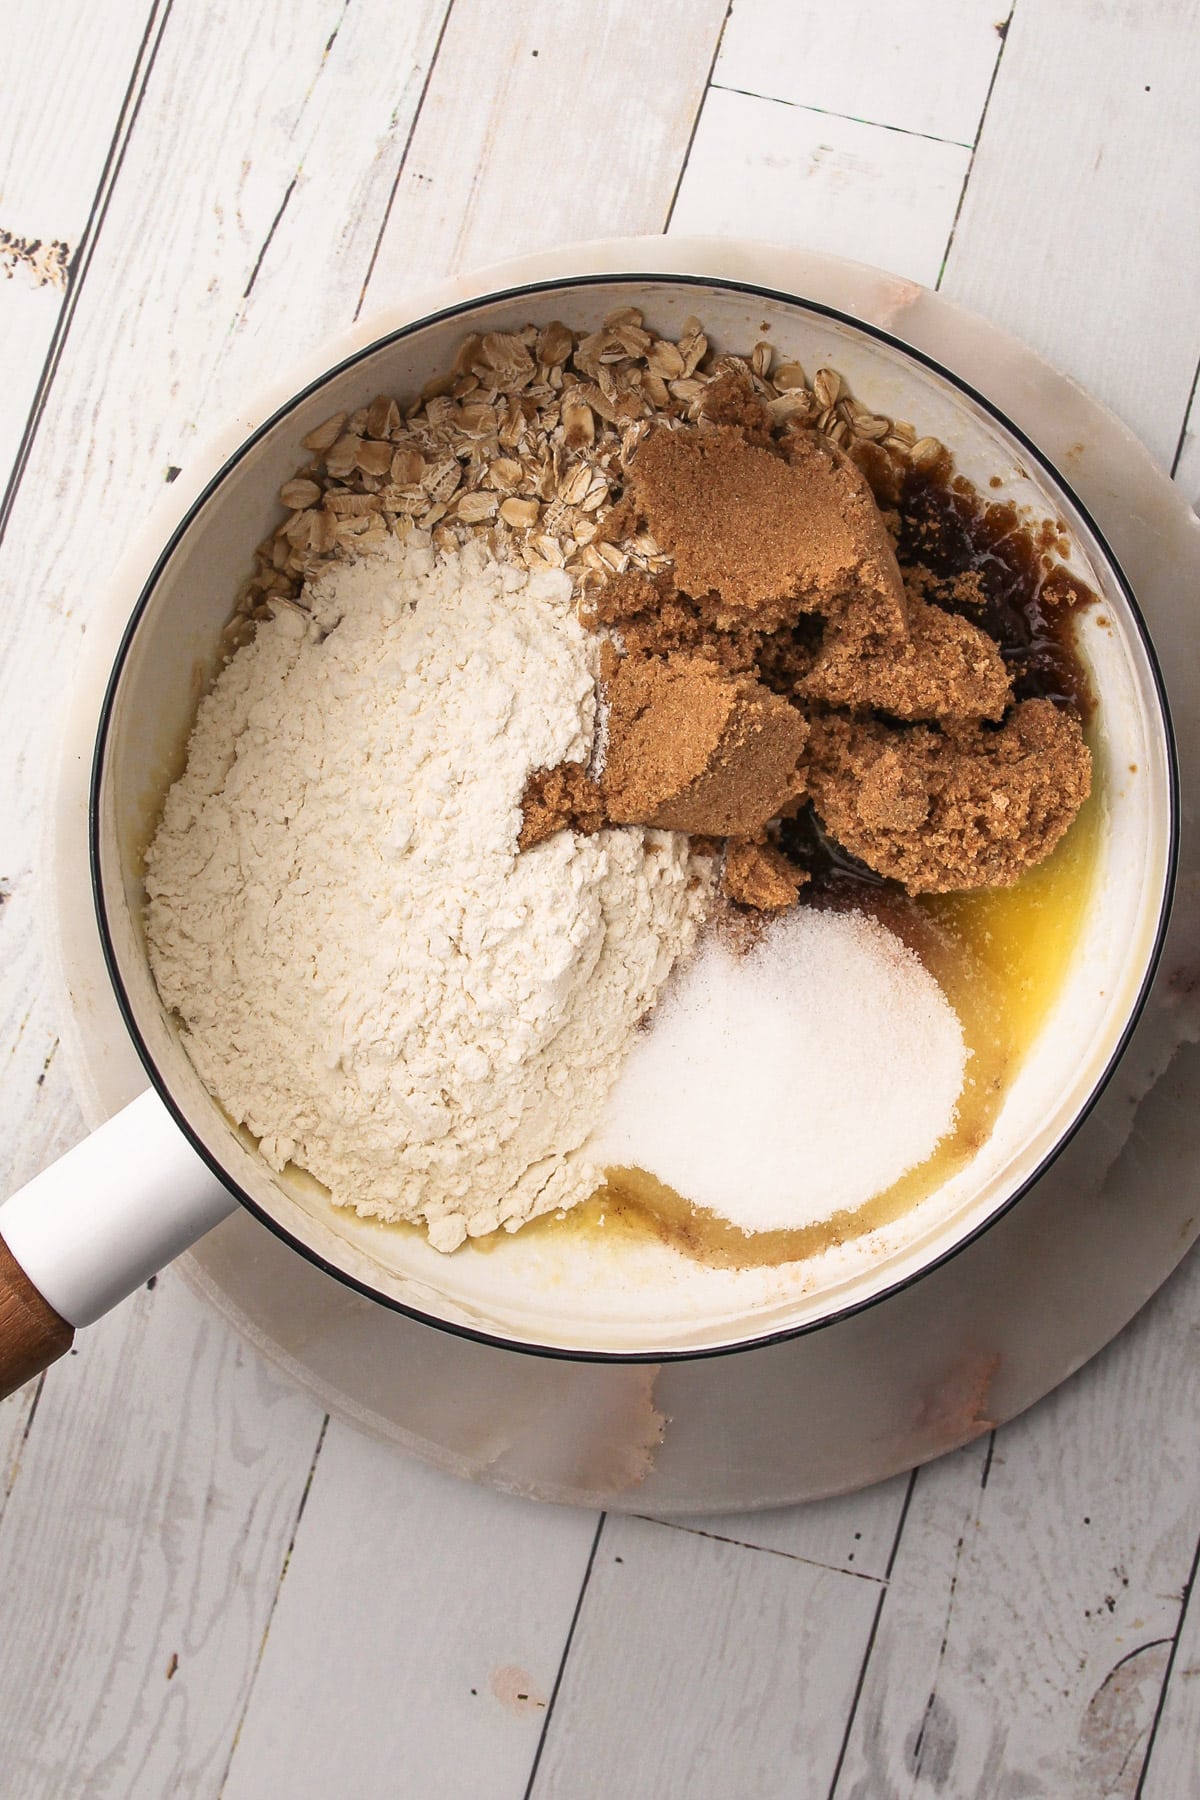
Step 1: Melt the butter in a pot. Add in the remaining ingredients.
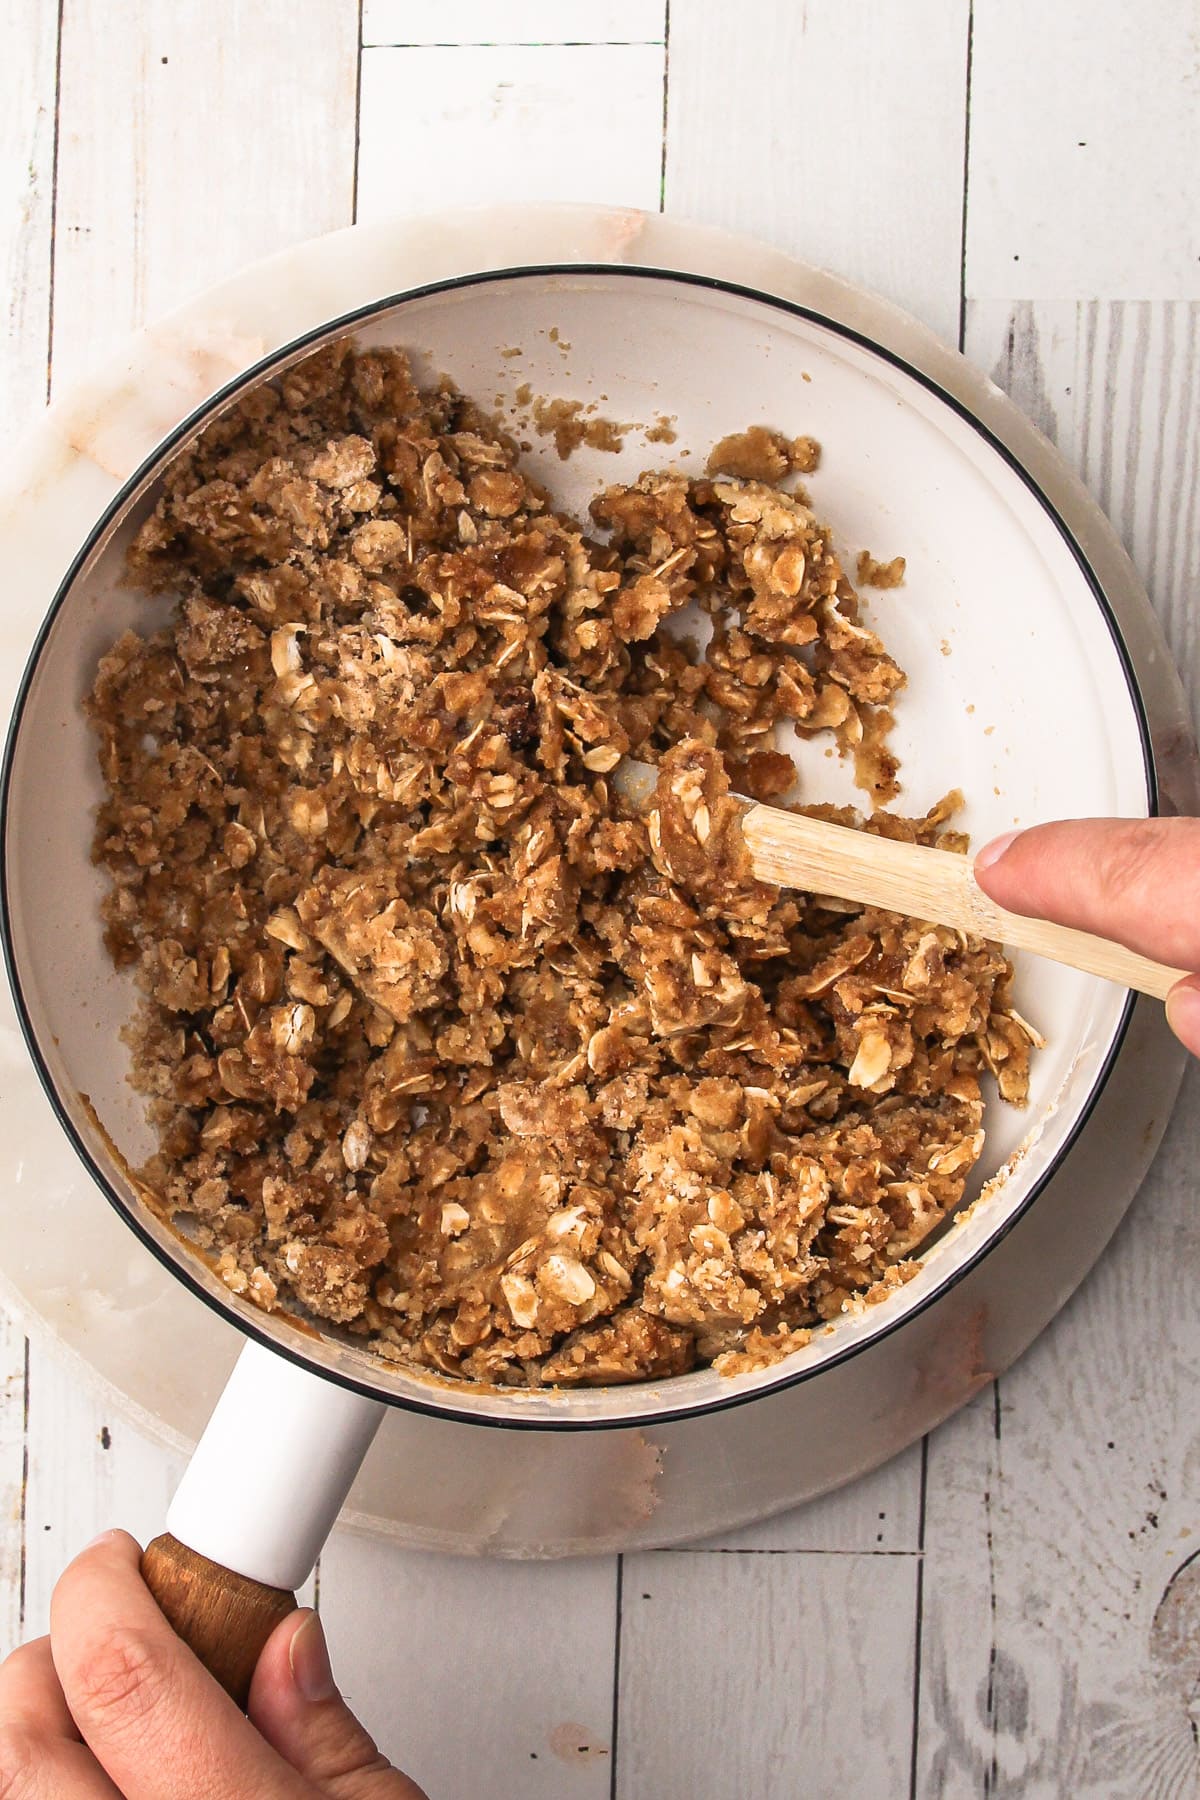
Step 2: Stir it all together until it's combined!
How to Prevent a Sinking Apple Pie Filling
Apples contain a ton of moisture. When the apples are cooked, they release that moisture and then shrink. That means that when you bake an apple pie, the apple filling will first puff up and then shrink as it cools.
To avoid the filling from sinking too much, here are a few tips:
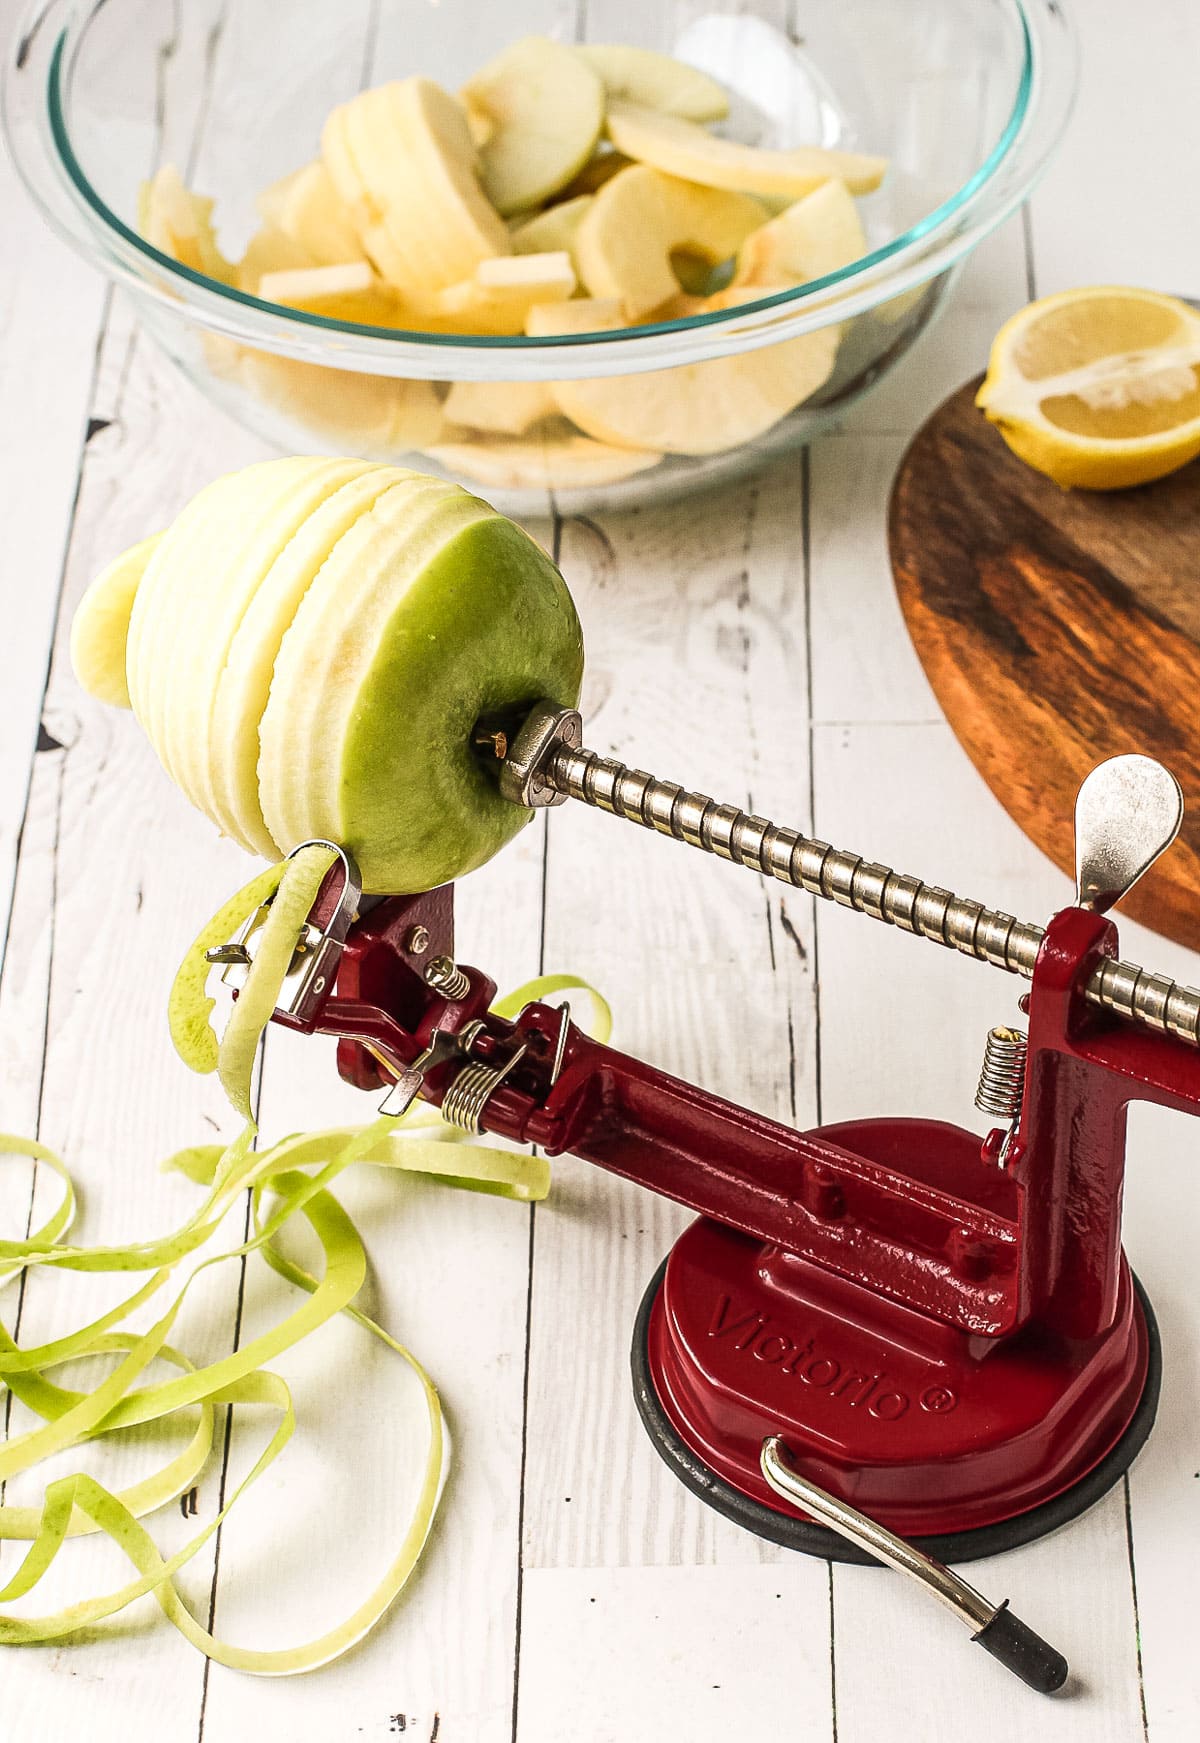
First, you want to make sure your fruit is cut into thin slices that are all similar in size. Aim to slice your apples no larger than ½-inch thick. I use this apple peeler-slicer (affiliate link), and I highly recommend it. It's worth the money and space in the kitchen, even if you only use it a few times a year.
Second, macerate the fruit before you begin to bake. Macerating the fruit in sugar helps draw out the fruit's moisture, causing it to soften and shrink before it enters the pie. This step alone will drastically reduce any gap between the crust and the filling with the fruit.
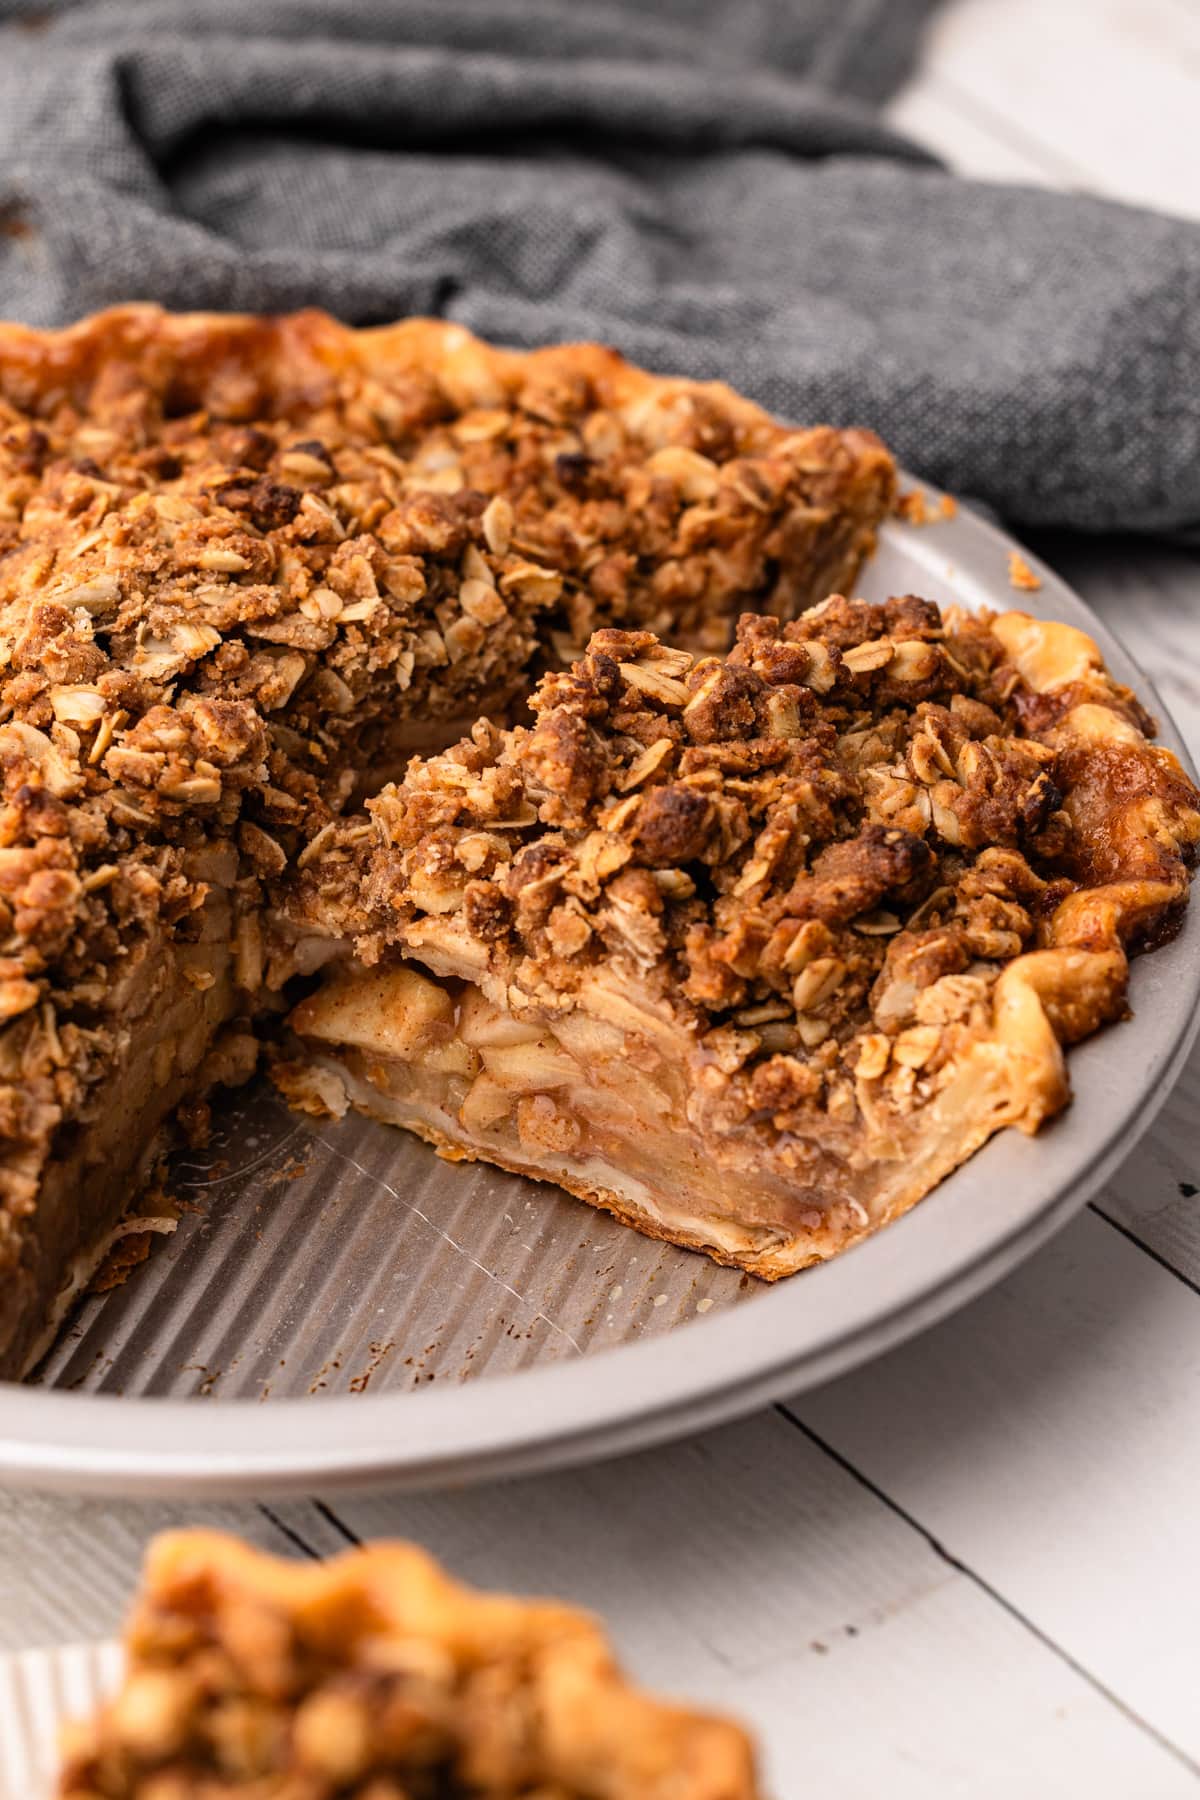
And finally, layer in your fruit. Instead of just pouring in the apple slices haphazardly, you want to literally layer in the slices of apples and try to eliminate gaps between the slices of apple. If there are large gaps between the apples, once they cook and soften, that space will be filled in with the juices and cooked fruit and the pie will sink further.
If you really wanted to avoid sinking fruit filling, you could cook pre-cook the apple filling. Check out this post about making a Mile High Apple Pie for how to cook fruit filling beforehand.
Step-by-Step Recipe Overview
This is a quick visual overview of the steps needed to make this recipe. If you are looking for the full recipe, keep scrolling!
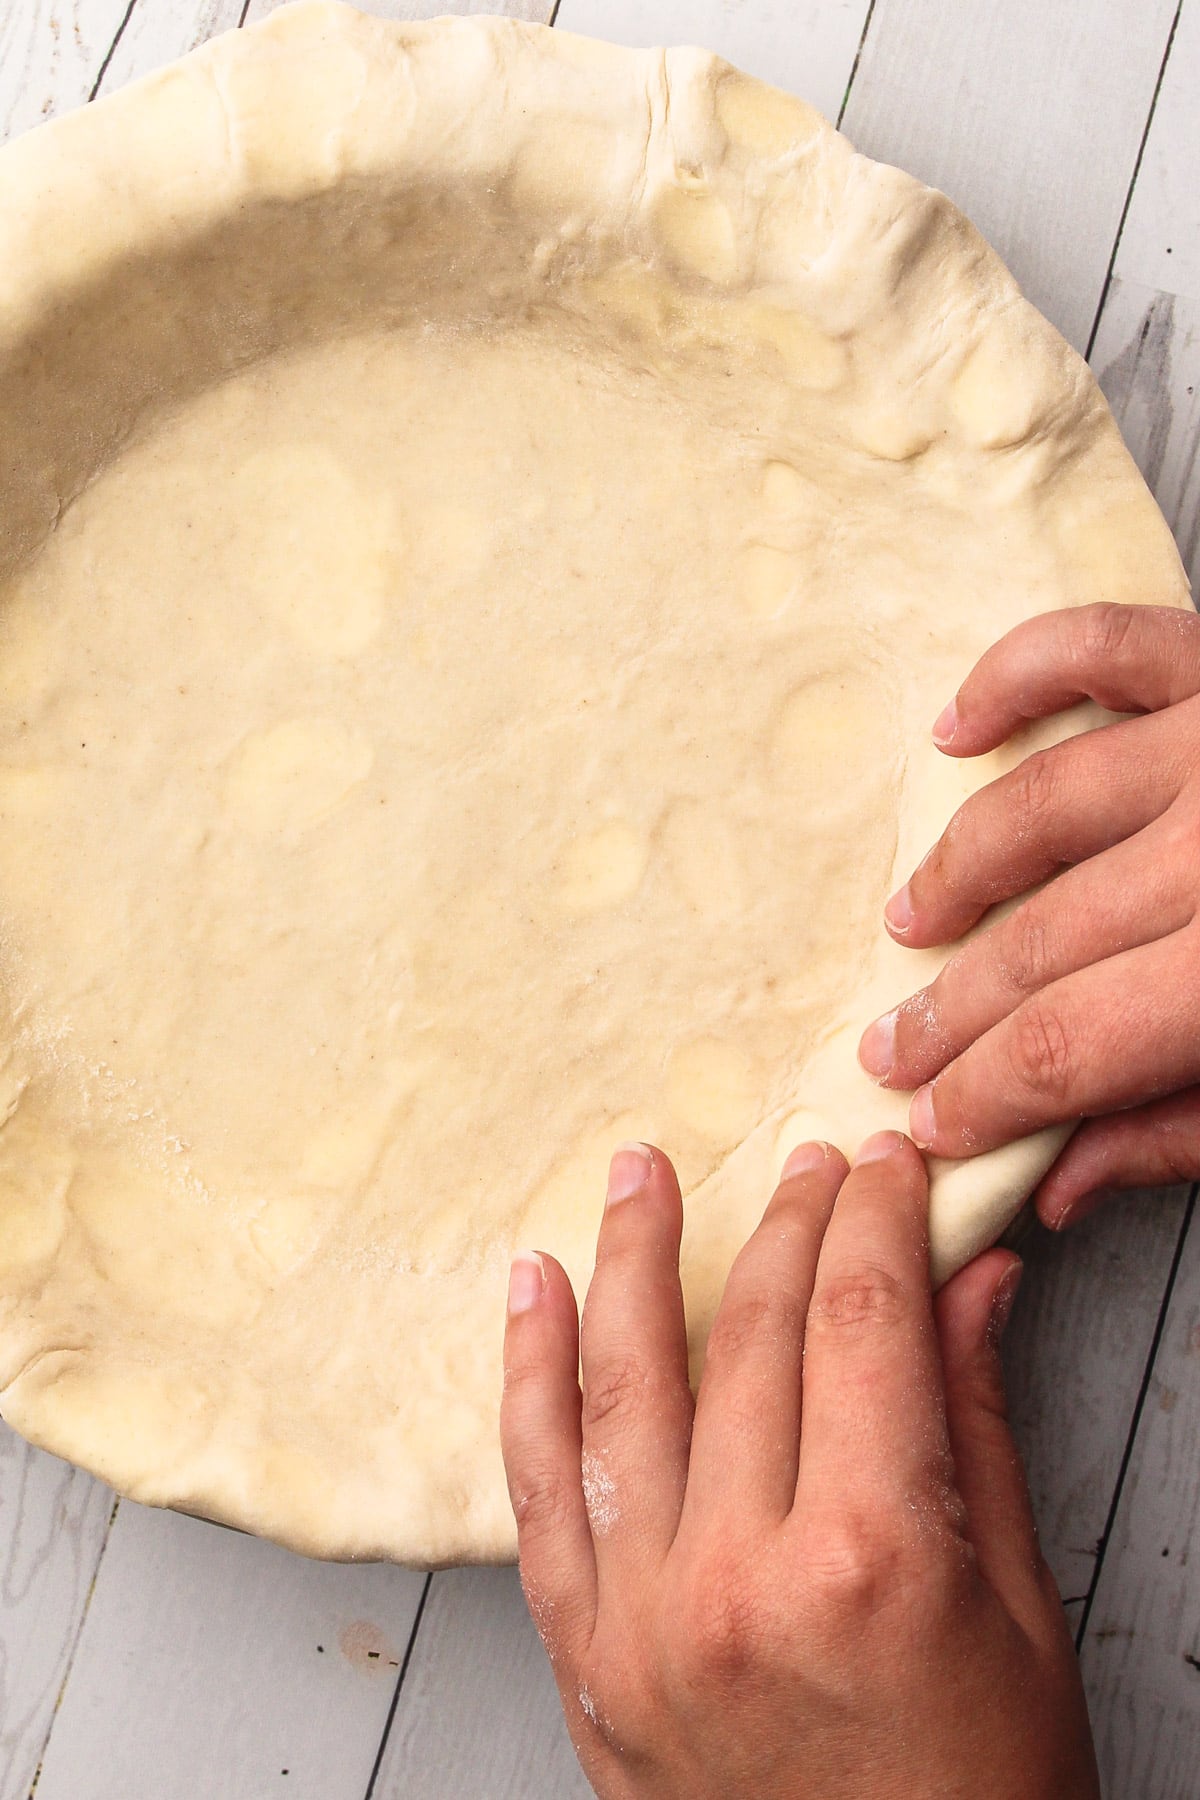
Step 1: Make the pie crust, rest it, roll it out, and transfer it to a pin tin.
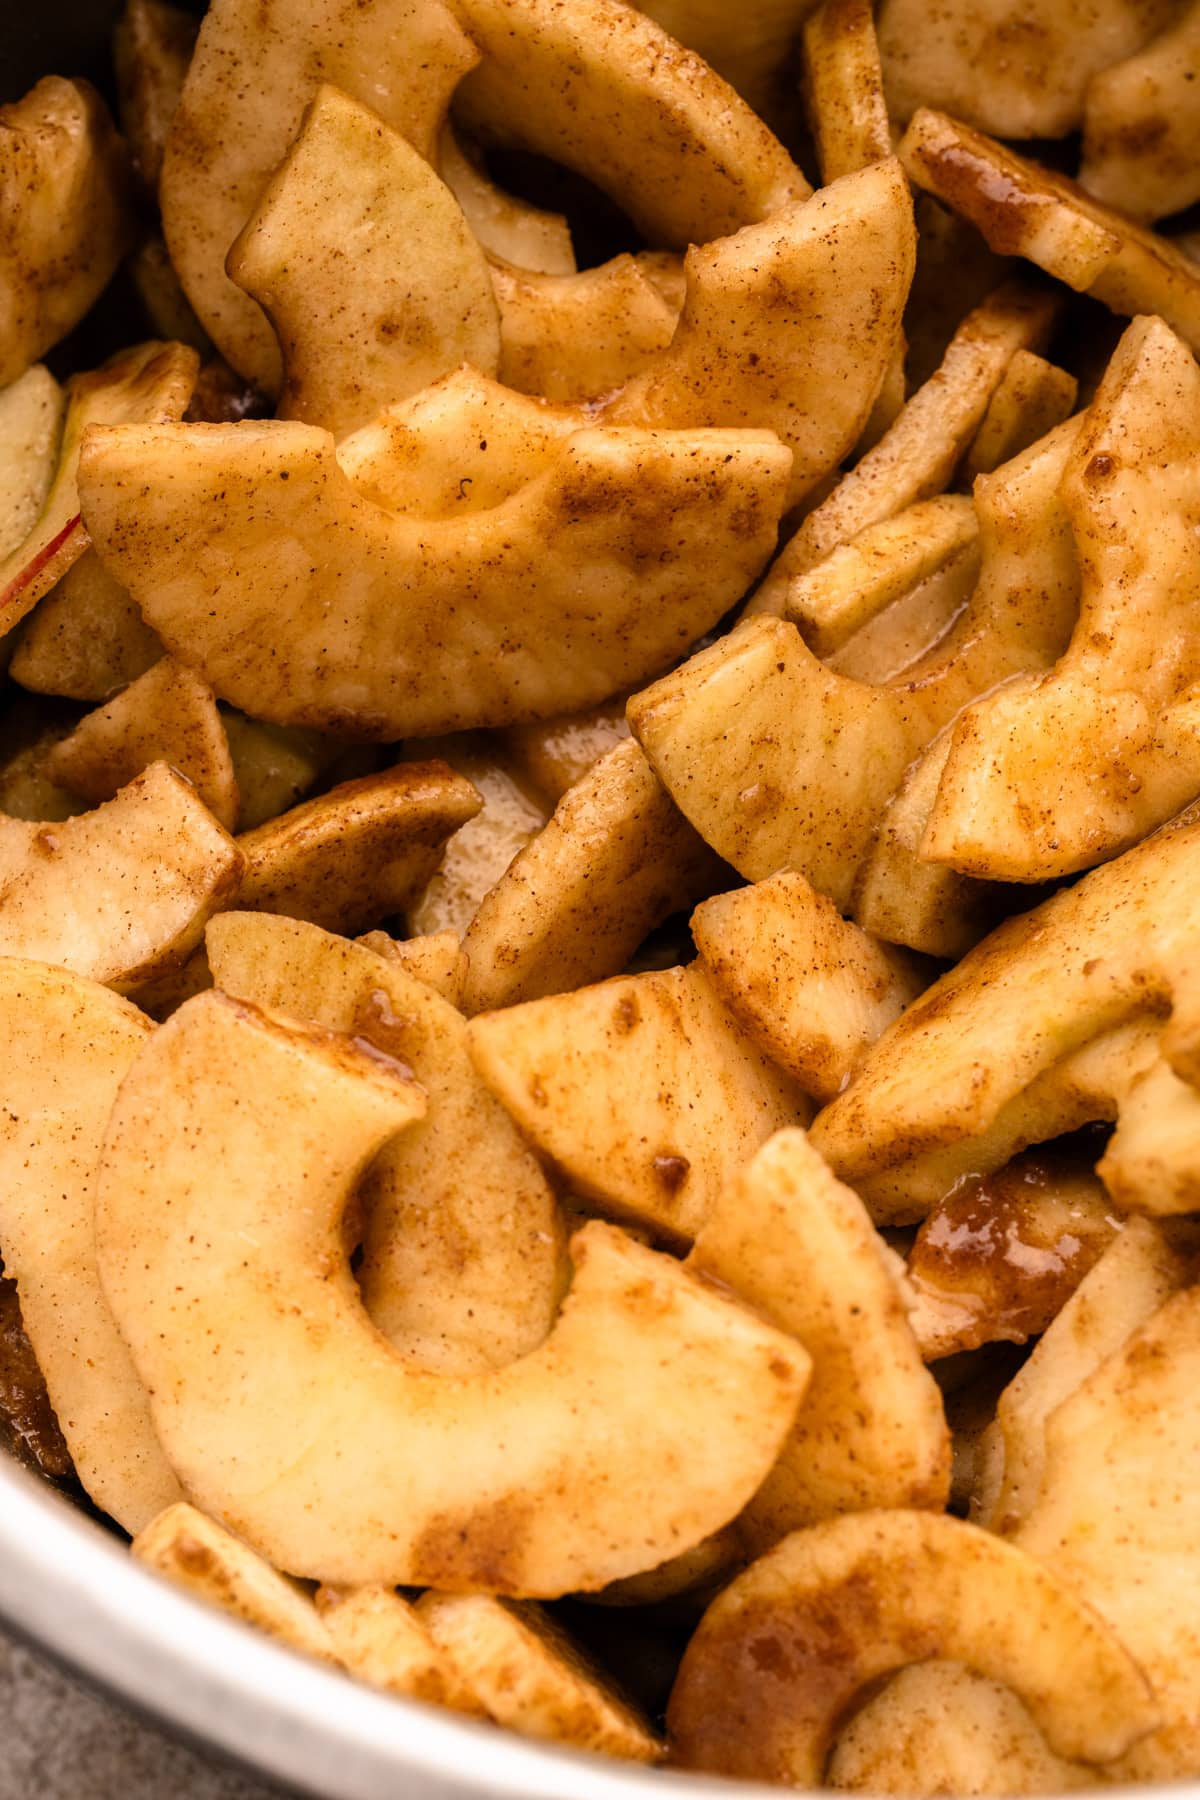
Step 2: Prepare the apple pie filling and macerate it.
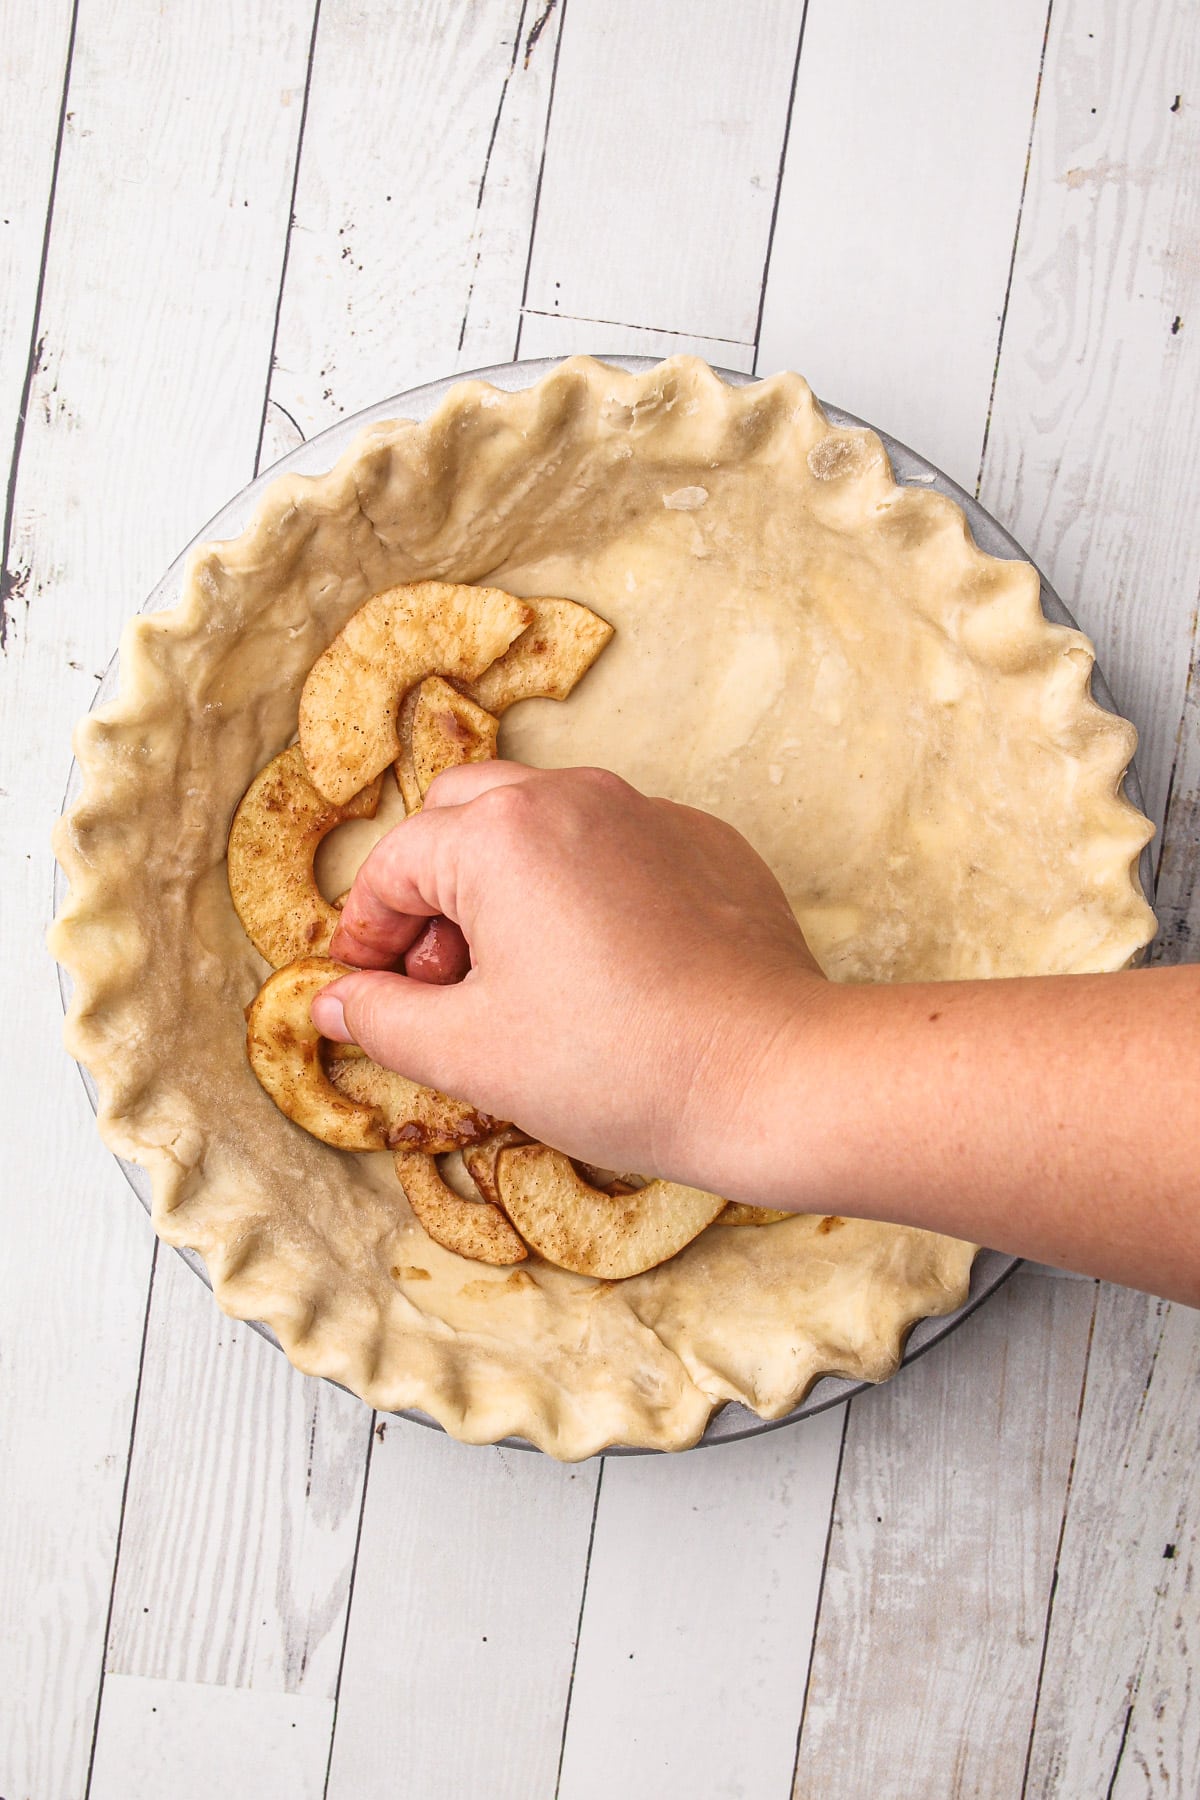
Step 3: Layer in the macerated apples, eliminating as much space between them as possible.
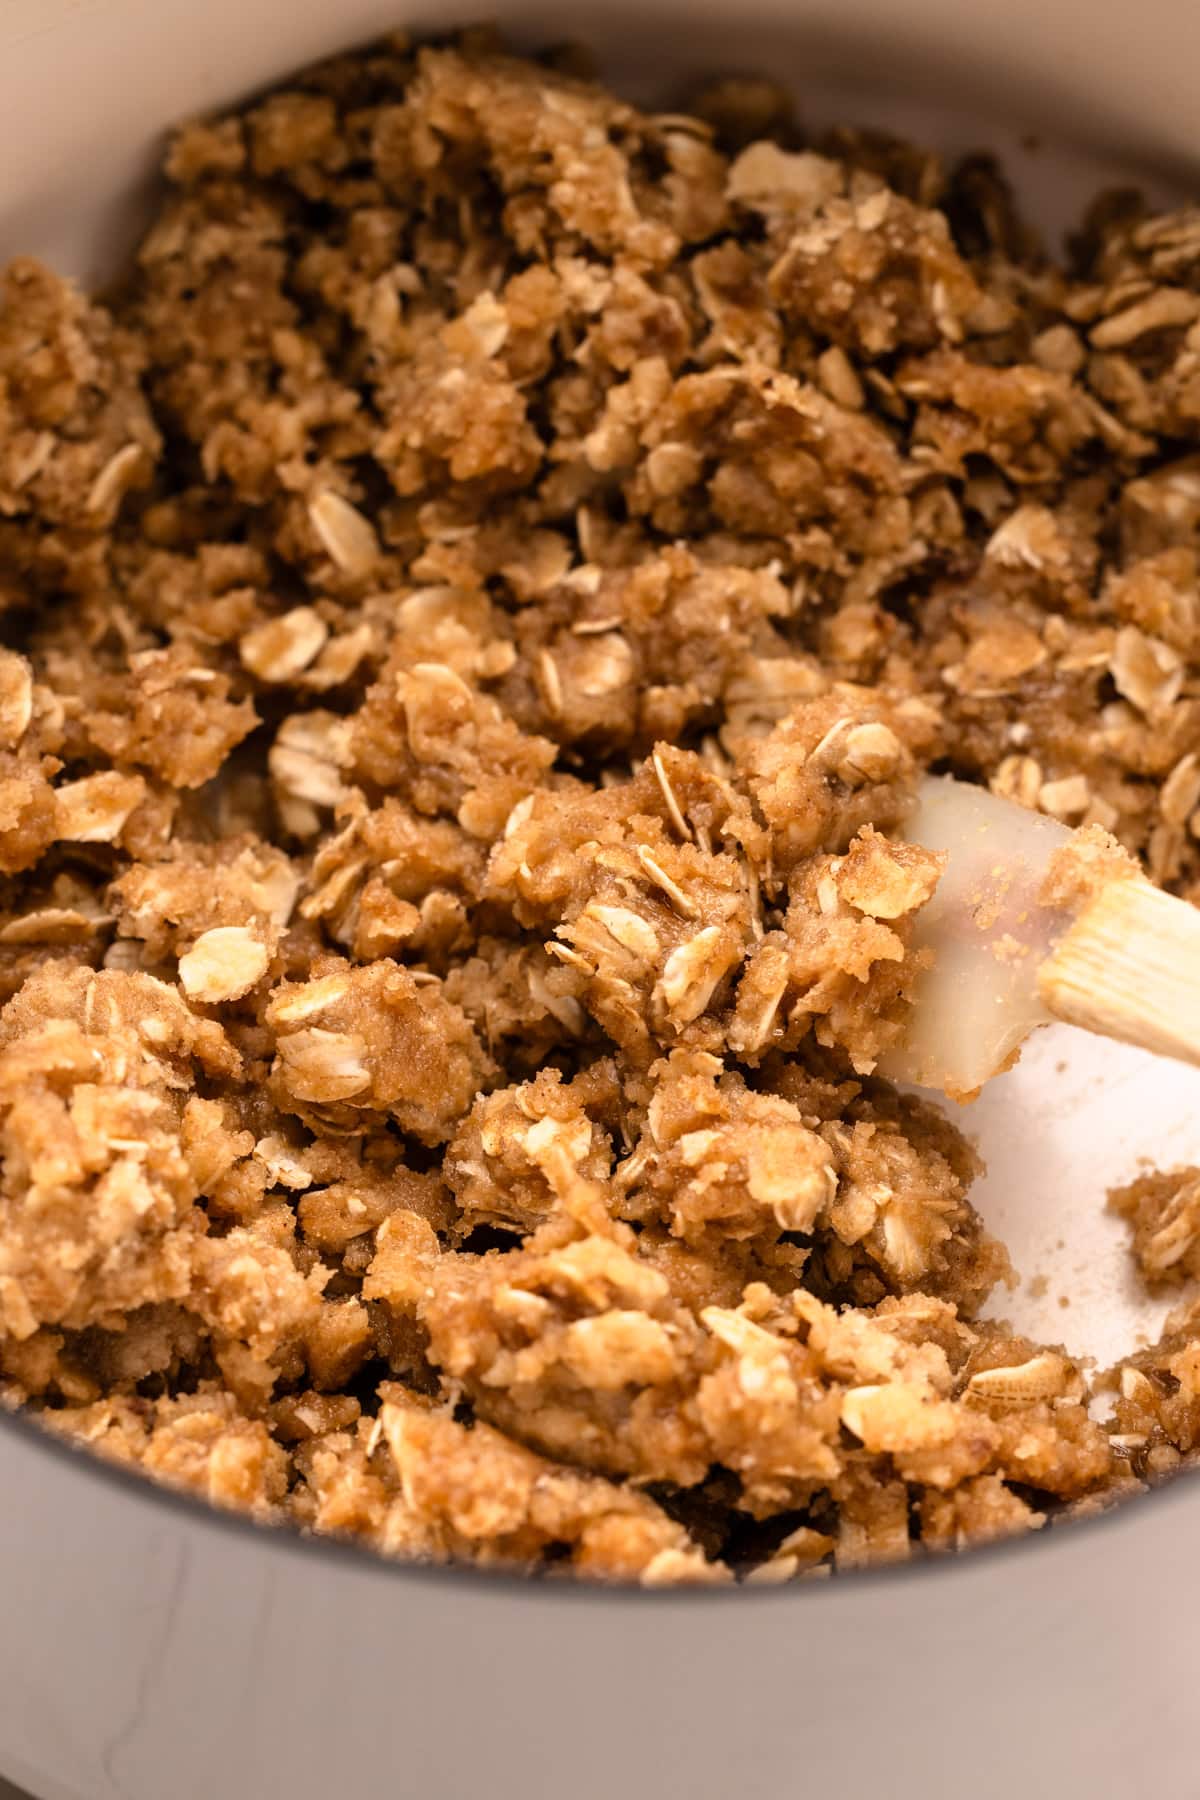
Step 4: Make the streusel in the same pot the butter was melted in.
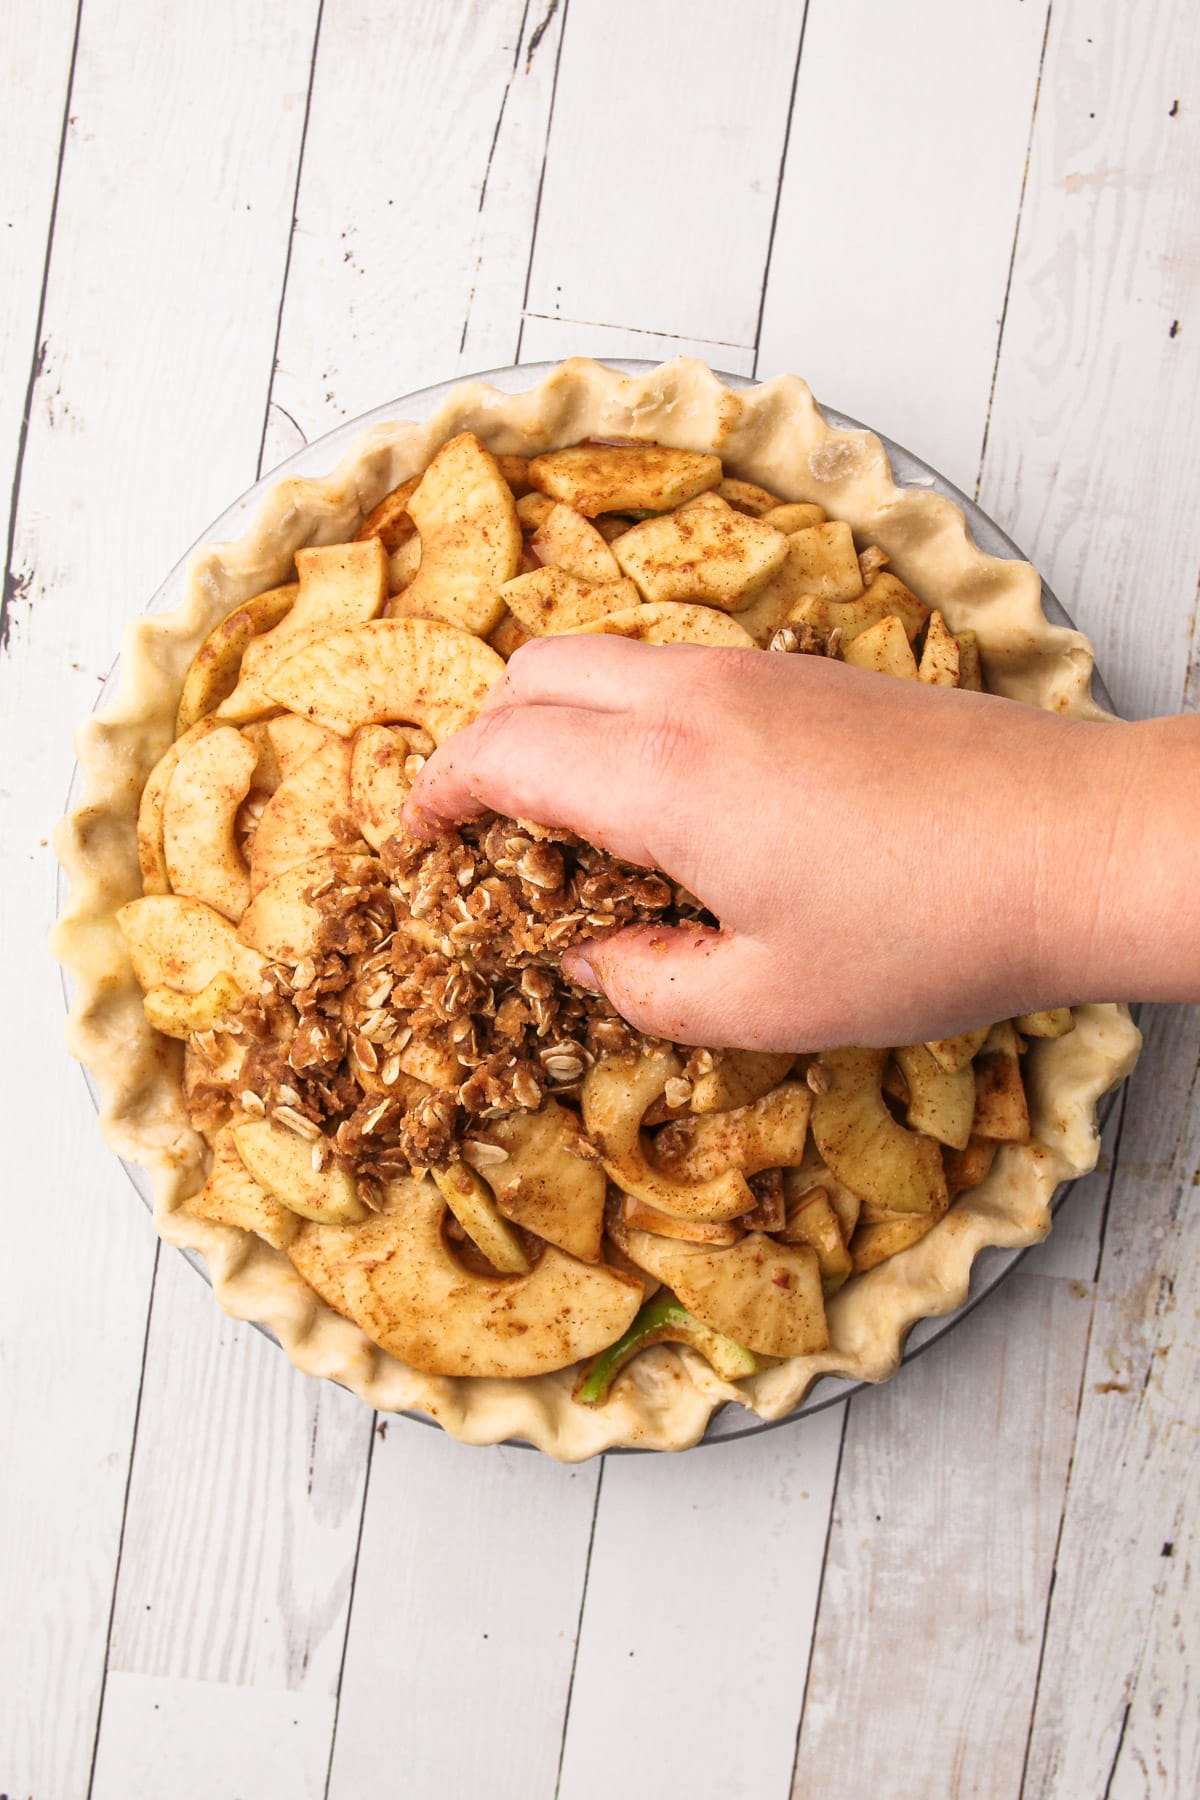
Step 5: Sprinkle the streusel over the top of the apple pie filling.
Step 6: Bake! If your streusel is getting too brown before it's done, loosely cover it with aluminum foil.
How to Tell When It's Done
It’s important to ensure that the apple pie is cooked long enough to reach a high enough temperature to activate the thickening agent and cook the apples through.
There are a few ways to tell when your apple pie is done:
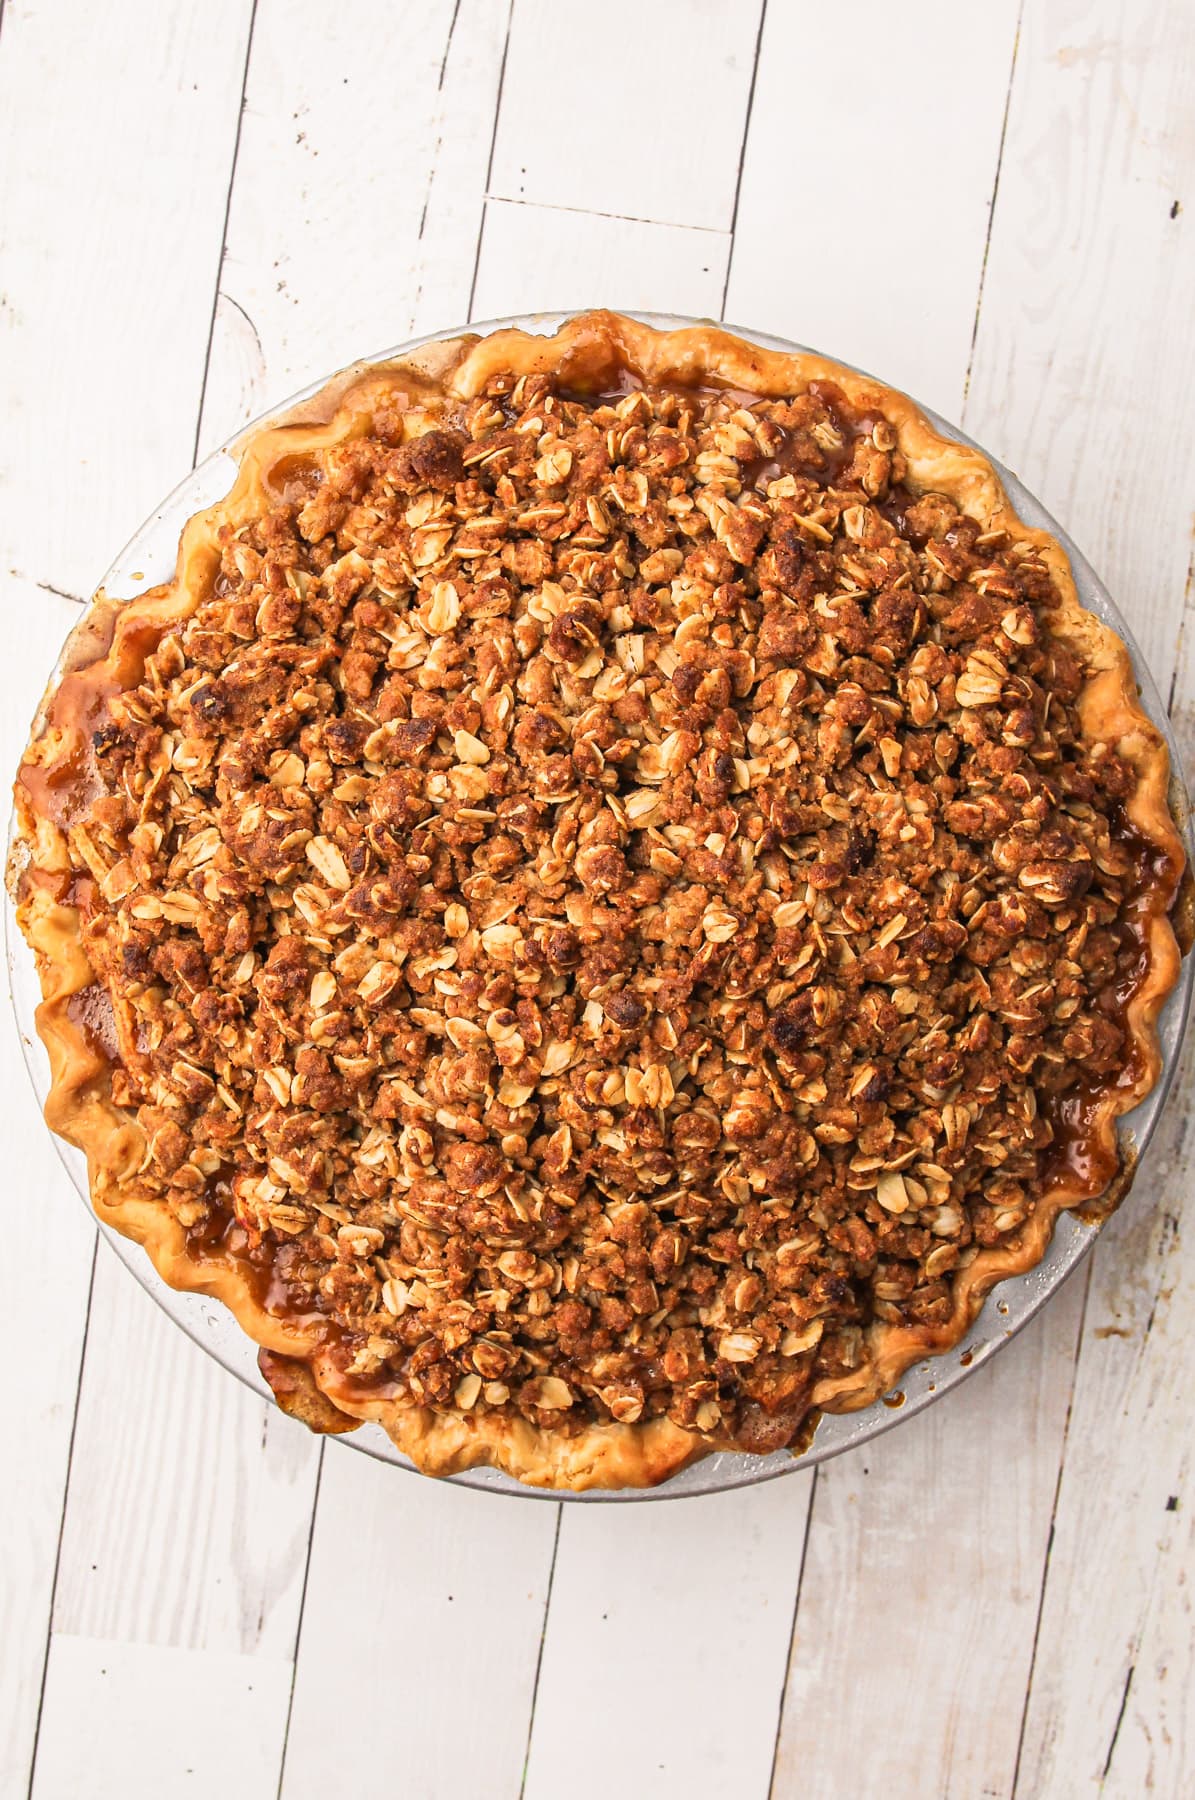
- Look for the crumble to be golden and the pie to be puffed up nearly all the way through. It puffs up because the fruit has reached the temperature needed for it to "boil". As it cools, it will slightly deflate.
- Ordinarily, I would suggest looking for the pie to be bubbling in the middle as a sign it is done, but that is difficult to see with the crumble topping. You will likely see some bubbling on the edges of the pie, though.
- And finally, the most foolproof way to make sure your pie is baked properly is to use an instant-read thermometer. I always use one to check the temperature of every pie I bake. You want the internal temperature to be above 200ºF for an apple pie.
Make-Ahead Tips
Pies are one of the easiest desserts to prepare ahead of time!
As with most pies, there are a few steps you need to complete to get to the finished product. Many of these components can be broken out and done days (or weeks) in advance.
You can make the pie dough ahead of time. You can prepare the dough up to 2 days ahead, or up to 3 months in the freezer.
You can roll out the pastry up to 1 day ahead of time. Roll out the bottom crust and place in a pie pan. Keep it in the refrigerator, covered completely, until you are ready to make the pie.
The entire pie can be assembled, but unbaked for about a day.
The pie can even be frozen! To freeze this pie: place the whole pie on a sheet pan first, and place it in a freezer. Once frozen (at least 12 hours), wrap the whole pie in plastic wrap very tightly twice, and then cover with aluminum foil. Don’t forget to label it!
It is best to cook any frozen pie within 3 months, because the longer it is stored in the freezer, the less pronounced the flavor will be. However, you can wait as long as about 1 year if frozen properly. To bake it, either defrost overnight and bake as the recipe calls for, or Bake it From Frozen.
How to Serve and Store It
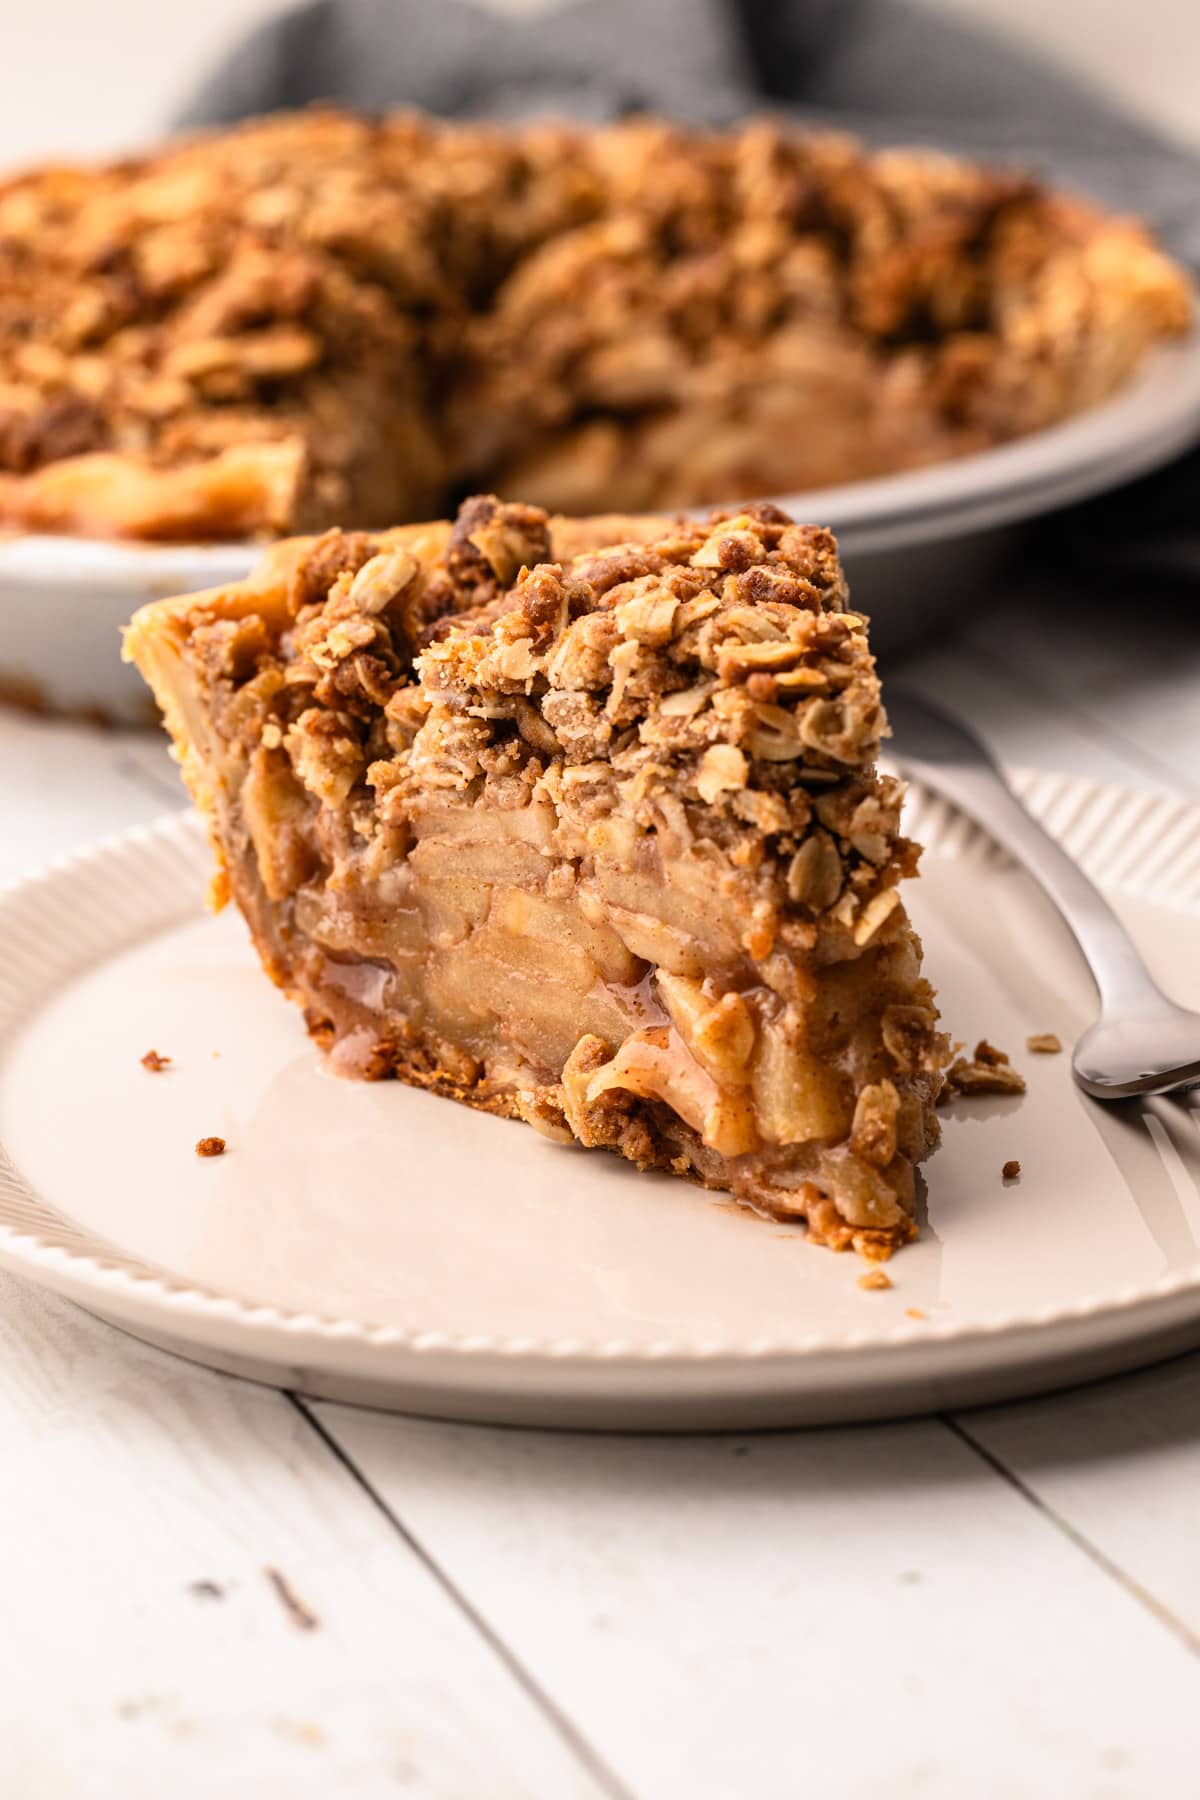
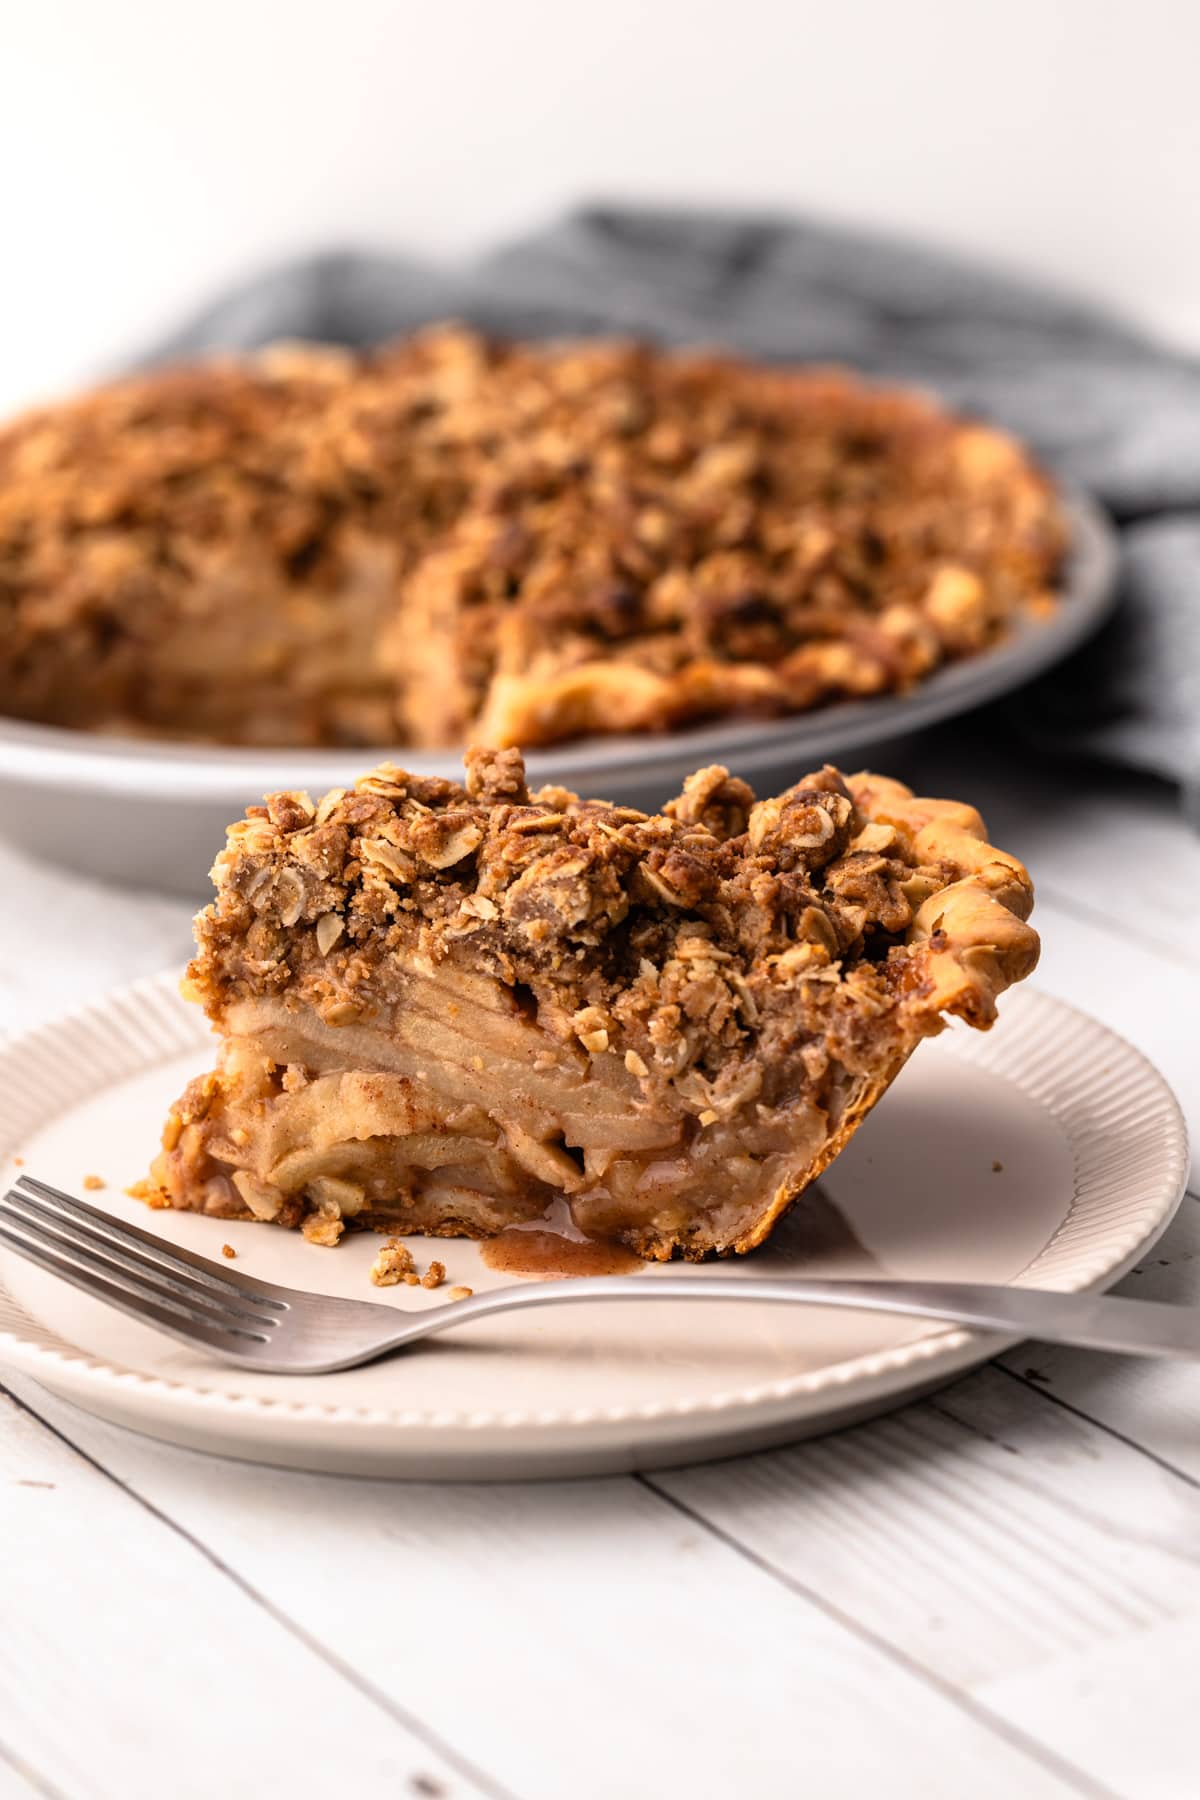
Let the pie cool for about 4 hours before serving. If you serve it while it is hot, it will be soupy and the slices won't be clean. (Though you won't catch me saying "don't do this," as it's truly delicious, but will be messy!)
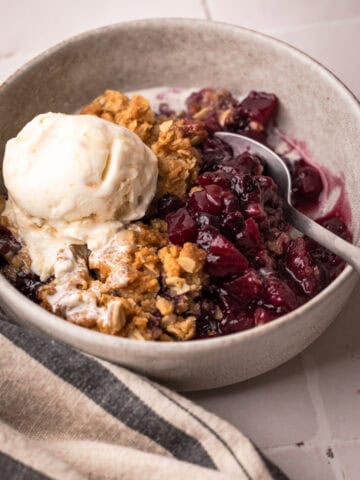
Serve this pie slightly warm or at room temperature. It can be served as-is, with whipped cream, or a la mode with vanilla ice cream!
A baked apple pie can be stored covered at room temperature for 1 day. Cover it and place it in a refrigerator if you are storing it longer. It can always be reheated later to take off the chill and to crisp up the pastry.
More Apple Recipes
I am so honored when you make a recipe from my site! If you make this Apple Crumb Pie, please leave a star ⭐️⭐️⭐️⭐️⭐️ rating with your experience! If you have any questions about this recipe, comment here and tag me on Instagram!
Full Recipe
Apple Crumb Pie
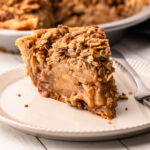
This Apple Crumb Pie starts with a flaky pie crust that's filled with juicy, cinnamon-laced apples and topped with an oat crumble. It's a classic, and for good reason! Be sure not to skip the step of macerating the apples for at least 20 minutes. You can let them macerate longer, for a better texture, if time allows. If you do macerate them for longer and you find you have a lot of juice in your bowl, you can strain the juice into a pot and boil it down until it has slightly thickened. This will heighten the apple flavor and ensure you don't have a thin filling. When you are placing the apple filling in the pie, layer the apples closely together to help prevent the crumb topping from sinking.
- Prep Time: 00:40
- Cook Time: 01:00
- Total Time: 1 hour 40 minutes
- Yield: 8-12 servings
- Category: Sweet Pie
- Method: Bake
Ingredients
For Pastry:
- 1-½ cups (180 grams) all-purpose flour
- ½ teaspoon (2 grams) coarse kosher salt (see note)
- 8 tablespoons (110 grams) unsalted butter, chilled and cut into 1" pieces
- 1 tablespoon (15 grams) apple cider vinegar
- ¼ cup (60 grams) ice water, more as needed
For Apple Filling:
- 3-½ lbs. (about 6-8) baking apples, peeled, cored and thinly sliced
- 1 tablespoon lemon juice (about half a lemon)
- 3 tablespoons cornstarch (or 4 tablespoons all-purpose flour)
- ⅓ cup (70 grams) light brown sugar, packed
- ¼ cup (50 grams) granulated sugar
- ½ teaspoon (2 grams) coarse kosher salt
- 1-½ teaspoons ground cinnamon
- ¼ teaspoon freshly grated nutmeg
- 1 teaspoon vanilla extract
Crumble Topping:
- 8 tablespoons (110 grams) unsalted butter
- 1 cup (120 grams) all-purpose flour
- 1 cup (80 grams) old fashioned rolled oats
- ¼ cup (50 grams) granulated sugar
- ¼ cup (55 grams) packed brown sugar
- ½ teaspoon ground cinnamon
- Pinch salt
Instructions
Prepare the Pie Crust:
- In a large bowl, whisk together the flour and salt.
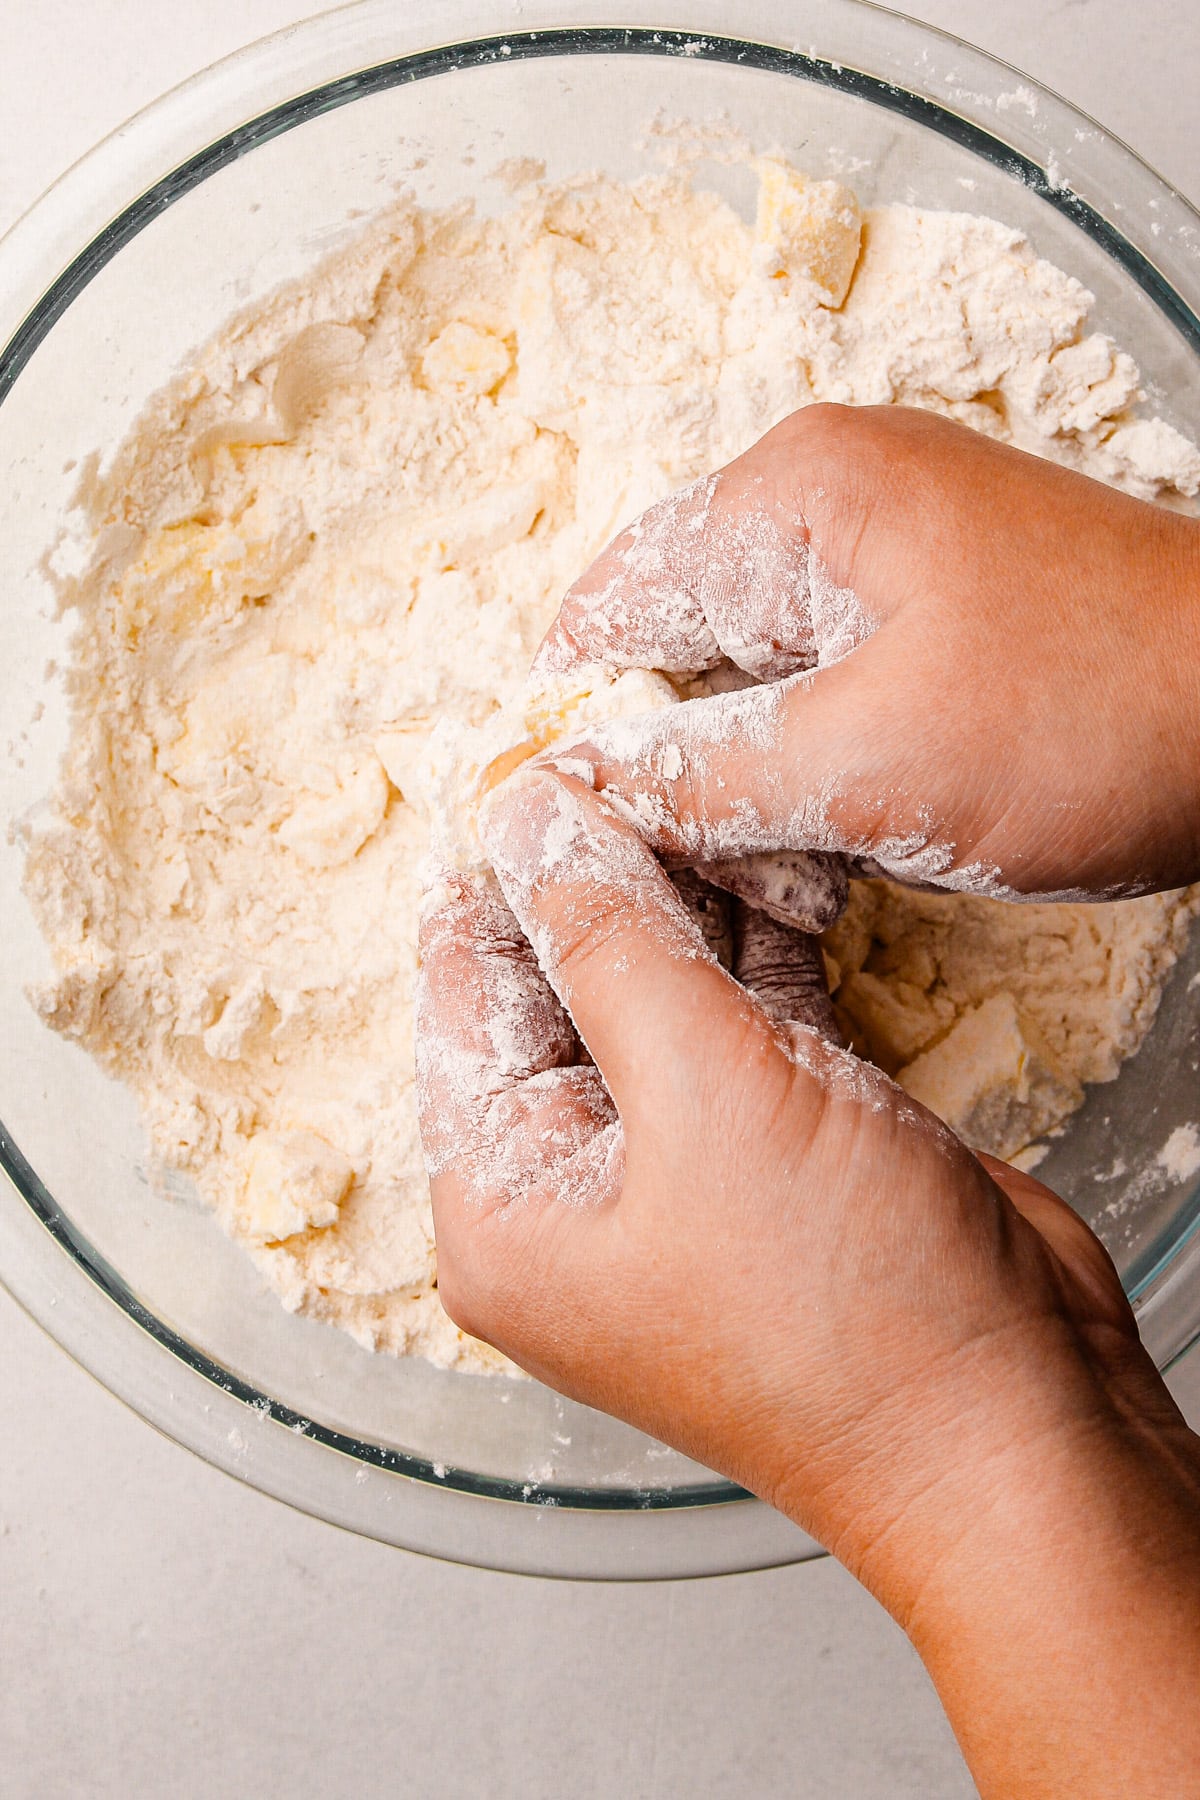
- Toss in the butter and coat with flour. Using your fingers, work the butter into the flour. Continue until most of the butter looks shaggy. Some larger pieces can remain, up to the size of a marble.
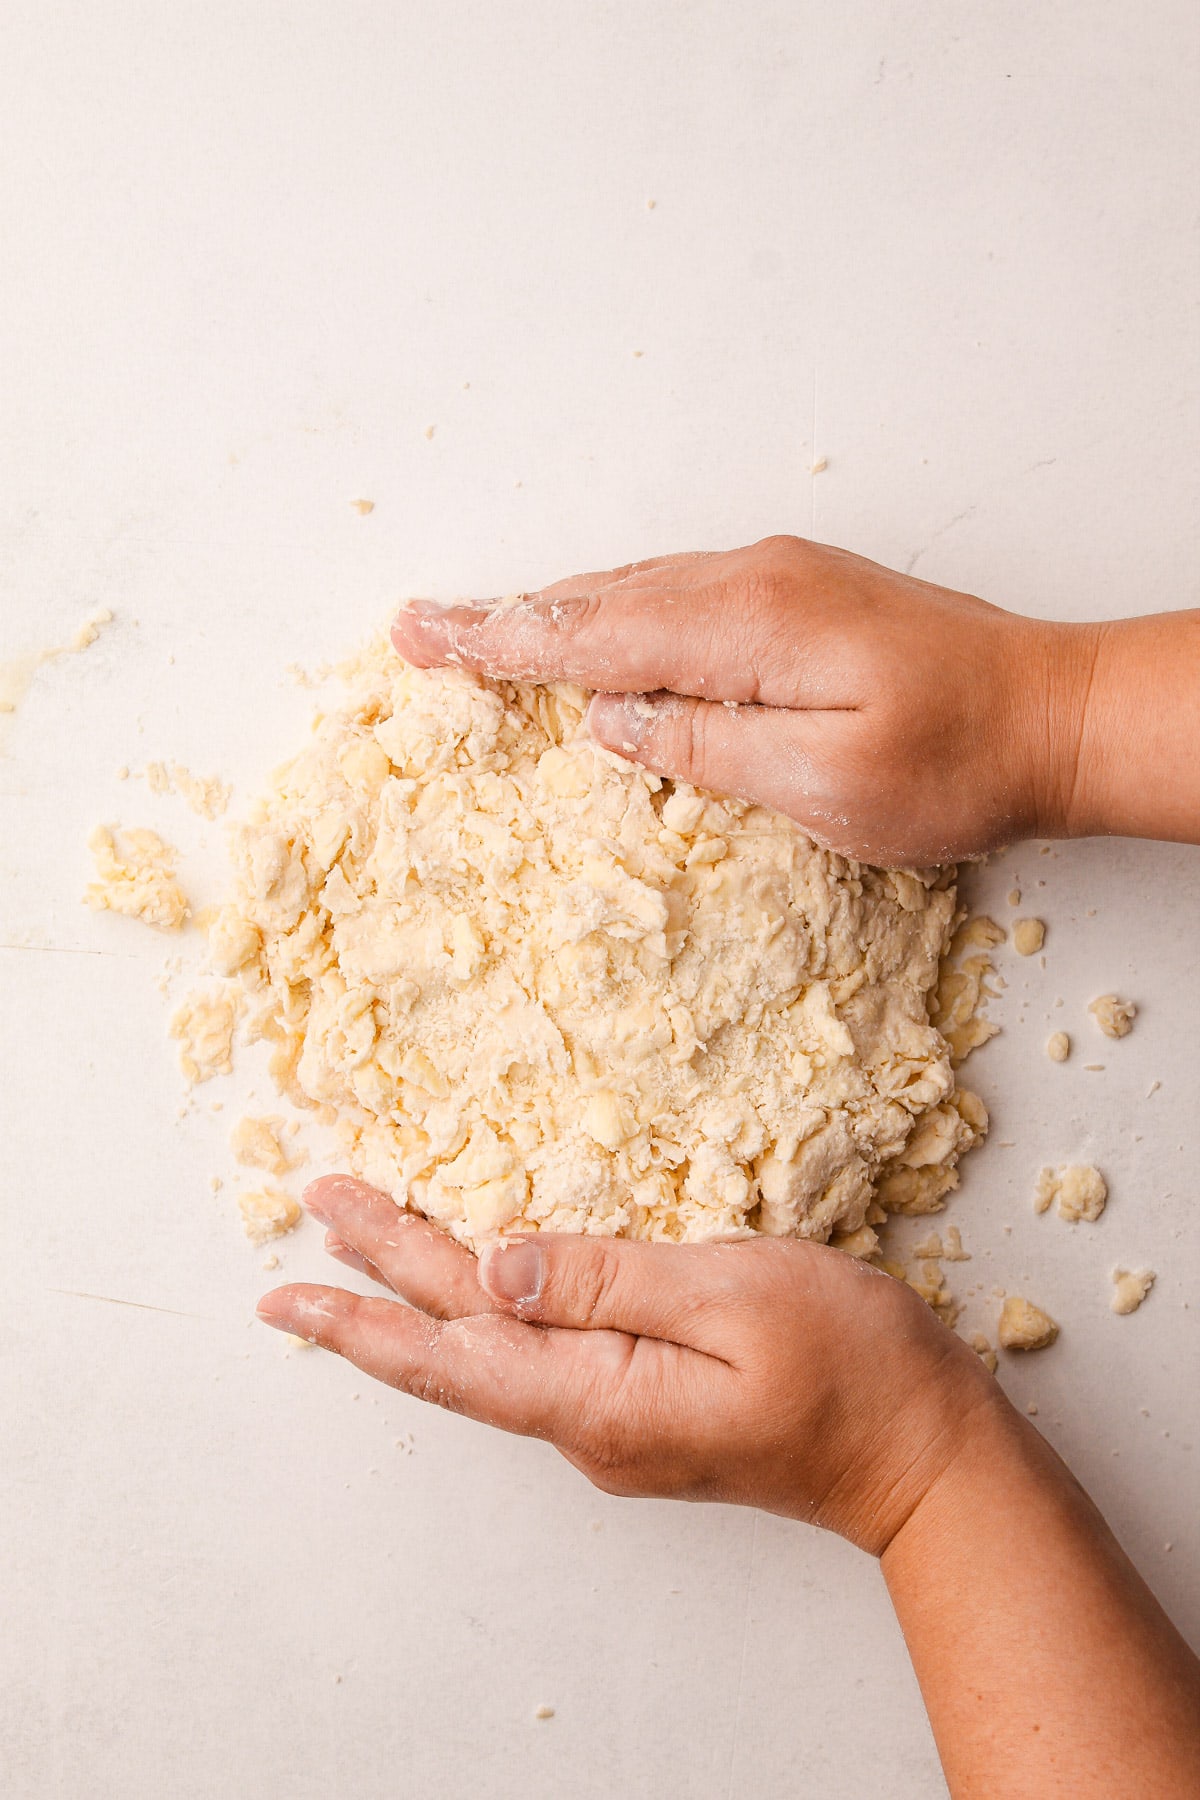
- Add the vinegar to the ice water, then drip in ¾ of it into the flour mixture, and toss together with your fingers. Once the dough is well hydrated, it should easily squeeze together with your hands. Drip in more water as needed. Add just enough water to bring the dough together.
- Using your hands, gently bring the dough together as one cohesive mass. Wrap the dough tightly in plastic wrap. Using a rolling pin, roll the wrapped dough out until it stretches to the edges of the plastic wrap.
- Refrigerate for at least 2 hours, but preferably overnight.
- Roll out pie dough to an 11-inch circle. Fit pastry in a 9-inch pie plate, tucking in and crimping the edges as desired. Set in the refrigerator to chill until ready to use.
- Preheat the oven to 425ºF and place an oven rack on the second to lowest level.
Prepare and Bake the Pie:
- For the apple filling: In a large bowl, combine the sliced apples and lemon juice. Add the cornstarch, brown sugar, granulated sugar, salt, cinnamon, nutmeg, and vanilla and mix together. Let sit until the apples have released some of their juices, at least 20 minutes.
- For the crumble: Melt the butter in a medium pot, then turn off the heat. To the pot, add the flour, oats, granulated sugar, brown sugar, cinnamon, and salt and mix until well combined.
- Place the macerated apple pieces inside of the pie, taking care to layer them tightly, leaving very little space between the apple pieces. Pour any remaining apple juices into the pie pastry. Sprinkle the crumble mixture on top of the pie.
- Bake the pie on a rimmed baking sheet on the lowest rack for 15 minutes. Lower oven temperature to 400ºF and bake for an additional 45-55 minutes, or until pie filling is bubbling and it reaches an internal temperature above 200ºF. If the crust or streusel is browning too quickly, loosely cover with aluminum foil.
- Remove the pie from the oven and transfer to a wire rack to cool. Let pie cool for at least 4 hours, or preferably overnight. Serve at room temperature.
Notes
Use a mix of baking apples, such as Gala and Granny Smith.
Pie can be stored, covered, at room temperature for up to 1 day. For longer than 1 day, store in the refrigerator.
Want to make this apple pie without the crumble? Make the recipes as-is but top it with another pie crust to make it a double or lattice crust pie.
Weighing your flour is the most accurate way to measure. If you aren't going to weigh it, make sure to spoon it into the measuring cup and then level it off. If you scoop the flour out with the measuring cup and then level, it could change the outcome of the final product.
This recipe was tested using Diamond Crystal coarse kosher salt. If you use Morton's kosher salt or fine salt, decrease by half for volume, or use the same amount by weight.
Some of the links on this page may be affiliate links. Everyday Pie is a participant in the Amazon Associates Program. As an Amazon Associate I earn from qualifying purchases, at no extra cost to you.
Ana
I made this pie for Thanksgiving and it was a hit! I used a combination of Honeycrisp and Granny Smith apples. I was surprised how the apple volume decreased so much after maceration, which helped everything fit perfectly into my pie plate. Thank you for the recipe!
Xara
Help! I bought quick cooking oats by mistake! Would they work in the this topping?
Kelli Avila
It should be fine! Hope you enjoy!
Victoria E DeHart
OK, I made this yesterday and it was just OK.
The good: the crust was really good. I thought the crumble was pretty good.
The not so good:
Recipe calls for dotting with butter before adding the crumble, but no instructions given for the amount of this butter! I figured 2 Tablespoons would probably do, and it did, but this needs to be added to the recipe!
I followed instructions to the letter and the crust was a little small. As in not enough dough. I would personally increase the recipe by at least 25% to get enough crust to easily cover your pie pan.
The crumble burned almost immediately! I smelled it and moved the oven rack up a notch, picked off the burned pieces and covered it with foil. I honestly would suggest covering it first and remove the foil the last 10 or so minutes for browning.
Needs more brown sugar, if you're using Granny Smith apples (I used half GS and half Gayla)
Took about 70 minutes to temp at 185 in the middle of the pie.
Conclusion, I will probably try another recipe to get a bit more flavor! My husband has a sweet tooth!
Gal
I made this with like 2lbs of apples and it fit a pretty big pie tin so I'm not sure how many people are eating this 9 apples one. I even used the same measurements as written above for the 2lb amount of apples and it looks great. But overall, the measurements seem proportionate to the taste and it smells amazing in the oven right now.
If you're like me and you always end up with excess crumble, you can easily half the crumble topping recipe and have the perfect amount for a nice layer.
AJ
I had the same issue! I prepared 4 pounds worth of apples and then only used half 🙁 No idea how others are using 4 lbs.
Kelli Avila
Did you use 4 pounds of apples and then cut and prepare, or did you use 4 pounds of cut and prepared apples?
AJ
Hi Kelli- I started with 4 pounds of apples, then peeled, cored, and cut them, and then let them macerate for almost 40 minutes. Are you using a deep dish pie pan? It wasnt mentioned so I assumed a standard 9” aluminum pie pan would work. Perhaps thats the issue?
Amy
Amazing pie. I prepared days ahead of time for Thanksgiving, froze, then baked the day before. Worked out great and flavor is the best!
Liza
I am going to make this pie for Thanksgiving. Just want to know if the apple mixture can stay in the refrigerator for a day before using.
Kelli Avila
Yes!
Candace
Love this pie! It’s been requested for this thanksgiving. Any tips if I’m baking two? Can I bake them at the same time or should I do them separately?
Kelli Avila
Hi Candace! You can definitely bake them at the same time. If you are baking them on separate racks, make sure to switch them halfway through! Enjoy <3 Kelli
Candace
I have been explicitly asked to make this pie several times by family members and a neighbor. Someone even offered to pay! It's super simple and absolutely delicious. It's now my go-to apple pie recipe.
Brooks
Best apple pie I have ever had! It is so easy to make and taste incredible. I highly recommend this recipe.
Ifesinachi Nwatarali
Thank you so much your recipe. I made it my own and used corn flakes as the crumble. I added whipped cream on the top and it was delicious.
Thanks girl
Kelli Avila
Wow, that sounds interesting! Thanks for sharing! -Kelli
Natalie
This was great! My kids said that it was ten times better than any pie they had ever had. My topping looked a lot different than the photo (but tasted great). Just to make sure I did that part right... it's out correct that on top of the apple filling and 2T butter chunks I add the crumble which is made with melted/ not cold butter?? The directions on filling through the stages are very helpful. I loved the crust, it came out just as I'd hope. I chilled it until I was ready to fill it and bake it and it turned out great. The apples had a nice texture, not too soft or too hard. Thanks again Kelli!!
Kelli Avila
Hi Natalie! The 2 tablespoons butter chunks go on top of the apple pie filling. And then the crumble topping uses 8 tablespoons of melted butter! I'm going to look into the instructions to see if I can make sure it's very clear! So glad you enjoyed the recipe! -Kelli
Kay
Hi, We prefer a double crust. Are there any difference in baking instructions?
Kelli Avila
Check out this post: How to Bake a Double Crust Pie
Samantha
I combed through many other recipes before finding this one and it was absolutely perfect. The pie came out so well - thank you for a fantastic recipe!
Kelli Avila
Samantha, I'm so happy to hear! Thanks for sharing! -Kelli
Andre
Is there a replace for apple cider vinegar?
Kelli Avila
Hi Andre, you can just replace it with water if you don't have apple cider vinegar.
Ann
Could you please clarify step 5? I get a little confused here. Thanks in advance!
Kelli Avila
Sure! In step 5 you are forming the dough into "pie disks". Once they are formed and wrapped into the disk, I instruct to roll them out while in the plastic wrap, as this stretches the dough into the corners of the plastic wrap. This is done for two reasons, the first is that it helps the dough come together better without touching it with your hands. The second is that is makes it an airtight seal which helps it stay fresher longer. Please reach out if you have any other questions.
KD
Thank you for your excellent instructions. The pie was delicious. However, is there something I can do next time to keep the pie crust on the bottom of the pan from coming out soggy? I followed all of the instructions, yet did have to substitute Country Crock Butter Sticks for the butter due to an allergy. I let the apples rest overnight just I did the dough The following morning I reduced the liquid from the apples to a very thick sauce with which I coated the apples before adding them to the uncooked refrigerated crust, placed the crumble on top and baked as described. Thank you for your guidance!
Kelli Avila
Hi KD. I'm not sure if the butter substitute you are using made a difference. But my best advice for getting the bottom crust to cook is to make sure the oven is preheated to the correct temperature, bake it on the lowest rack..and if you are still having trouble, put a pizza stone in the bottom of the oven. Or cook it longer!
Huda Batterjee
I love this pie recipe! Thank you for sharing it. Is there any way to make it a few days ahead and still have it taste fresh? How long in advance can one make it? Would cooking the filling make that possible.
Kelli Avila
You can bake it and freeze it if you want! Or it can be made up to two days ahead and refreshed in the oven before serving!
LK
Excellent pie! Subbed Country Crock Butter sticks (to make dairy-free). Turned out spectacular.
Kelli Avila
I'm so happy you enjoyed it! Thanks for stopping by and sharing!
Marie-jo
Hi, can we bake the filling for this pie before making it or is the result better if the Apple are not cooked?
Kelli Avila
Yes you can cook the filling before making it! I have similar instructions for the Mile High Apple Pie if you need the guidance. Let me know how it goes.
Kim
Fabulous recipe! Super easy to make. I did use the basic butter crust instead of the one with cream cheese. Highly recommend !
Kelli Avila
I'm so glad you liked it! Here's to many more apple pies!
Natalie
Such a gorgeous apple pie! Looks so delicious and perfect for the season ♥
Rosie
This is such a perfect looking pie! Looks so delicious!
Kelli Avila
Thanks so much, Rosie!
Nina
This sounds so good! I’ve had trouble with my apple pies that I stopped making them. You’ve given me some great tips I never knew. I’m gonna give it a try after at least 4 yrs of not making them. Thanks for the awesome tips!
Kelli Avila
I'm so glad you found this useful! Happy baking!