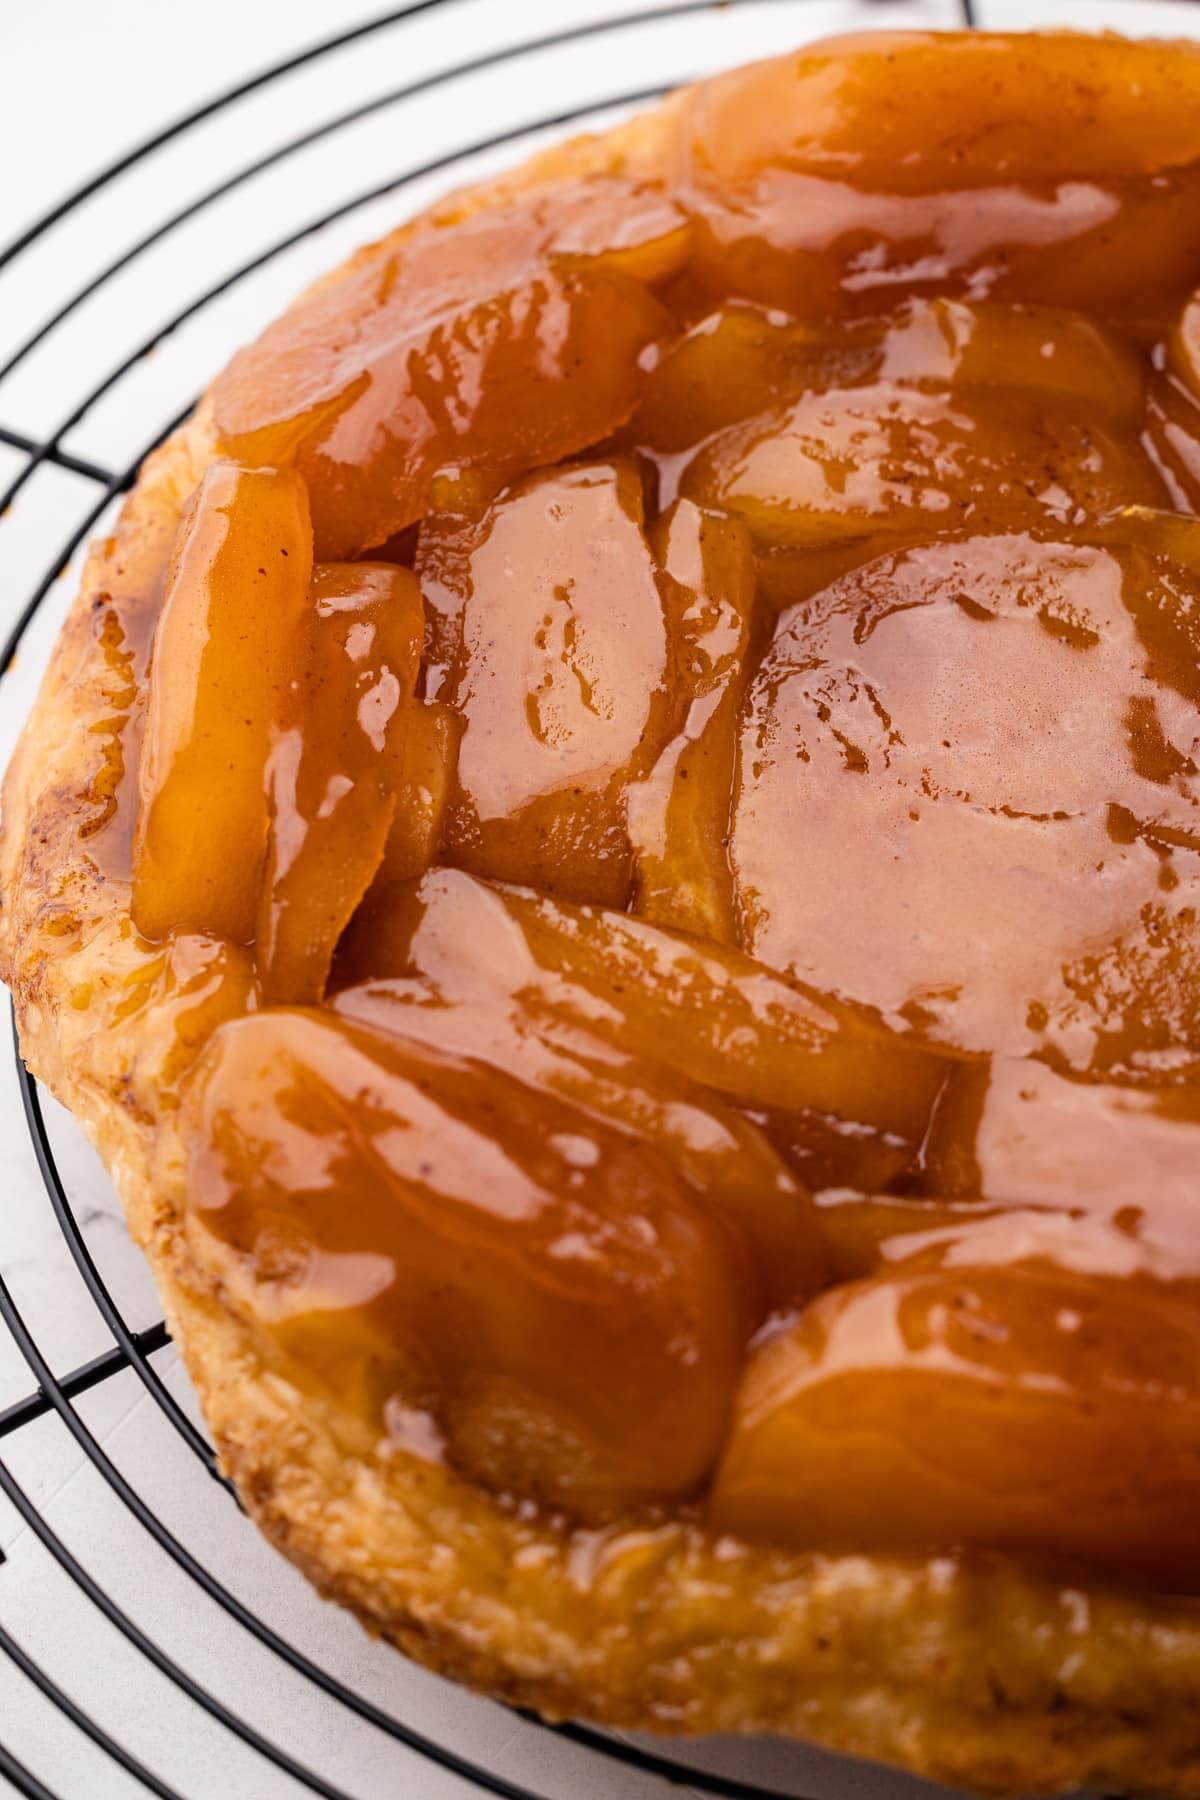
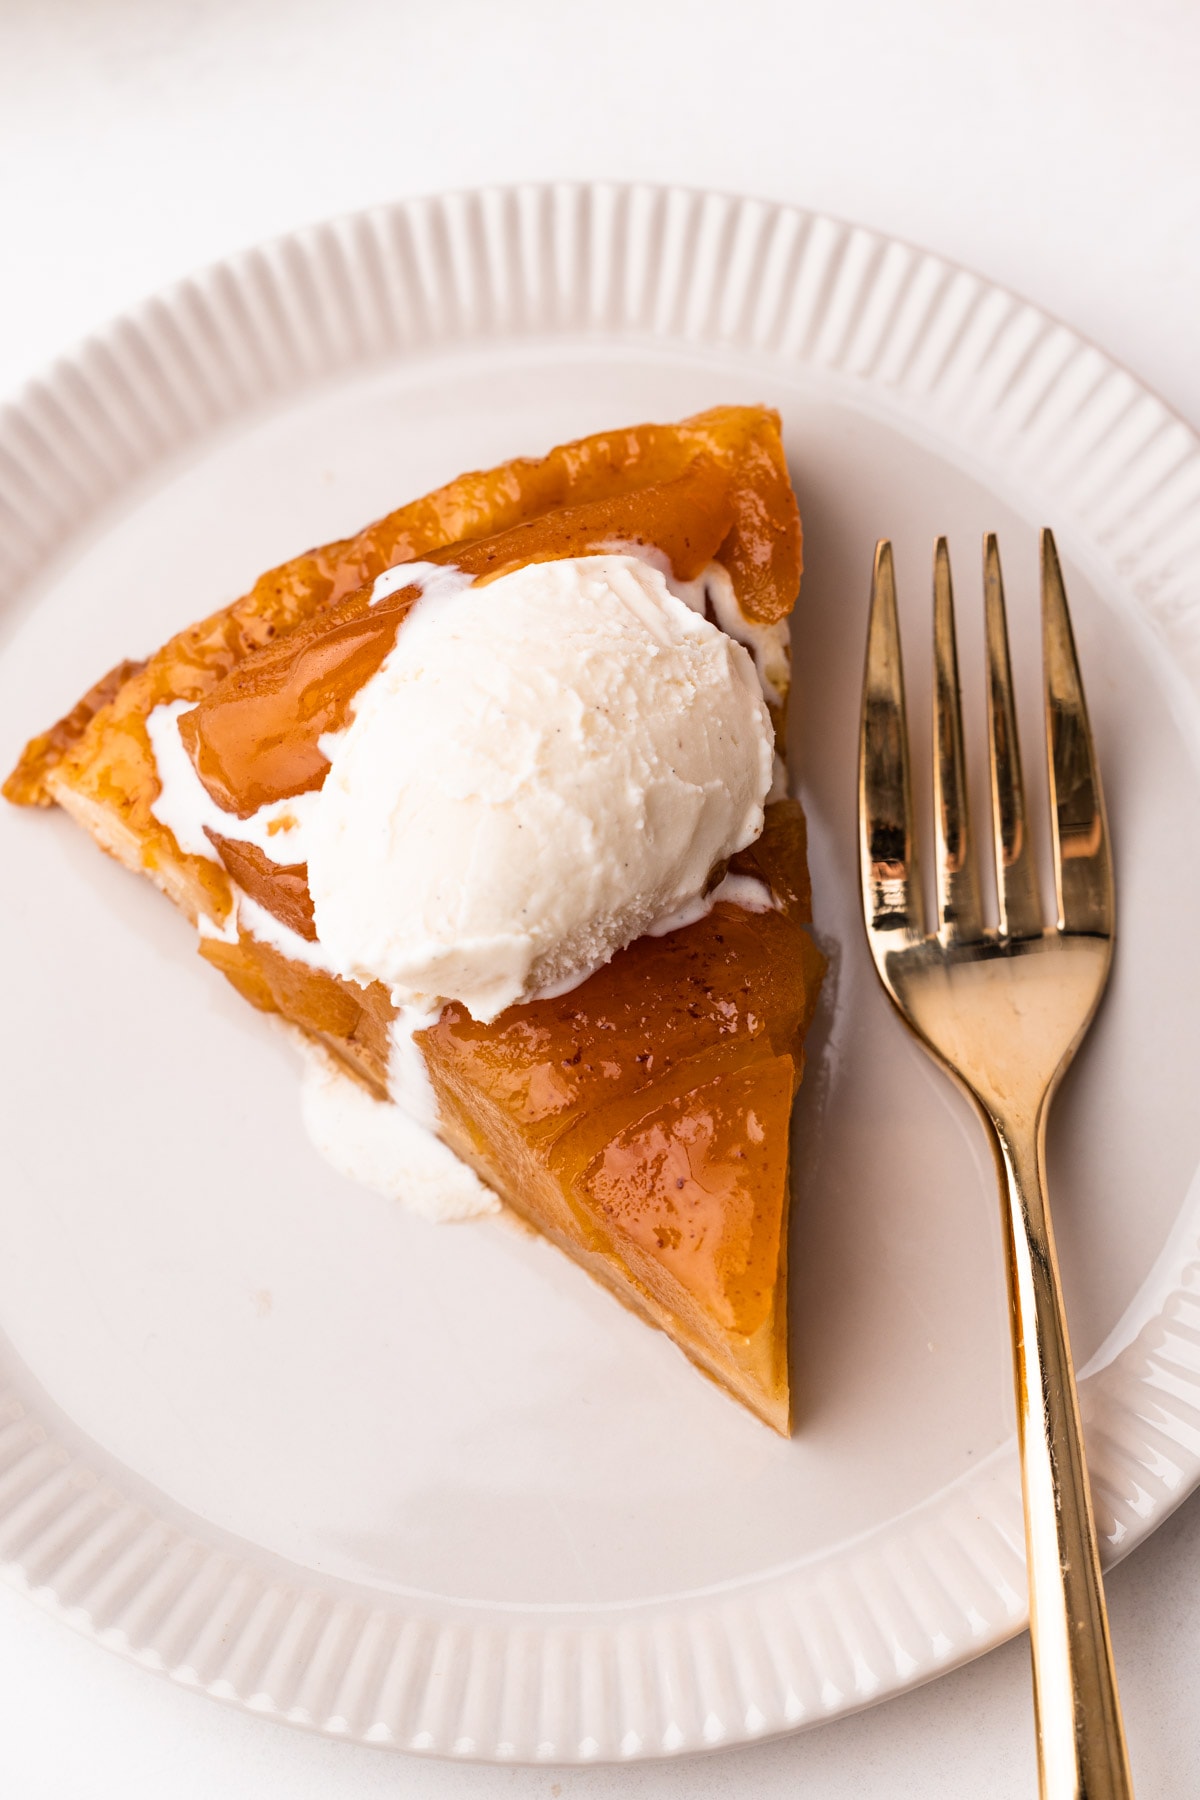
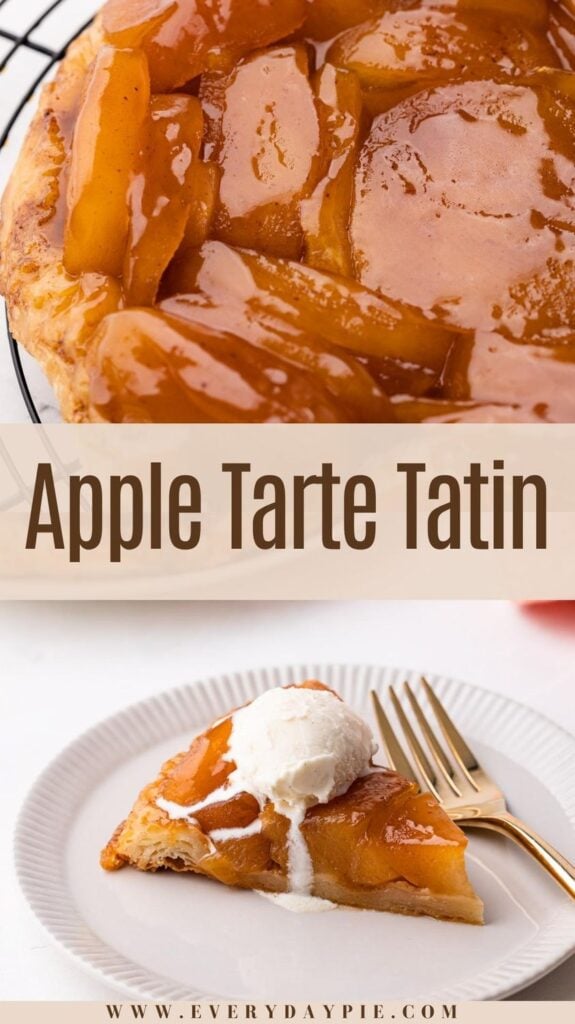
Truly a timeless classic, this Apple Tarte Tatin recipe features a flaky buttery puff pastry with juicy, tender caramelized apples. It is the ultimate Apple Tarte Tatin thanks to a few extra special techniques and ingredients.
Want to save this recipe?
Enter your email & I'll send it to your inbox. Plus, get weekly updates from me!
The Best Apple Tarte Tatin
I'll never claim to be an expert on French food by any means, however, I do know this: When it's done right, French cuisine is a celebration of simple ingredients brought together to create something simply wonderful. An Apple Tarte Tatin is the perfect example of just that!
An Apple Tarte Tatin is a classic French pastry with a flaky pastry bottom topped with caramelized apples. See what I mean? Simple...and delicious.
Despite its simple appearance, there can be some major pitfalls when it comes to preparing Apple Tarte Tatin, especially when you prepare it the traditional way. The uncomplicated and traditional method of making it is to cook some sugar on the stovetop, add the apples, toss to coat and eventually caramelize them. Then, pop the whole thing in the oven with some pastry on top. When it's done, flip it over and serve. Sounds easy enough, right?
Easy, yes, but here are some of the pitfalls when it is cooked that way: the apples can get overcooked or burnt, the caramel could become bitter or flavorless, and the pastry becomes soggy once flipped over. With that said, I set out to "solve" those problems and create a recipe and a technique resulting in what I think is the Best Apple Tarte Tatin.
My version ensures a delicious and flavorful homemade flaky puff pastry and is topped with perfectly cooked apples soaked in an apple cider caramel that is perfectly cooked. This recipe has more steps than the traditional version for sure,, but you know I wouldn't call for them if they weren't truly worth it.
So, let's get to making it, shall we? The text below offers tons of tips and helpful notes, or you can scroll to the bottom to grab the recipe and get started!
Behind the Scenes of the Development Process
Whenever I see a recipe labeled as being "the best" (especially on the internet) I always want to know...well, why? What makes this recipe the best? Because everyone's version of best is different. While I've already described an overview of this recipe written above, I want to get into more detail about why this is my version of a perfect Apple Tarte Tatin.
When I first envisioned this recipe, I wanted to really up the apple flavor. My go-to move is always to introduce apple cider to a recipe that uses apples, so my first thought was to turn the traditional caramel into an apple cider caramel. It took a few tests to get it right, but ultimately I landed on adding boiled apple cider to a separate caramel. I tried making them together in one pot, but it just didn't work.
I also jammed in as many apples as I could in one layer, which I'll talk more about in the assembly section of this post.
In different restaurants where I've made this dessert, I've tried different techniques to prepare it, including starting the tarte tatin on the stovetop and caramelizing the apples there. In the end, I find that that method results in overcooked apples and possibly over caramelization (aka, burnt). So I went with making the caramel on the side and using a cake pan to assemble and bake the pie.
Finally, I had to troubleshoot the final consistency of the caramel sauce after the bake. Because apples release moisture into the caramel sauce, it can result in a too-thin sauce once the tarte is flipped over. I tried macerating the apples beforehand to reduce the amount of liquid, but I didn't like the texture of the apples in the final product and it still resulted in a liquidy caramel. Instead, I came up with a solution to get the best texture in the end that resulted in that beautiful glossy appearance. This was accomplished by flipping the tarte onto a cooling rack--which also resulted in the prevention of a soggy crust--and catching any runny sauce underneath. I put that sauce back into a pot and slightly reduced it. Then, I brushed that sauce on top of the apples.
Are there some extra steps in this recipe compared to a typical Apple Tarte Tatin recipe? Yes! Are they worth it? Double yes.
So, now you know what you are getting into--you can either skip on down to the recipe or browse through all of the anecdotes, tips, and troubleshooting advice I have to give when it comes to The Apple Tarte Tatin.
Ingredients Needed
Here is an overview of the ingredients needed for this recipe. The full recipe is listed below in greater detail.
- puff pastry, flaky pie crust or classic butter pie crust
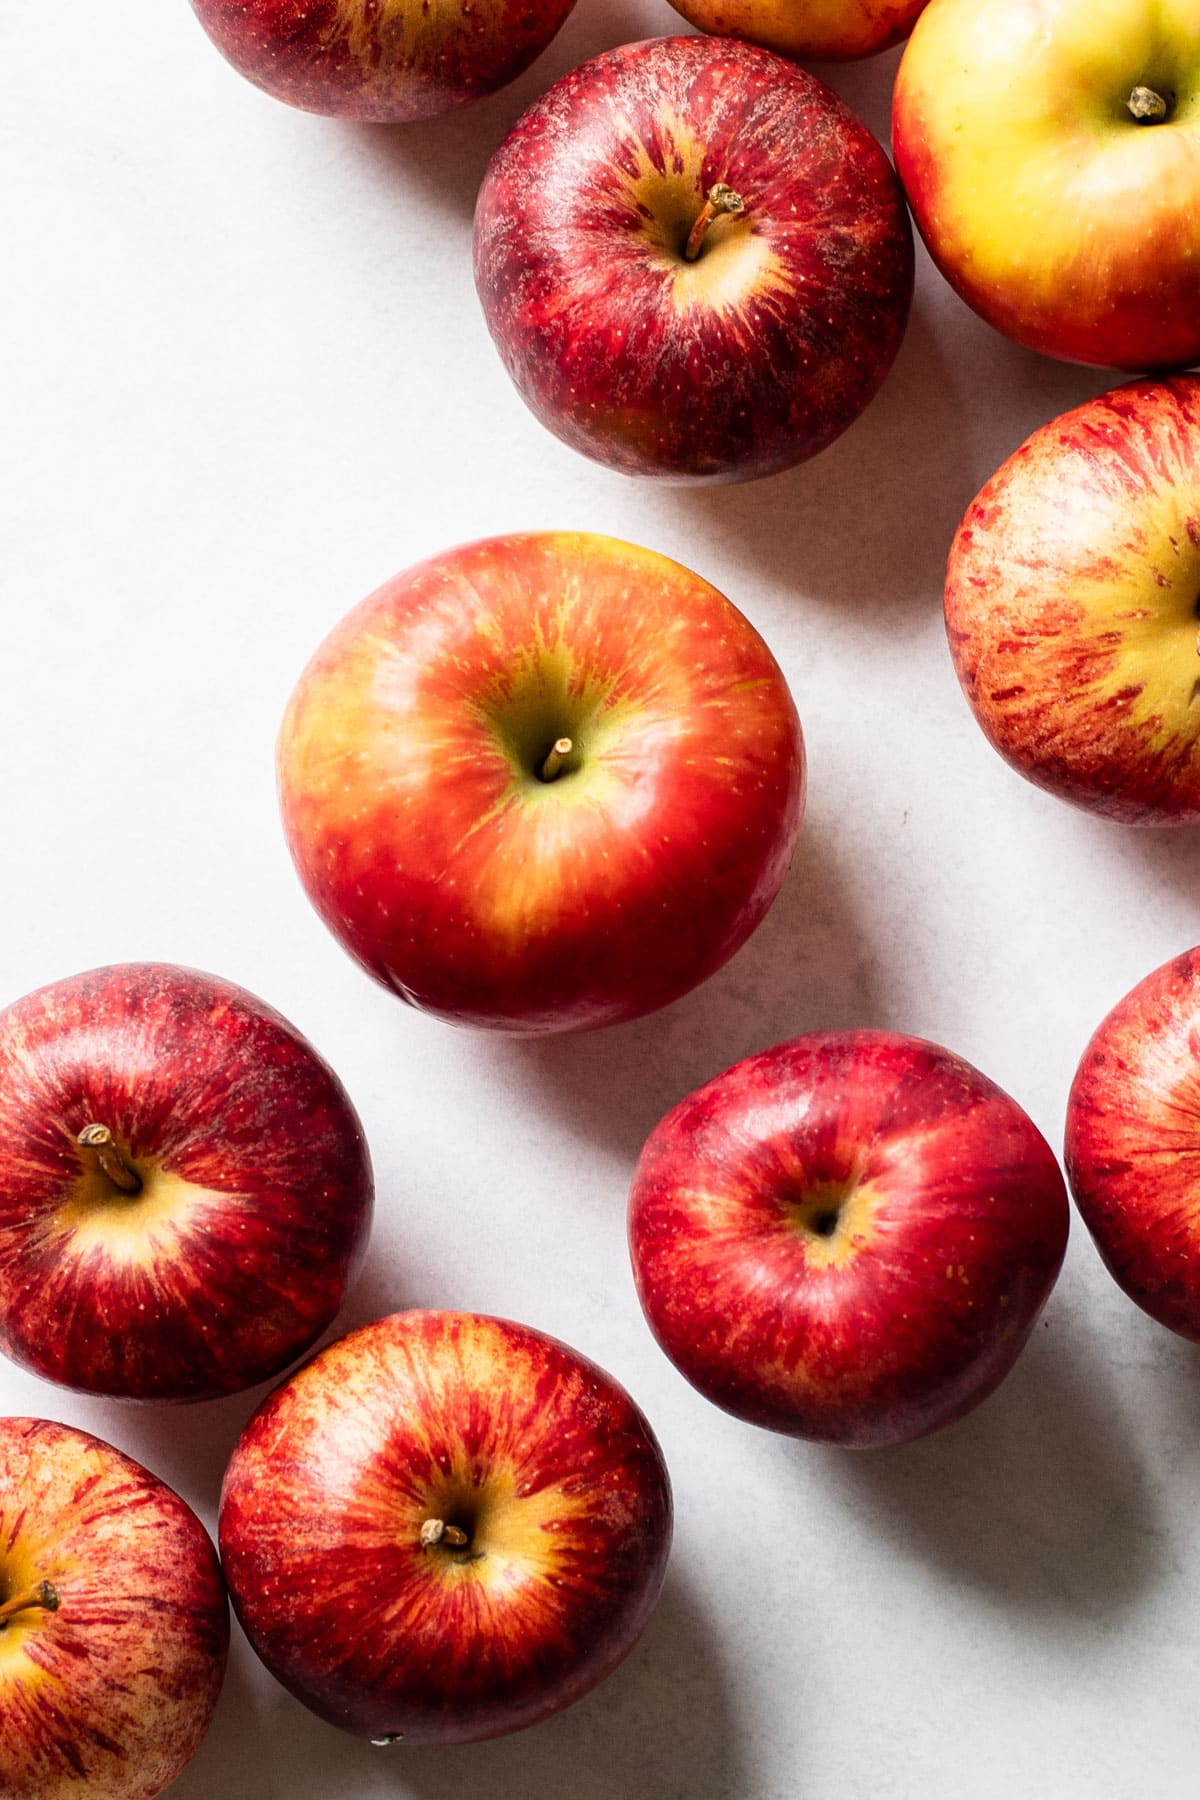
- apples (see below for my recommendations)
- granulated sugar
- fresh apple cider (definitely do not use apple cider vinegar here, it's not the same thing, see this article for more)
- lemon juice
- butter
- salt
- vanilla extract
Useful Tools
Here is a list of some of the primary tools I use in this recipe. You won't necessarily choose to use them all, but they are exactly what I used. Any links may contain affiliate links.
- stand mixer (to make the puff pastry/pie dough)
- rolling pin
- knife/peeler (to prepare the apples)
- pastry wheel or knife (to cut pastry)
- pastry brush (for brushing on egg wash)
- strainer (to strain the macerated apples)
- small pot (to boil down the cider and apple juice)
- medium pot (to make the caramel)
- 9" cake pan (preferably one with a nonstick coating)
- kitchen essentials: baking scale, bowls, measuring cups and measuring spoons, rubber spatula, fork
Best Apples for Apple Tarte Tatin
For a Tarte Tatin, you want to have an apple that can hold its shape and is sweet. For pies, I usually recommend using some granny smith apples, but for this Tarte Tatin, I advise staying away from them. Instead, I suggest using sweeter apples. This is because even though the dish has sugar in it, the sugar is caramelized which introduces some bitter notes and the sweet apple helps balance that out. The reduced apple cider also contributes some slight acidity, would doesn't match up with the acid of granny smiths.
Honey Crisp, Fuji, or Gala are all great choices for Apple Tarte Tatin because they don't get mushy after a long bake in the oven, they have a sweet flavor to them, and they are readily available in nearly every grocery store.
To Buy or Make Puff Pastry
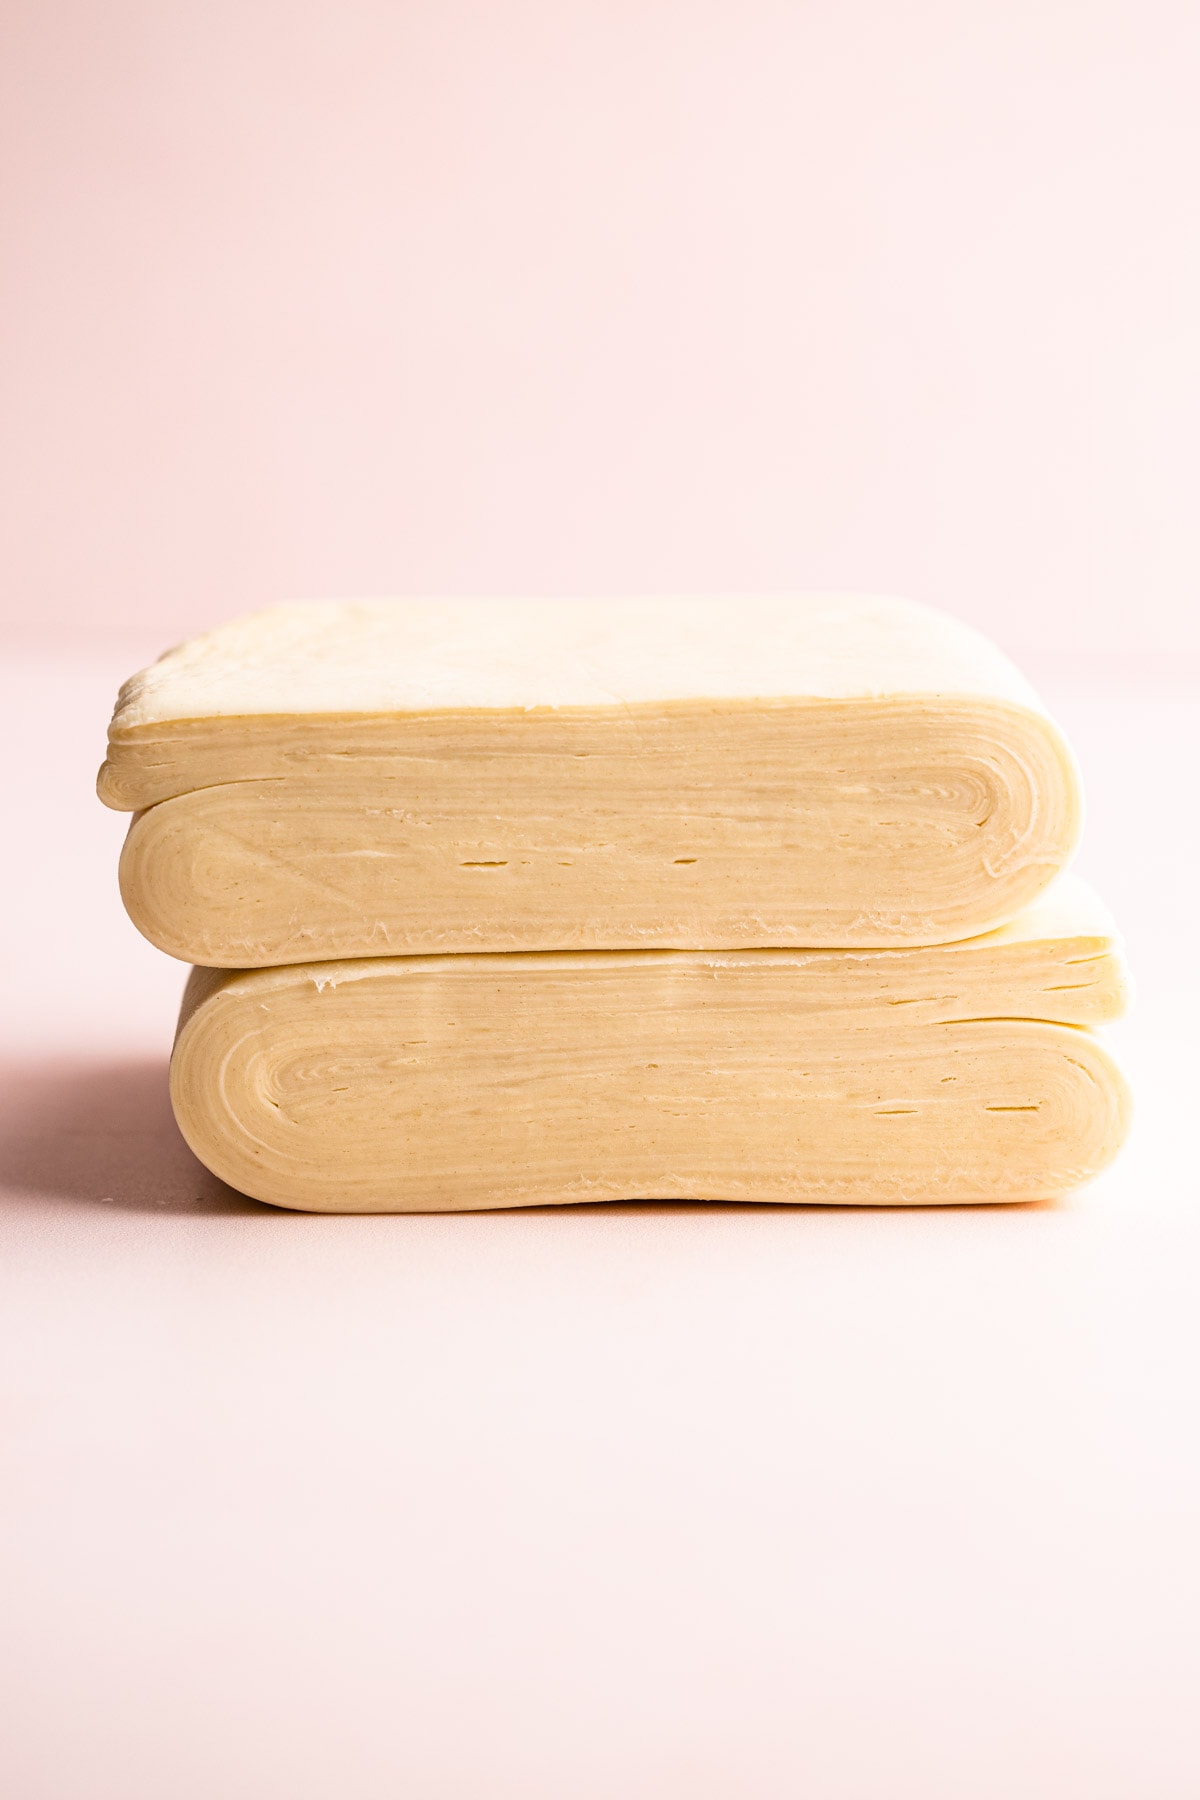
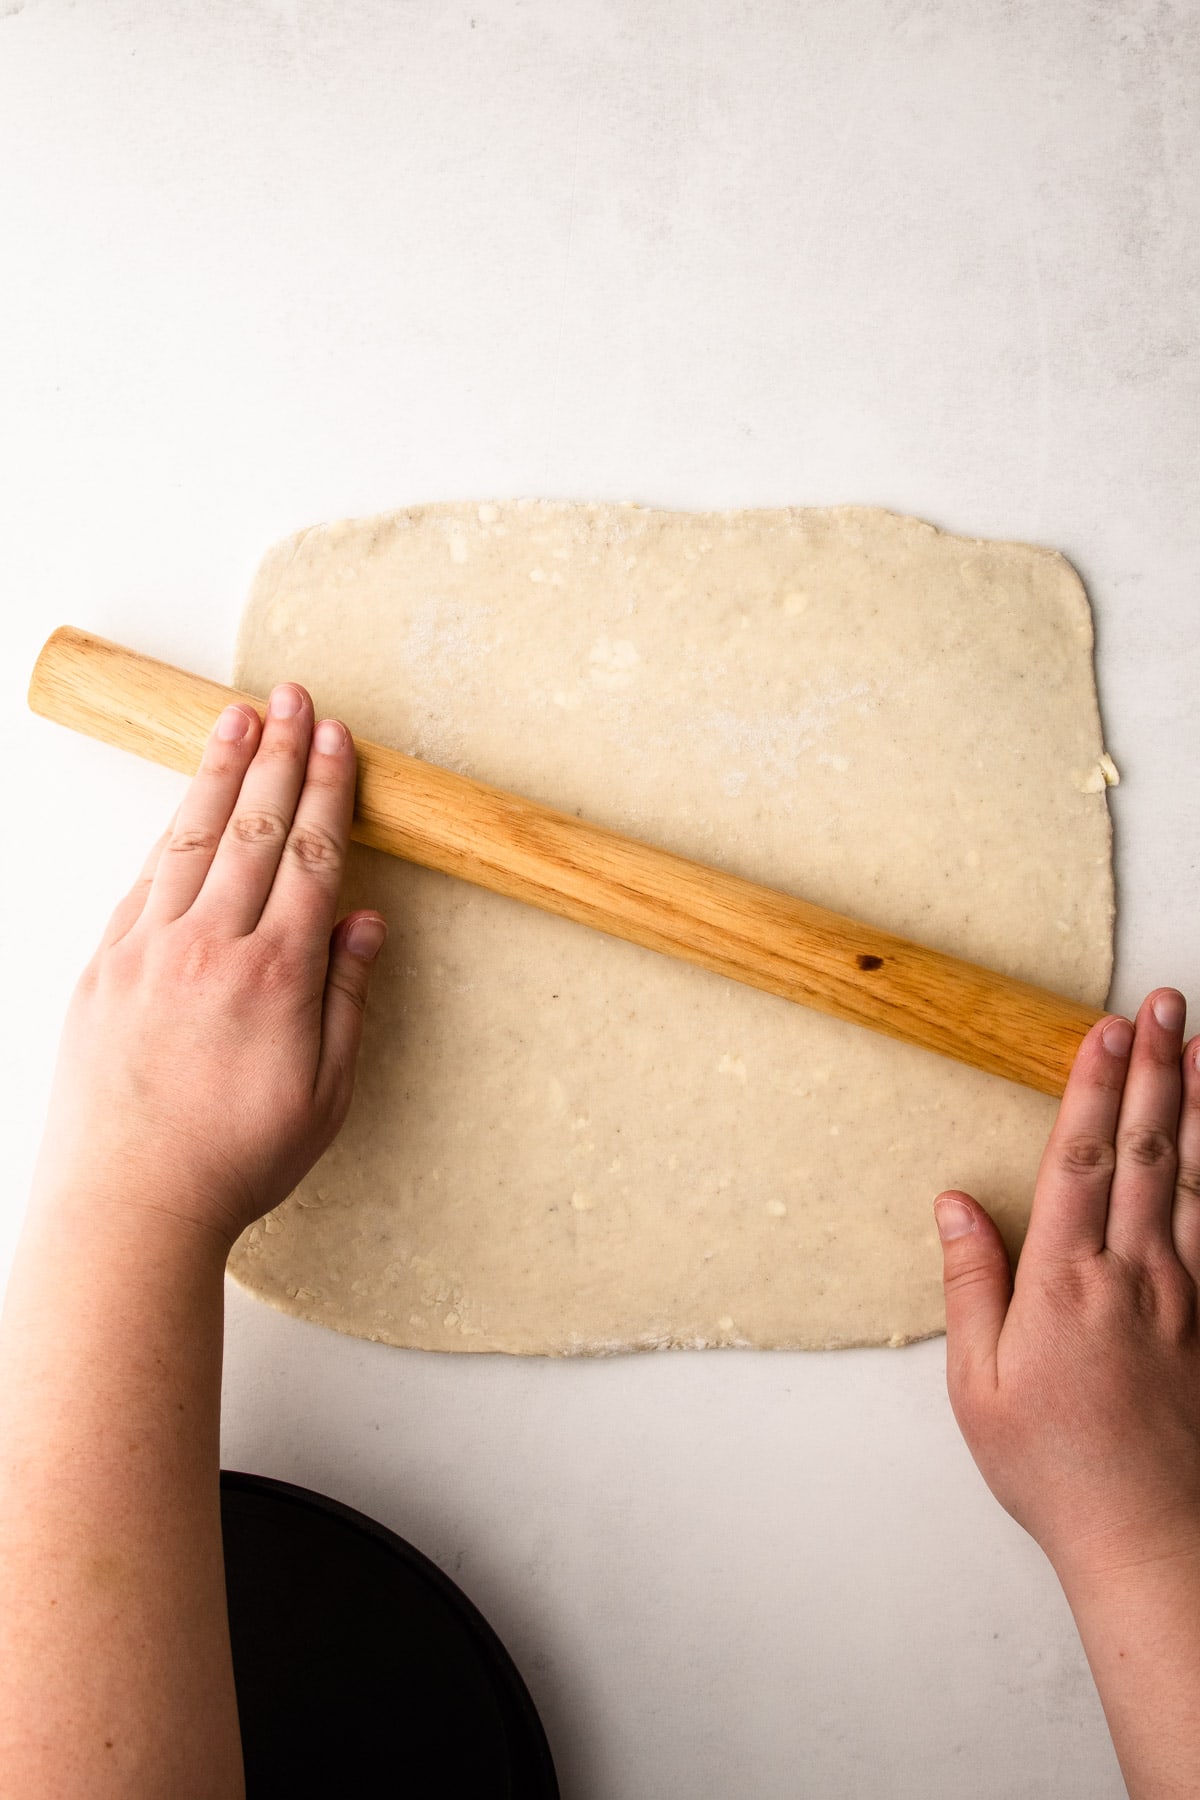
Part of what makes this Tarte Tatin recipe so fantastic is the flaky pastry. While I know it's easy to buy homemade puff pastry at the store, I'd argue it's not that difficult to make at home and the results are well worth the extra effort.
I have a dedicated Rough Puff Pastry recipe with accompanying step-by-step instructions and tips for successfully making it.
If you want a pastry option that has fewer steps than rough puff pastry, I'd recommend my Flaky Pie Crust instead. It has a very good puff as well, but less time intensive than puff pastry.
And finally, a third option is to just make regular Butter Pie Pastry. It would still be flaky, just not as much as puff pastry or flaky pie pastry.
If I haven't convinced you to make it yourself, you can indeed use store-bought puff pastry for this recipe.
Making the Apple Caramel Sauce
One of the distinct differences that set this recipe apart from others is the addition of apple caramel sauce. I often turn to apple cider when I want to amp up the apple flavor in any dessert, and this recipe isn't any different. Caramel is combined with reduced apple cider to add a nuance of flavor and an extra punch of apple.
Please note: do not use apple cider vinegar instead of apple cider. They are not the same thing. Apple cider is unfiltered apple juice found in the refrigerated section.
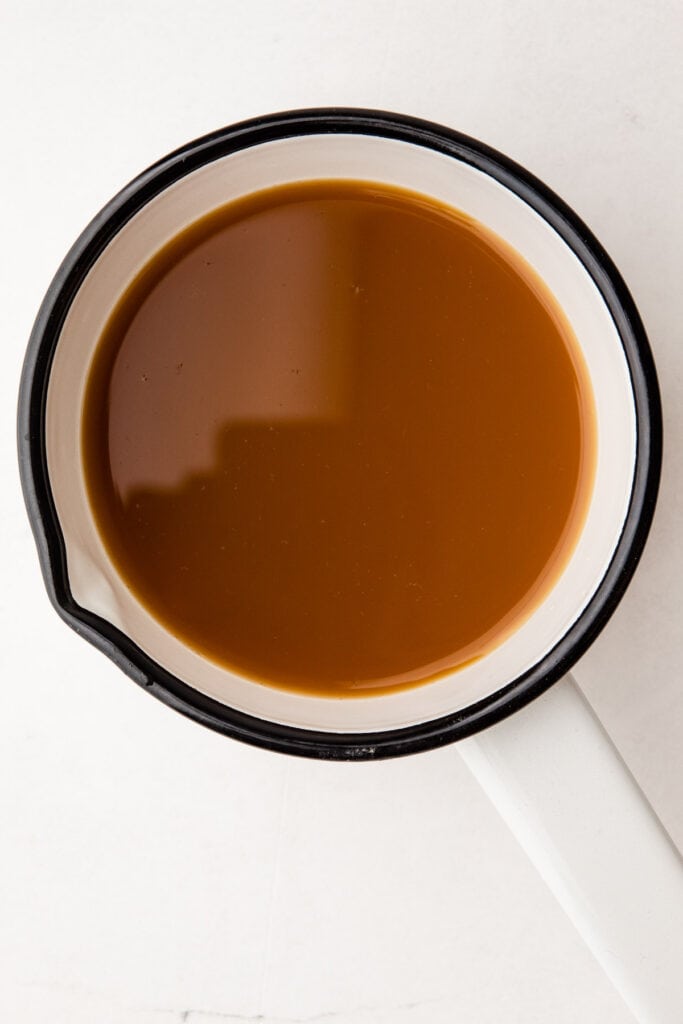
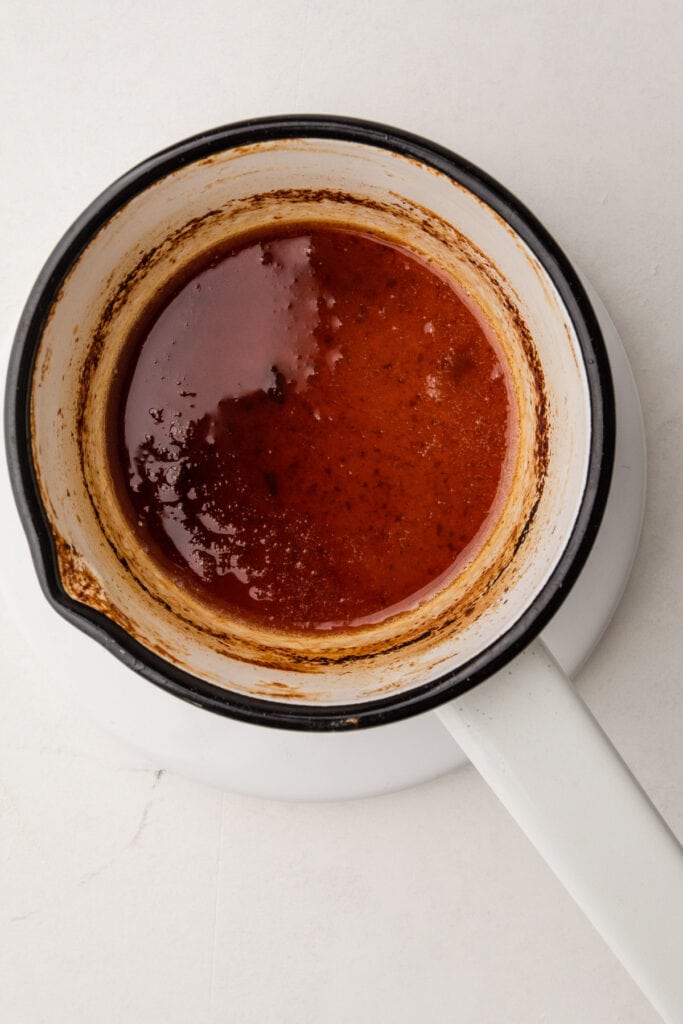
Reducing apple cider is simple. Just pour it into a pot and boil it until it has reduced in volume from 2 cups to ¼ cup. I find it useful to measure the liquid after it has been reduced. But, you can also eyeball it and look to see if the cider has started to thicken up and darken in color, and that's when you know it's time to shut off the heat.
This step can take upwards of an hour, depending on how large your pot is. Obviously, the more surface area for the liquid to evaporate, the quicker it will go, so use a large pot to decrease the amount of time needed to reduce.
Reduced apple cider is not only really delicious but also introduces additional apple flavor to the dessert, as well as a nuanced acidity to the caramel. I highly recommend it.
You can purchase reduced apple cider if you wanted to skip this step, and have some on hand for future uses. But, it's also just as easy to let a pot of it boil away on the stove too.
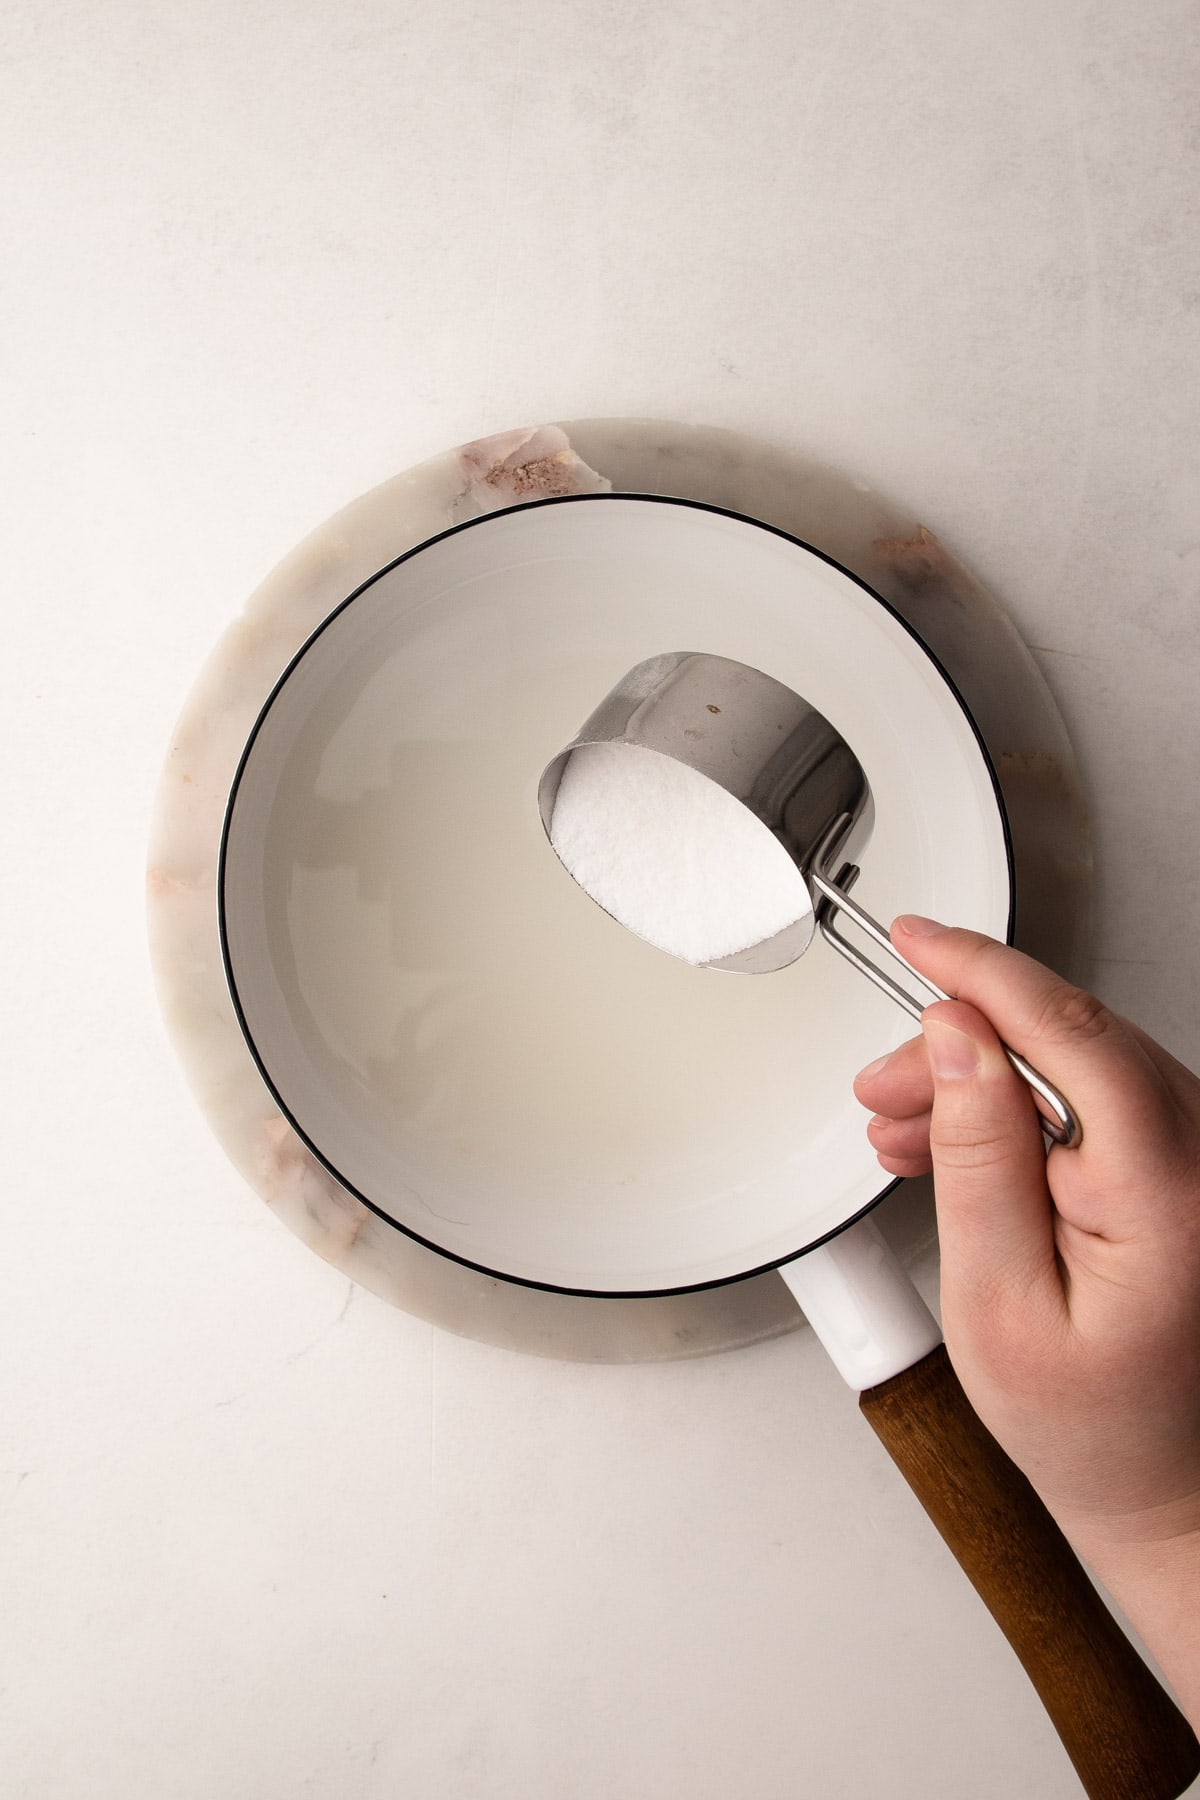

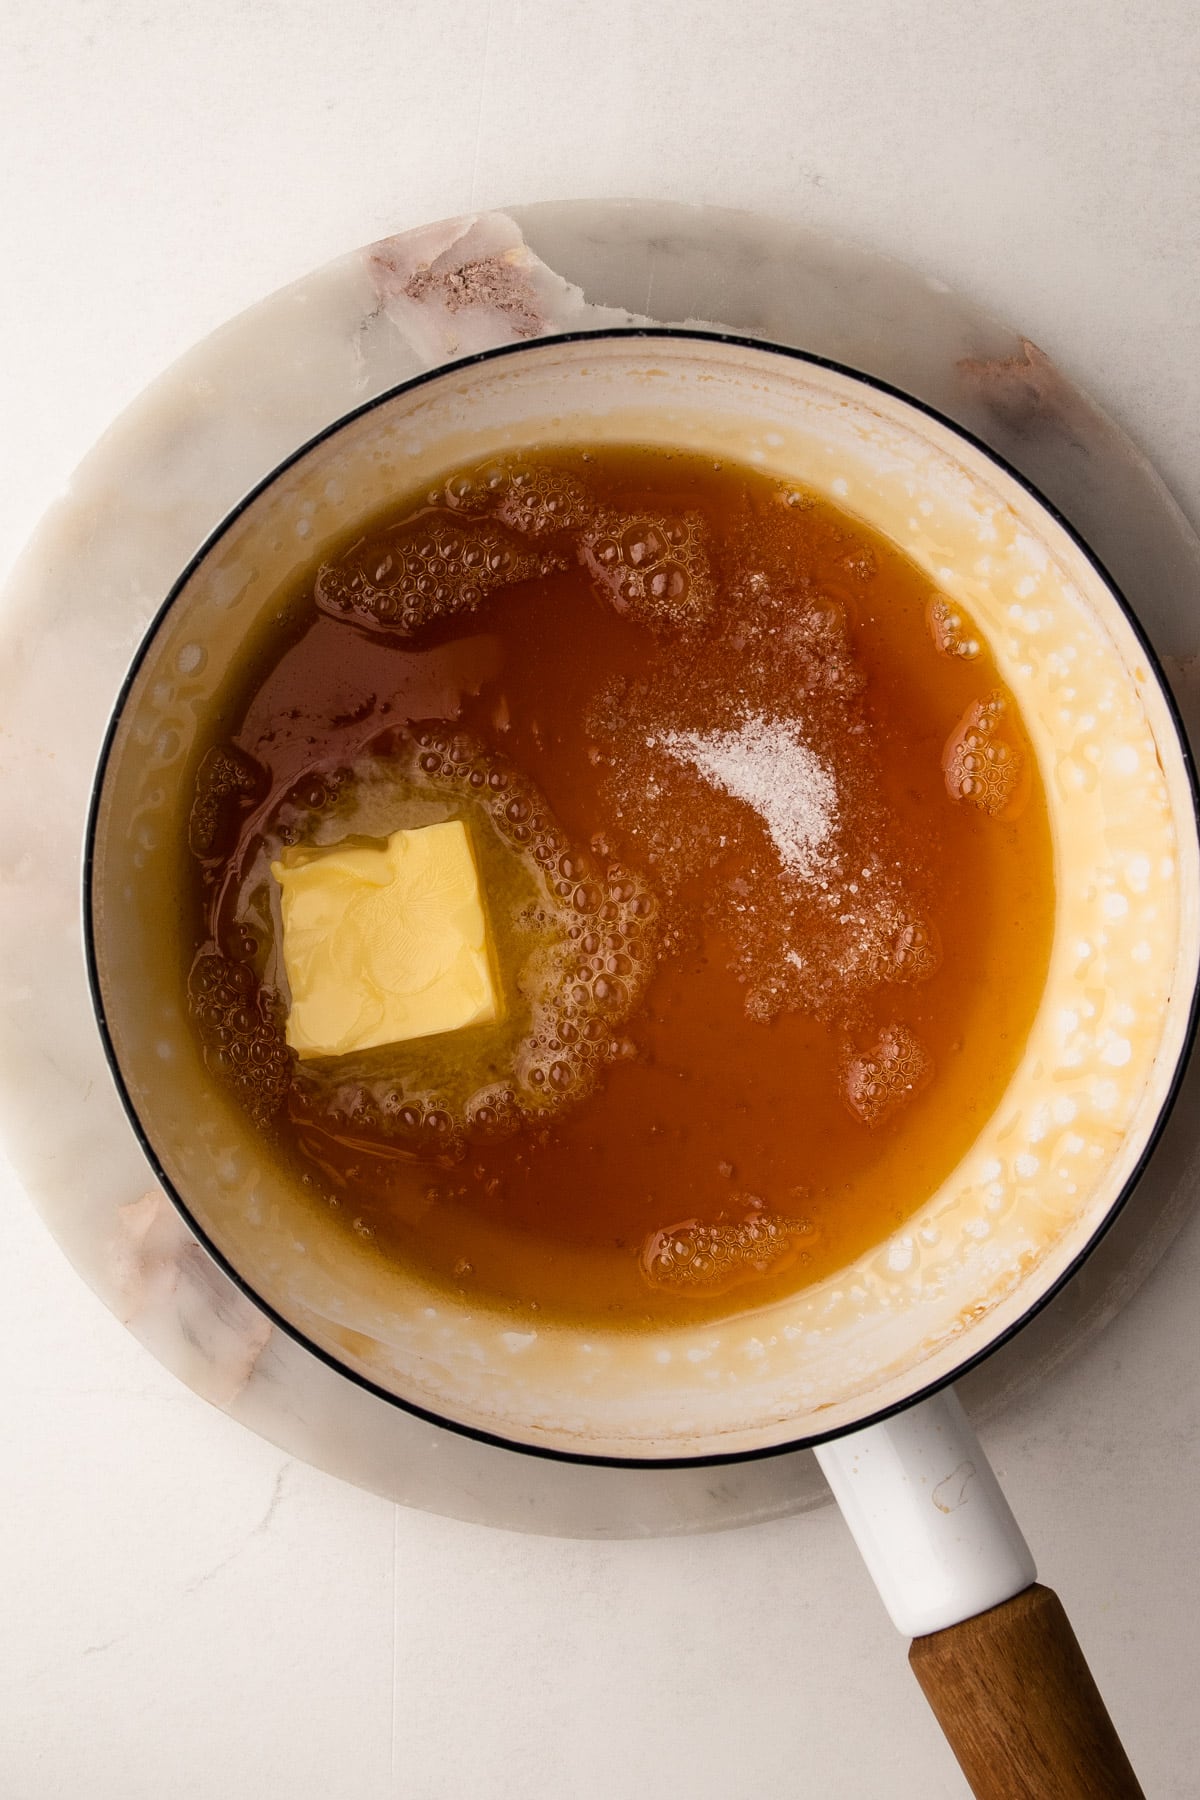
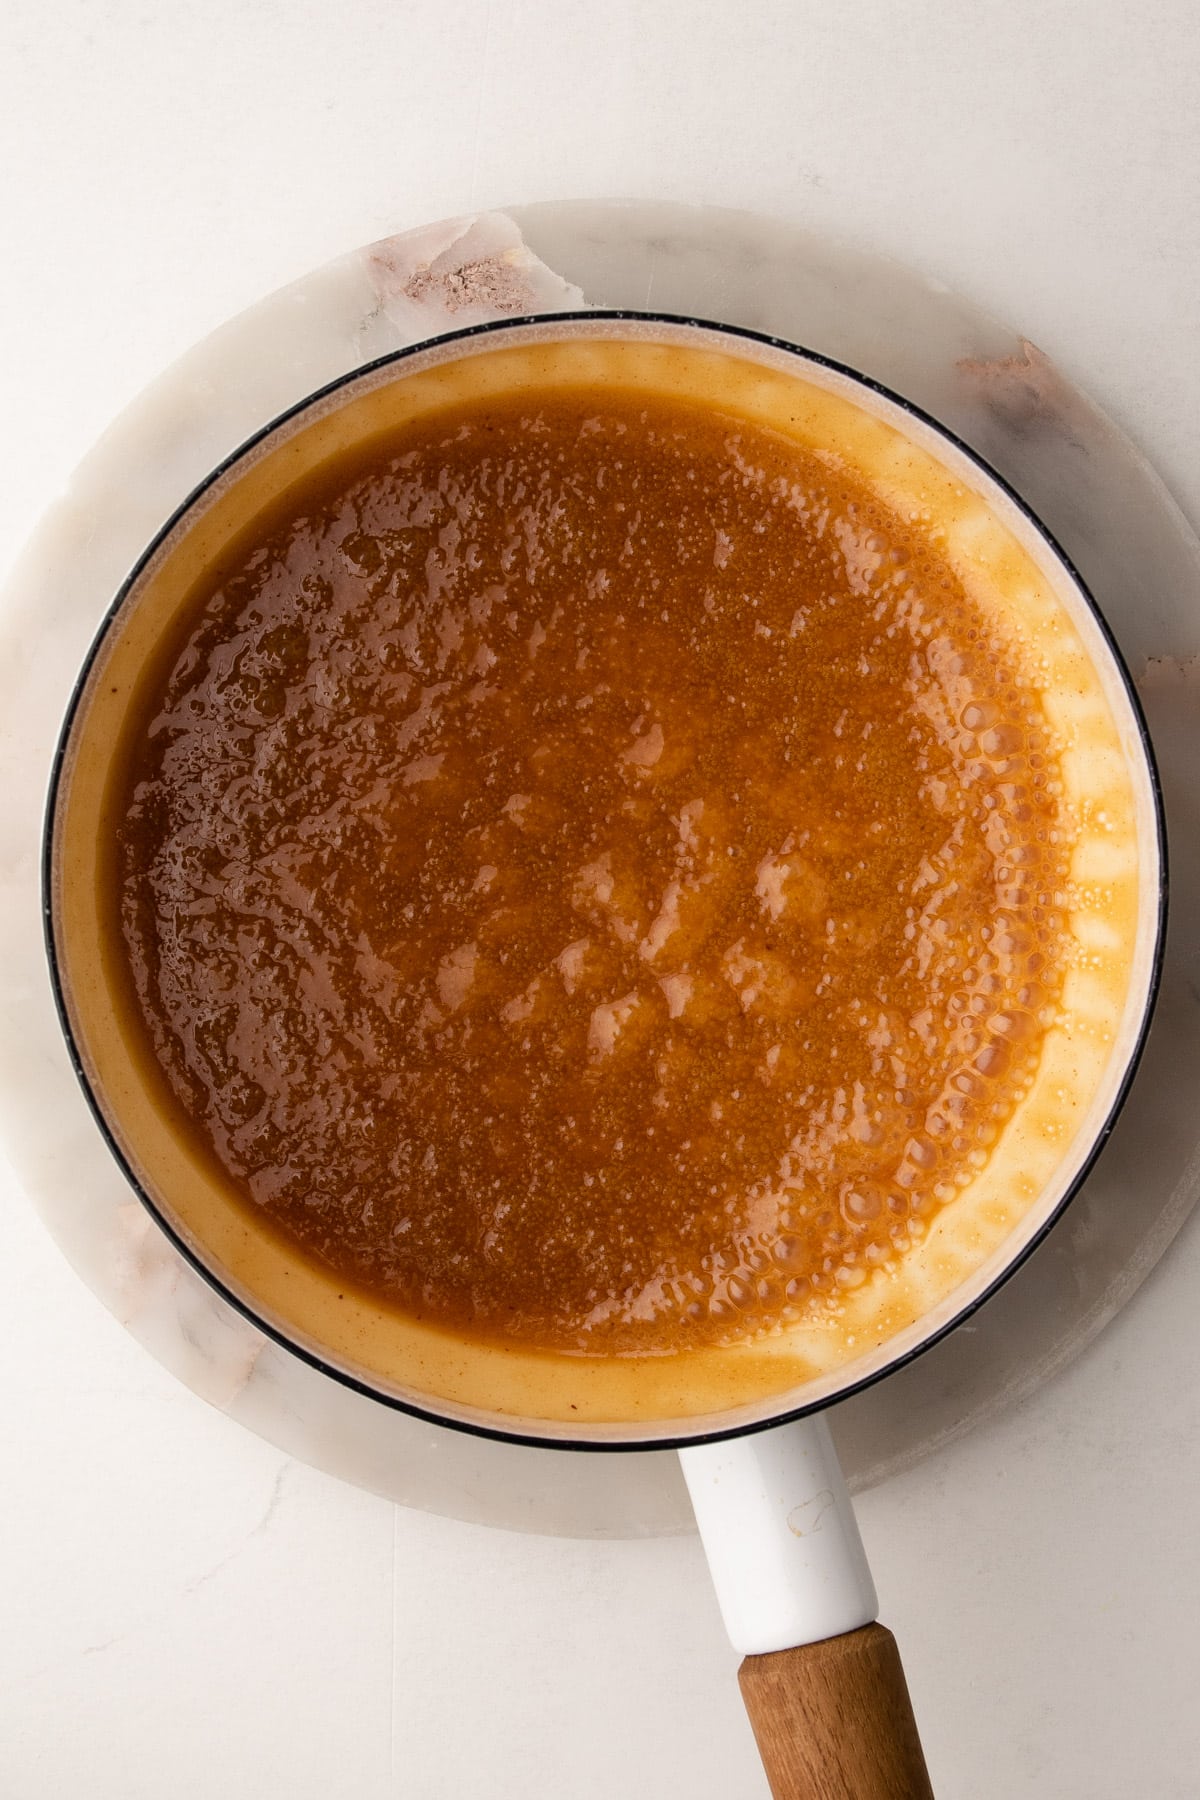
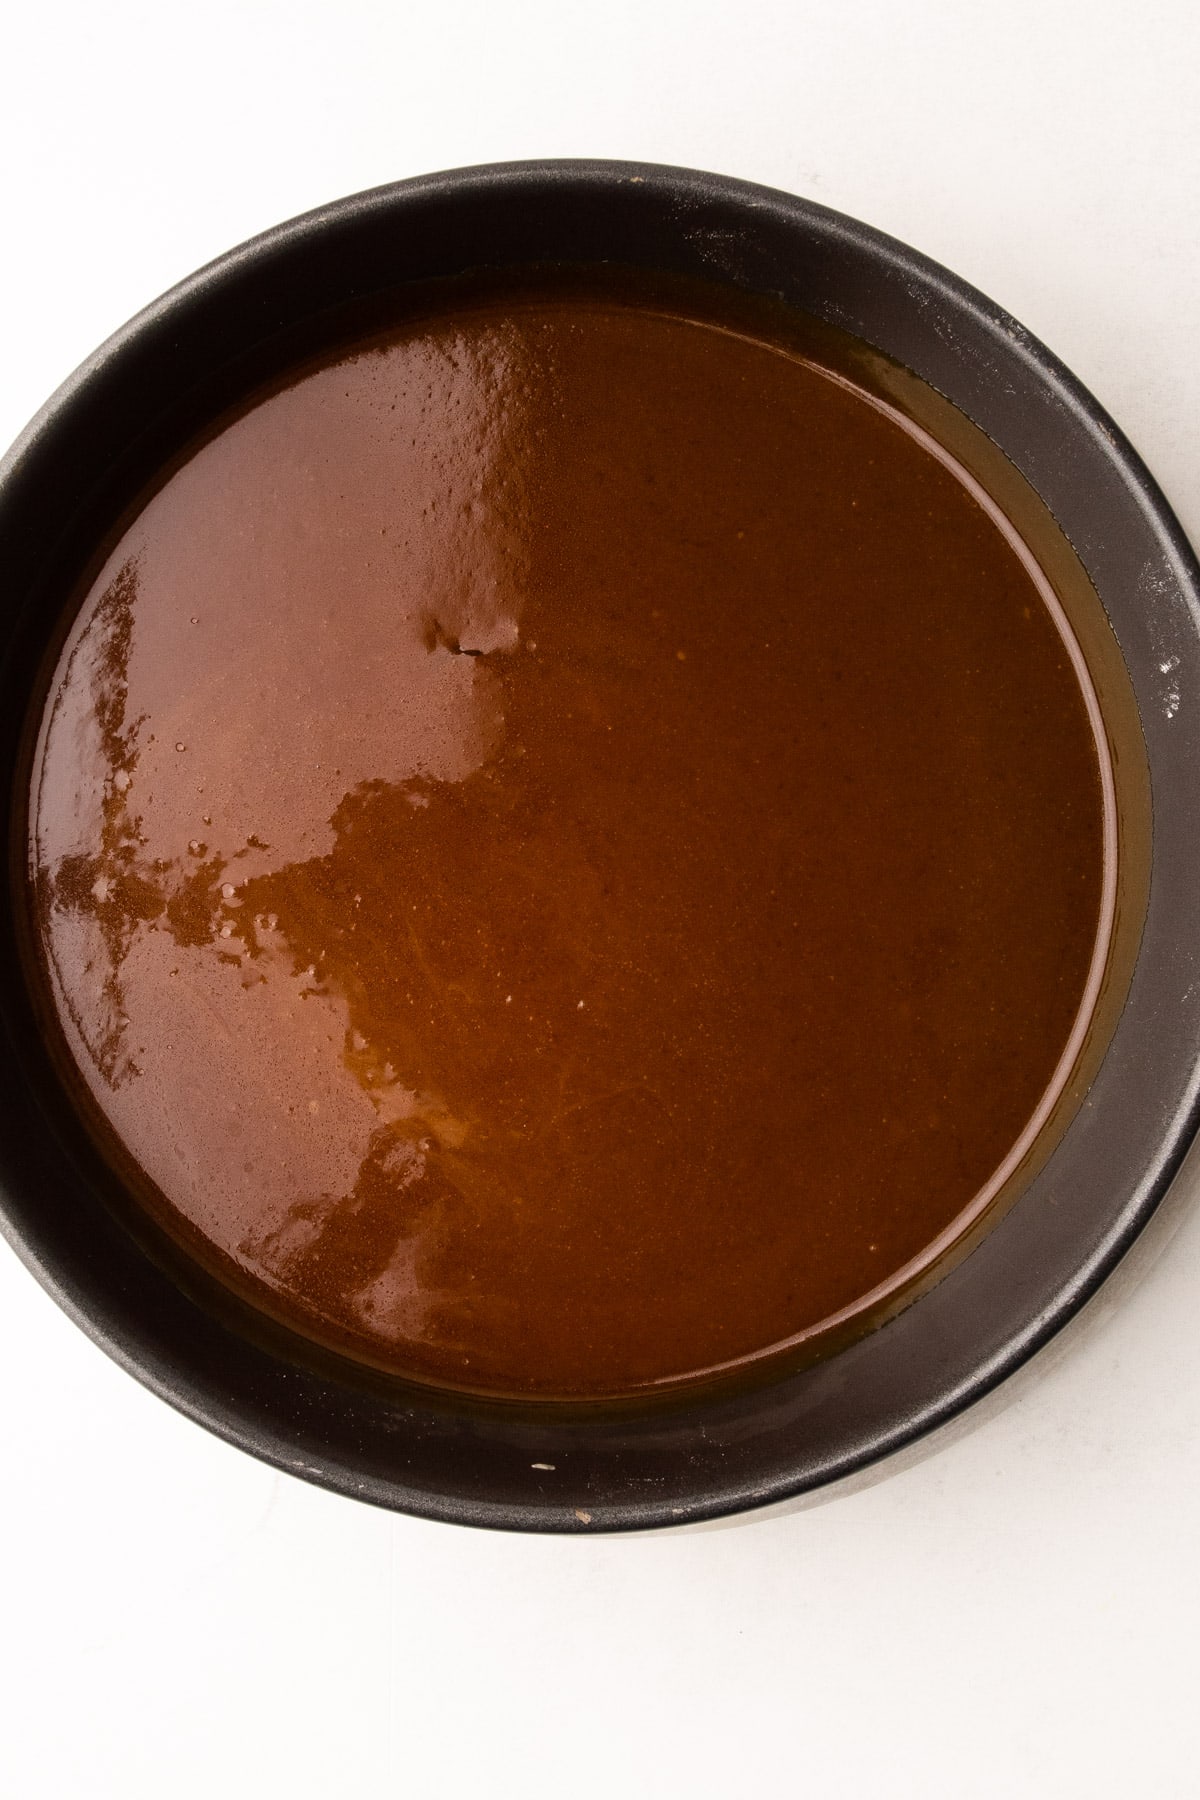
Once the apple cider reduction is ready, it's time to make the caramel in a separate pan. Cooking the caramel separately from the apples is important to get a consistent perfect sauce. If you are new to making caramel, check out this Caramel Sauce recipe. Though it's important to note that the caramel needed for a Tarte Tatin shouldn't be a sauce, rather it should be a thicker caramel, since it is going to get thinned out by any apple juice that is cooked out of the apples.
I should also note that if you really didn't want to be bothered you could skip the addition of the apple cider in the caramel. I would just suggest adding 2 tablespoons of heavy cream in its place.
Preparing and Layering the Apples
There are many different ways to cut and layer the apples in a Tarte Tatin, and I've tried almost all of them!
Here is how to prepare the apples:
- Peel
- Slice in half
- Core
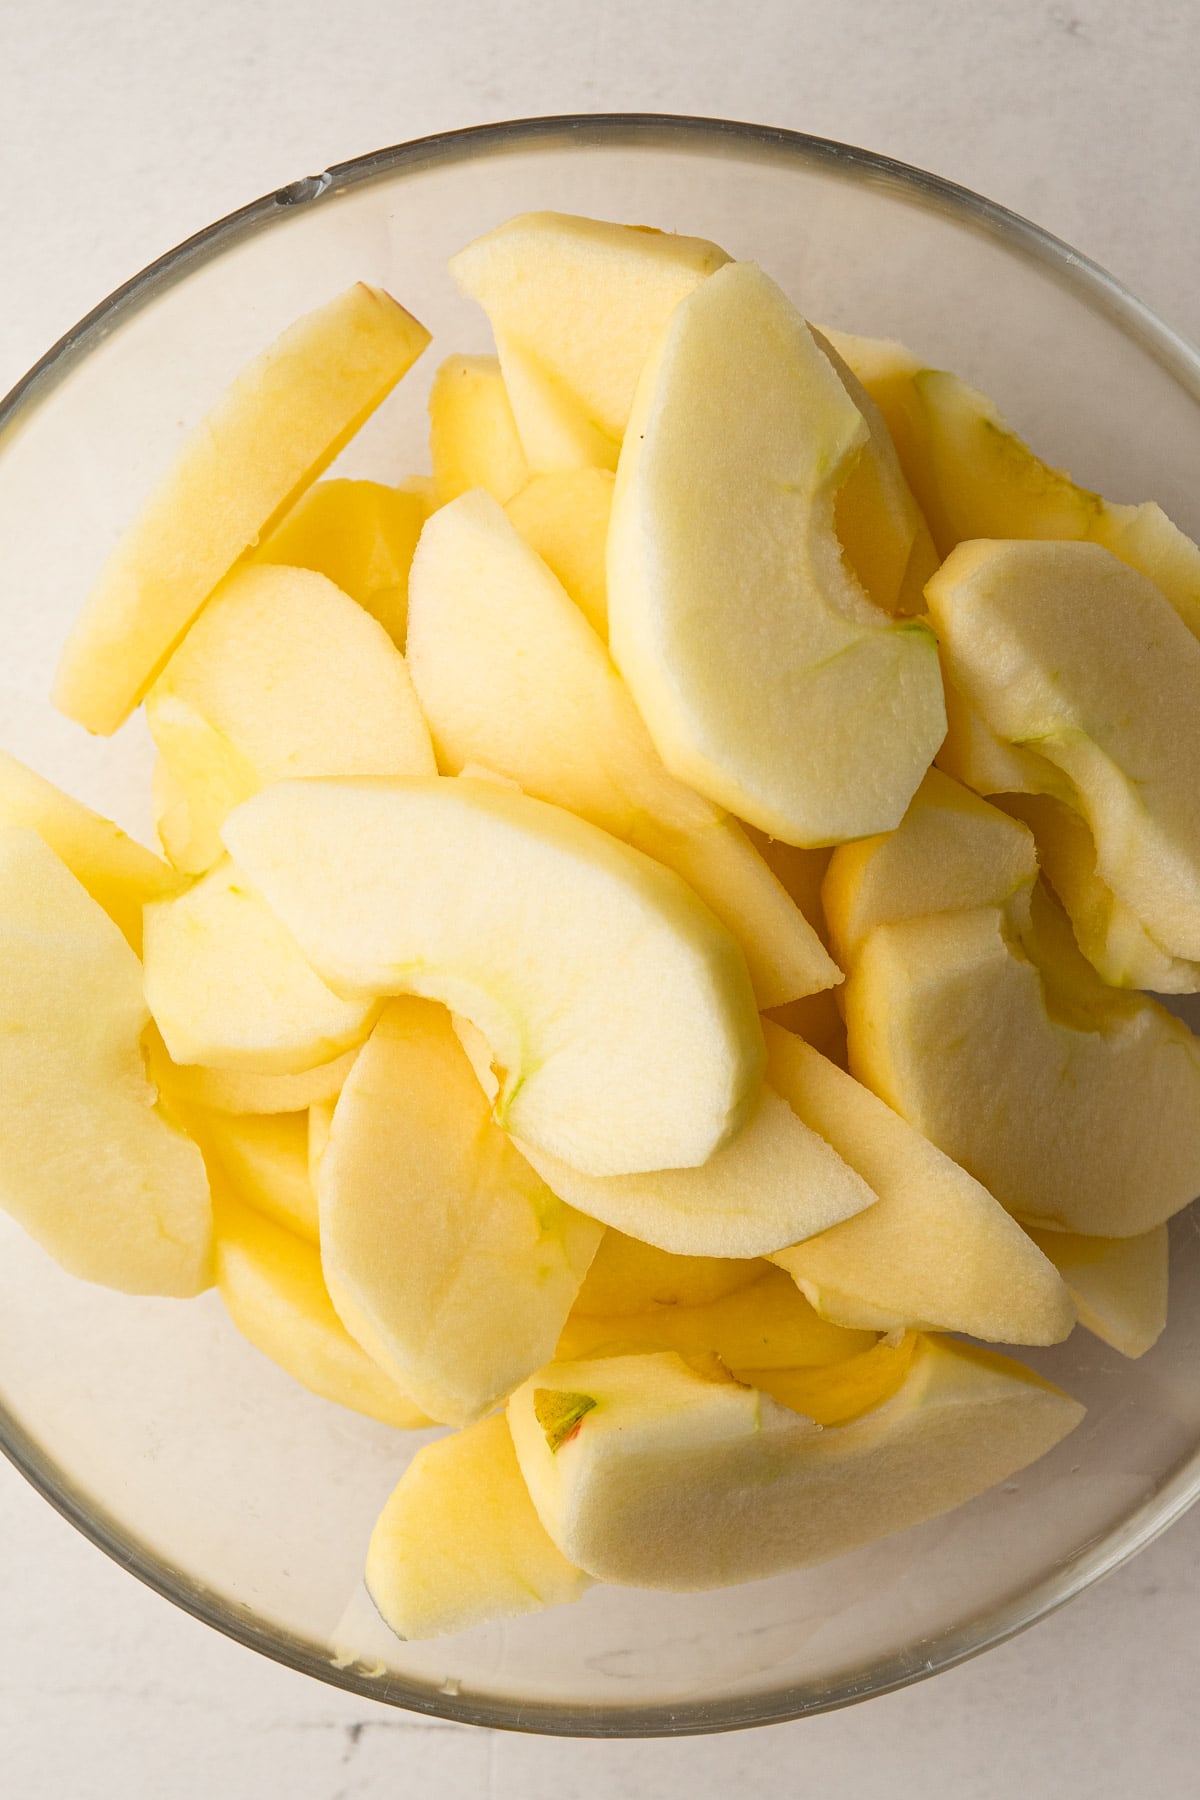
- Cut each half into 6 wedges
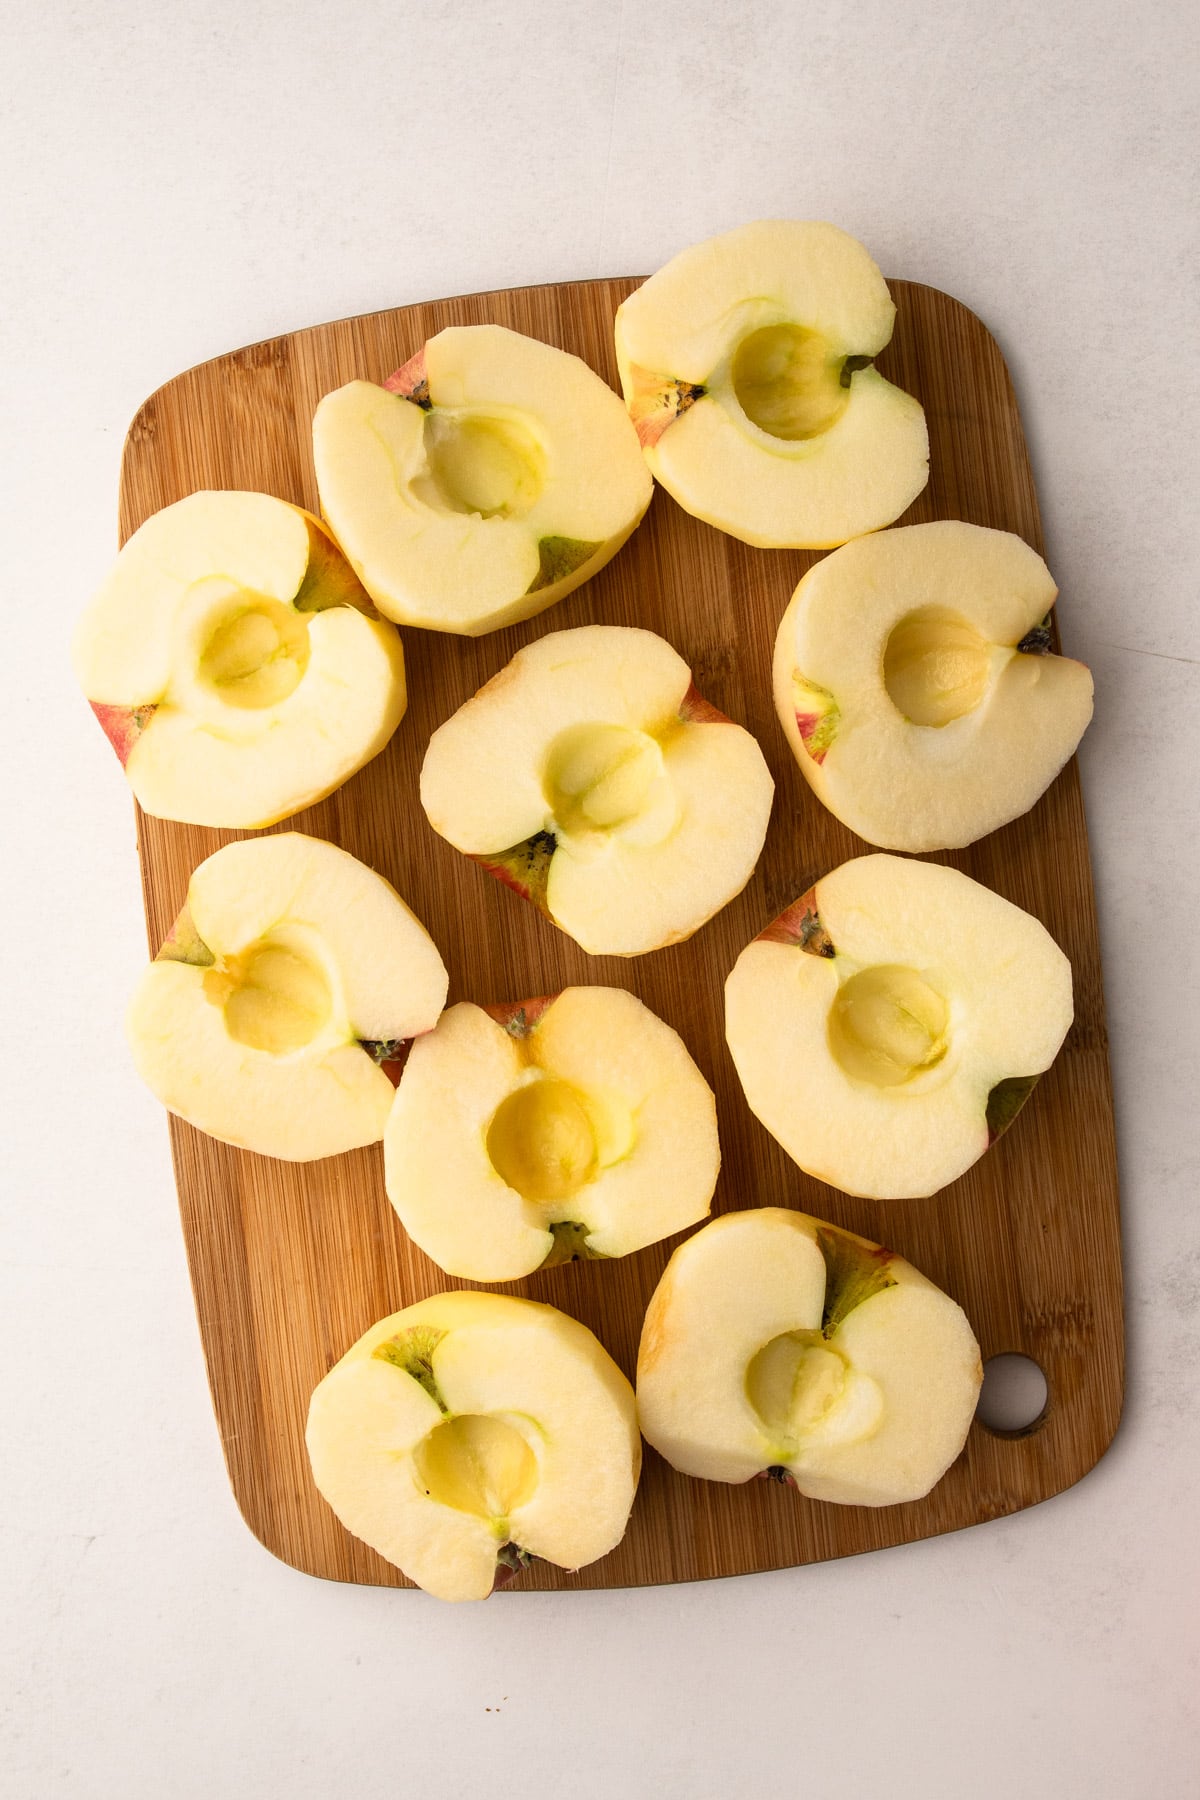
I almost always add a squeeze of lemon to apples as I'm preparing them because I don't want them to oxidize and turn brown. It's not just for aesthetic purposes; the oxidation changes the flavor of the apples, and even though it's subtle, it's best to avoid it.
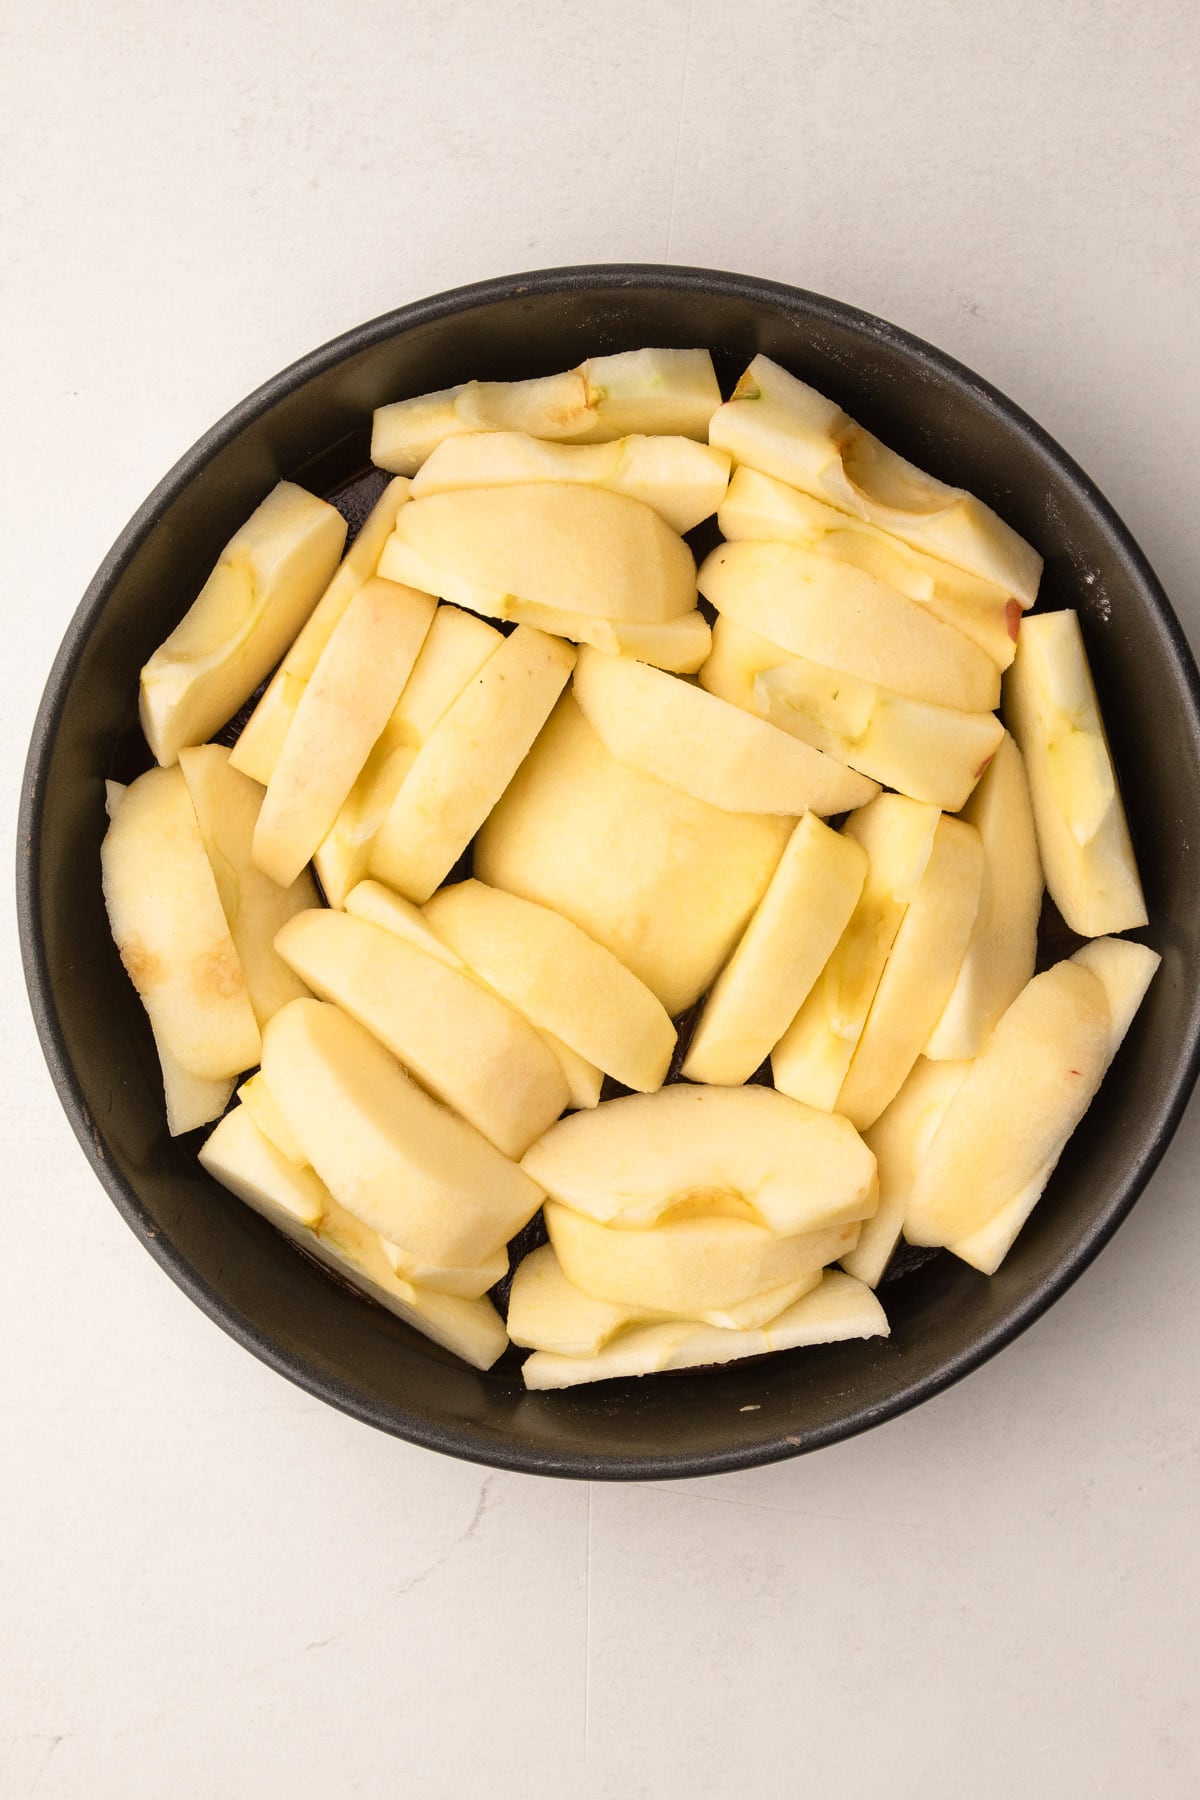
When I first started testing this dessert, I desired an aesthetically pleasing concentric even circle of apples, but it's pretty difficult to control how much the apples reduce and what shape they take on after they go through the high heat of the oven, and I figured out it's better to go for taste than look with this.
Instead, I decided to stuff as many apples in an even layer as I could. I still went in a circle but cared less about any exactness of how they were placed and instead focused more on filling in any gaps where apples theoretically could be.
However, I did place one larger apple slice in the center of the cake pan as an anchor point. This is optional! You truly can layer the apples however you want.
Bringing it All Together
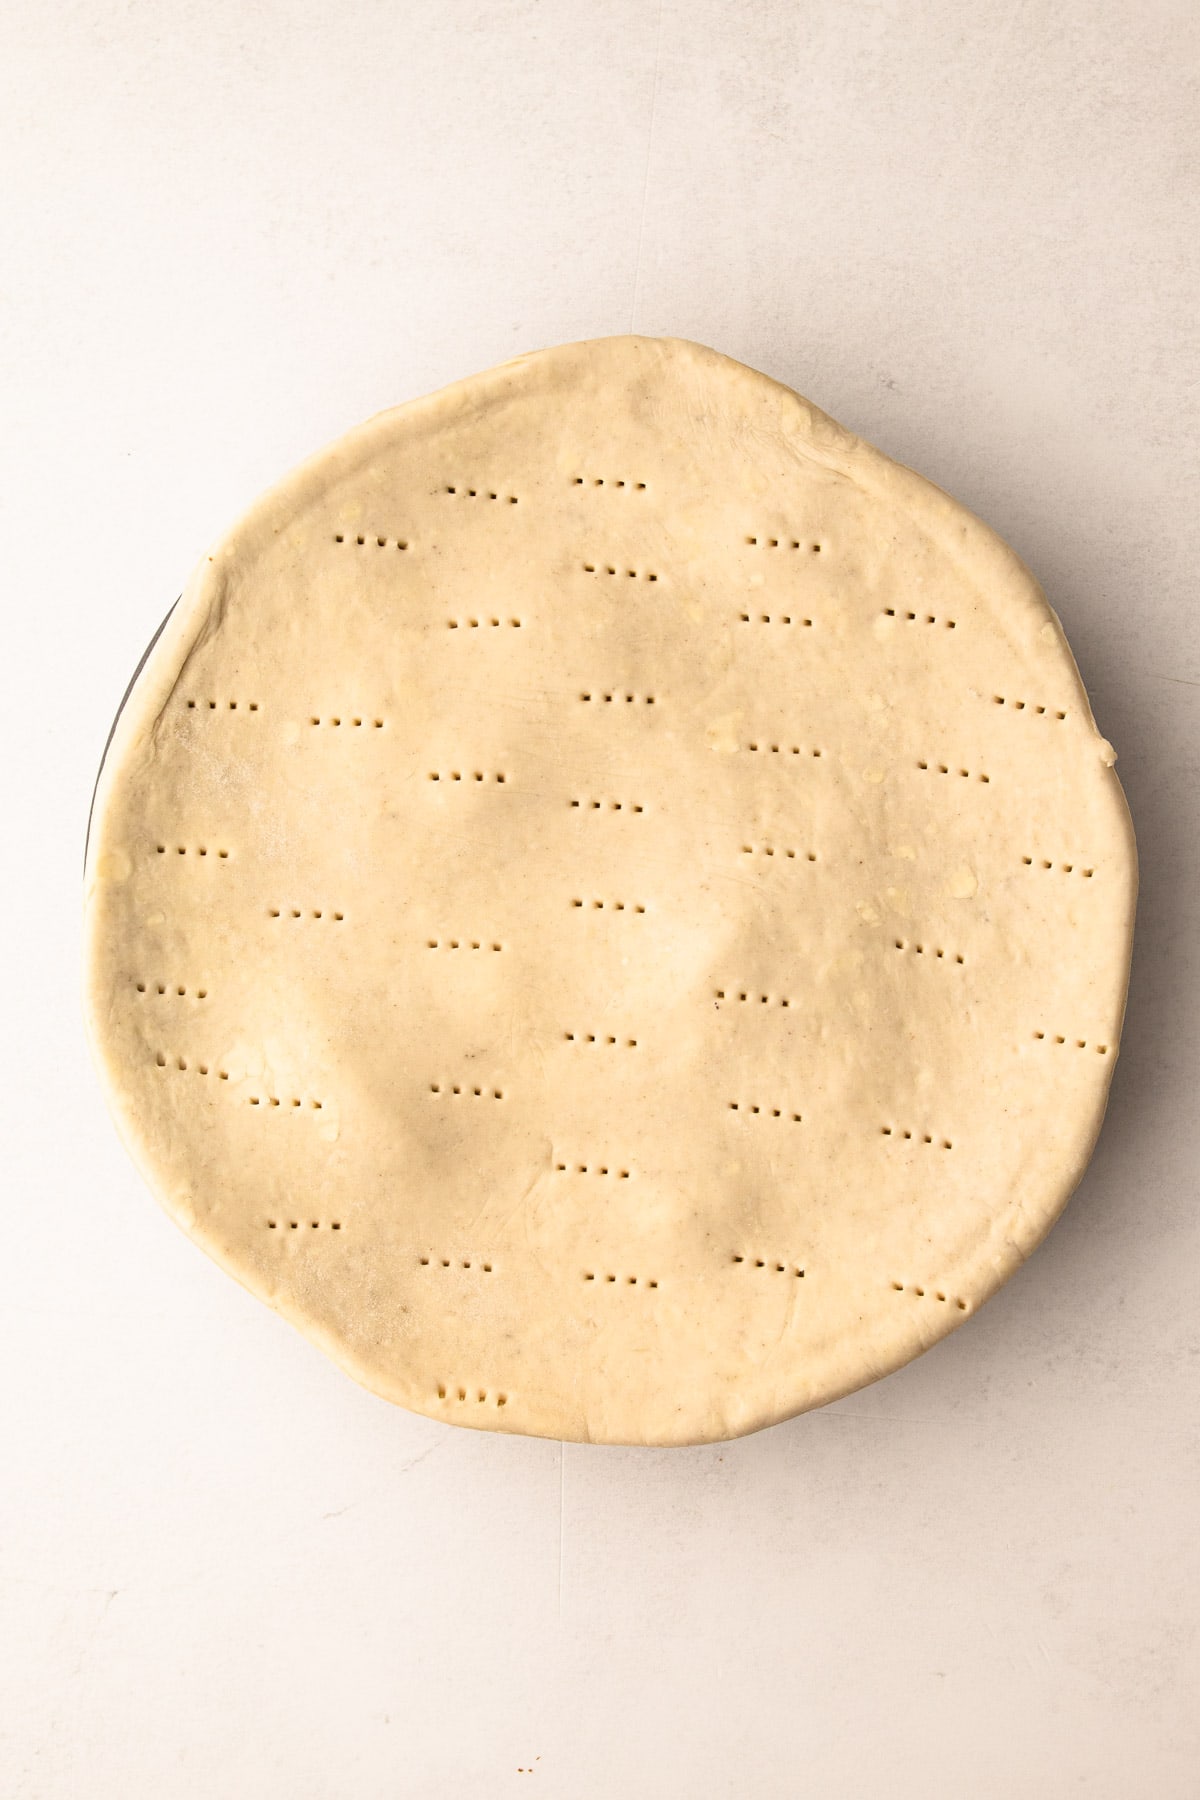
Once the pastry is prepared and rolled out, the cider caramel is made and transferred to the cake pan. Once the apples are sliced, it is finally time to assemble and bake!
Tightly pack the apple slices together in one even layer in a circle, or as desired. Lay the pastry on top of the apples, and tuck the edges of the pastry around the edges of the apple.
Place the cake pan on a rimmed baking sheet to catch any potential drips and then bake!
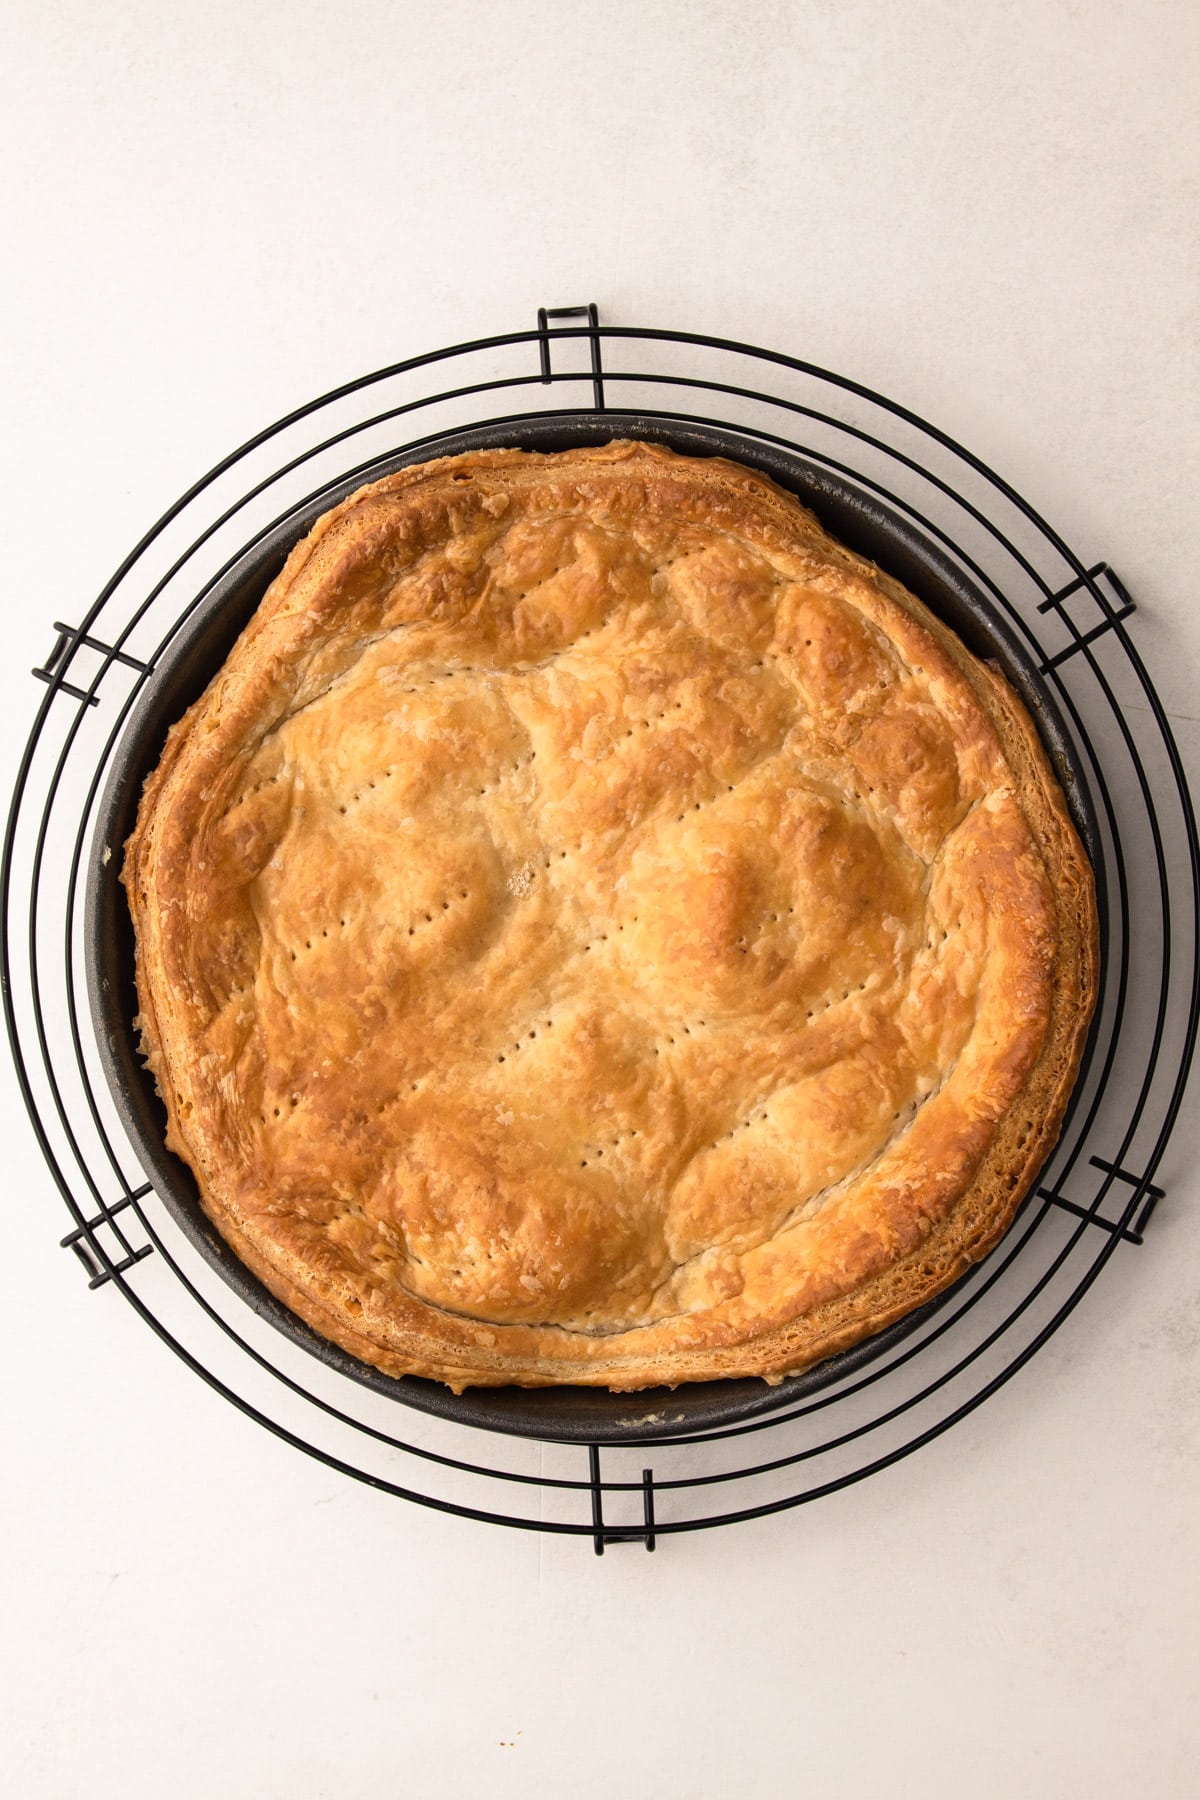
The Tarte Tatin is done when the pastry is puffed throughout and evenly golden.
How to Avoid a Soggy Pastry
Apples have a ton of moisture. In traditional Apple Tarte Tatin recipes, the pastry is flipped onto a serving platter while hot. Oftentimes, the caramel turns thin while it bakes with the apples, and that liquid then falls out and all around the pastry. As it sits, it slides off from the apples and onto the pastry, thus resulting in a loss of flavor from the tart and a soggy pastry. I knew I needed a solution to this.
In previous apple recipes, I've played around with reducing that moisture content before baking them. I tried that trick here and I did not like the result. Not only did the apples have a mushy texture, but they also didn't reduce the amount of liquid enough to make a difference.
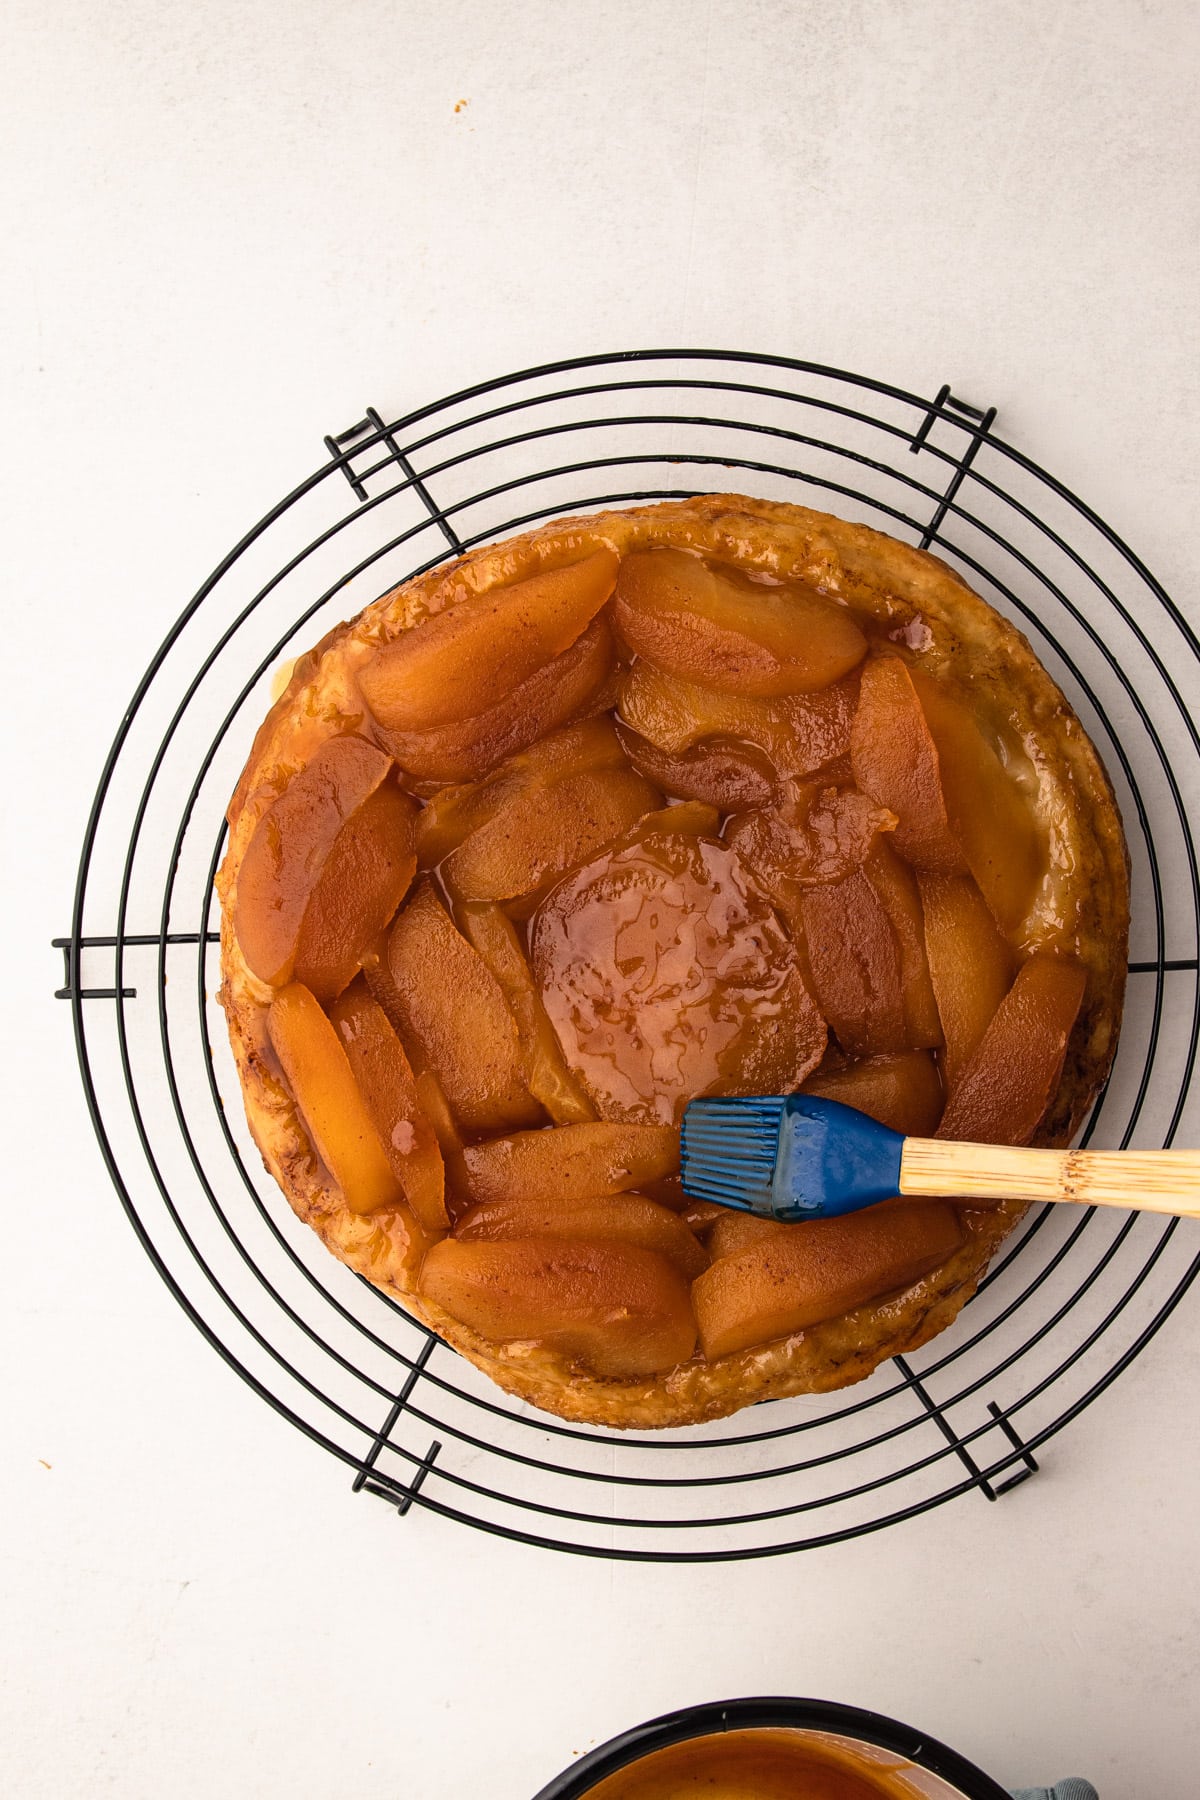
Instead, I turned to a few other tricks to combat this. First, I made sure the caramel was the correct consistency before baking, which is to say, thick. Second, instead of flipping the tart onto a plate to sit in liquid, I flipped it onto a round cooling rack with a plate to catch the sauce underneath it. This prevented the sauce from sogging up the pastry. And third,, I took the captured sauce and poured it into the pan I used to make the caramel and reduced it for a few minutes until it was thickened.
Then, I brushed the reduced caramel on top of the apples. This resulted in a beautifully glossy and flavorful caramelized apple layer.
Make-Ahead Tips
There are some components of this Apple Tarte Tatin that can be made ahead of time.
The apple cider caramel can be prepared a few days ahead of time. However, it will need to be reheated to the boiling point to pour into the cake pan.
You can make the puff pastry / flaky pie dough ahead of time. You can prepare the dough up to 2 days ahead, or up to 3 months in the freezer.
You can roll out the pastry up to 1 day ahead of time. Keep in the refrigerator, covered completely, until you are ready to make the pie.
The apples should be sliced and the Tarte Tatin assembled right before baking.
Serving Instructions
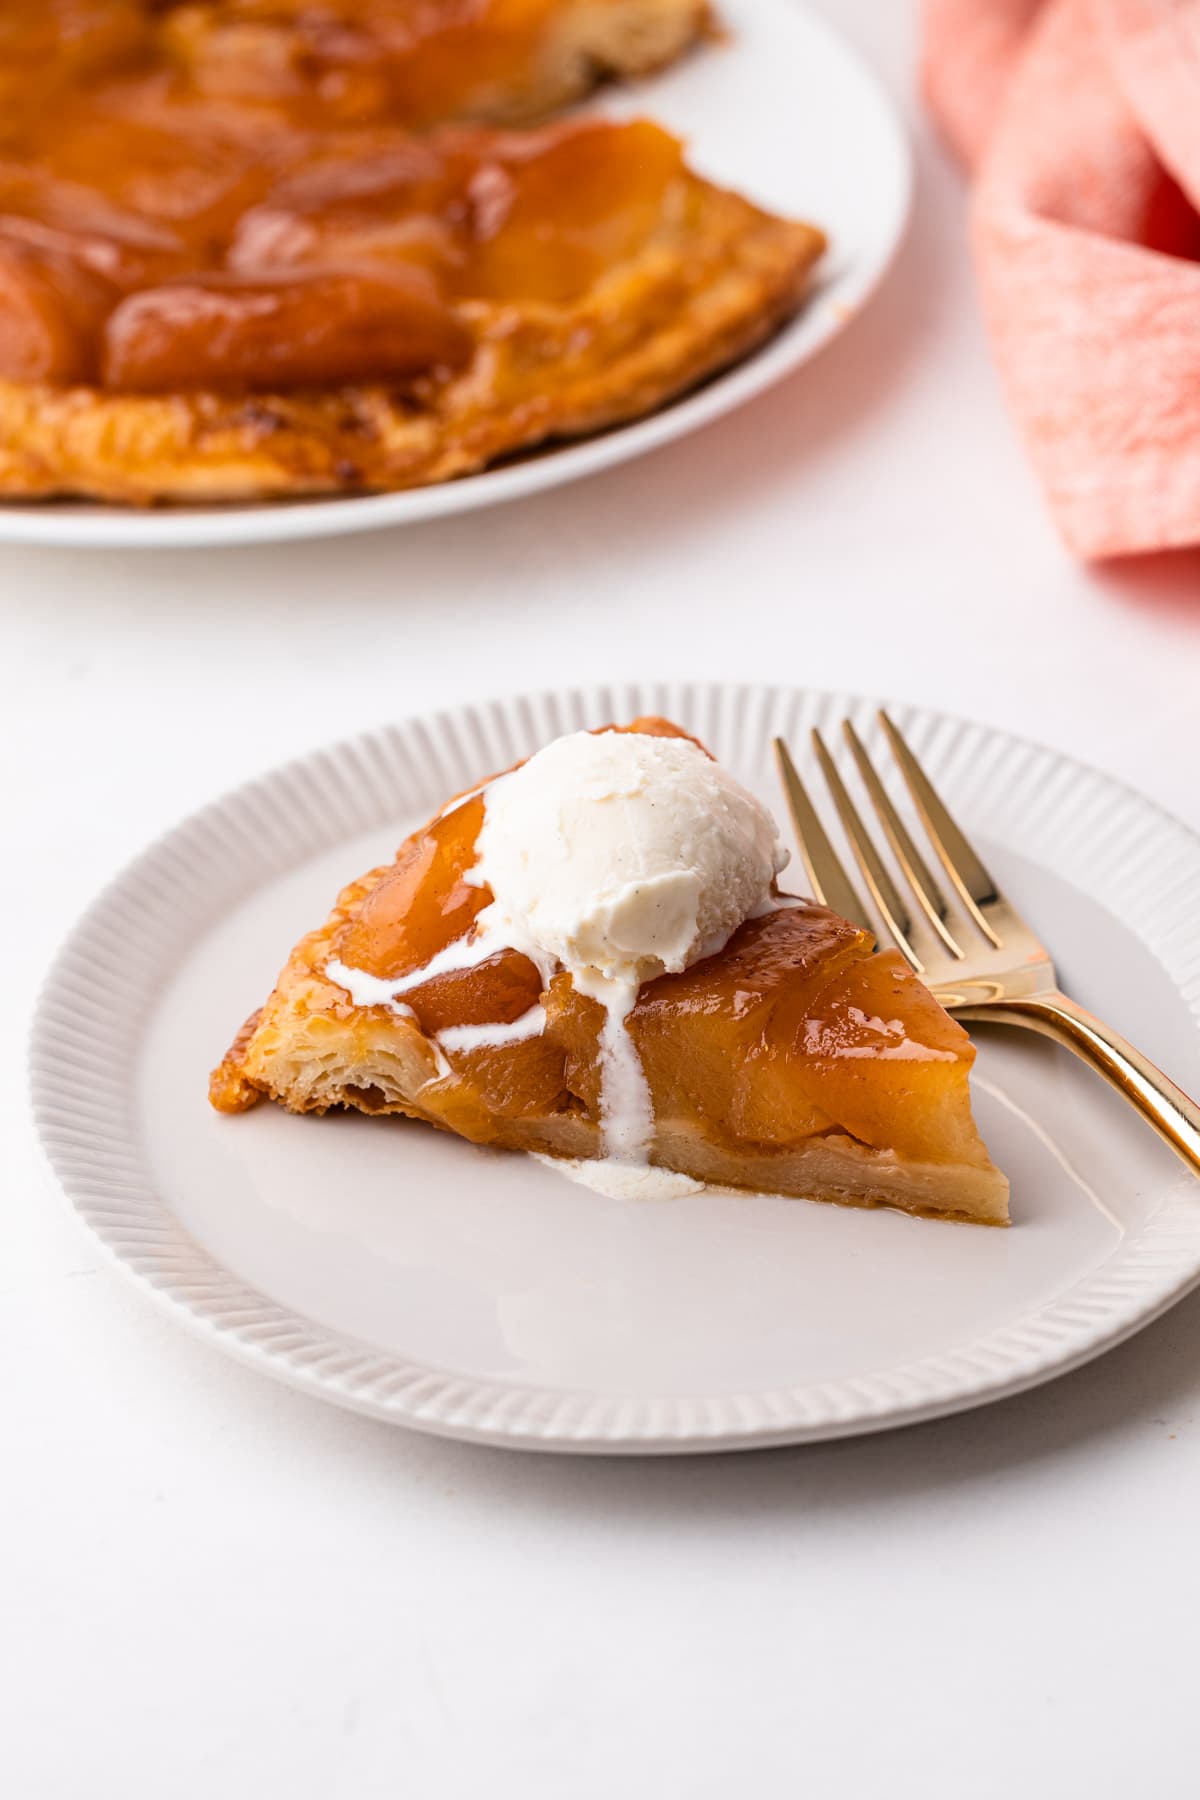
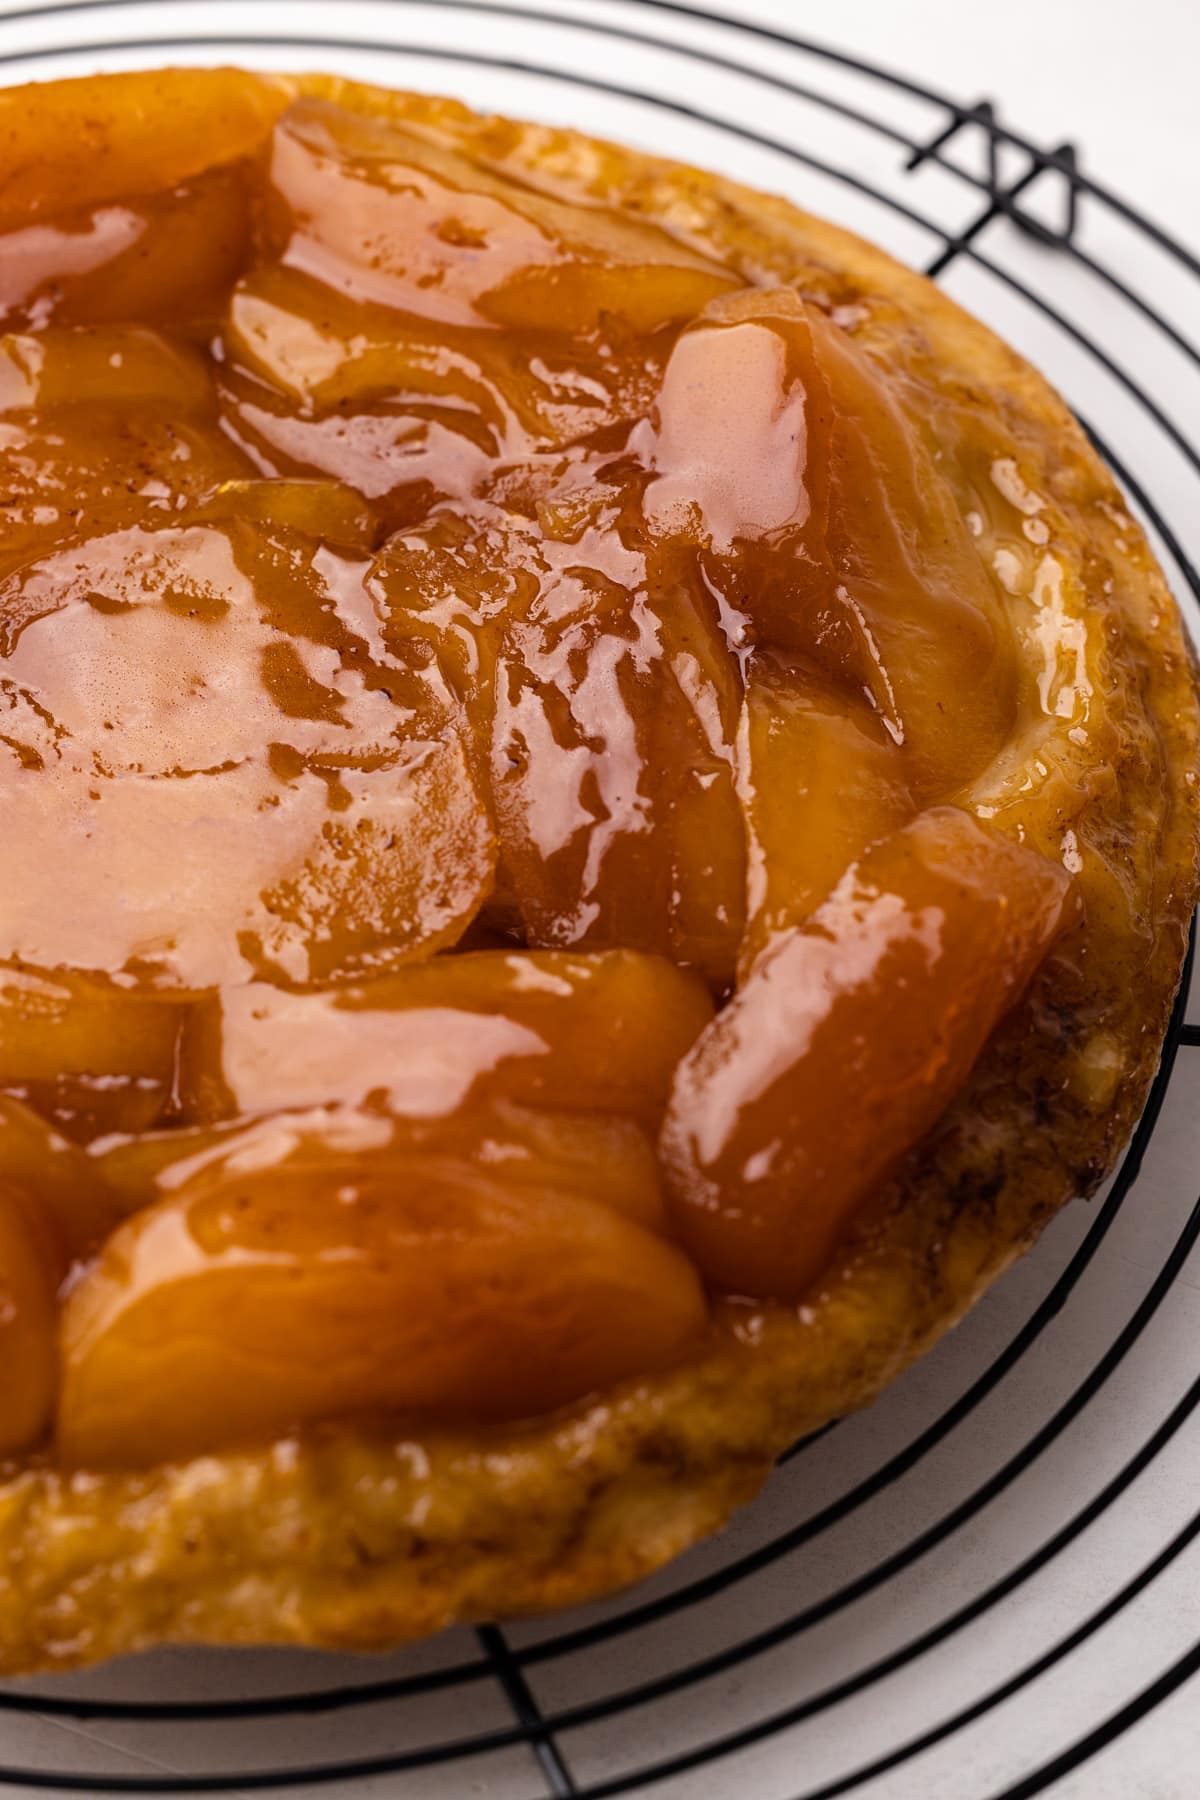
When ready to serve, slide the entire Tarte Tatin off the cooling rack and onto a serving platter. Serve the Tarte Tatin slightly warm or at room temperature. It can be served as is or with ice cream, or whipped cream.
It is best served the day it is made.
Leftovers can be stored at room temperature, covered, for 1 day. If you are storing it longer, cover it and place it in a refrigerator. It is not nearly as good the longer it sits.
More Apple Recipes
I am so honored when you make a recipe from my site! If you make this Apple Tarte Tatin, please leave a comment and a star rating with your experience! If you have any questions about this recipe, feel free to comment here, too!
PrintFull Recipe
Apple Tarte Tatin
- Prep Time: 30:00
- Cook Time: 02:00
- Total Time: 32 hours
- Yield: Serves 6-8
- Category: Dessert
- Cuisine: French
Ingredients
- Puff Pastry or Flaky Pie Pastry, prepared (see note)
- 2 cups apple cider, reduced to ¼ cup
- ¼ cup water
- 1 cup (200 grams) pure cane granulated sugar
- 4 tablespoons (60 grams) unsalted butter, cubed
- ½ teaspoon coarse kosher salt
- 4-5 large apples
- 1 tablespoon lemon juice
Instructions
- Prepare Rough Puff Pastry of Flaky Pie Pastry. You will only need a half batch of either of those recipes. Freeze any remaining pastry for another use.
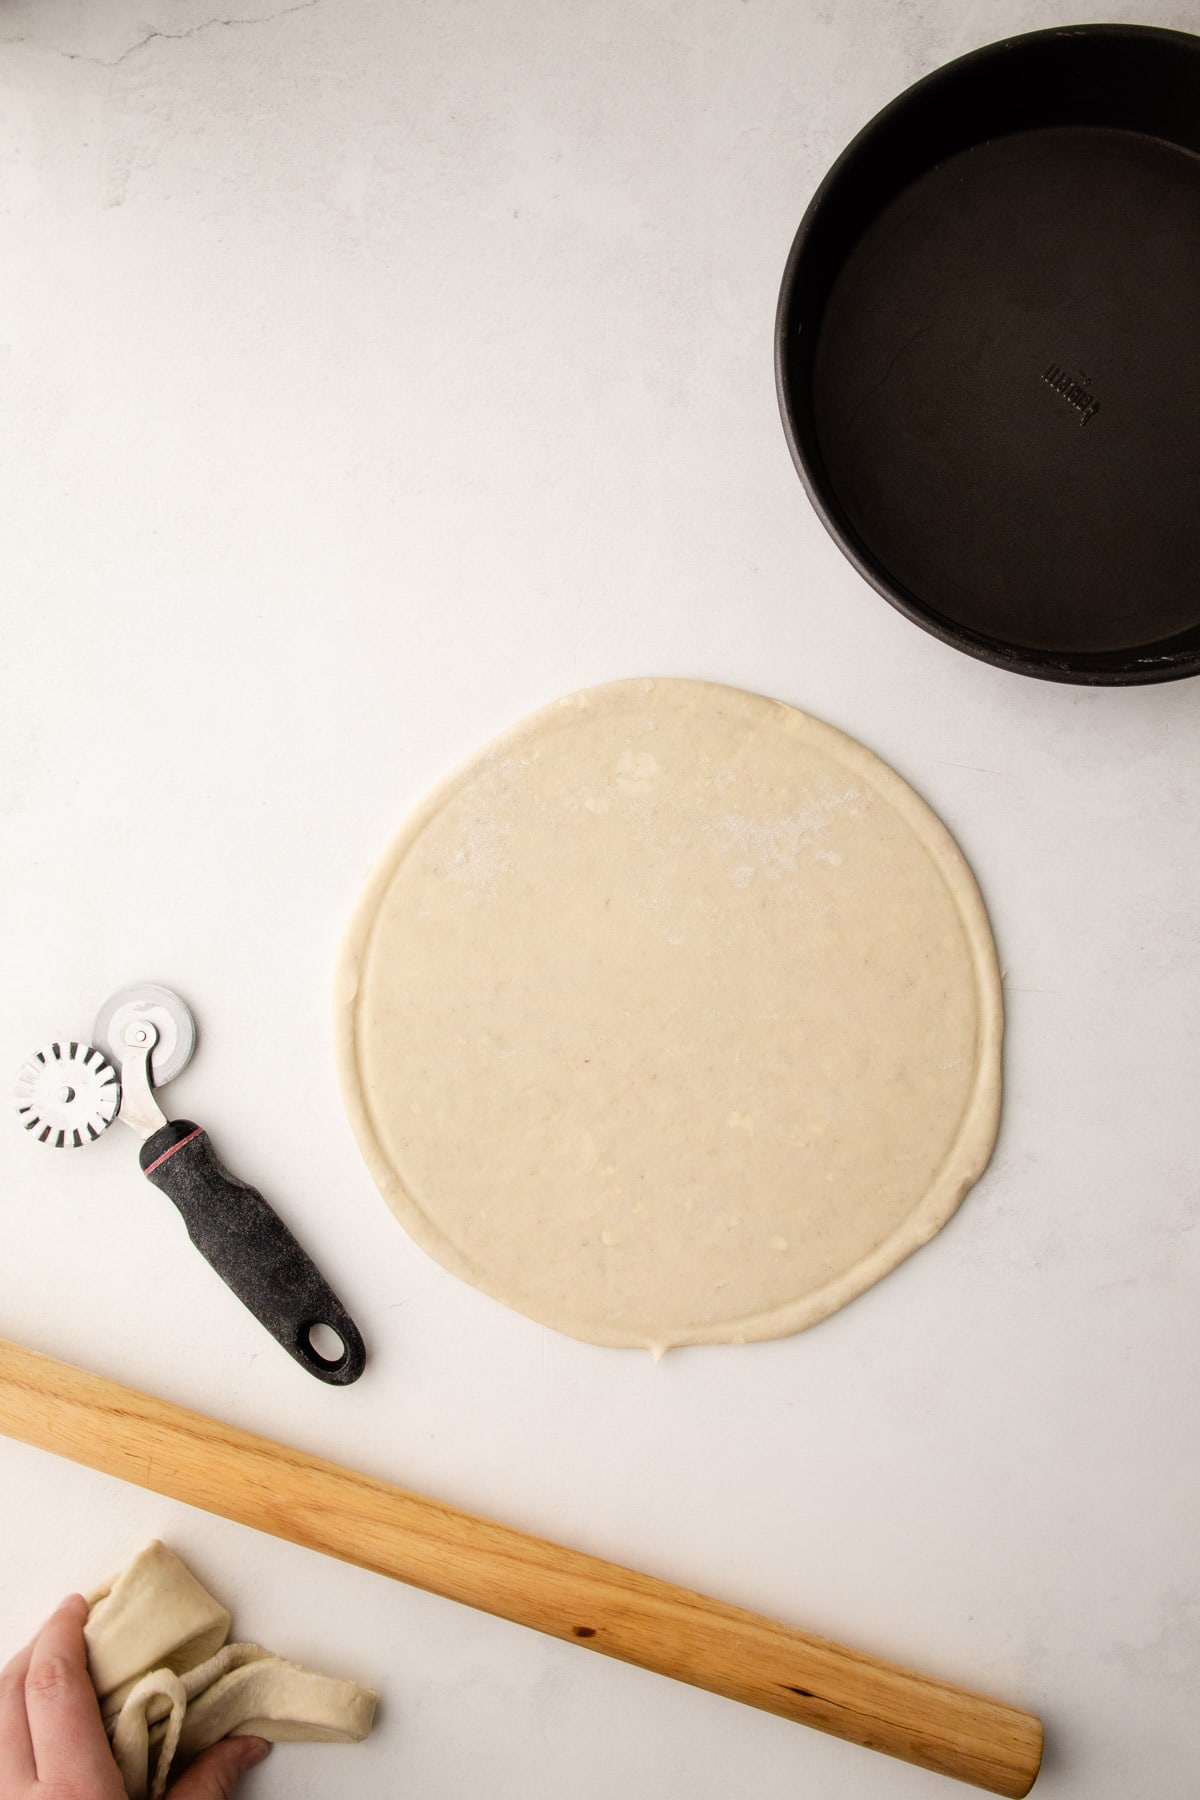
- Roll out the dough to a rough 10” circle, about ¼” thick.
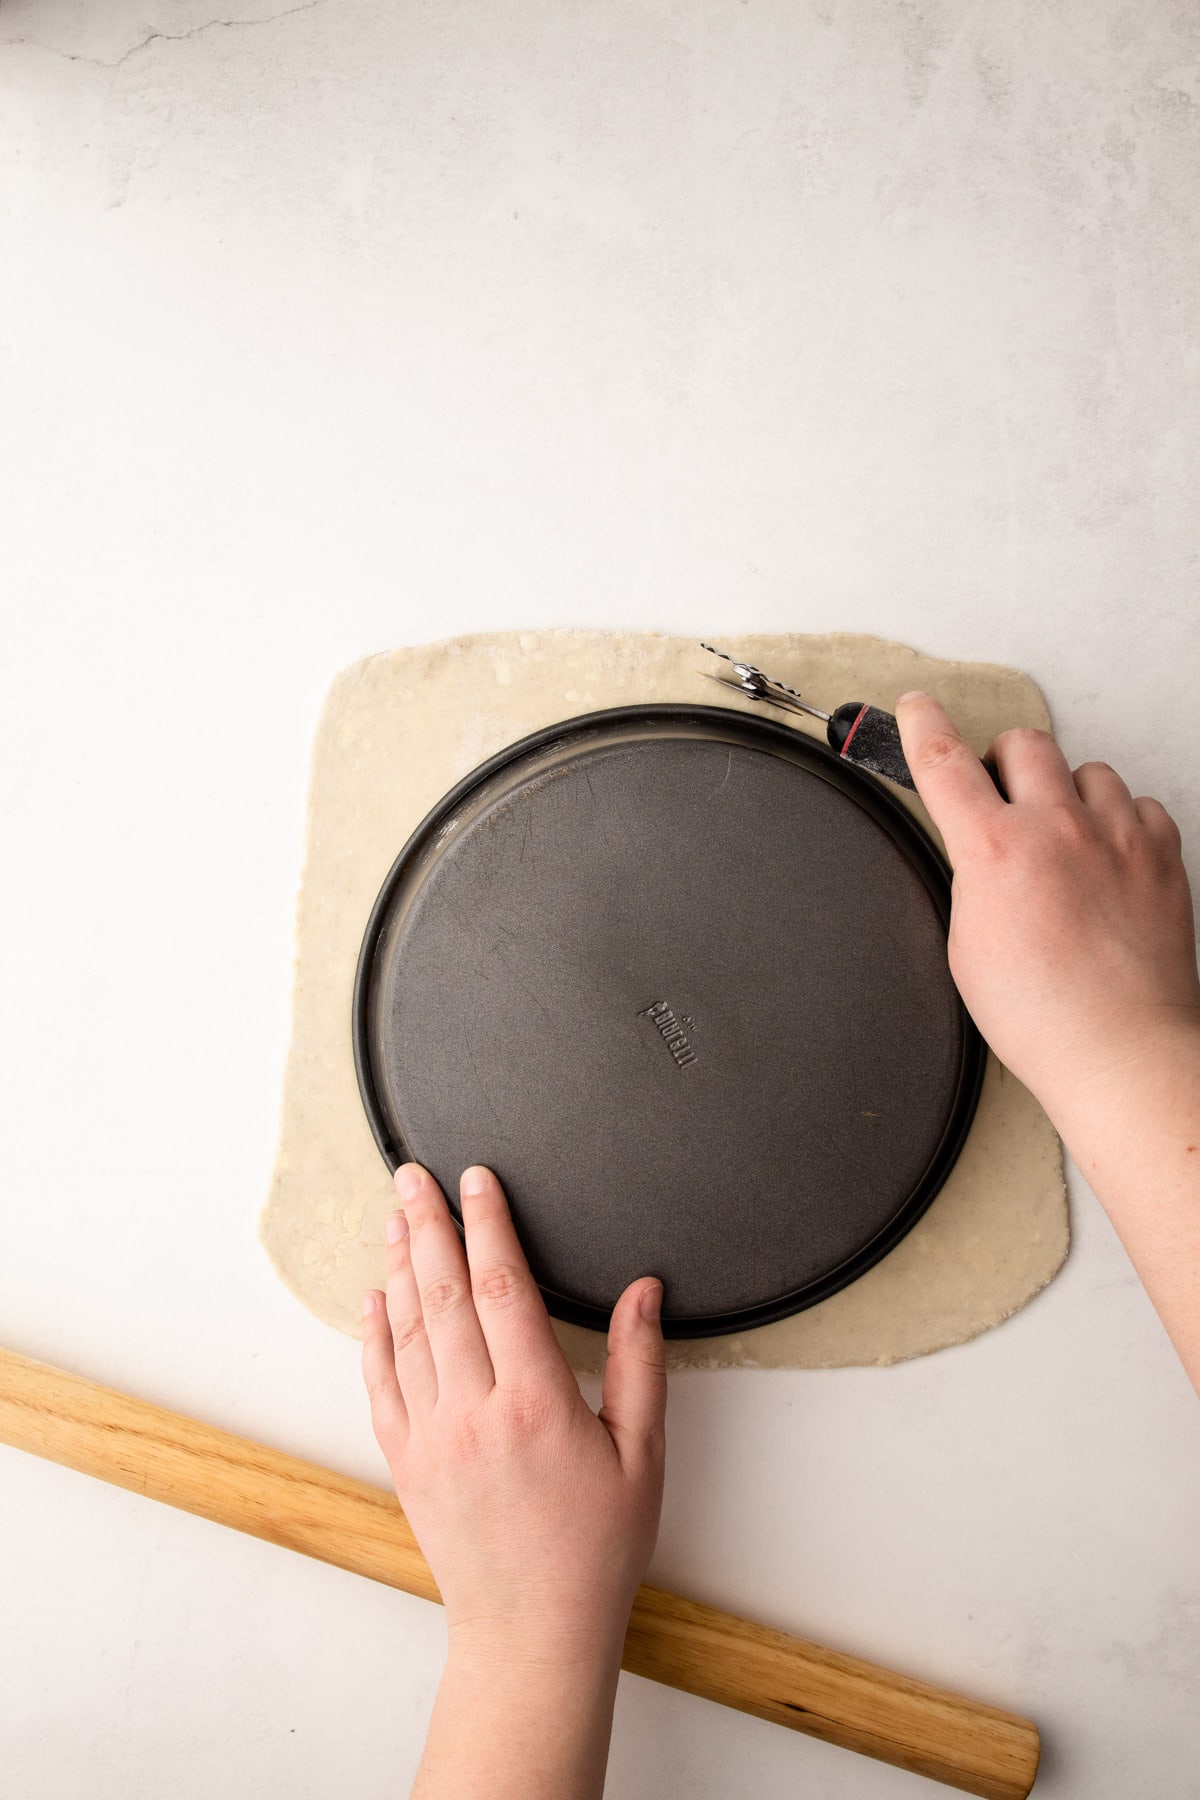
- Place your 9” cake pan upside down on top of the dough and using it as a guide, cut a circle slightly bigger (by about ½”) than the cake pan.
- Using a fork, pierce the dough to create steam holes. Slide the cut pastry onto a sheet tray, cover in plastic and place in the refrigerator until ready to use.
- Reduce the apple cider: Place the apple cider in a large pot. Boil the cider over high heat until it is reduced and slightly thickened. Depending on the size of your pot, it can take anywhere from 30 minutes to an hour. It should reduce to about ¼ cup of liquid. Do not let it boil to less than this. You should use a measuring cup to ensure you have the correct amount of reduced cider. See notes about reducing apple cider for more information about this step.
- Make the caramel: Add water to a medium pot. Slowly stream in the sugar in an even layer. (This is to help dissolve the sugar without the need to stir). Turn on the heat to medium and let the dissolved sugar mixture cook undisturbed until it has come to a full boil. Let the mixture continue to cook, largely undisturbed. You can use a very clean whisk to gently stir around the mixture as it reduces to help it heat evenly. Cook until the sugar has caramelized, about 4-6 minutes total cooking time. You'll know it's caramelized enough when the sugar is a deep amber, and is fragrant.
- Carefully and slowly, whisk in pieces of the butter, a few at a time. Once the butter is whisked in, add in the reduced apple cider. Carefully whisk it together, being mindful of the very hot bubbling mixture.
- Bring the caramel back up to a boil, then shut off the heat.
- Remove the caramel from the heat, stir in the salt and let it sit for 5 minutes in the pan to slightly cool.
- Then transfer the caramel to a 9” nonstick cake pan. Do not let it cool more than 5 minutes or it may thicken too much to pour it into the cake pan.
- Set the caramel pan aside, it will be used later.
- Preheat the oven to 375ºF.
- Prepare the apples: Peel the apples, slice in half and scoop out the seeds with a melon baller. Slice each prepared half into six even wedges. As you prepare the apple slices, add them to a bowl with lemon juice and occasionally toss to prevent any browning.
- Arrange the apples in concentric circles on top of the caramel, starting from the outer edge and moving your way in. The apples can be placed in any direction or any side. Fill in any gaps with any remaining apple slices. The apples should be tightly packed in in an even layer.
- Place the cake pan on a rimmed baking sheet. Transfer the refrigerated prepared pastry on top of the apples. Tuck the edges of the pastry into the edge of the pan around the apples.
- Bake on the middle rack of the preheated oven for 45-50 minutes until the pastry is well browned and puffed up throughout.
- Let the tarte cool for 5 minutes.
- Meanwhile place a cooling rack (a circle one works best here) on top of a plate. Invert the rack and plate on top of the cake pan, and then carefully invert the cake pan. The tarte should fall out onto the rack.
- Let the tarte slightly cool, about 10 minutes, and any liquid run off onto the plate below.
- Transfer any liquid from the plate into the caramel pot. Cook until slightly reduced.
- Use a heat proof pastry brush to brush the reduced liquid back onto the tarte tatin.
- Let the tarte tatin sit on the cooling rack until ready to serve. Then transfer it to a serving platter. Slice and serve warm or at room temperature with whipped cream or vanilla ice cream.
Notes
Given the extra steps taken to ensure this is the best tasting Tarte Tatin, I recommend making the pastry homemade. This Rough Puff Pastry recipe is simple to prepare, but does take some time. It makes about double the amount of pastry that you need for this recipe, but it freezes well and it’s always great to have on hand. This Flaky Pie Pastry recipe is yields a puff pastry like dough, but with few steps. It also will make about double what you need for this recipe but can be frozen for future use.
Have a question or looking for tips? The text written above the recipe is always a great first place to start! This Apple Tarte Tatin recipe was developed with love, and I always include loads of explanations, tips, step-by-step photos and technical advice shared before the recipe.
Weighing your flour is the most accurate way to measure. If you aren't going to weigh it, make sure to spoon it into the cup, and then level it off. If you scoop the flour out with the measuring cup and then level, it could change the outcome of the final product.
I use Diamond Crystal coarse kosher salt in my recipes, if you use Morton's kosher salt or fine salt you will likely need to decrease the amount of salt called for.
If you really didn't want to be bothered, you could skip the addition of the apple cider in the caramel. I would just suggest adding in 2 tablespoons of heavy cream in its place.
Some of the links on this page may be affiliate links. Everyday Pie is a participant in the Amazon Associates Program. As an Amazon Associate I earn from qualifying purchases, at no extra cost to you.


Connie
This was absolutely delicious! I was in a hurry so I used a sheet of frozen puff pastry I had but next time I’ll definitely make it from scratch. The apple cider caramel was one of the easier caramel recipes I’ve tried and it came out perfect!