



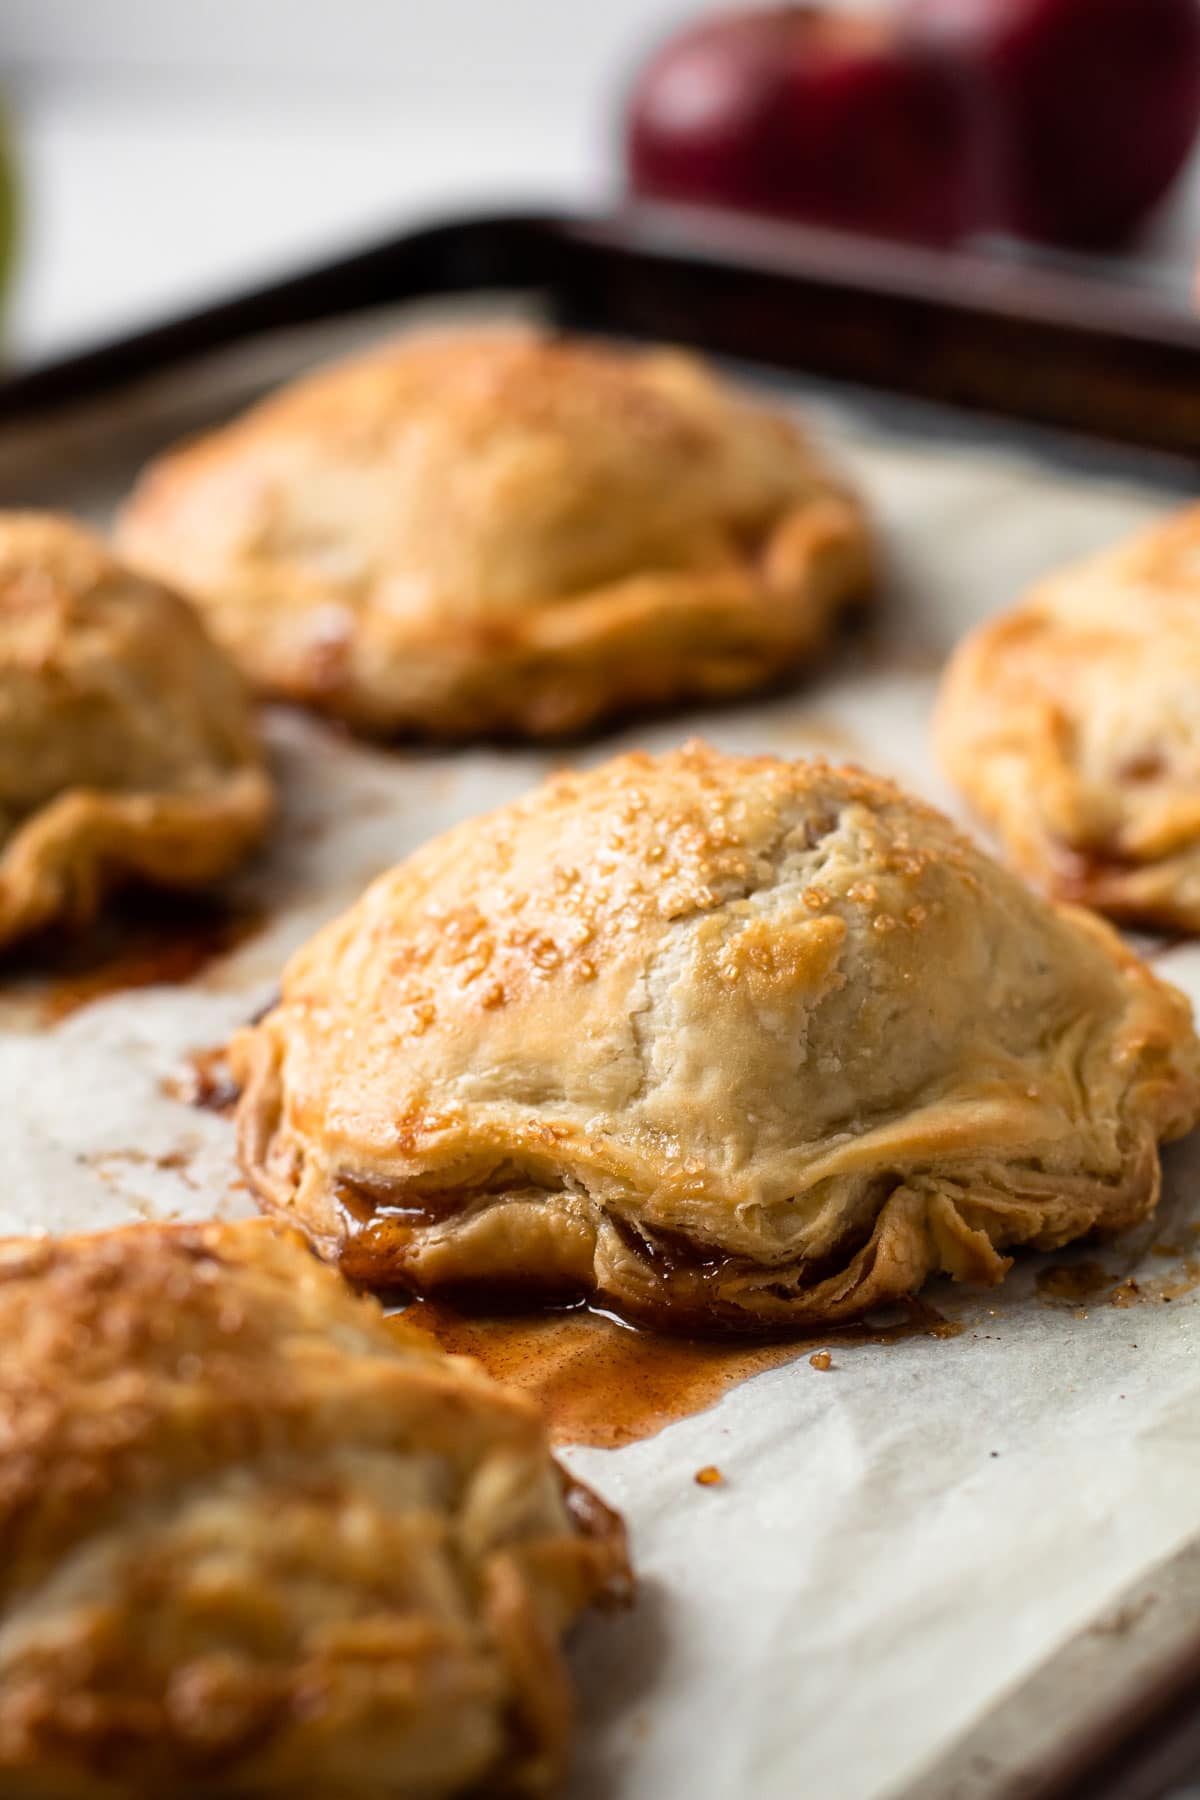
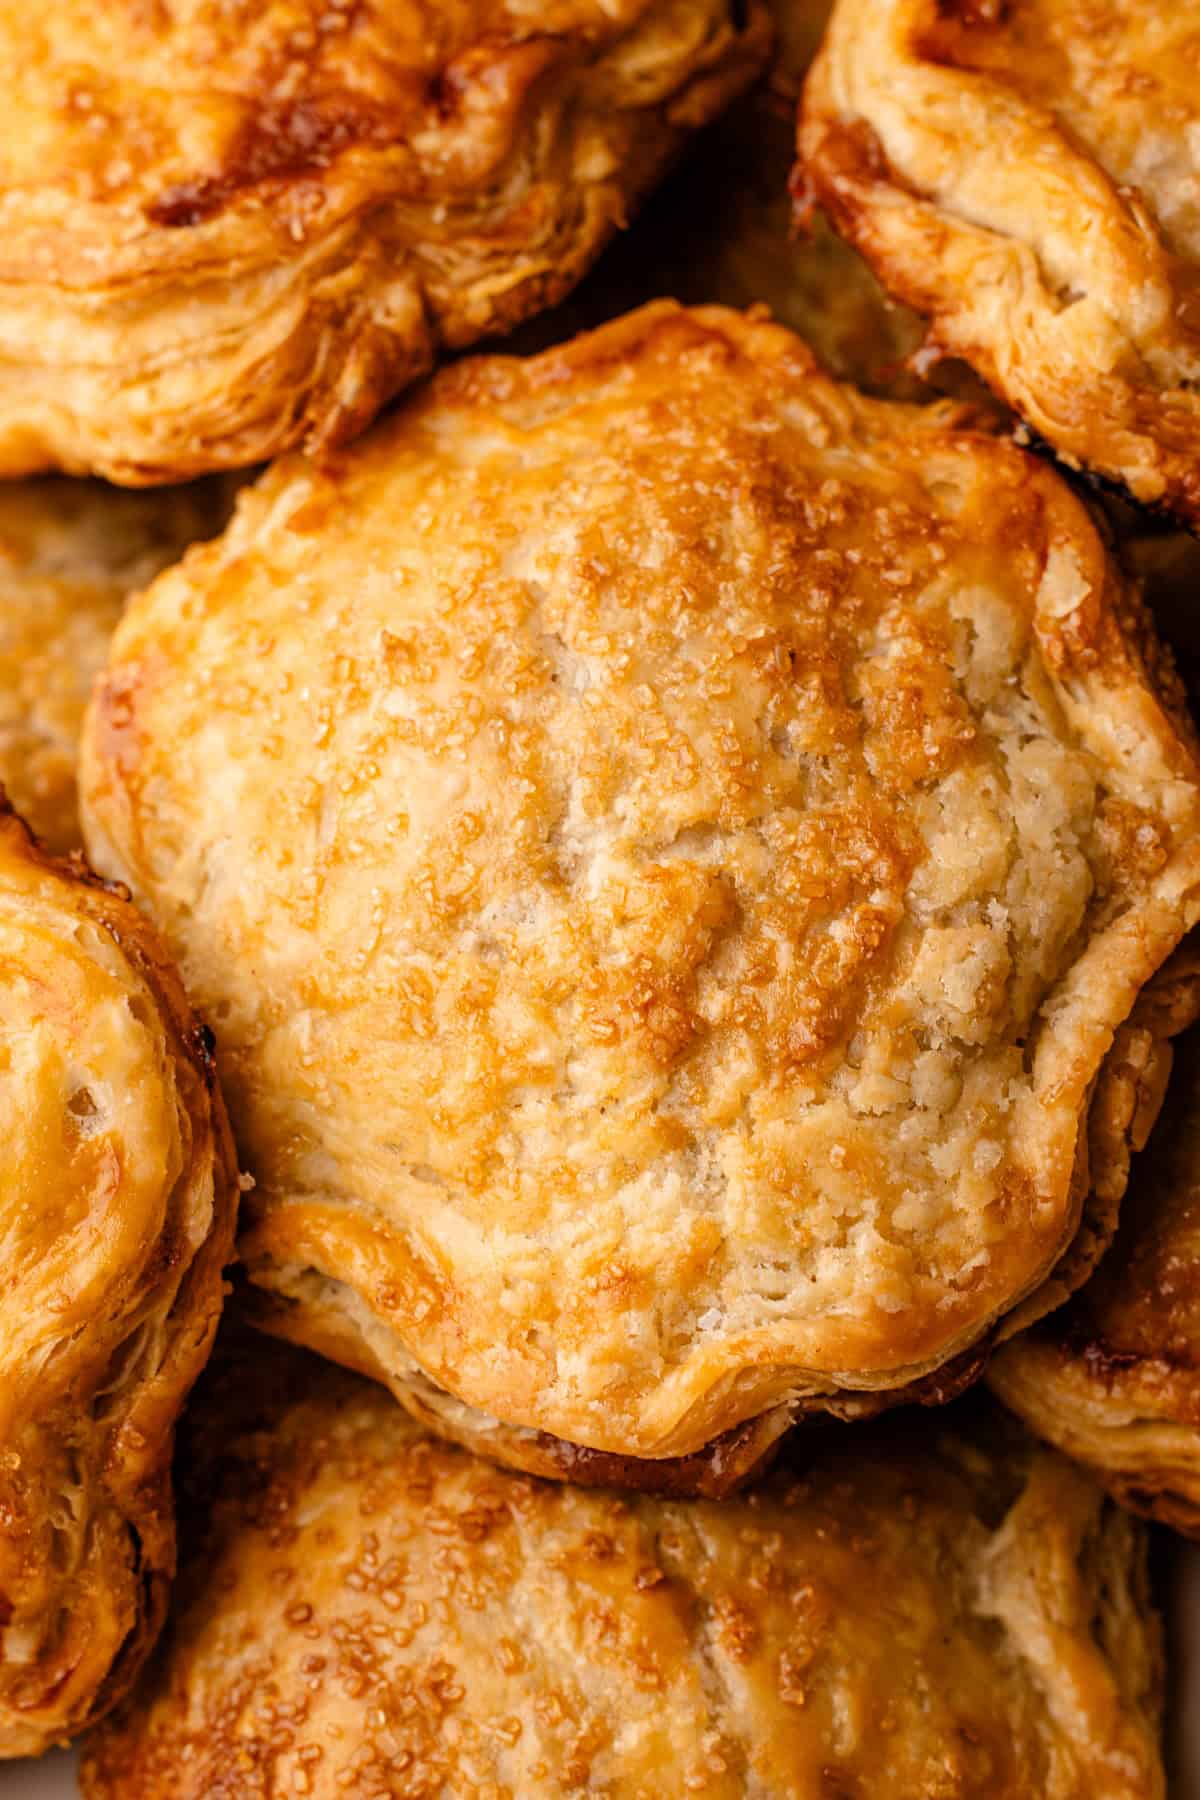
These Apple Hand Pies have all the flavor of a classic apple pie in handheld form, with a juicy, cinnamon-spiced filling and a homemade flaky pie crust.

Want to save this recipe?
Enter your email & I'll send it to your inbox. Plus, get weekly updates from me!
These Apple Hand Pies are like mini versions of apple pies you can eat without a fork and plate! They're filled with my popular apple filling, which has a concentrated apple flavor and is pre-cooked on the stove, and, of course, baked in a homemade butter pie crust. Hand pies are a convenient (and delicious!) dessert option for parties and gatherings, and they can be made (and frozen) ahead of time if you want.
My daughter is now in her teens, but I still remember the very first time I made a version of this recipe for her 1st birthday. We went to a park for a small celebration, and I brought apple hand pies in lieu of cake to hand out to everyone. They were a hit, and made getting ready for the party easy since I made and froze them ahead of time.
Jump to:
What Kind of Apples to Use
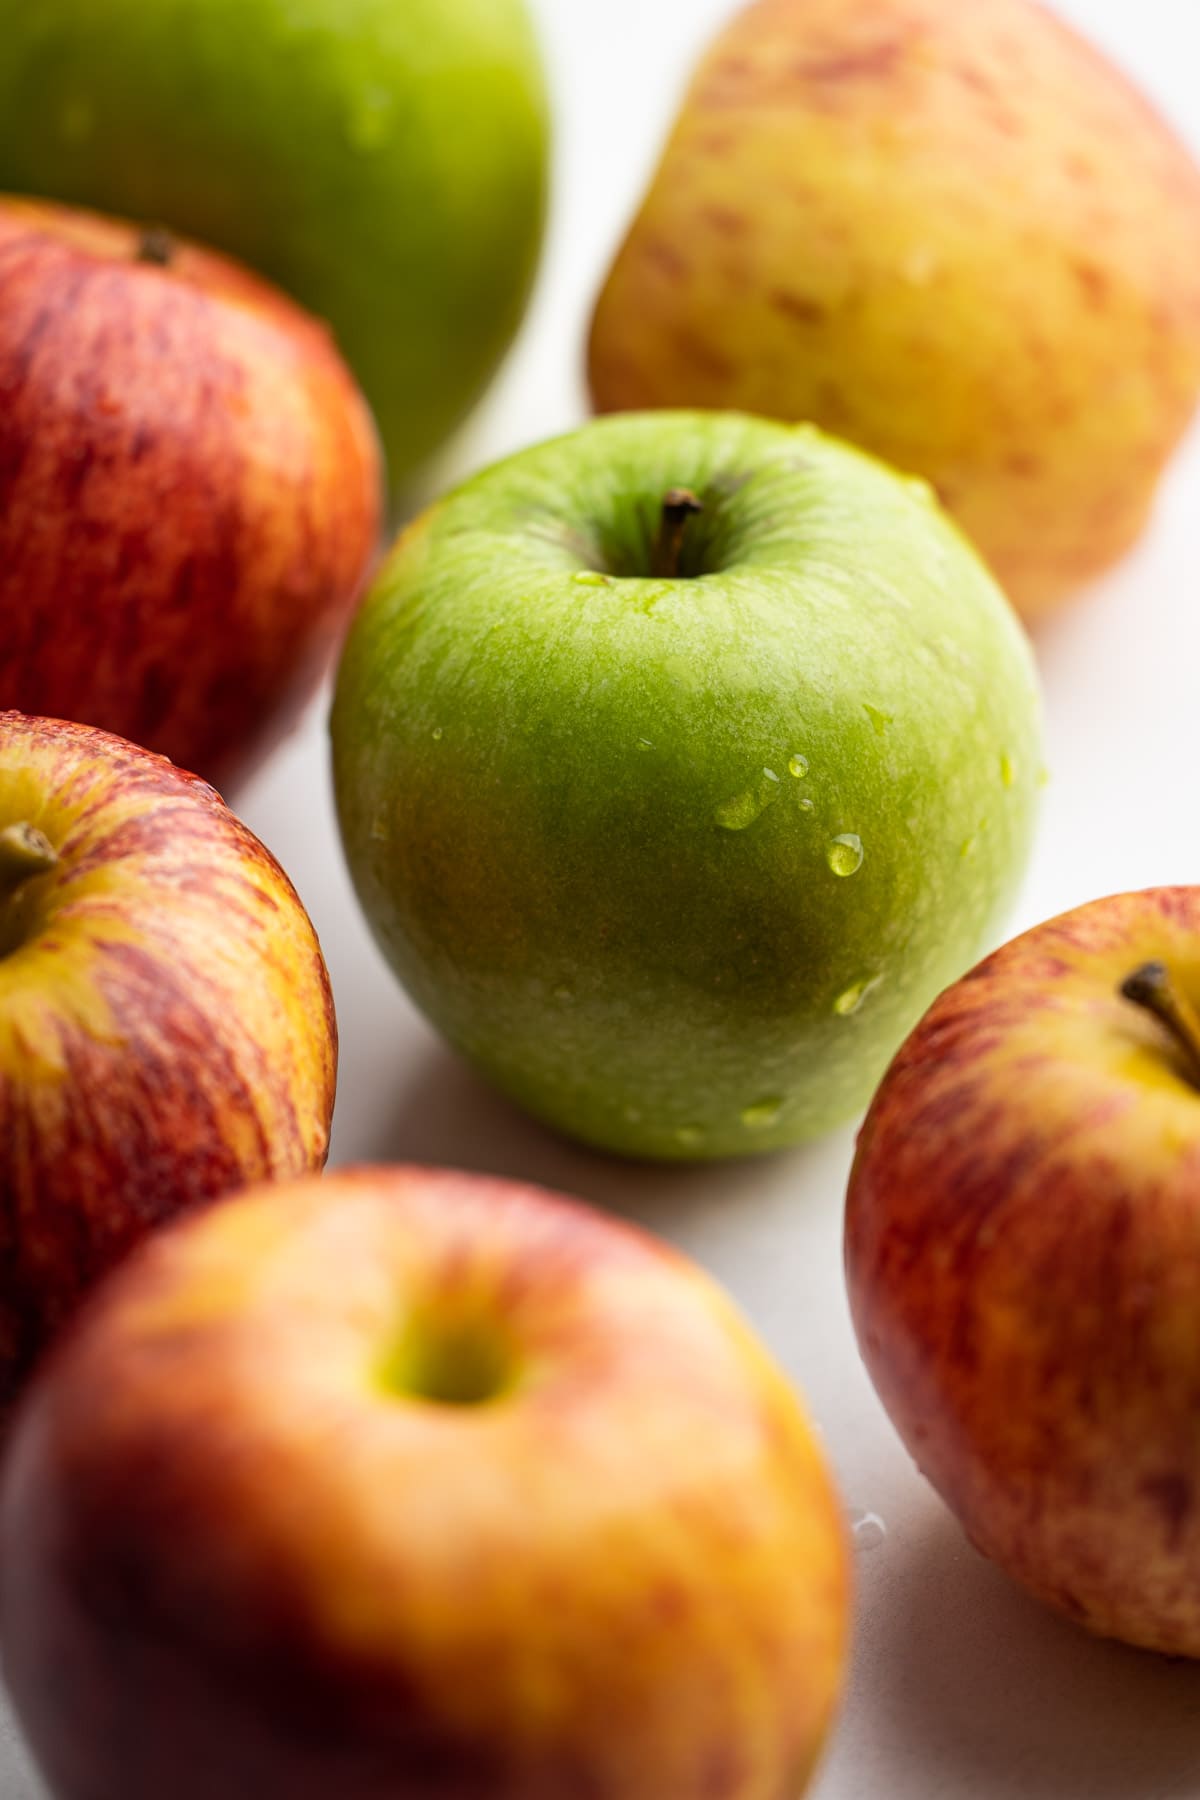
For just about any apple dessert, you want to have an apple that can hold its shape, has a nuanced flavor, and a slight tartness to break up the sweetness of the sugar. My two favorite apples for any recipe are Gala and Granny Smith. Check out this guide to baking apples if you are looking for further information on choosing the right type of apple for you.
How to Make Them
There are a few steps here, but none of them have to happen on the same day. The pie dough should ideally be made the day before and rested overnight, but at least 4 hours ahead of time.
If the pie dough becomes too warm at any point, transfer it to the refrigerator or freezer and chill until it is firm and easy to work with.
Hand pies bake quickly, so the filling has to be cooked first. A raw filling will not fully cook in the short time the pies are in the oven. The apples are sliced thin so more of them fit cleanly inside each pie. The apple filling is cooked in a pot with fresh apple cider, which deepens the apple flavor, and as it cooks down with the cornstarch, it thickens into a sauce that coats the apples.
Once you've got your components assembled and chilled, it's time to fill and either freeze or bake. Filling hand pies is a balance between too much and too little. If you’re having trouble sealing the pies without filling spilling out, use slightly less filling.
Here is an overview of the steps:
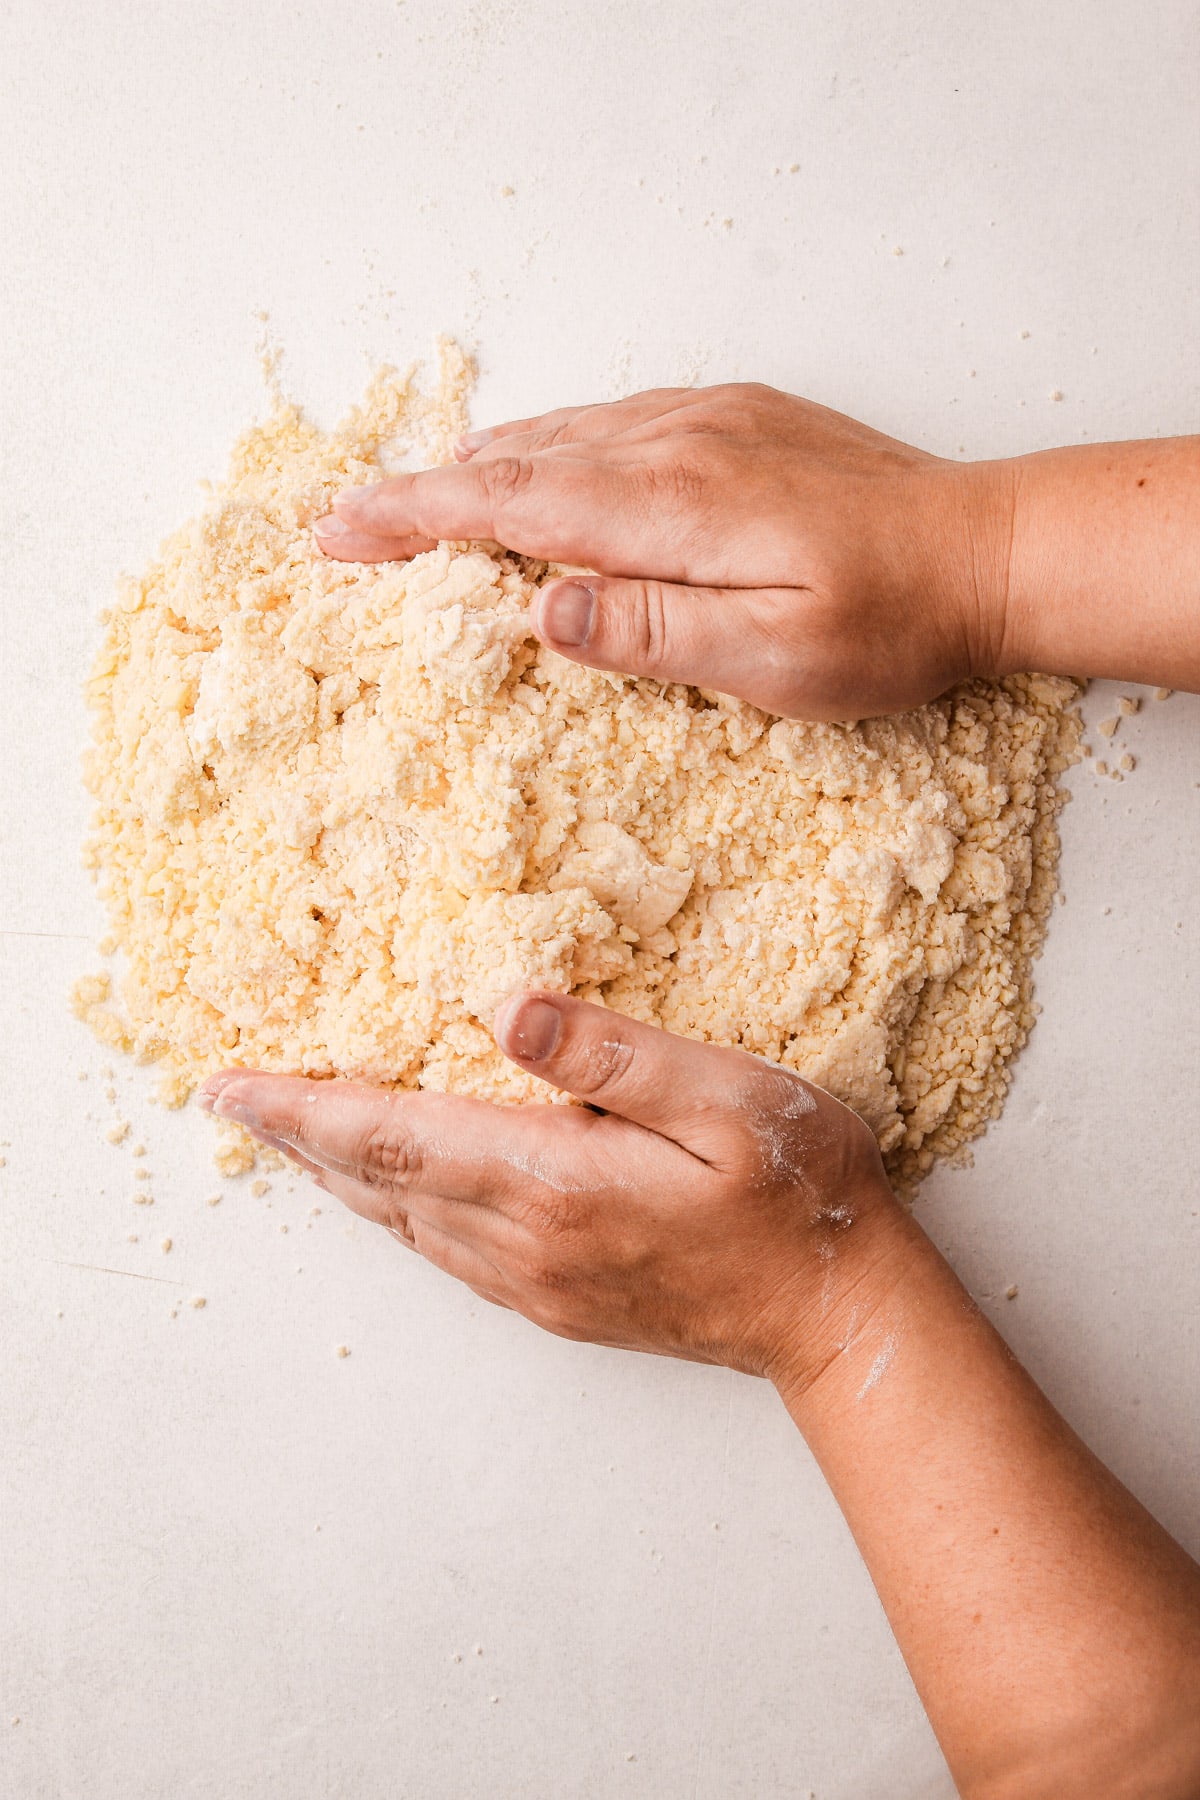
Step 1: Make the pie dough. The dough needs to chill overnight. If you are new to making pie dough, check out this comprehensive guide on making butter pie dough

Step 2: Prepare the apple filling. It can be made up to 3 days ahead and should be fully chilled before assembling the pies.
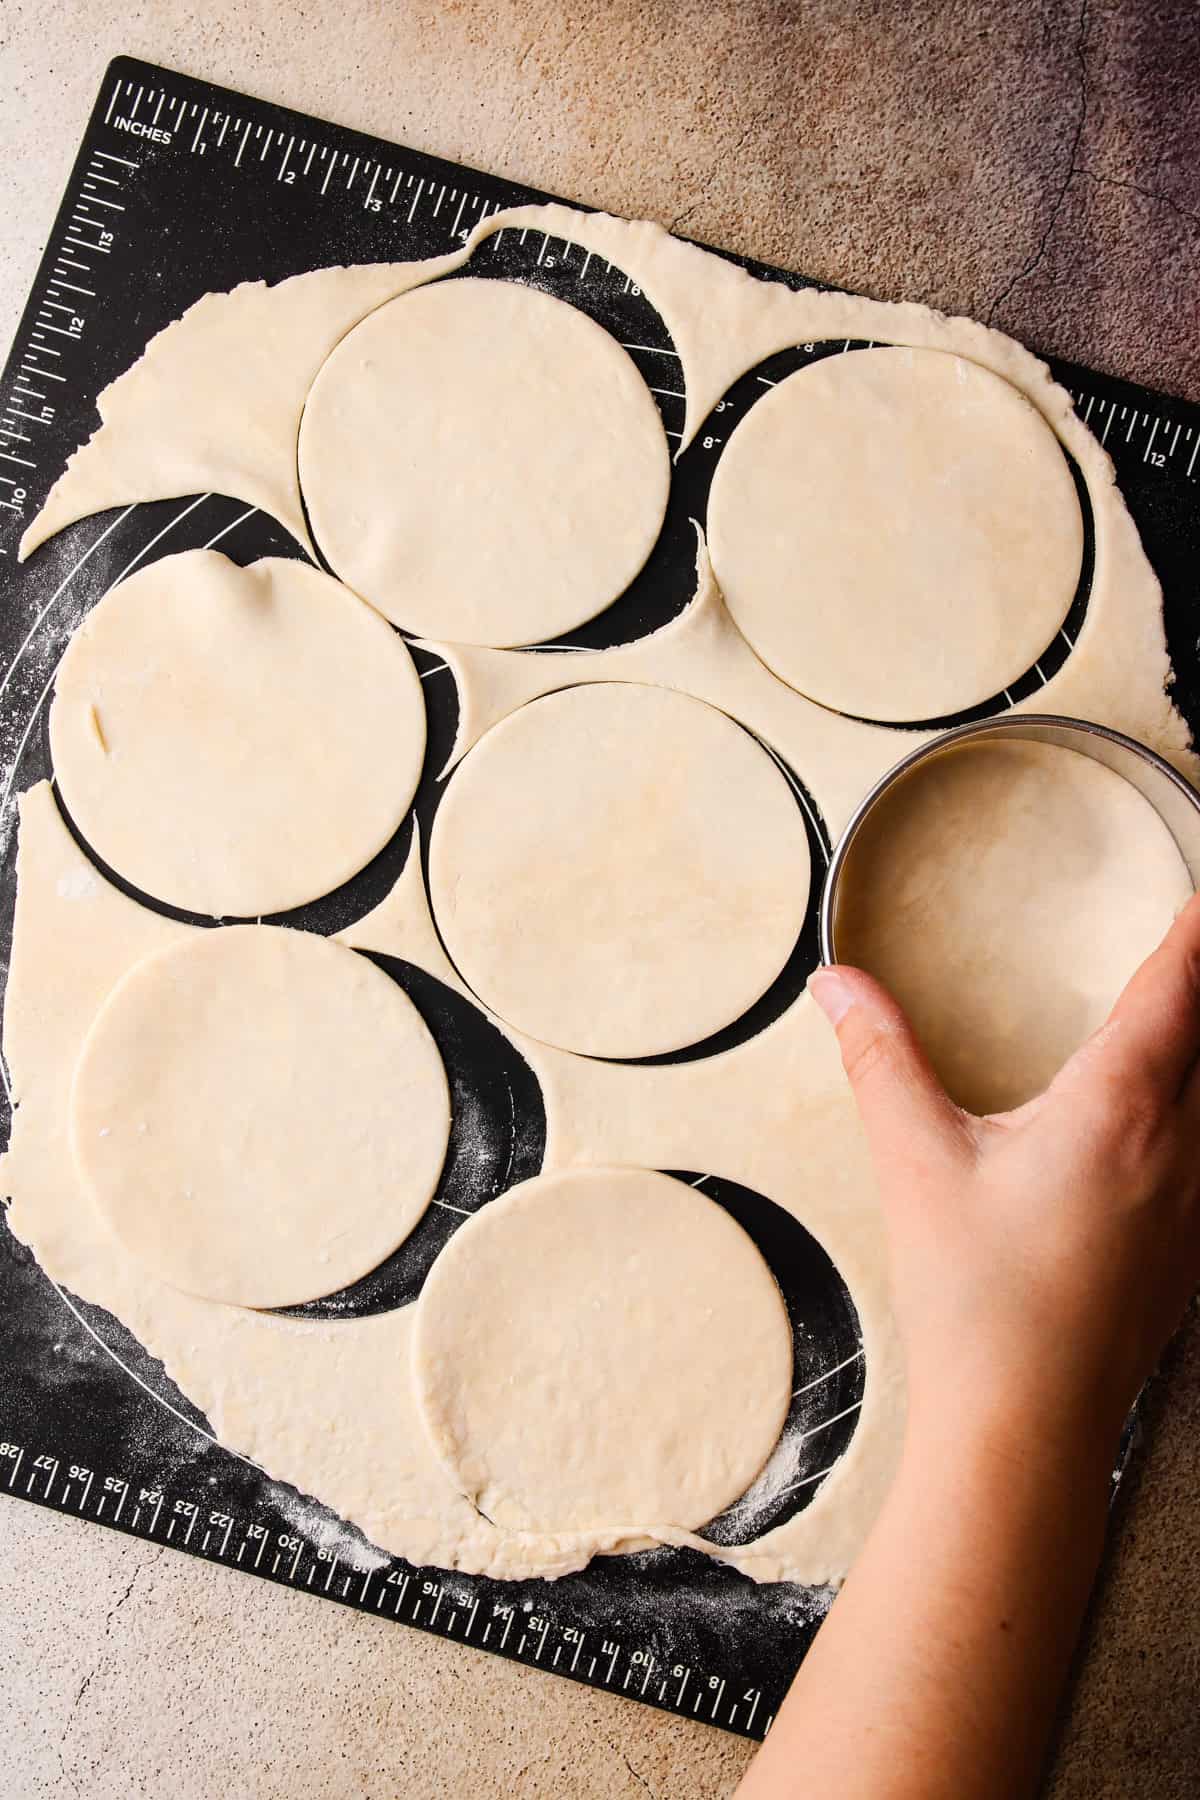
Step 3: Roll out the pie dough and stamp out the dough circles. The recipe calls for 4" circles, but it doesn't have to be exact.
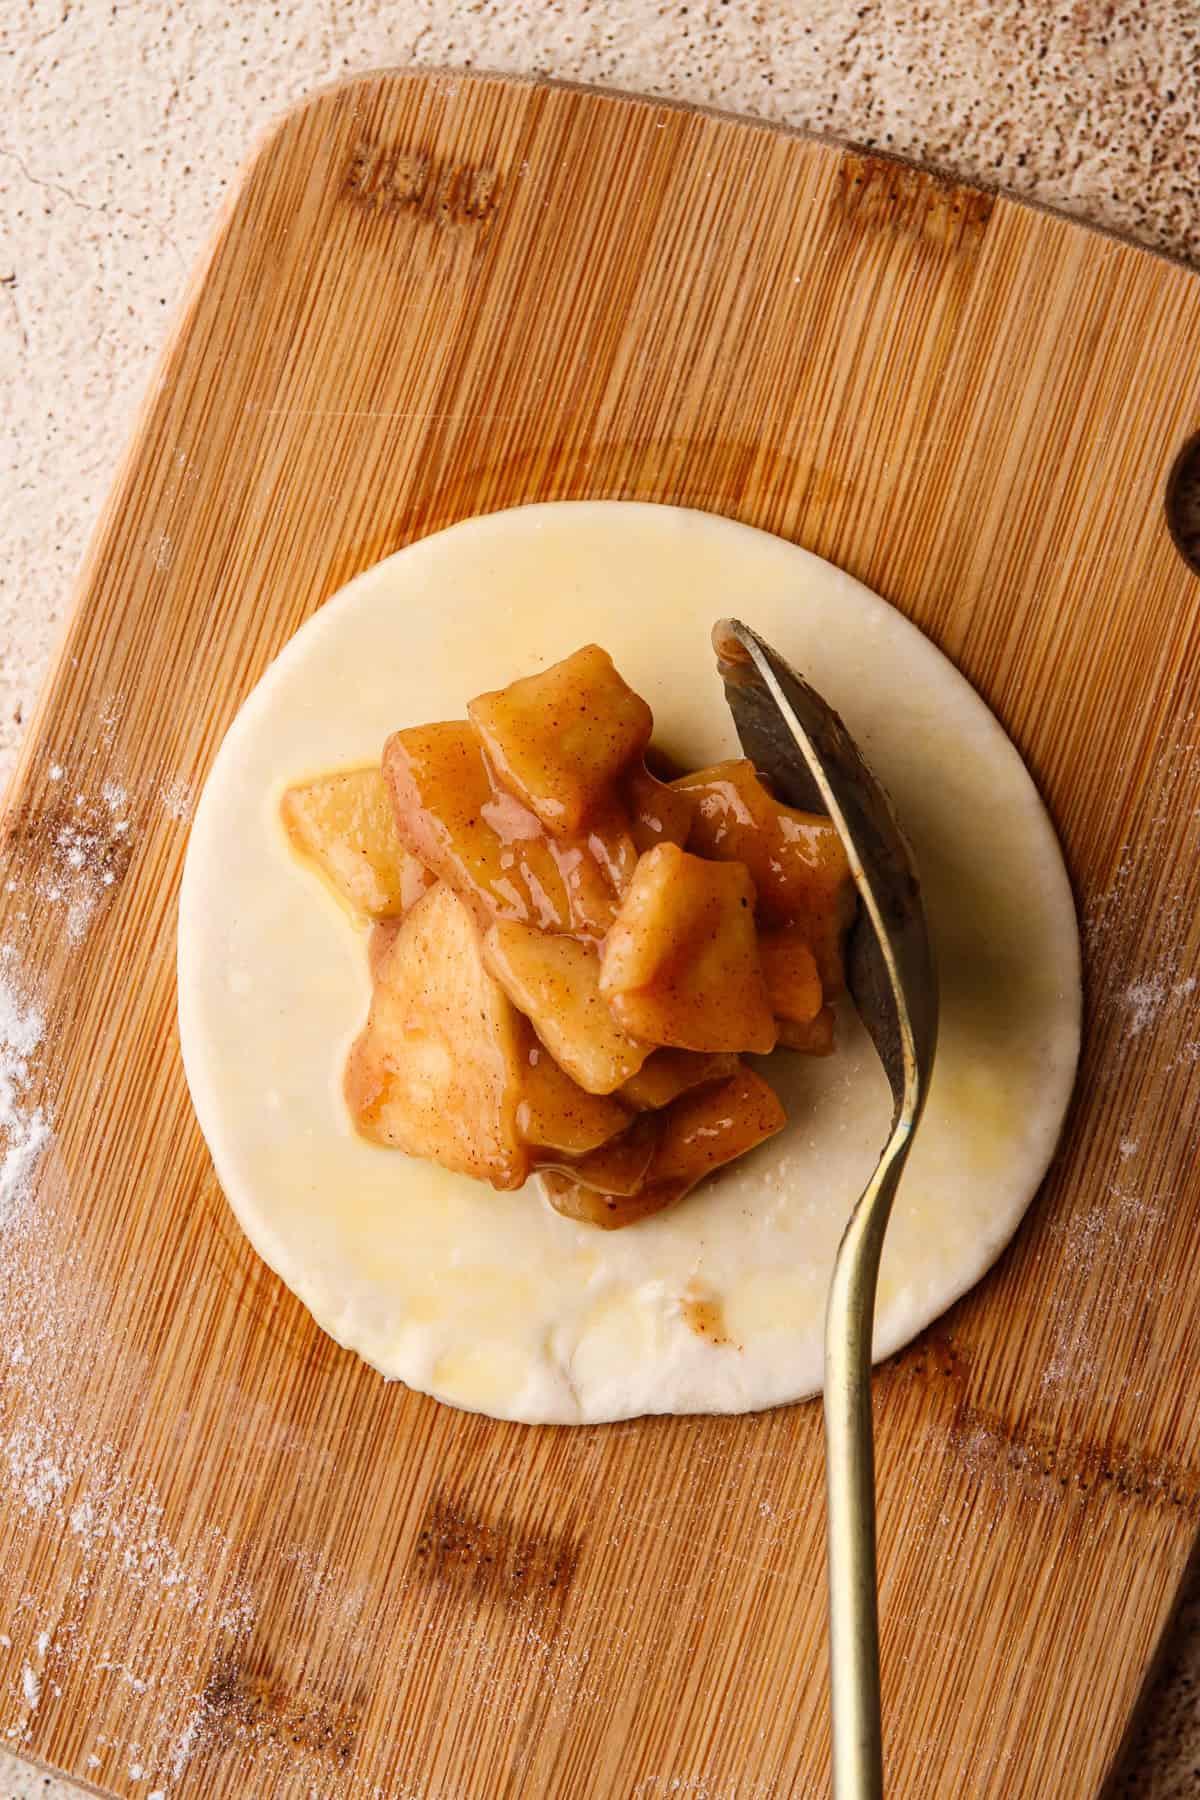
Step 4: Brush on an egg wash around the edges of one circle of pie dough (plain water is fine too), and place 3-4 tablespoons of filling in the middle.
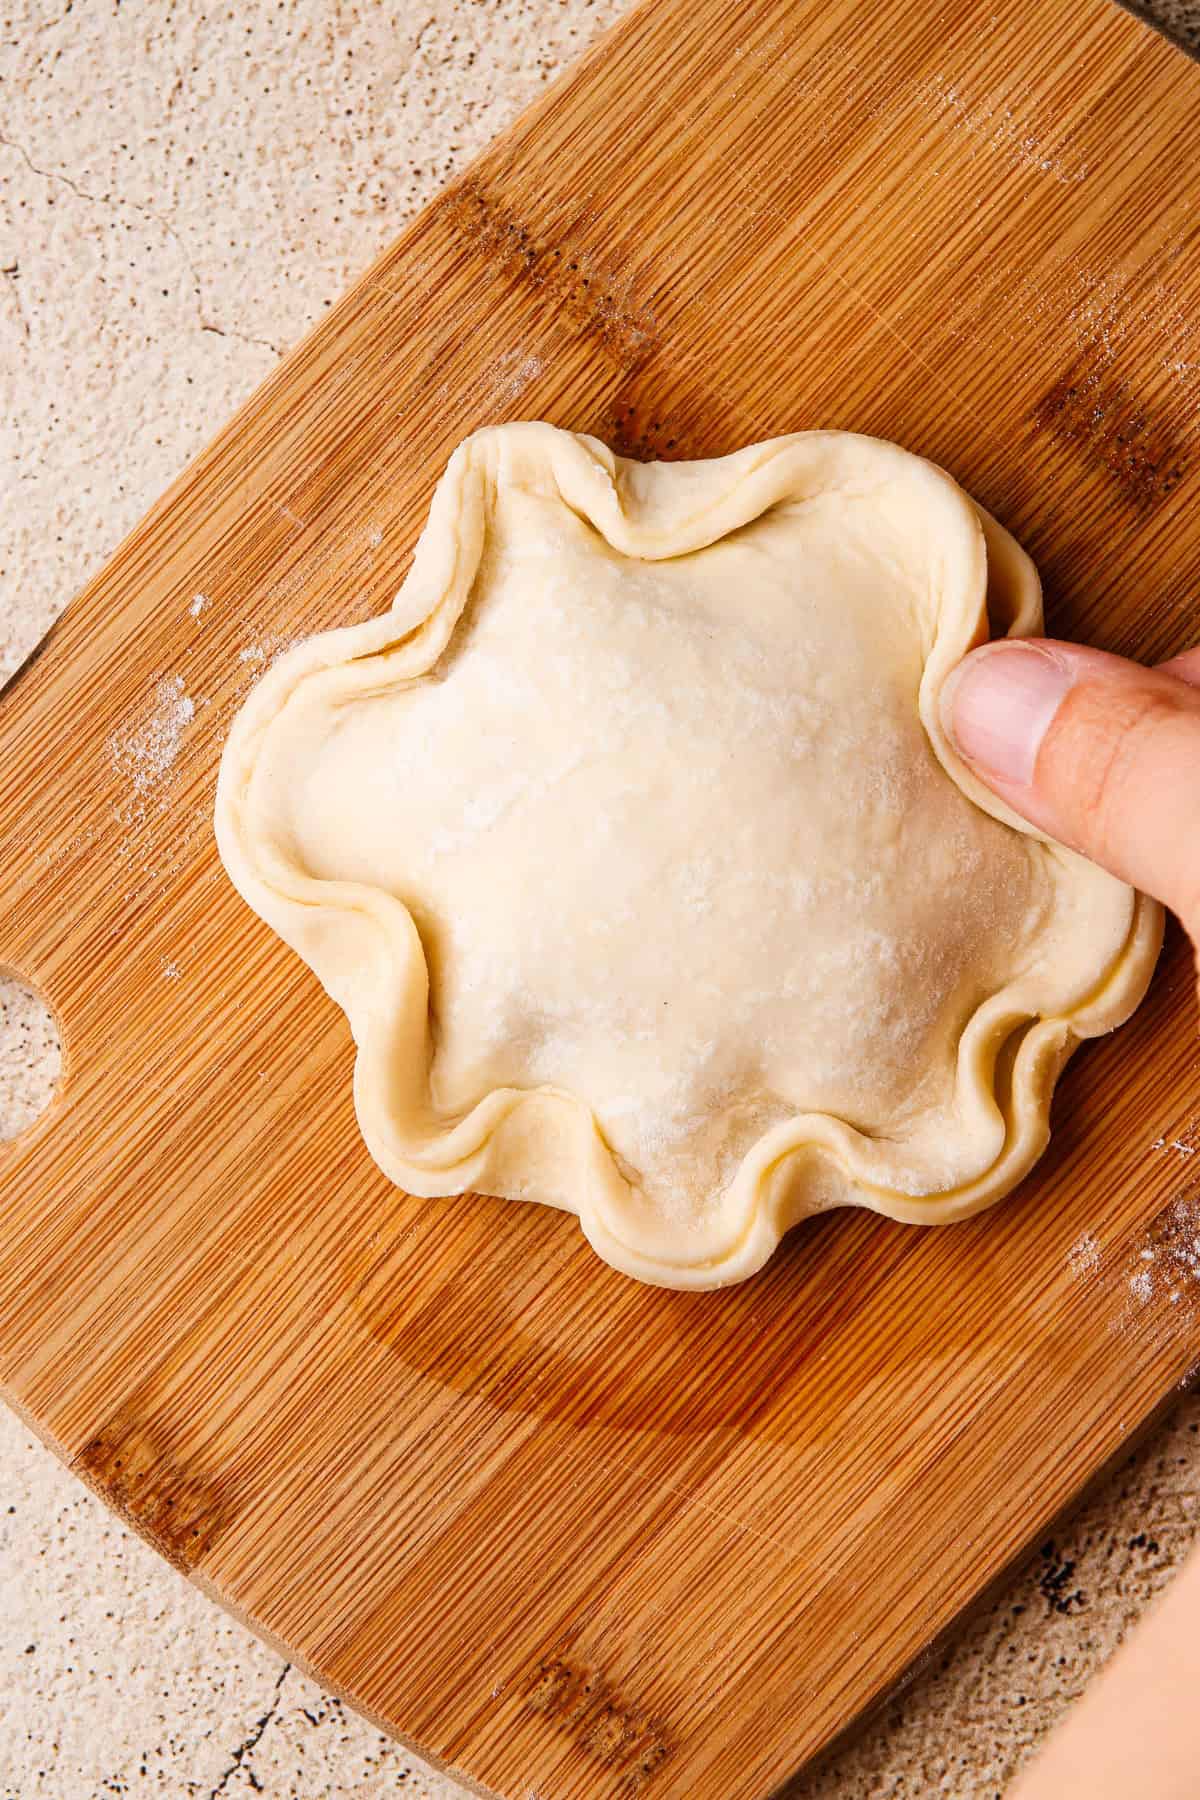
Step 5: Place a second circle of dough over the filling and press the edges to seal. Crimp the bottom dough up over the top to fully seal the pie and add a decorative edge.
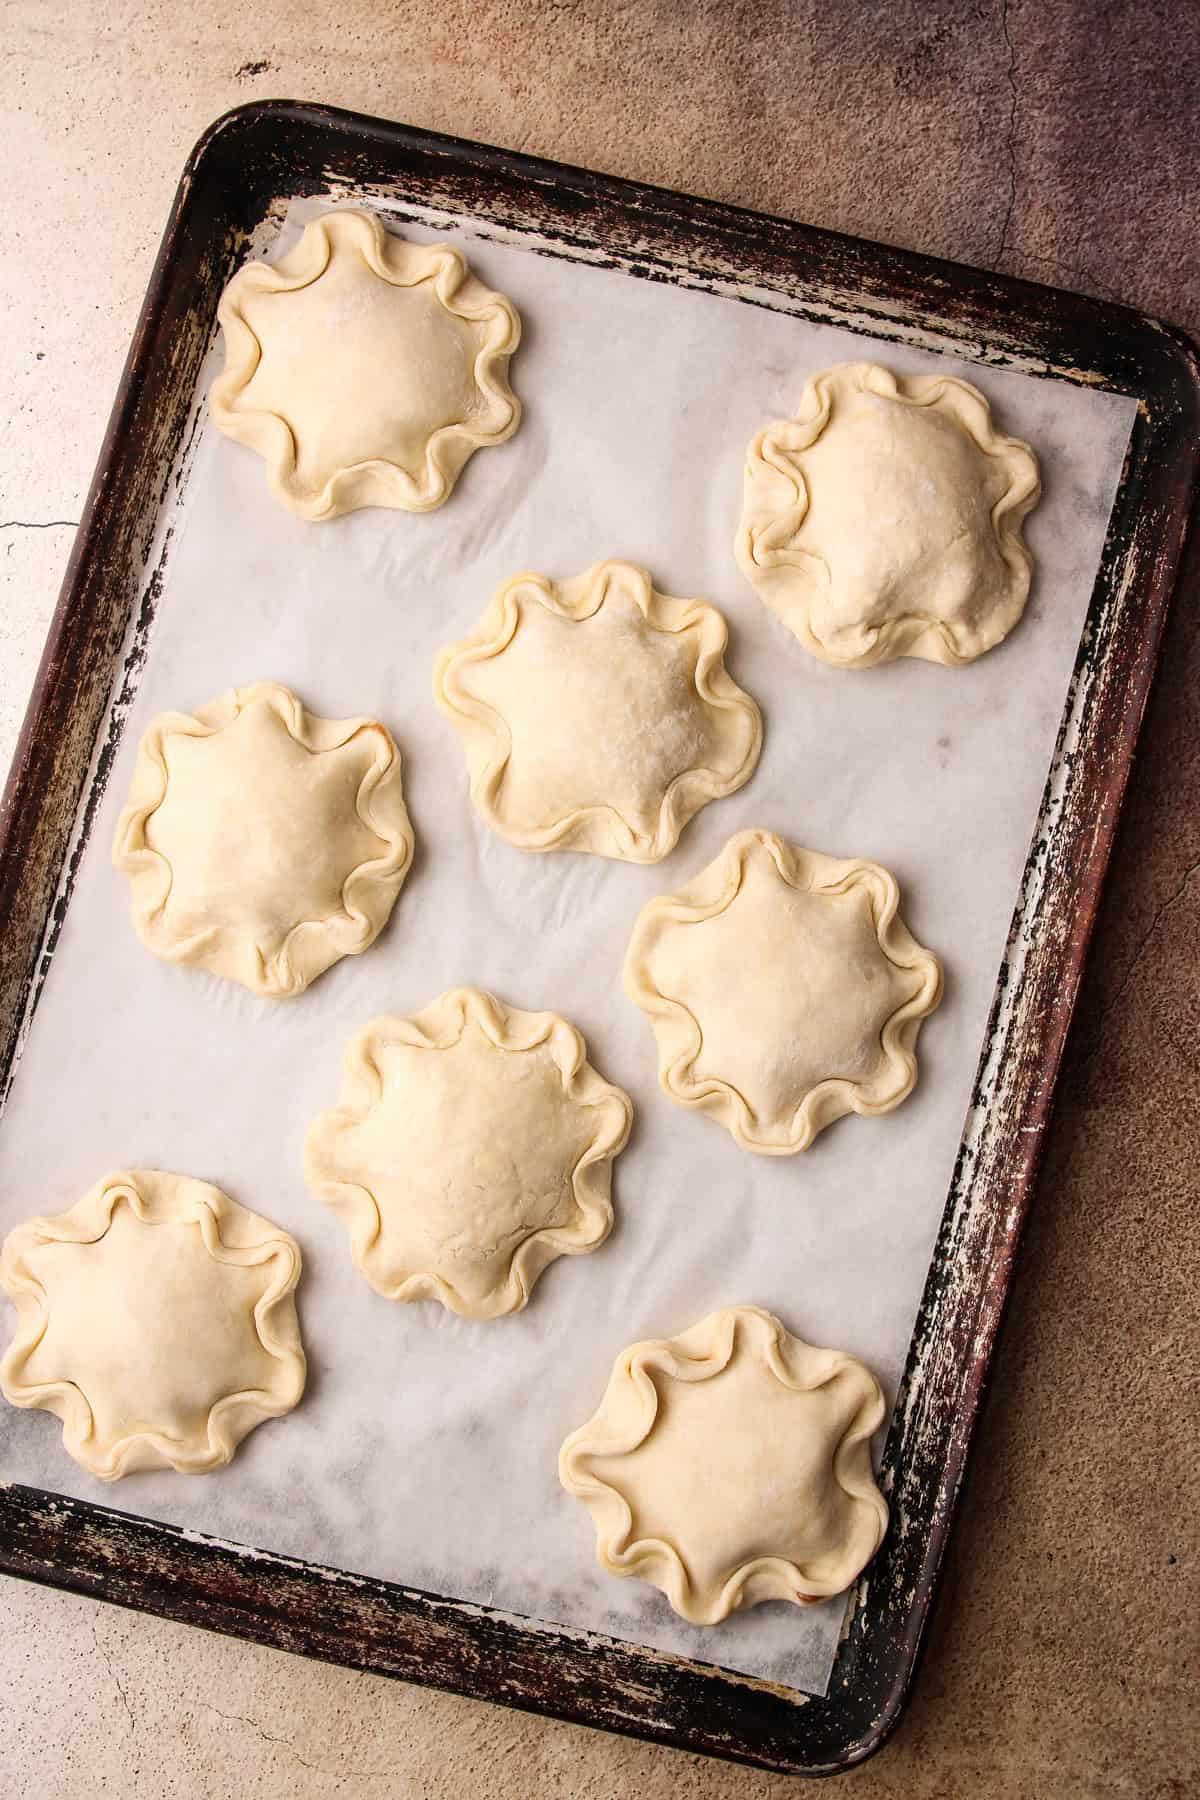
Step 6: Place all assembled hand pies on a sheet pan lined with parchment paper and freeze while the oven preheats.
Baking Hand Pies
You may notice this recipe doesn't call for venting the dough. Because the filling is precooked, there's no need to poke holes to release steam. If you'd like to add vents for appearance, that's fine.
There are two steps in the recipe that are worth understanding.
- Chilling the assembled pies while the oven preheats helps them hold their shape during baking and keeps the filling from leaking out. On that note, a small amount of filling seeping out of one or two pies is normal. If it's really running out, the dough or filling was too warm, or the pies weren't sealed well when they were put together. If this is something you struggle with, I recommend chilling the pies longer or even freezing them first (see more about this in the section below).
- And baking on the second-lowest rack puts them closer to the heat radiating from the oven floor, which crisps the bottom crust.
The pies will take about 30 to 35 minutes to bake, and you'll know they're done when the bottoms are crisp and the tops are golden and puffed.

How to Serve, Store, and Freeze
Hand pies are best served the day they are made, when the pastry is still crispy.
Store leftovers in a covered container at room temperature for 1-2 days. They can be stored in the refrigerator for a few more days, though they'll need to be warmed in a toaster oven before serving.
Assembled, unbaked hand pies can be frozen for up to 3 months. Freeze them flat on a sheet pan for 24 hours, then transfer them to a freezer bag, removing as much air as possible. The hand pies can be baked straight from the freezer. Follow the baking instructions as written, adding about 10 minutes to the total baking time.
More Apple Recipes:
More Hand Pie Recipes:

Did you make the recipe?
I am so honored when you make a recipe from Everyday Pie! If you make these Apple Hand Pies, please leave a star ⭐️⭐️⭐️⭐️⭐️ rating with your experience! If you have any questions about this recipe outside of what is covered in the article, please comment below and I'll respond as soon as I'm able.
Full Recipe

Apple Hand Pies
These apple hand pies take the familiar flavors of classic apple pie and turn them into an easy, handheld dessert, with juicy, cinnamon-spiced apples baked in flaky, buttery pie dough. Cooking the apples ahead of time concentrates their flavor and creates a thick filling that stays neatly sealed inside the crust. Chilling the assembled pies before baking helps them hold their shape and bake evenly, and they can also be frozen unbaked for an easy make-ahead treat.
- Total Time1 hour 15 minutes
- YieldAbout 8 hand pies
Ingredients
For the Pie Dough:
- 2-¾ cups (330 grams) all-purpose flour, more for the work surface
- 2 tablespoons (14 grams) cornstarch
- ½ teaspoon coarse kosher salt (see note)
- 18 tablespoons (250 grams) unsalted butter, chilled and cut into 1-inch pieces
- 1 tablespoon (15 grams) apple cider vinegar
- ⅓ to ½ cup (80 to 120 grams) ice water
For the Apple Pie Filling:
- 1-½ pounds (about 3 to 4 large) baking apples, peeled, cored, and thinly sliced
- 1 tablespoon fresh lemon juice
- ⅓ cup (80 grams) plus 2 tablespoons (30 grams) apple cider, divided (not apple cider vinegar, see note)
- ¼ cup (50 grams) packed light brown sugar
- 2 tablespoons (25 grams) granulated sugar
- 1 teaspoon ground cinnamon
- big pinch coarse kosher salt
- ¼ teaspoon freshly grated nutmeg
- 1 tablespoon (10 grams) cornstarch
- 1 teaspoon vanilla extract
- 1 tablespoon (14 grams) unsalted butter
For Assembling:
- eggwash (1 large egg whisked with 1 tablespoon of water)
- ¼ cup (50 grams) turbinado or other coarse sugar
Instructions
Make the Pie Dough by Hand: (see here for instructions for making it in a food processor)
- In a large bowl, whisk together the flour, cornstarch, and salt. Add the butter and toss to coat it in the flour. Using your fingers, squeeze and work the butter into the flour until the mixture looks shaggy, with a mix of flat pieces and irregular chunks. Some larger pieces can remain, up to about marble size.
- In a liquid measuring cup, stir the vinegar into the ice water. Drizzle about three-quarters of the liquid over the flour mixture, tossing gently with your fingers to distribute it evenly. Squeeze the dough lightly to check hydration. It should hold together easily when pressed. Add more water, a small drizzle at a time, until the dough comes together, switching to a spatula if needed to moisten any dry pockets.
- Using your hands, gently bring the dough together into a single pile. Transfer it to a work surface and divide it into two portions, each weighing about 12 ounces. Wrap each portion tightly in plastic wrap and, using a rolling pin, roll the dough out until it stretches to the edges of the plastic wrap. Refrigerate for at least 4 hours, preferably overnight.
Make the Apple Filling:
- In a large pot, mix together the apples, lemon juice, ⅓ cup (80 grams) of the apple cider, brown sugar, granulated sugar, cinnamon, salt, and nutmeg. Let the mixture sit at room temperature for about 10-15 minutes, until the apples start to release their juices.
- Cook the apples over medium heat, stirring occasionally, until they begin to soften, about 10 minutes. They should be tender yet still hold their shape, with liquid still visible in the pot.
- In a small bowl, whisk together the cornstarch and the remaining 2 tablespoons of apple cider to make a slurry. Pour the slurry into the pot and stir to combine. Continue cooking for 2-3 minutes, until the filling thickens and coats the apples. Remove the pot from the heat and stir in the vanilla and butter. Transfer the filling to a shallow container and let it cool completely, preferably overnight
Assemble and Bake the Hand Pies:
- In a small bowl, whisk together the egg and water to make the egg wash and set aside. Line a 12-by-18-inch sheet pan with parchment paper and set aside.
- On a lightly floured surface, roll out one disk of pie dough to about a ⅛ inch thickness. Cut out 4-inch circles, rerolling the scraps one time to get additional rounds. Repeat with the second disk to yield about 16 to 18 dough circles.
- Brush a light layer of egg wash around the edges of one dough circle. Spoon 3 to 4 tablespoons of cooled apple filling into the center, keeping it slightly mounded but away from the edges. Place a second dough circle over the filling and press the edges together to seal, pushing out any air pockets. Crimp the bottom edges up over the top to further seal the pie and add a decorative touch.
- Once all the pies are assembled, place the hand pies on the sheet pan in the freezer while the oven preheats.
- Preheat the oven to 400°F and set a rack to the second lowest position.
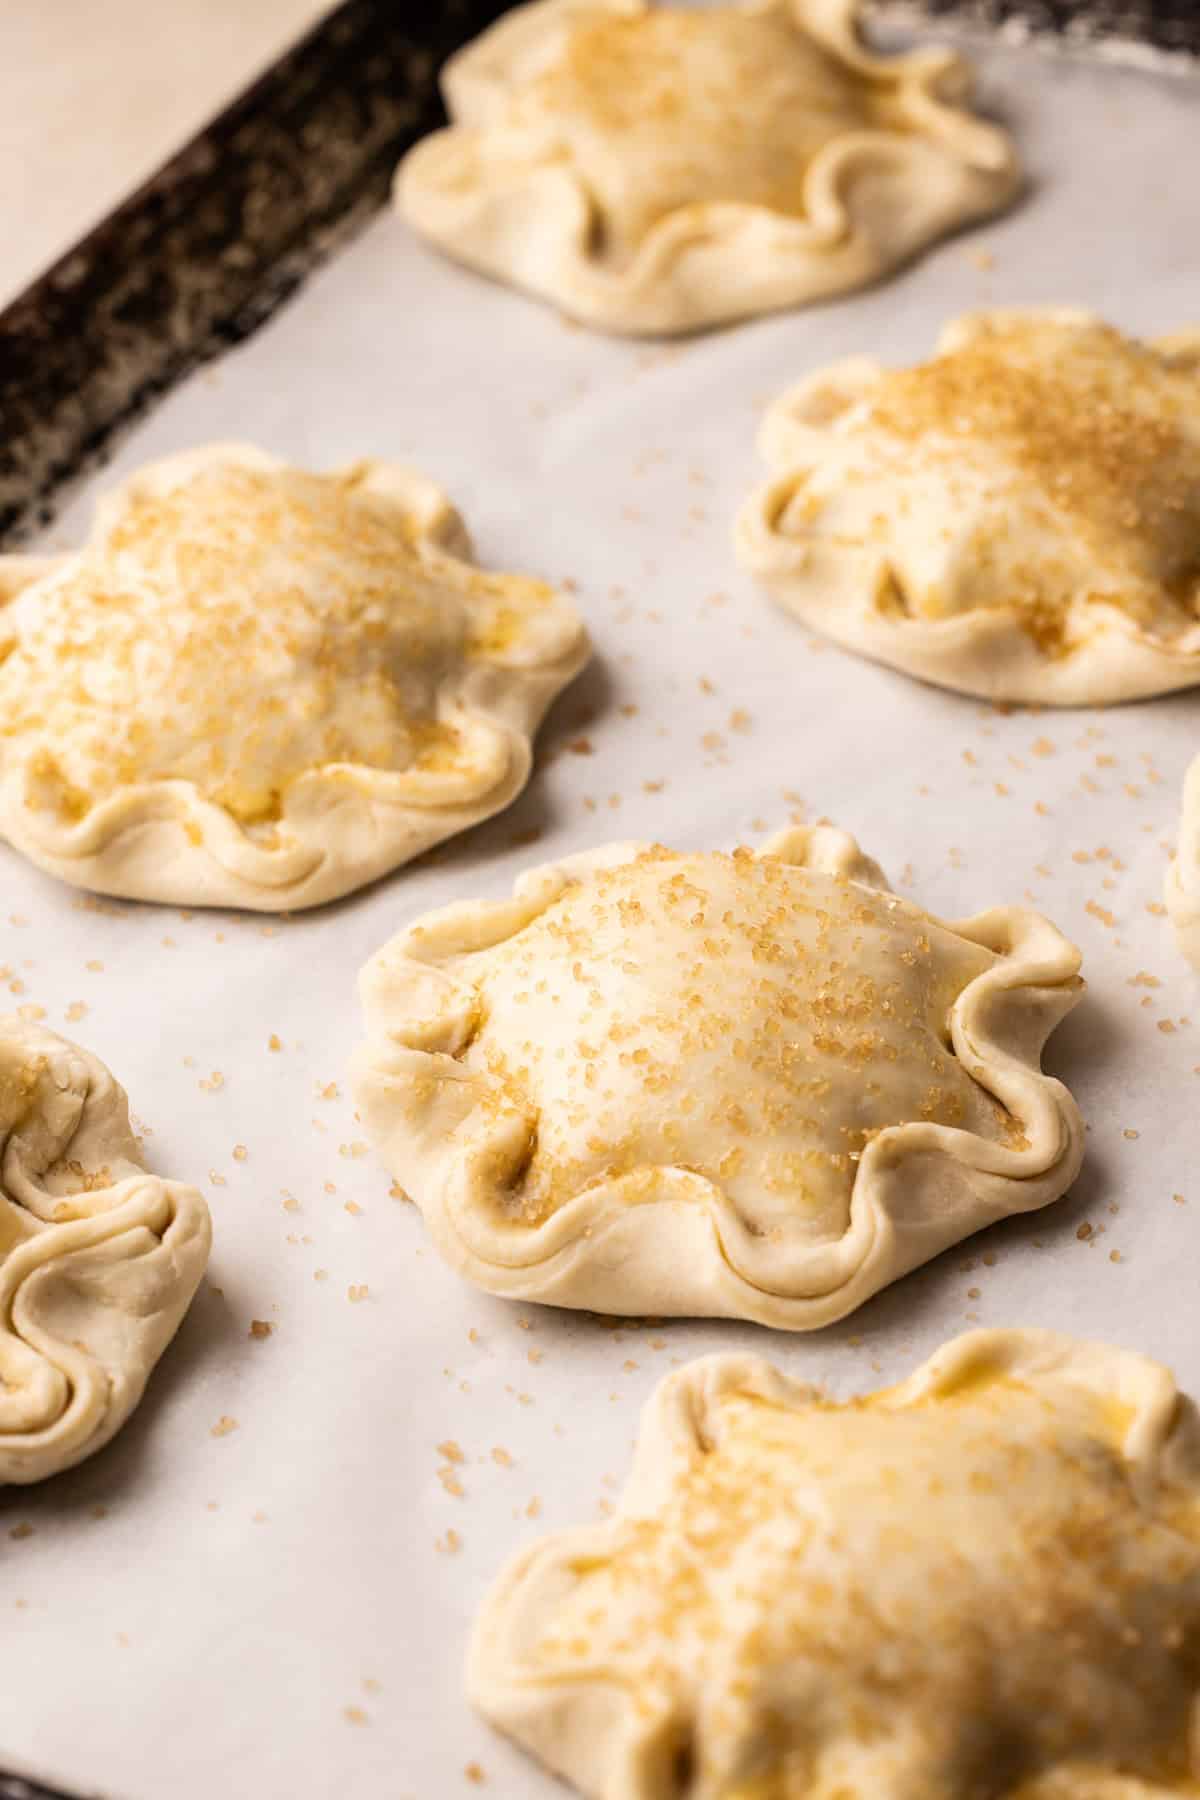
- Remove the pies from the freezer, brush the tops with the remaining egg wash, and sprinkle with turbinado sugar. Bake for 30-35 minutes, until the dough is fully baked and lightly golden all over. Transfer to a wire rack to cool, at least 45 minutes.


Notes
Use fresh apple cider in the apple filling recipe, not apple cider vinegar. The two are different ingredients, and this recipe uses both. If you can't find fresh apple cider, use 100% apple juice with no added sugar or water.
This recipe was tested using Diamond Crystal coarse kosher salt. If you use Morton's kosher salt or fine salt, decrease the volume by half.
The apple pie filling can be made up to 3 days ahead. It must be completely chilled before you assemble the pies.
If at any point the pie dough is getting too warm, place it in the refrigerator or freezer to chill until it is easy to work with again.
Filling hand pies is a balance between overfilling and underfilling. If you are having trouble closing them, use less filling.
The assembled pies can be chilled briefly before baking as directed, or refrigerated overnight and baked the next day.
These can be frozen, unbaked, for up to 3 months. Freeze them flat on a sheet pan for 24 hours, then transfer them to a bag, removing as much air as possible. Bake from frozen, following the instructions and adding about 10 minutes to the total baking time.
- Prep Time: 00:30
- Cook Time: 00:45
- Category: Sweet Pies
- Method: Bake
Apple Hand Pie FAQs
Lemon Meringue Pie can be super tricky to make, and many of the components can trip people up. Below, I share some of the most common problems people typically run into, and some tips for how to avoid them. I'll also address how this recipe is different than most to avoid these common problems.
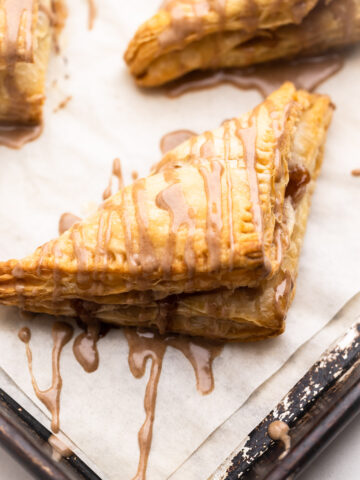
You can, if it's a brand you've had success with before. I'll be honest that I haven’t had much success with store-bought pie dough. I personally would reach for store-bought puff pastry instead. It handles better for this, and my Puff Pastry Apple Turnovers are built around that approach if you want a recipe written for it.
Firm baking apples that hold their shape when cooked, with enough tartness to balance the sugar. I use a mix of Gala and Granny Smith, which gives you both sweet and tart in the same filling.
You can, but the filling won't be quite the same. The cider is what deepens the apple flavor and cooks down into a sauce that coats the apples. If you can't find fresh cider, use 100% apple juice with no sugar added. Water will work in a pinch. I don't recommend apple brandy.
A small amount leaking out of one or two pies is normal. If it's really running out, the dough was either too warm, the filling was too warm which in turn made the dough warm, or the hand pies weren't sealed well when they were put together. Press out any air pockets as you seal, crimp the bottom edge up over the top, and use a little less filling on the next one. One other possible culprit would be that your oven wasn’t preheated well enough or your oven temperature was too low.
Yes, and it's the step most worth not skipping. Cold dough holds its shape in the oven rather than slumping as the butter softens, and it helps keep the filling sealed inside. A short stint in the freezer while the oven preheats is enough.
You don’t need a dedicated 4-inch cutter to make these (though it does make it go much faster). Find something that is circular and about 4 inches. Set it on the rolled dough and cut around it with a sharp knife. In a pinch you can even cut a 4-inch circle in a piece of paper and use it as a template. Just be sure to pay attention if the dough is getting too warm during this process.
Yes, and none of the steps have to happen on the same day. The dough needs to chill overnight anyway. The filling can be made up to 3 days ahead and must be completely chilled before you assemble. Assembled pies can be refrigerated overnight and baked the next day. And they can be frozen! Freeze the assembled, unbaked pies flat on a sheet pan for 24 hours, then transfer them to a freezer bag with as much air pressed out as you can. They keep for up to 3 months. Bake straight from frozen, following the recipe and adding about 10 minutes.
Some of the links on this page may be affiliate links. Everyday Pie is a participant in the Amazon Associates Program. As an Amazon Associate I earn from qualifying purchases, at no extra cost to you.
Donna Walden
Anxious to try this recipe! Could I substitute Apple Brandy for the Apple Cider? I have some on hand from another recipe...
Kelli Avila
Unfortunately, no. I do not recommend that at all. If you don't have fresh apple cider, use 100% pure apple juice without sugar added, or just use water!
Kim Neppl
Hello,
My first time making hand pies, excellent pie crust and pie filling. Made with my new French rolling pin. Cherry is up next!
Kelli Avila
YAY to a new rolling pie! -Kelli
Julie G
I made these and they are pure perfection. Splurged on some pastry flour and made the all butter pie crust in my food processor. Tender, flaky, butter deliciousness. The filling is scrumptious and not one of the nine pies I made leaked. I now need a peach version, please!!!! XO
Kelli Avila
Peach version! You are right!!
Kit
I have to tell you, I love to make pies but my crust never works out, no matter the recipe or technique - until now! The baked crust is flaky with no butter leaking out. This will be my go to crust recipe from now on! The filling is excellent as well. I'm also happy to have a freezer full of tiny pies. Thank you!
Natalie
Thank you for these excellent directions. For me the most important details that led to success were letting the filling cool and congeal and the freezing the pies before the egg wash (as you preheat the oven) along with keeping the dough cold as you work. Of course, it would be nothing if it came out beautiful and didn't taste good and the recipe itself is wonderful. The balance between the crust and filling is very nice. This is not too sweet and feels like a small meal you don't have to feel too guilty indulging in. I had the easiest time crimping the edges up with less filling. Also, added points for the fun factor of making all these circles and playing with rolled dough. I felt just like a kid with Play-doh again! P.S. for those of you new to baking who may not have a 4 inch circle dough cutter, look through your lids. I found one for our ninja that was 4" that I could place gently and cut around with a very sharp knife. Thanks for the recipe Kelli!!!
Kelli Avila
Great suggestiong, Natalie, to look through lids! And thank you so much for the review! -Kelli
Patti
Hi Kelli,
I made the pie crust but when I went to the apple pie had pie recipe it called for apple cider but what if I do t have any is there anything else I can use?
Thanks for any help
Patti
Kelli Avila
It's best with the apple cider, but if you don't have it, the next best choice would be apple juice. And if no apple juice, water will suffice.