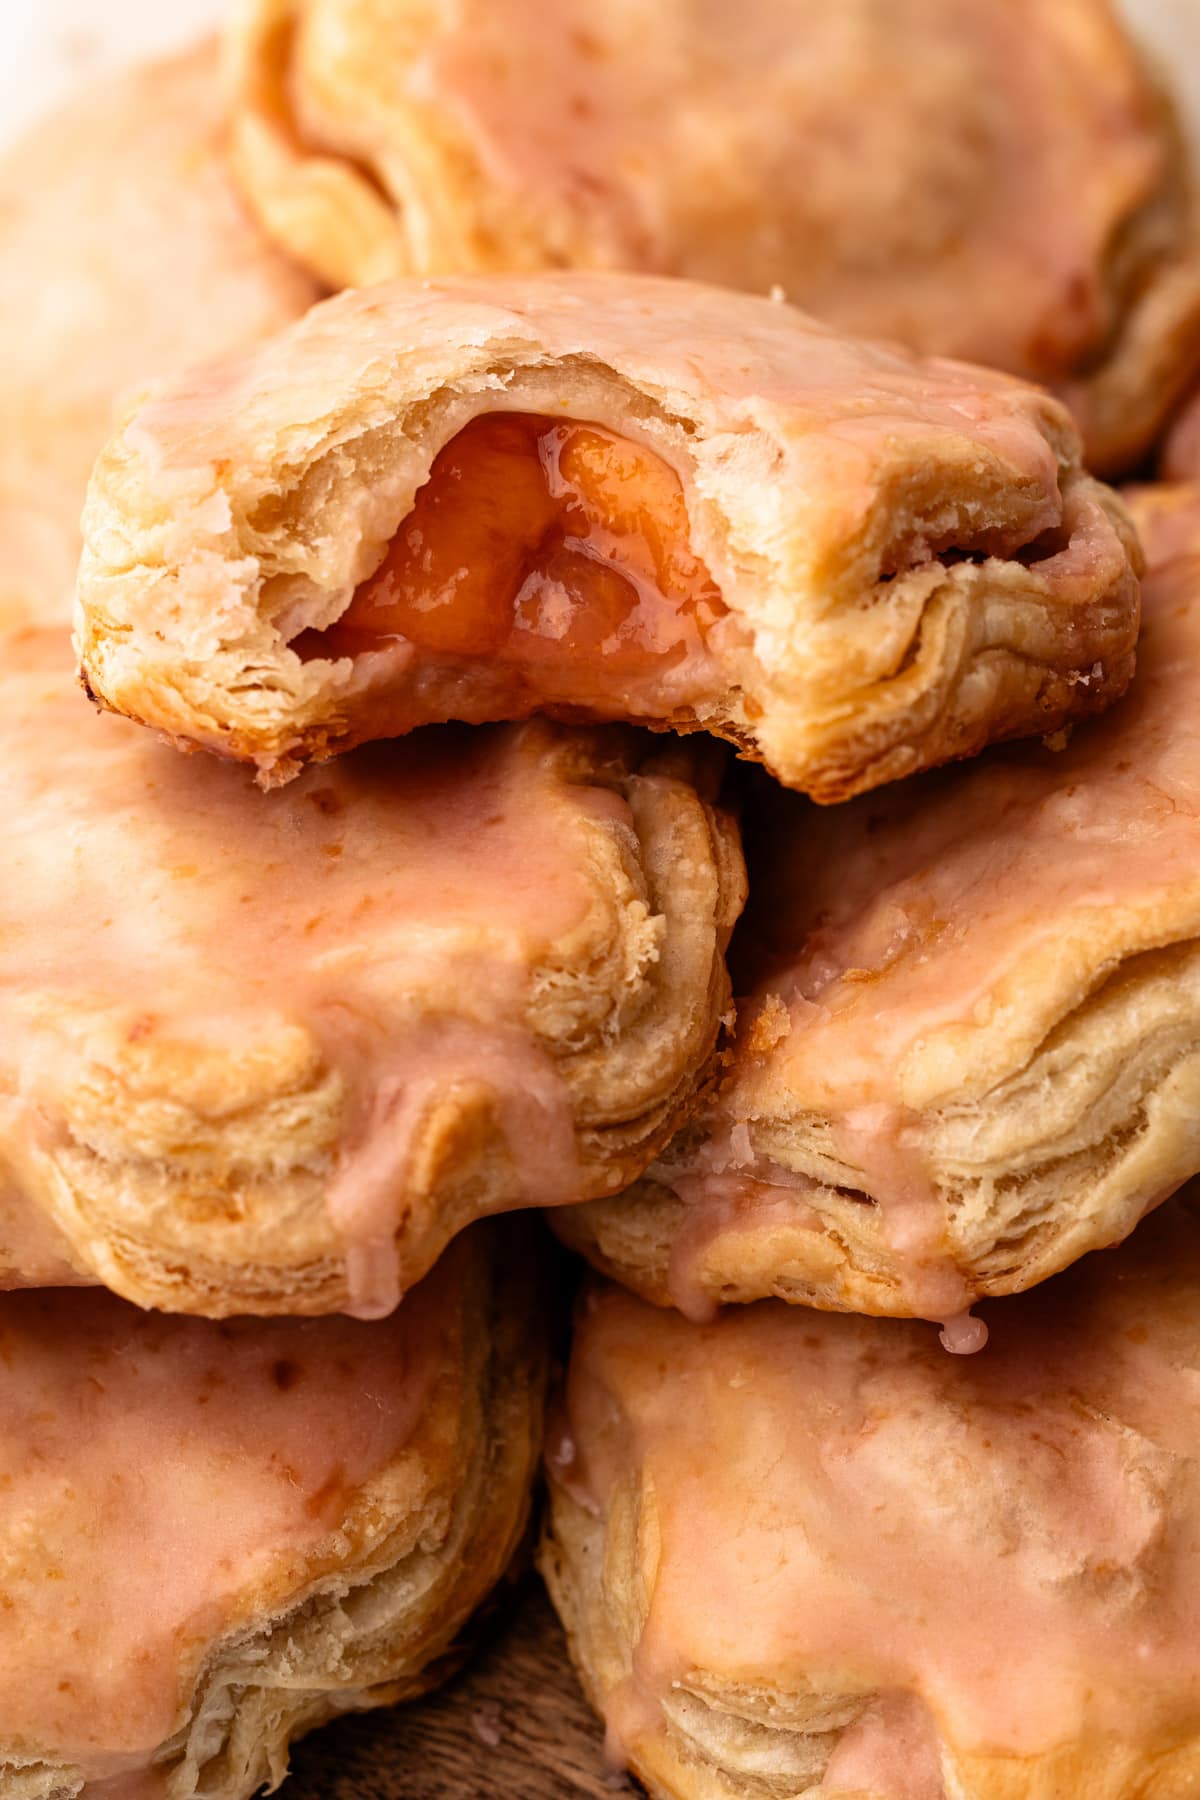
Transform your ripe peaches into portable Peach Hand Pies featuring a perfectly-cooked and juicy filling enveloped in a flaky, buttery pastry with a peach glaze drizzled on top.
Want to save this recipe?
Enter your email & I'll send it to your inbox. Plus, get weekly updates from me!
Be the hero of your next BBQ by bringing along these perfect Peach Hand Pies. This recipe takes all of the deliciousness of a peach pie and bakes it into a handheld pastry. These portable pies are filled with juicy peach filling and have the flakiest, most tender crust.
The best part? Hand pies freeze really well! So go ahead and make a double batch to have some for now and some for later.
So, let's get to making it, shall we? The article below is jam-packed full of useful information. You can jump around using the menu below, or skip to the end of the article for the full recipe.
Jump to:
Ingredients Needed
Here is an overview of the ingredients needed for this recipe. The full recipe is listed below in greater detail.
- 1 batch All Butter Pie Crust
- peaches (see more on this below)
- granulated sugar
- cornstarch
- fresh lemon juice
- nutmeg (this adds some depth to the filling without distracting from the peach flavor)
- almond extract (same for this—it helps the filling taste more peachy, but it can be skipped if there is a nut allergy)
- butter
Tools Needed
Here is a list of some of the primary tools I use in this recipe. You won't necessarily choose to use them all, but they are exactly what I used. Any links may contain affiliate links.
- rolling pin
- pastry brush
- circle cutters
- kitchen essentials: bowl, spatula, sheet tray, measuring cups
I recommend buying a 4″ circle cutter, especially if you plan to make other hand pies in the future; I think you'll find it to be a "go-to" tool in your kitchen. If you don’t want to buy one, you can cut out a 4-inch circle of parchment paper and use it to trace and cut out the circles.
What Type of Peaches to Use
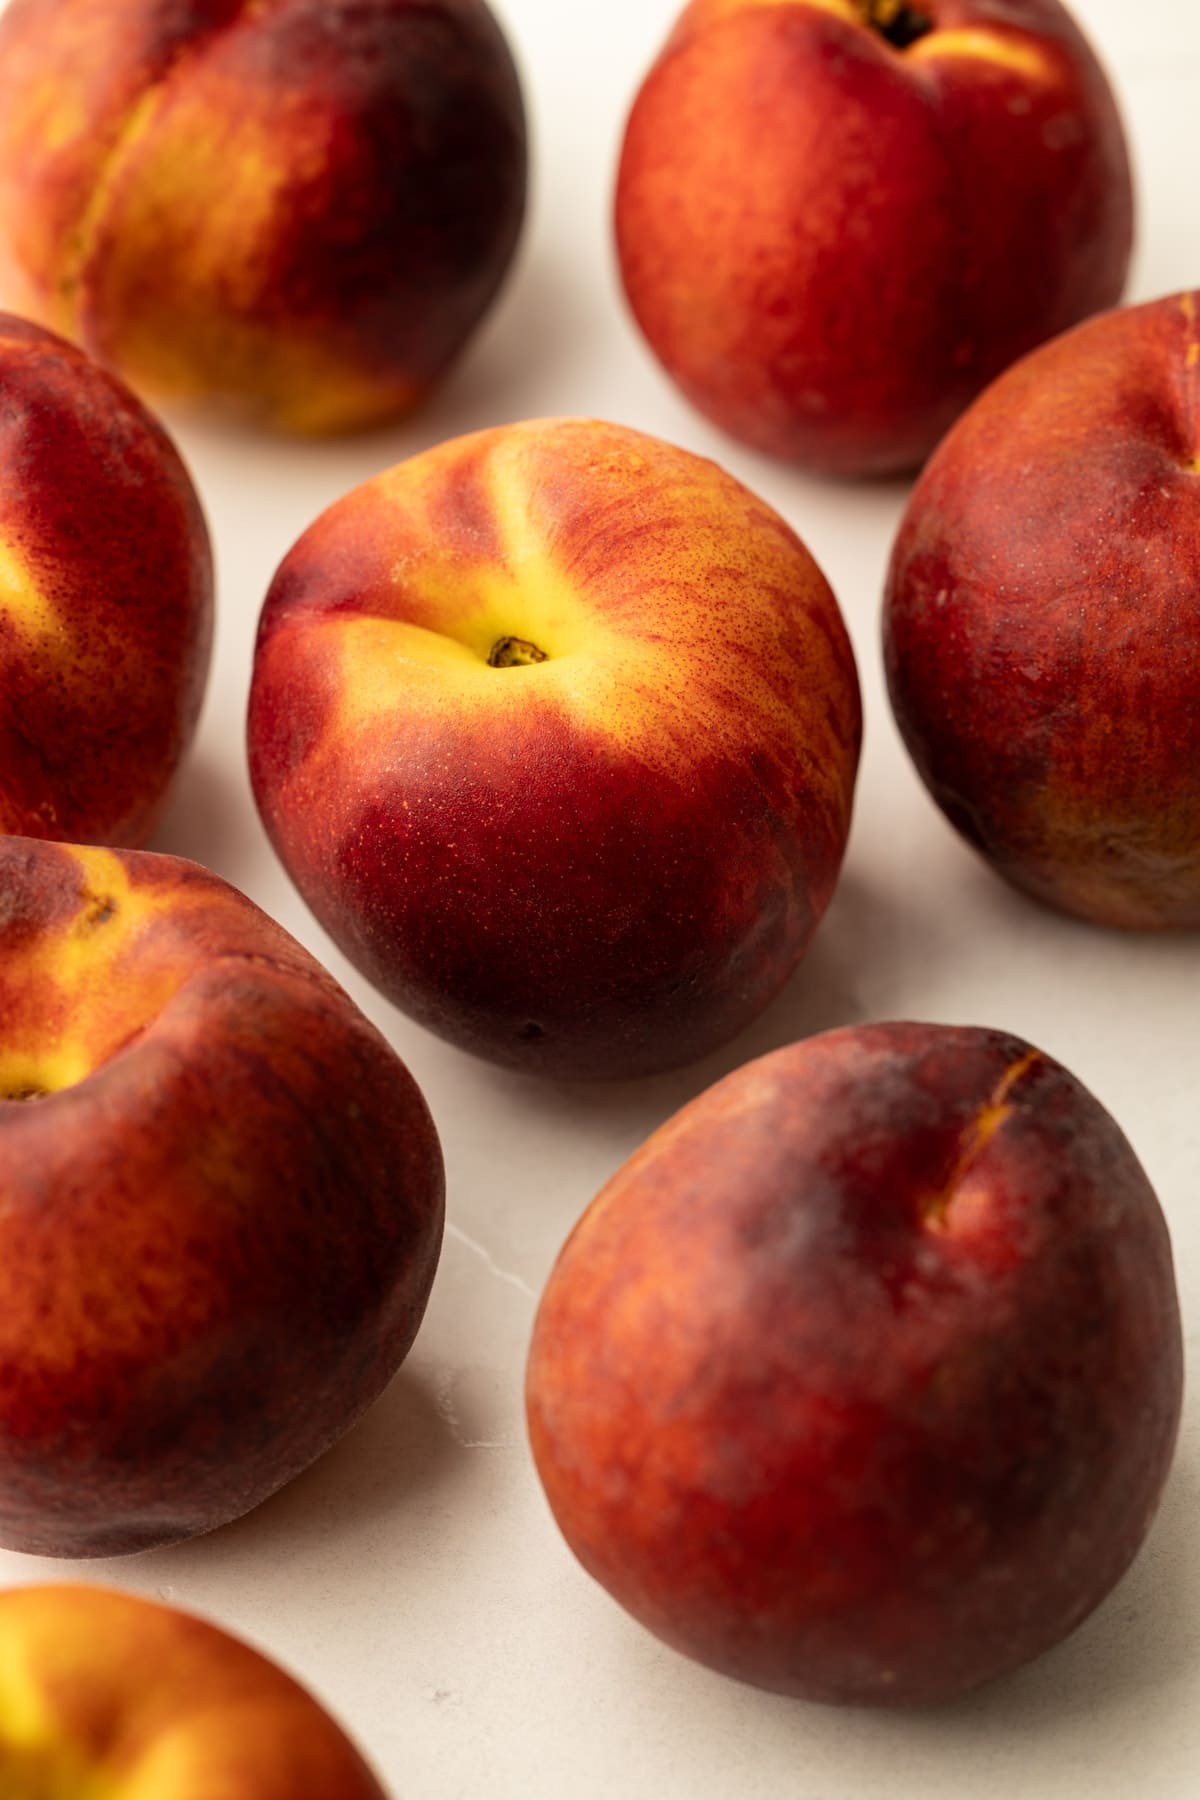
It's important that your peaches are ripe. If you use an unripe, flavorless peach in this filling, those features won't magically change when you add sugar and cook it.
A good way to ensure you have a quality peach, aside from buying it in-season and from a reputable source, is to smell it and to feel it. The peach should smell peachy! And it should give in easily with a little gentle squeeze.
How to Ripen Peaches
If you have local peaches that are in season, but they aren't quite ripe, that's ok! You can "condition" (AKA ripen) the peaches by leaving them at room temperature, stem side down.
I usually leave them on a kitchen towel-lined sheet tray. Depending on the peach, it can take 1-3 days. Check them every day.
Once they are fragrant and just soft, they are ready to use.
Just be careful not to use an overripe peach, as it'll turn to mush when cooked.
Want to use high-quality frozen peaches? That's absolutely fine, so long as you know they're good quality and will contribute good peach flavor. Let them defrost in the sugar and lemon juice in the pot in step 1 of the recipe.

How to Peel Peaches
The peaches should be peeled for this recipe, but you can skip this step if you don't mind (or enjoy) peach skin.
I wrote an entire Guide to Peeling Peaches if this is new to you. You can check that out for full step-by-step instructions. Or, a tl:dr section from it:
Blanching the peach helps loosen the skin so it easily slips off, which is the best way to peel a peach.
Making the Peach Filling
This is a very simple recipe. Essentially, peaches are mixed together with sugar, lemon juice, and cornstarch and then cooked. There are a few tricks you should follow to ensure you get the best flavor in your filling:
- The first is that the recipe calls for you to macerate the peaches for about 10 minutes. This helps dissolve the sugars before cooking and pulls out some of the moisture from the peaches.
- If you are using frozen peaches, let it sit for an additional 5-10 minutes until the liquid has been drawn out.
- When cooking the peaches, stir gently to avoid breaking them down. Cook them gently until the cornstarch thickens the mixture.
- At the very end of the cooking process, add in some butter and almond extract to the hot mixture. The butter adds richness and body, and the almond extract adds a depth of flavor that complements the peaches nicely.

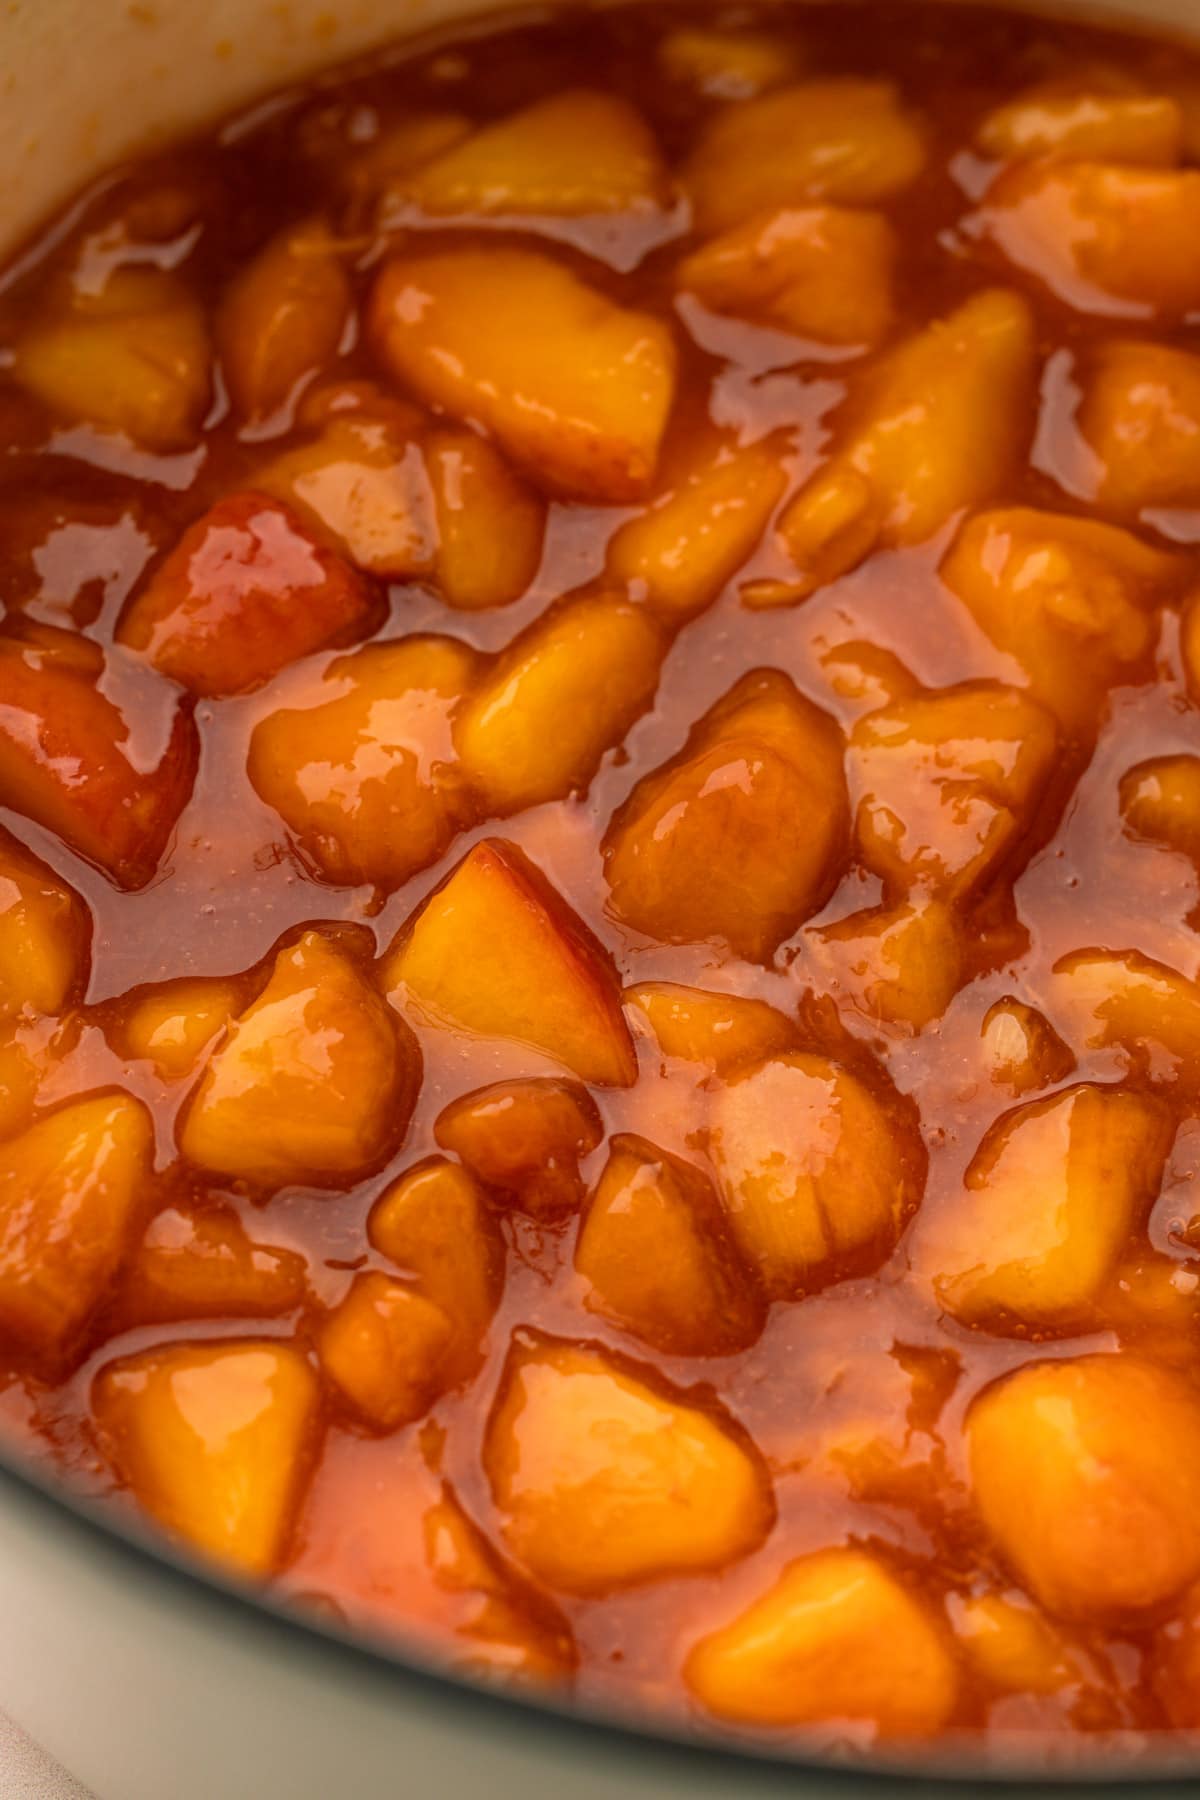
The recipe makes about 1 pint of peach pie filling. You likely won't use all of it for the hand pies. You can enjoy any leftover filling over ice cream or yogurt. It also freezes well.

Steps to Make Peach Hand Pies
There are a few steps needed to make hand pies. Luckily, the steps can be broken down and spaced apart, so in the end, it will seem very easy.
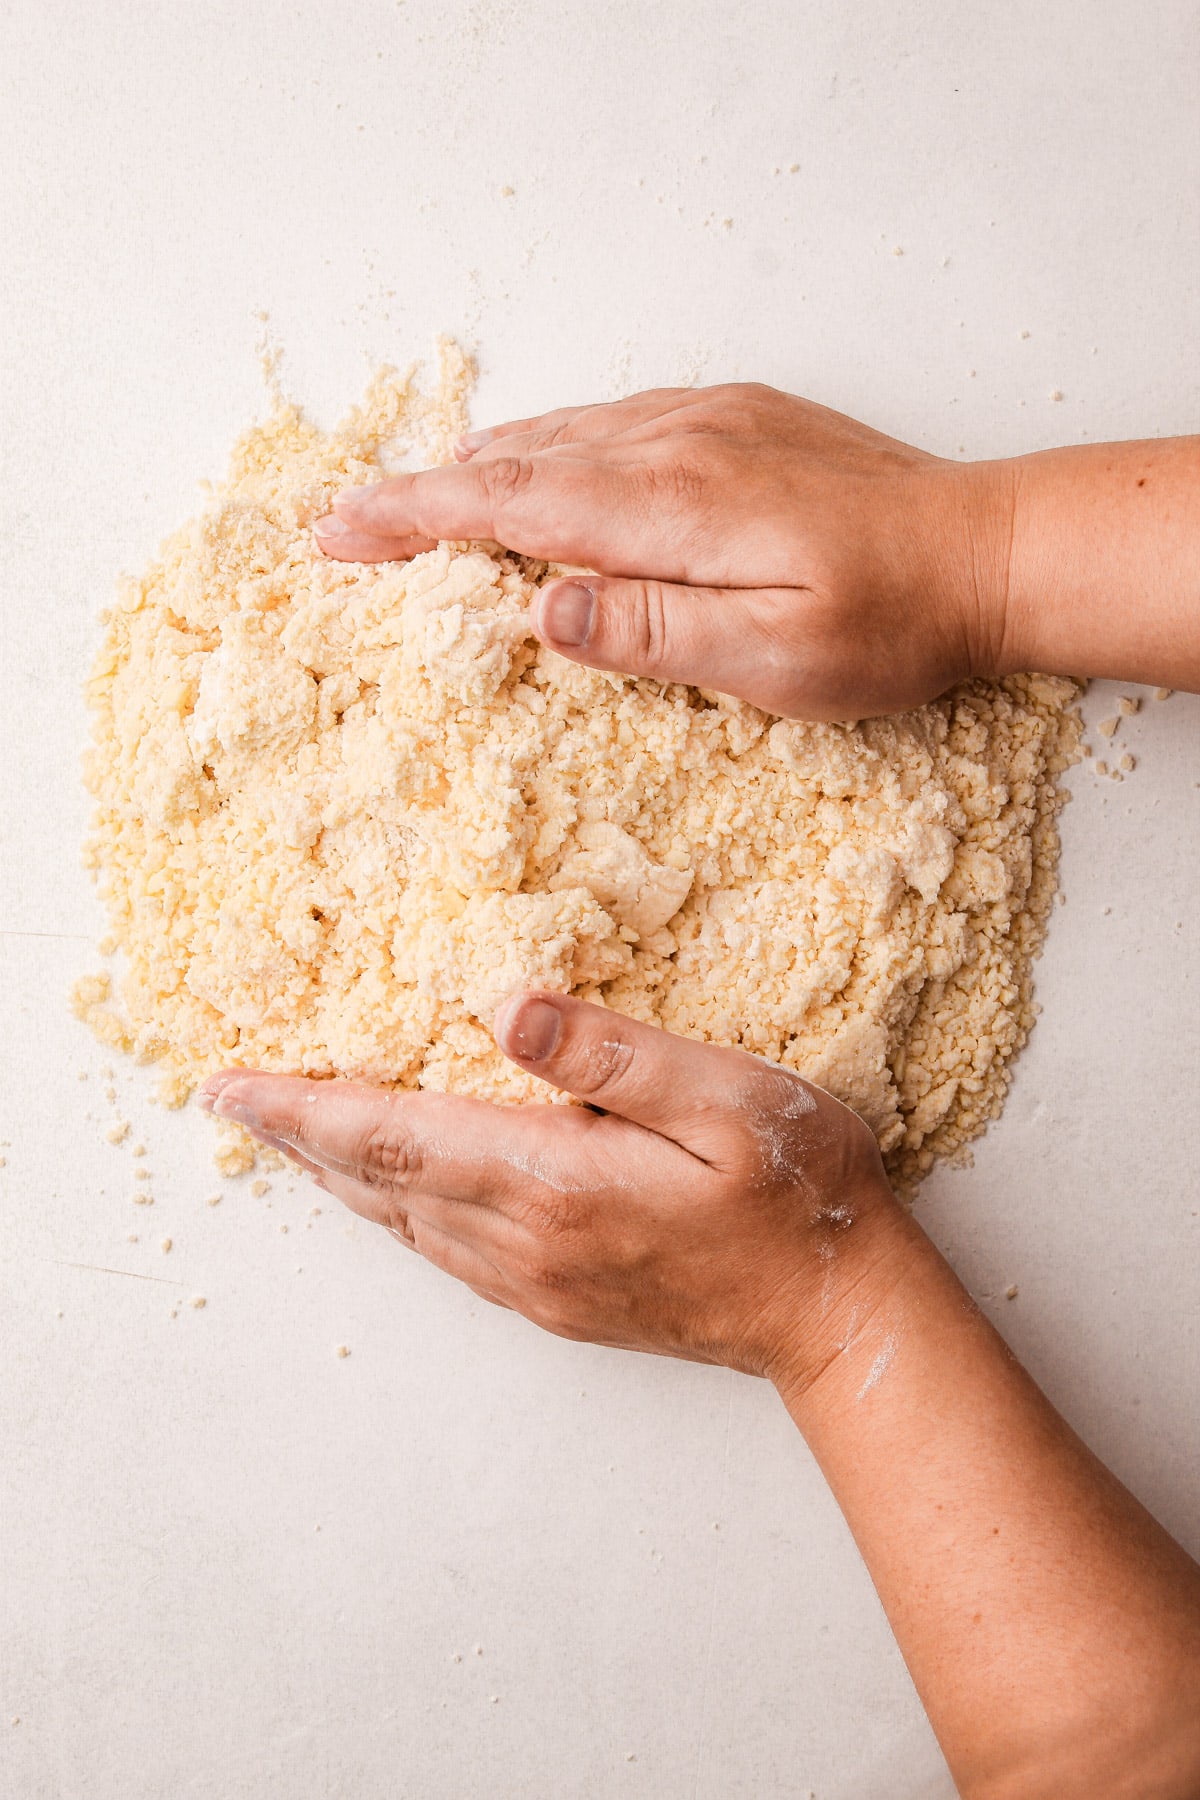
Step 1: Make the pie dough. The dough needs to chill overnight. If you are new to making pie dough, check out this comprehensive guide on making butter pie dough
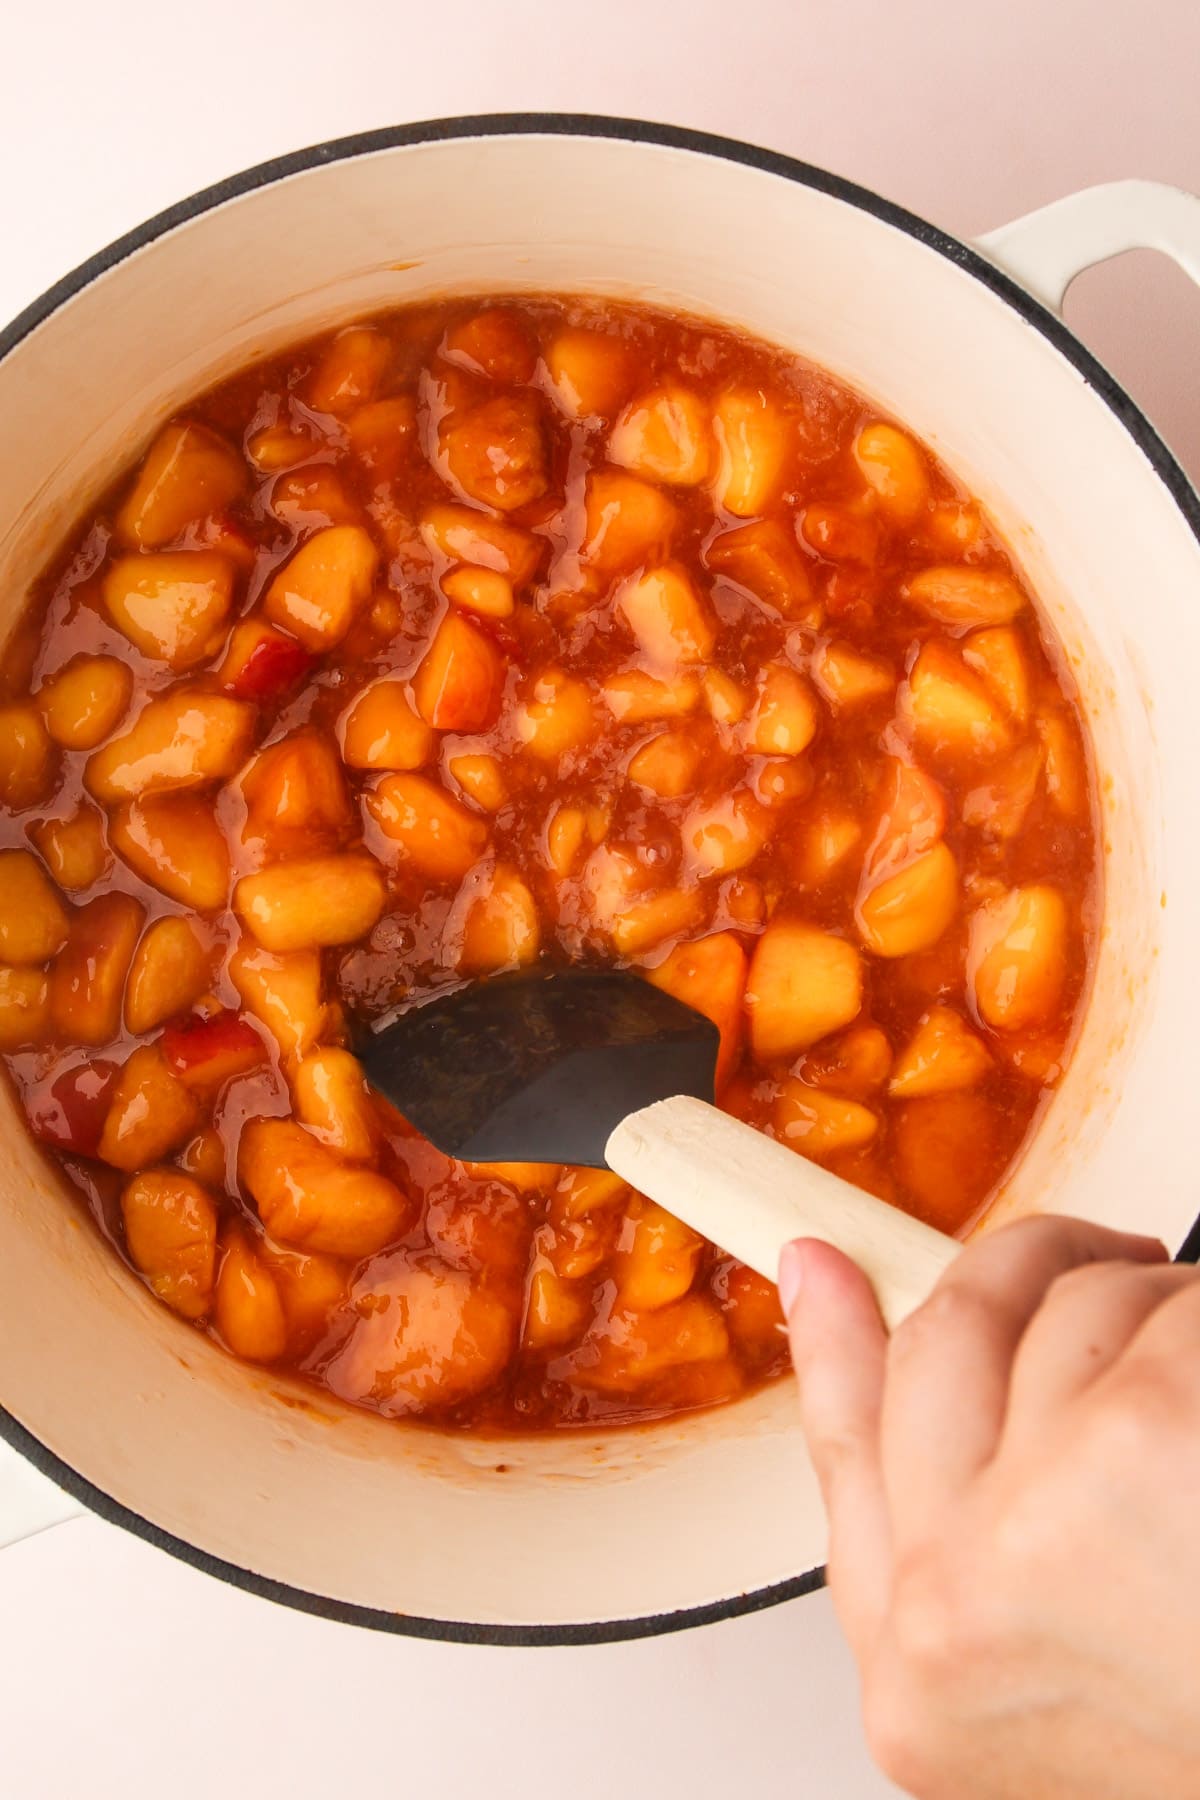
Step 2: Next, the filling needs to be prepared. This can be done up to 3 days ahead of time. Just make sure it is chilled thoroughly before you assemble the pies.

Step 3: Then you'll need to roll out and cut out your dough. This recipe makes a 4″ round hand pie.

Step 4: Brush an eggwash around the edges of one circle of pie dough and place about a ¼ cup of the peach filling in the middle.
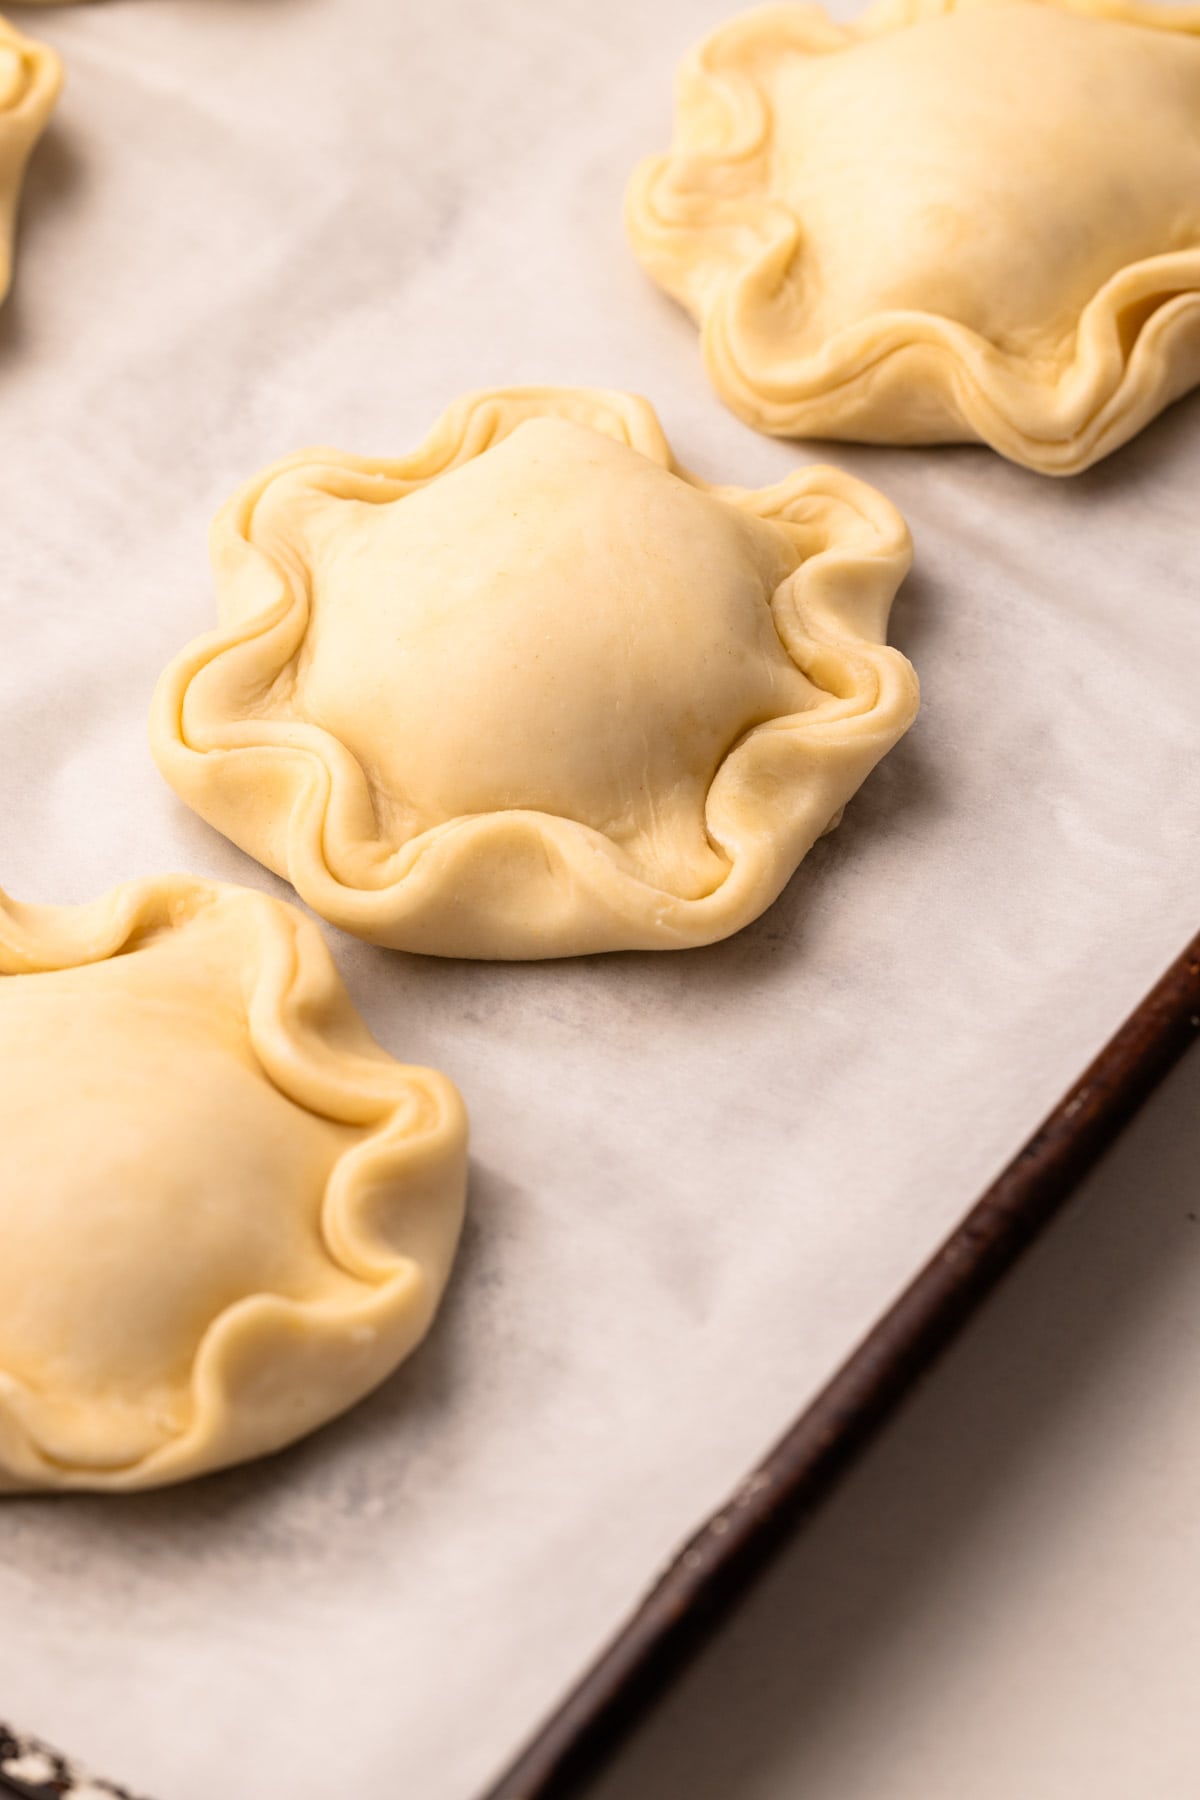
Step 5: Place a second circle of pie dough over the top and press down on the edges to seal the two pieces together. Crimp the edges of the bottom to the top, which will seal the pie and add a decorative touch. Repeat with remaining.

Step 6: Place the pies on a sheet pan lined with parchment paper and freeze while the oven preheats. Then bake!


How to Bake Them
Because the filling is precooked, I find it unnecessary to poke holes in the pastry to let steam escape. However, if you'd like to make holes in the pastry for aesthetic reasons or if you feel you might have trapped a lot of air in your pastry when filling it, it's fine to do so.
To bake, preheat the oven to 400ºF and set a rack to the second-lowest position in the oven. This small step will ensure a crisp bottom crust of the hand pies. Bake for 30-40 minutes, or until the pie dough is lightly golden all over. If you are baking from frozen, you may need to bake for an extra 10 minutes or so.

Making the Peach Glaze
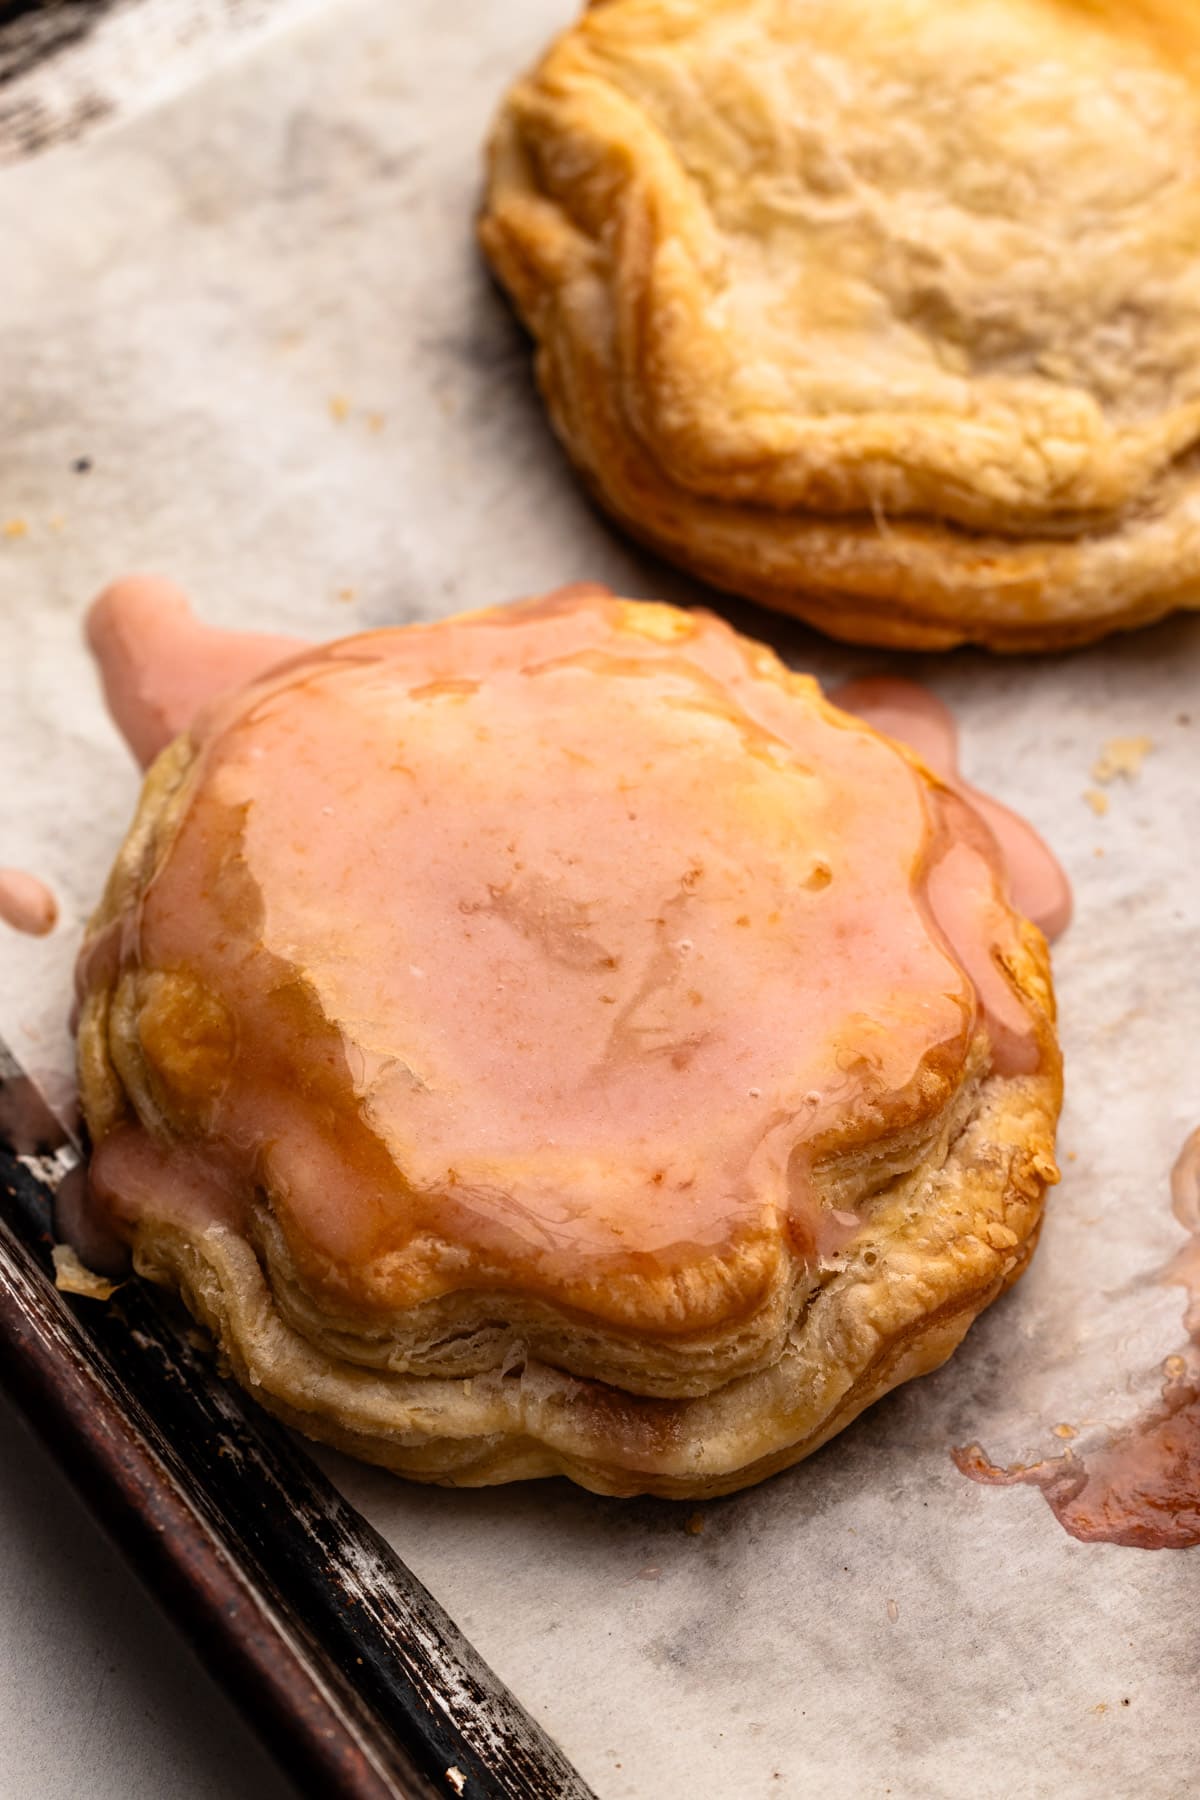
An optional finishing step is to make a peach glaze to adorn the baked hand pies. It adds a sweet touch, an extra burst of peach flavor, and a beautiful look to the finished pastry.
The glaze uses the leftover hand pie filling.
Making a glaze can sometimes be a bit of trial and error, unless you are using a scale to measure your ingredients. If your glaze is too thin, simply add in more powdered sugar a tablespoon at a time. If it’s too thick, add in more peach liquid or even milk.

How to Serve and Store Them
Hand pies are best served the day they are made, when the pastry is still crispy.
Store leftovers in a covered container at room temperature for 1-2 days. They can be stored in the refrigerator for a few days longer, though they'll need to be warmed up in a toaster oven before serving. If you already glazed them, the glaze will likely melt off as they toast, so it's best to leave them unglazed if you don't plan to consume them all before storing them in the refrigerator.

Freezing Hand Pies
You can freeze these hand pies for up to 3 months before baking them. Simply assemble the pies and freeze them flat on a sheet tray for 24 hours. After that, transfer them to a bag with as much air removed as possible and store them in the freezer.
When you're ready to bake them, you can do so straight from the freezer. Just add an additional 10 minutes or so to the baking time as directed. It's a simple and easy way to enjoy delicious hand pies whenever you like!
Kelli's Best Tips
- If at any point your pie dough is getting too warm, simply place it in the refrigerator or freezer to chill until it is firm and easy to work with.
- Filling the hand pies requires a delicate balance of not overfilling them, but not under-filling them. If you find that you are having trouble closing the hand pies without the peach filling spilling out, then use less filling.
- It's best to freeze the hand pies briefly before baking, or you can refrigerate them overnight and bake them the next day! Hand pies can even be frozen unbaked, and then later baked straight from the freezer.
More Peach Recipes:
More Hand Pie Recipes:
I am so honored when you make a recipe from my site! If you make these Peach Hand Pies, please leave a star ⭐️⭐️⭐️⭐️⭐️ rating with your experience! If you have any questions about this recipe, feel free to comment here, and tag me on instagram!
Full Recipe
Peach Hand Pies
Turn those ripe peaches into the best Peach Hand Pies with a perfectly-cooked, juicy filling inside a buttery, flaky pastry.
- Prep Time: 00:25
- Cook Time: 00:40
- Total Time: 1 hour 5 minutes
- Yield: about 8
- Category: Hand Pies
- Method: Bake
- Cuisine: American
Ingredients
For Pie Dough:
- 2–¾ cups (330 grams) all-purpose flour
- 2 tablespoons (14 grams) cornstarch
- ½ teaspoon kosher salt (see note)
- 18 tablespoons (250 grams) unsalted butter, chilled and cut into 1” pieces
- 1 tablespoon (15 grams) apple cider vinegar
- ½ cup (120 grams) ice water, more if needed
For Peach Filling:
- ⅓ cup (70 grams) granulated sugar
- 1 tablespoon (7 grams) cornstarch
- ⅛ teaspoon fresh grated nutmeg
- 1-½ pounds (about 3-4) ripe peaches, peeled, pitted and diced into bite-sized pieces
- 1 tablespoon (7 grams) lemon juice
- 1 tablespoon (12 grams) unsalted butter
- ¼ teaspoon almond extract
For Assembling:
- Egg Wash
- Coarse or turbinado sugar
- ¾ cup powdered sugar (for optional peach glaze)
Instructions
Make Pie Crust by Hand: (see here for instructions for making it in a food processor)
- In a large bowl, whisk together the flour, cornstarch, and salt.
- Toss in butter and coat with flour. Using your fingers, squeeze and work the butter into the flour. Continue until most of the butter looks shaggy. Some larger pieces can remain, up to the size of a marble.
- Add the vinegar to the water, then drip in ¾ of it throughout the dough, and toss together with your fingers. If there is enough water, the dough should easily squeeze together with your hands. Drip in more water as needed, switching to a spatula if needed to moisten any dry spots. Add just enough water to bring the dough together.
- Using your hands, gently bring the dough together as one large mass. Transfer the pastry to a work surface and divide it into two pieces, each about 12 ounces. Shape each piece into a rough disk shape.
- Place each disk in a piece of plastic wrap and wrap tightly.
- Using a rolling pin, roll the wrapped dough out until it stretches to the edges of the plastic wrap.
- Refrigerate for at least 4 hours, but preferably overnight.
Make the Peach Filling:
- Combine the sugar, cornstarch, and nutmeg in a medium bowl. Whisk together. Add in the peaches and lemon juice and gently toss together with a rubber spatula.
- Let sit until the sugar has started to dissolve, about 10 minutes.
- Transfer the mixture to a large pot.
- Turn the heat on to medium and cook, stirring frequently, until the filling is bubbling throughout, about 10 minutes.
- Remove from the heat and stir in the butter and almond extract.
- Pour into a shallow container and let cool completely (this will take several hours or overnight).
Assemble and Bake:
- Make egg wash by whisking together the egg and the water together in a bowl.
- Line a 12x18” sheet pan with a piece of parchment paper.
- Roll out 1 disk of pie dough to about ⅛” thickness. Cut out at least six 4” circles from the dough. Pile the dough scraps on top of one another and roll out again, enough to get at least 1-2 more circles. Repeat this process with the other dough disk to yield 16-18 dough circles total.
- Brush the egg wash around the edges of 1 pie dough circle. Place about 3-4 tablespoons of the cooled peach filling in the middle. Place a second pie dough circle over the top and press down on the edges to seal the two pieces together. Crimp the edges of the bottom to the top to further seal the pie and to add a decorative touch.
- Place the pie on the sheet pan. Repeat with the remaining dough circles. When finished assembling, place the sheet pan in the freezer to chill while the oven preheats. Set aside the leftover peach filling, as you’ll need some of it for the glaze.
- Preheat the oven to 400ºF and set a rack to the second-lowest position in the oven.
- Remove the pies from the freezer, brush the tops with an egg wash and sprinkle with coarse sugar.
- Bake for 30-40 minutes, or until the pie dough is lightly golden all over.
- Remove the pies from the oven and let them cool slightly before transferring to a cooling rack.
- Meanwhile, make the optional glaze: Spoon out about 2-3 tablespoons of the juicy liquid from the leftover peach filling and add it to a small bowl. Whisk in ¾ cup powdered sugar. If the glaze is too thick, add in another tablespoon of peach filling, and if it’s too thin, add in more powdered sugar.
- Place one tablespoon of glaze in the middle of the cooled hand pie and gently smooth it out into an even layer.
Notes
Have a question or looking for tips? The text written above the recipe is always a great first place to start! These Peach Hand Pies were developed with love, and I always include loads of explanations, tips, step-by-step photos and technical advice shared before the recipe.
Weighing your flour is the most accurate way to measure. If you aren't going to weigh it, make sure to spoon it into the cup, and then level it off. If you scoop the flour out with the measuring cup and then level, it could change the outcome of the final product.
This recipe was tested using Diamond Crystal coarse kosher salt. If you use Morton's kosher salt or fine salt, decrease by about half for volume, or use the same amount by weight.
The peach filling can be made up to 3 days ahead of time.
If at any point your pie dough is getting too warm, simply place it in the refrigerator or freezer to chill until it is easy to work with again.
Filling the hand pies is a delicate balance of not overfilling them, but not under-filling them. If you find that you are having trouble closing the hand pies, then use less filling.
It's best to chill the hand pies briefly before baking as the instructions direct, or you can chill them overnight and bake the next day!
The hand pies can be frozen, unbaked, for up to 3 months. Freeze them flat on a sheet tray for 24 hours. Then, transfer to a bag with as much air removed as possible. The pies can be baked from frozen. Follow the instructions, but the total baking time will increase by about 10 minutes.
There will likely be some leftover peach filling, even after you use some to make the peach glaze. You can serve it over ice cream, or with yogurt.
Some of the links on this page may be affiliate links. Everyday Pie is a participant in the Amazon Associates Program. As an Amazon Associate I earn from qualifying purchases, at no extra cost to you.









Leave a Reply