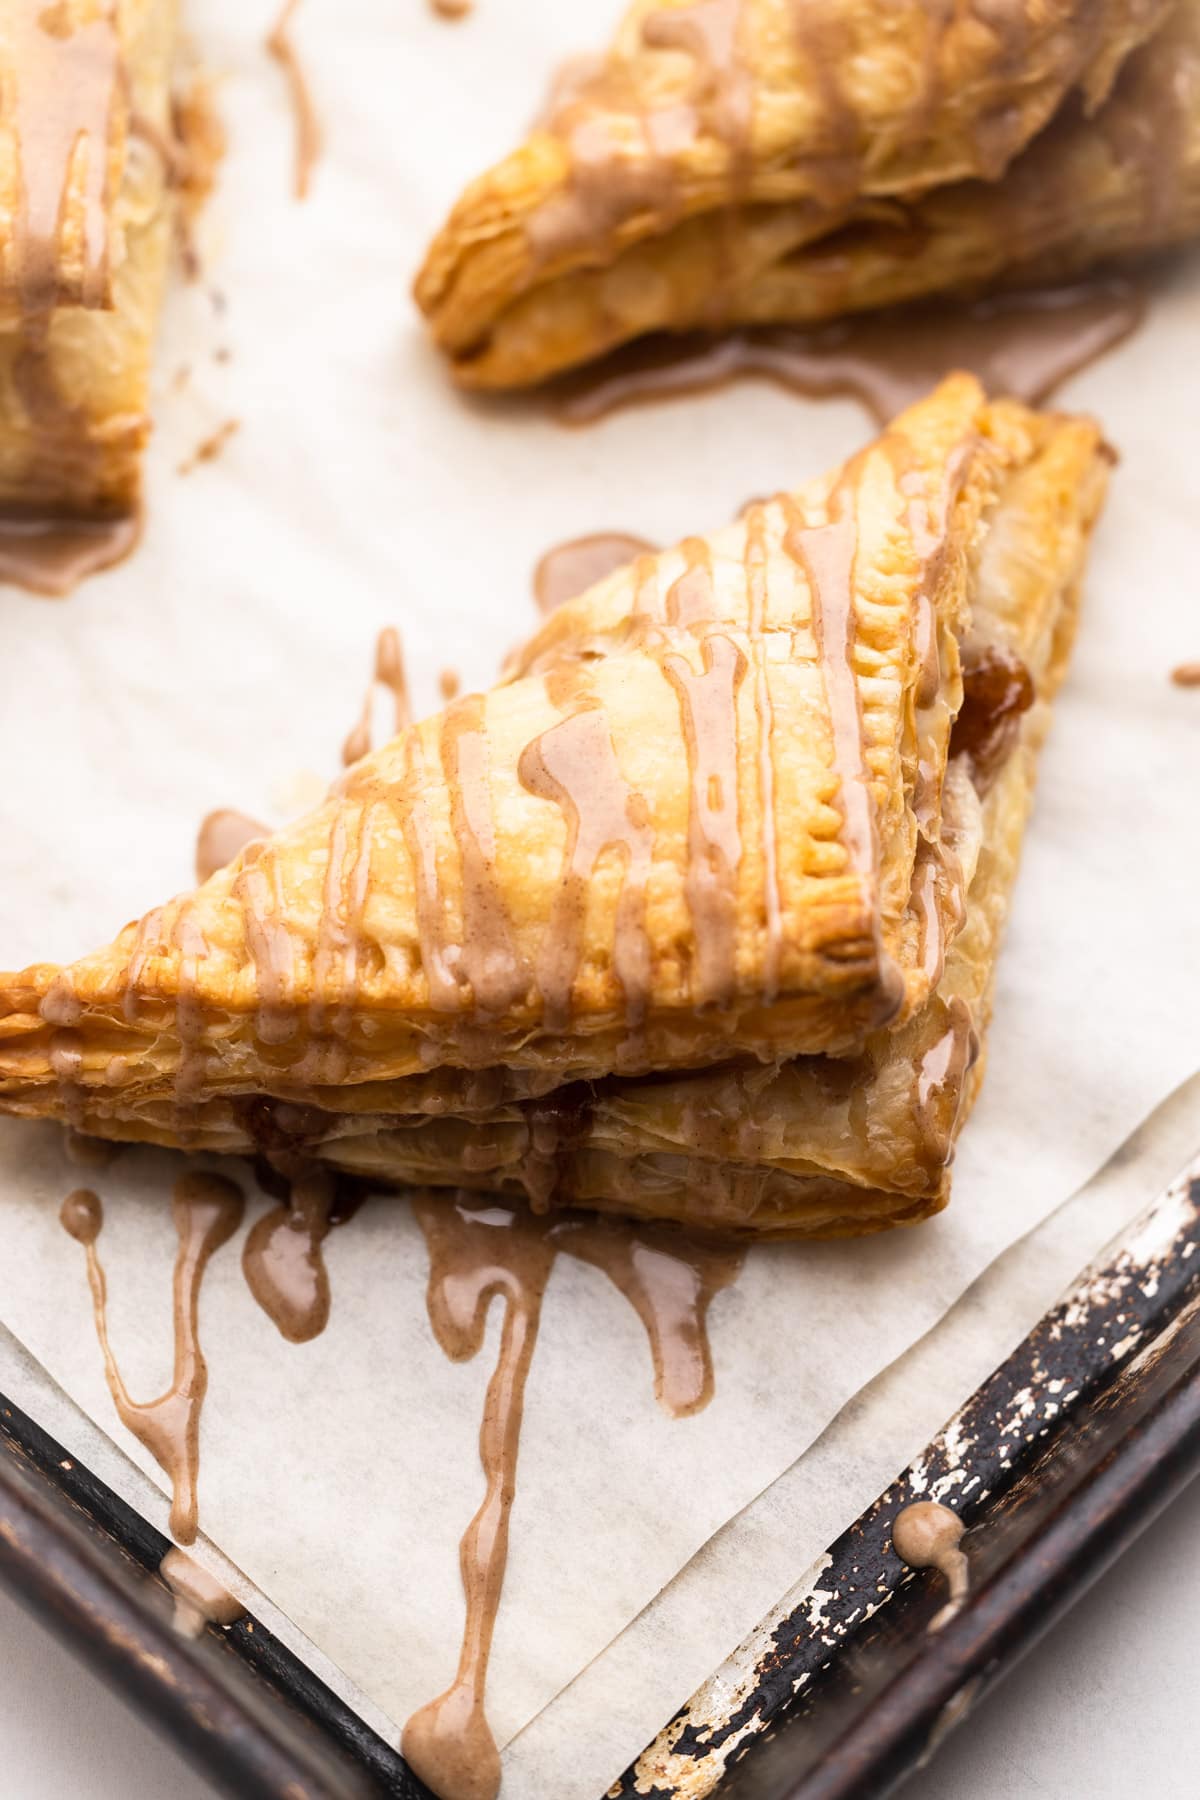
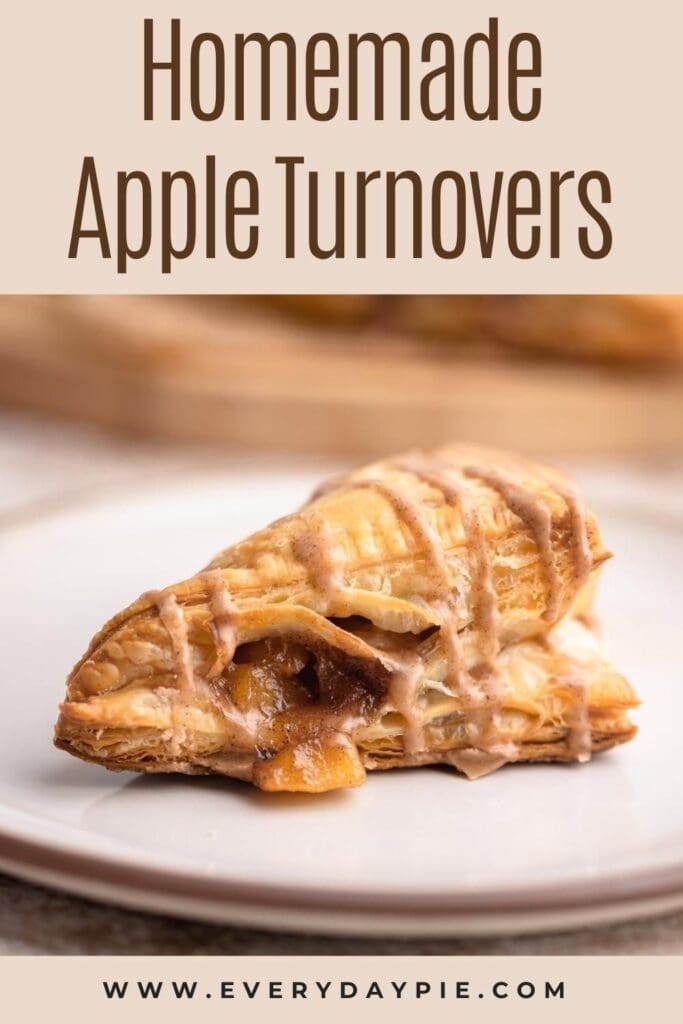
Perfectly cooked apples are lightly spiced with cinnamon and nutmeg then wrapped up in puff pastry and baked resulting in golden crisp Apple Turnovers that are finished with a cinnamon cider glaze.
Want to save this recipe?
Enter your email & I'll send it to your inbox. Plus, get weekly updates from me!
Homemade Apple Turnover Recipe
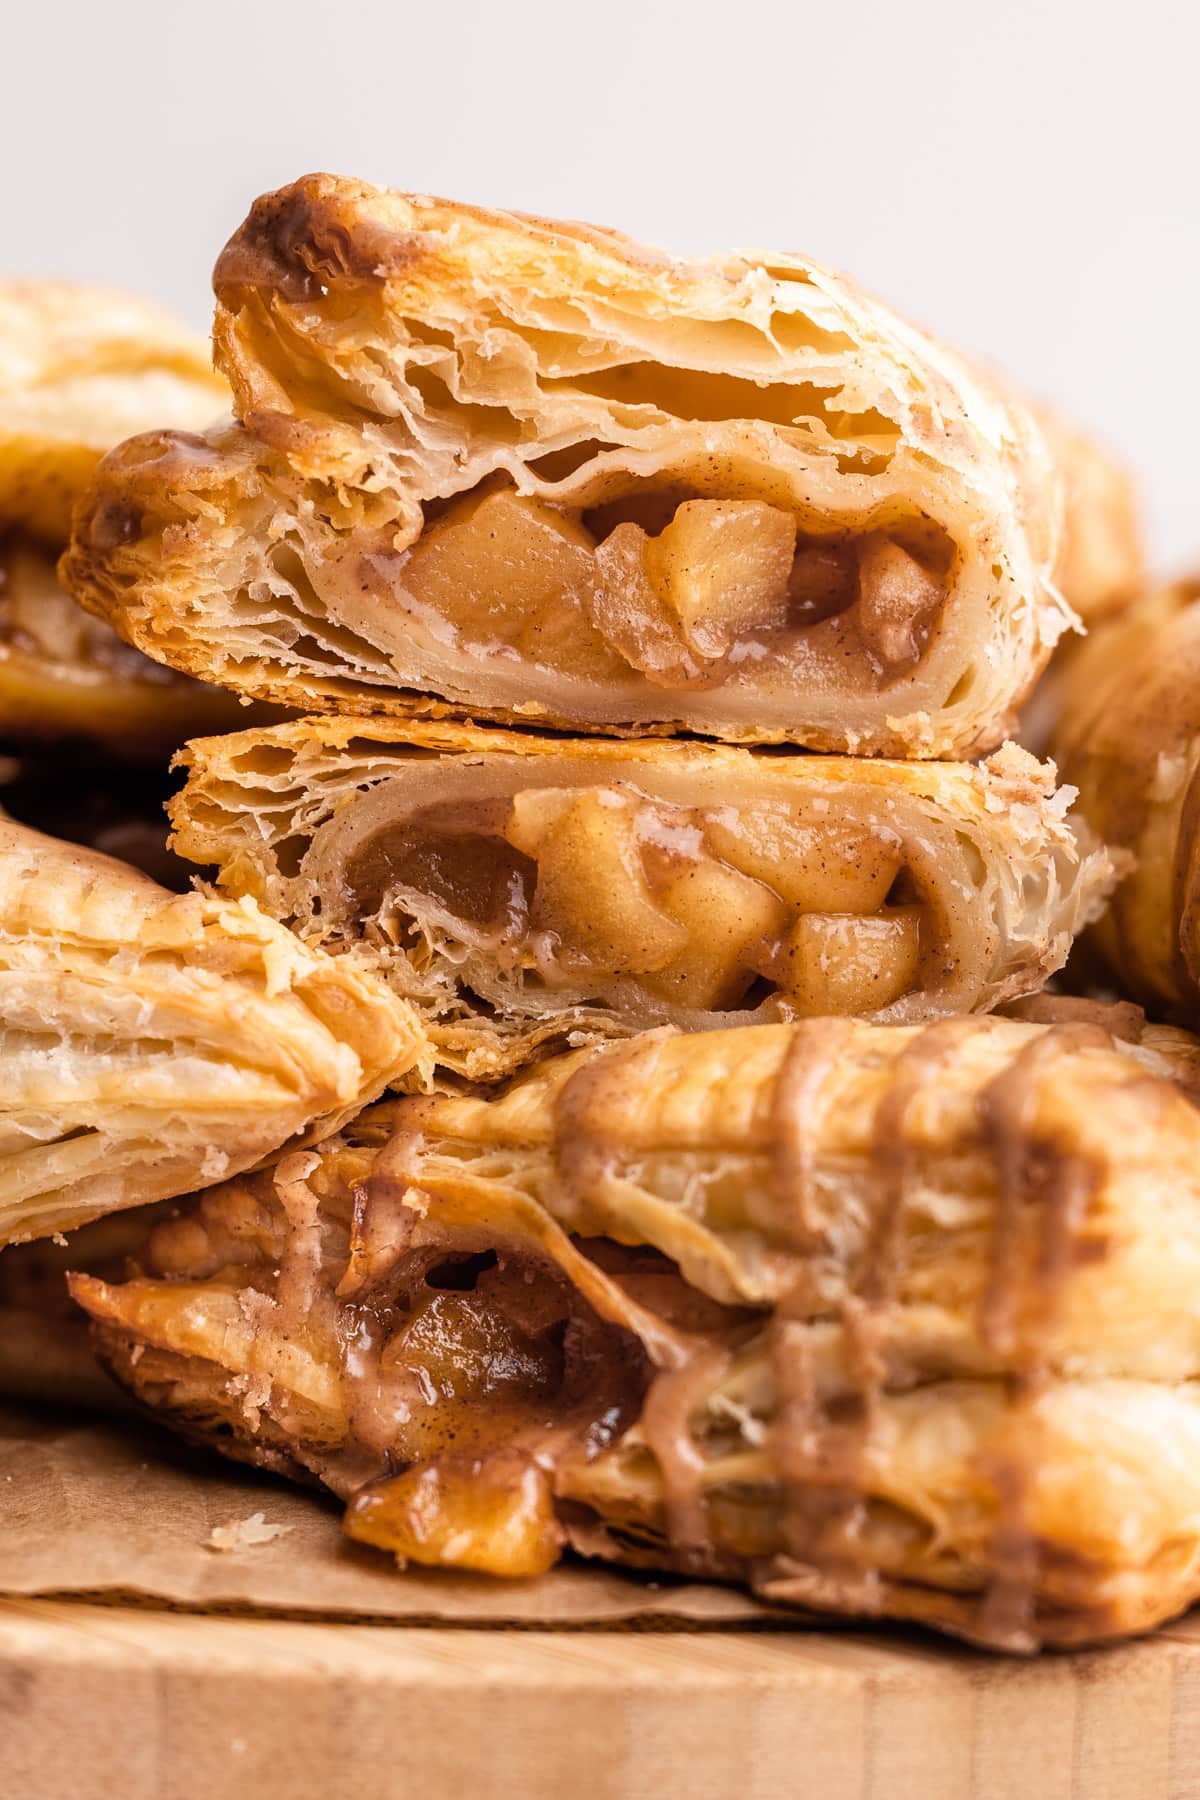
Similar to a hand pie but a bit lighter and flakier, these Apple Turnovers feature a homemade "quick" puff pastry and a sweet and juicy spiced apple filling. However, you can just as easily use store-bought puff pastry if that is what you prefer.
The apple filling is made quickly on the stovetop and is all about the apple flavor, with just a hint of cinnamon and nutmeg.
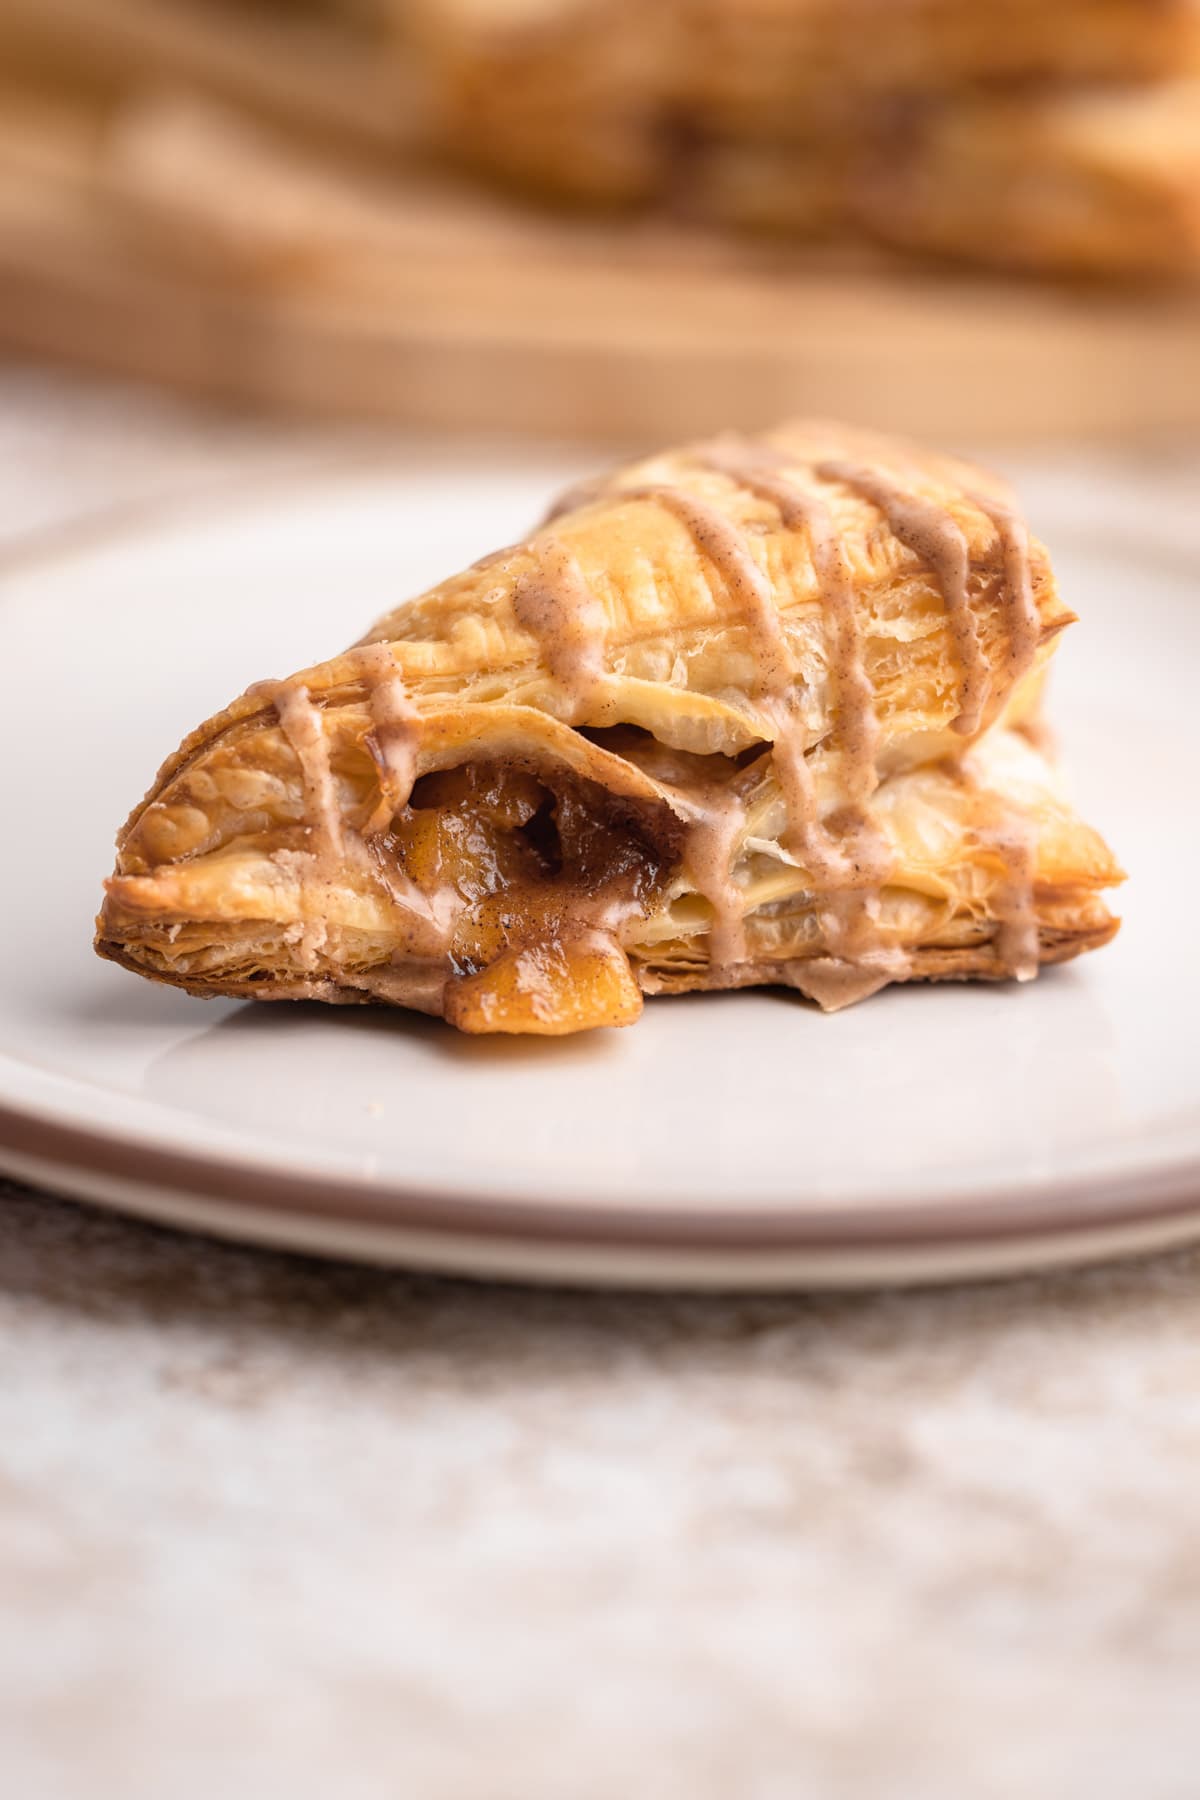
After the turnovers are baked, a quick cinnamon and apple cider glaze is whisked together and drizzled over the top. It's the perfect finishing touch.
While apple turnovers are best enjoyed the day they're eaten, they can be prepared and frozen unbaked ahead of time or even baked ahead of time and reheated before serving (more on that below).
Take advantage of apple season and make these delightful pockets of flaky apple goodness...you won't regret it!
So, let's get to making it, shall we? The text below offers tons of tips and helpful notes, or you can scroll to the bottom to grab the recipe and get started!
More of a visual person? Check out the video of me making it below, located right above the recipe!
Ingredients Needed
Here is an overview of the ingredients needed for this recipe. The full recipe is listed below in greater detail.
- baking apples (see more on that below)
- granulated sugar + brown sugar
- apple cider (don't confuse this with vinegar)
- cornstarch
- spices: cinnamon + nutmeg
- kosher salt
- lemon juice
- vanilla extract
- butter
- puff pastry (homemade or store-bought)
Best Apples to Use for Turnovers
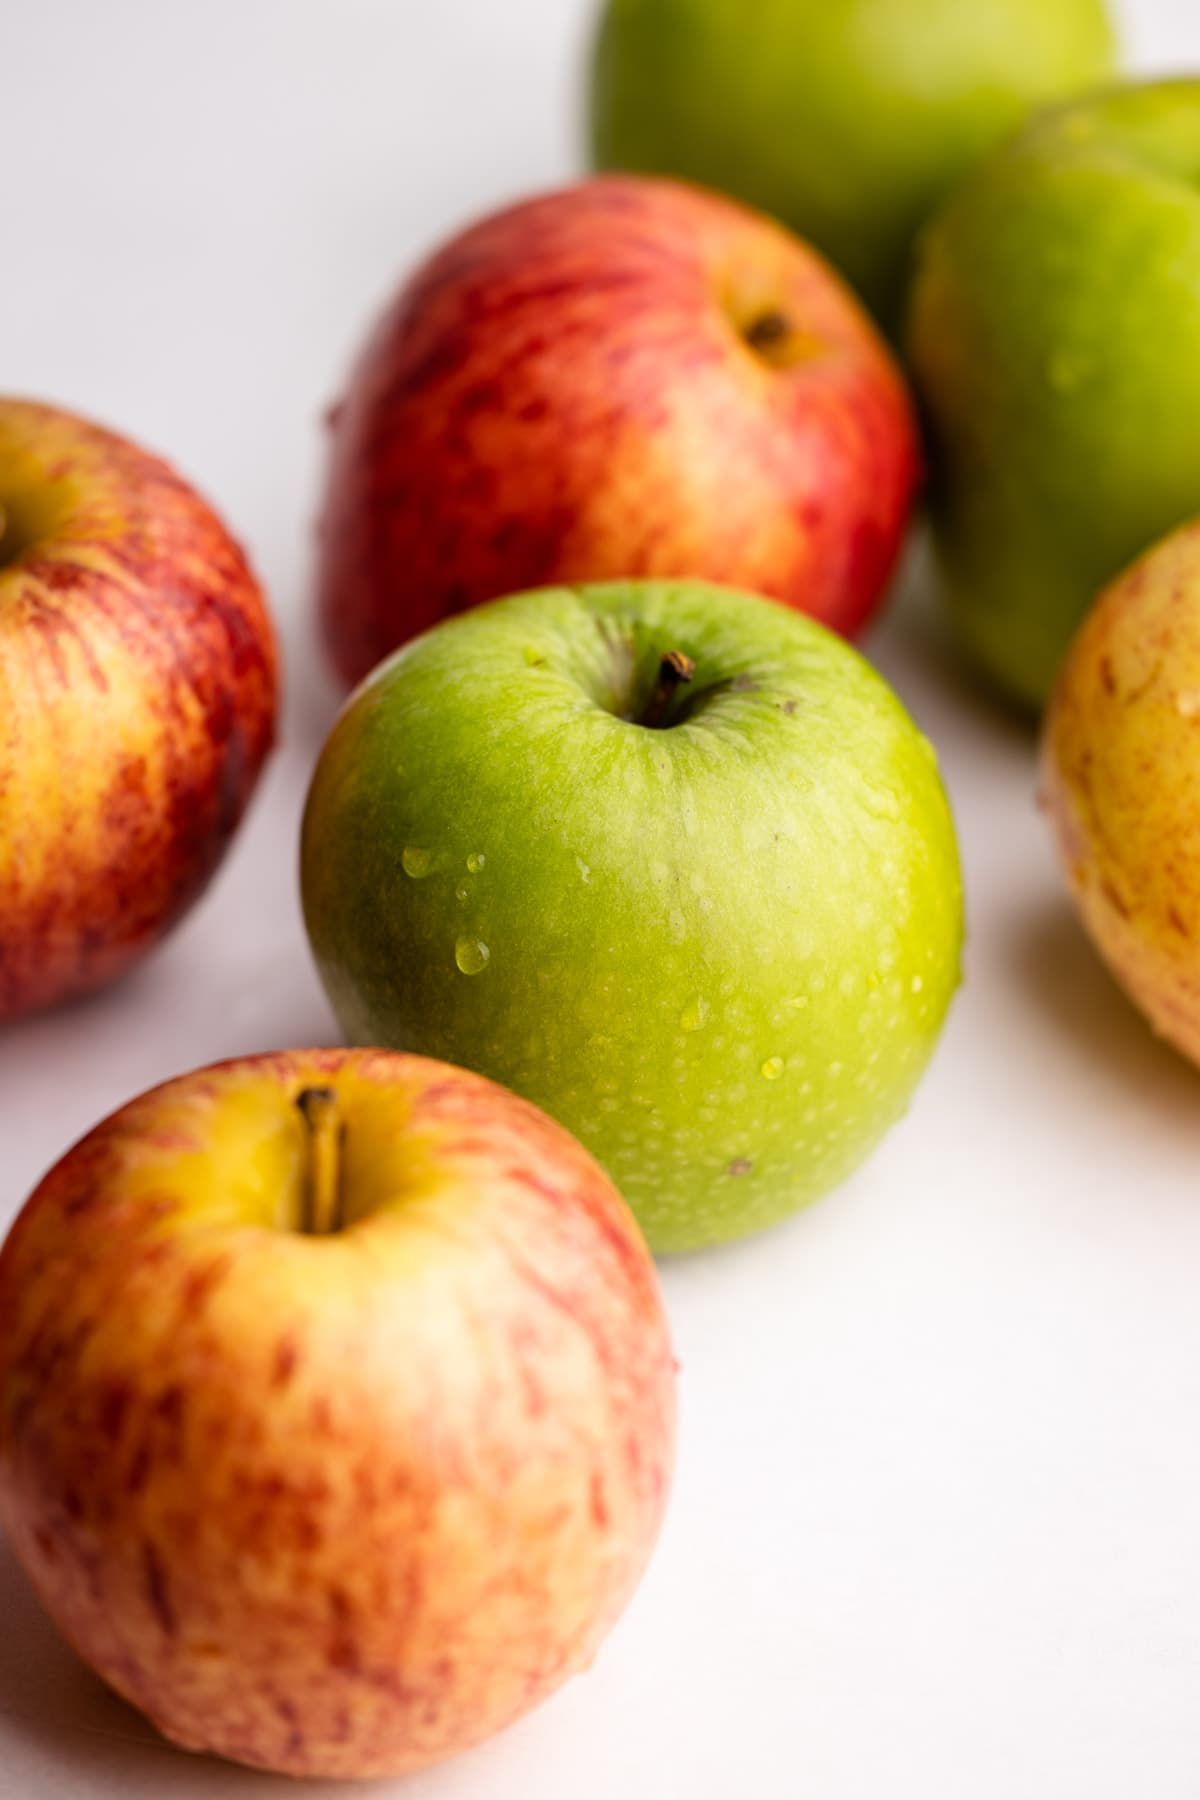
The best baking apples can hold their shape, and have a nuanced flavor and a slight tartness to break up the sweetness of the added and natural sugar. Using a combination of apples is helpful because it introduces a few different types of flavors and textures to the pie.
For this recipe, the combination of Gala and Granny Smithis ideal because they have a good texture after the double cook (on the stove and in the oven), they have a sweet and tart flavor to them, and they are readily available in nearly every grocery store. If you stray from this combination, here are some other suggestions:
- Cortland
- Yellow Delicious
- Braeburn
- Pink Lady
- Ginger Gold
- Jonagold
Useful Tools to Make This Recipe
Here is a list of some of the primary tools I use in this recipe. You won't necessarily choose to use them all, but they are exactly what I used. Any links may contain affiliate links.
- stand mixer (only if you are making the puff pastry)
- 13"x18" sheet pan (also known as a half sheet pan)
- rolling pin
- ruler and pastry wheel or sharp knife (to cut squares from the pastry)
- pot (to cook the apple filling)
- kitchen essentials: baking scale, bowls, measuring cups and measuring spoons, rubber spatula
Overview of Steps
The number of steps needed to make this recipe depends on if you plan to make your puff pastry from scratch. More on this below.
- Make the puff pastry, and chill it (or, skip the step if you are using store-bought).
- Make the apple filling and chill it.
- Roll out and cut the puff pastry to 6 squares.
- Assemble the turnovers.
- Bake!
Let's Talk Puff Pastry
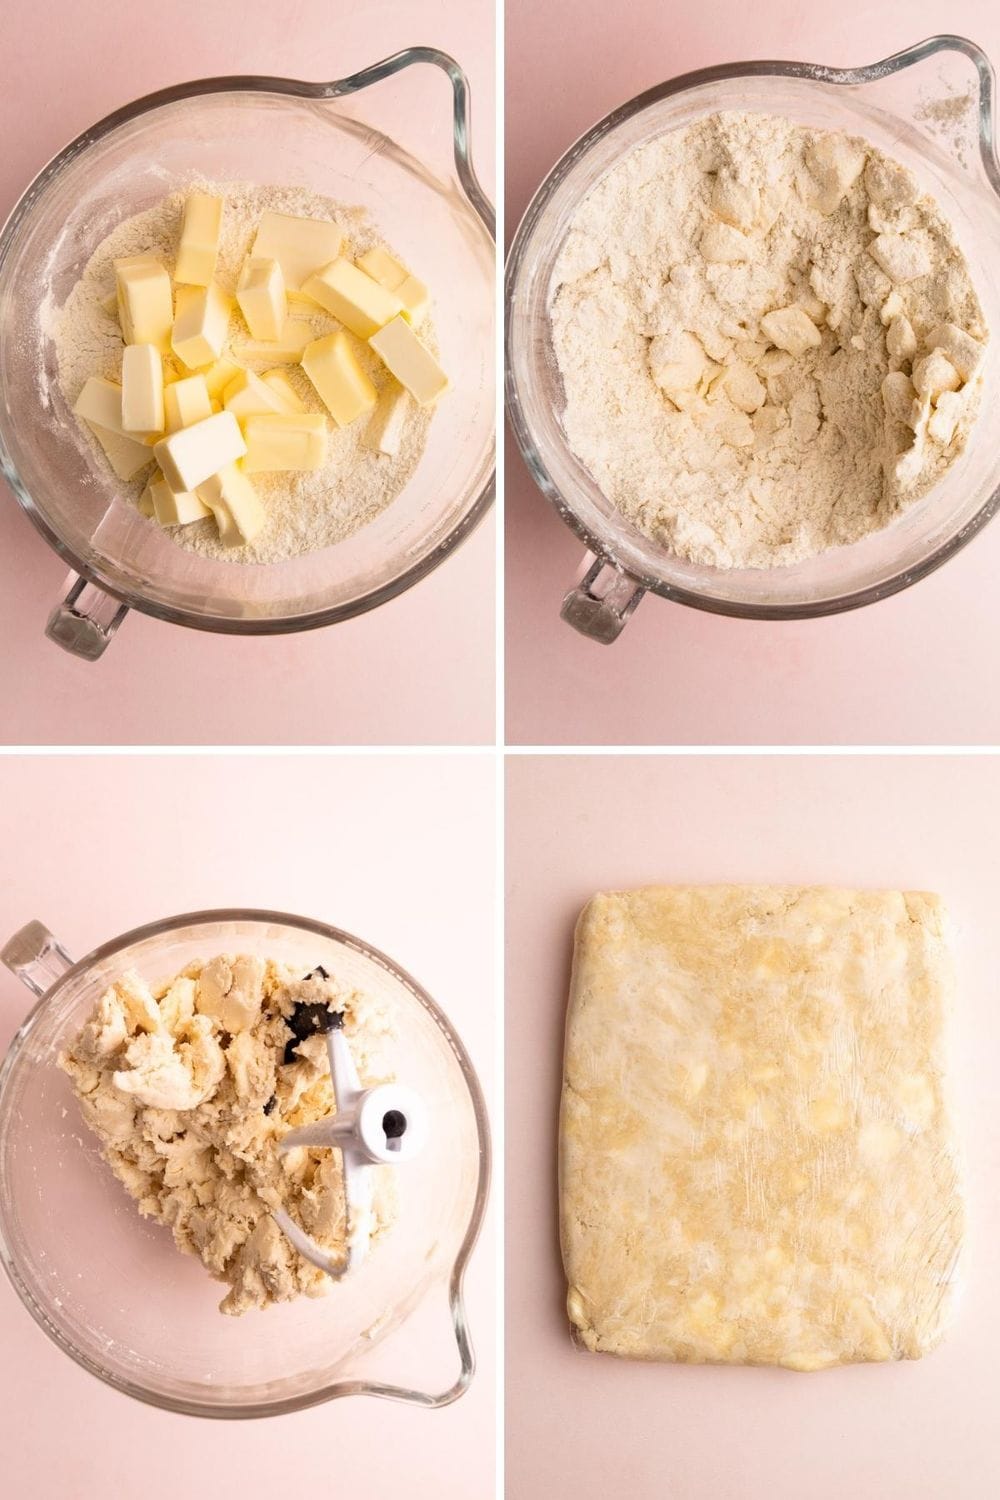
Puff pastry is a classic french pastry made by laminating butter in a dough repeatedly until the final pastry has many hundreds of alternating layers of butter and dough. Rough puff is a more streamlined version of it, that is less fussy but with extremely similar results.
Rough puff is made by laminating (or layering) an enriched butter dough that is very similar to pie crust, except that it's rolled and folded five times.
This apple turnover recipe calls for rough puff, but if you wanted to make the classic puff pastry, you certainly could! The recipe makes six turnovers and uses only half the batch of the rough puff recipe. Save the other half for another pastry, or different flavors of turnovers, or you can even double the batch and make 12 apple turnovers.
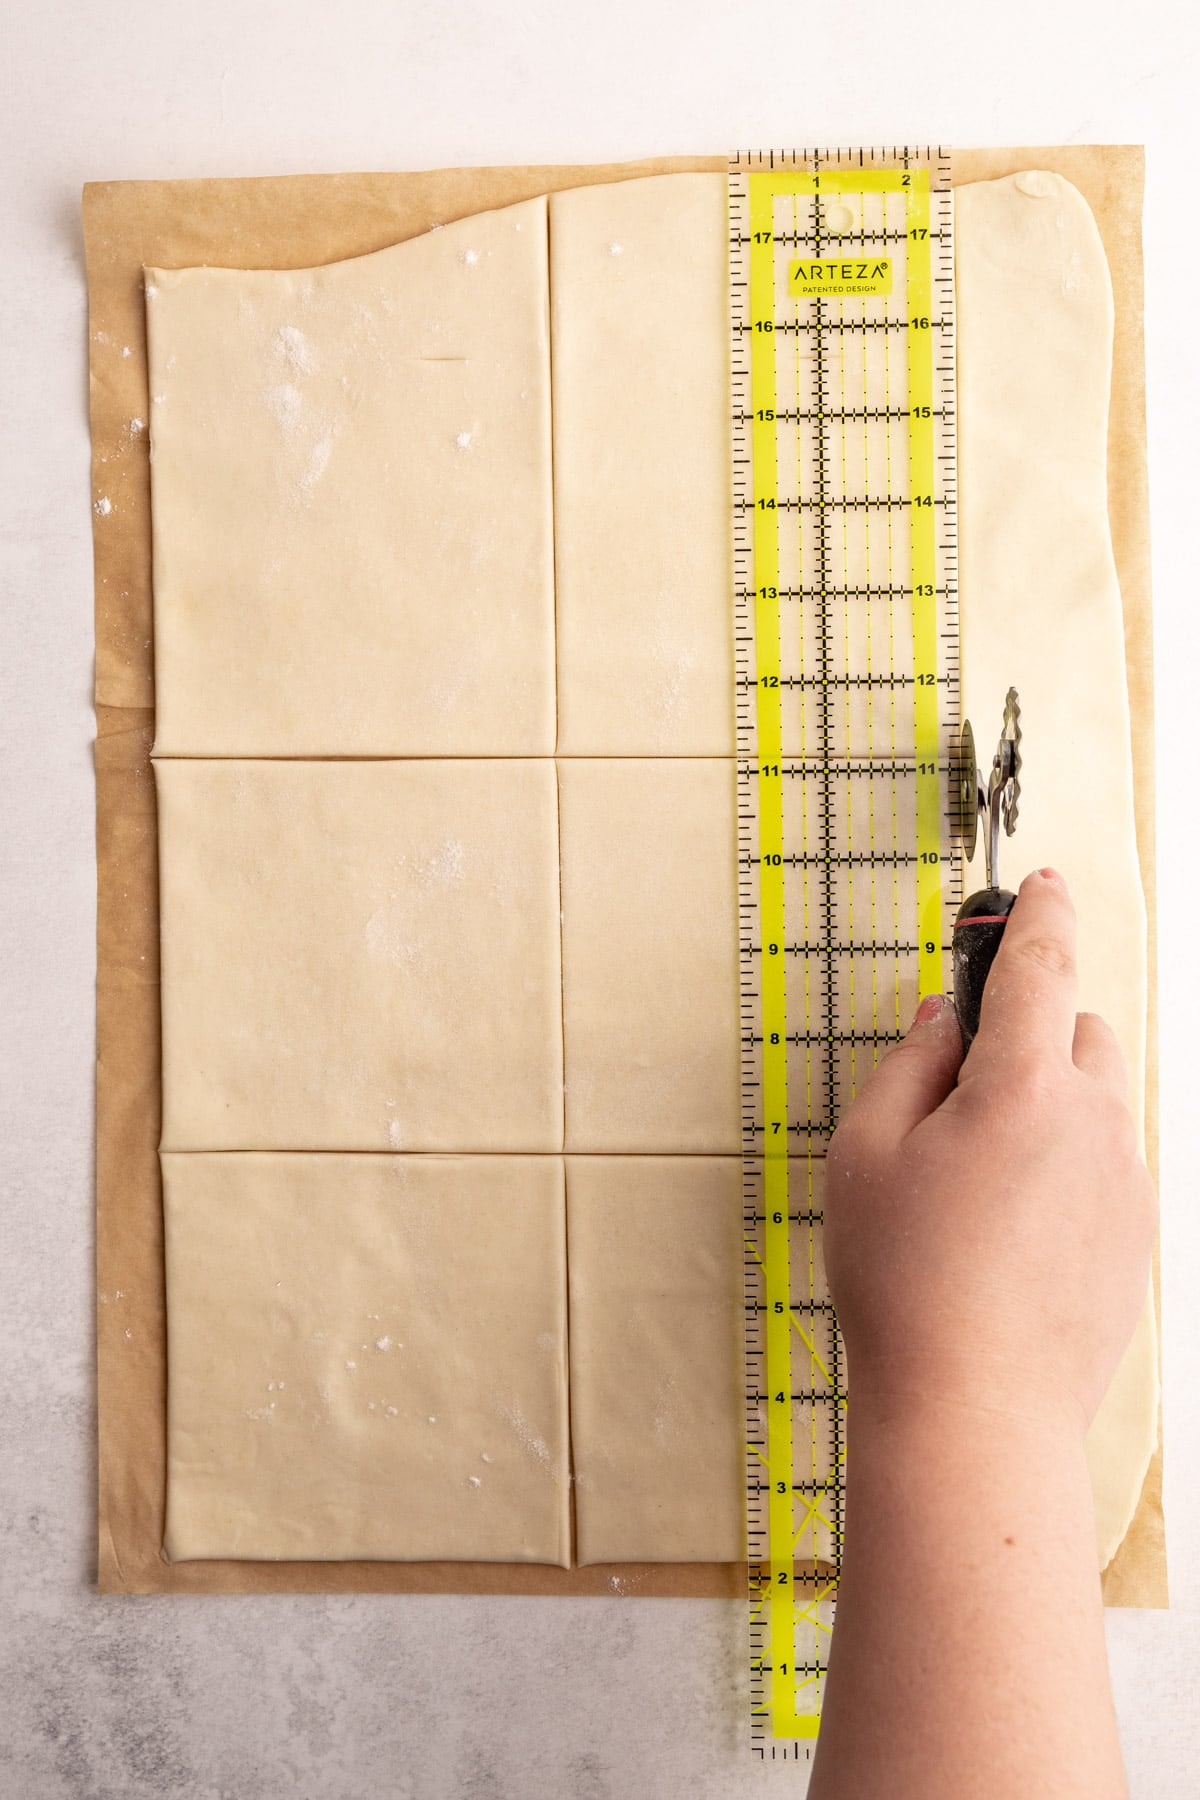
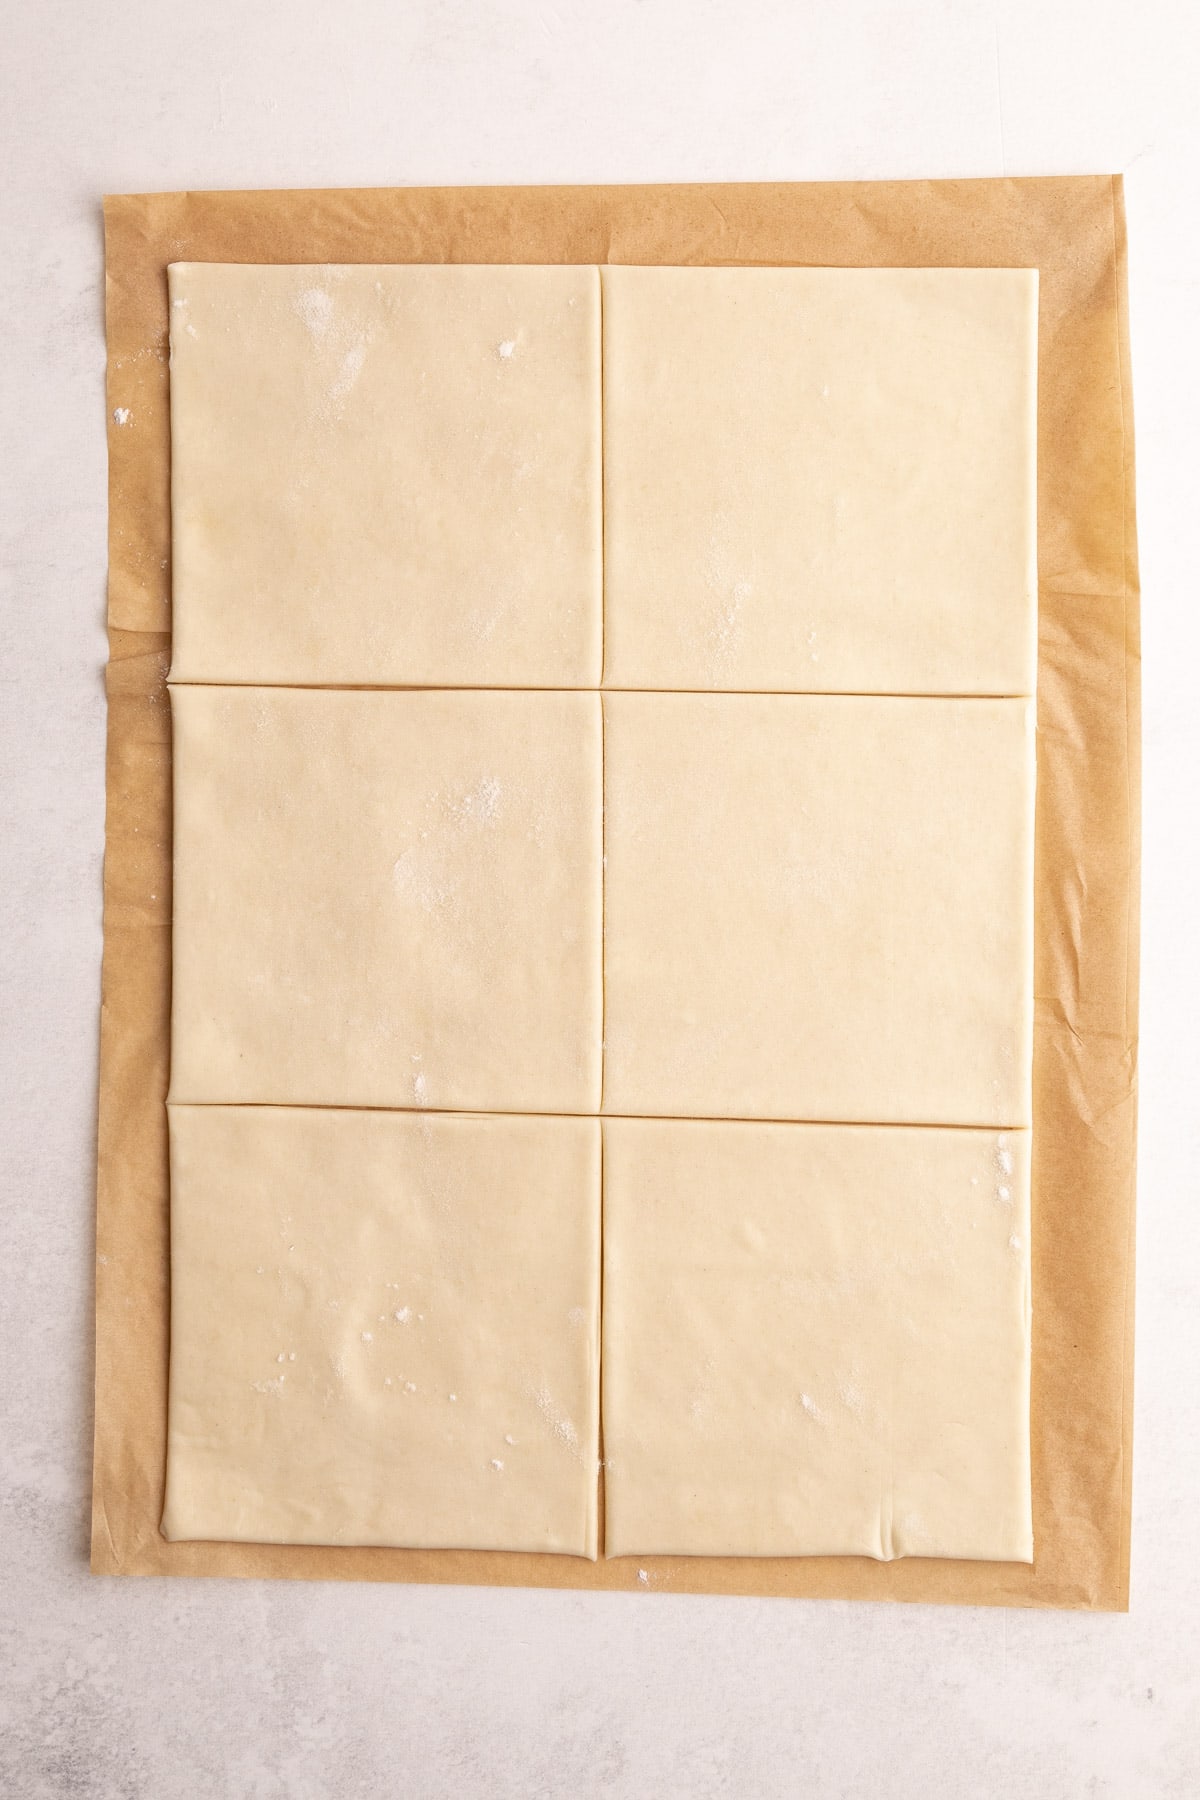
Can you buy puff pastry at the store? You absolutely can. However, the turnovers will be a little bit smaller than the ones you can make with homemade rough puff. And, depending on the type of puff pastry you buy, the instructions for cutting the pastry squares might differ slightly.
Purchased puff pastry typically either comes in one folded 14-ounce sheet, or it comes in two folded 8-ounce sheets. Please note, I haven't tried all brands, so your store-bought puff pastry may be different than this.
The measurements listed in this recipe correspond with the use of my homemade rough puff recipe. If you have purchased puff pastry with 1 sheet, try to roll it out slightly thinner to an 8"x12 rectangle and cut out 4" squares. If you are using puff pastry with two sheets, I suggest rolling out each sheet a little thinner and cutting them into 4 squares each, which will mean you will get 8 turnovers. See the notes of the recipe for more information.
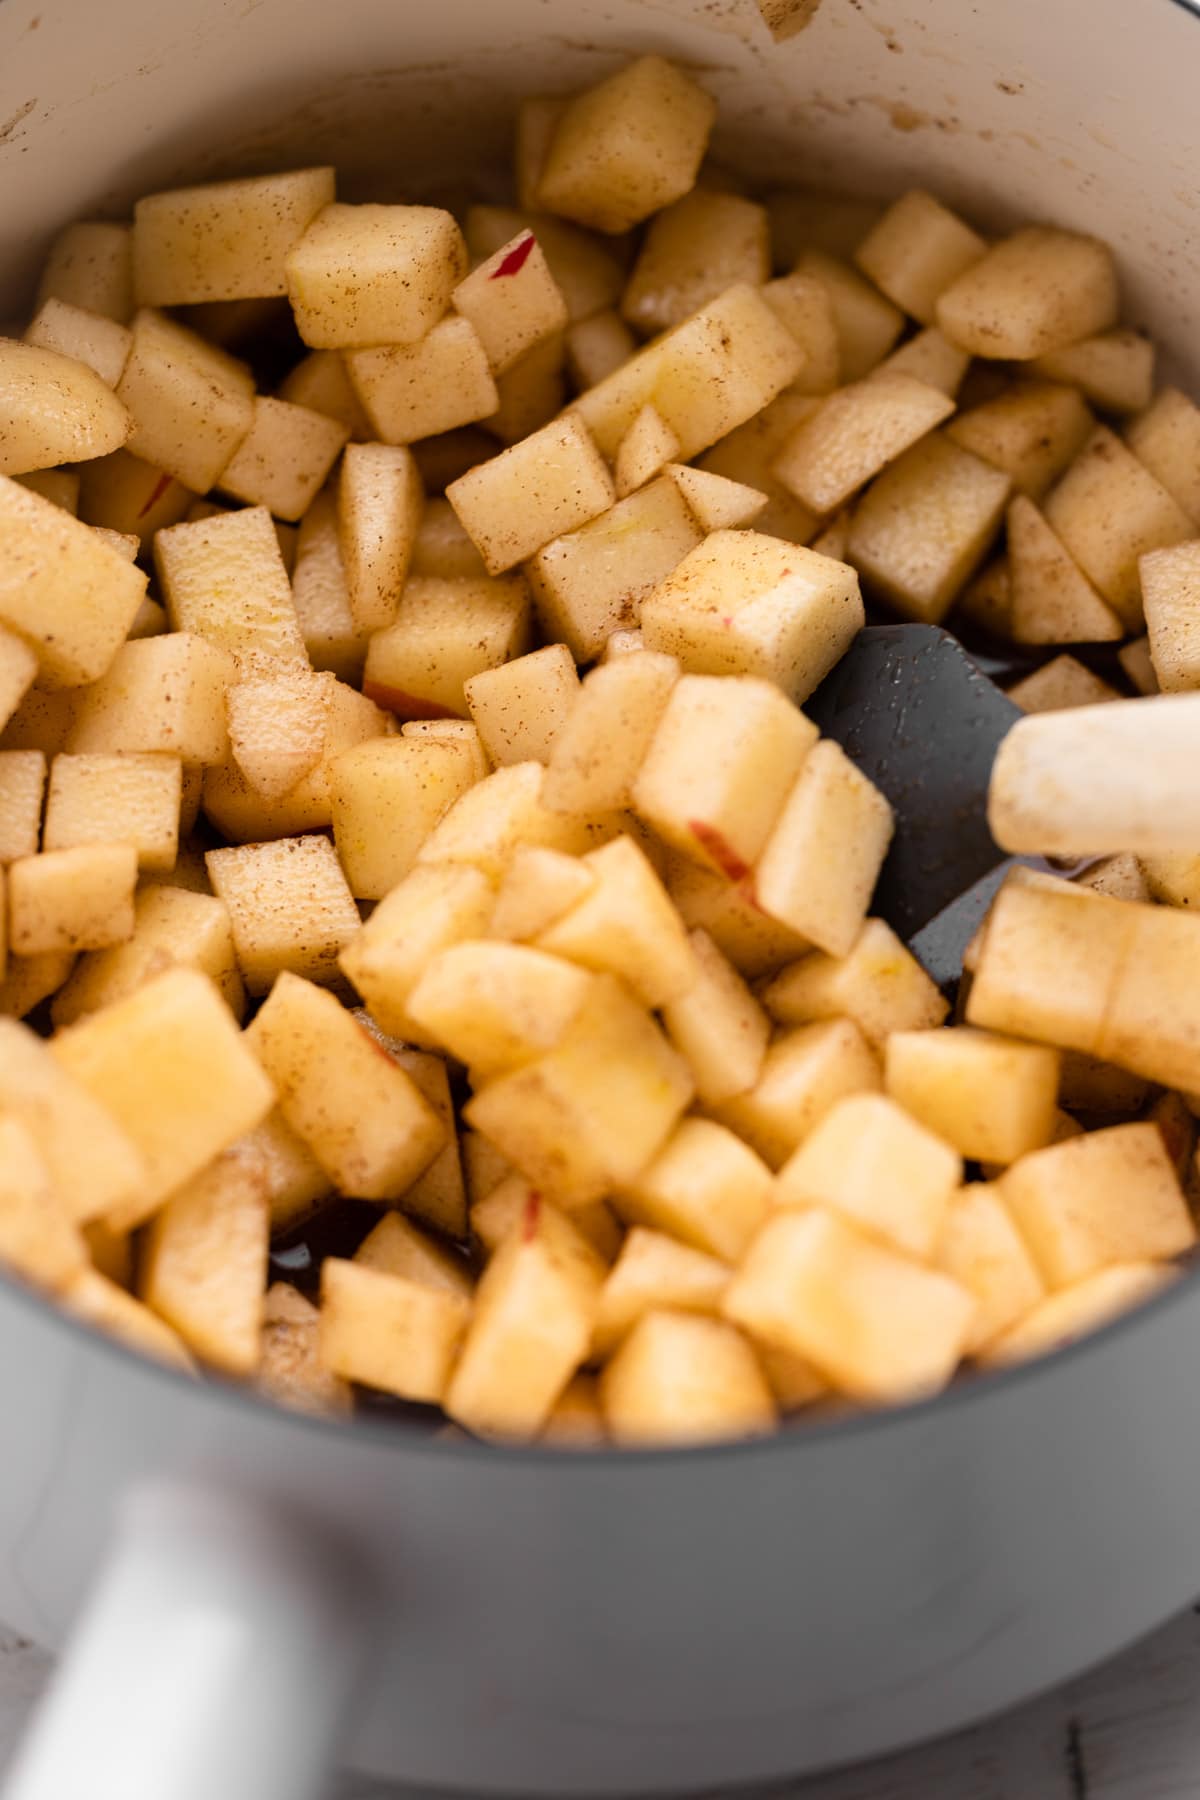
Making the Apple Filling
Turnovers bake relatively quickly, which means there wouldn't be enough time for the apple filling inside to bake by the time the puff pastry has finished cooking. For this reason, the filling must be precooked on the stove top.
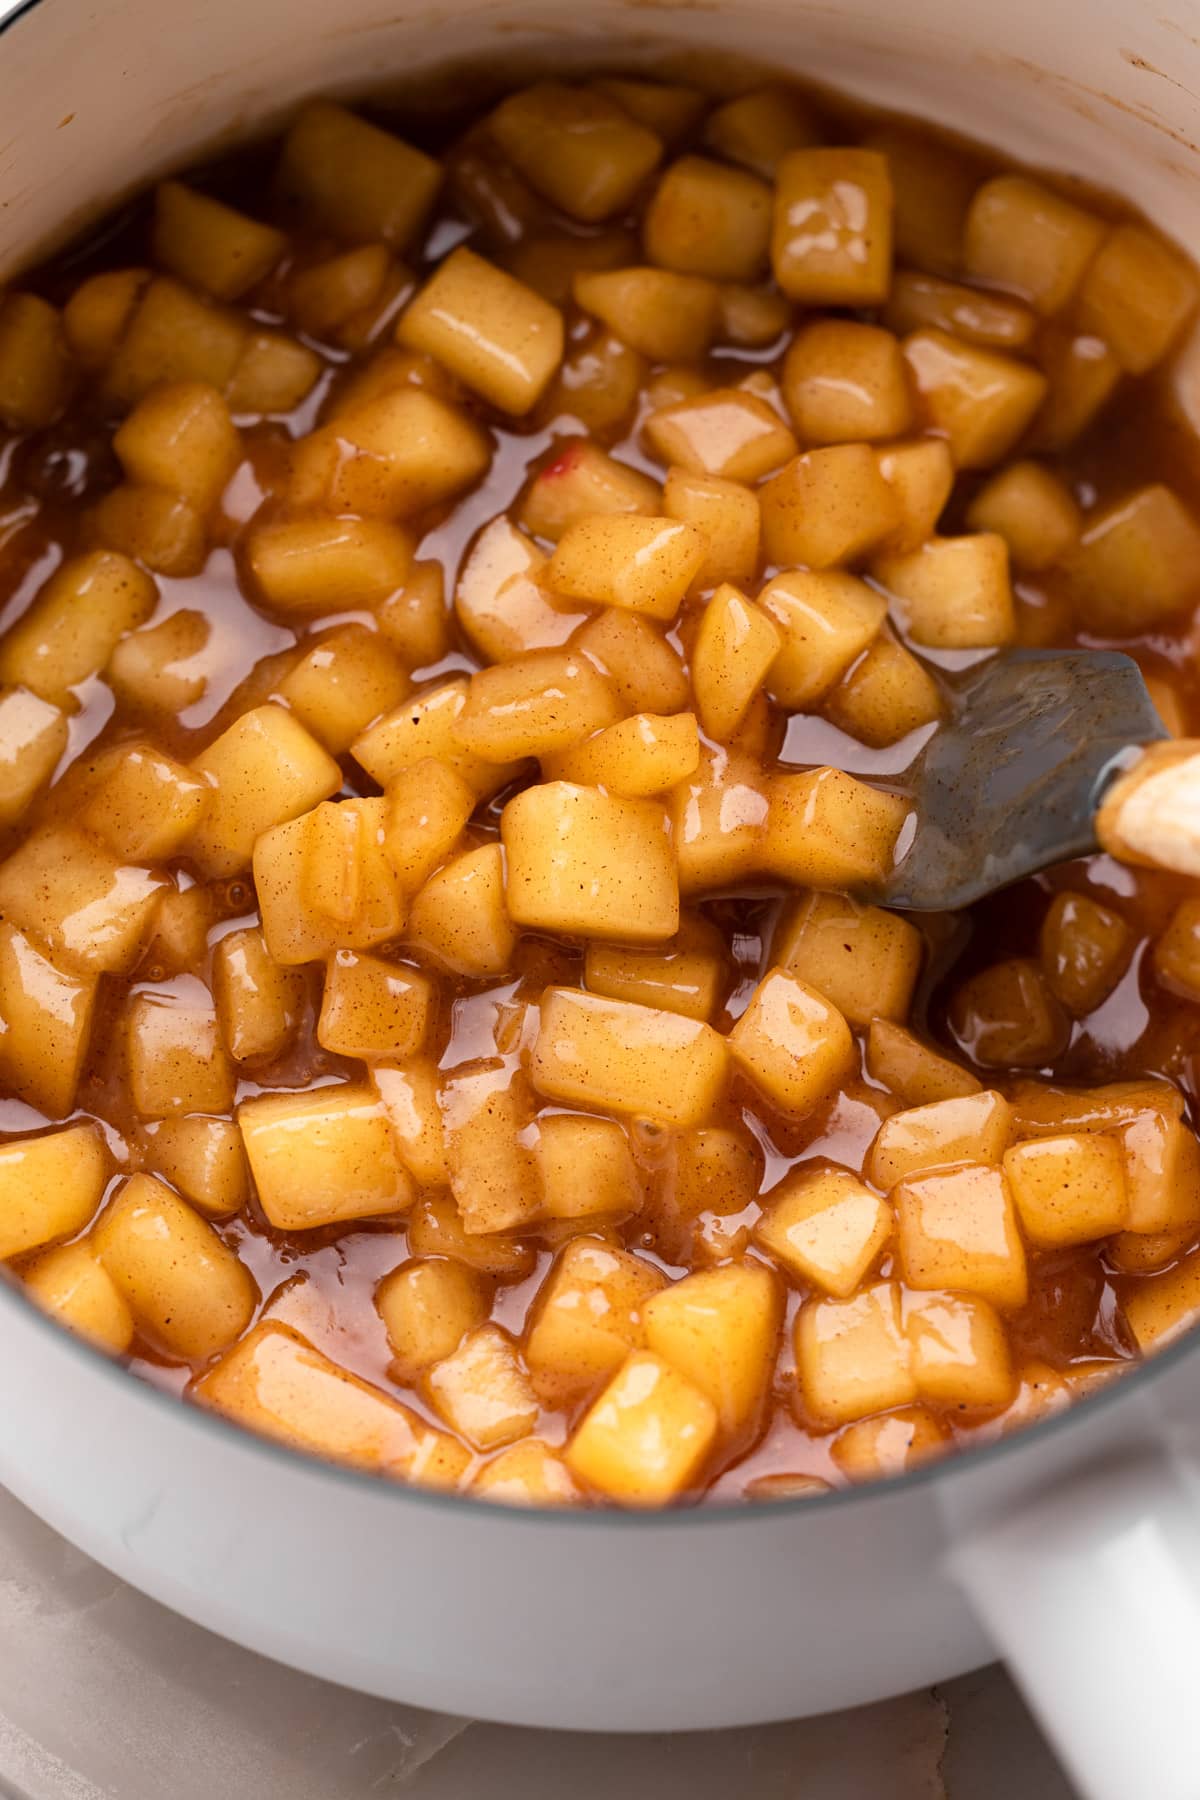
Making the filling is a very simple recipe. Essentially, apples are combined together with sugar, lemon juice, spices and some apple cider and then cooked. Once the apples have become tender, a slurry made with cornstarch and apple cider is added, and boiled in order to activate the thickener. At the end, stir in some butter and vanilla to help round out the flavor.
Please note: The apple filling must be completely cooled before filling the turnovers. Steaming hot filling in butter pastry always equals a disaster. So be sure to plan ahead of time.
You likely will have some leftover filling. You can enjoy any leftovers over ice cream or yogurt. It also freezes well. Or you can make additional turnovers!
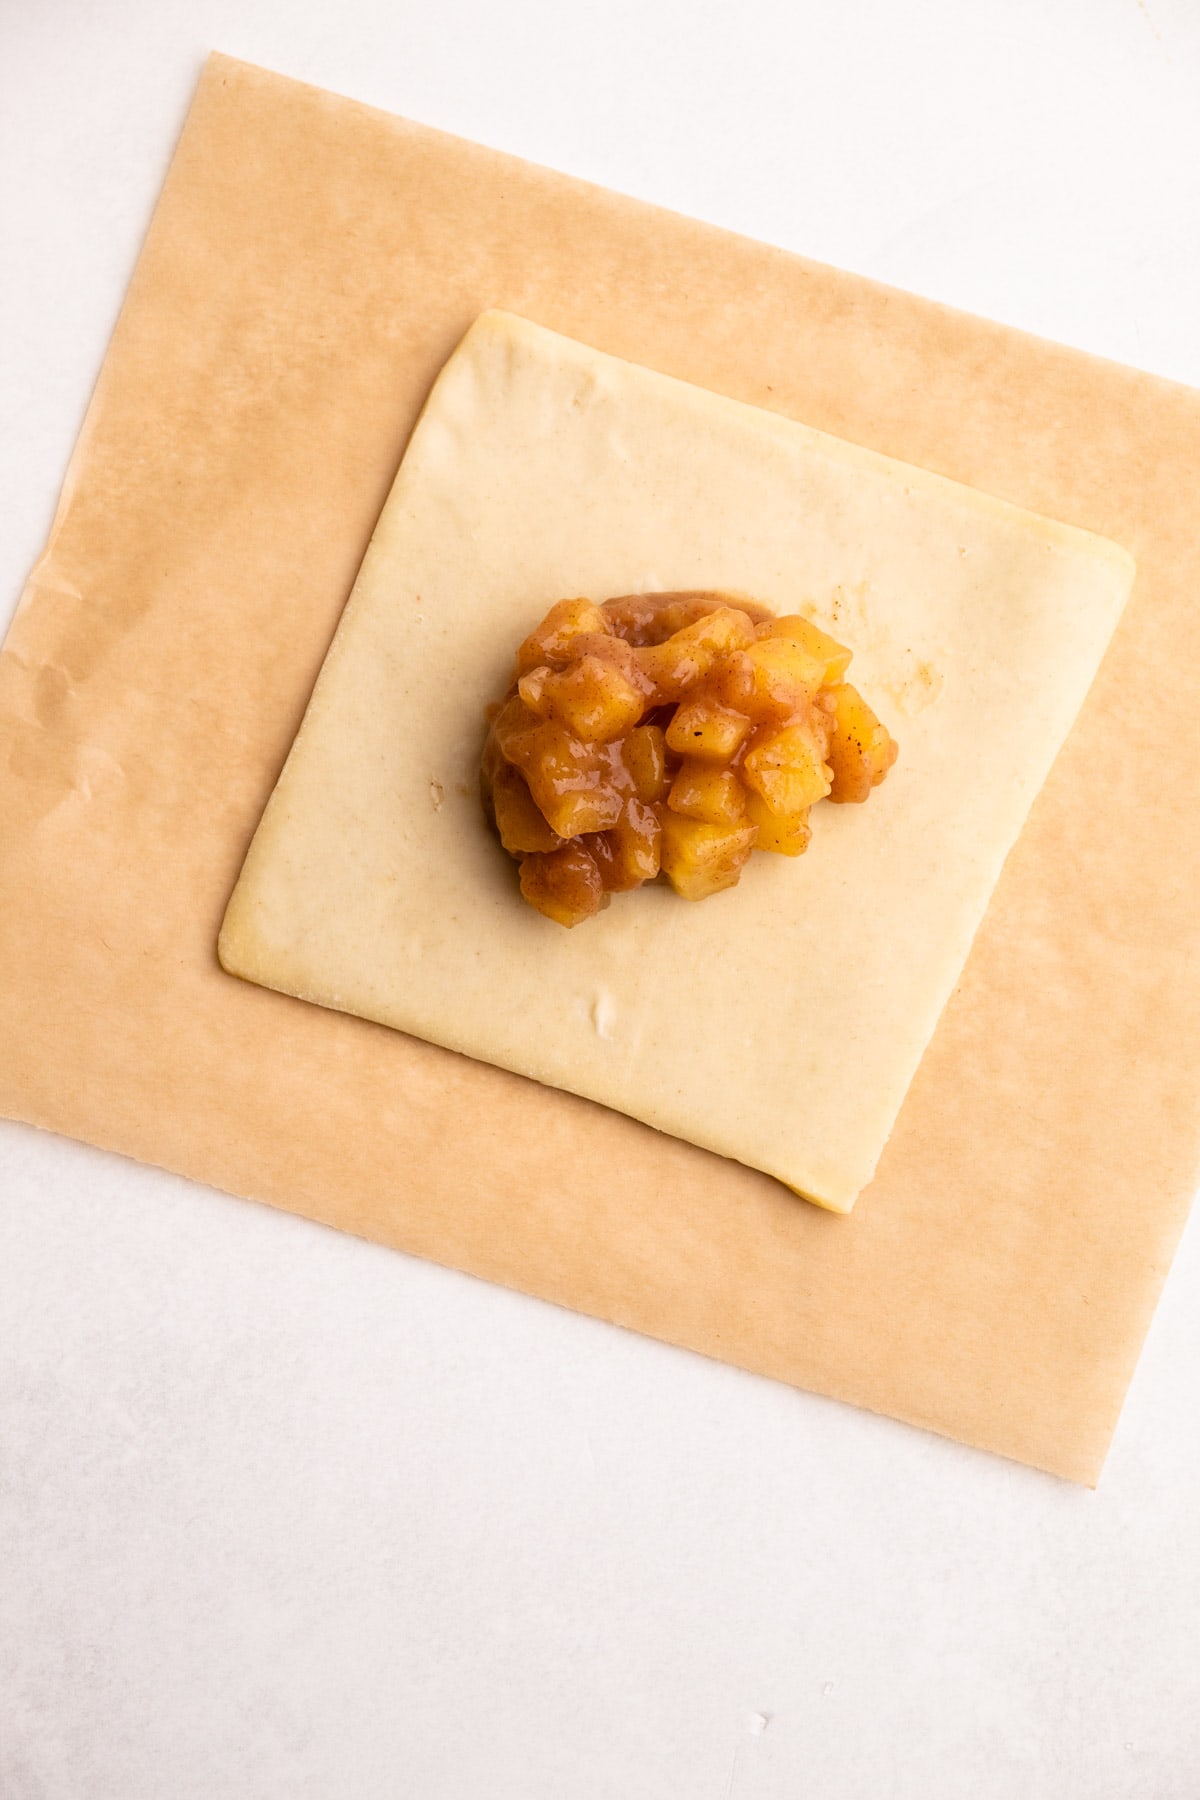
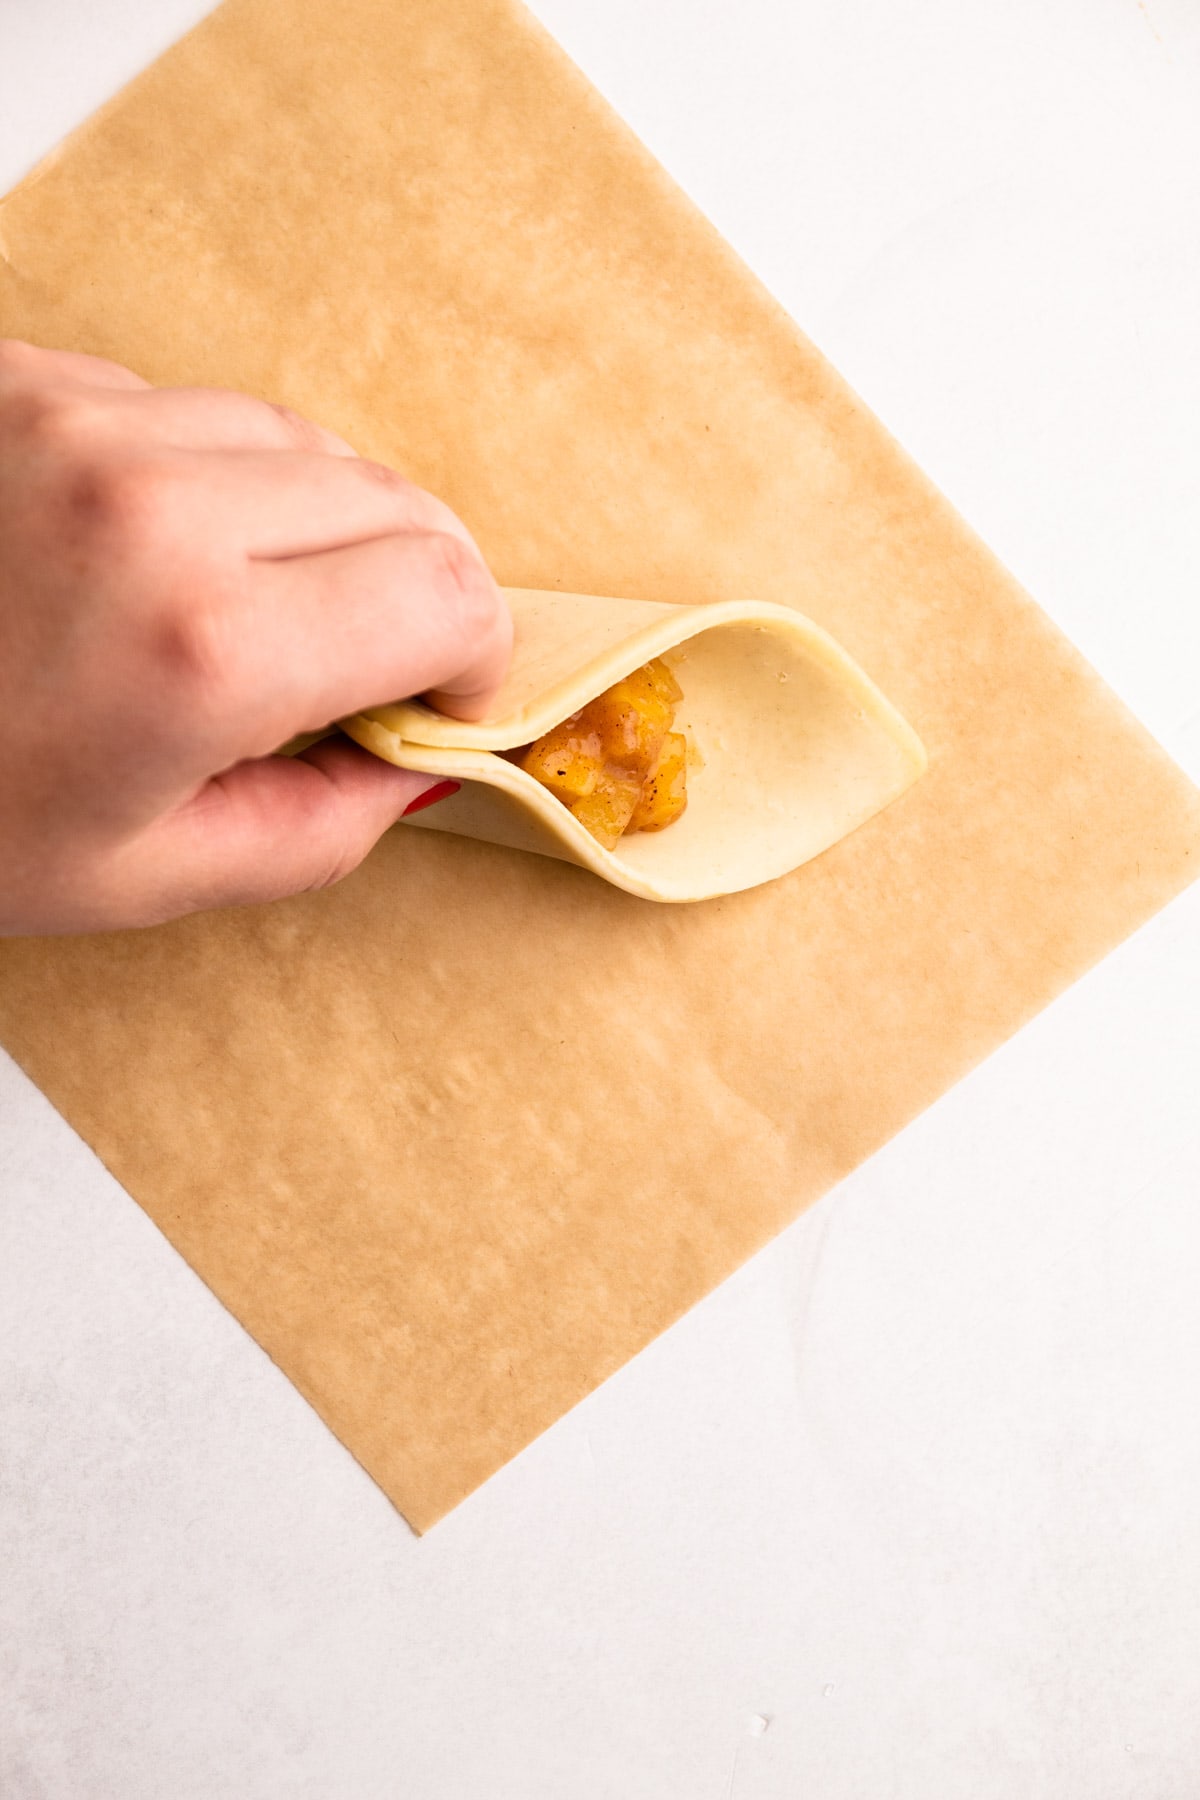
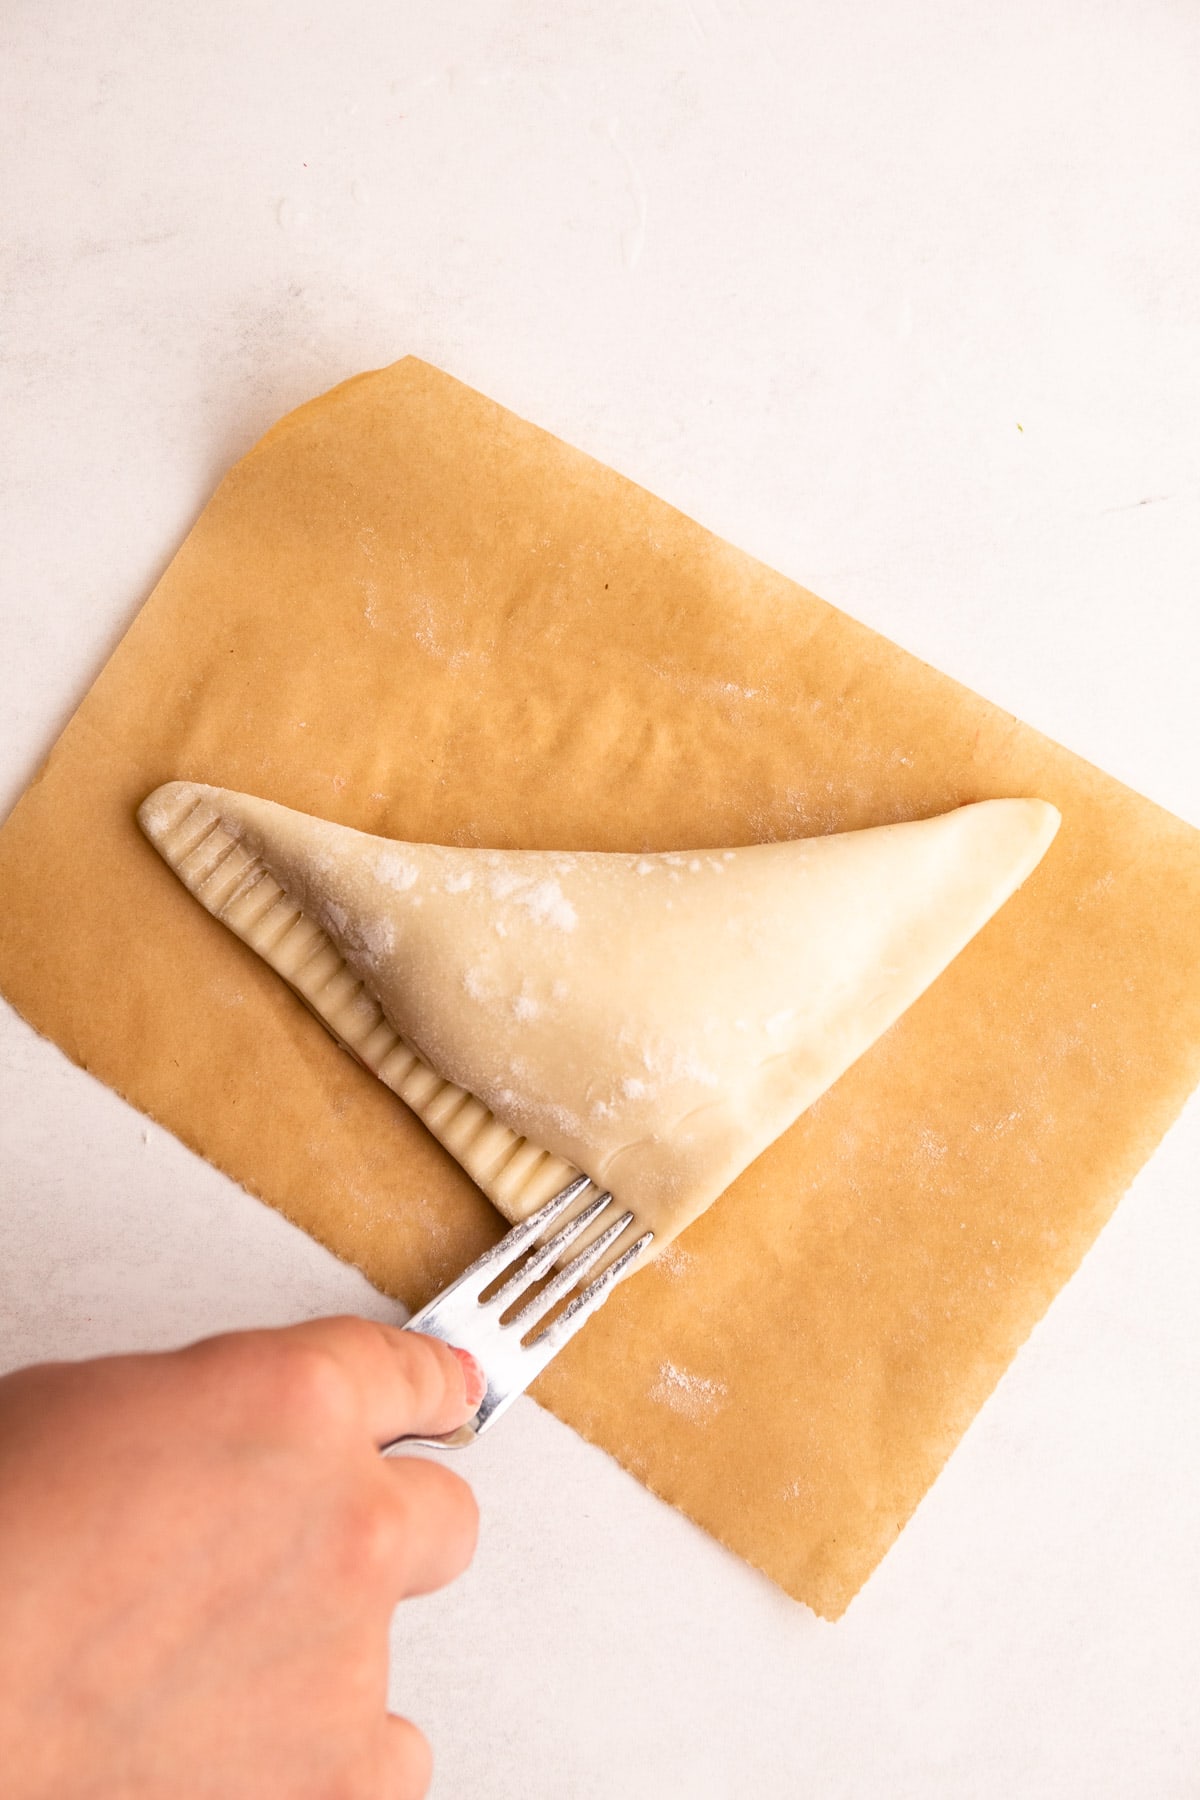
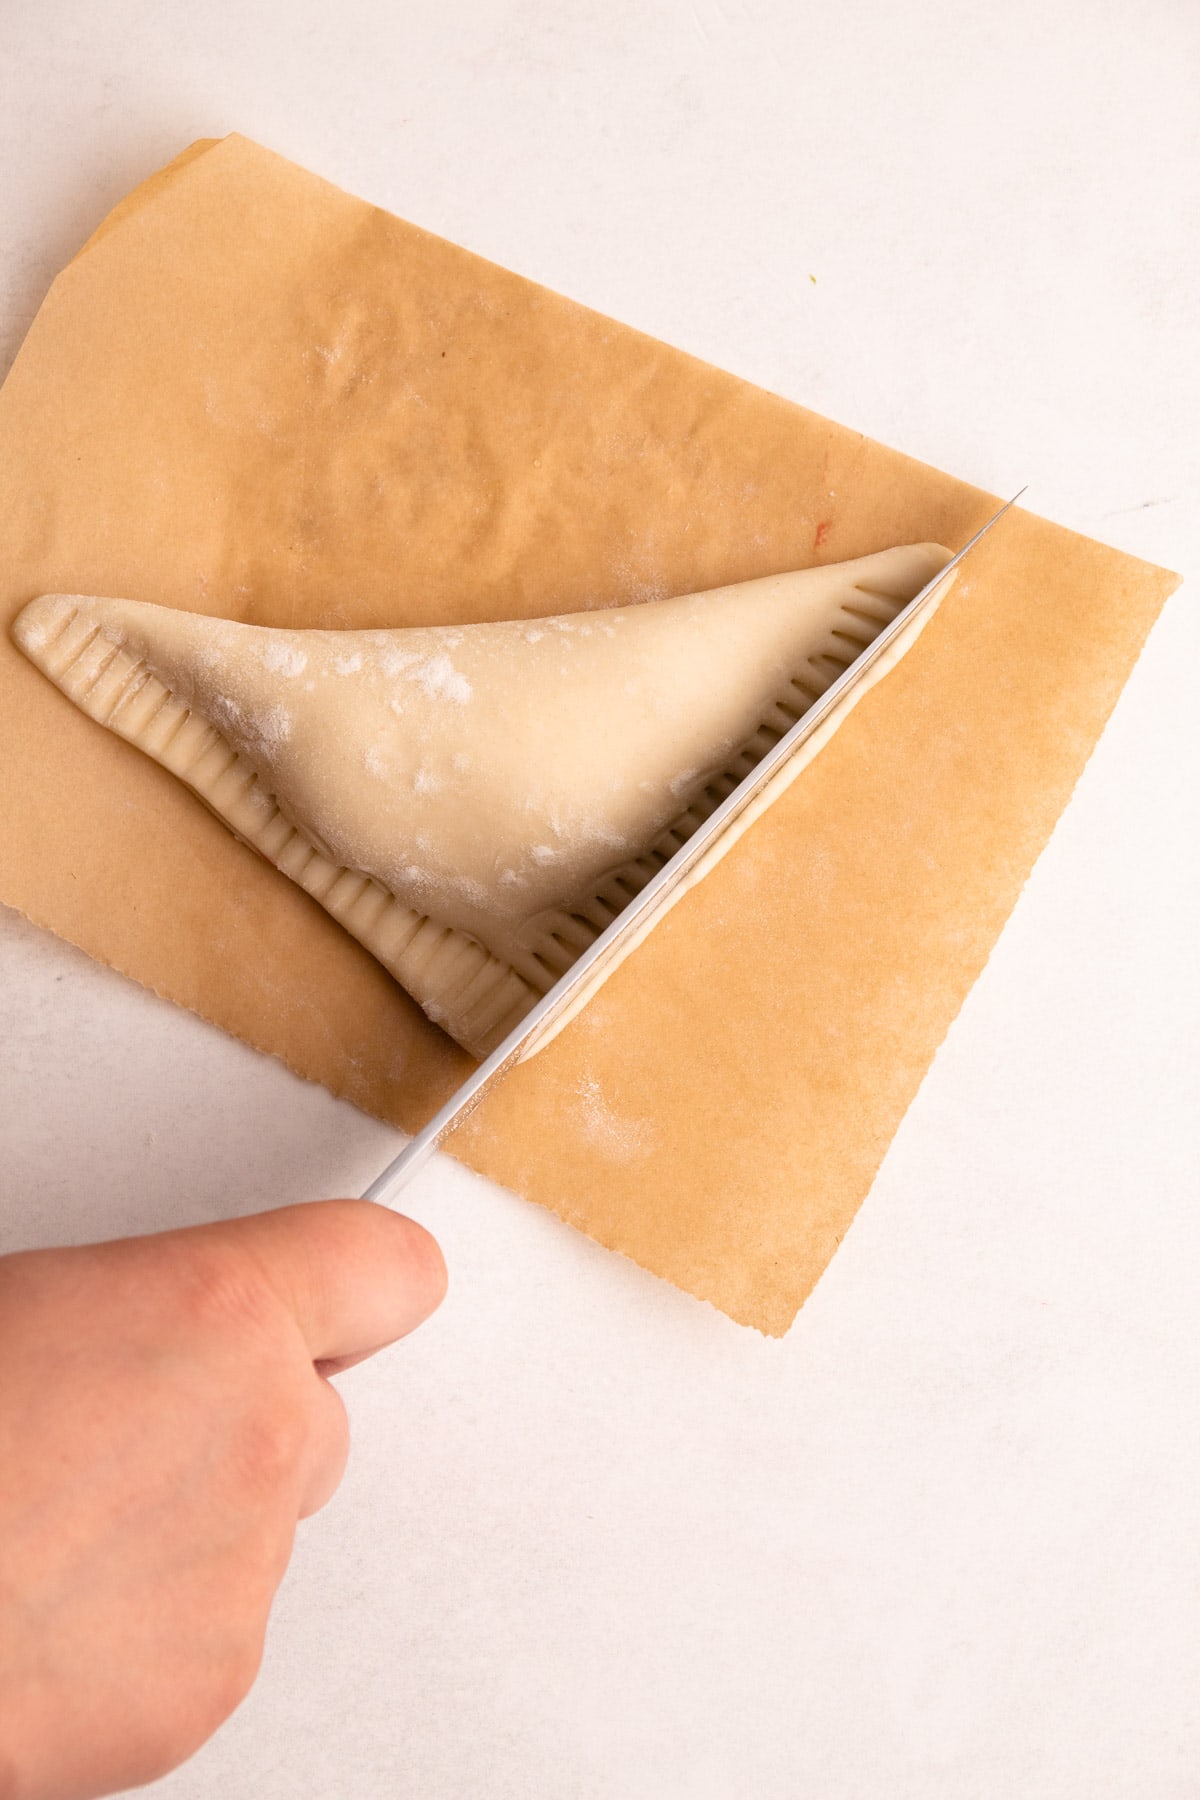
How to Form the Turnovers
Let me just start this off by sharing the golden rule when it comes to working with puff pastry: if at any point your pastry is getting too warm, simply place it in the refrigerator or freezer to chill. Warm puff pastry is not only sticky and tricky to work with, but letting the butter melt will result in stodgy flat baked pastry.
Depending on what puff pastry you use, you should have about six 4.5" squares of pastry to work with.
Filling the turnovers is a delicate balance of not overfilling them and not under-filling them. If you are having trouble closing the turnovers without the filling leaking out everywhere, then use less filling.
Here are a few tips I've picked up for successfully filling turnovers:
- Make sure your pastry and filling are well chilled.
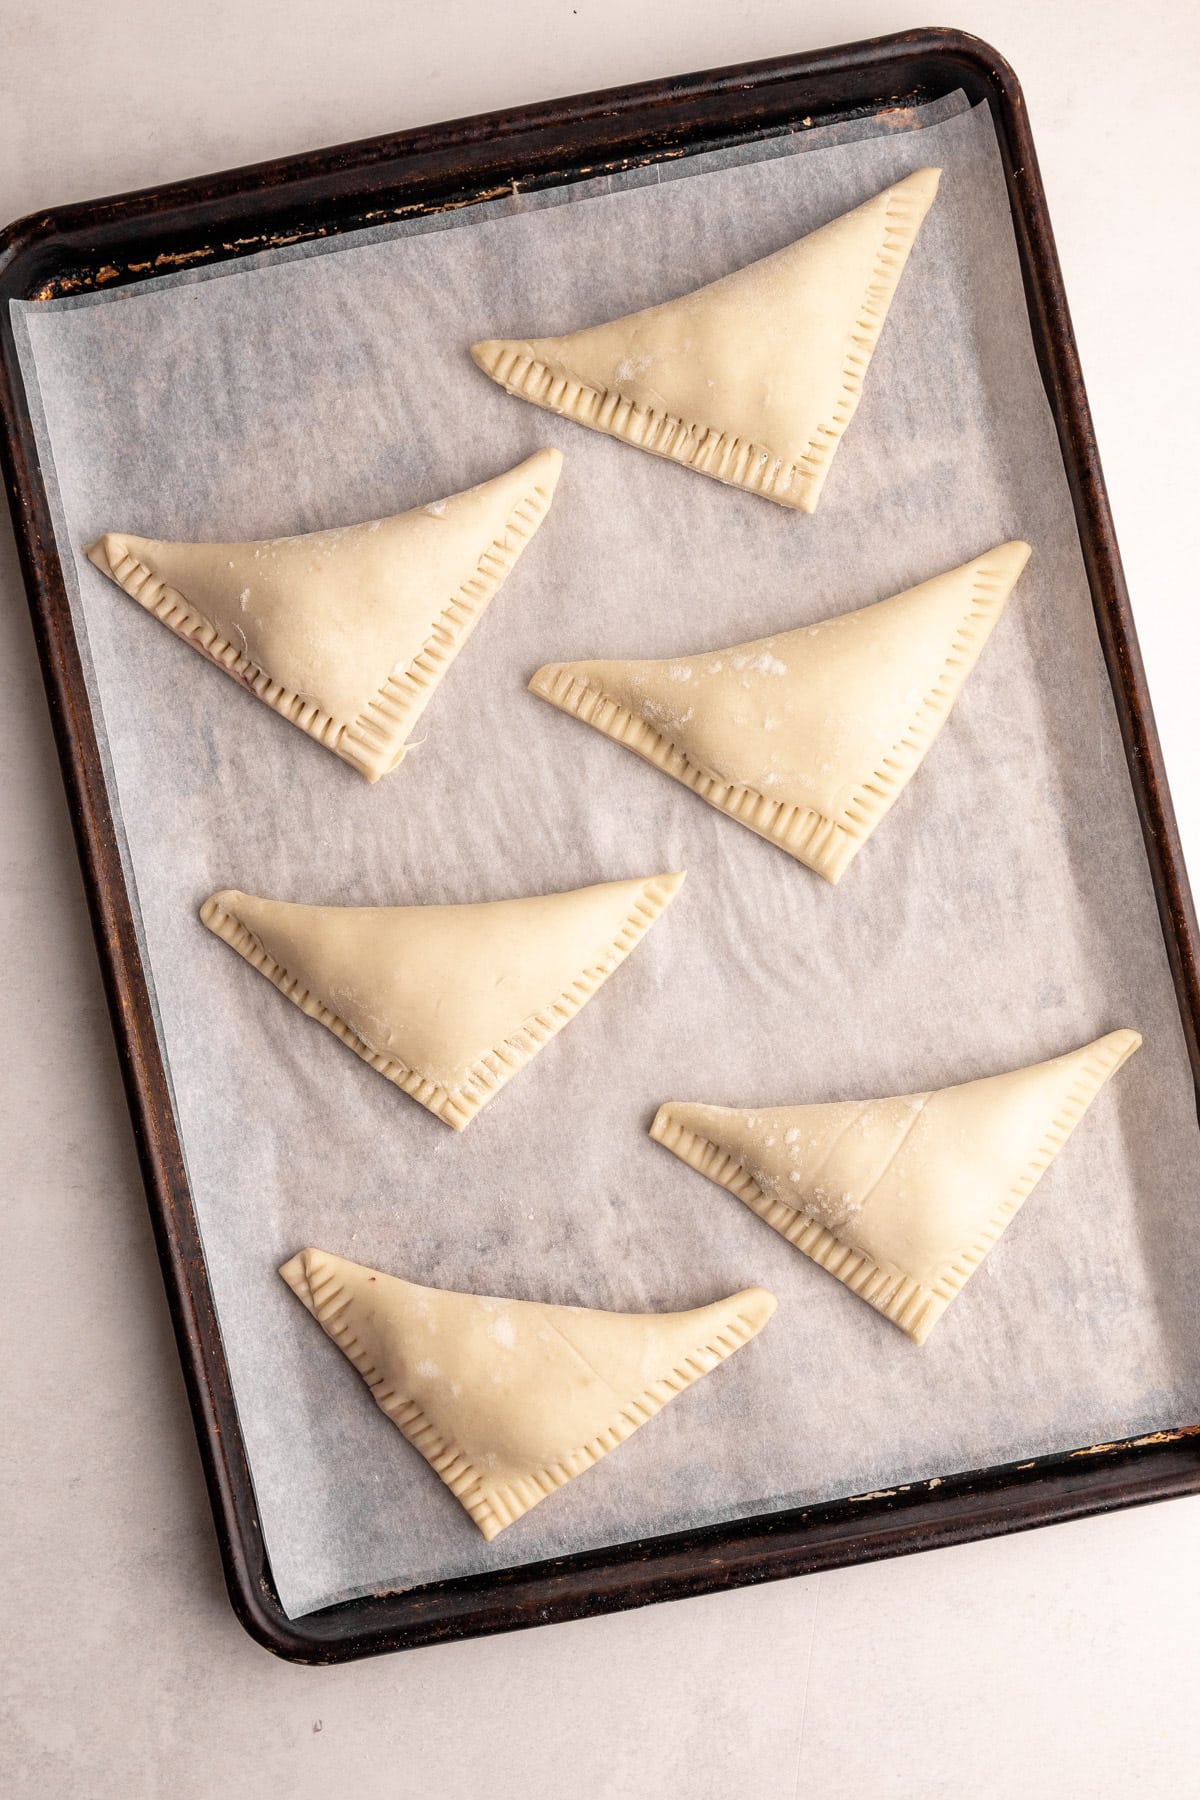
- Puff pastry is delicate and can be sticky. Use a small piece of parchment to help move around the pastry, so you don't have to handle it. Shape the turnover on the parchment, and then when transferring the filled turnover to the sheet tray, do so on the parchment, so you don't have to hold it with your own hands. This prevents the pastry from tearing which can compromise the seal on the filling.
- Use these three methods of sealing the turnovers: first press together the corners that firm the triangle, then seal it with a flour-dusted fork, and finally cut off the very edge of the sealed pieces with a sharp knife. That final cut helps the puff pastry bake up properly, as well as helps it stay sealed.
Apple Turnover Baking Tips
Want your turnovers to bake up nicely? Then chill them before baking! The instructions list a bare minimum time to chill, but the longer, the better.
Chilling the pastry before baking makes the puff pastry bake up higher. It also helps the filling stay inside the turnover instead of spilling out during the baking. And lastly, the chilled puff pastry is less likely to bake up misshapen.
Because the filling is pre-cooked, I find it unnecessary to poke holes in the pastry to let steam escape. However, if you'd like to make holes in the pastry for aesthetic reasons, it's fine to do so.
To bake, preheat the oven to 400ºF and set a rack in the middle position in the oven. This small step of baking it in the middle will ensure the puff pastry bakes throughout but doesn't brown too much on the bottom.
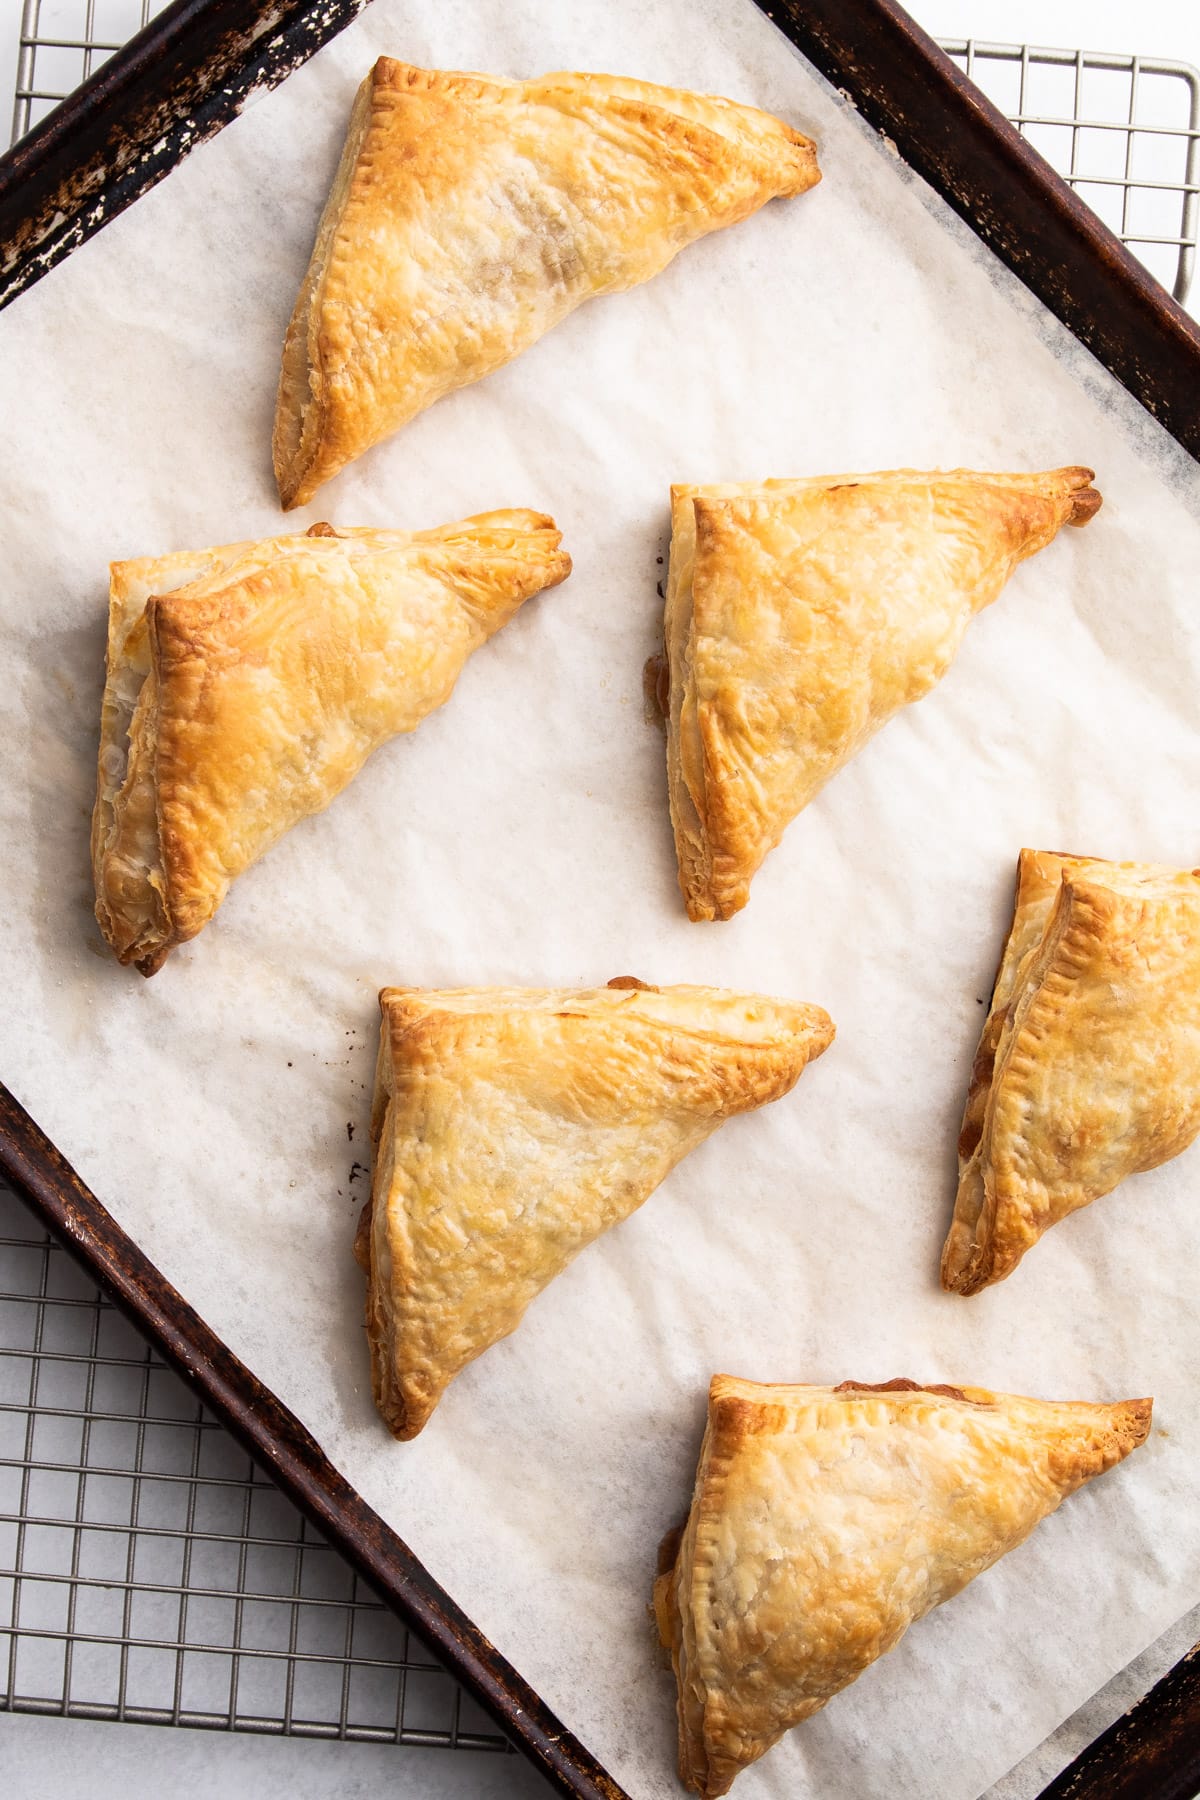
The apple turnovers are done when they have puffed up, are golden brown all over, and the filling has started to peek out on some of them.
If baking the turnovers from a very cold or frozen state, you may need to bake them for slightly longer than the instructions call for.
Making the Cider Glaze
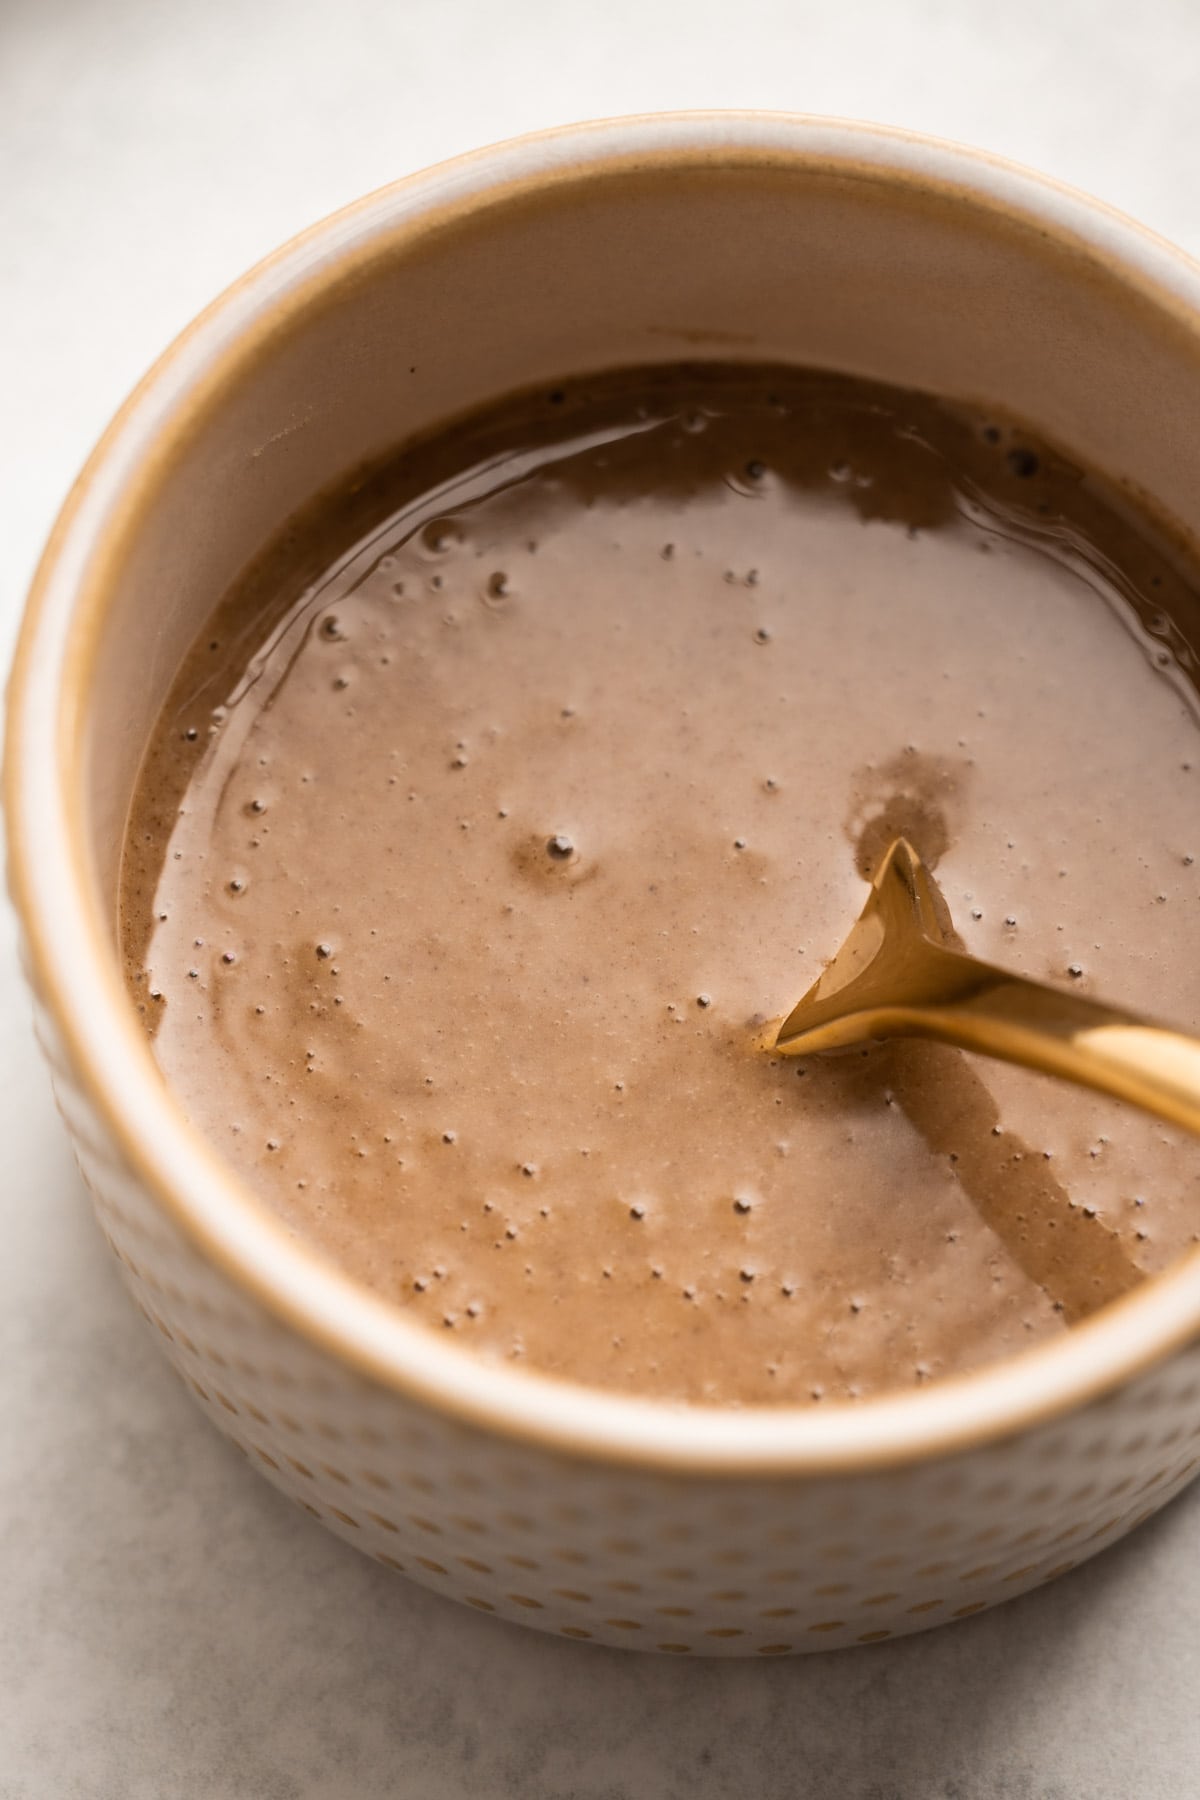
An optional step is to make a cinnamon apple cider glaze to adorn the baked apple turnovers. It adds a sweet touch and beautiful look to the finished pastry. To make the glaze you'll simply mix together apple cider, powdered sugar and a pinch of cinnamon.
Making a glaze can sometimes be a bit of trial and error, unless you are using a scale to measure your ingredients. If your glaze is too thin, simply add in a tablespoon more powdered sugar at a time. If it’s too thick, add in more cider.
How to Store Them
Apple turnovers can be frozen before baking, for up to 3 months. Assemble the turnovers to the point of the egg wash and a sugar shower, and then freeze them flat on a sheet tray for 24 hours. Then, transfer to a bag with as much air removed as possible. Freeze for up to 2 months.
The turnovers can also be baked from frozen. Just don't forget to egg wash and sprinkle with sugar beforehand. Bake them as directed, plus an extra 10 additional minutes or so.
More Apple Recipes
I am so honored when you make a recipe from my site! If you make these Apple Turnovers, please leave a comment and a star rating with your experience! If you have any questions about this recipe, feel free to comment here, too!
PrintFull Recipe
Apple Turnovers
- Prep Time: 00:40
- Cook Time: 00:25
- Total Time: 1 hour 5 minutes
- Yield: 6 turnovers
- Category: Pastry
- Method: Bake
Ingredients
- Rough Puff Pastry, prepared, or (1) 14-ounce package puff pastry (see notes for guidance)
- 1-½ pounds (about 3-4 apples) baking apples, peeled, cored and diced to ½”
- 1 tablespoon lemon juice
- ¼ cup (50 grams) packed light brown sugar
- 2 tablespoons (25 grams) granulated sugar
- ½ teaspoon ground cinnamon
- Big pinch kosher salt
- Pinch grated nutmeg
- 1 tablespoon (7 grams) cornstarch
- ⅓ cup + 2 tablespoons fresh apple cider, divided
- 1 teaspoon vanilla extract
- 1 tablespoon unsalted butter
For Cider Glaze:
- 2 tablespoons cider
- ½ cup (60 grams) powdered sugar
- ½ teaspoon cinnamon
Instructions
- Prepare rough puff pastry or defrost frozen puff pastry. If you make it, you will only need half a batch. The remaining half can be frozen. Or you can double the filling for this recipe, and make 12 turnovers.
- Make the filling: Add apples, lemon juice, brown sugar, granulated sugar, cinnamon, salt, and nutmeg to a heavy bottom pot. Stir together. Add ⅓ cup of apple cider to the pot, and stir the apples one more time.
- Turn the heat to medium and begin to cook the apples. Stir occasionally to make sure the apples cook evenly. Cook until the apples have softened, about 6 minutes, making sure not to cook off all of the liquid. If the liquid does cook off quickly, add a splash more apple cider to the pot.
- In a small bowl, create a slurry by whisking together the cornstarch and the remaining 2 tablespoons of apple cider together.
- Pour the cornstarch slurry into the apples and stir together until dissolved. Continue cooking until the mixture is thickened, about 1-2 minutes.
- Remove from heat and stir in the vanilla and butter. Let the apple mixture cool completely, preferably overnight.
- Fill a small container with cool water and set aside.
- Line a 12x18” sheet pan with a piece of parchment.
- Roll out the puff pastry on a floured surface (remember, you are only using half of the batch if you've made this rough puff recipe) to about ⅛” thickness, or about a 10” by 15” rectangle. Cut out six 4.5” squares. (See note about using store-bought puff pastry)
- Brush (or use your finger) a small amount of water on two sides of the dough. This helps it stick (if your dough is already super sticky, skip this step). Place about 2 tablespoons of chilled apple filling in the center. Fold one corner of the pastry over the filling to make a triangle. Press down on the edges to seal the two pieces together. Use a fork to press and seal the edges further and to add a decorative touch. Finally, using a sharp knife, cut off just the very edges of the pastry. This helps ensure the puff pastry bakes up properly (see the section for shaping puff pastry for more information).
- Chill the turnovers in a freezer for 20 minutes, or in the refrigerator for 1 hour. This helps the turnovers keep their shape while they bake.
- Meanwhile, preheat the oven to 400 degrees.
- Remove the turnovers from the freezer and bake in the oven for 25-30 minutes, or until the turnovers are lightly golden all over and puff up.
- Remove them from the oven, and let them cool slightly before transferring to a cooling rack.
- Meanwhile, make the optional glaze. Add powdered sugar, apple cider and cinnamon to a bowl and whisk together until smooth. Drizzle over the tops of the apple turnovers as desired.
Notes
This recipe was developed using half a recipe of homemade rough puff, which is roughly equivalent of one store-bought box of puff pastry. It was tested with store-bought puff pastry, too. Purchased puff pastry typically either comes in one folded 14 ounce sheet, or it comes in two folded 8 ounce sheets. The measurements listed in this recipe correspond with the use of my homemade rough puff recipe. If you are using store-bought puff pastry, the measurements might not work out exactly. If you have purchased puff pastry with 1 sheet, try to roll it out to 8" by 12" and cut out 4" squares. If you are using puff pastry with two sheets, I suggest rolling out each sheet a little thinner and cutting them into 4 squares each, which will mean you will get 8 turnovers. Fill them a little less than directed in the instructions above.
Have an additional question or looking for tips? The text written above the recipe is always a great first place to start! There are always loads of explanations, tips and technical advice shared before the recipe.
Some of the links on this page may be affiliate links. Everyday Pie is a participant in the Amazon Associates Program. As an Amazon Associate I earn from qualifying purchases, at no extra cost to you.




Kate Wilkinson
I made these for Christmas Eve last year and my wife's grandmother ate 3 in one sitting! Thankfully, I doubled the recipe but I still had no leftovers - they were scrumptious! I had already made rough puff for other Christmas savories but I used Kelli's recipe for the filling and it was delicious and a perfect consistency. I threw in a splash of boiled cider in both the filling and glaze; not needed but I like to do that for apple-centric recipes (plus I have a huge bottle I barely use). I wish I had made a third batch to keep in the freezer - I'll know for next year!
Kelli Avila
Love the tip on the boiled cider! I have some I bought in my fridge I've been wanting to use but haven't done so yet!
Karen
I just found your site recently and love, love, love it!! Pies are my jam and your pies look amazing! Can't wait to try these turnovers!
I hurt my foot recently so I can't be up baking right now. 😭 so I'm getting my fix watching your videos and reading your recipes. 😍 thank you!!