Puff Pastry is a light, buttery layered pastry that can be used for anything from tarts to turnovers. This extensive tutorial walks through all the steps on How to Make Classic Puff Pastry with step-by-step photos, video and lots of tips!
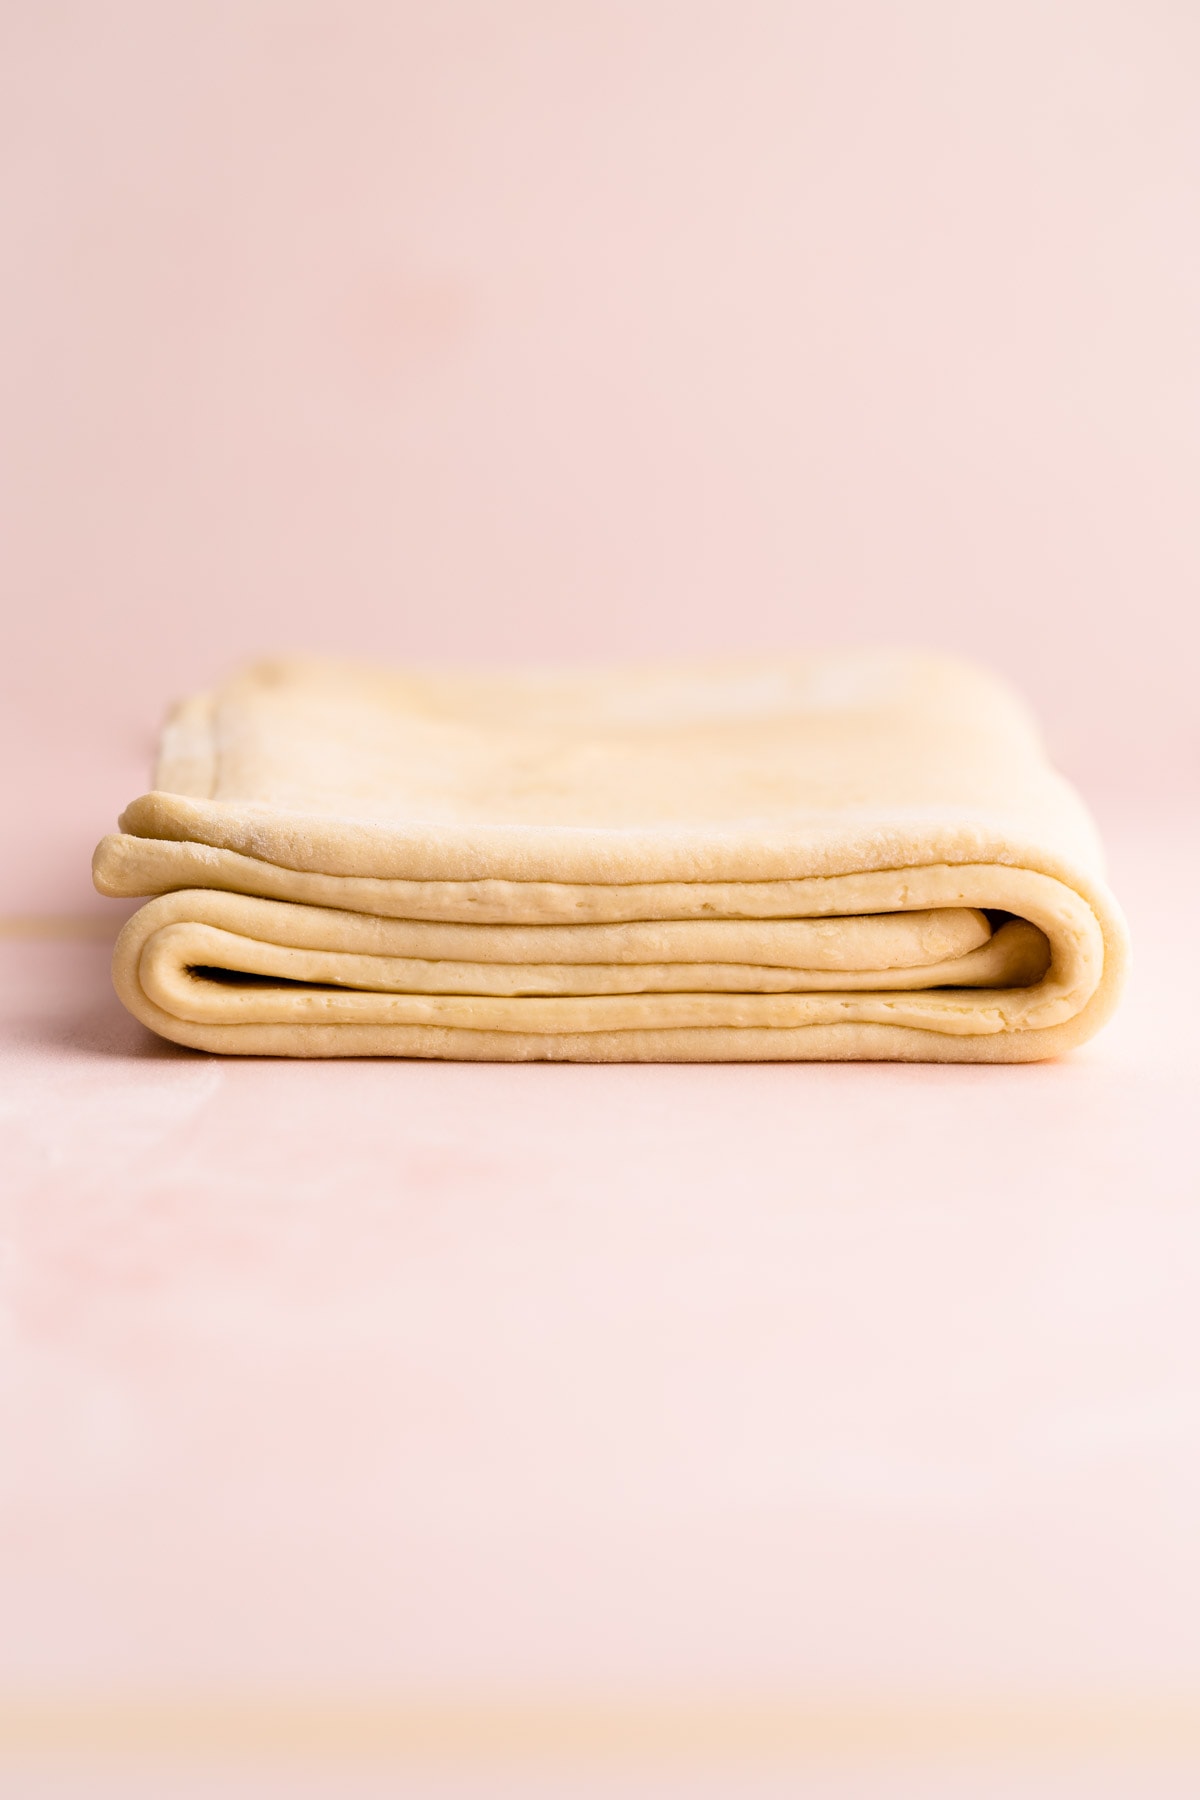
Want to save this recipe?
Enter your email & I'll send it to your inbox. Plus, get weekly updates from me!
Guide to Making Puff Pastry
When made correctly, puff pastry is a true work of culinary art. This light, crisp pastry shatters and melts when bitten into. You can make so many desserts (or savory bakes) with puff pastry: anything from a simple tart to a fruit turnover or even cinnamon rolls!
Puff pastry is an advanced baking skill and admittedly not the easiest baking project. But it’s a fun challenge to prepare, and you feel so accomplished when it’s done.
After reading through this tutorial, you'll be equipped with all the knowledge you need to make it. However, a lot of the skills necessary in making puff pastry are ones that you will develop over time with repeated attempts and practice at making it. So don't get discouraged if it isn't perfect on your first attempt.
And, even if your puff pastry doesn't turn out flawless the first time, you’ll likely still be left with some pretty awesome puff to make amazing homemade pastry.
Still not sure? Check out this Guide to Making Rough Puff. It’s a more streamlined and less fussy version of puff pastry. See more on the difference between the two below.
Put it this way: if I can do it, you can too! I'll be sure to share with you everything I've learned over the years that I've been practicing.
So, let's get to making it, shall we? The text below offers tons of tips and helpful notes, or you can scroll to the bottom to grab the recipe and get started!
What Is Puff Pastry?
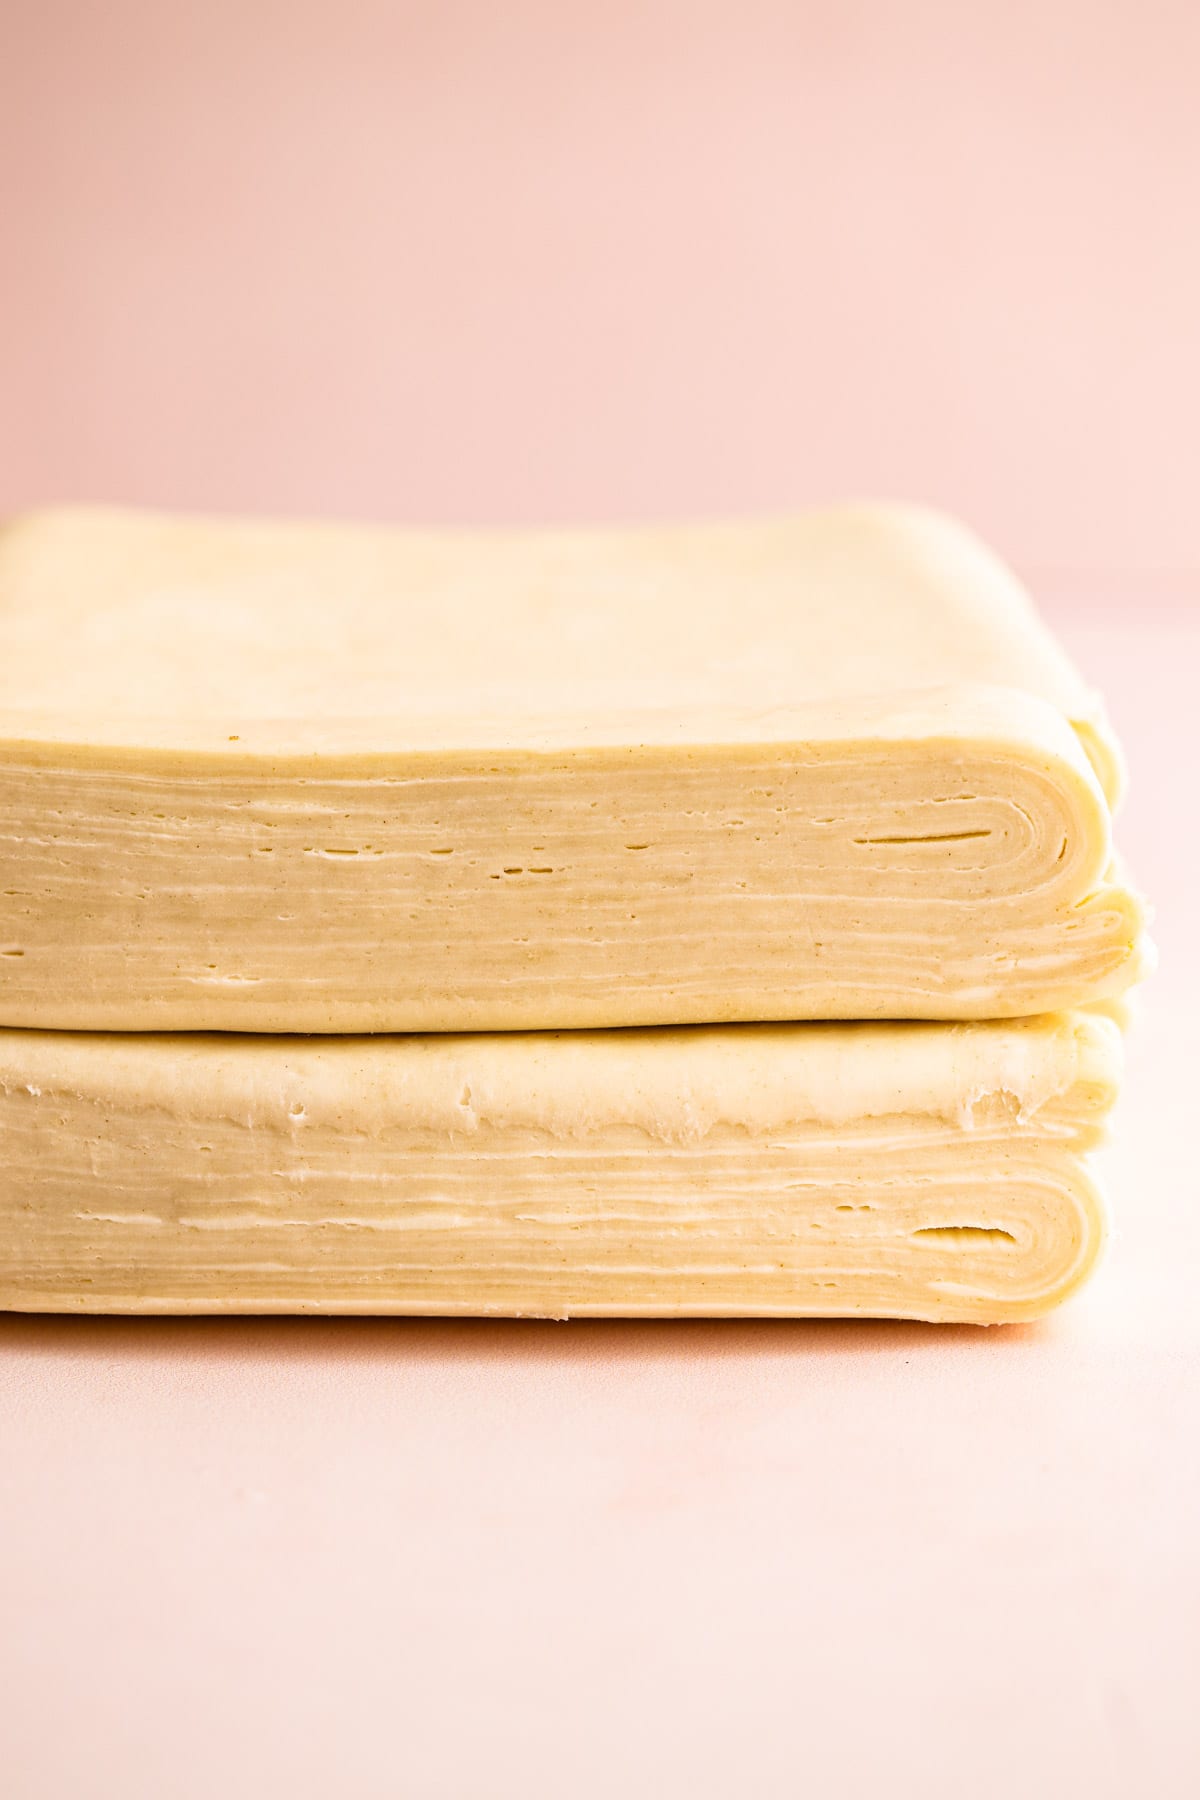
Puff pastry is a classic french pastry (called Pâte Feuilletée) made by enclosing a block of butter (called the beurrage) into a lean dough (called the détrempe) repeatedly until the final pastry has many hundreds (usually 729) of alternating layers of butter and dough. As it bakes, the moisture in the butter evaporates, and the dough puffs up.
The end result is a very light and delicate pastry that has an amazing texture and taste. Can you buy it at the store? You absolutely can. But, if you are into baking, making it homemade is one of those bucket list baking items you have to check off.
I found that I really really enjoyed making it once I knew what I was doing. And because homemade puff pastry is made with your two hands, as opposed to a machine (which is how some bakeries and store-bought puff pastry is made), you can taste the love just a little bit more.
What's the Difference Between Rough Puff and Full Puff Pastry
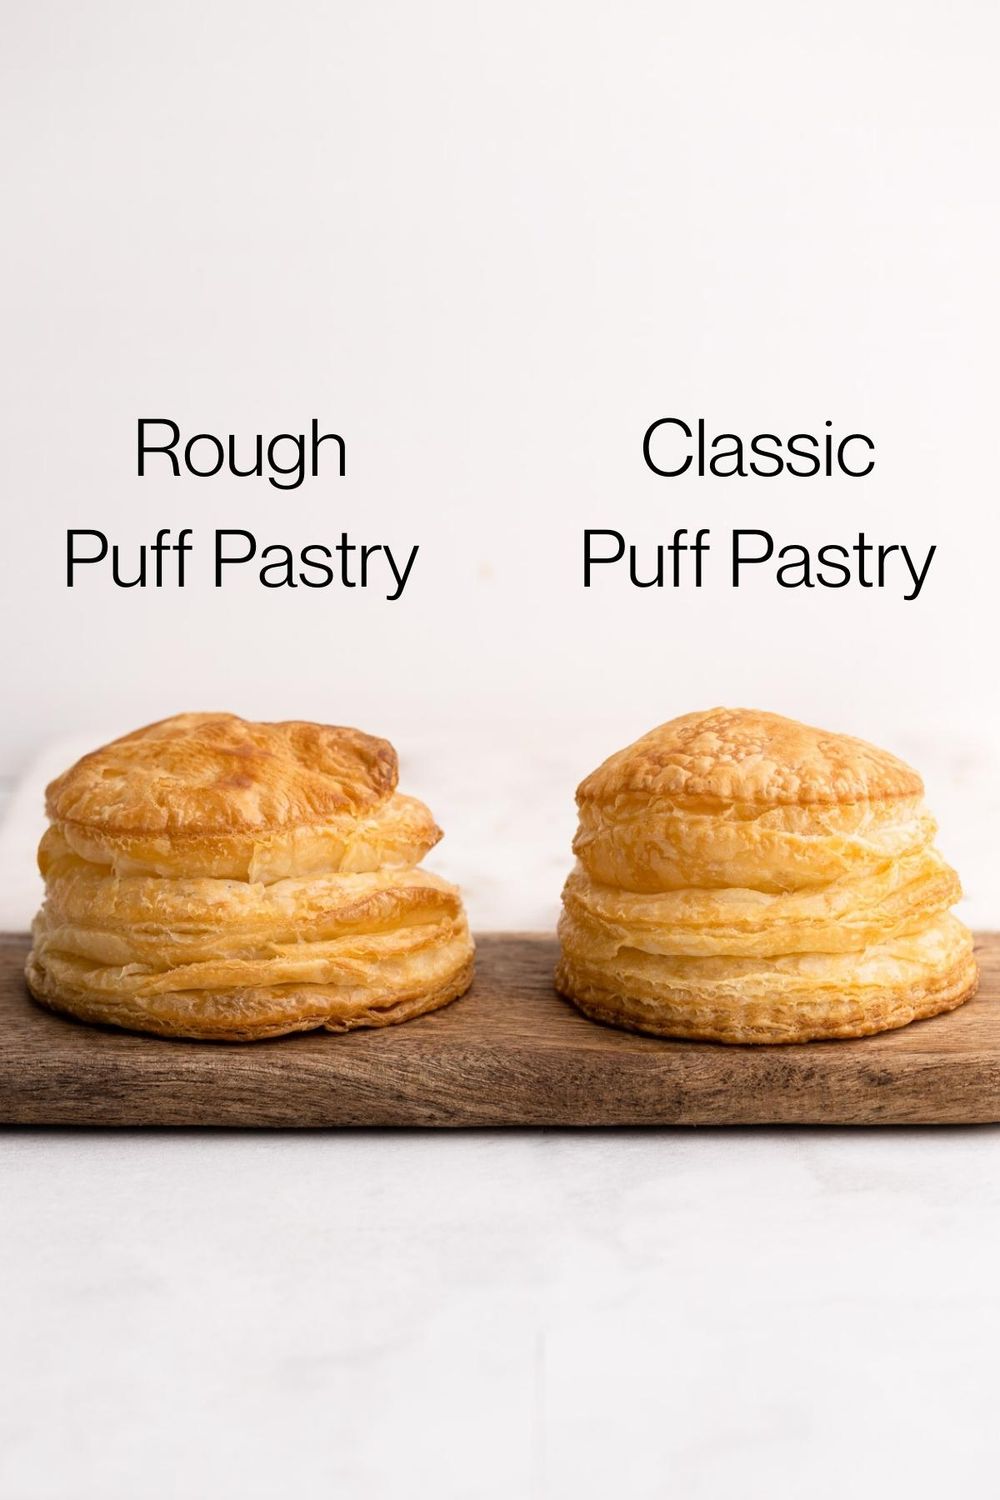
Classic, or full puff pastry is made by laminating (or layering) a block of butter in between dough. Rough puff pastry is made by laminating (or layering) a butter enriched dough. It's more akin to pie dough that has been rolled out and sandwiched together.
Classic puff pastry is a time-intensive process that requires precise rolling techniques and careful considerations of the ambient room temperature as well as the dough's temperature.
Rough puff pastry is a less precise version, usually requiring less toil and time.
As demonstrated in the photo above, when baked, these two puff pastry versions look quite similar. The main difference is that the rough puff pastry isn't as even in it's rise as full puff pastry. But what it lacks in its evenness, it makes up for by being more tender since it is laminated a little bit less than full puff pastry, according to this particular recipe that is!
My recipe for puff pastry is laminated just a little bit less than full puff and isn't laminated all at once, which means the gluten can relax between rolling out the dough.
Ingredients Needed
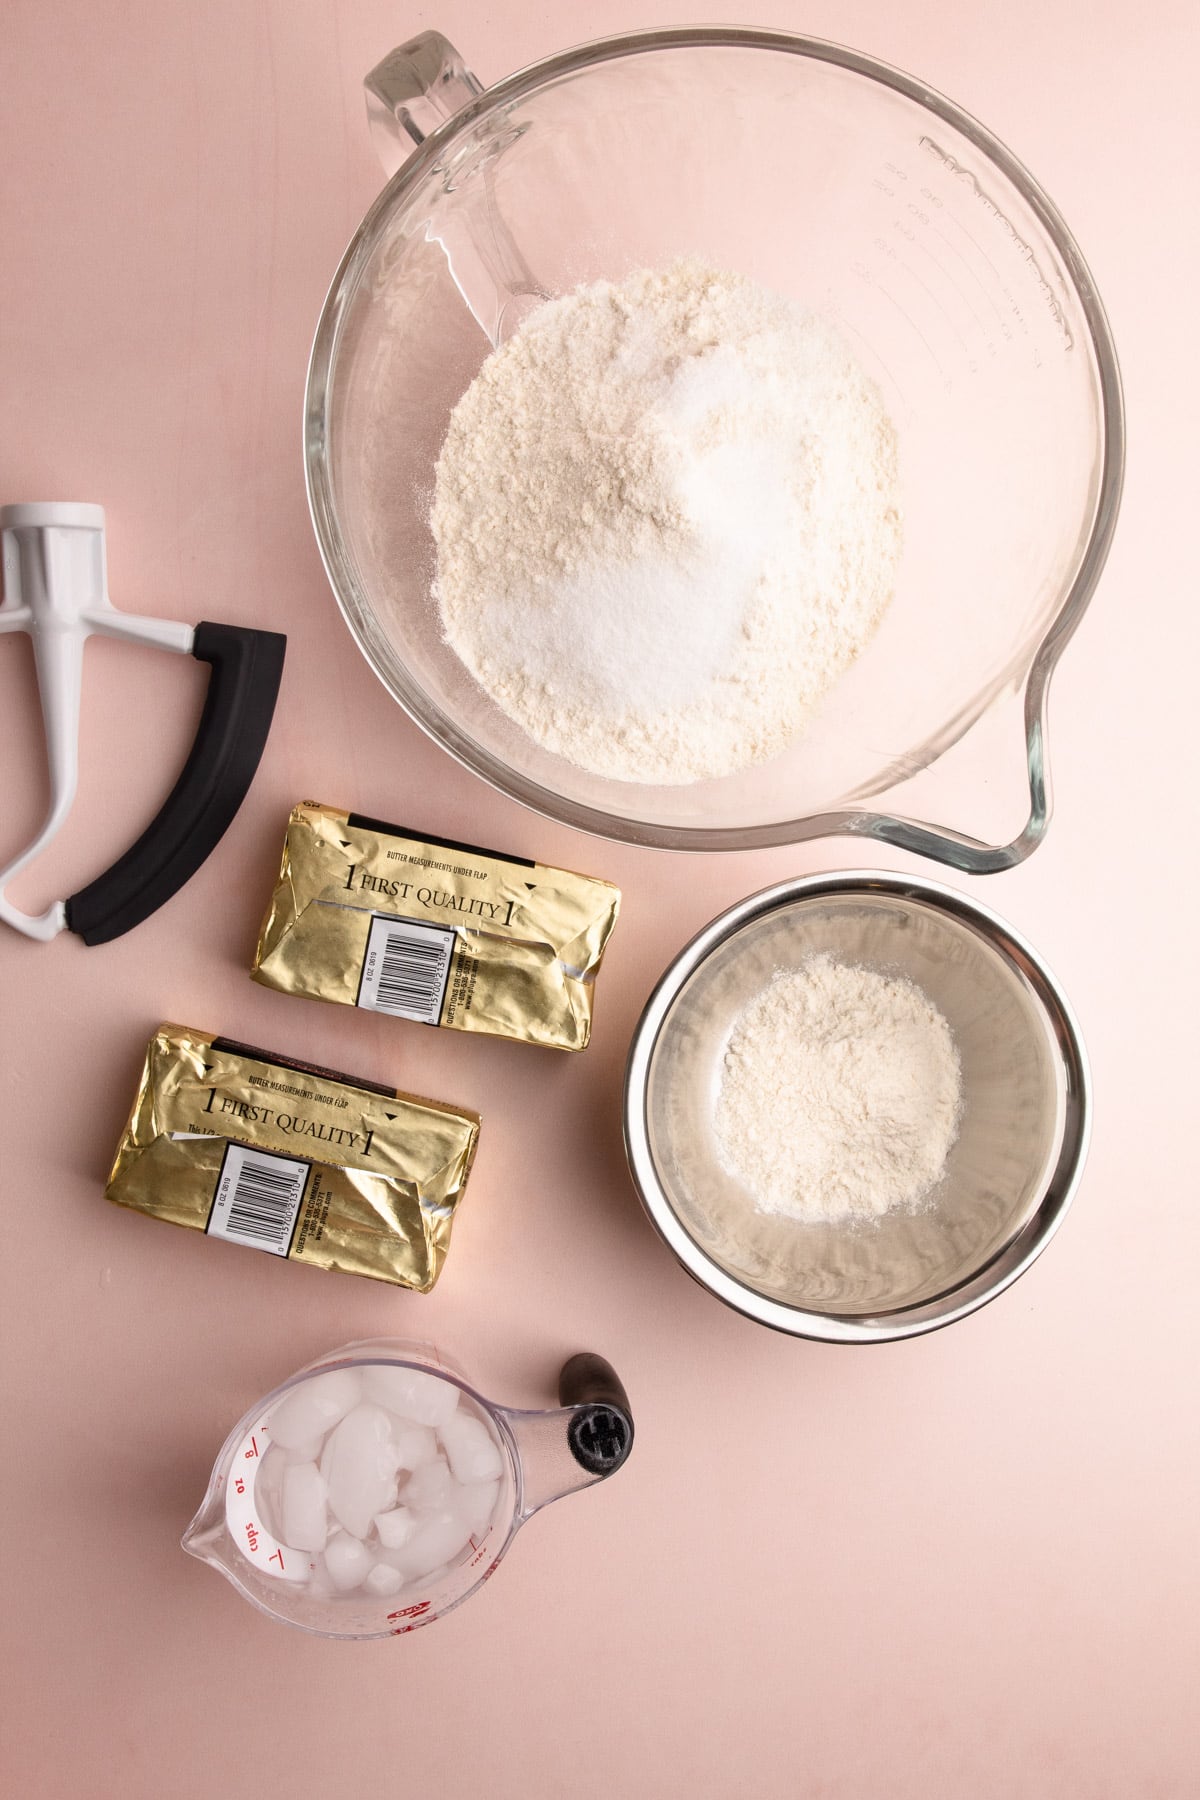
Here is an overview of the ingredients needed for this recipe. The full recipe is listed below in greater detail.
- unsalted butter (it's highly recommended you use a good-quality European butter here, since they have a higher fat content, which means it is easier to roll and is extra yummy)
- all-purpose flour
- granulated sugar (this is just a small amount, to help improve flavor and color)
- kosher salt
- cold water
Tools Needed
Here is a list of some of the primary tools I use in this recipe. You won't necessarily choose to use them all, but they are exactly what I used. Any links may contain affiliate links.
- Stand Mixer (The instructions call for using a stand mixer to put together both the dough and the butter block. I have not made puff pastry any other way so I cannot advise how to make it without an electric stand mixer)
- Plastic wrap: I know some people are averse to plastic, but I really suggest using it here. It keeps the moisture in the dough during all the resting time in the refrigerator, and it helps the dough keep its shape during the lamination process. You could use parchment paper instead, but I find it trickier.
- Rolling pin: there are many different styles out there. Use the one you are most comfortable with. I actually use two rolling pins nearly every time I roll anything out, one tapered french dowel rolling pin and one straight dowel rolling pin.
- Quart-sized plastic bag: This is used to form the butter block! I highly recommend you use this instead of trying to form it on your own, it really helps.
- Tape: This is used to give a general marker of where to roll out your dough. It is very helpful, but not essential.
- Bench scraper: This helps keep your dough in the correct shape, but it’s not absolutely essential.
- Ruler: Useful for ensuring your dough is rolled out to the proper amounts. If possible, one longer than 12 inches since the dough should be rolled out to 14 inches.
- Pastry wheel: This is helpful for using with puff pastry in general, but I use it hear to clean up the edges of the dough while I’m laminating.
- Dry pastry brush: To get any excess flour off the dough.
- A sheet tray: For holding the dough in the refrigerator while it rests.
- An instant-read thermometer: I used a thermometer in the beginning when I was learning what was an ok temperature for the dough to be rolled out. However, this is really just an extra.
Do you really need all those tools? Well, I suppose at the end of the day, all you really need is a rolling pin and a bowl. However, using the above-mentioned tools (which is everything I use when making puff pastry) makes making puff pastry easier.
Overview of Steps
There are quite a few steps needed to make this recipe. While they are listed in very full detail below in the recipe, I thought it would be helpful to give a brief overview description of what is needed to complete this full puff pastry recipe.
- Make the dough (détrempe) and butter block (beurrage).
- Rest/chill the dough and butter in the refrigerator.
- Enclose the butter block (1st official lamination), roll it out, and clean up the edges of the pastry then triple fold (2nd lamination). Repeat one more time (3rd lamination).
- Rest/chill the dough in the freezer for 15 minutes and refrigerator for 20 minutes to an hour.
- Roll out and complete 4th and 5th lamination.
- Rest/chill the dough in the freezer for 15 minutes and refrigerator for 20 minutes to an hour.
- Roll out and complete 6th and final (7th) lamination.
- Rest/chill the dough atleast 4 hours in the refrigerator (then the dough is ready to use!)
There is some flexibility in the length of time between steps. Sometimes I've needed to carry over the process a day, but I don't recommend going more than 24 hours between steps. Please see the sections on chilling and temperature below for more information.
Temperature Matters
The ambient temperature of your home, as well as the temperature of your butter/dough, is incredibly important when it comes to making puff pastry.
One of the keys to keeping those laminated layers intact is to make sure the butter doesn't melt. If it melts or gets too soft, it will be incorporated into the dough, as opposed to staying as a thin layer alternating with the dough.
If your house is very hot, you may need to chill your dough for longer than called for in between lamination.
How do you know if your puff pastry is too warm?
While you're starting out, the best trick is to use an instant-read thermometer to read the temperature of the dough. I only recommend doing this if you are new to making puff pastry, so you can get an understanding of how the dough should feel when it's at the correct temperature. This is because, in order to take the temperature of the dough, the probe needs to be stuck in the middle of the dough, which punctures a hole in the laminated layers. This isn't ideal, but useful for learning how to get the right chilling time for the dough.
I found that the best temperature for rolling out the dough was somewhere around 40ºF - 50ºF. Better if it's closer to 40 than 50, but within that range works best. Once you understand what the dough feels like at that temperature, you won't need to use the thermometer anymore.
Don't have an instant-read thermometer? One trick I found over time was that if you held out the chilled block of dough flat on your hand, and it stayed stiff, it was chilled enough. If you held it out flat and it bends down towards your palm, then it is too warm.
The best tip for rolling out pastry is to ensure the dough is at the proper temperature! If it's too soft, it becomes easy to compress and smush the butter while rolling it. If it's too hard, well, then it's just a pain in the neck. Luckily, because butter is added to the detramp and flour is added to the beurrage, the puff pastry dough is less likely to get too hard in the refrigerator. The only real way it can get too hard is if it is accidentally left in the freezer.
All About Lamination
If you don't already know, pastry lamination refers to the technique of layering butter and dough together. It is achieved through rolling the dough thin--as neat as possible--and then folding it over itself several times. Each time the dough is rolled out and folded is referred to as a turn. The traditional puff pastry has 6 turns. This recipe technically has 7 turns, counting the process of adding the beurrage to the détrempe.
There are several different ways to achieve lamination. This recipe uses the three-fold technique (or business letter technique), when the top ⅓ of the dough is pulled down towards the center, followed by the bottom ⅓ of the dough towards the middle. It creates three layers of dough each turn, which multiplied by seven turns equals 2,187 (!) alternating layers of butter and dough.
Rolling out puff pastry is definitely a skill you get better at over time with practice. Find a rolling pin that feels comfortable to you. I prefer a dowl rolling pin, as opposed to one with handles, but the type of rolling pin really doesn't matter; what matters most is you are able to direct the dough properly with it, since keeping the dough neat is important when it comes to classic puff pastry.
Keeping the dough neat is important for full puff pastry to keep the integrity of the alternating layers. In other words, you want to make sure you always roll it out to a rectangle that, when folded as a trifold, each edge is as close to being the same size as possible.
It's less important to roll it out to the size instructed in the recipe than it is to make sure the rectangle is even. Throughout my time making puff pastry, I've rolled it out to many different dimensions with success but always tried to maintain the straight, parallel sides of the dough rectangle.
Lamination Schedule
When it is your first time making puff pastry, the lamination schedule can feel... a bit much. Here is a quick reference guide for an overview:
Lamination Reference Guide:
- 1st lamination (when you add the butter)
- 2nd lamination
- 3rd lamination
- Rest 15 minutes in the freezer plus 1 hour in the refrigerator
- 4th lamination
- 5th lamination
- Rest 15 minutes in the freezer plus 1 hour in the refrigerator
- 6th lamination
- 7th lamination
- Rest 4 hours in the refrigerator
- Use as desired, or freeze
Tips for Rolling Out Pastry
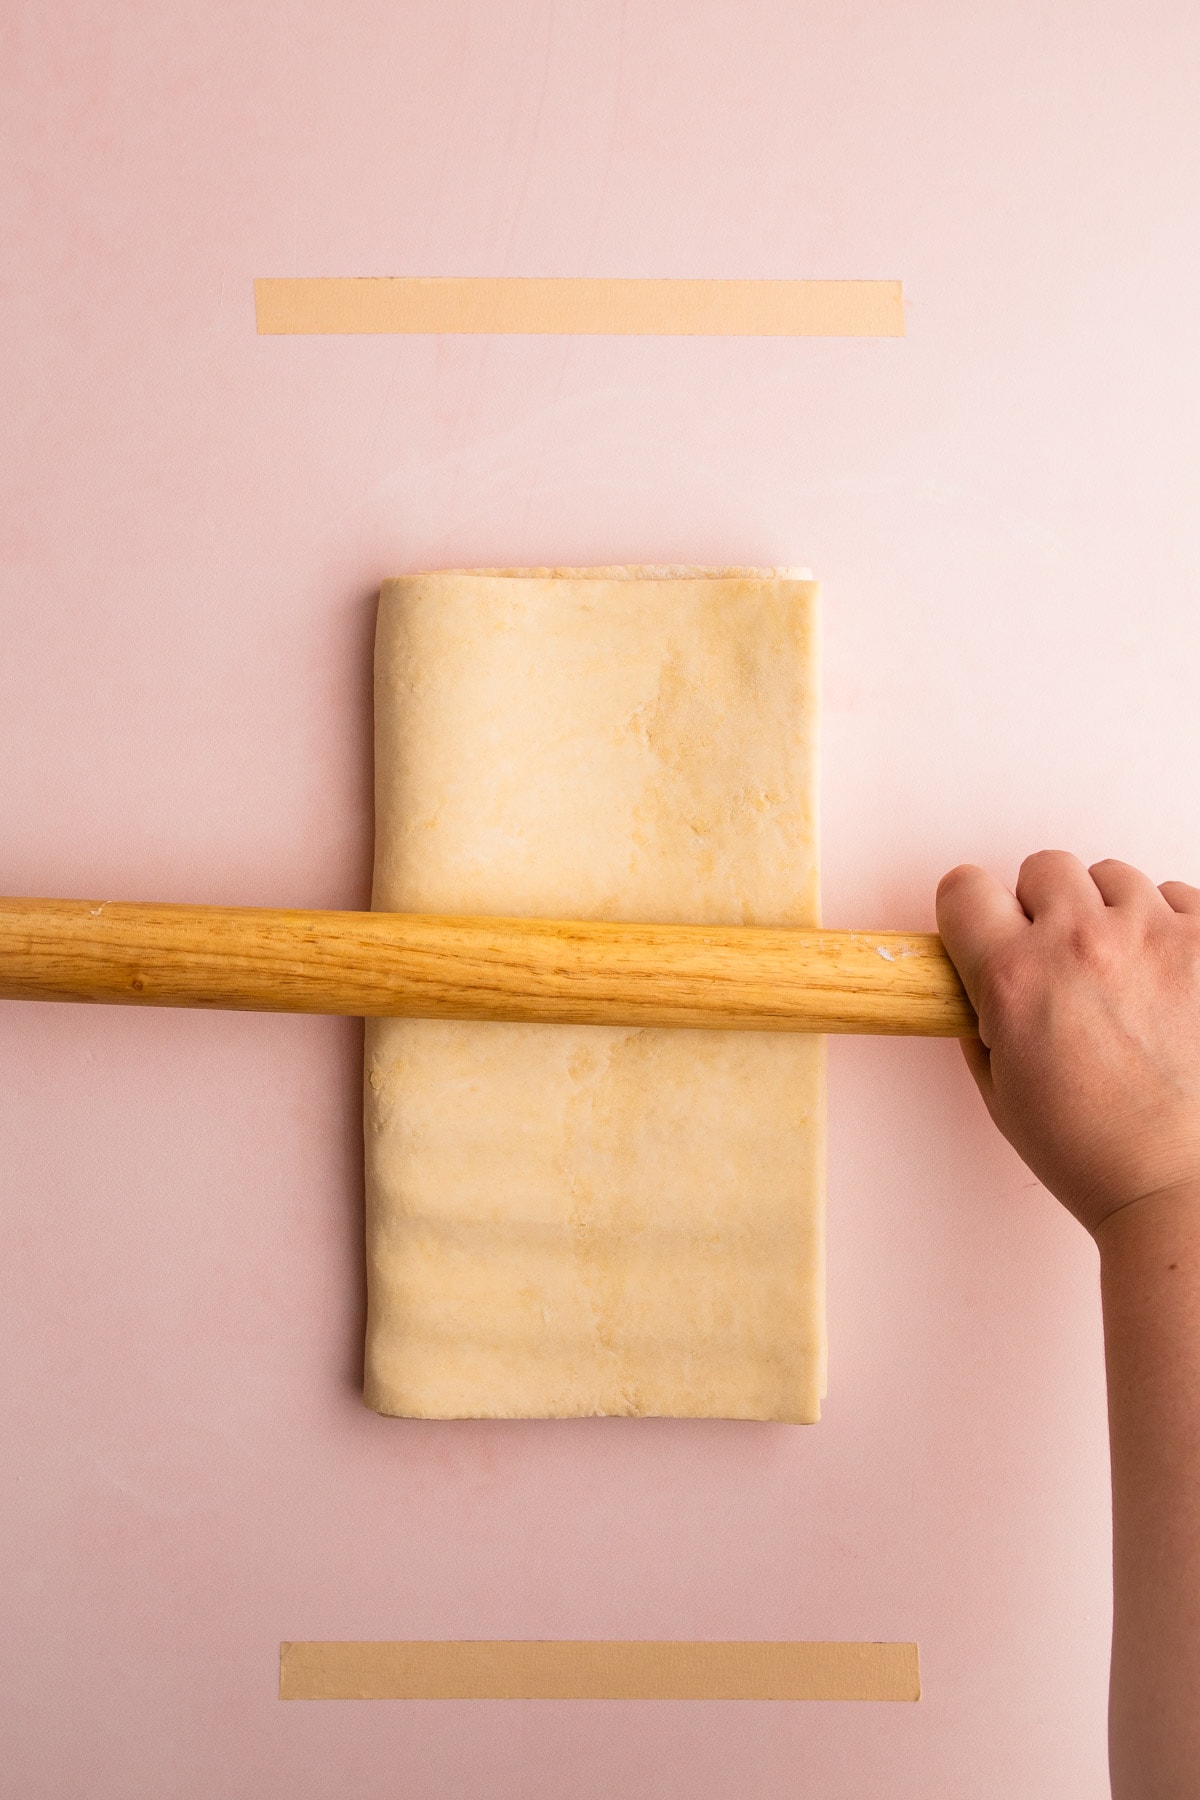
Ideally, when the dough is rolled out, it is done so with even strokes away from you and the pin, as opposed to pushing downward. This is to maintain even alternating layers of butter and dough. As I said, this takes practice. Be patient with yourself.
- Make sure the dough is at the proper temperature. If it's too soft, it becomes easy to compress and smush the butter while you are rolling it. If it's too hard, well then it's just a pain in the neck. It should be around 40ºF - 50ºF.
- Flour the work surface. If your pastry sticks to your work surface, it's going to mess up the lamination. You can always (and should) brush off any excess with a dry pastry brush.
- Occasionally flip the laminated dough over when rolling to ensure it doesn't stick and to help get even layers.
- Before beginning a turn, use the rolling pin to "get the dough ready to roll" by lightly pressing the rolling pin perpendicular to the dough all along the surface to lengthen and flatten it. This helps keep the rectangle by conditioning the dough to keep its shape. Please reference the video to see this in action.
- If your dough starts to fight you to be rolled out, it means it needs more chilling time to relax the gluten. If you are really struggling at the end, you can skip the 7th lamination. It'll still be ultra-flaky with 6, as that is the traditional amount puff pastry is folded.
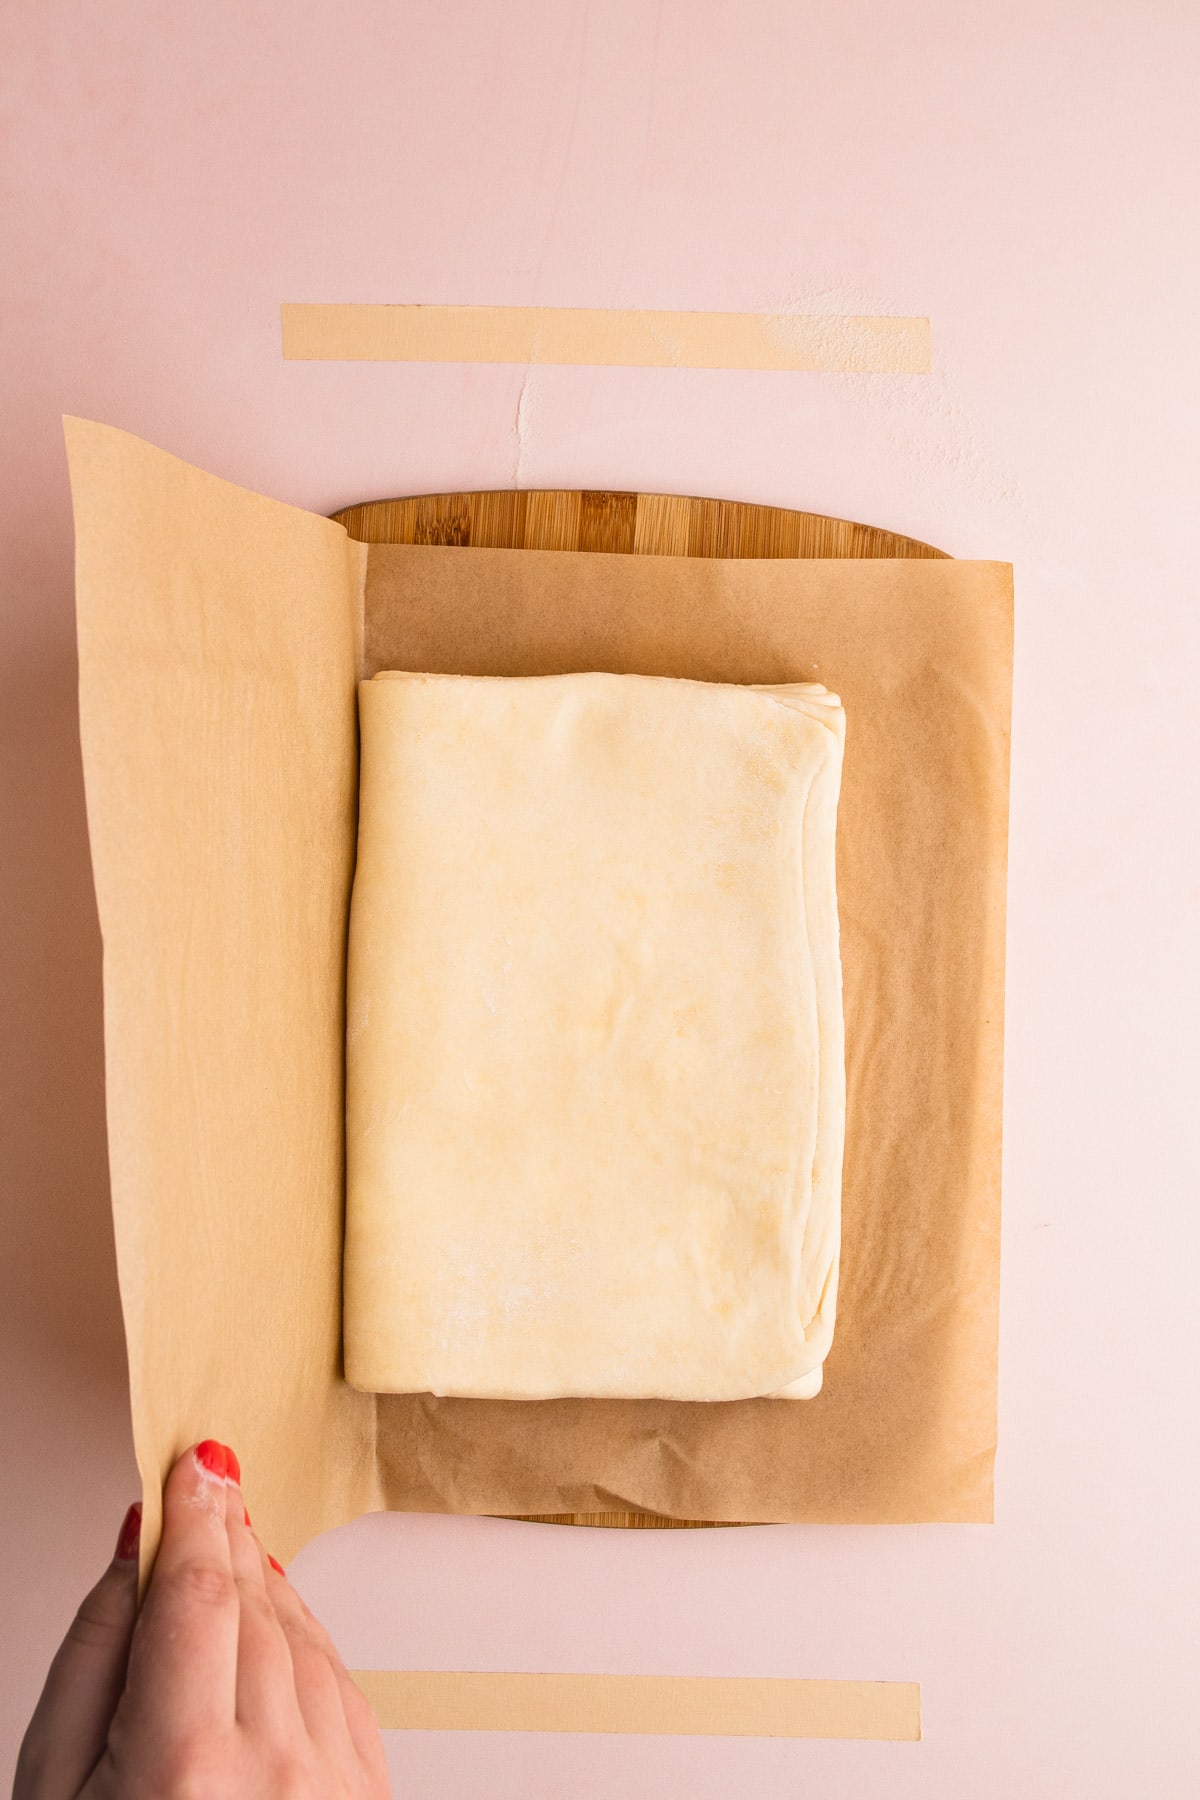
We All Need Proper Rest, and So Does Pastry
One of the pivotal aspects of this recipe is the resting time in between the steps. The puff pastry has three resting periods during the preparation of the pastry and one resting period (the longest) once all the lamination is completed.
Resting the dough ensures the butter maintains the proper chilled temperature, but it also allows time for some of the built-up gluten to relax. Gluten grows naturally when the dough is handled and rolled out. Allowing the dough to rest makes it easier to roll out during lamination.
You will notice that it's harder to roll out the dough on the last set of turns than it is compared to the first turn. That is totally fine. It's best not to force it if the dough is contracting a lot, and instead, just roll it out in a smaller rectangle. You can skip the final lamination (the 7th) if it is too difficult to roll out. I never encountered that problem in testing, because I thoroughly chilled my dough as instructed, but if you run into it, just skip the final fold.
How to Store Finished Puff Pastry
Puff pastry can be stored in the refrigerator for one (or at the very most two) days, but for any significant length of time, it should be stored in the freezer. This is because the dough becomes very wet and sticky as it sits in the refrigerator, causing you to have to add more flour to the dough once it's handled.
There are two ways I recommend storing it in the freezer. This recipe makes 2 batches of puff pastry. Once the dough is fully laminated, slice the dough in half. The dough can be stored as it is, for up to one day in the refrigerator or 3-6 months in the freezer.
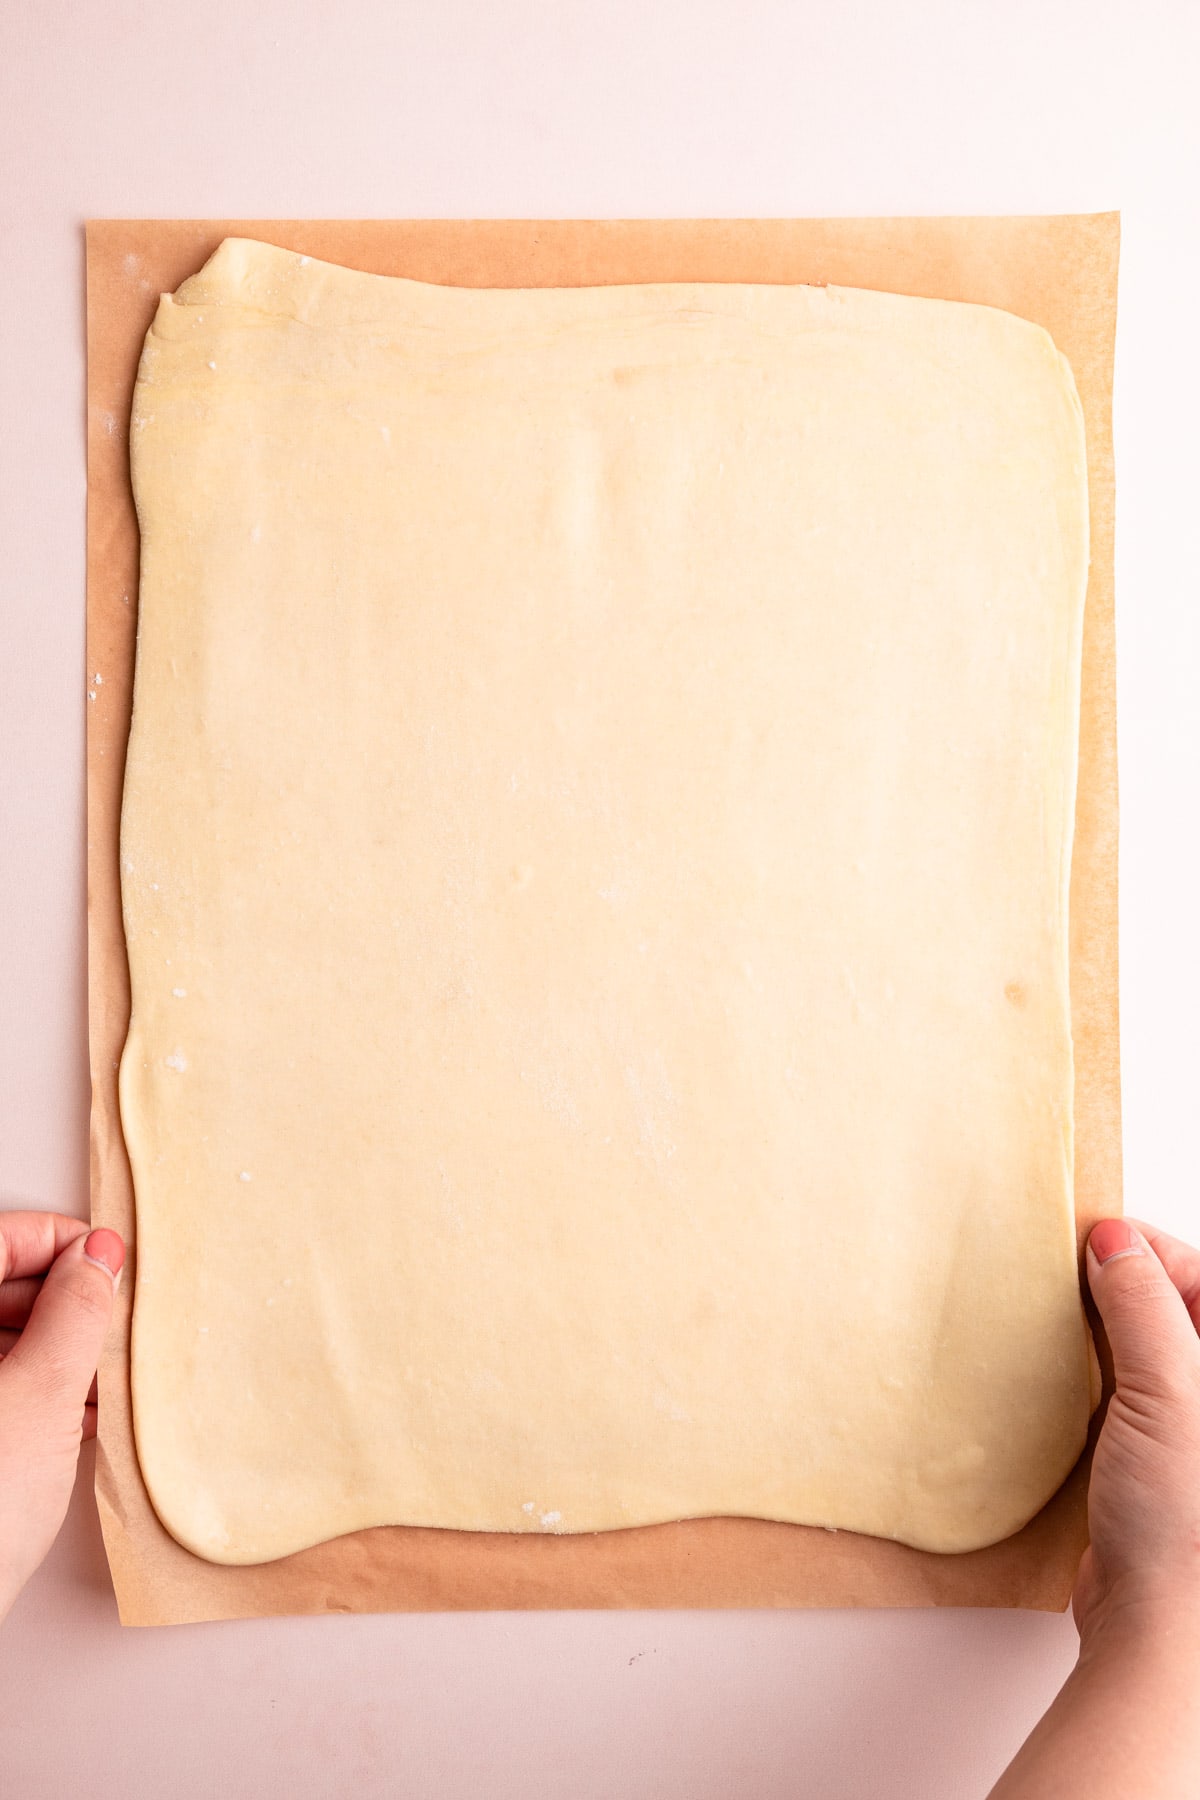
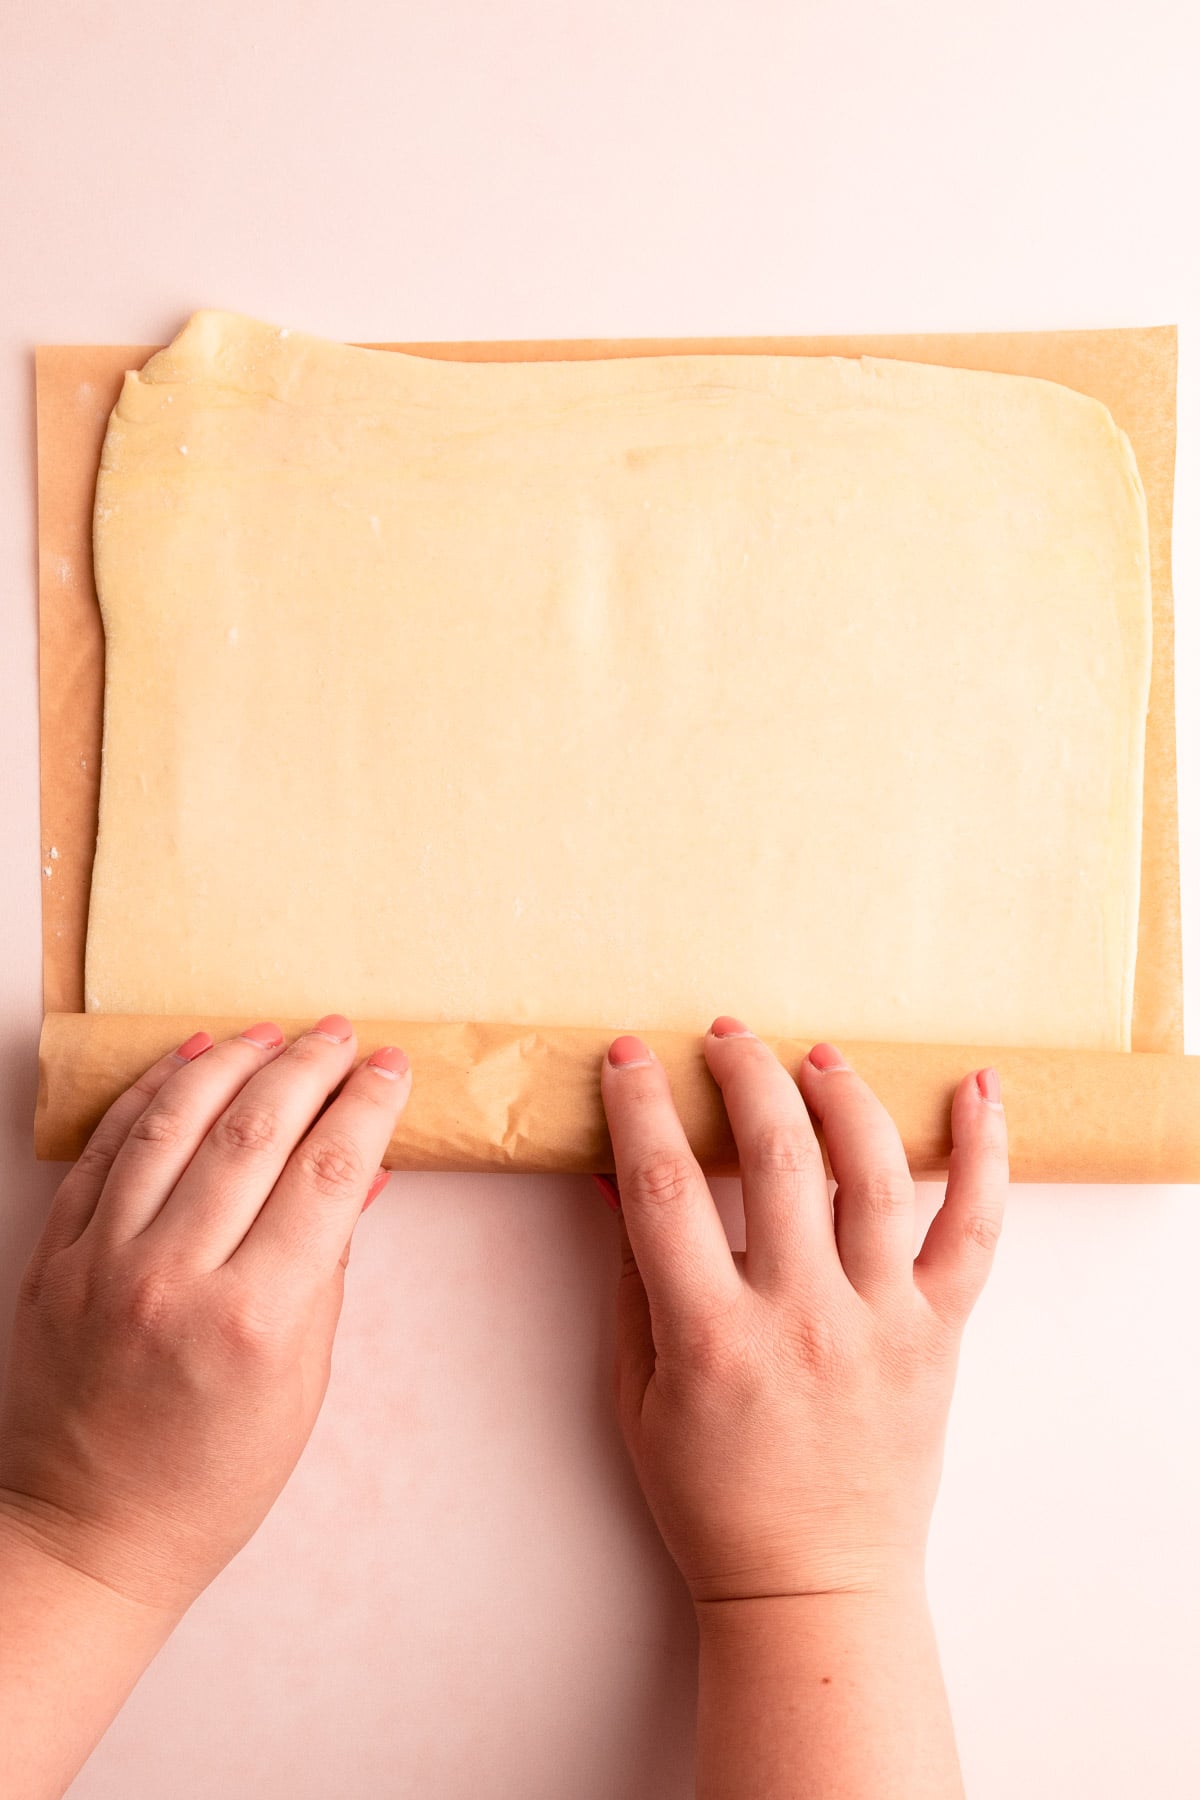
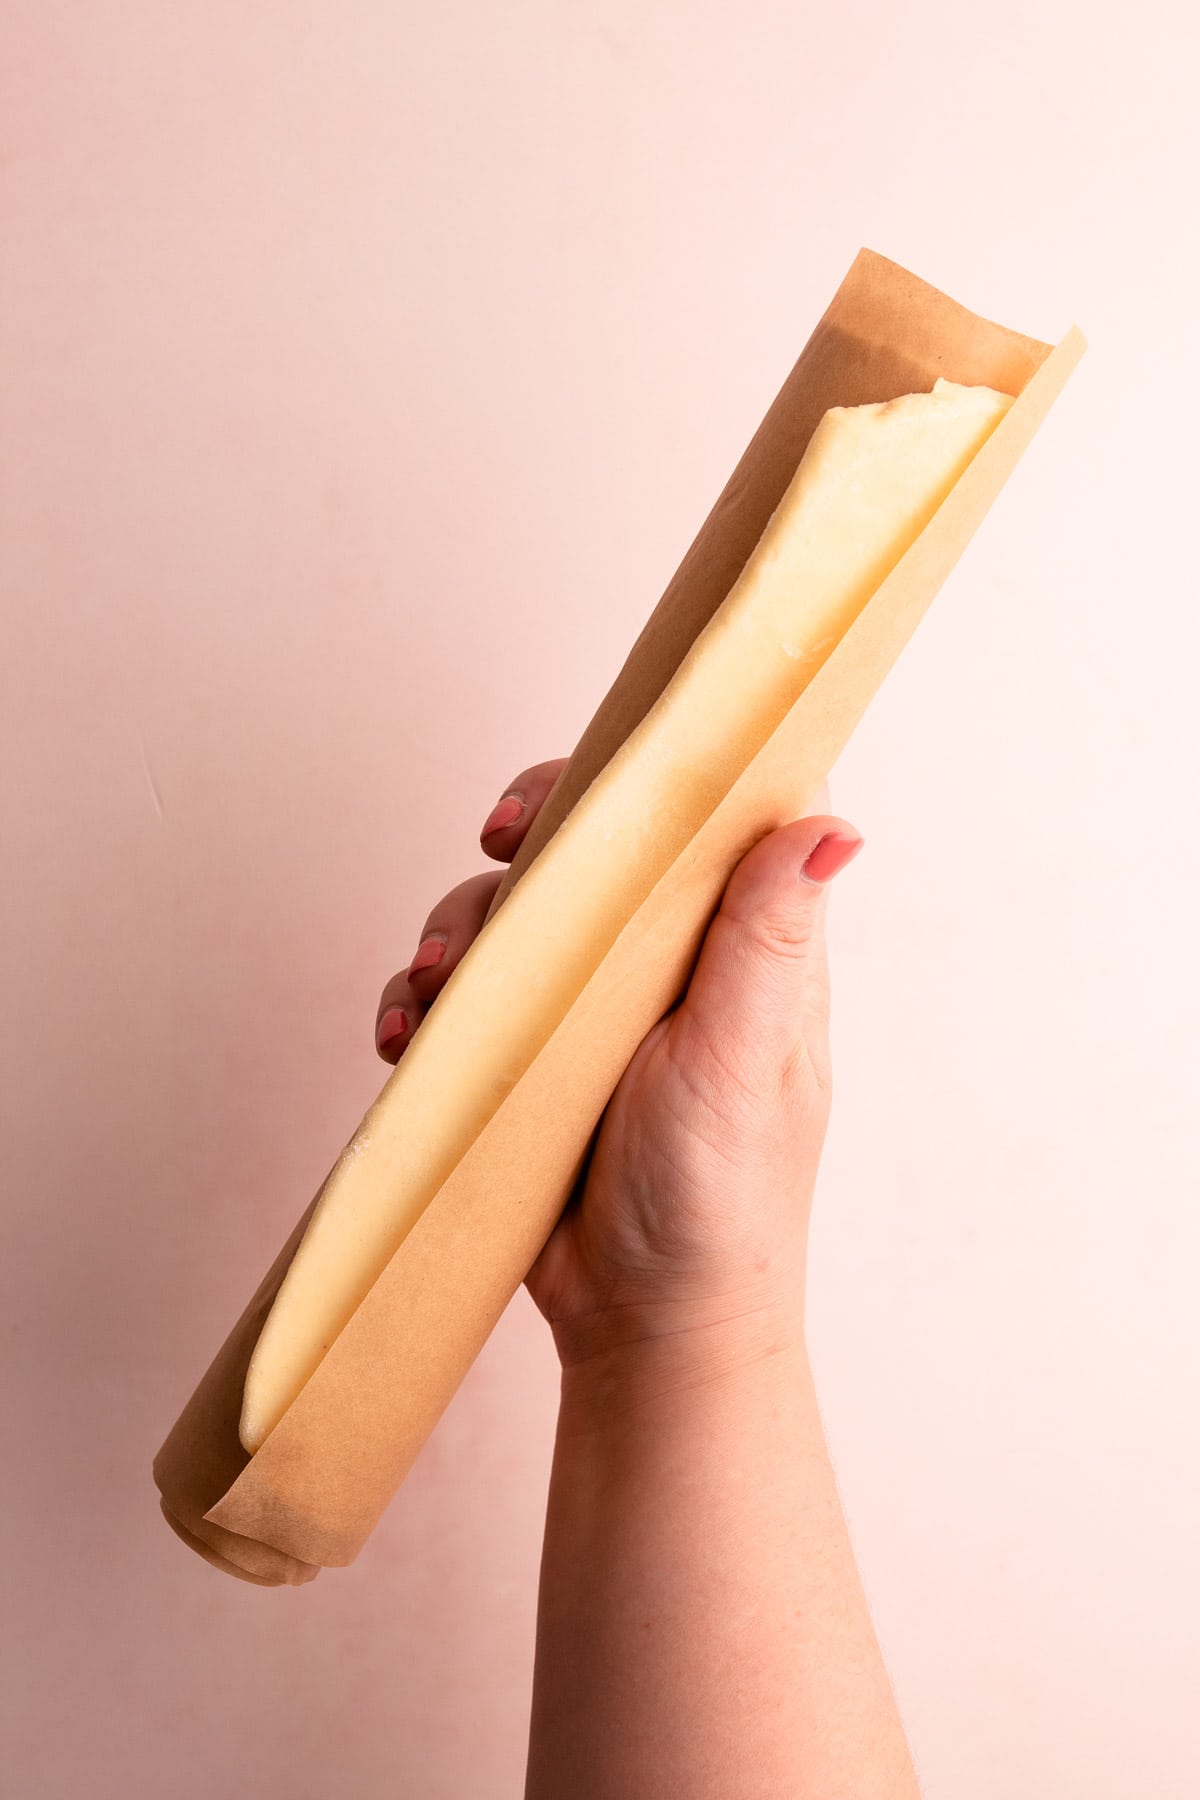
Or, you can store it rolled out. Roll the dough out to a ¼" thickness and place it on a piece of parchment. It's most ideal to store it flat like this way because then, it can be removed from the refrigerator and freezer and formed however you plan to use it. Or, if you don't have the space to store a flat piece of puff pastry in your freezer, you can roll the puff pastry up in the parchment and store it like that. If you are storing it in a freezer, it should be defrosted in the refrigerator before attempting to unroll it.
If you are in a hurry, puff pastry can be defrosted at room temperature, but be sure to chill it again before baking to firm up the butter.
Recipe Ideas to use with your Homemade Puff Pastry
There are virtually endless ways to use puff pastry.
- In place of pie crust with a lot of recipes calling for pie dough.
- Savory or sweet tarts
- Cheese straws
- Cinnamon twists
- Turnovers
- As the top for pot pies (like Chicken Pot Pie or Beef Pot Pie)
- Appetizers (such as spinach puffs or caramelized onion tarts)
- Cinnamon rolls
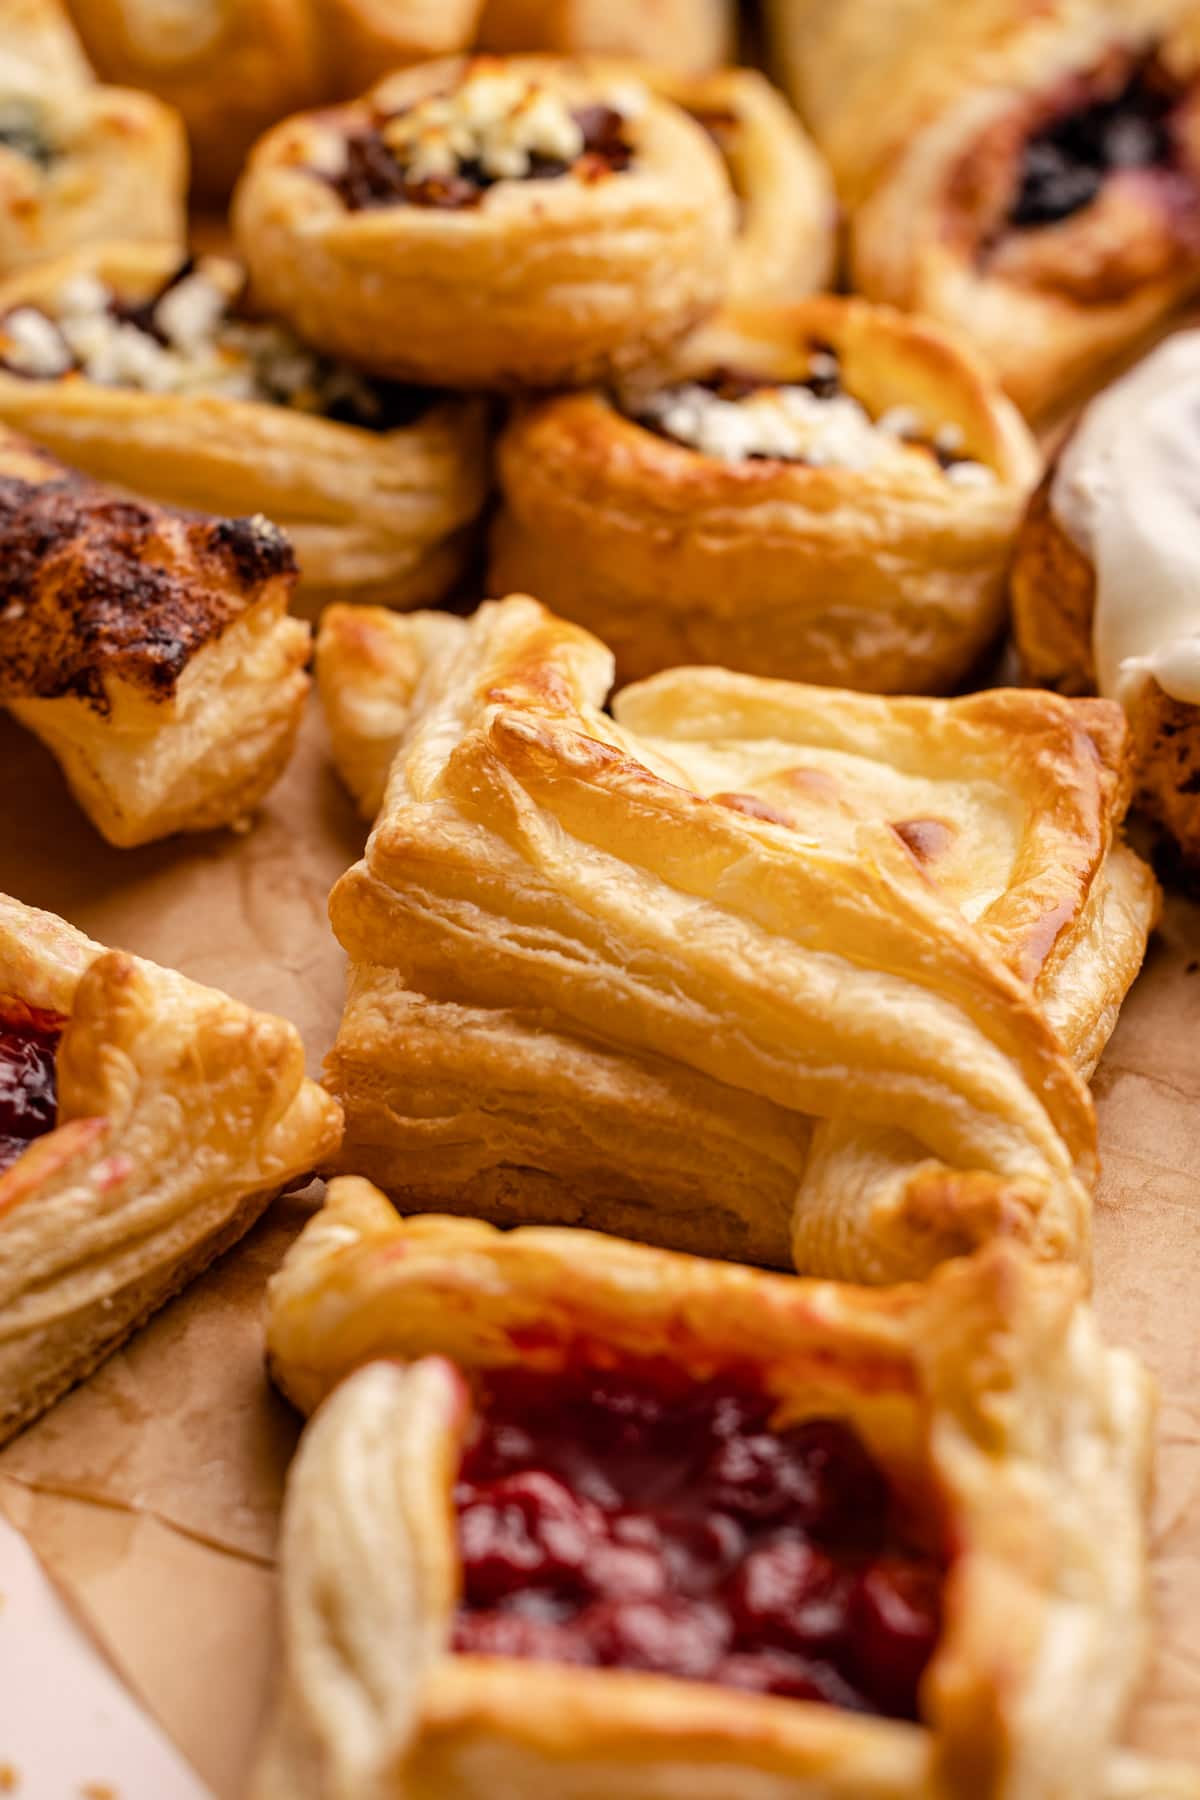
Baking Instructions for Homemade Puff Pastry
Generally speaking, puff pastry should be rolled out to a thickness of ⅛" to ¼". Once rolled, it can be formed into whatever shape the instructions call for.
Most of the time, it should be baked at 400ºF on the middle rack until the pastry is golden. However, it's always best to consult the baking instructions of the individual recipe you plan to make.
More Pastry Recipes
Want to check off some more bakes of your baking bucket list? Check out this list!
I am so honored when you make a recipe from my site! If you make this Puff Pastry Recipe, please leave a comment and a star rating with your experience! If you have any questions about this recipe, feel free to comment here, too!
PrintFull Recipe
Homemade Puff Pastry
Puff Pastry is a light, buttery layered pastry that can be used for anything from tarts to turnovers. This extensive tutorial walks through all the steps on How to Make Classic Puff Pastry with step-by-step photos, video and lots of tips! If you are confused about any steps, or want more information be sure to check out the article written above this recipe.
- Prep Time: 00:60
- Total Time: 08:45
- Yield: 2 pounds, 5 ounces
- Category: Pastry
- Method: Lamination
- Cuisine: French
Ingredients
For the Détrempe (dough):
- 8 tablespoons butter (113 grams), softened
- 1 tablespoon granulated sugar
- 1 teaspoon kosher salt
- 4 cups (480 grams) all purpose Flour
- 1 cup (227 grams) cold water
For the Beurrage (butter block):
- 3 sticks (339 grams) cold unsalted butter, diced
- ¼ cup (30 grams) all-purpose flour
Instructions
To Make the Détrempe:
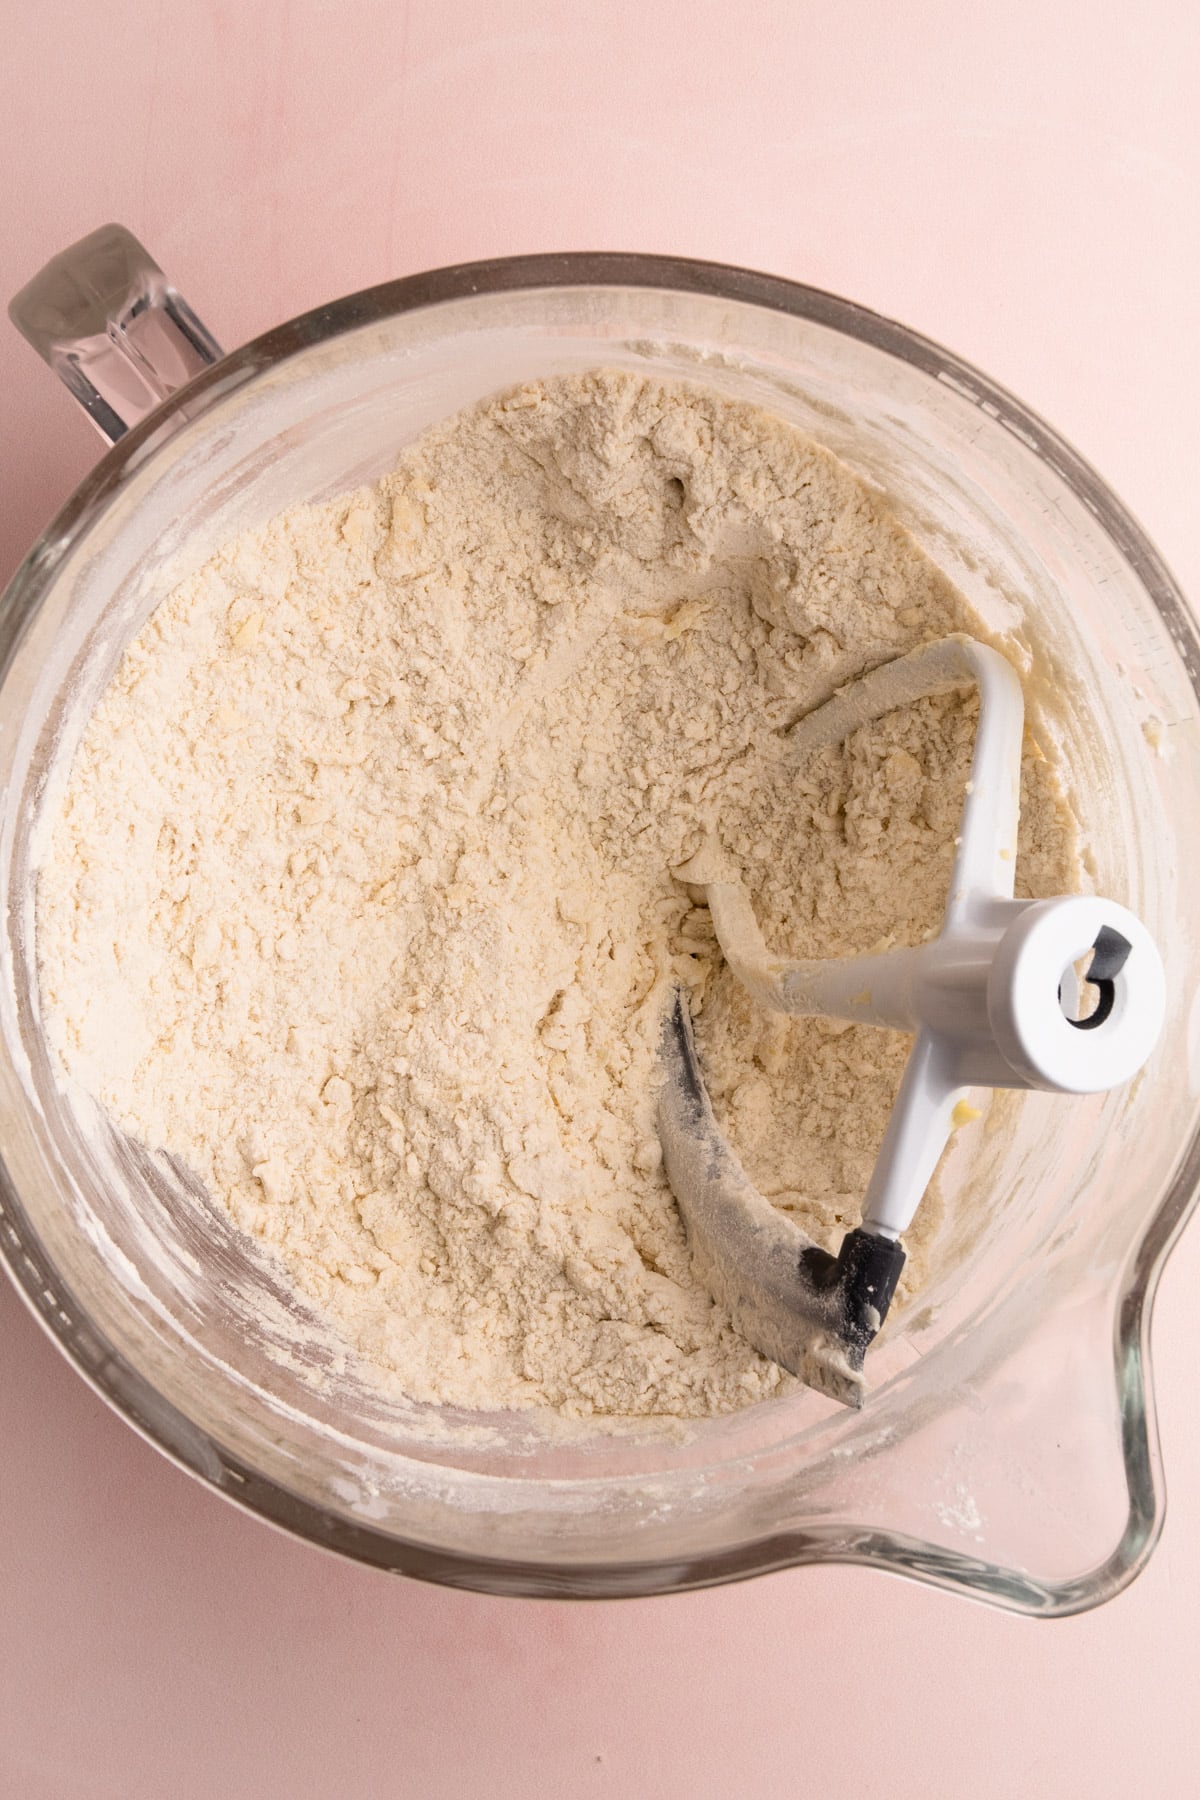
- In the bowl of a stand mixer fitted with a paddle attachment, combine the flour, sugar, and salt on low speed.
- Add in the softened butter, and turn the mixer on low (cover the bowl with a towel if flour starts to spill out). Let the paddle combine the butter into the flour for about 1 minute. This mixture should look like wet sand.
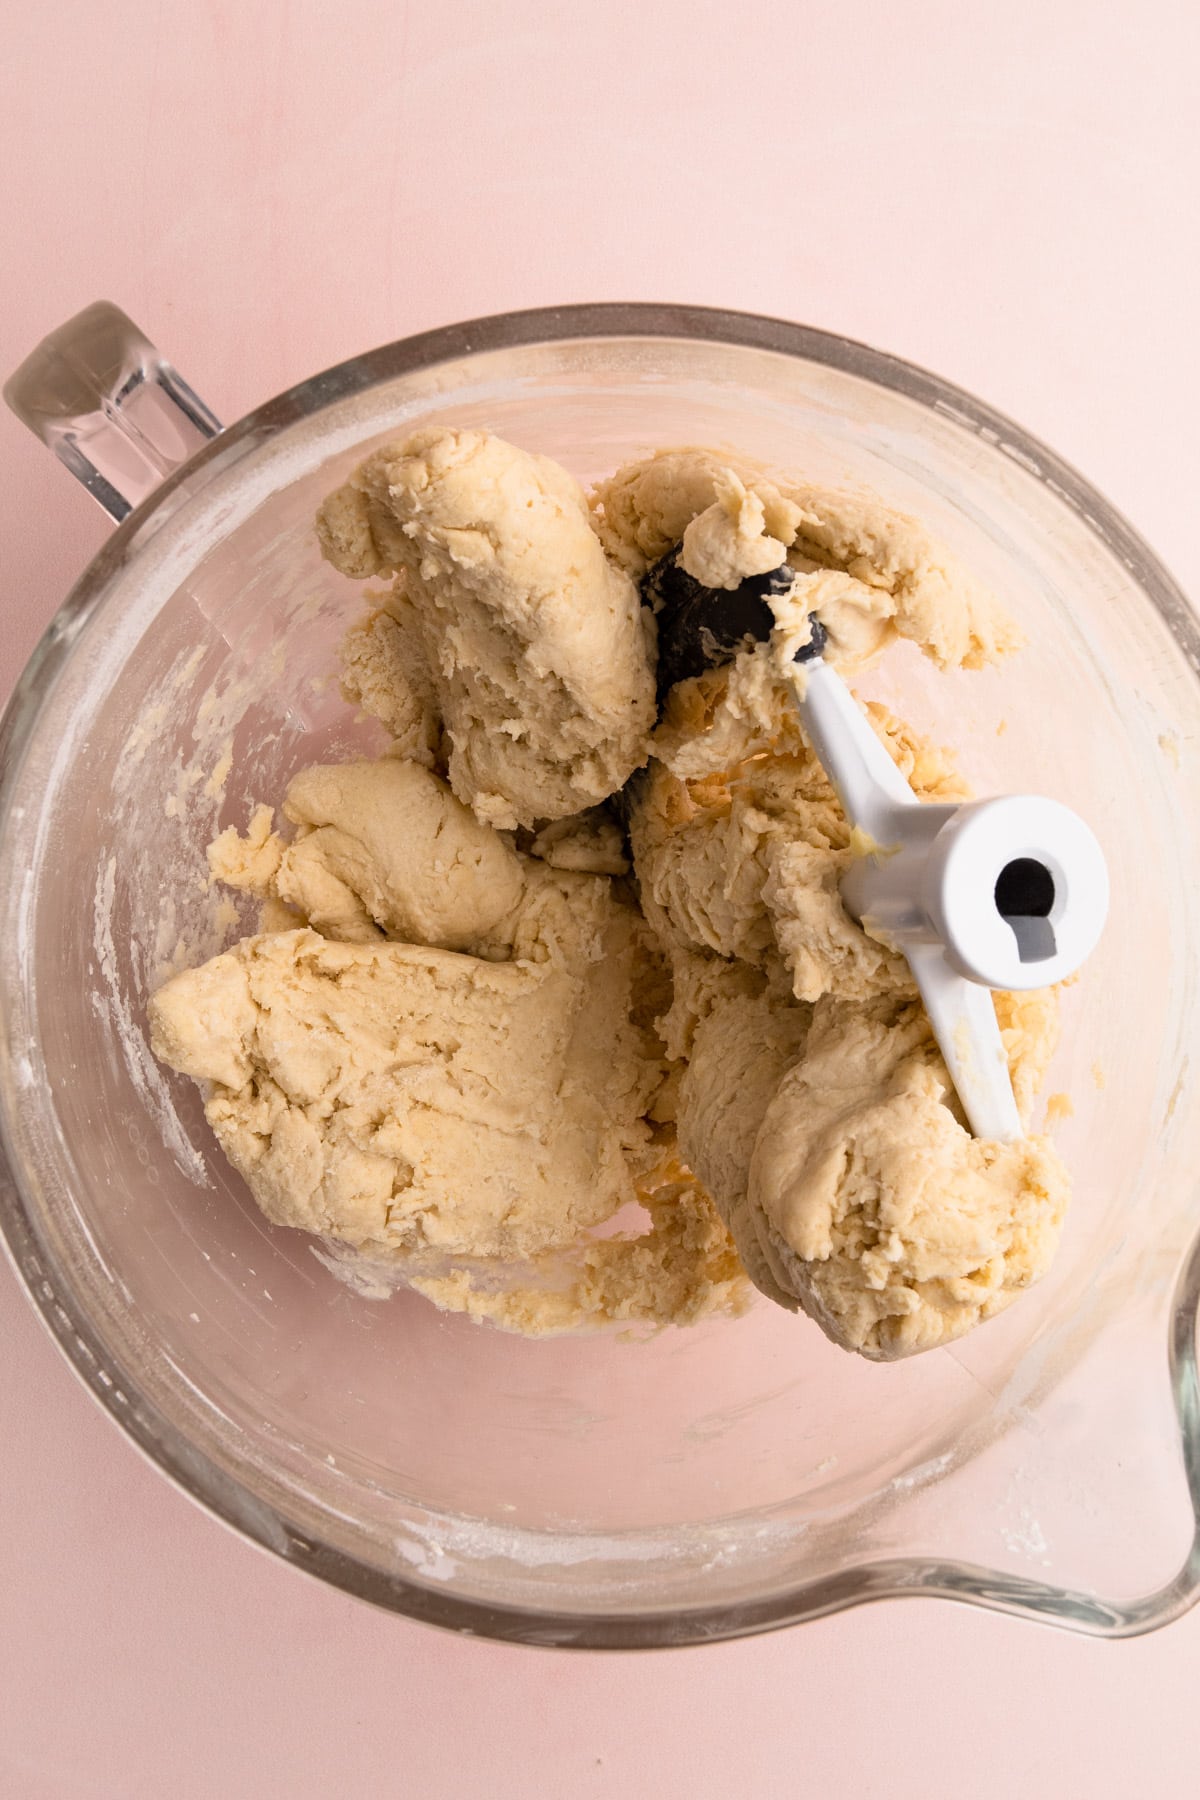
- With the mixer running, slowly stream 1 cup of very cold water into the dough. Mix until most of the dough comes together around the paddle. Shut off the mixer. Scrape together the dough and transfer it to a work surface. The dough should hold together easily when it is picked up. If there are any dry patches on the bottom of the bowl spritz with a little bit of ice water just until they come together and combine with the dough.
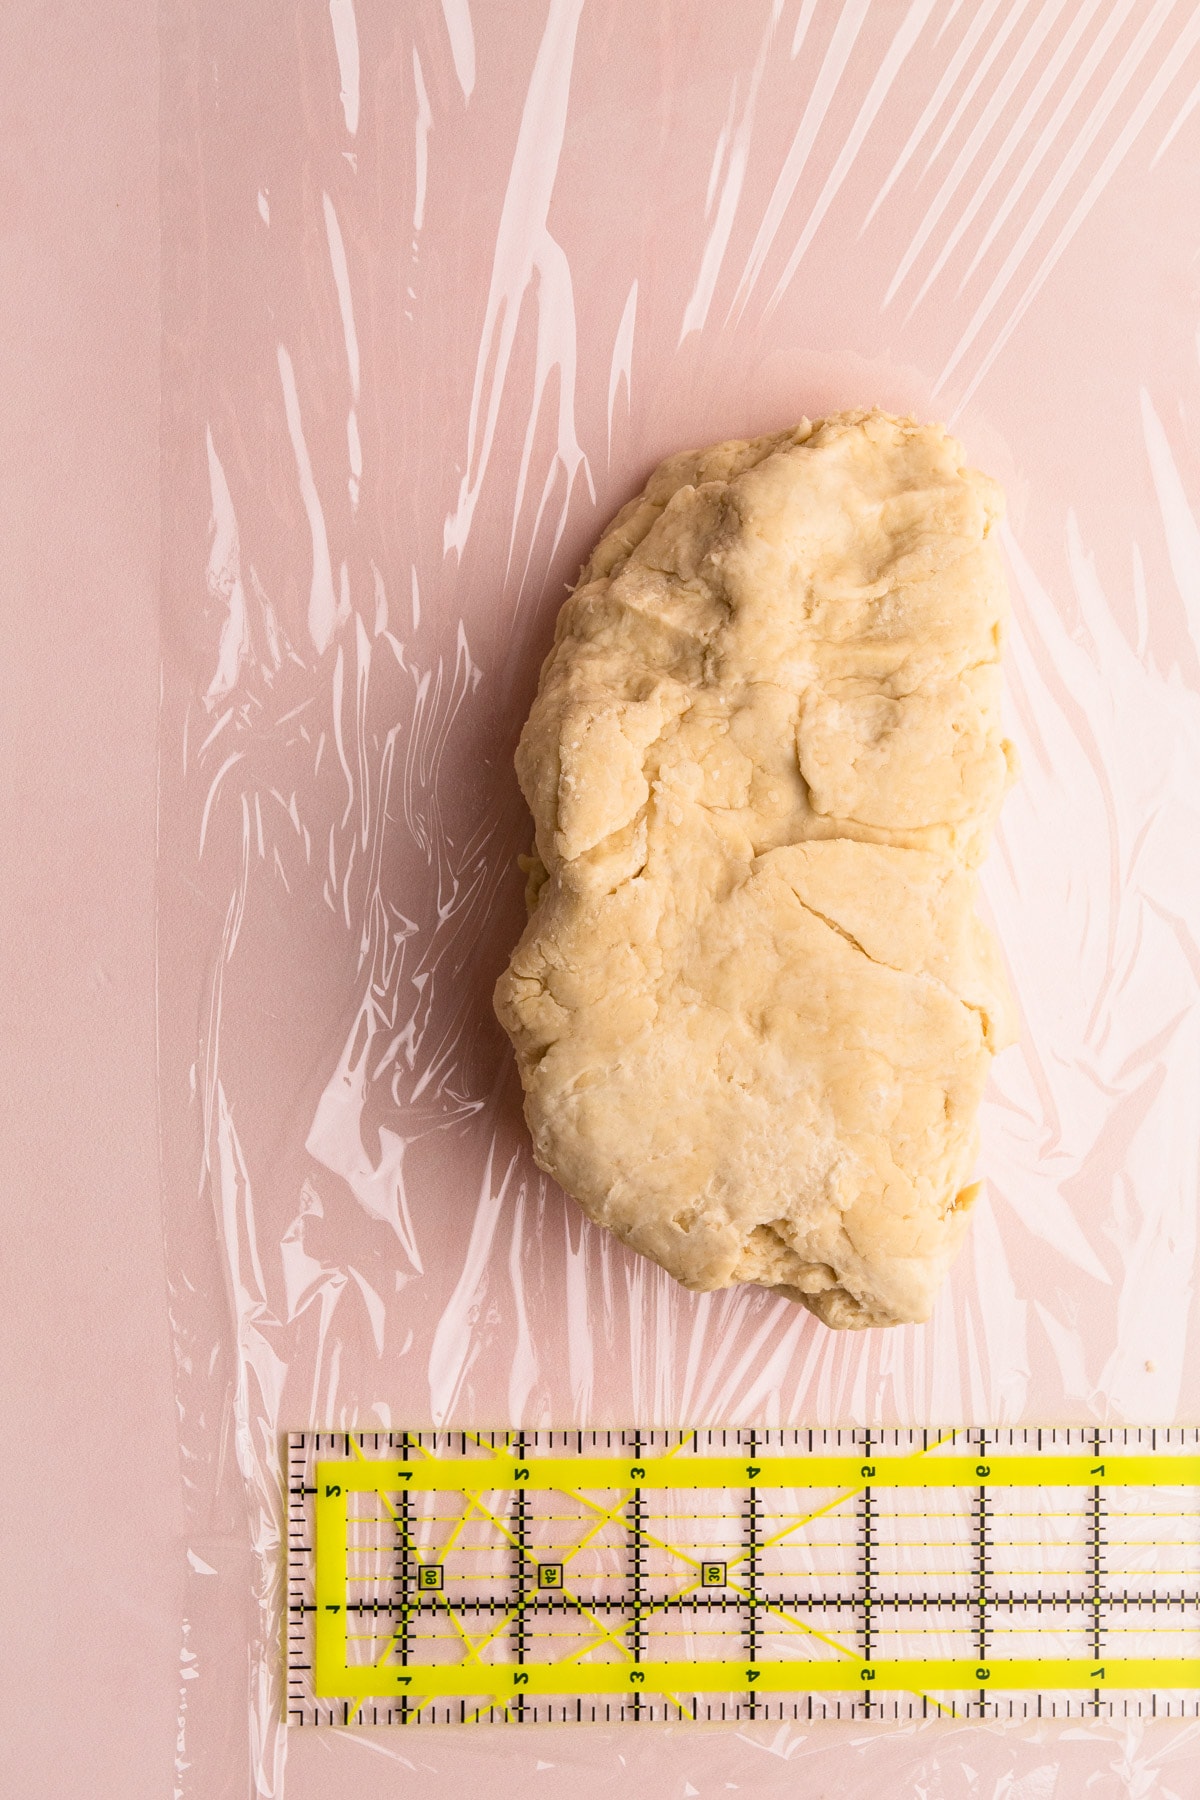
- Shape the dough into a rough 7x8” rectangle and wrap in plastic.
- Transfer to the refrigerator and let it rest for 1-2 hours, or until the dough is about 50 degrees. If your kitchen is hotter, it may take longer for the dough to cool down.
- Clean the stand mixer bowl to prepare to make the butter block.
Make the Beurrage:
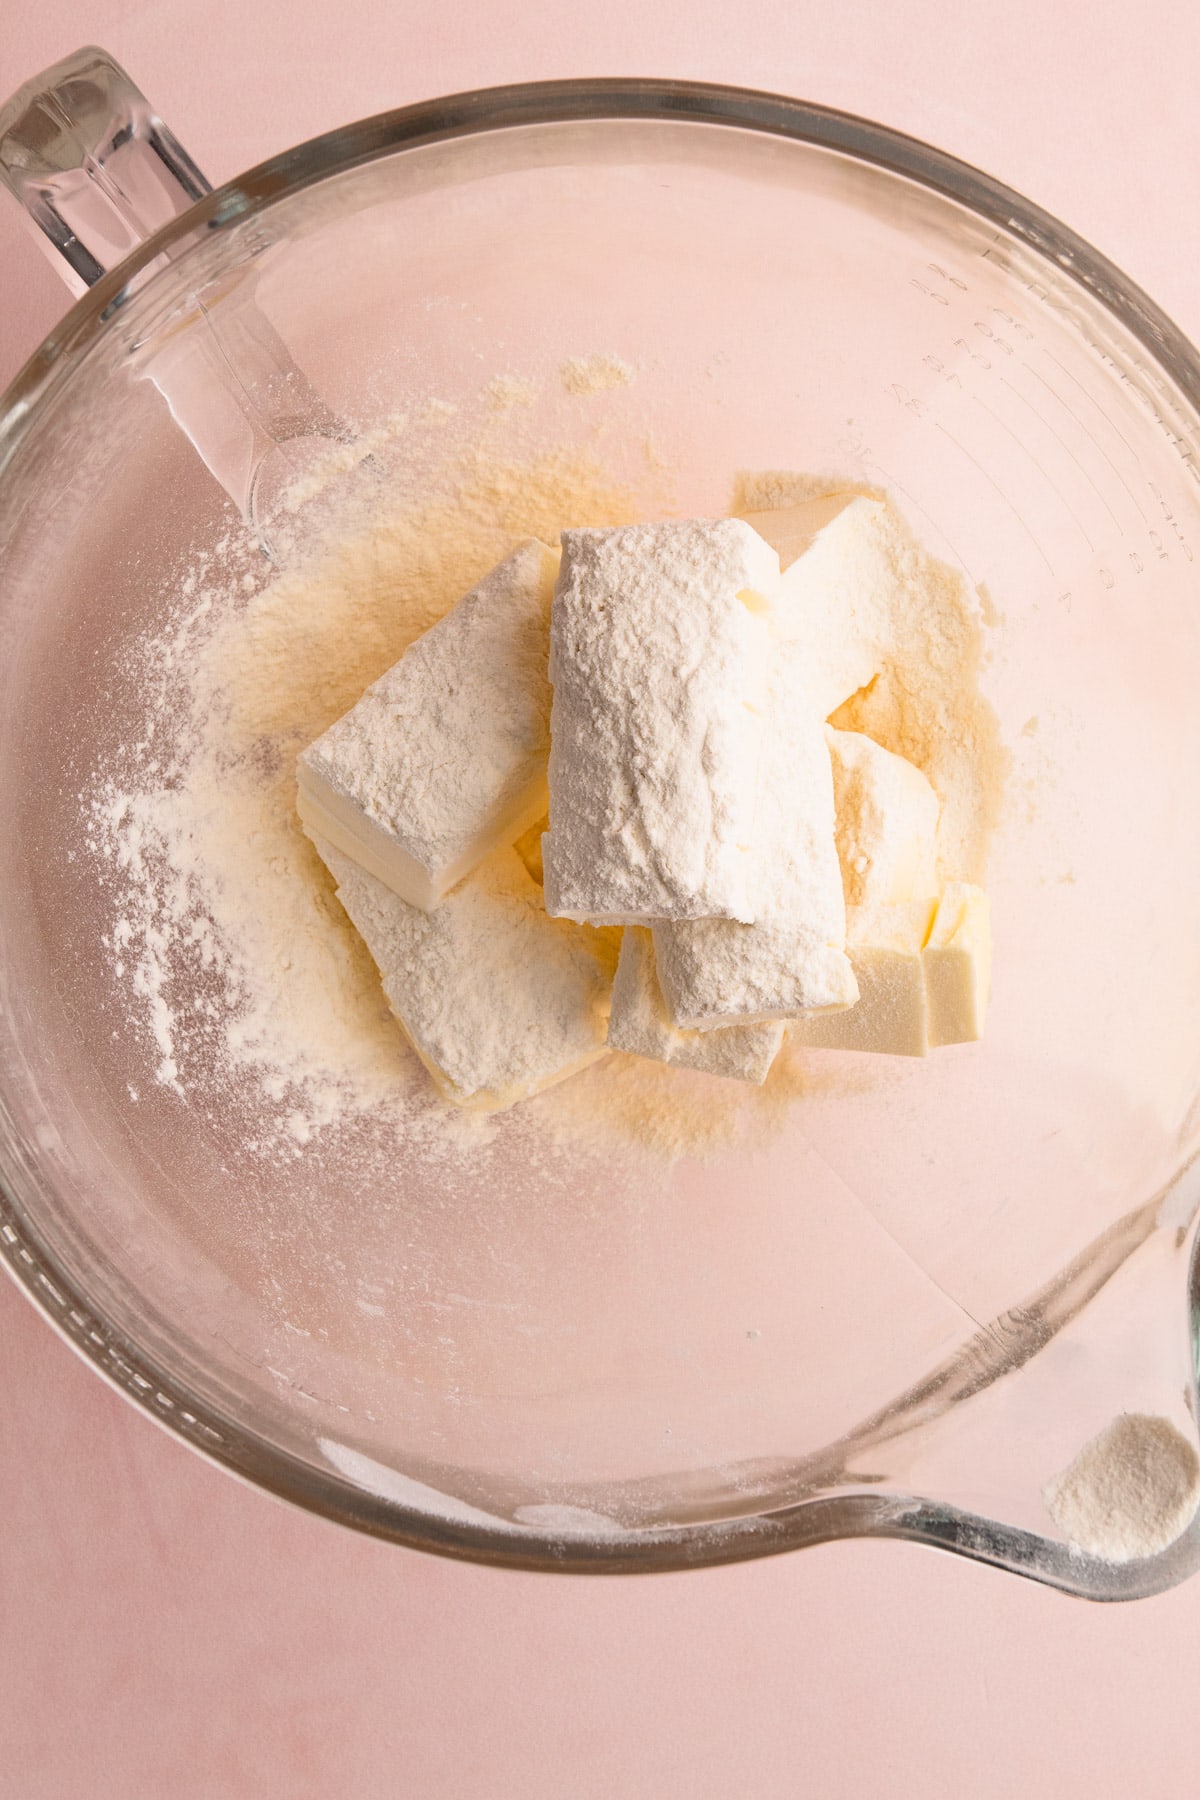
- Add the diced cold butter and the flour to the bowl.
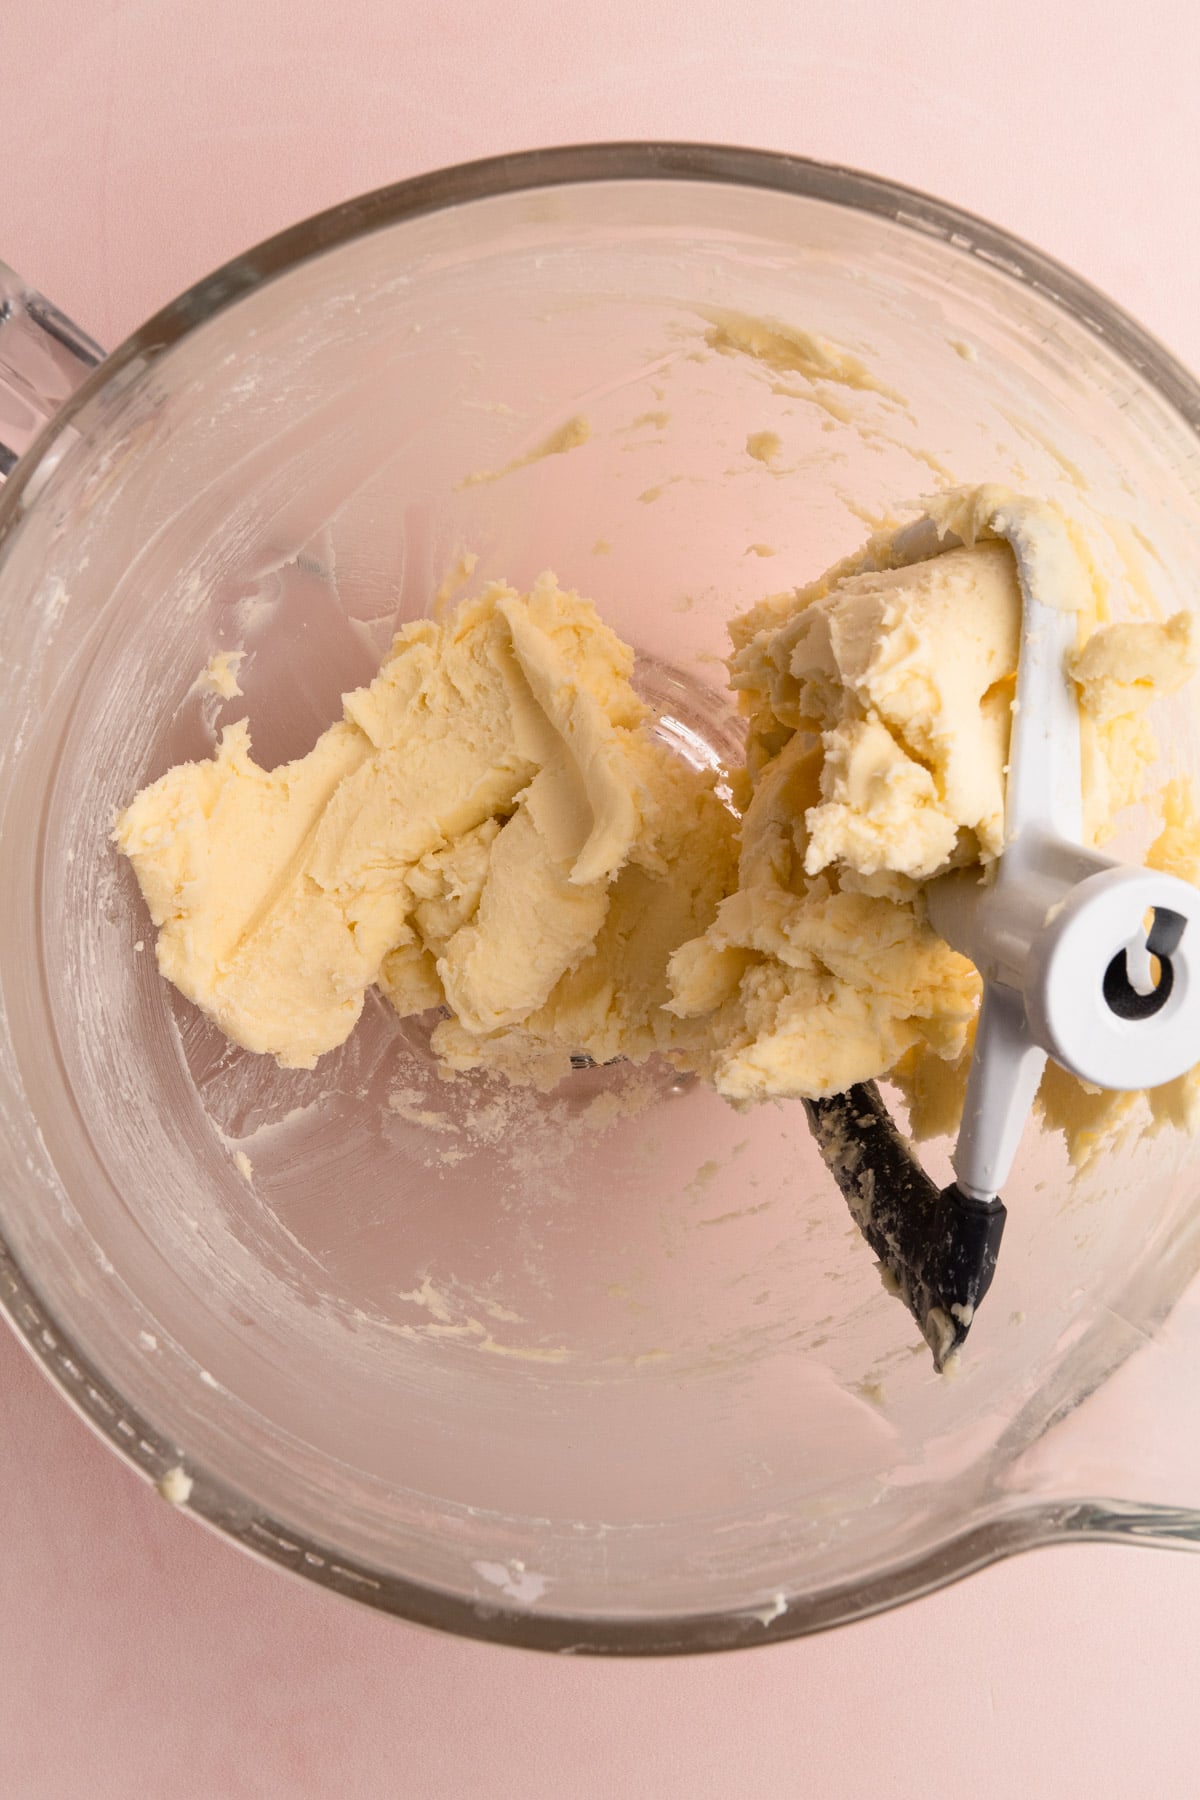
- Turn the mixer on low (cover the bowl with a towel if flour starts to spill out) and mix until the mixture is nearly smooth, about 1 minute, scraping down the bowl about halfway through. Turn the speed to medium and let the butter smooth out around the blade. You shouldn't see any clumps of butter or flour.
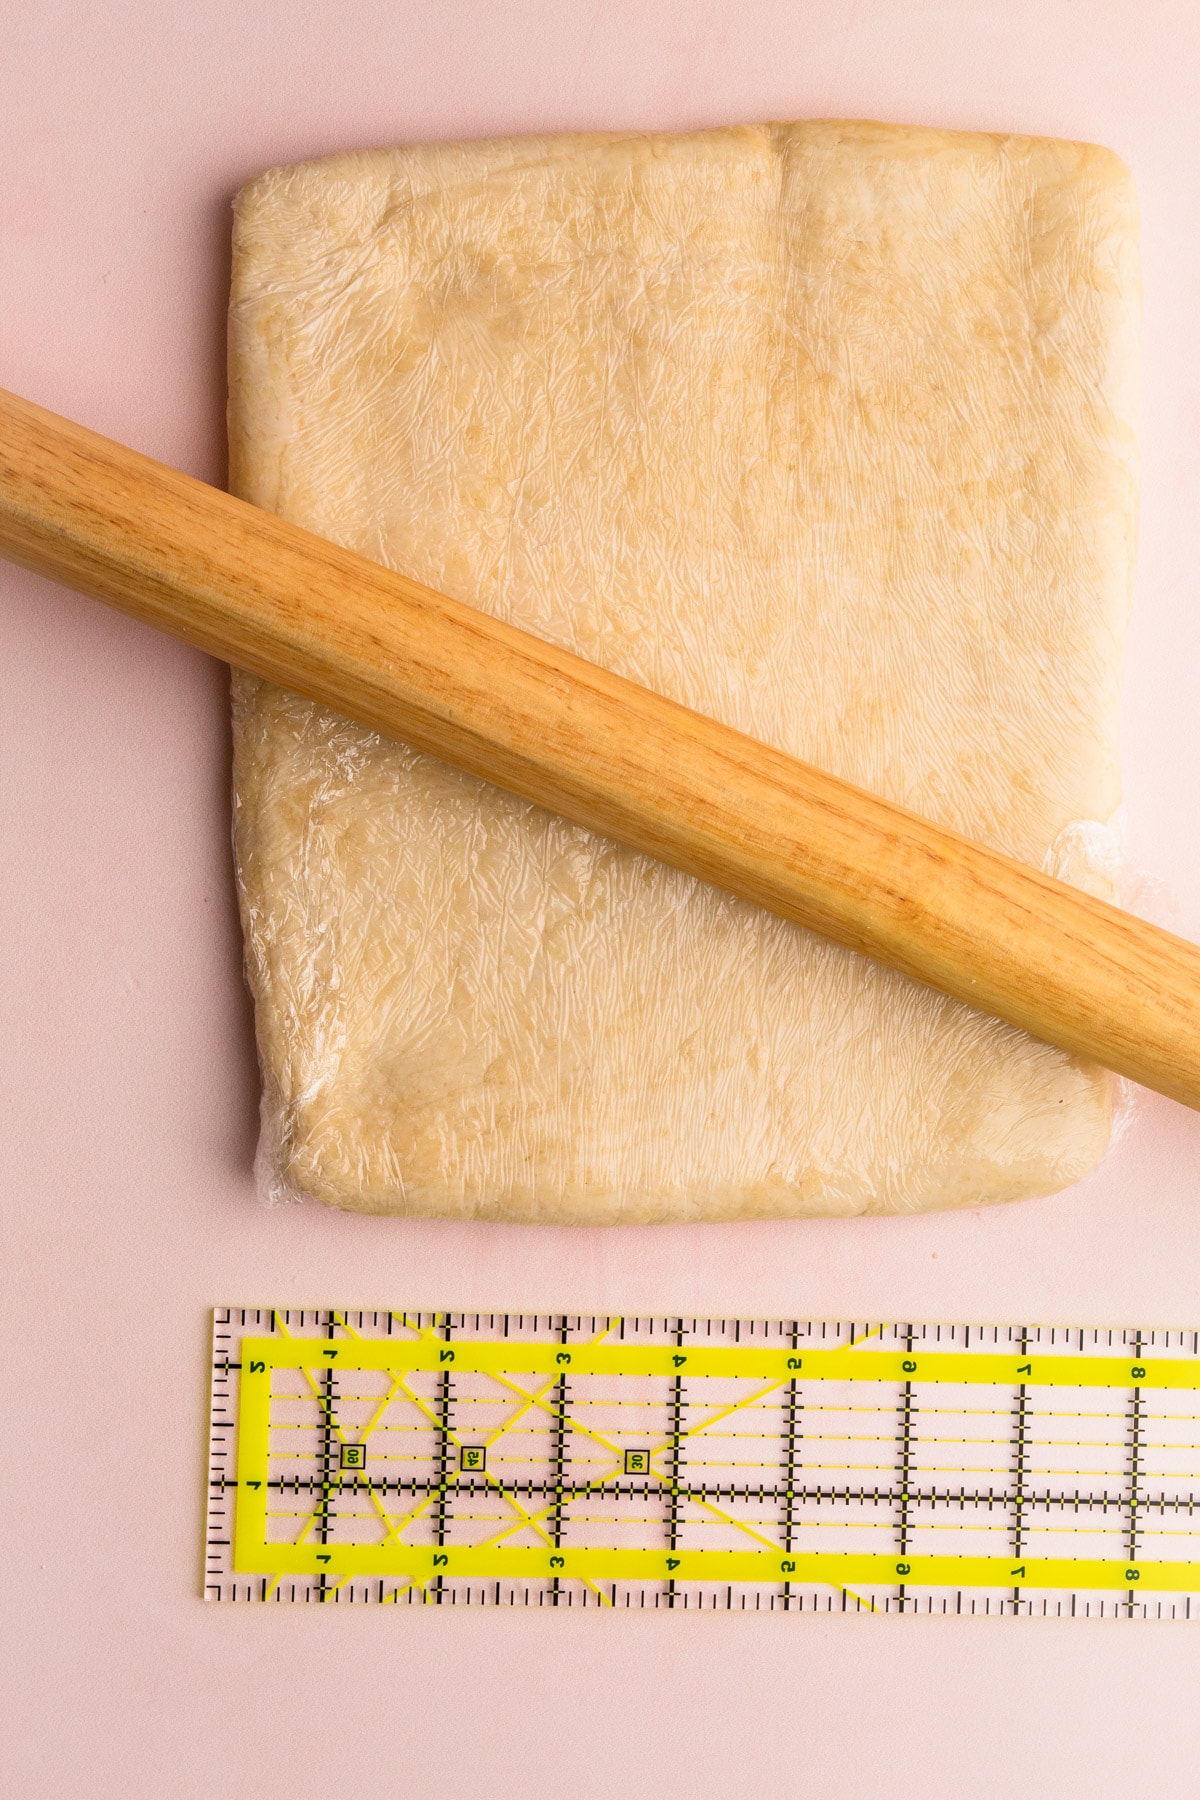
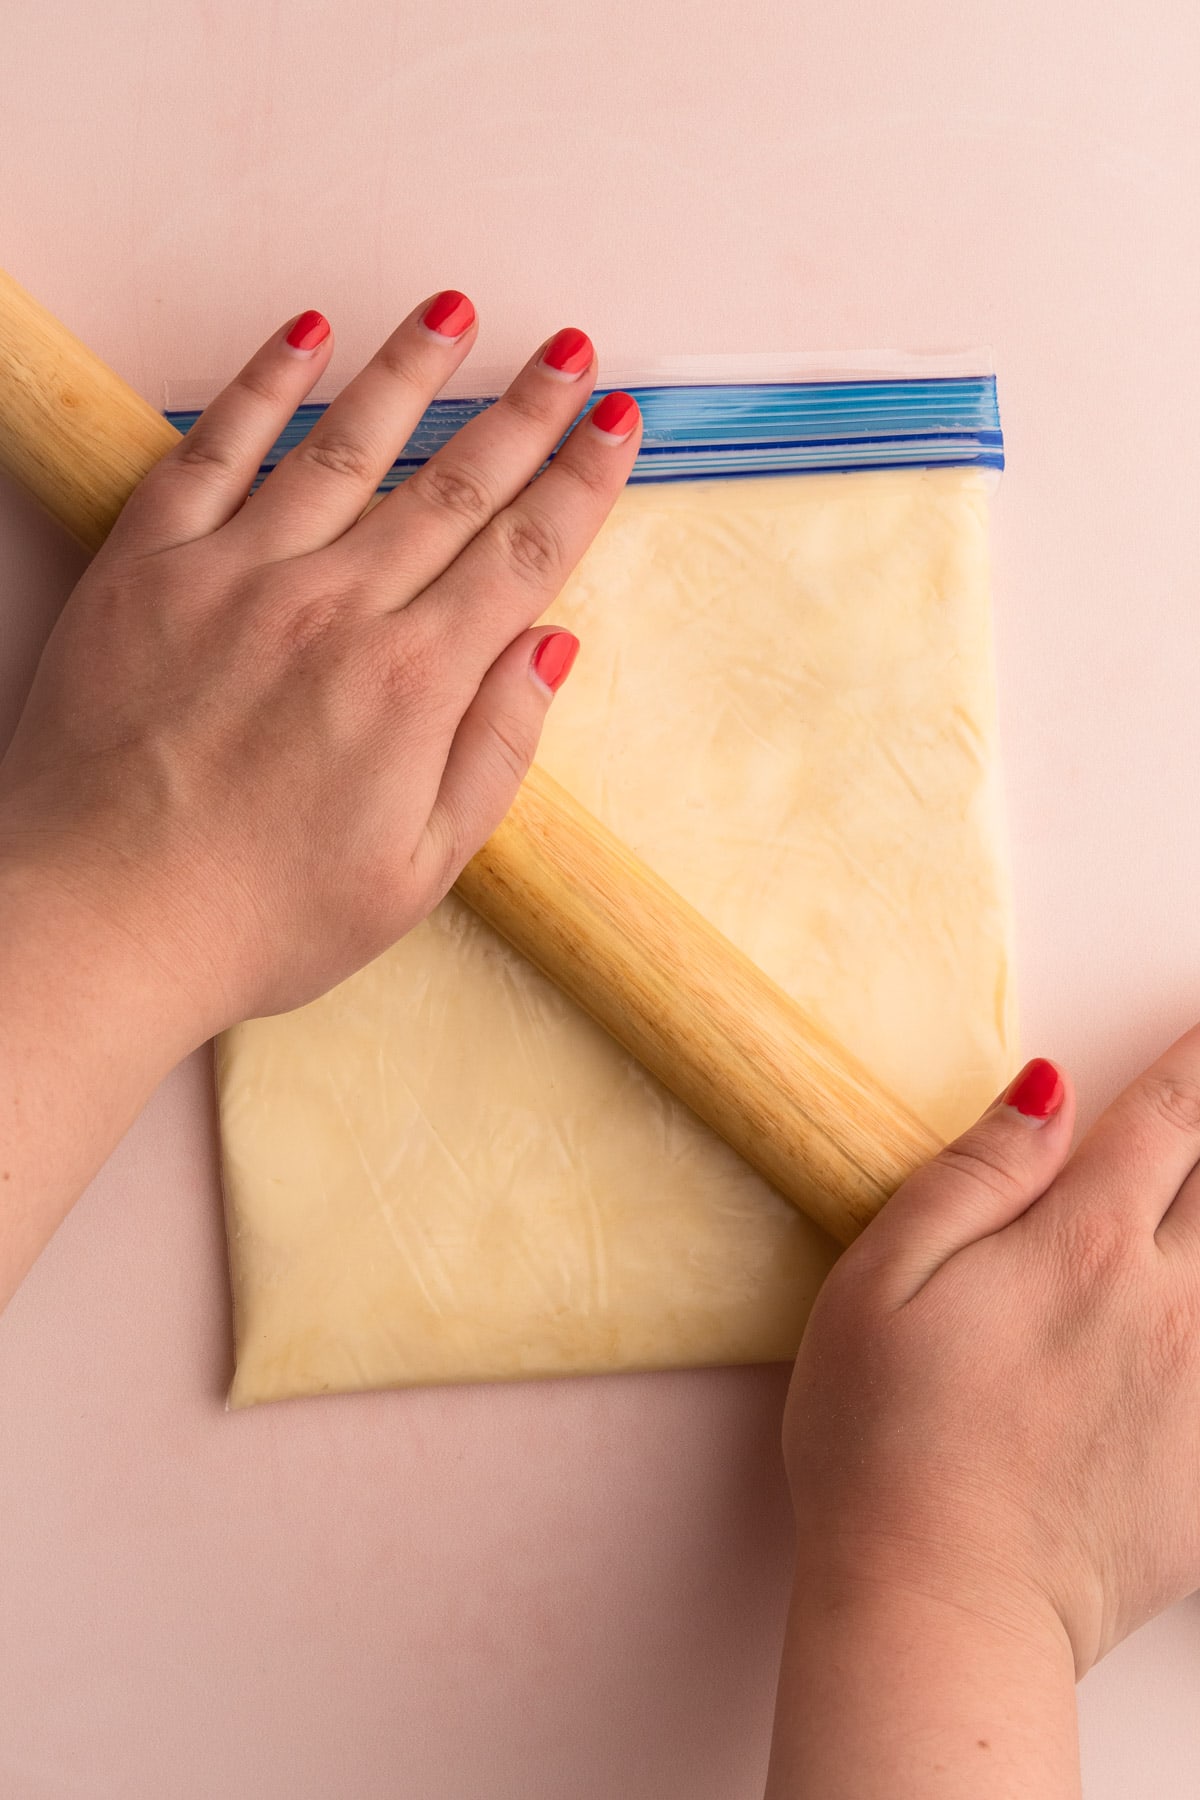
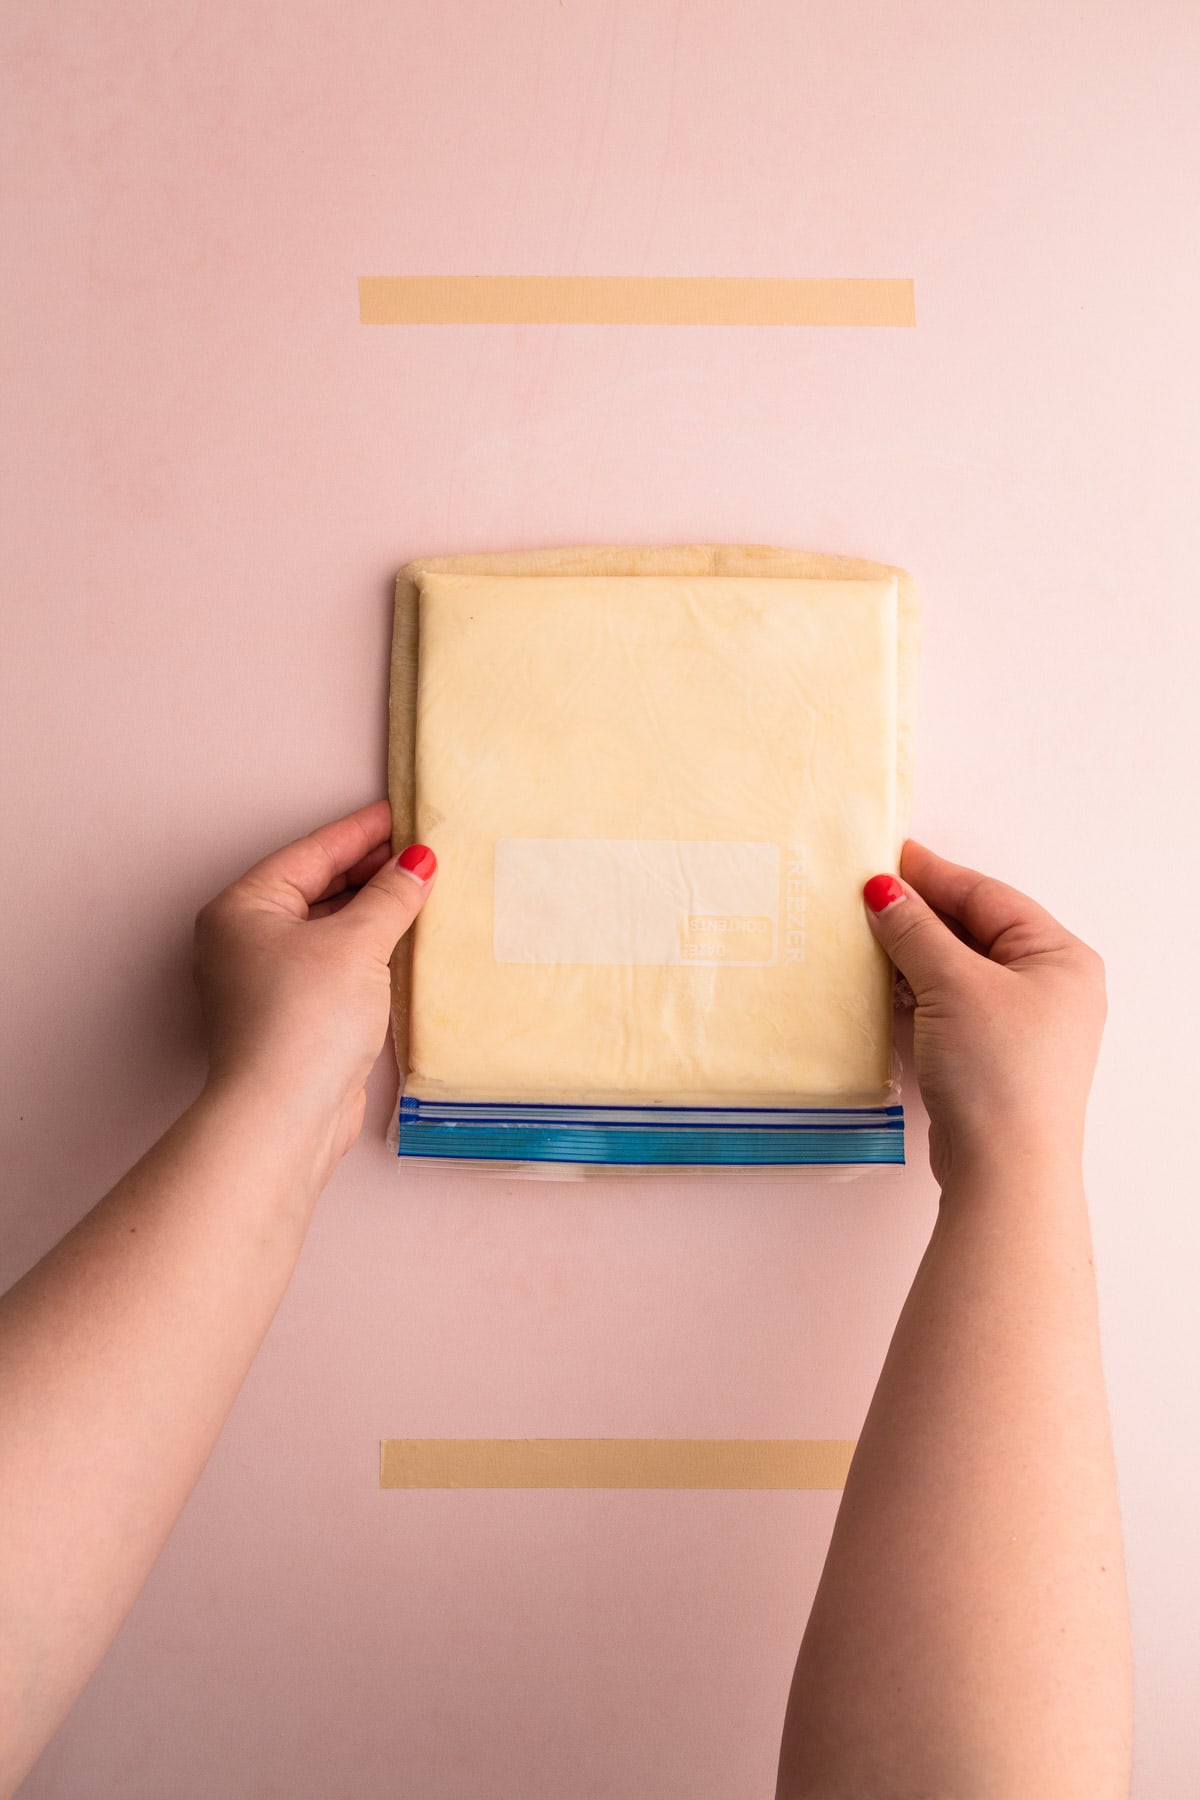
- Transfer the butter mixture to a quart-sized plastic storage bag (it should be about 7x8”). Fill the bag with the smooth butter mixture, pushing out any excess air. Once the bag is sealed without any air pockets, use a rolling pin to gently push the butter into the corners of the plastic bag to create an even thickness. Pop any air pockets with a sharp knife, if necessary. Transfer the butter block to the refrigerator to let it chill for 1-2 hours, or until the butter block is about 50 degrees. If your kitchen is hotter, it may take longer to cool down.
Laminating the Dough:
- Once the dough and butter block have firmed up, remove them from the fridge.
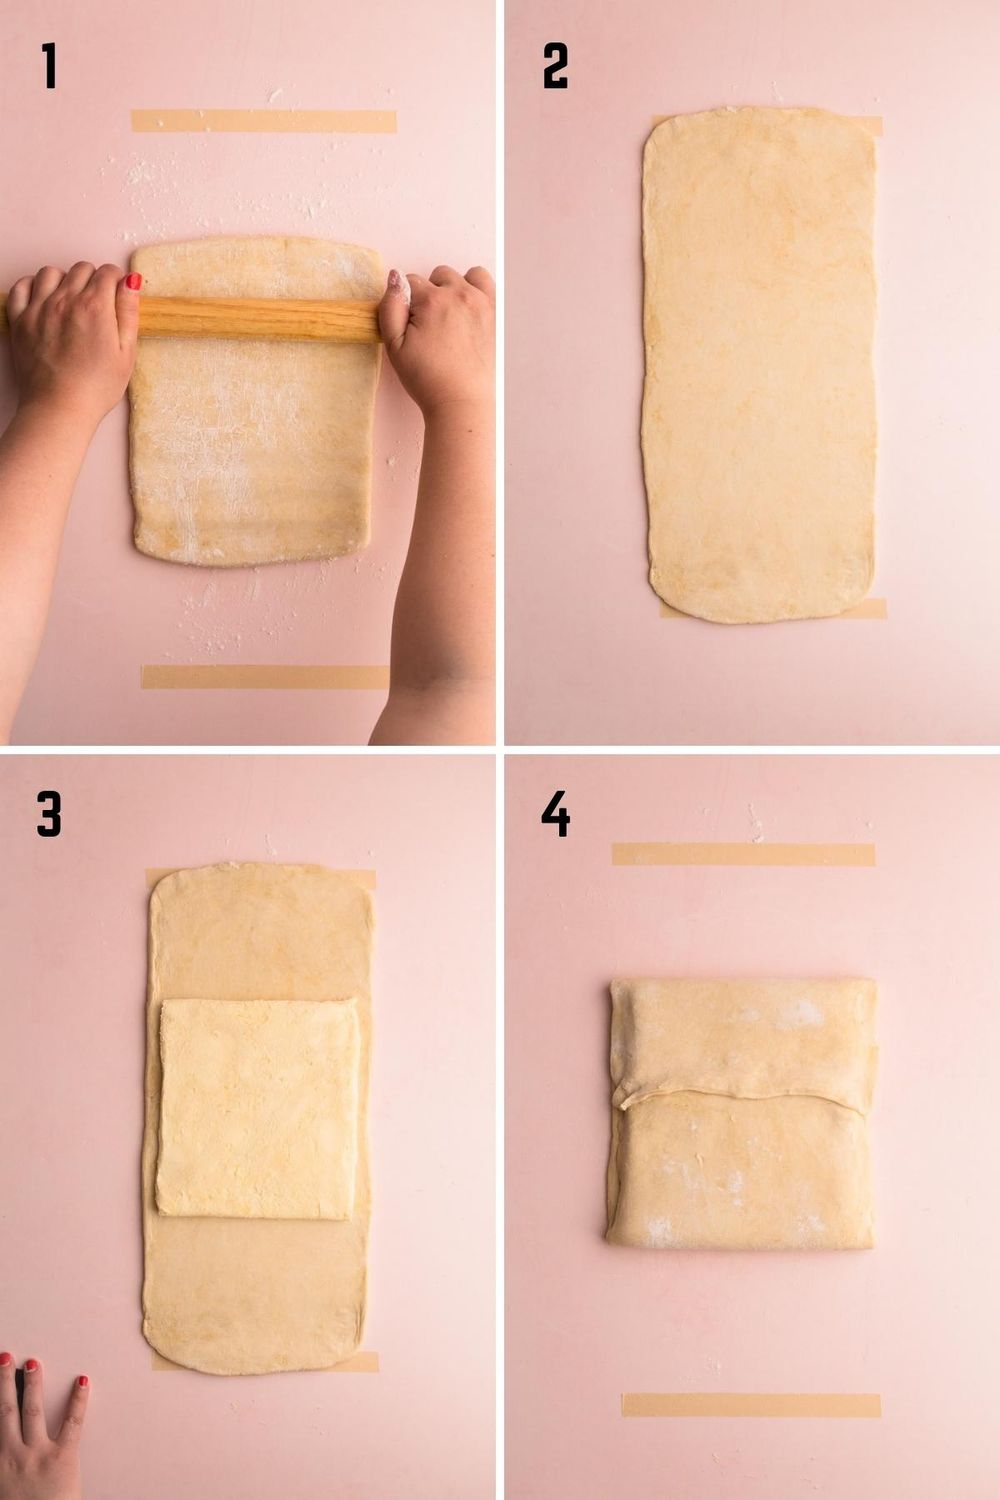
- On a lightly floured work surface, roll the detramp (dough), dusting with flour as necessary, to a 18 by 8” rectangle. Brush off any excess flour using a dry pastry brush.
- Using kitchen shears or a sharp knife. Cut open the plastic bag to remove the butter block, taking care to leave it in its shape. Place the beurrage in the middle of the rolled-out detramp.
- Grab the top short side of the detramp and fold it over the beurrage. Repeat with the bottom short side up over beurrage. The two dough edges should overlap. Gently pinch together the seams. Press together the seams on the long end. You have now technically made your first turn, of dough butter dough.
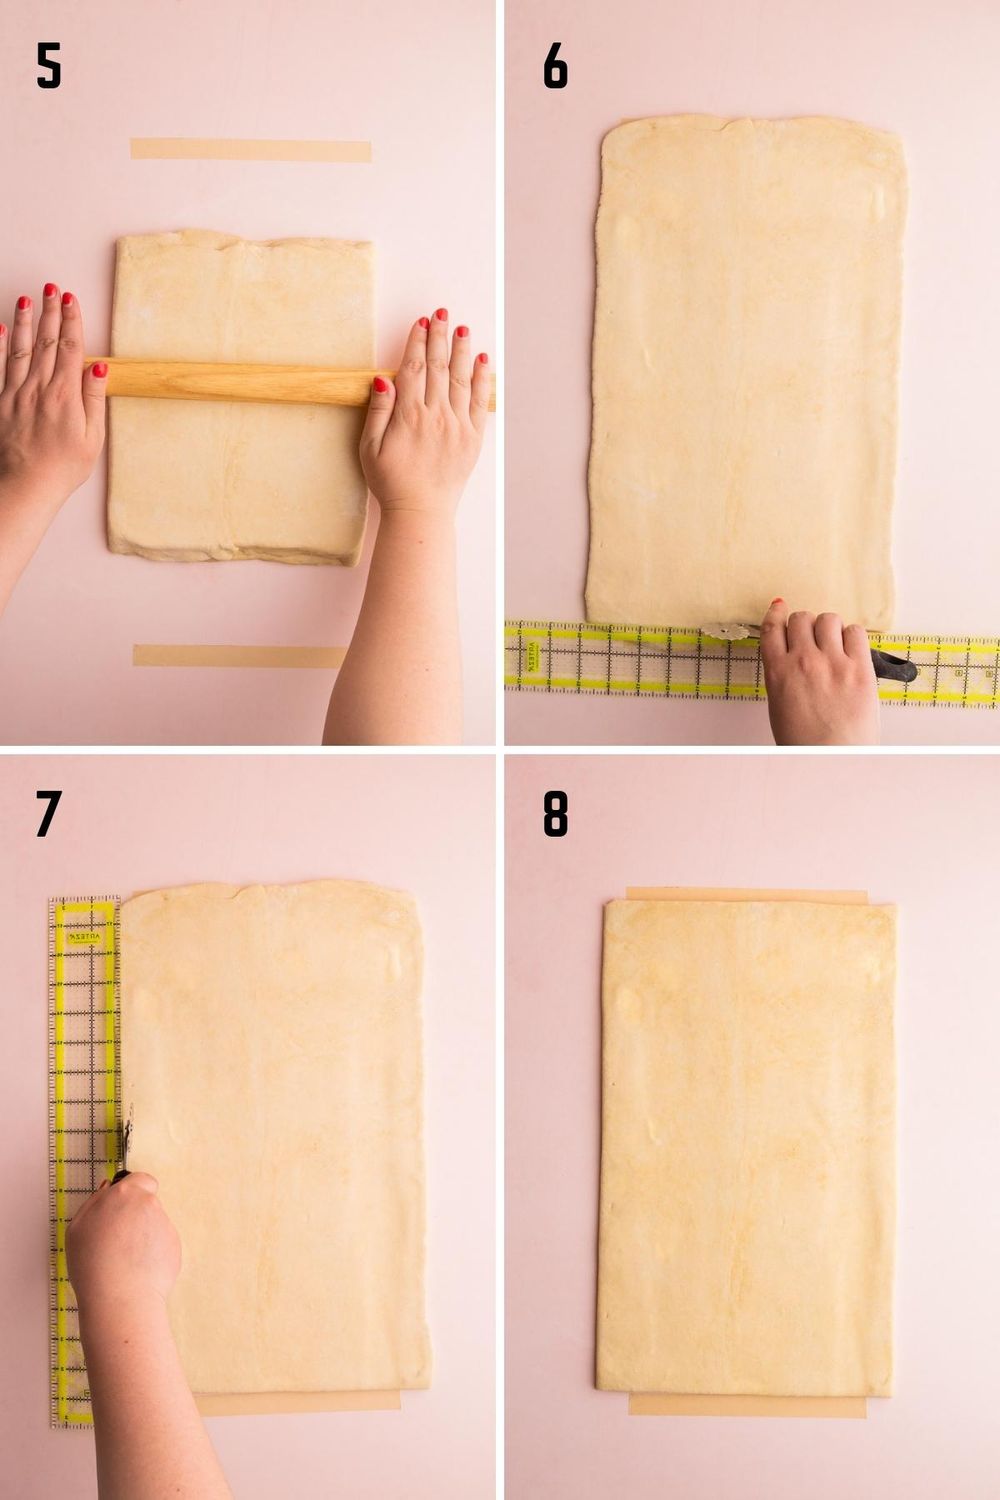
- Now, make the second, "simple" turn. Roll out the dough to a 18”x10” rectangle. Do your best to lightly push the dough away from you or towards you instead of pressing down on the dough and squishing the layers. Using a ruler to guide, straighten the outer edge of the dough by trimming it using a pastry wheel or a long, sharp knife. The goal is to start with a neat rectangle to help keep the rectangular shape intact throughout the lamination process.
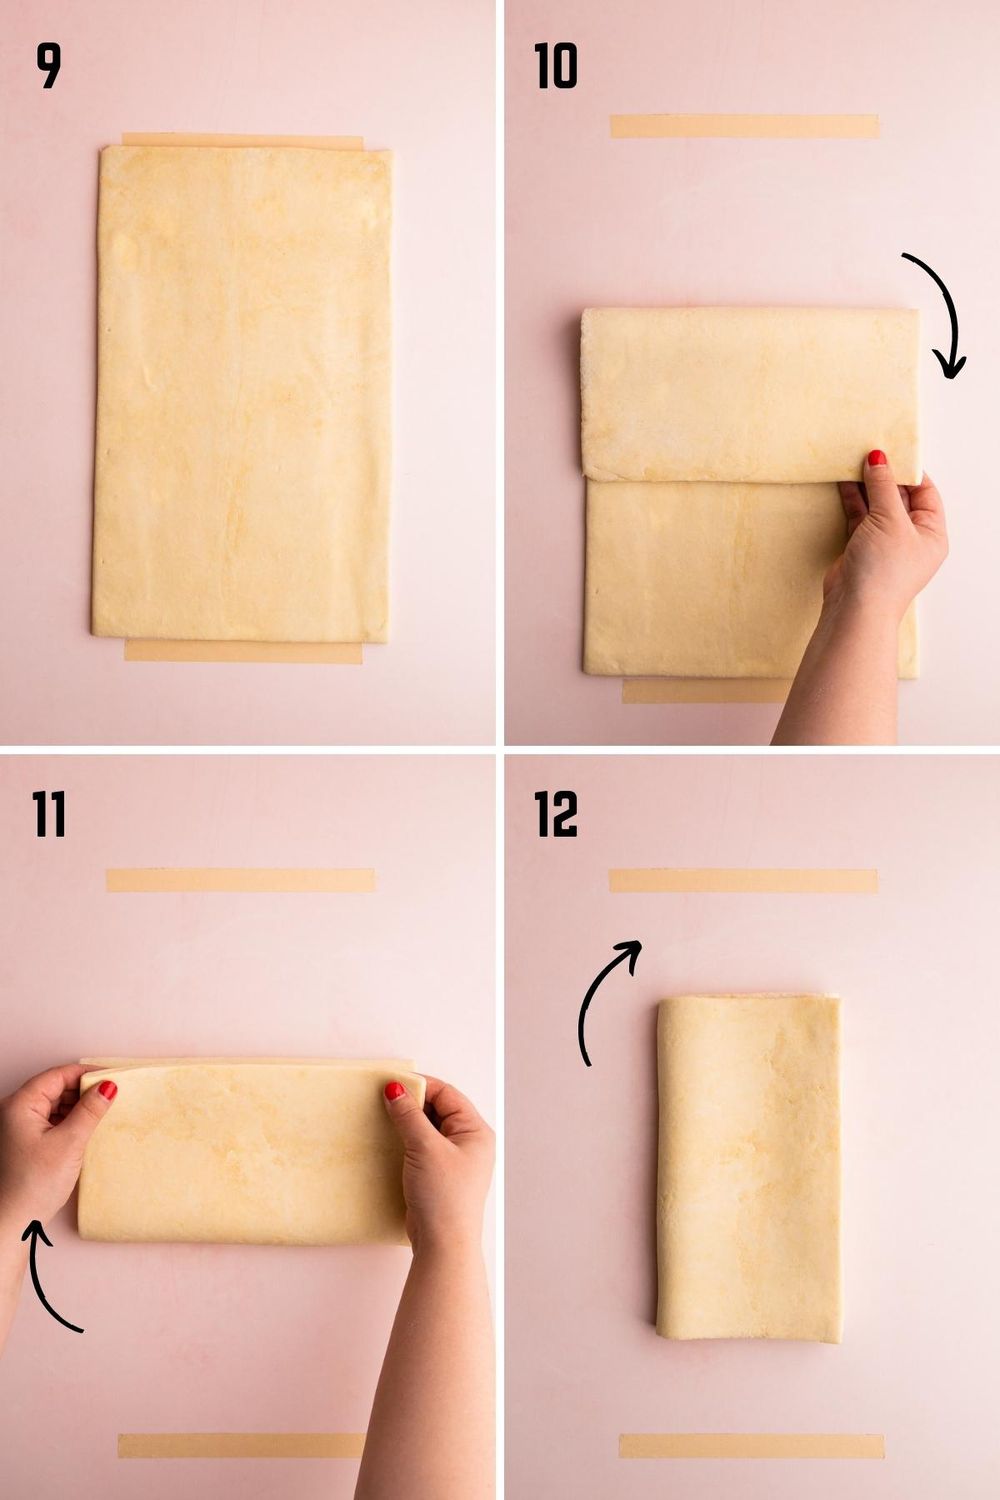
- Once the edges are cleaned up with sharp corners, grab the top short side of the dough rectangle and fold the dough ⅓ of the way down. Repeat the fold with the bottom short side, like a business letter. Gently press down on the layers with a rolling pin, so the layers stick together.
- Rotate the dough clockwise 90 degrees, so the long edge with the open seam is now vertical and facing your right (reference the video or step-by-step photos to see this in action). Repeat the folding process one more time.
- Wrap tightly in plastic again and freeze for 15 minutes, then refrigerate for 1 hour, or until thoroughly chilled.
- Repeat this process to make 4 more simple turns, chilling every 2 turns, for a grand total of 7 turns and two chilling periods. See the lamination schedule for a list of turns and chilling periods, as well as tips for troubleshooting.
- Wrap the puff pastry in plastic wrap and let it rest for 4 hours. After it has chilled, it is ready to use.
- When ready, roll out the pastry to a thickness of about ¼" - ⅛” and use as desired. See notes in the post for more information about how to store it, freeze it, use it and bake it!
Notes
Looking for a quick reference guide for the lamination schedule? See the section above called "Lamination"
I can't emphasize enough how much information I've documented in the paragraphs above this recipe card. Please reference it before making the recipe, unless you are a pro at laminating. You can also comment here on the blog, or reach out to me on Instagram.
Some of the links on this page may be affiliate links. Everyday Pie is a participant in the Amazon Associates Program. As an Amazon Associate I earn from qualifying purchases, at no extra cost to you.


Abigail
It sounds really good on the other comments and it sounds easy to do. I don't have a mixer and have to do it by hand, would that be possible? Or do I have to have the mixer???
Beth
I have wanted to make puff pastry but I have been a bit intimidated. I have an event coming up, I saw your recipe and step by step instructions so I thought I would try it. I did a trial run at a no pressure family gathering first, and it was great. Everyone loved it. Now I have made plenty for my event.
Savannah
I've been baking with a lot of store bought puff pastry and finally decided to try and make my own. As a novice baker, I found the process of lamination very intimidating but this recipe and guide definitely helped me make the leap! I made my puff pastry into a Danish and I am so happy with the result. I truly appreciate the detail put into this aa well as the video and pictures to go along with instructions. Thank you!!
Kelli Avila
I'm so happy you gave it a go!
Melissa
Easiest, most comprehensive, puff pastry guide and tutorial out there. Used this a pie crust for my Thanksgiving Apple Pie and it turned out AMAZING. Recipe is extremely forgiving and easy as pie *hehe* for the novice baker. love love love !
Kelli Avila
So happy you gave it a try! Love that you paired it with a pie!!
paula ottaway
My puff pastry turned out beautifully. I used some right away and saved some in the freezer. What I discovered is the that once it is baked and I make the miloja cake with whip cream strawberries and dulce de leche and I put it in the fridge- unlike the store bought, the home made puff pastry gets hard! ughhh
my kids love the miloja cake best after it has been in the fridge for 2 days with the store bought Puff pastry - I have been making this for 30 years
is there a way around this? why does the home made puff pastry get hard? butter? doesn't store bought have butter as well??
Kelli Avila
Hi Paula---depends on the brand you buy. Pillsbury has no butter at all. But yes, butter gets hard in the fridge. A tough trade off if you are making puff pastry only then to put it in the fridge!
Ruth
Amazing work! At what temperature should I bake ?
Kelli Avila
It depends on what you are using it for, but a good rule of thumb is 375!
Aja Breuer
If you cut the recipe in half, do you still roll it out to 10x18?
Kelli Avila
No. You'll want it rolled out to roughly 1/4" thick, which will be less than 10x18, around half the size but not quite.
Mona Ward
Does this make what would be equivalent to a package of puff pastry dough? I found a recipe for blueberry cobbler using puff pastry and want to make my own.
Robin H
Thank you! This made perfect puff pastry. My first attempt at making this was light, flaky and delicious!
Kelli Avila
Good for you for giving at a go and succeeding! It's such a fun project!
liz ciavatta
This is a very comprehensive recipe and set of instructions and I want to do this soon. But at the top of the article you refer to a video and I cannot find the link? I can probably do this but a video is always a great help. Anyway, thanks for the recipe.
Kelli Avila
Hi! The video should populate just above the recipe card!