Want to bake pies like a professional? Read on to get the inside scoop on everything you should know, from making beautiful crusts to working with particular fillings, to ensure your pies are as delicious and as perfect as possible.
Want to save this recipe?
Enter your email & I'll send it to your inbox. Plus, get weekly updates from me!
We have all heard the saying "practice makes perfect". That is true with most things in life, and it's true when it comes to baking pies as well. As a professional baker, I know that the more you bake (especially when it comes to pies), the more tips and tricks you learn along the way. The pies I make today are much prettier and with fewer failures than the ones I made when I first started baking. After making more than a thousand pies over the last 12 years, I've certainly picked up a few tricks that have worked for me. And, I think they'll work for anyone eager to perfect the art of pie-making.
Within the recipes on my site, you'll already find many tips and tricks. However, I often hesitate to be too specific in a recipe and to call for too many additional steps that I personally use when baking pies (such as a mandatory overnight rest for pie dough). This is because it can confuse readers when you include too many details in a recipe.
But I started this site to pass on what I've learned about baking pies for so many years, even if sometimes they can be a little time-consuming or nuanced. So I've rounded up a list of my favorite specific tips that I personally follow to make perfect pies every time.
Read the Recipe, Twice
This tip is number one on the list for a reason. I understand this is such a common suggestion, but it needs to be reiterated: read the recipe twice and ensure you understand it properly before beginning.
I can't tell you the number of times I've had readers reach out to me and share how they mistakenly messed up the recipe, and it turns out they didn't take the time to fully understand the recipe before beginning. Don't believe me? Check out the comments on this Apple Pie Filling recipe, where readers have swapped out a crucial ingredient with terrible results (they used apple cider vinegar instead of fresh apple cider).
Use More Water in Pie Crusts
Hydrating pies crusts properly can be a bit tricky. If you underhydrate it, the dough will crack and fall apart and be brittle when baked. If you overhydrate it, it will be squishy when rolling and be a bit tougher dough to excess build up of gluten.
In an ideal world, your pie crust would be perfectly hydrated (and rested, see more of that below). However, over the years I've started to notice that bakers are so afraid of overhydrating their pie dough that most tend not to add enough water.
If I had to pick, I'd rather your pie dough be slightly over-hydrated than under-hydrated. In fact, over the years I have found myself adding more water than most other recipes called for so that rolling out the dough is easier.
Make sure to add enough water so there are no dry spots in your pie dough, as those dry spots will not disappear even if they are rested. Heir on the side of adding enough water. The pie crusts should easily hold together when gently squeezed in your hand. Any powdery bits should be gently hydrated with a few drips of water.
That being said, don't add so much that your pie dough is super soft! And you'll know it when you see it.
Make the Pastry Quickly and Let it Rest Slowly
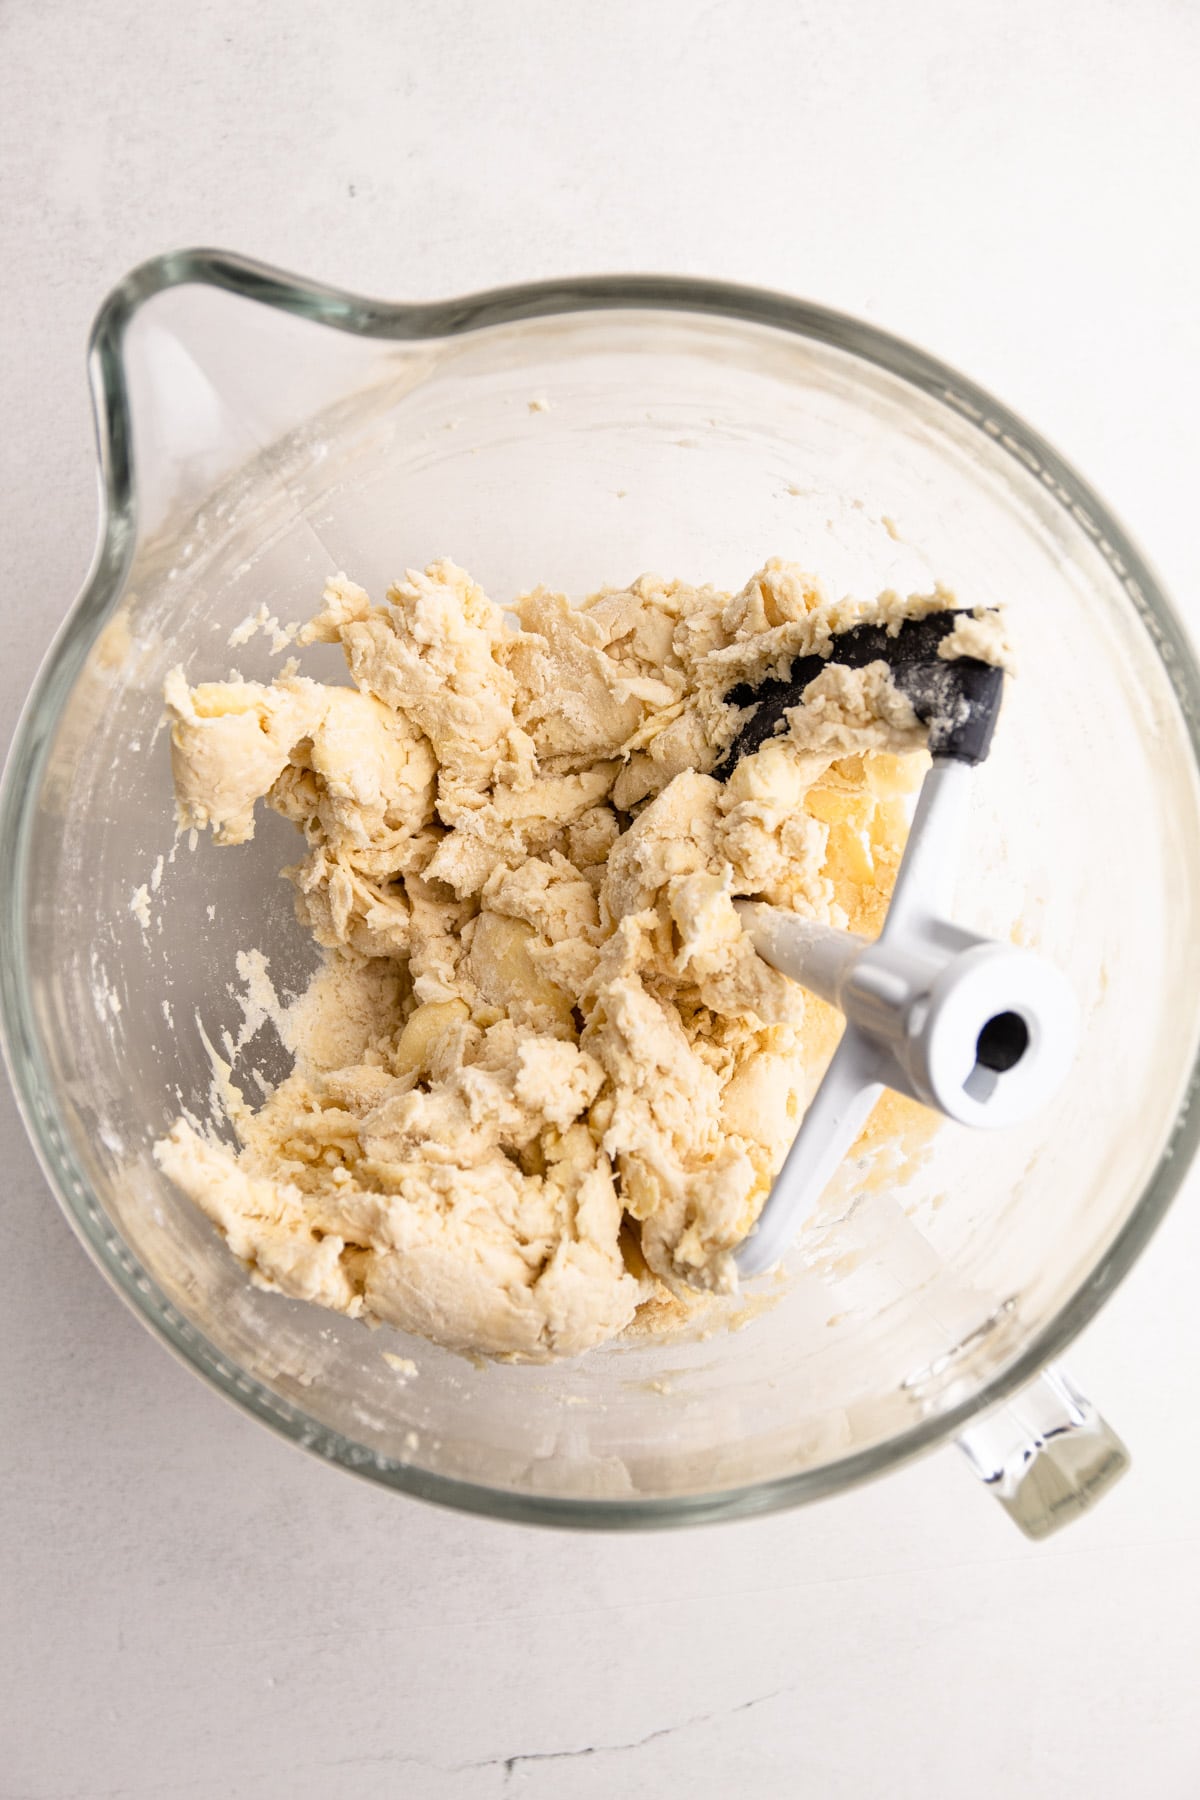
When trying to make flaky butter pie dough, melted butter will is the enemy. So in that sense, you want to move very quickly when making the dough, especially if your kitchen is hot.
If you aren't able to move quickly, you'll want to utilize the freezer or refrigerator during the dough-making process to ensure the butter doesn't turn soft. If it's very hot in the kitchen, freeze the butter for 15 minutes before working with it, especially if you are using the food processor. Soft butter will not allow your dough to come together evenly.
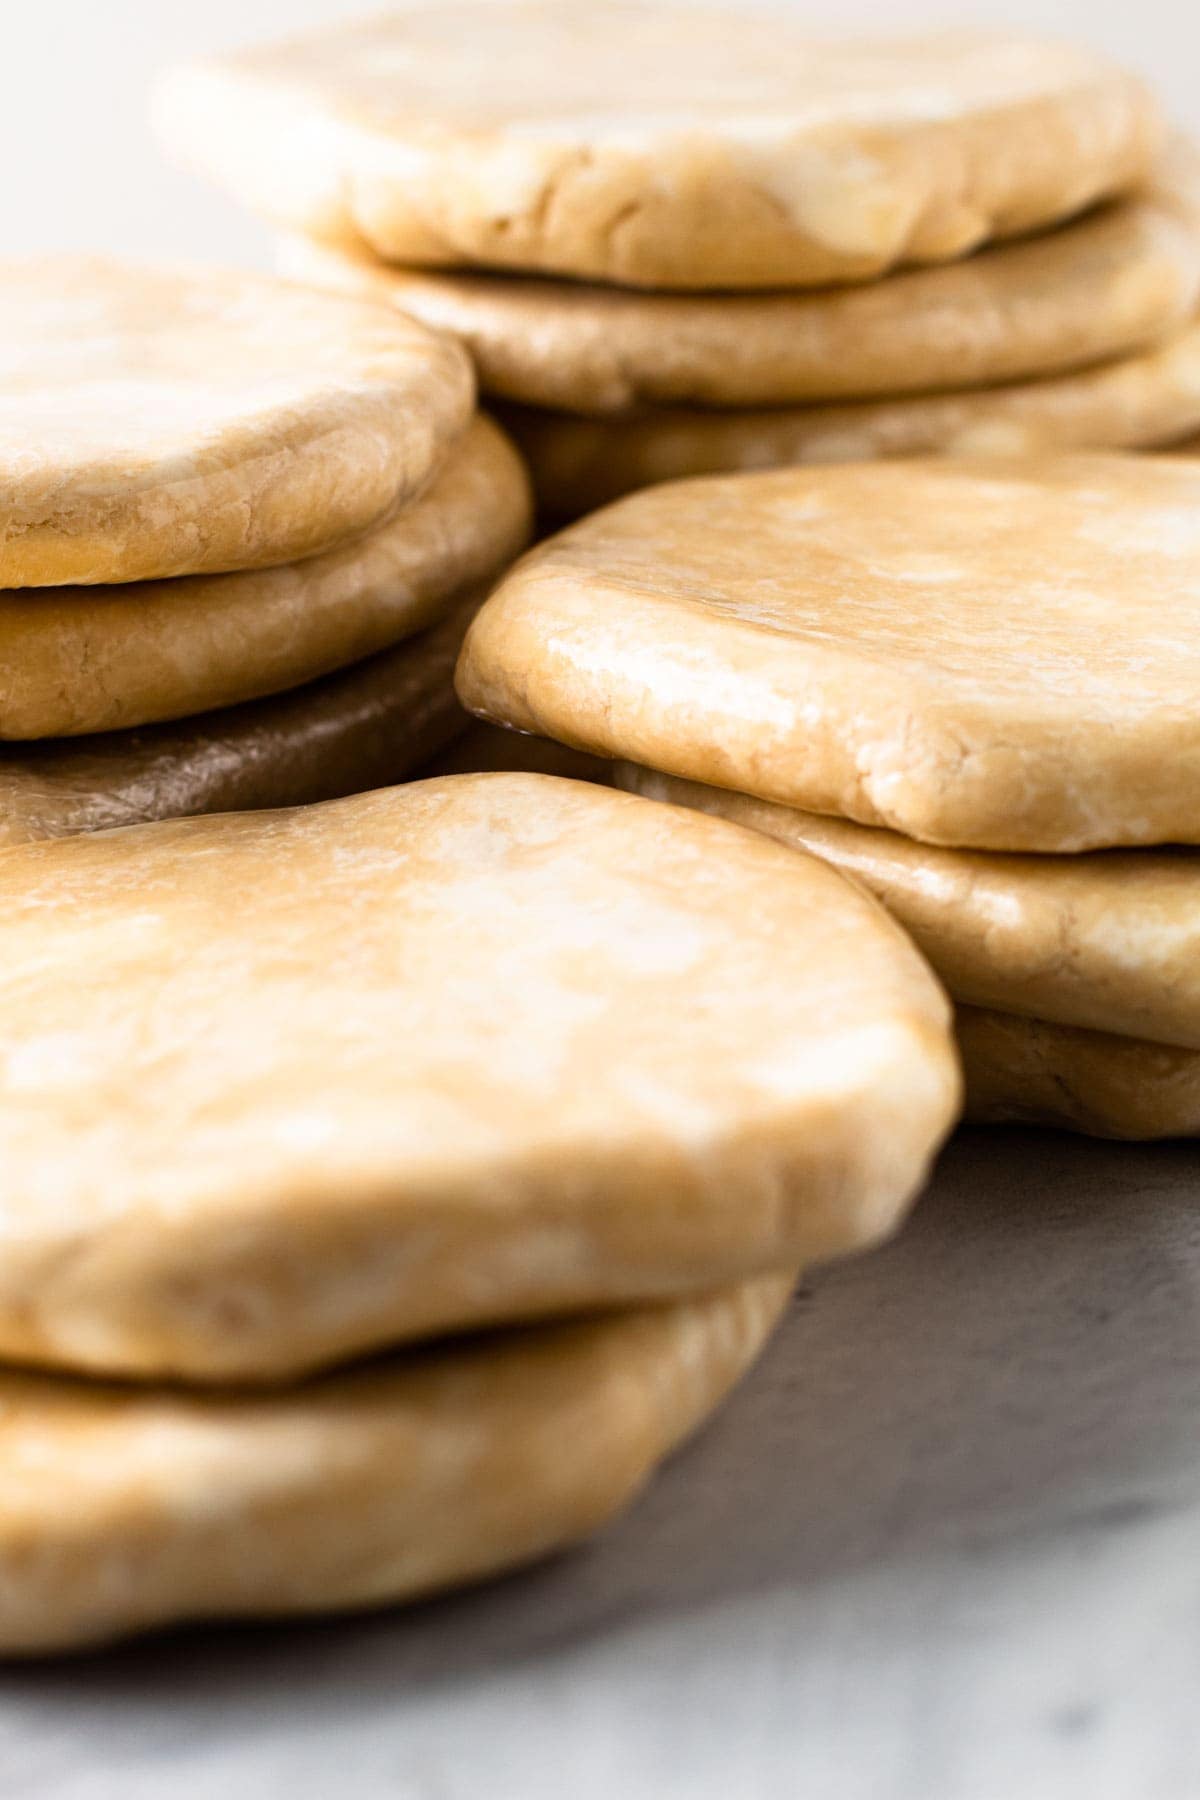
Here's another secret: I never use butter pie crust the same day I've made it. Let the dough rest. Pie dough needs time for the flour to fully hydrate and to give the gluten a chance to relax. The dough is best if rested at least overnight.
If you absolutely need to, you can make the dough and bake it all on the same day, but you must let it rest at least 2 hours before you roll it out. Dough that is made the same day it's rolled out and baked can be more difficult to handle and possibly deform in the oven.
Don't Skimp on the Flour When Rolling Out the Dough
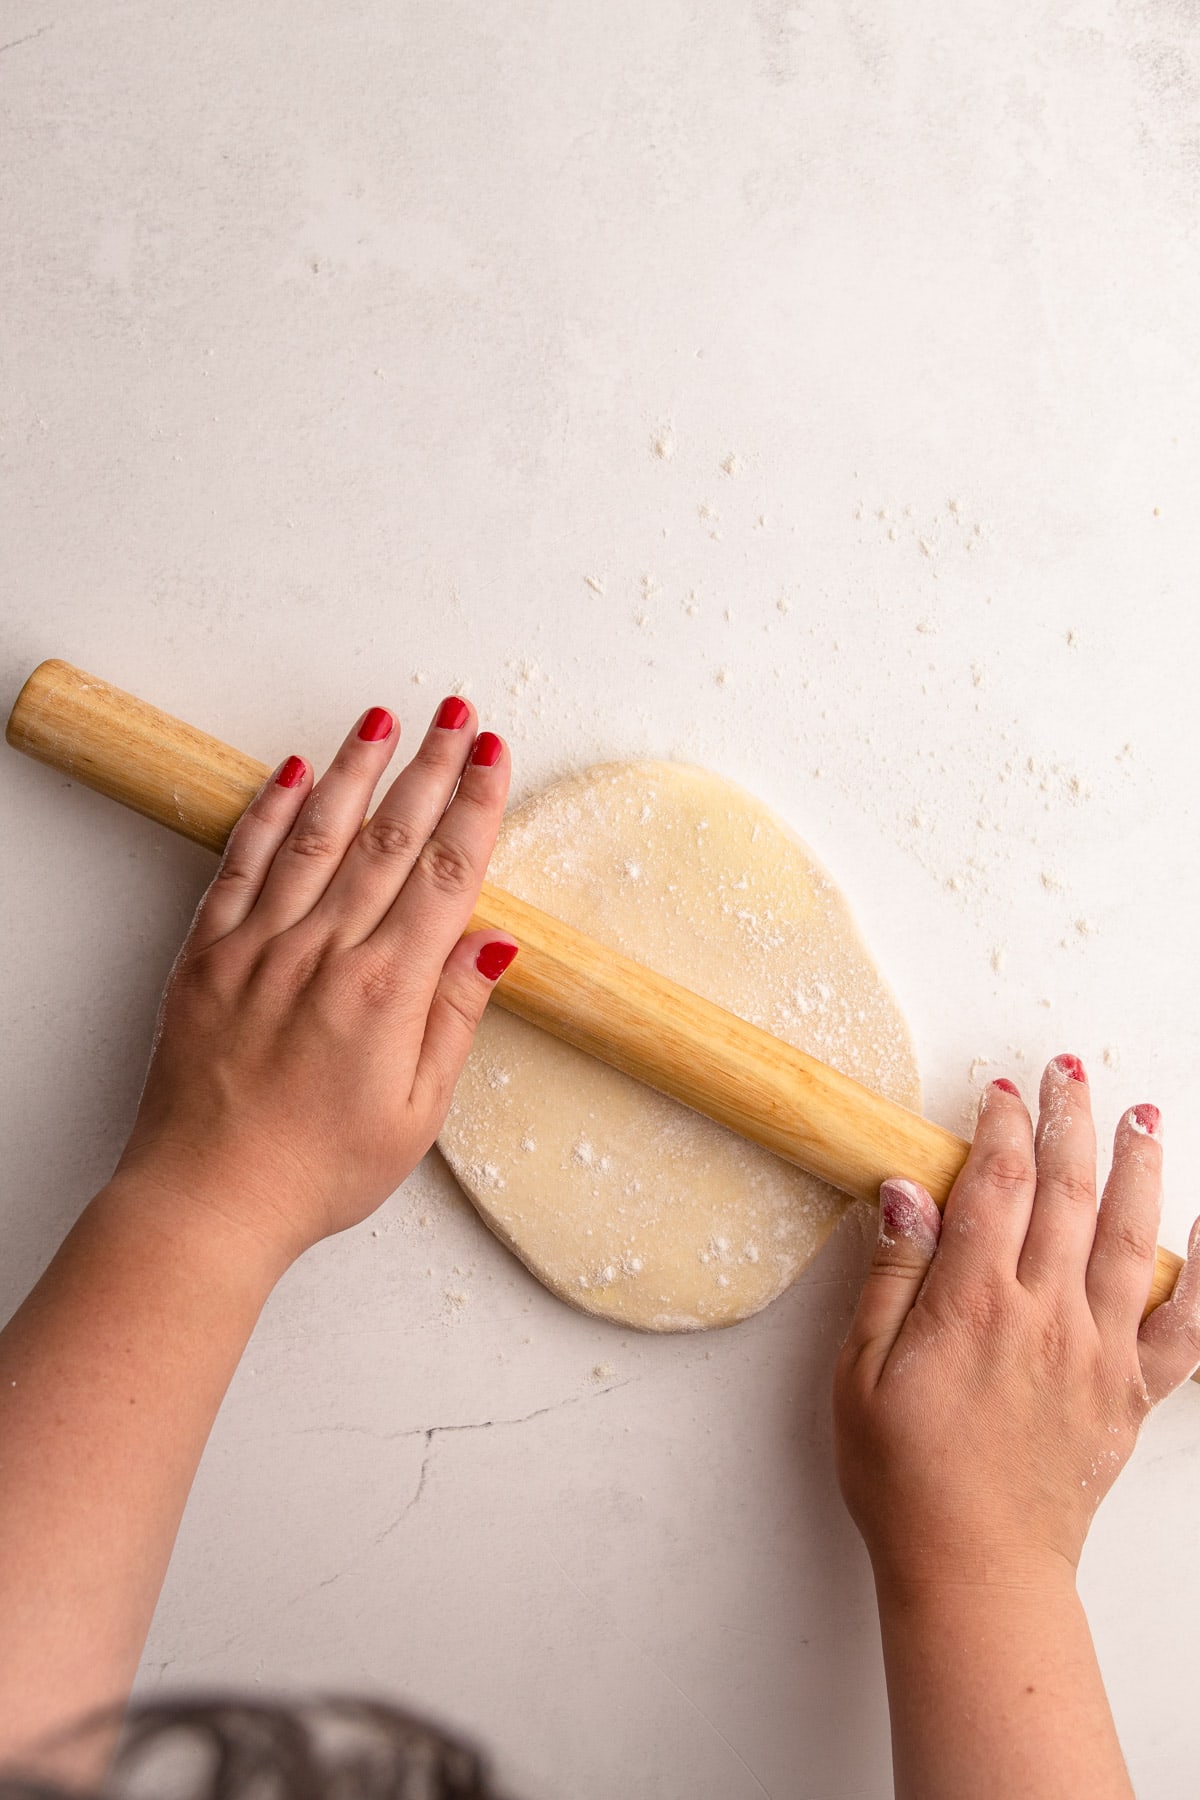
Contrary to popular belief in regards to rolling out dough, I err on the side of caution and would rather be using too much than too little. Having your pastry stick to your work surface can ruin the dough. I liberally flour my work surface to prevent the pie dough from sticking.
As you are rolling, periodically check to make sure it isn't stuck and sprinkle more flour underneath the pie crust. It's useful to have a bench scraper by your side for this, just in case it does get stuck. Use the sharp bench scraper to lift the dough off the surface without damaging it too much.
Once you are finished rolling out the dough, brush off any excess flour with a pastry brush.
Blind Bake When Needed (and Use Rice as Pie Weights)
There are few skills more important in pie-making than ensuring that the pie crust gets baked properly. Nobody wants a soggy bottom, that's for sure!
Nearly any pie that has a filling that needs to be baked below a temperature of 400ºF should be blind-baked. The reason for this is because a pie crust--at least a classic butter pie crust--needs a long baking time at a high temperature in order to be fully baked through.
Some people like to use specially purchased pie weights to blind bake, but I don't find them as helpful as using dried rice and/or beans. I like to use dried rice because they are smaller, and can really pack into small crevices, and do a great job holding up the edges of the crust so they don't sink down. I keep the same rice for many years and reuse them to blind-bake pie crusts.
I always fill the entire pie with the rice and this makes sure the edges don't sink in.
Check out this Guide to Blind Baking if you need more advise on this!

Cold Dough + Hot Oven
There is one main rule to remember when it comes to baking all-butter pie dough: the very cold dough should be put in a very hot oven. All butter pie pastry should be thoroughly chilled before baking, and then baked at a high temperature, ideally around 425ºF.
As a general rule of thumb, it's always best to chill a rolled pie crust either in the freezer for 10-20 minutes or in the refrigerator for 30 minutes to 1 hour before you bake it. While this is an extra step, it makes all the difference in the world.
One of the most common problems bakers ask me is why their pie crust melted or lost its shape, or sank in the pie pan. And, the most common reason for this is because the crust was too warm, or the oven wasn't at the right temperature, or a combination of both.
You want the butter to stay cold up until the moment it hits the hot oven. Cold butter that is left in chunks will create the flakiest layers if that is what you are trying to achieve. Additionally, melted butter releases liquid into the flour which makes the pastry tough, which you want to avoid. So, make sure to chill your pie crust and fully pre-heat your oven!
However, not all pie fillings can be baked at that high of a temperature, and this is when blind baking comes in!
Bake Fruit Pies from Frozen
There is a bad rep when it comes to the idea of freezing food; that somehow, fresher is always better. Well, when it comes to fruit pies, I can attest that freezing fruit pies before baking will result in a better-finished product. This is because the crust has a chance to cook first before the filling does (since it is frozen going into the oven), so you can ensure you have a beautifully crisp crust and perfectly cooked filling.
Back when I used to make dozens of pies a week for a restaurant, we used to always freeze the fruit pies first before baking, and the results were always spectacular.
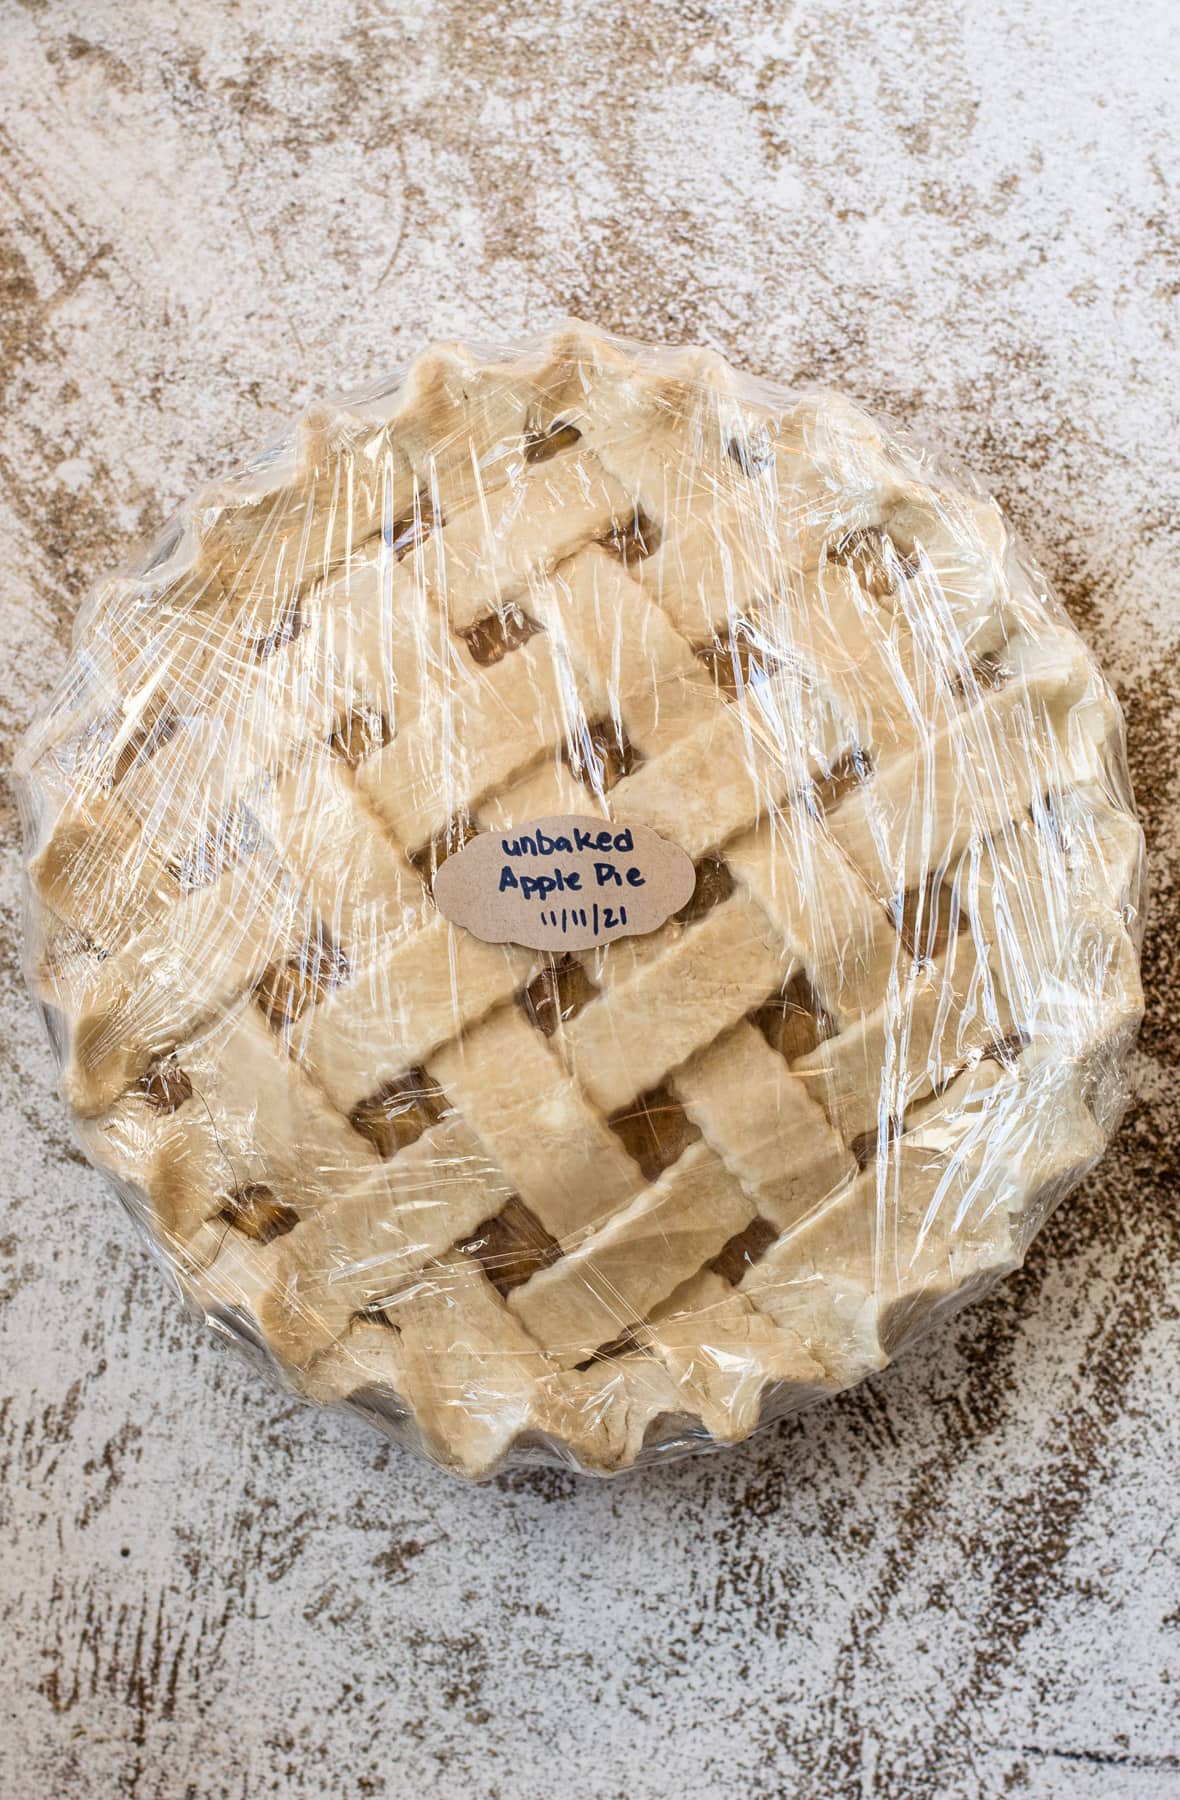
To freeze fruit pies:
- Place the whole pie on a sheet pan first, and place it in a freezer.
- Once frozen (at least 12 hours), wrap the whole pie in plastic wrap very tightly twice, and then cover with aluminum foil. Don’t forget to label it!
It is best to cook any frozen pie within 3 months, because the longer it is stored in the freezer, the less pronounced the flavor is. However, you can wait as long as about 1 year if frozen properly.
To bake a fruit pie from frozen:
- Unwrap the frozen pie and let sit at room temperature until the oven is preheated. Pre-heat the oven to 425ºF.
- When the oven has reached 425º put an egg-wash on the crust and sprinkle with sugar, if desired.
- Bake on the middle lower rack for 20 minutes.
- Lower the oven temperature to 400º and put a piece of aluminum foil around the outer edges of the pie to prevent it from burning. Cook for another 50-60 minutes, or until the middle of the pie is bubbling and the crust is golden brown. The fruit filling should reach a temperature in the middle of above 200ºF.
If you want more information on this, check out this Guide to Baking Frozen Pies!
Don't Overbake a Custard
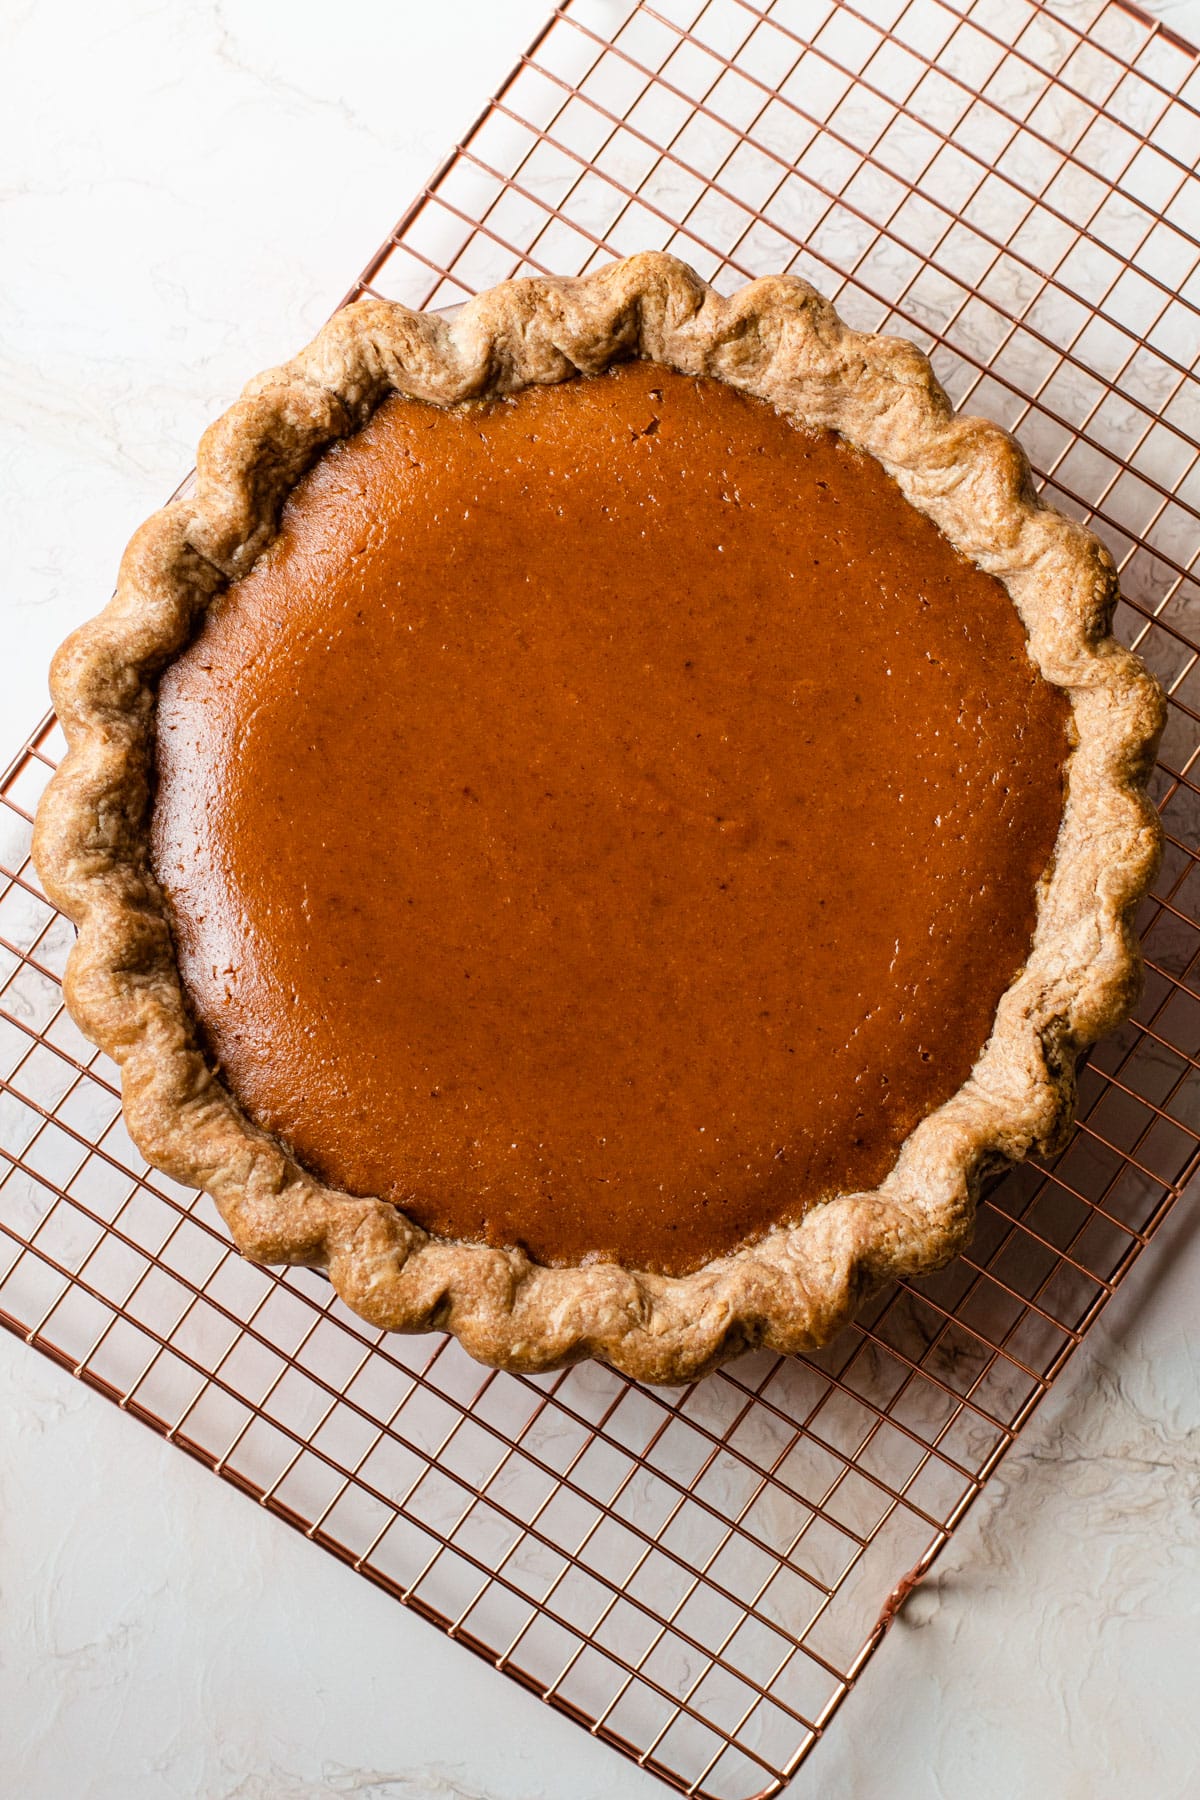
If there was only one pie secret I could share with anyone, it would be this: don’t over-bake your custard pie! And by that, I am referring to not only custard pies but any pie that contains dairy and eggs together. When a custard-style pie is properly baked, it should be just barely set. If you overcook it, you are essentially “boiling” the eggs. Sometimes, that can lead to an actual taste of overcooked eggs. It can also make the pie feel tough or spongy. More commonly, it leads to cracked or separated pies. A properly cooked custard is set (and safe to eat) between 170º – 200º. Each custard recipe will vary a bit in terms of the exact temperature needed to set it.
Another clue that a pie is done is by looking at the outer edges and seeing if they have begun to “soufflé” or puff up. Look for the soufflé effect to go in about 2 to 2-½″ from the outer edge and for the direct center of the pie to still be barely wobbly. At this point, you want to take your pie out of the oven and place it at room temperature to cool.
Once it’s fully cool, move it to the refrigerator to cool for at least 6 hours. During this period it will become fully set.
Pick the Right Crust for the Right Pie
Here in the US, when most people think of pie crust, they picture a flaky buttery pie crust. But, did you know that there are many other crust options, and flaky buttery crust isn't always the right one to use for specific pie recipes? This is a highly opinionated tip, but flaky butter pie dough is not ideal for any pie that is to be served cold, like a cream pie.
The reason I don't recommend using this flaky butter pie dough for a pie meant to be served cold is that it can taste stale when served straight from the refrigerator; the same way a croissant or puff pastry might taste stale when very cold.
A properly made flaky pastry--which is buttery and flaky--is at its best when it's at room temperature. The primary reason comes down to the butter within the crust. Once it goes into the refrigerator it solidifies, and the crust becomes more solid and it loses that ethereal softness to it.
For a chilled pie, you should choose a dough that is more "mealy" or crumbly. If you wanted a basic butter crust, you could just process or work the butter into the dough until it is of a finer consistency.
Or you could use:
- Pâte Brisée: A standard french butter pie dough with a slight amount of flakiness.
- Pâte Sucrée: This is also known as sweet pie crust. The added sugar not only makes the pie dough sweet, but it also makes it crisper and more tender.
- Pate Sablée: This is great for tarts.
- Crumb crusts: Crumb crusts work great for cold set pies, and are easy to make.
- Alternative flour pie crusts: A number of recipes on this site use alternative flours, such as gluten-free, spelt or whole wheat. Each has it's own unique purpose.
Use a Pizza Stone in the Bottom Oven
One of the best tricks to make sure the bottom crust is well cooked is to use a pizza stone! Place it on your lowest rack while the oven is preheating and cook the pie on it.
Don't Rely on Timing of the Recipe
Use the visual cues first, because relying strictly on the timing. There are so many elements of cooking and baking that can alter the time needed for something to actual bake, such as your oven, the temperature of your house, the temperature of the dough. It actually can make you crazy to think of all the variables that can effect the final outcome of a baked good, so look for the visual cues from a recipe (such as bubbling filling, golden brown crust) and then cross reference them with the time given by the recipe. If it's very far off, such as the pie has been in the oven for 55 minutes, but it's still not bubbling in the middle, it's safe to say the pie probabbly needs more time.
Let it Rest
Did you know that most pies actually do well when baked ahead of time, in one way or another? For instance, most fruit pies and most custard pies are best made at least 6 hours before consuming, or up to two days ahead of time in their entirety. This is because the hot fruit filling must cool to thicken up, and the warm custard must chill to fully set up.
That means you should ensure there is plenty of time for the pie to rest if it needs it. Do make sure however to follow any specific instructions for each recipe to make sure that it doesn't need to be served immediately, as some specialty pies may require.
Get that Perfect Slice
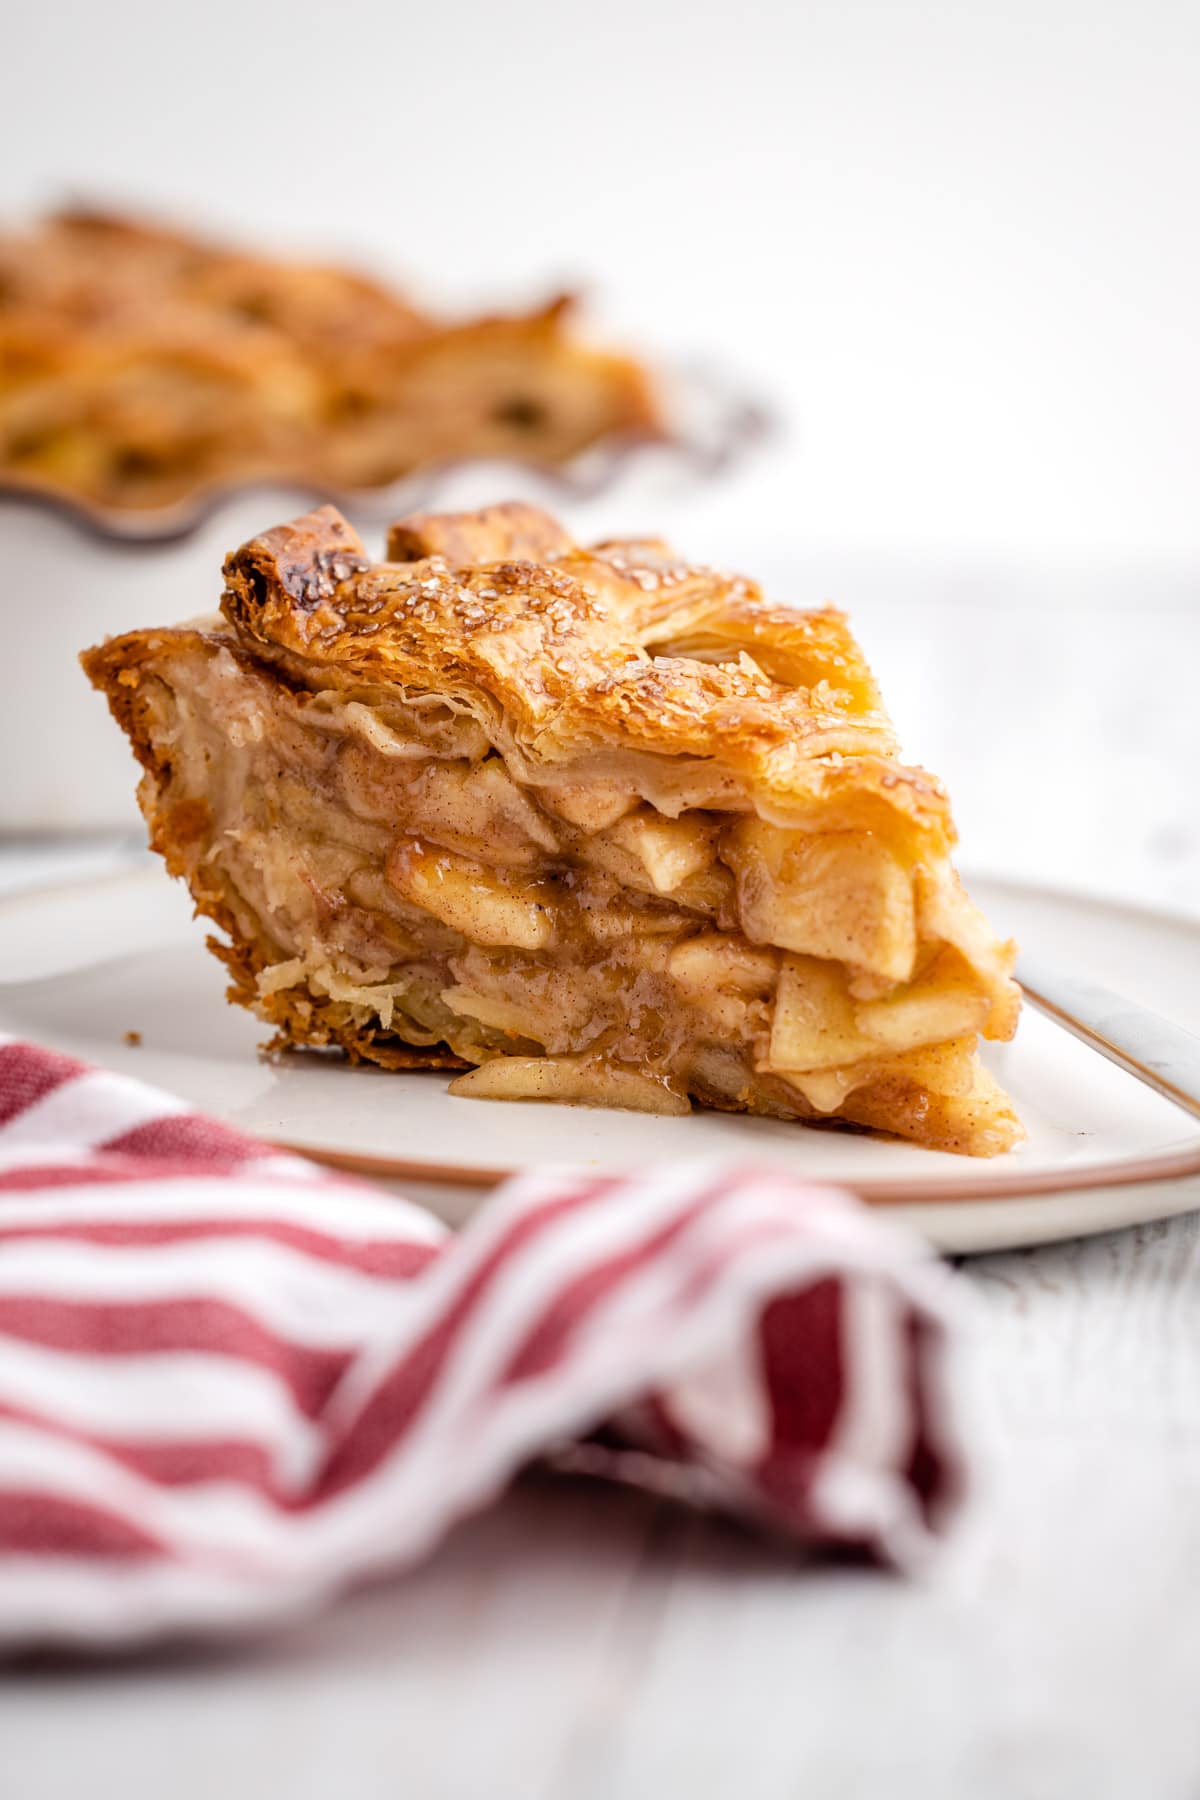
Sometimes getting that perfect pie slice can be so tricky! I have three tips when it comes to drool-worthy pie slices. The first two I've already covered, and that is to make sure the pie is cooked properly and to make sure it's fully rested. But my third tip?
Cut three slices of pie, before trying to remove them. Cut the three slices, wiping the knife in between each slice, and make sure to fully cut the crust. Then use an offset spatula (affiliate link, and that's the one I use) that can bend to grab out that middle slice. I never ever use a pie server to remove slices because they don't bend well.
Want More Tips?
This website is full of advice on baking and baking pies in general. Here are some particular helpful recipes and/or articles about baking:
- Why You Should Use a Kitchen Scale
- All Butter Pie Crust
- How to Make (and Use) an Egg Wash
- How to Make a Lattice Pie Crust
- How to Make Pie Crust By Hand
- Simple Whipped Cream by Hand
- Stabilized Whipped Cream
- How to Blind Bake Pie Crust
- How to Make Vanilla Extract
Some of the links on this page may be affiliate links. Everyday Pie is a participant in the Amazon Associates Program. As an Amazon Associate I earn from qualifying purchases, at no extra cost to you.


Abby
I use refrigerated, pre-made pie crust. When I make a pecan pie, no matter what I do, I can't get the pieces to come out of pan. Suggestions?
Thank you!
Leah Kathryn
I’ve been baking pies for years and still some of these tips were new to me! Definitely filing away for my next pie!
Kelli Avila
Oh that's awesome to hear! I think we all never stop learning (me included for sure!)
Mercedes
Excelente tips!!! I will out the n on practice next time!!
Randy
These are great tips. I will be saving this!