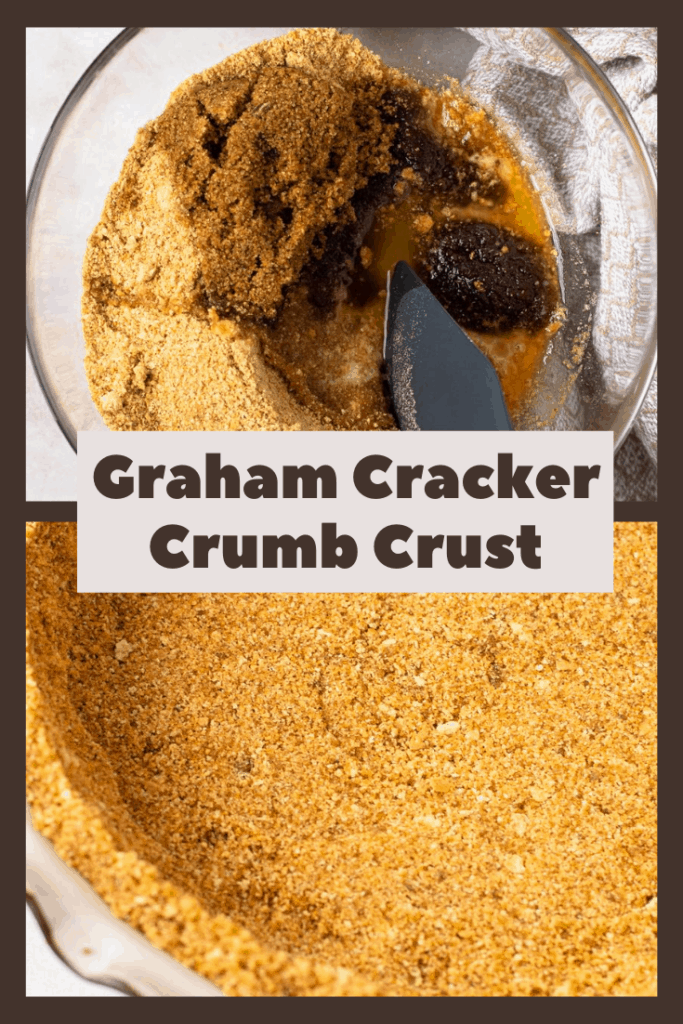
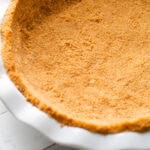
This Homemade Graham Cracker Crumb Crust is not only a classic recipe, but it's such a simple and delicious crust option! It has only three ingredients that are pressed into the pan, and I'm showing you the easiest way to do it. You can bake it before filling, or freeze it for a truly no-bake pie crust option.
Want to save this recipe?
Enter your email & I'll send it to your inbox. Plus, get weekly updates from me!
Homemade Graham Cracker Crumb Crust
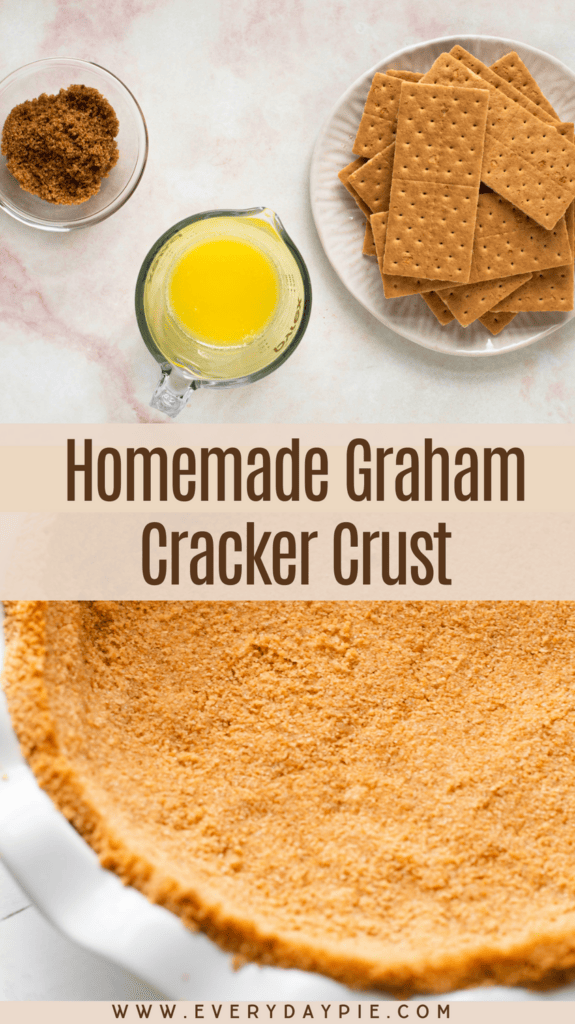
Sometimes, you just need a super easy, no-brainer type of pie crust and this Homemade Graham Cracker Crust recipe checks off all those boxes! It's got three ingredients and can be either baked or frozen for later use.
It's perfect for many sweet pie options like:
In all honesty, I have previously shunned graham cracker crusts. I disliked them because I thought they were messy and fussy to press into the pan. When I made pies for my former pie business I never offered a pie with a graham cracker crust. That all changed, when one day I discovered a trick that changed the way I pressed the crumbs into the pan and it absolutely made all the difference in the world. Keep reading to find out what that change was!
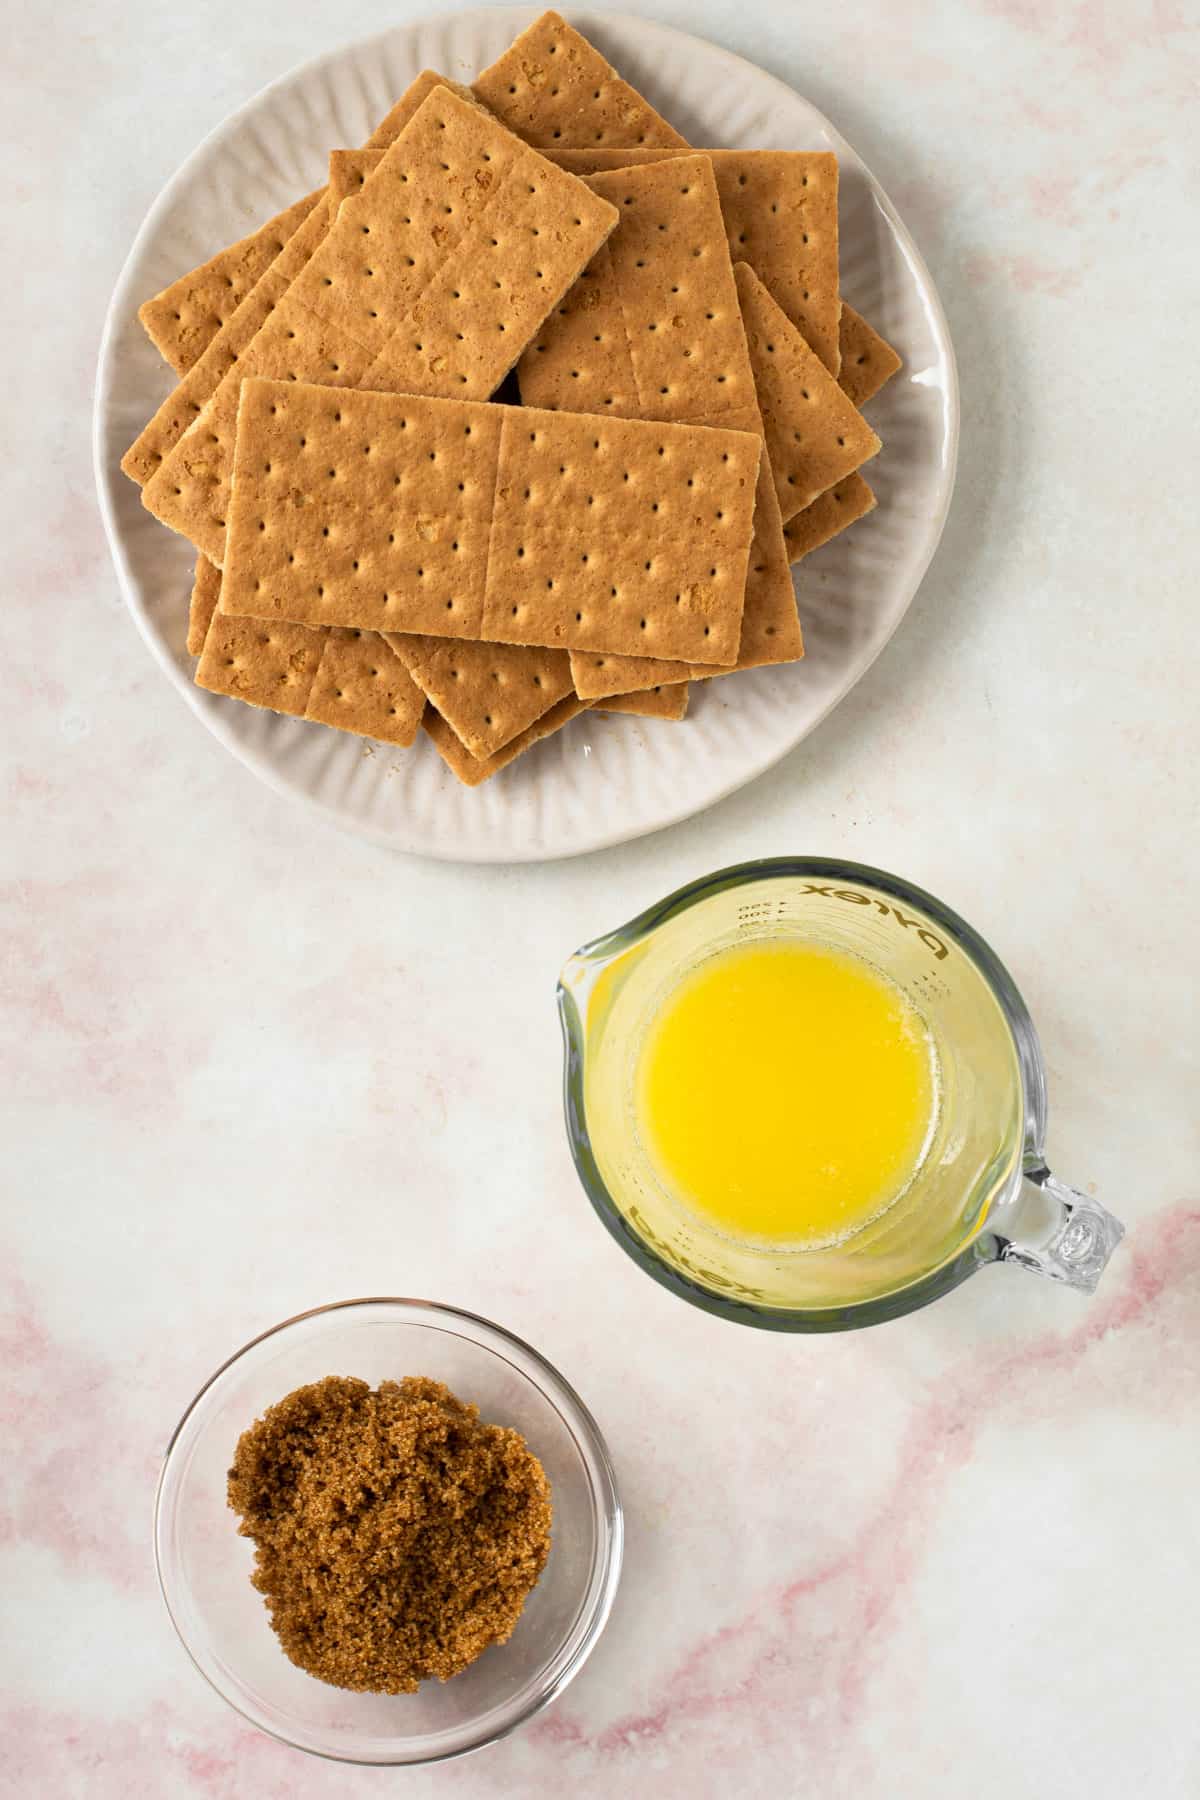
What Ingredients Do You Need?
- graham crackers (regular or gluten-free)
- granulated sugar or brown sugar
- melted butter
How to make graham cracker pie crust?
It couldn't be more easy!
- Grind up the graham crackers until they are fine crumbs. Do this with a food processor, or you can smash the cookies in a plastic bag with a towel over it (to prevent the cookies from breaking through the plastic) with a rolling pin. You can use regular or equal portions of a gluten-free graham cracker.
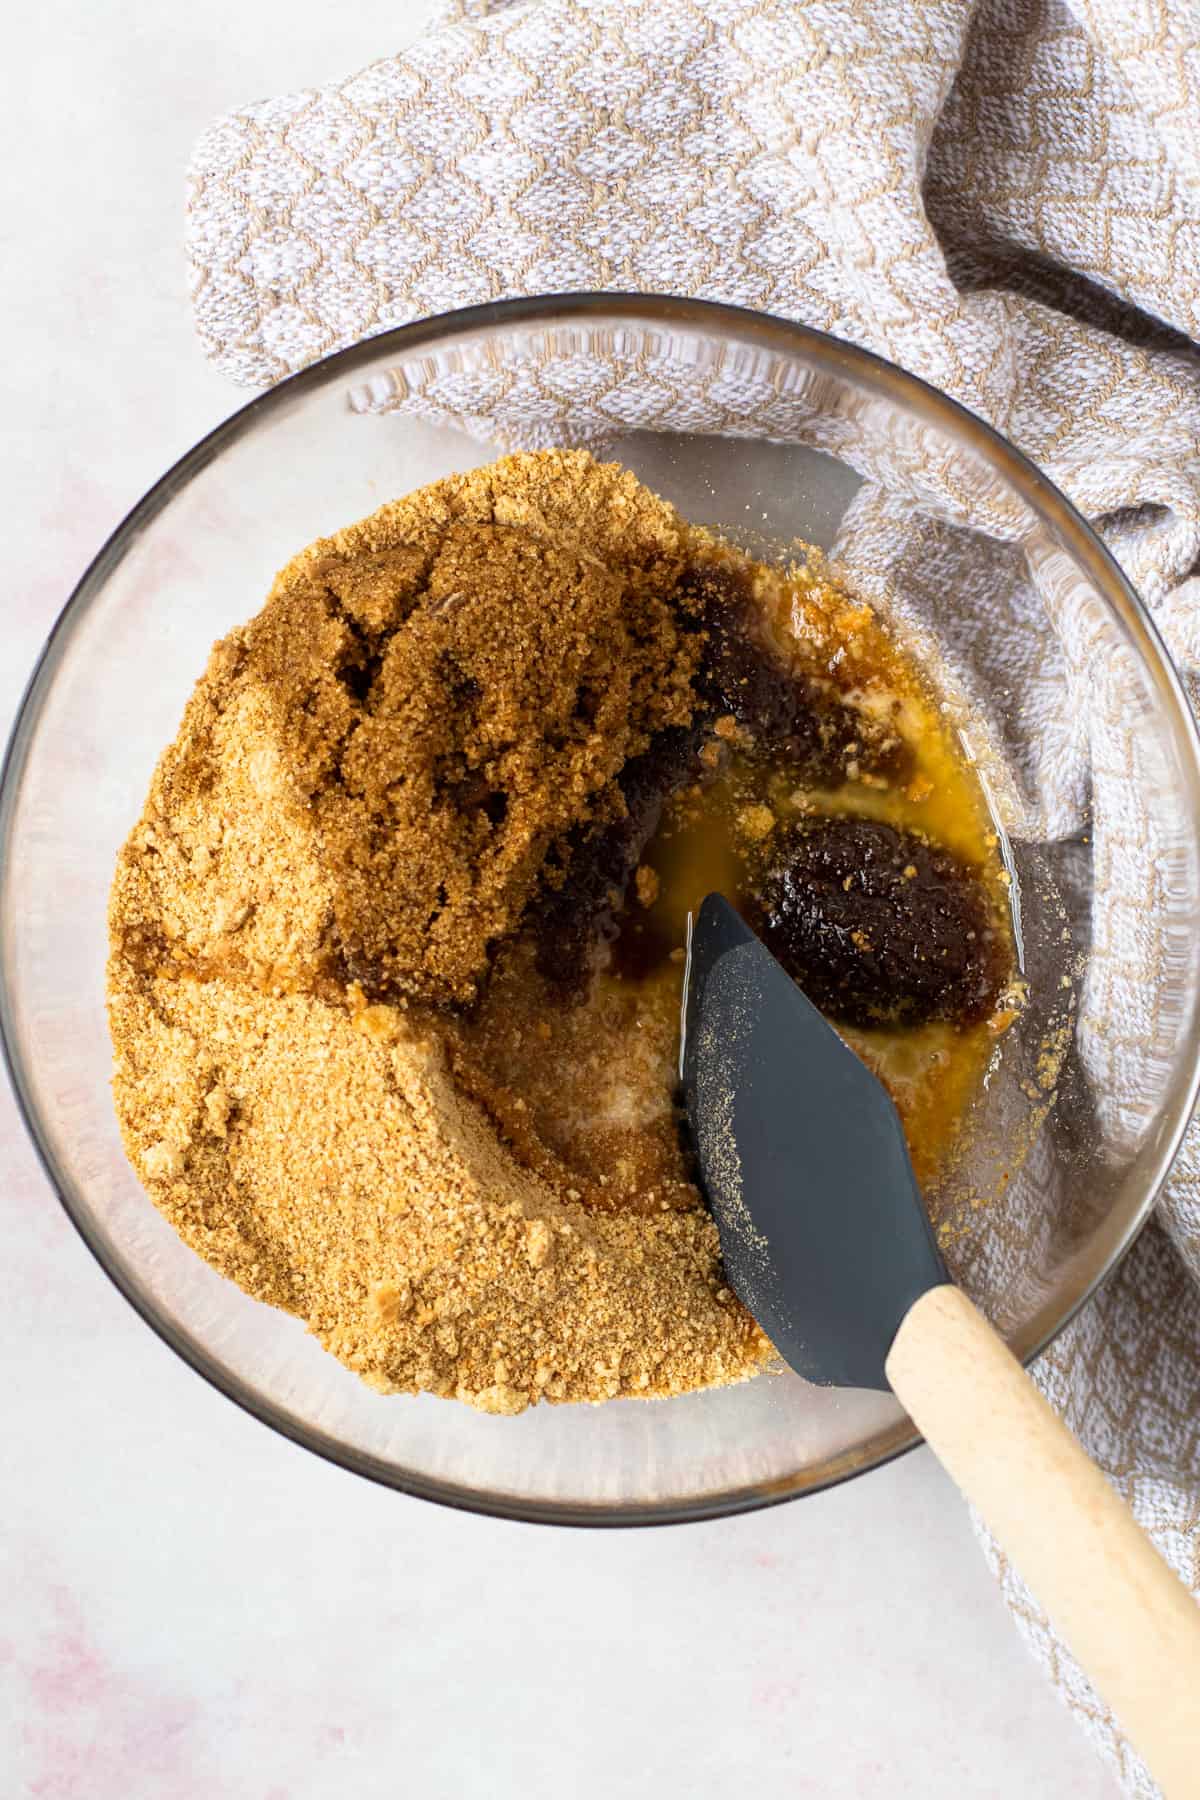
- Melt the butter on the stove in a medium pot. Shut off the heat.
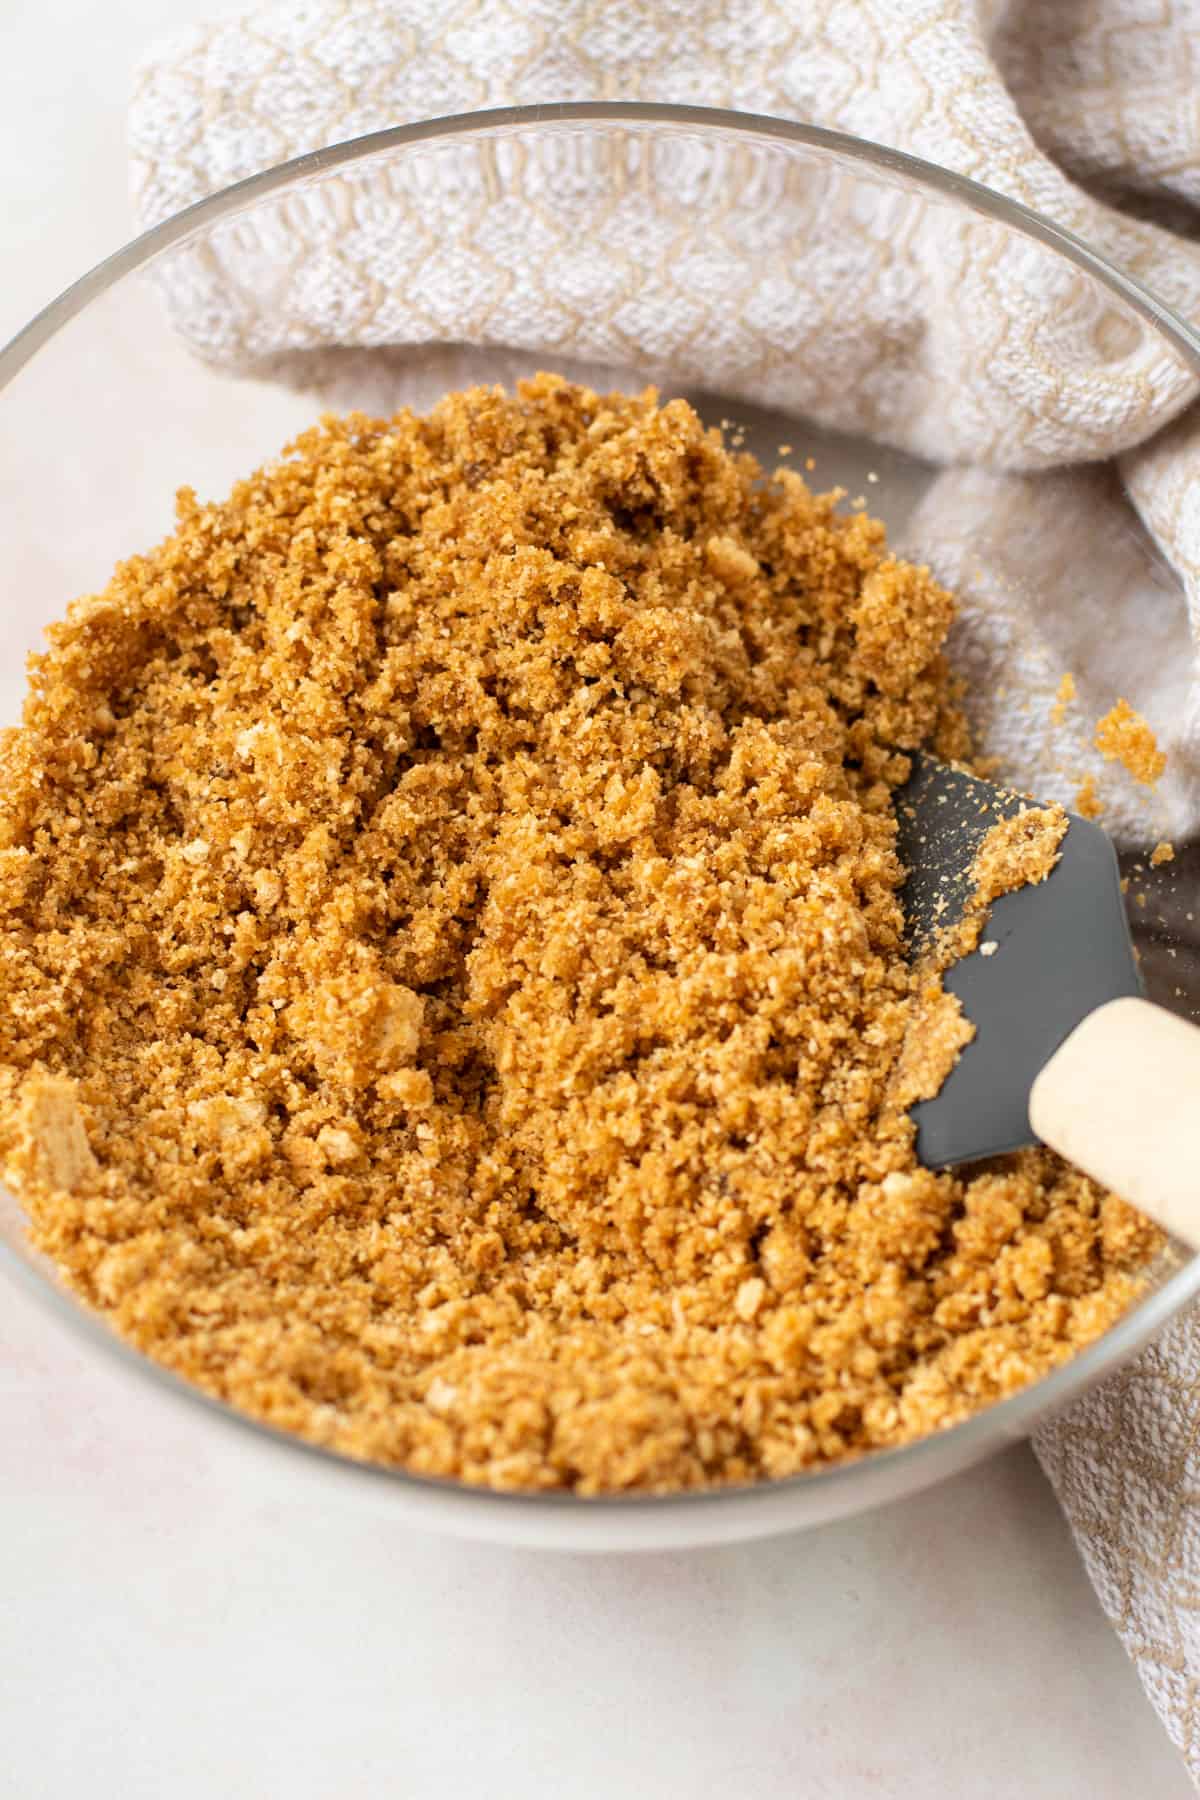
- Add sugar and graham cracker crumbs to the melted butter in a bowl or right in that pot (no need to dirty a bowl for this) and mix it well!
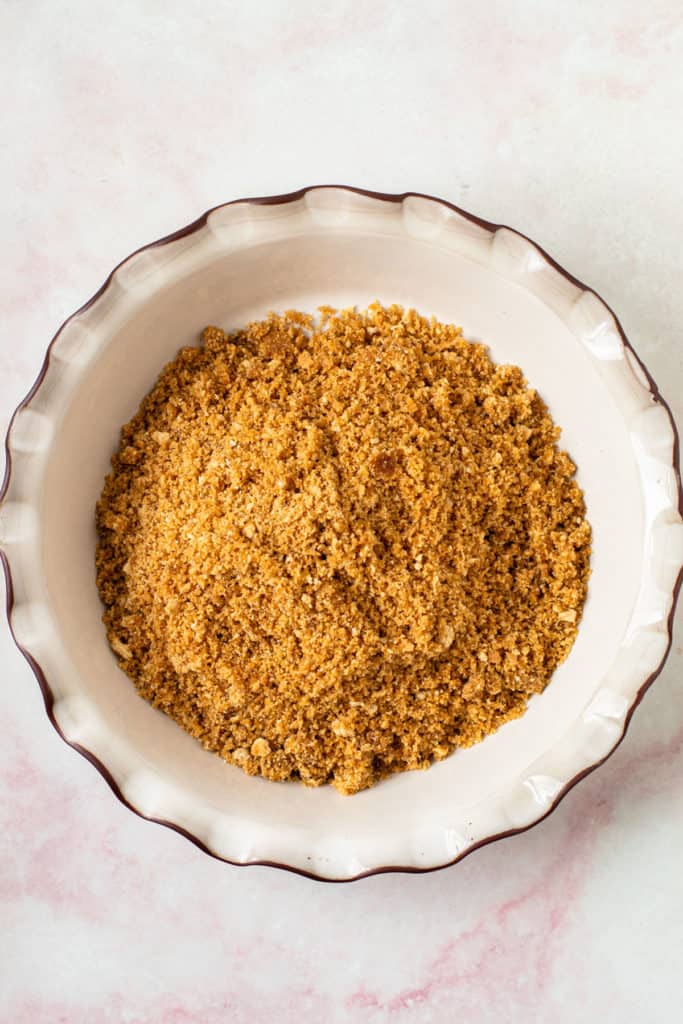
- Pour it into the pie pan and form it into the crust!
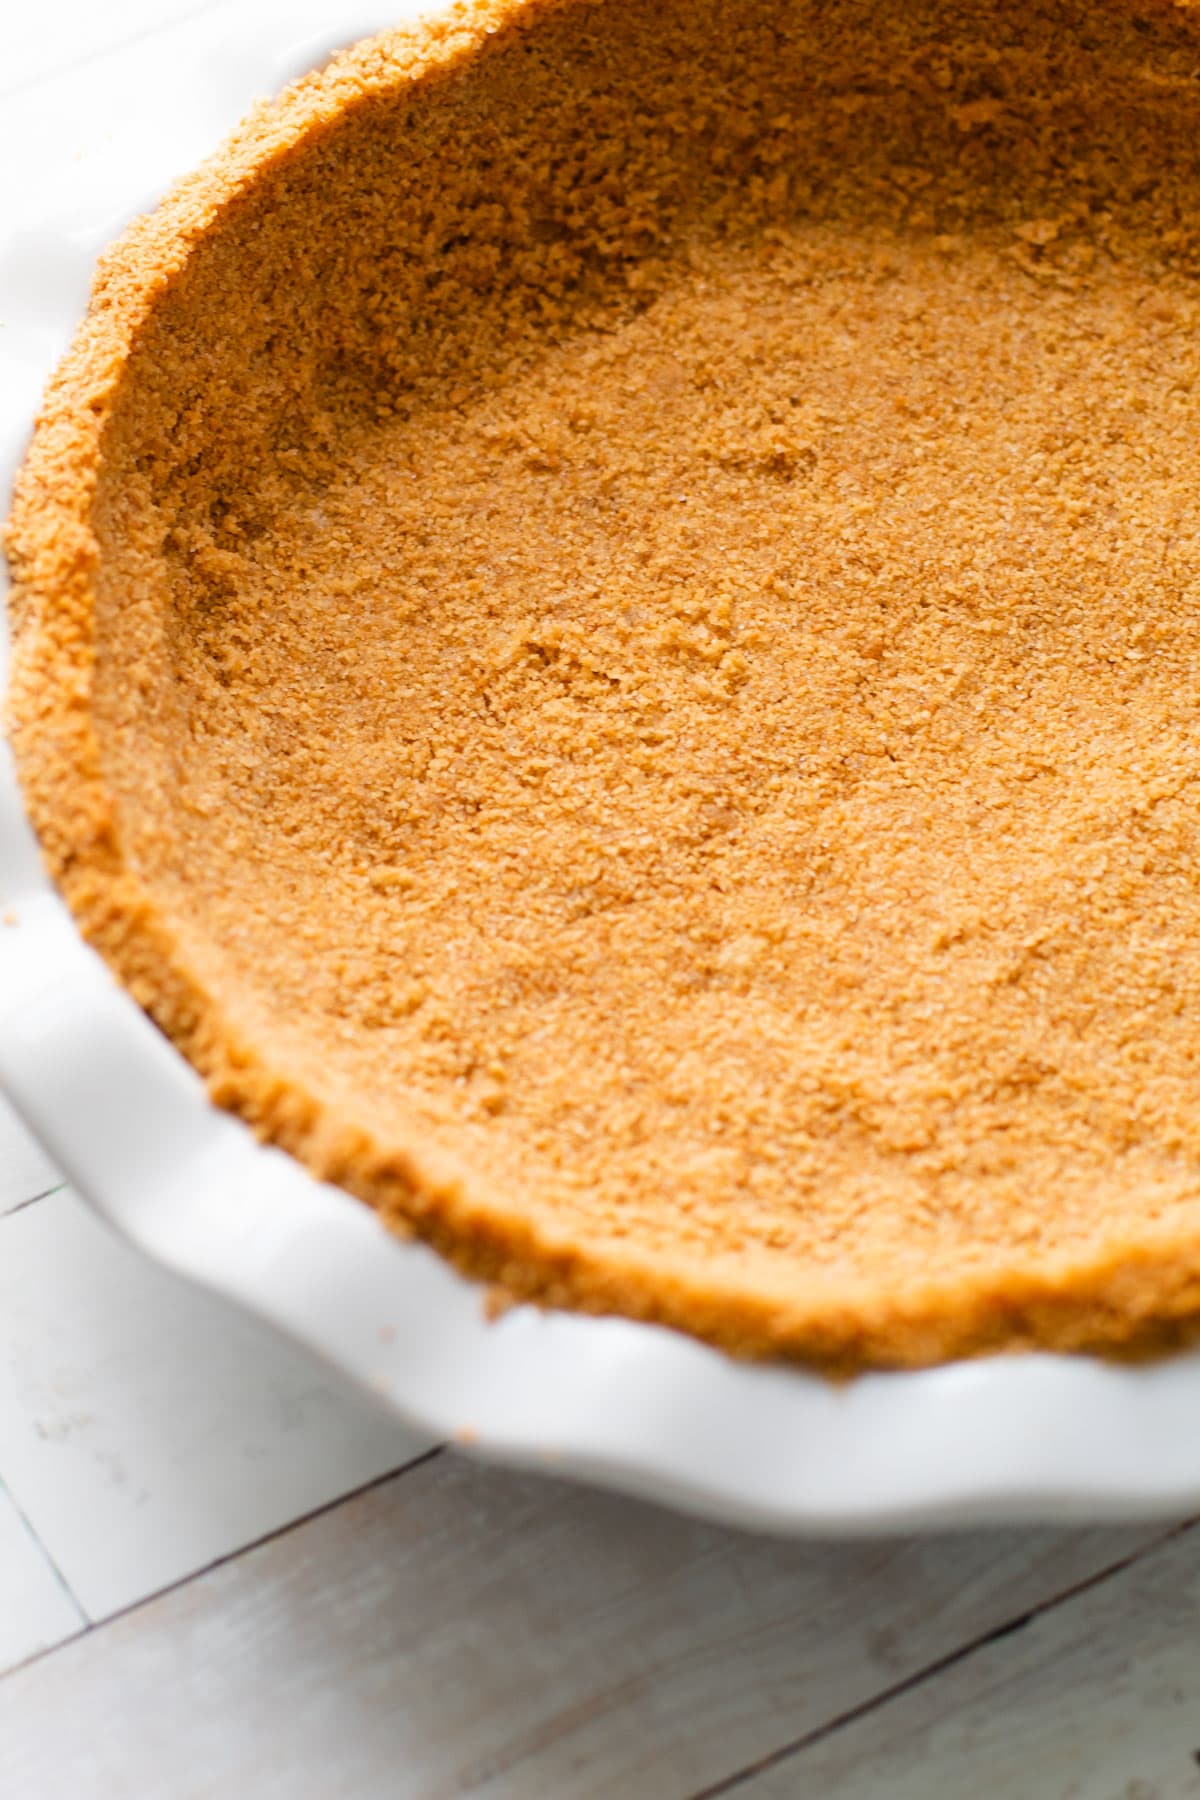
Best Way to Form a Crumb Crust
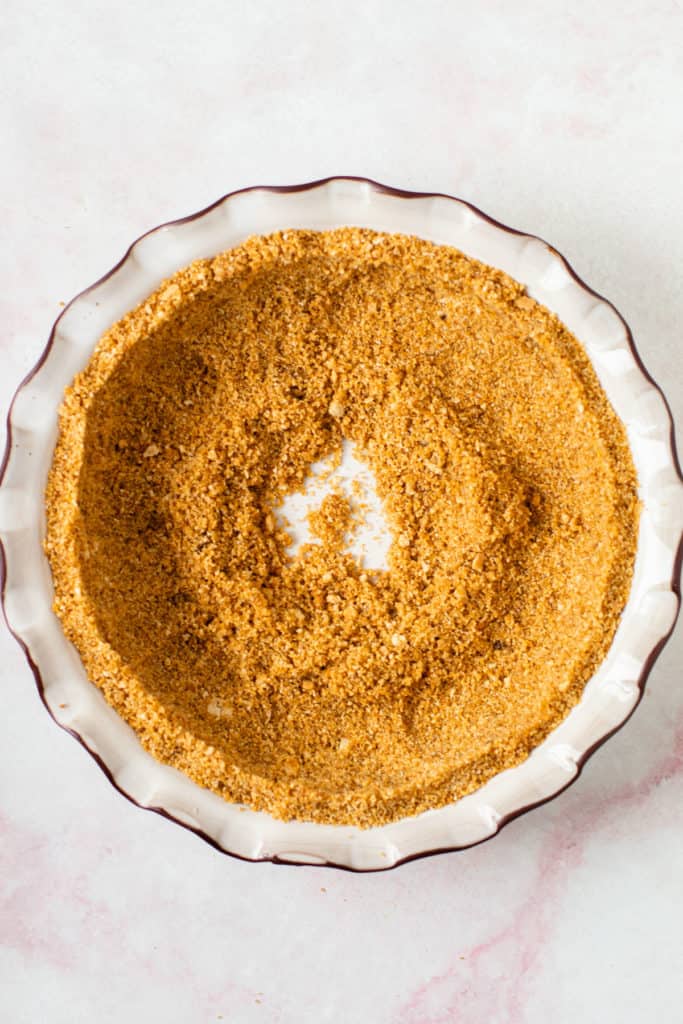
Forget everything you know about pressing in a homemade crumb crust into your pie plate because we've all been doing it wrong! While logic might tell you to place the crumb mixture in the middle of your pie plate and start pressing it in there, this process makes it messy and hard to get an even crumb base all the way up the sides.
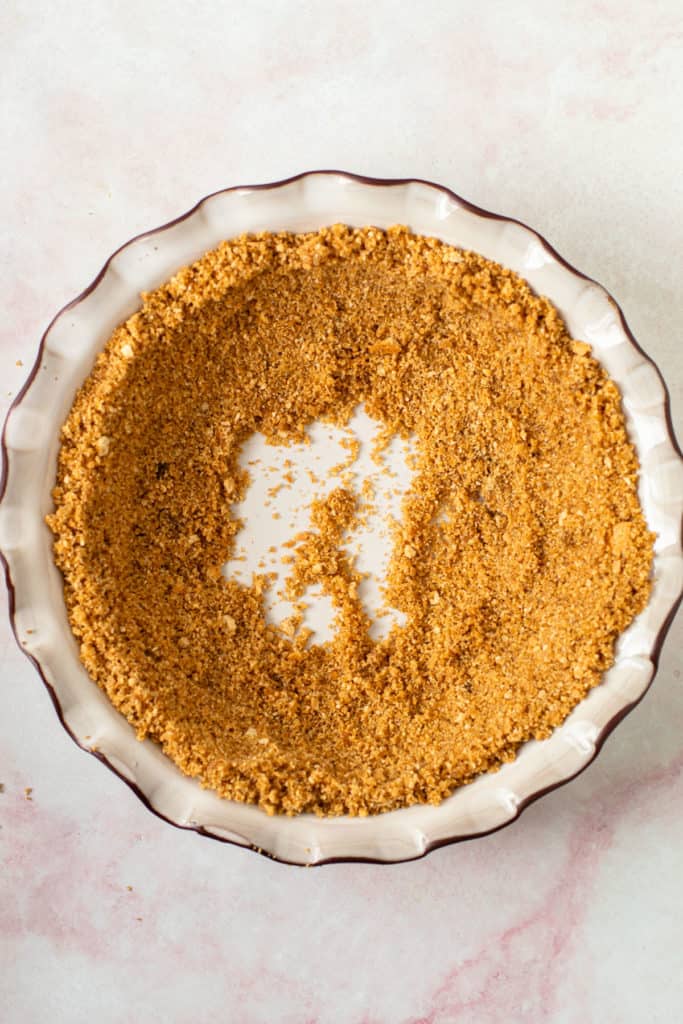
The easier and faster way to do it is to start forming the edges of the pie crust first, and then press the crumb mixture down into the bottom of the plate.
Here are the steps:
- Gather the crumb mixture loosely up the sides of the plate until all the edges are covered with crumbs.
- Form the top edges of the crust and neaten them up by pressing them together with two fingers. It may feel like you won't have enough crumbs to fit the bottom of the pie at this point, but don't worry. Plenty of crumbs to go around.
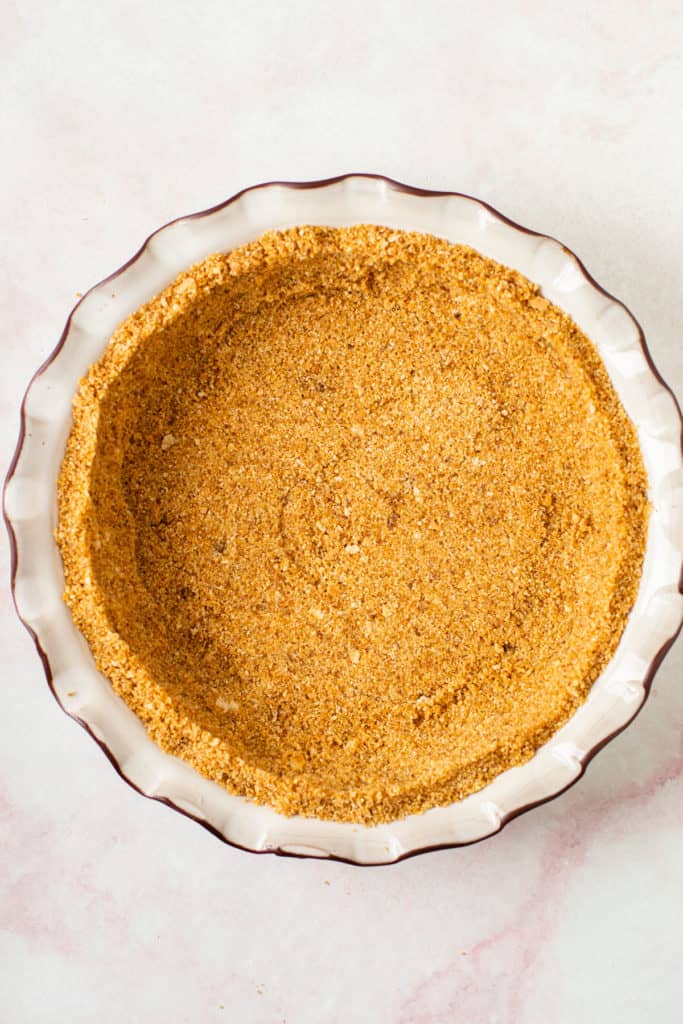
- Next, start packing down the sides of the crumb crust with your thumb in an even layer. As you do this start moving the excess crumb mixture toward the center of the pie plate.
- Continue packing the crumbs from the outer edges towards the middle until you have a single layer.
- Then with your fingers, a spatula, or the bottom of a measuring cup pack down the crumbs until everything is tight and even.
Do you have to bake a graham cracker crust?
You have two options for preparing this crust. You can par-bake it or freeze it. There are pros and cons to each. But first, let's understand that the butter and the sugar play important roles in making sure the crumb crust stays together for each of these methods. Then, you'll know which method is best for your pie.
Par-baking the crust:
When you bake a crumb crust you are melting the added sugar, which then helps bond the crust together. Baking it results in a crispy crust with a nice caramelized flavor. I prefer this method and will always bake it if I can. If you are planning to bake a pie that will be served from the refrigerator or will be left out of the refrigerator for more than 20 minutes, I recommend you par-bake the crust to ensure it holds together.
Freezing the crust:
Freezing the crust works well because the melted butter becomes solidified and bonds the crust together. The sugar might melt slightly from the warmth of the butter, but without the par-bake, the sugar doesn't melt enough to act as the bonding agent here. While freezing the crust is certainly easier than having to preheat an oven and par-bake the crust, it is not as sturdy as the baked version. I only recommend freezing the crust if you will be serving your pie when very cold, otherwise, you'll just find your crumb crust to be very crumbly! Additionally, if you plan to freeze the crust make sure to grease the bottom of the pie plate with a nonstick cooking spray. It ensures the sliced pie comes out easily.
Troubleshooting Tips
If for any reason your crumb crust is extremely dry, you can add 1 tablespoon of melted butter–one tablespoon at a time–to the crumbs until they are evenly moistened. Alternatively, if your mixture is too wet and it is hard to work with, add more cookie crumbs until it is pliable.
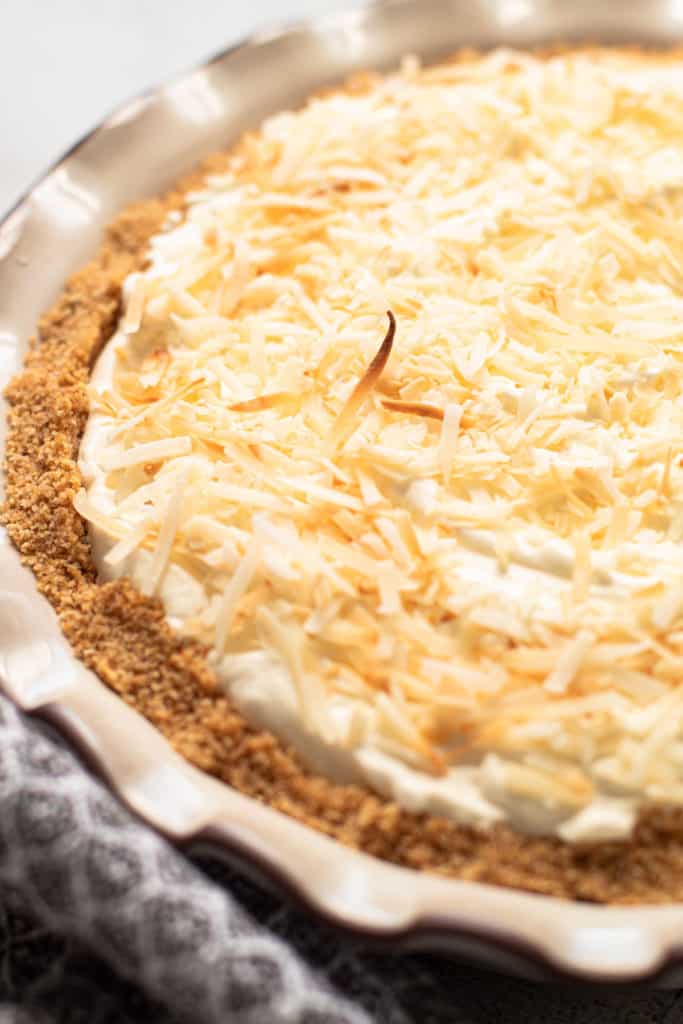
Pie Recipes to Fill a Graham Cracker Crust:
- No-Bake Cannoli Pie
- Triple Coconut Cream Pie
- Banana Cream Pie
- No-Bake Pumpkin Pie
- Baked Alaska Pie
- No-Bake Orange Creamsicle Pie
I am so honored when you make a recipe from my site! If you make this Graham Cracker Crumb Crust, please leave a comment and a star rating with your experience! If you have any questions about this recipe, feel free to comment here, too!
PrintGraham Cracker Crumb Crust
This Graham Cracker Crust Recipe is an easy and delicious crust option! It has only three ingredients and is simply pressed into the pan and it’s ready to go. You can bake it before filling, or freeze it for a truly no-bake pie crust option.
- Prep Time: 00:05
- Cook Time: 00:08
- Total Time: 13 minutes
- Yield: 1 9" pie crust
- Category: Pie Crust
Ingredients
- 1-½ cups (6 ounces) graham cracker crumbs (about 11 cookies)
- 6 tablespoons butter, melted
- ⅓ cup (70 grams) granulated sugar or brown sugar
Instructions
- Preheat the oven to 350ºF.
- Mix together the ingredients.
- Pour the crumbs into the pie plate and start pressing the ingredients up the sides of the pie plate to form the edges first. Once the edges are formed work the crumbs down to evenly distribute into the bottom of the pie plate and pack it down into an even layer.
- Bake in the preheated oven for 8 minutes, until lightly golden and fragrant. Or you can freeze for 30 minutes for a no-bake pie option.
- A baked graham cracker crust can be refrigerated and covered for about 3 days, or frozen up to 3 months.
Notes
You can switch up the granulated sugar for light brown sugar for a subtle flavor of caramel!
Troubleshooting tip: Very occasionally, some graham crackers can be more dry and require more butter. If your mixture is too crumbly to easily form into the pie plate, you can add 1 tablespoon more melted butter at a time until it reaches the right consistency. The crumbs should feel moist, but not so moist they are very liquidy.
Some of the links on this page may be affiliate links. Everyday Pie is a participant in the Amazon Associates Program. As an Amazon Associate I earn from qualifying purchases, at no extra cost to you.
Ben Wordell
This page definitely has all the information I wanted concerning this subject and didn’t know who to ask.
CATHY GALATI
I have trouble when I put my ricotta filling I bake it when cut my crust breaks away from filling what am I DOING WRONG?
Kelli Avila
Hi Cathy. What ricotta filling are you using? I'm not sure you are necessarily doing anything wrong.
Nick kudd
Did you try substituting cream instead of the butter
Kat M
I made this last Thanksgiving for a chocolate pudding pie and used it recently for the base of a Key Lime Pie recipe! So delicious with the brown sugar. I even went one step further and browned the butter to give it an extra oomph and it made the most delicious crust. My go-to for graham cracker crusts!
Kelli Avila
Genius! I love the idea of browning the butter! So glad you liked it!
Horacio
Can I leave the crums on top of the cheesecake flan whlie baking so I can turn it upside down.
Kelli Avila
I'm not sure that would work. If you give it a try, let us know how it goes!