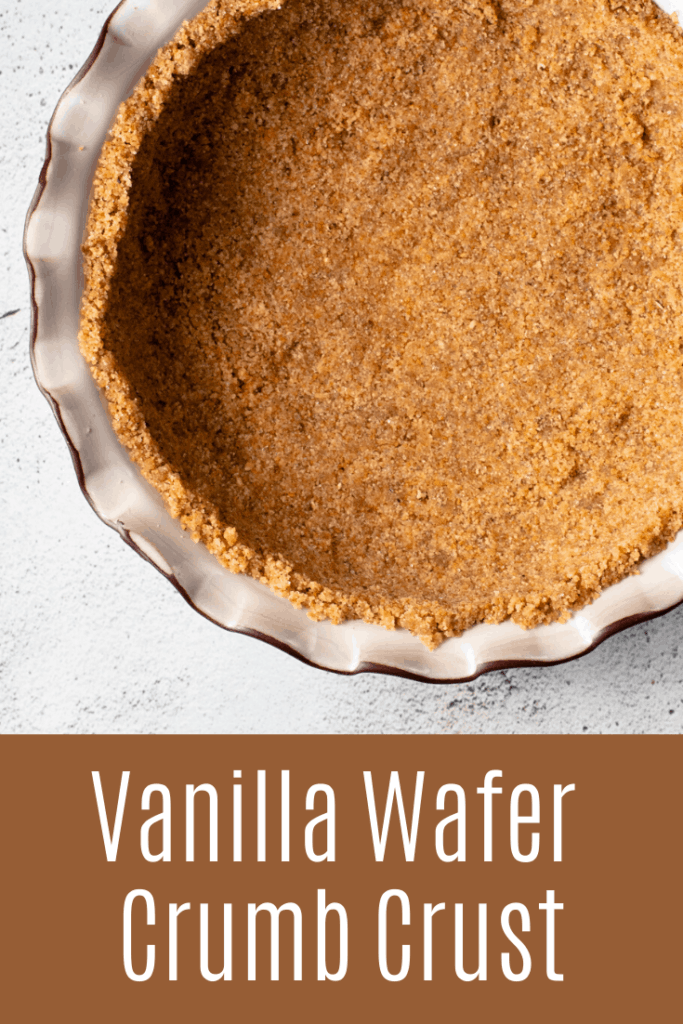
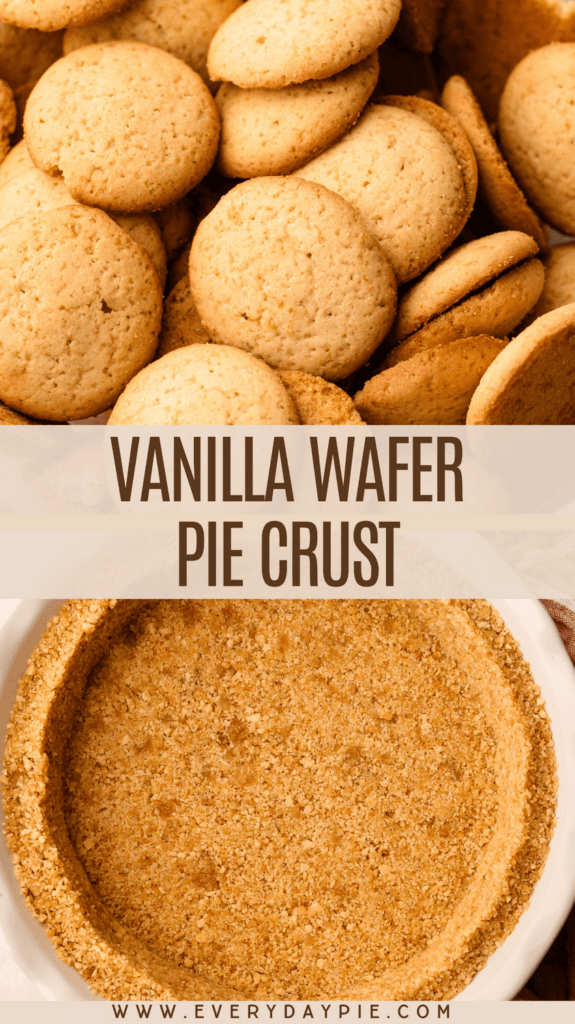
This easy Vanilla Wafer Crust recipe, made with store-bought Nilla wafers, is the perfect simple pie crust option. This no-bake option adds a deliciously sweet and crunchy base to many types of pies.
Want to save this recipe?
Enter your email & I'll send it to your inbox. Plus, get weekly updates from me!
While there are tons of options for crumb crusts (ranging from the classic Graham Cracker Crust to the more unique Pretzel Pie Crust), using vanilla wafer cookies is one of my favorites. Some people may view vanilla as plain, but I think the Nilla wafers highlight and elevate any pie recipe they're paired with. This sweet and crunchy crust is great for those moments when you don't want to make pie pastry but still want to have something homemade. It's delicious and super easy to make, perfect for cheesecakes (or cheesecake pies), tarts (like this Mascarpone Roasted Plum Tart), and no-bake pies (like this Banana Cream Pie).
This recipe is straightforward, but there are also some options for switching up the ingredients slightly by adding in some nuts and swapping in different sugar or add-in's.
Ingredient Needed
Here is an overview of the ingredients needed for this recipe. The full recipe is listed below in greater detail.
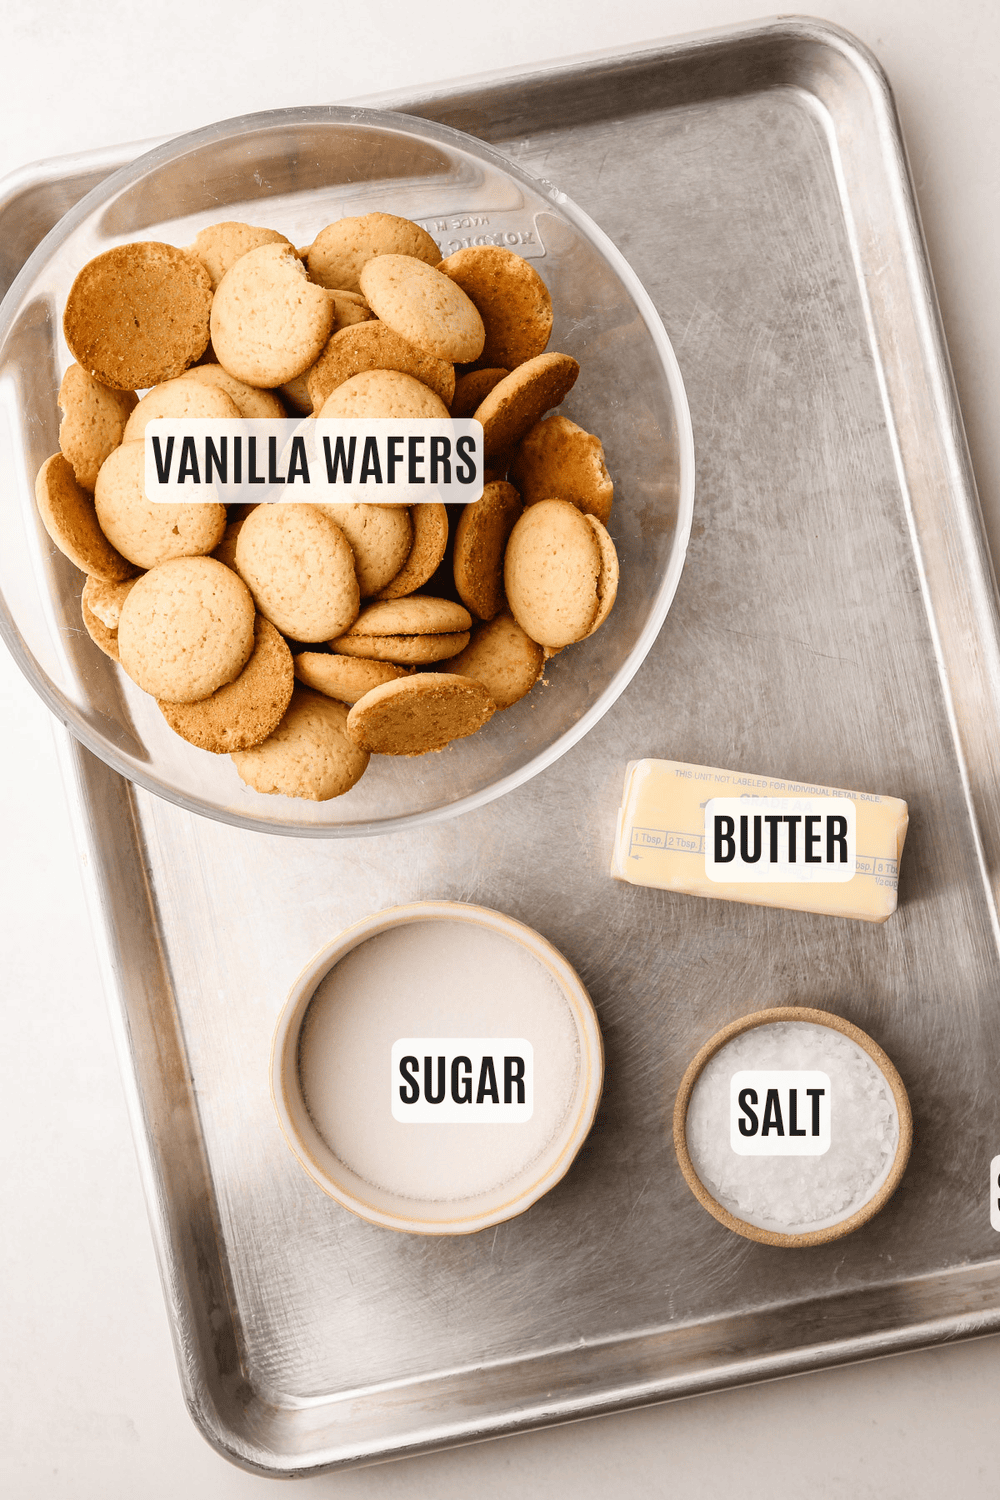
- vanilla wafers (you can use traditional or gluten-free)
- sugar (you can use granulated sugar or brown sugar, with the biggest difference just being the flavor)
- unsalted butter
- salt (just a pinch will do the trick to help amplify the flavor of the pie crust)
Additional Ingredient Options
While this pie crust is great as is, I sometimes like to customize it by adding nuts or other ingredients depending on the pie I'm making.
For nuts, sliced almonds, pecans, or walnuts are awesome choices. They add a lovely flavor, especially when the pie crust is par-baked and becomes toasty.
Mixing vanilla wafers with another cookie or ingredient like pretzels or coconut flakes can introduce new textures and flavors that enrich your pie. Keep in mind, though, that this may alter the amount of butter needed in your recipe (more details below). Here are some other ingredients I've experimented with in crumb crusts:
- chips (similar to pretzels it adds a a salty touch), like I did here in this Nutella Pie
- seeds, such as pumpkin seeds
- candy or chocolate
- oats or crackers (like in this Butterscotch Cream Pie)
When experimenting, remember to adjust the butter or sugar as necessary to maintain the right consistency.

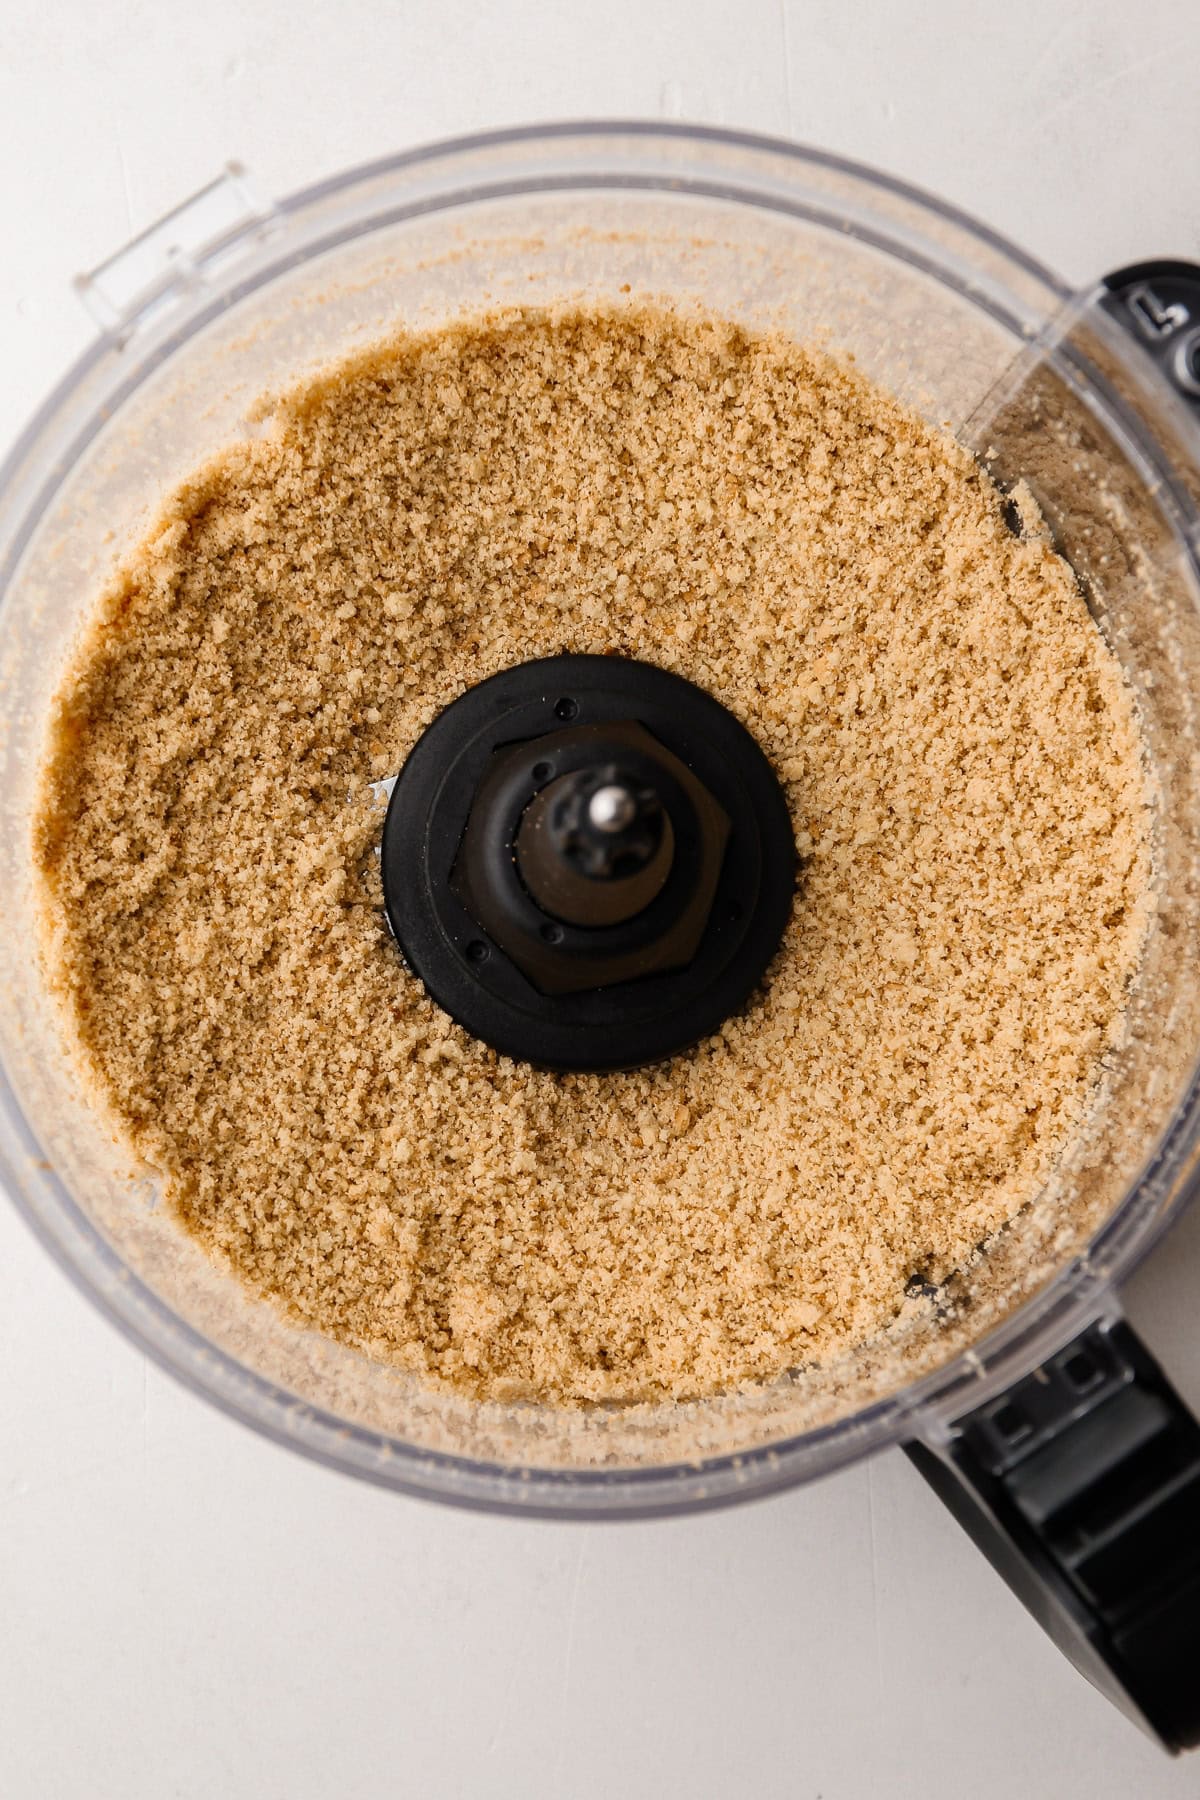
Making the Crumbs
Using a food processor or blender is the easiest method, swiftly transforming the Nilla wafers into a consistent texture, which is important. However, some people find cleaning up a food processor to be a chore (hi, it's me). Smashing the crumbs by hand is also an option. The neatest way to do this is to place the wafers in a zipper-lock bag, press out all the air, seal it, and then pound everything into crumbs with a rolling pin or meat pounder. While this method is straightforward, it has its own disadvantages: it requires manual labor, can result in an uneven crumb texture, and might be time-consuming depending on the quantity you're crushing.
Whatever way you choose, aim for crumbs about the size of grains of sand and with as much evenness as possible. Some variation in texture is okay, but keep in mind that uneven pieces can result in a less-than-sturdy crust.
Troubleshooting
The melted butter in a vanilla wafer crumb crust adds richness and flavor and contributes to its crispy texture when baked. The amount of butter needed can vary due to differences in moisture and fat levels among various brands of vanilla wafers. Of course, I've tested this recipe dozens and dozens of times and would like to think the ratios I've offered will work as is, I also know that it's important to adjust when necessary. When making this crust, start by adding a small amount of butter to the crumbs, then adjust as necessary. Keep extra crumbs on hand to balance the texture—aim for a consistency similar to wet sand: when squeezed, it should hold together and compact easily without feeling sticky or greasy.
If, for any reason, your crumb crust is extremely dry, you can add more melted butter–one tablespoon at a time–to the crumbs until they are evenly moistened. Alternatively, if your mixture is too wet and hard to work with, add more crumbs until the mixture is a bit drier, but still moist enough for the crumbs to stick together easily.
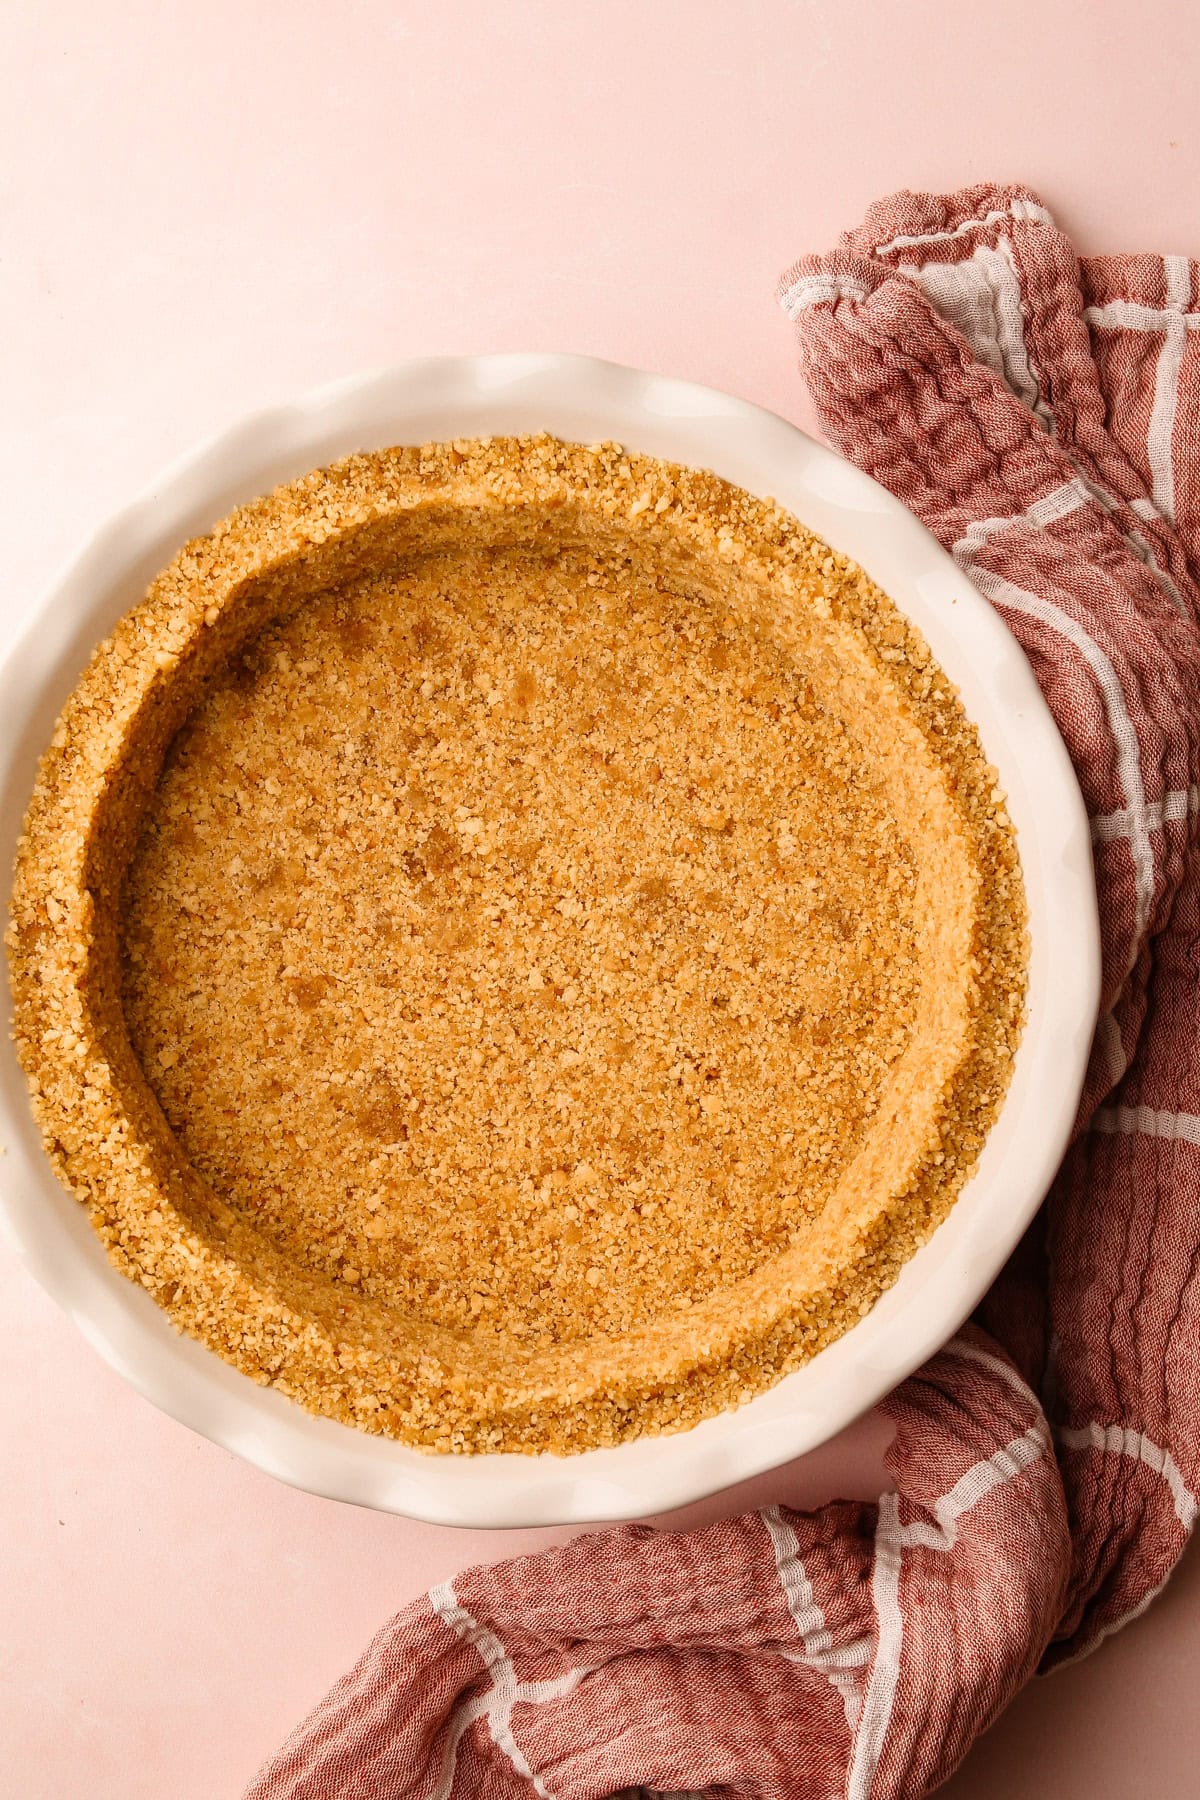
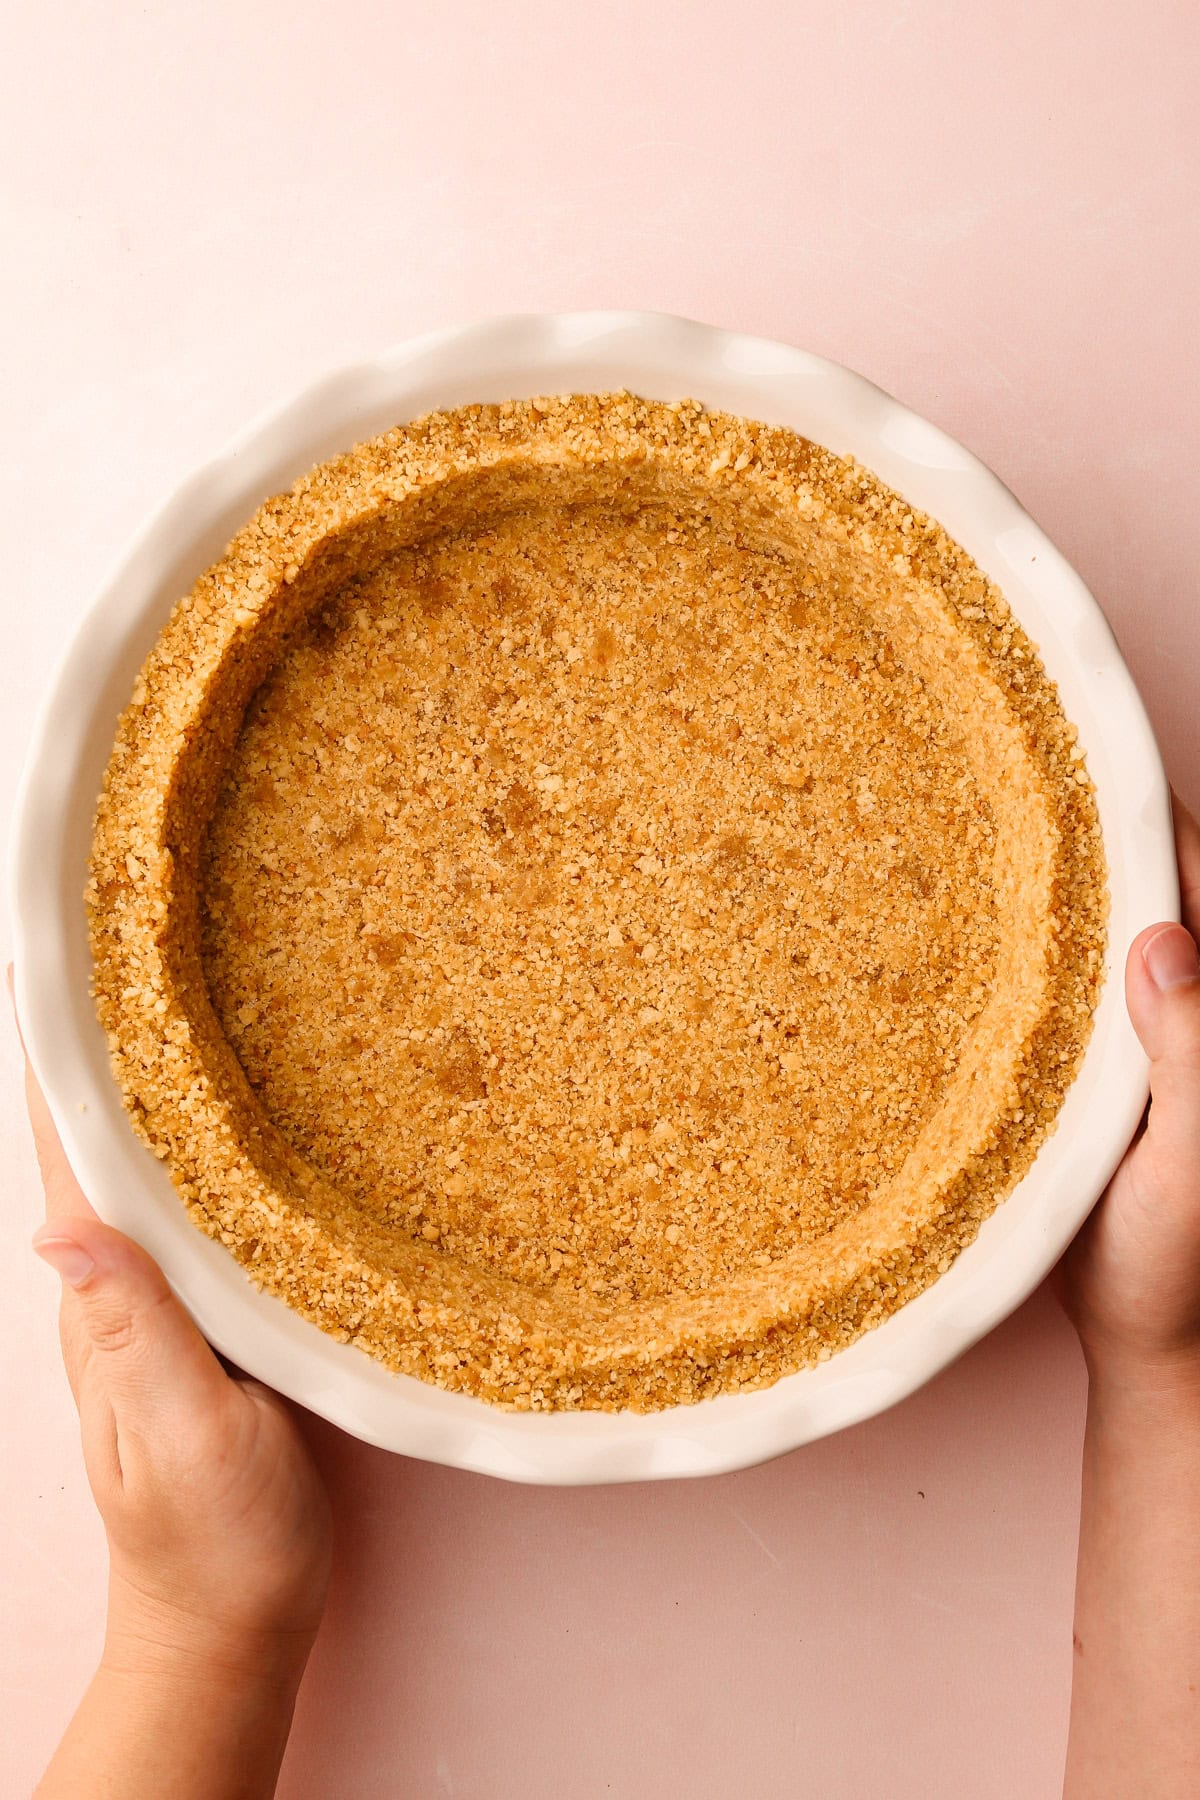
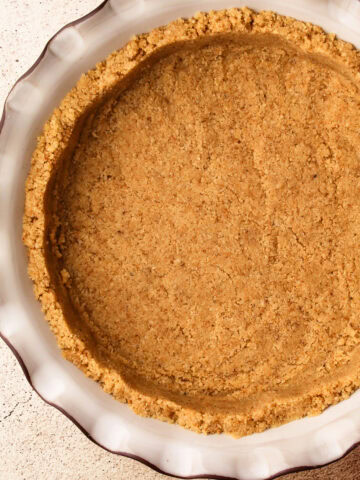
How to Make It
I used to hate shaping crumb crusts. The typical method of placing the crumb mixture in the middle of the pie plate and pressing it up the sides often resulted in uneven bases and a frustrating process. A few years back, I discovered a more efficient technique that changed that: Instead of starting in the middle, begin by forming the edges of the pie crust first. Then, firmly press the crumb mixture into the bottom of the plate. This method ensures a more even crust with less effort.
Here is a visual overview:
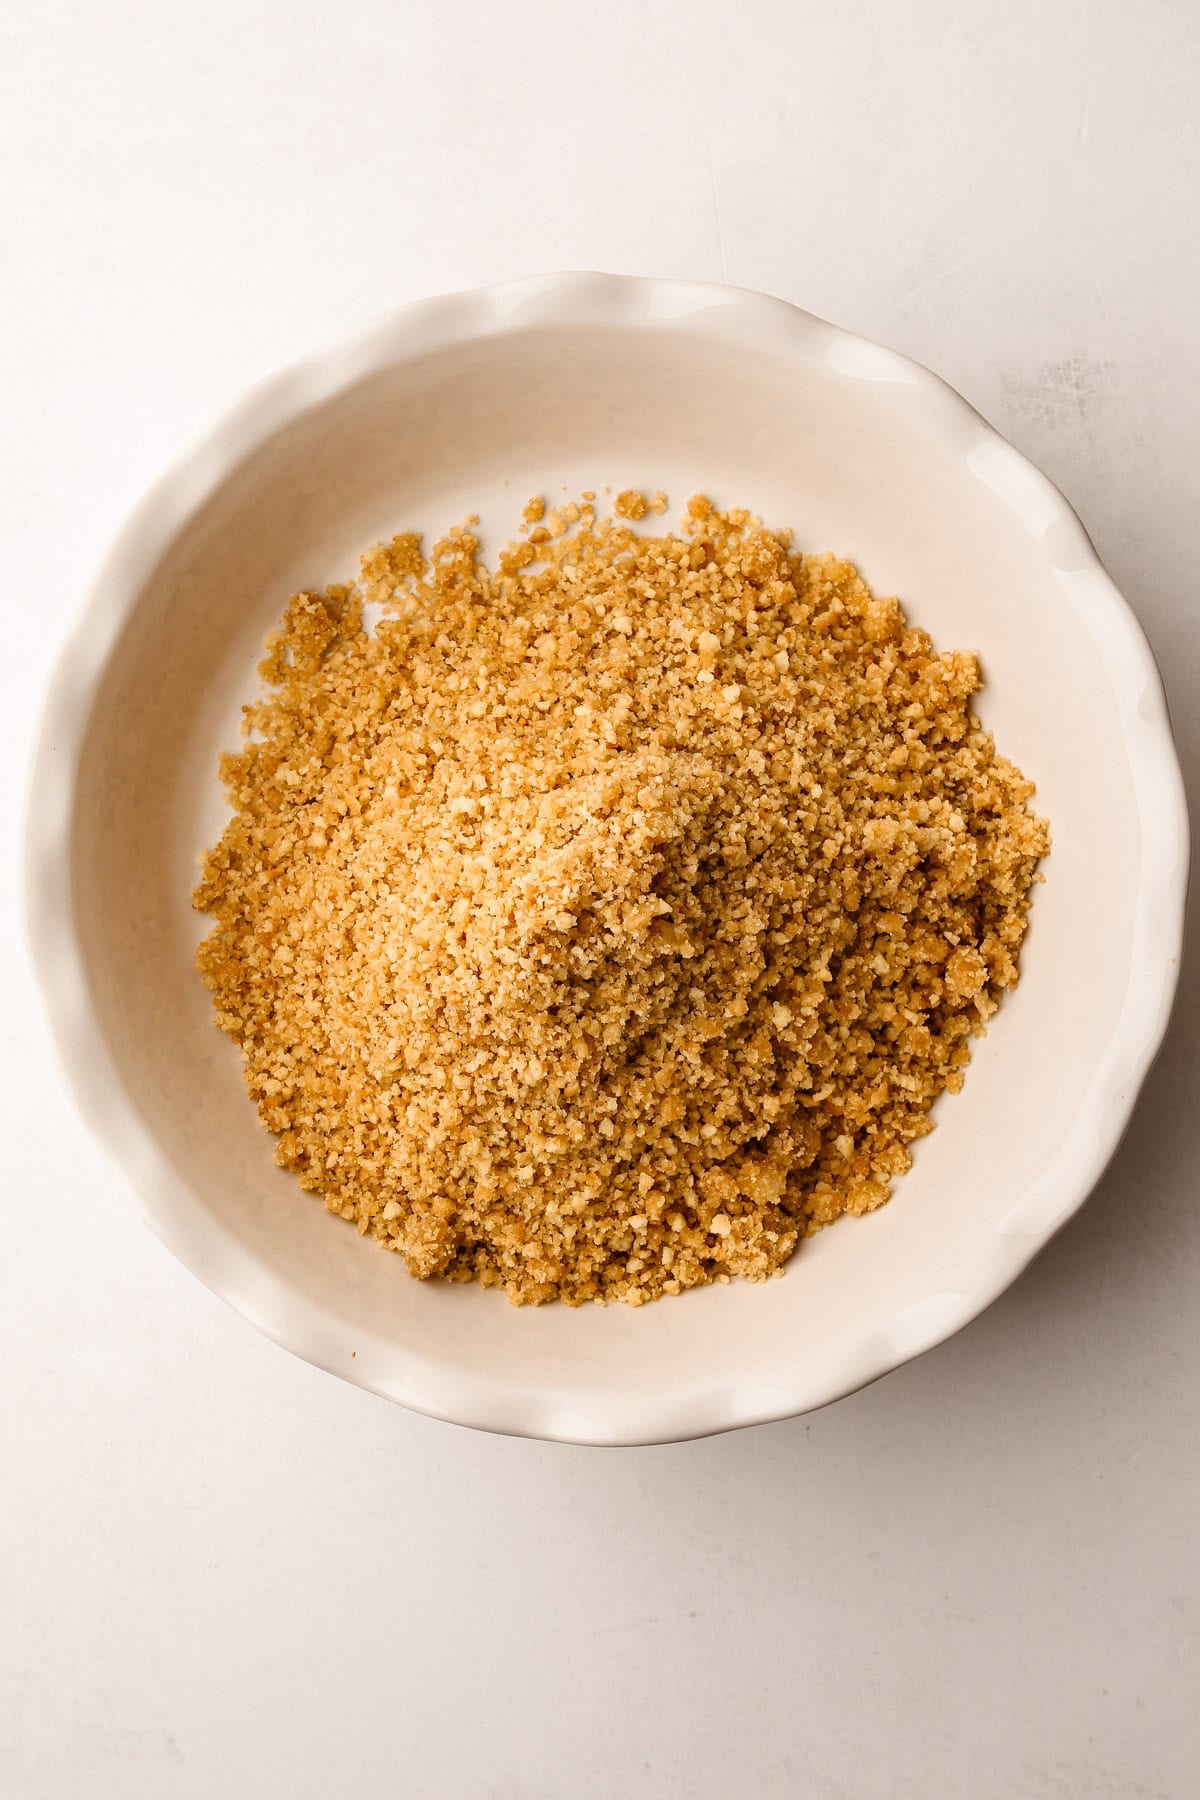
Step 1: Mix together the crust ingredients and pour into the pie plate.
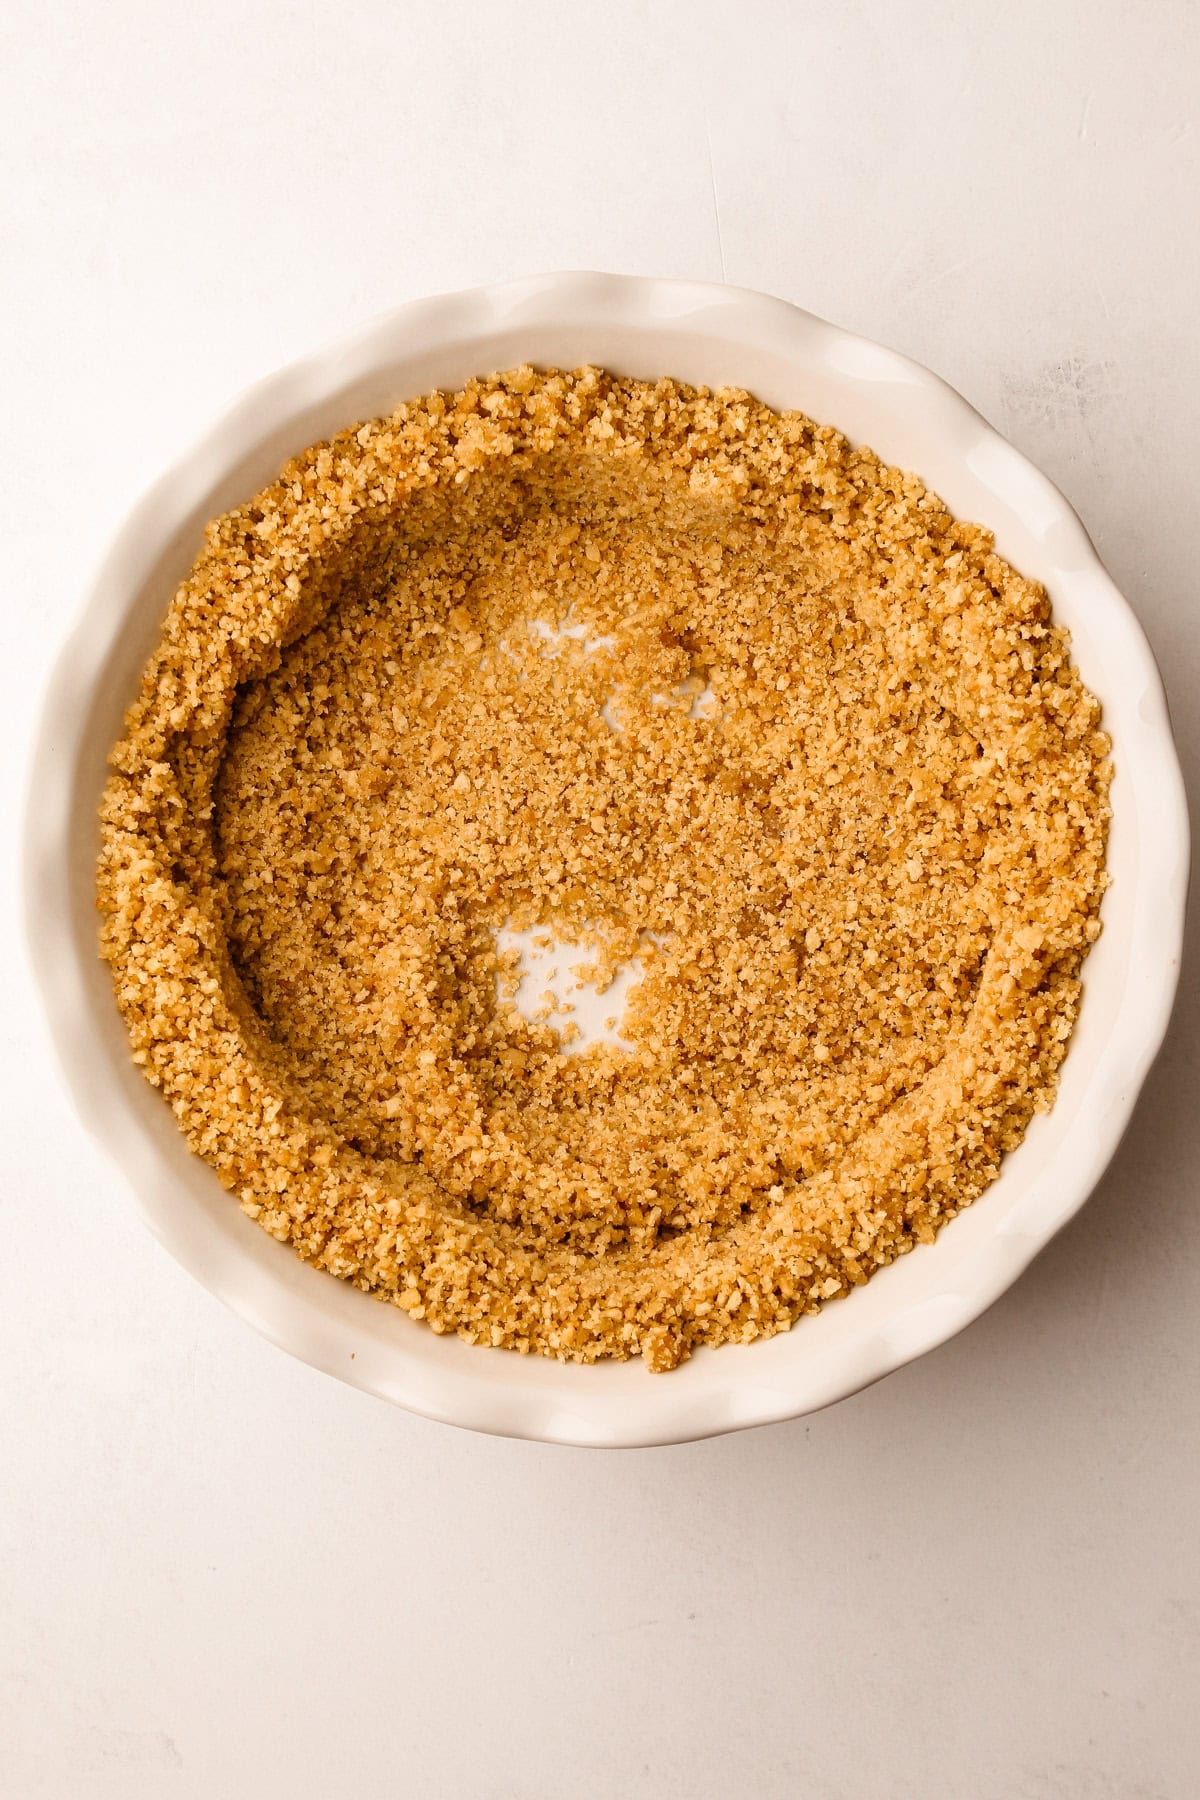
Step 2: Gather the crumb mixture loosely around and up the sides of the plate, then form the top edges of the crust.

Step 3: Next, use your thumb or measuring cup to pack down the sides of the crumb crust. As you do this, move the excess crumb mixture toward the center of the plate.
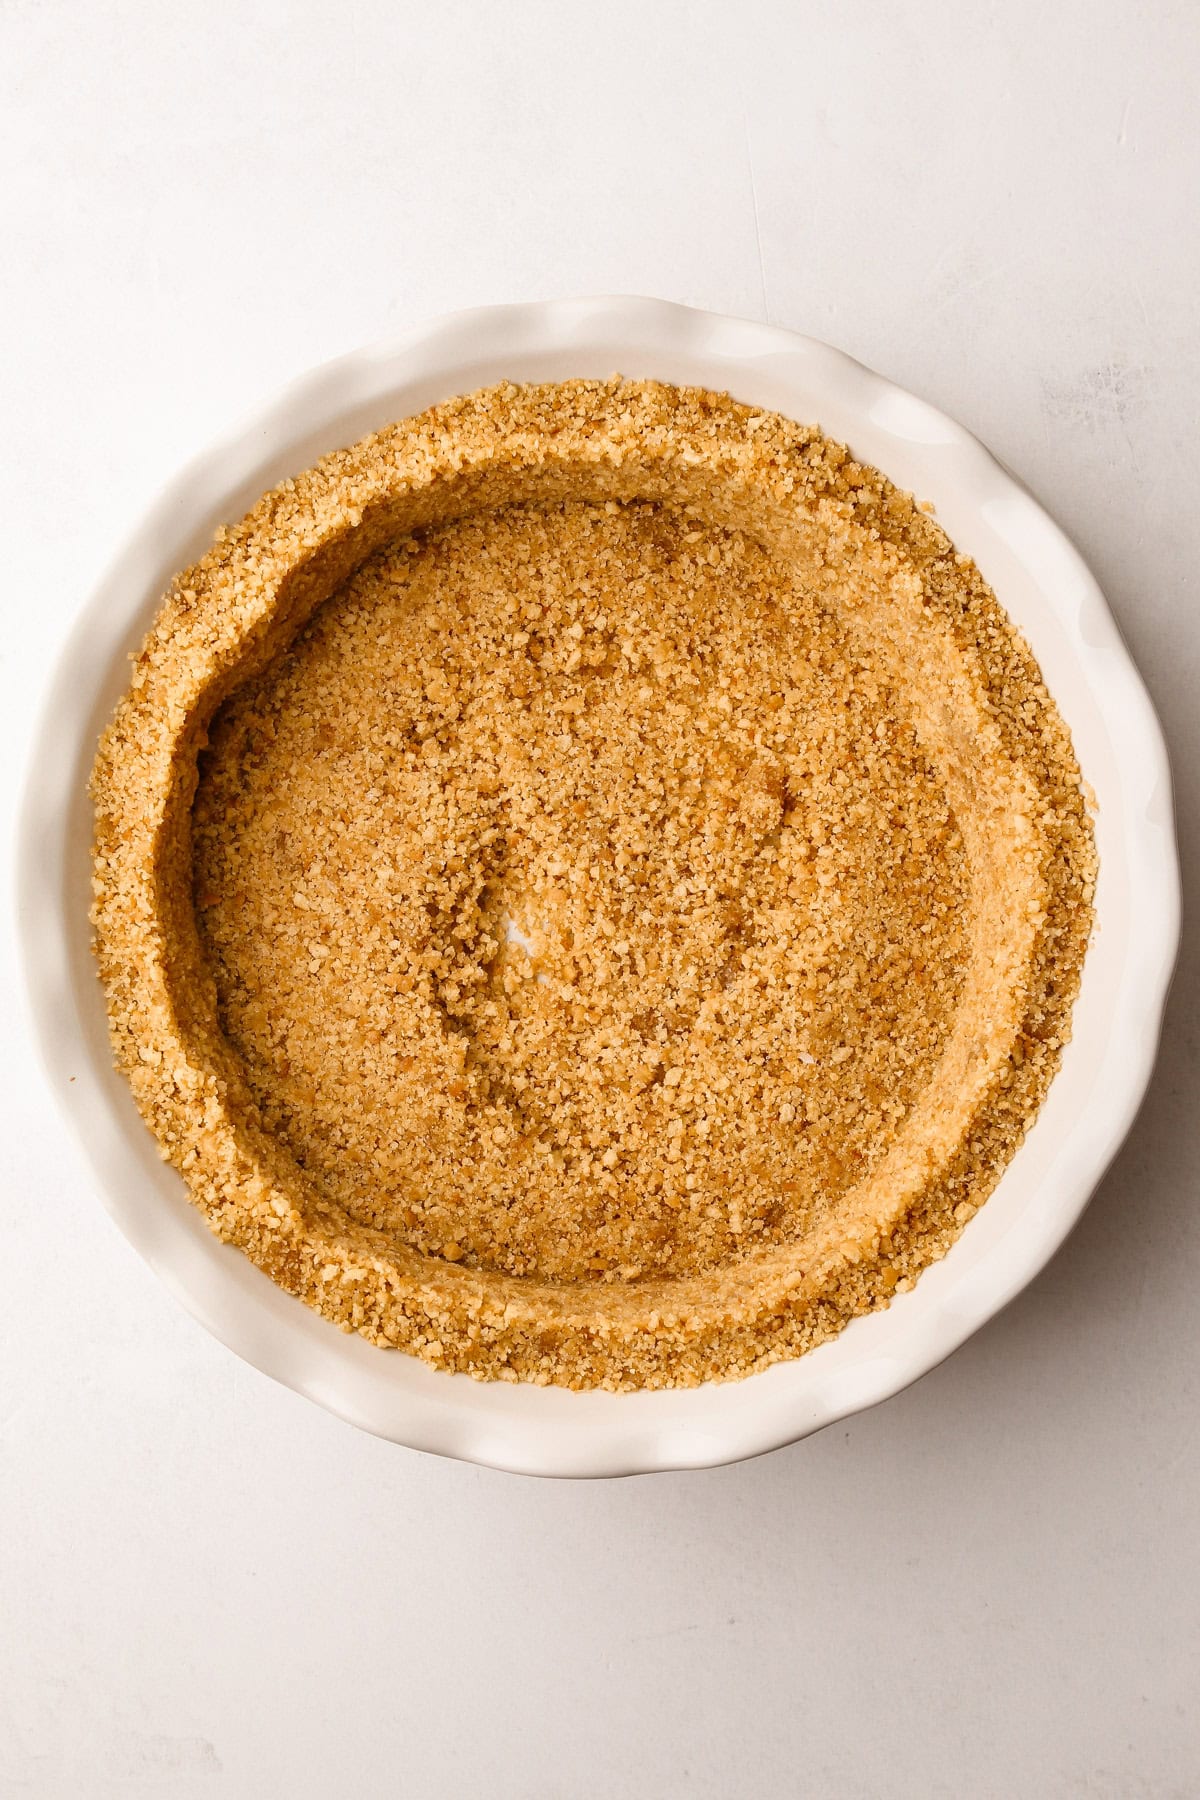
Step 4: Continue packing the crumbs until you have a single layer; then, with your fingers, a spatula, or the bottom of a measuring cup, pack down the crumbs until everything is tight and even.
To Freeze or To Bake
Once formed, a crumb crust can be either par-baked or frozen before filling. Freezing solidifies the butter creating some stability, making it best for pies that will be served chilled. Baking a crumb crust creates a crispier, more stable crust by melting the sugar. And it adds a toasty element that improves the flavor as well. I prefer the par-baking method and will always bake a crumb crust if I can because it is sturdier, but we all know that sometimes turning on the oven, especially just for 10 minutes, may not be practical. Choose the method that suits your needs best (and pie)!
Pie Recipes to Use with this Vanilla Wafer Crust
Here are some ideas of pies that work well with a vanilla wafer crust:
- No-bake cheesecake-style pies (such as this Blueberry Cream Cheese Pie or Orange Creamsicle Pie)
- Thicker custard / baked cheesecake pies (such as this Cinnamon Pie or Roasted Plum Pie)
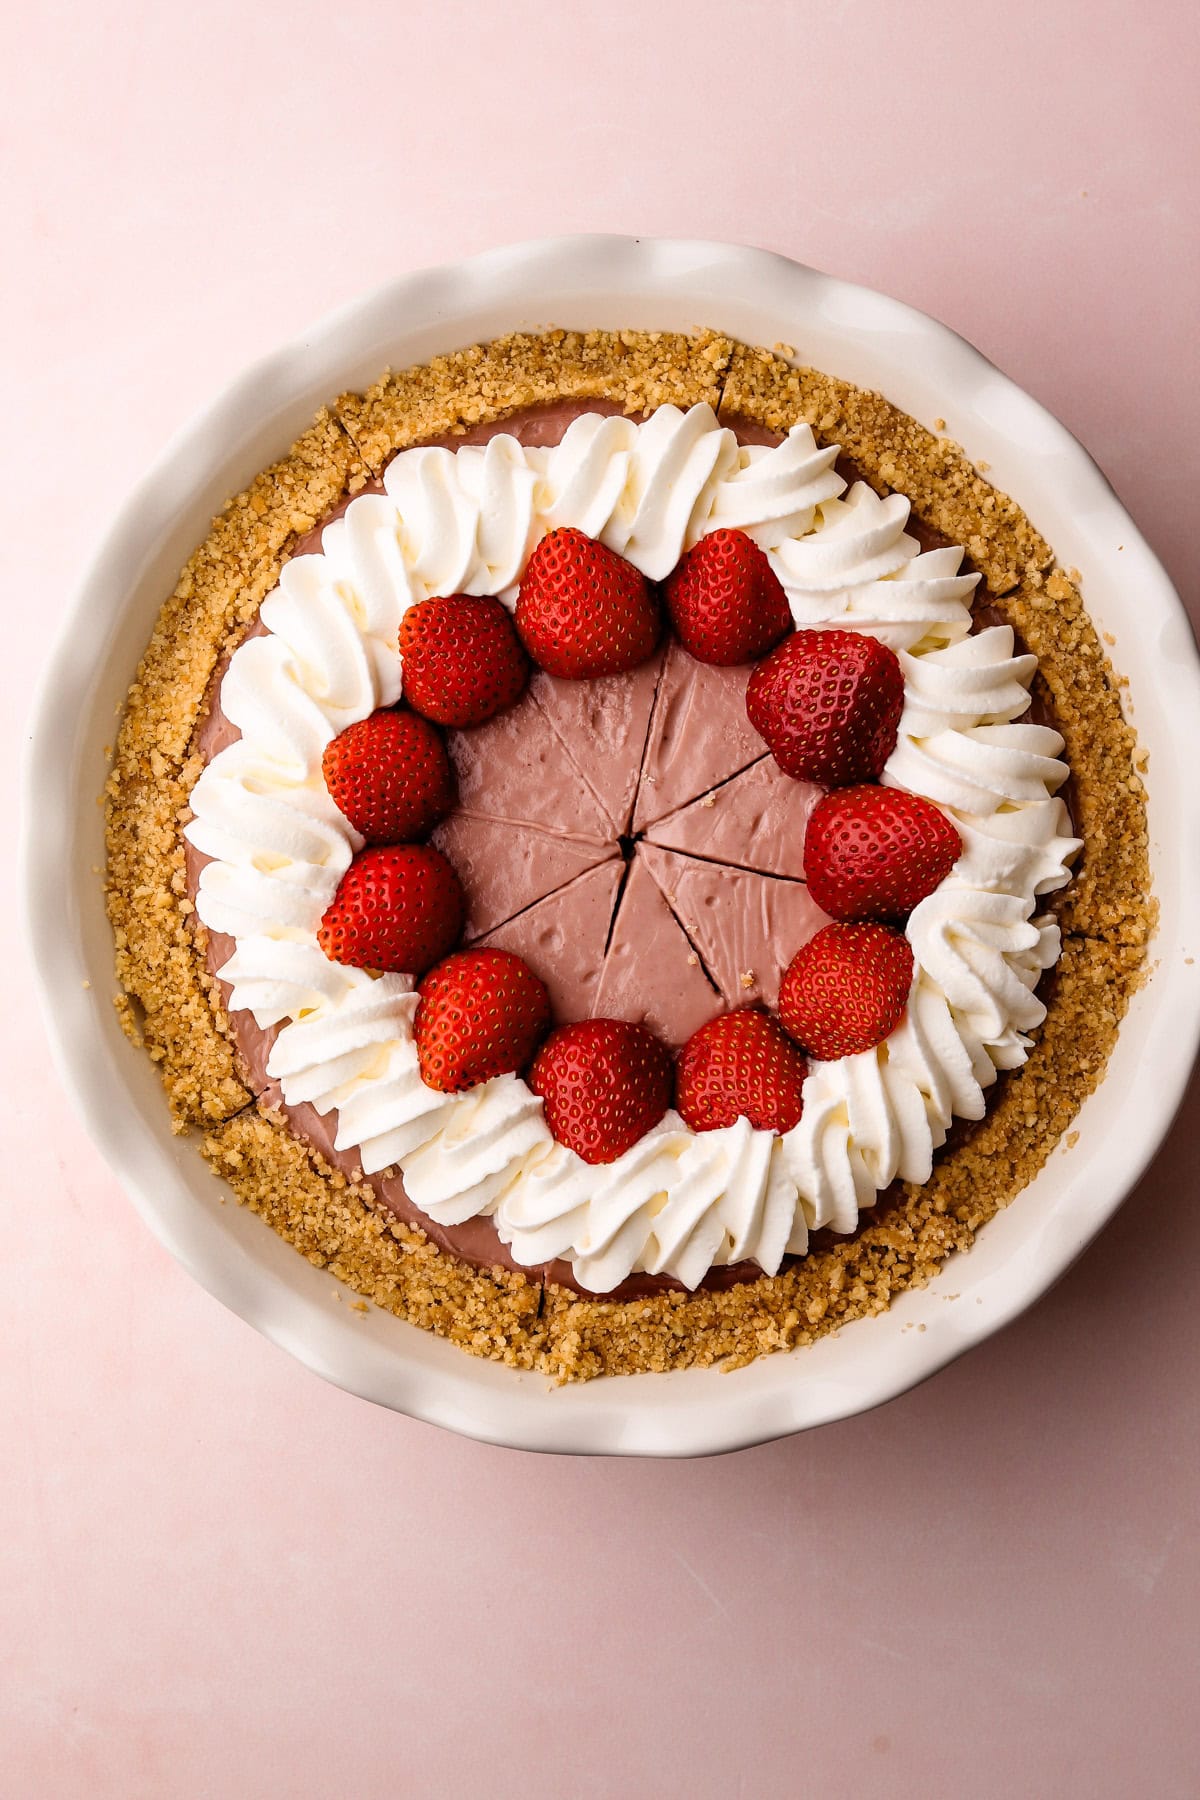
- Pudding pies, aka cream pies (like Chocolate Cream Pie or Pistachio Cream Pie)
- Ice cream pies (like this Baked Alaska Pie)
- And, of course, anything chocolate is always a good choice (like Malted Milk Chocolate Pie or French Silk Pie)
The only type of pie that you need to be careful about using a vanilla wafer crust is a custard-style pie that has a lot of liquid. The concern is that sometimes when you pour a thin filling into a crumb crust if the crust isn't sturdy enough, the crumbs can break apart and rise to the top of the pie. To prevent this from happening, you should take special steps (like making a really thick, well-packed down crumb mixture), such as discussed in this Strawberry Cream Pie recipe and this Key Lime Pie recipe
More Easy Pie Crusts
I am so honored when you make a recipe from my site! If you make this Vanilla Crumb Crust, please leave a star ⭐️⭐️⭐️⭐️⭐️ rating with your experience! If you have any questions about this recipe, feel free to comment here, and tag me on instagram!
PrintFull Recipe
Vanilla Wafer Crust
This easy Vanilla Wafer Crust recipe, made with store-bought Nilla wafers, is the perfect simple pie crust option. This no-bake option adds a deliciously sweet and crunchy base to many types of pies.
- Prep Time: 00:05
- Cook Time: 00:10
- Total Time: 15 minutes
- Yield: 1 (9") pie crust
- Category: Pie Crust
Ingredients
- 6 tablespoons unsalted butter, melted, more as needed
- 2 cups (8 ounces) vanilla wafer crumbs (about 27 wafers), more as needed
- 2 tablespoons (25 grams) granulated sugar
- ¼ teaspoon coarse kosher salt
Instructions
- In a bowl, mix together the vanilla wafer crumbs, melted butter, sugar, and salt. The mixture should be damp, like wet sand, and will hold together when squeezed. If it is too dry, add more melted butter, a tablespoon at a time. If it’s too wet, add more crumbs, a tablespoon at a time, until it’s the correct consistency.
- Pour the crumbs into a 9-inch pie plate and press them up the sides to form the edges first. Once the edges are formed, work the crumbs down to evenly distribute them into the bottom of the pie plate. Then, pack them down into an even layer using a flat-bottomed cup or measuring cup.
- The crumb crust can be baked in a 350ºF preheated oven for 10 minutes for a more toasted flavor, or this step can be skipped and the pie crust be frozen before filling.


Notes
For a fun twist, replace 2 ounces of the vanilla wafers with 2 ounces of pecans, walnuts or slivered almonds before processing into crumbs. They add an additional flavor and textural component.
Certain vanilla wafers may have a drier texture than others. Adjust the amount of butter or crumbs needed to get the correct consistency for shaping the crumb crust.
This recipe was tested using Diamond Crystal coarse kosher salt. If you use Morton's kosher salt or fine salt, decrease the volume by half. See this Salt Guide for more information about how salt affects your cooking and baking.
Some of the links on this page may be affiliate links. Everyday Pie is a participant in the Amazon Associates Program. As an Amazon Associate I earn from qualifying purchases, at no extra cost to you.
kim
I made this recipe, 7/2024
I don't know if it was shrinkflation or what.
I started with 30 cookies, because I noticed some of them out of the package were smaller than others. Crumbled the, added the butter/ salt, and put the mix into the 9 inch pie plate. It didn't go 1/2 inch up the sides. I mixed 10 more cookies w/2 more tablespoon butter, went higher up the sides. lined the shell w/parchment paper, sugar, and baked 15 minutes. Still to fill w/custard.
If you make this recipe, overestimate how much you need. 27 is not nearly enough cookies.
Kelli Avila
Hi Kim, I give multiple methods of measuring for this very reason. No two brand of cookies are going to be exactly alike, which is why I give the measurements in the manner I do--I stated: "2 cups (8 ounces) vanilla wafer crumbs (about 27 wafers), more as needed". I try to be as thorough as possible with my testing and written recipes to help my readers have as much success as possible.
Kay
Hi, How come when I copy and paste this recipe, none of the pictures come with it? I like pictures.
Bobbie Lankford
What size shell does this make? I assume 9". Thanks. Bobbie
Kelli Avila
Yes--9"!
Ellen
why aren’t there amounts in the ingredients list?
Kelli Avila
Hi Ellen! Scroll down to the recipe! Some people like to know what is in the recipe up front, so I put that info right at the top.
But the full recipe for nearly any blog is at the bottom.
Chris
I was looking for a vanilla wafer crust recipe on Pinterest and thought this recipe sounded delicious for my pie having walnuts in it too. I see pecans in your photo but the recipe calls for walnuts. There are pecans in my filling so I may use pecans. I will check out your other recipes,
Thank you! !
Kelli Avila
Yes, that works great! Hope you enjoy 🙂