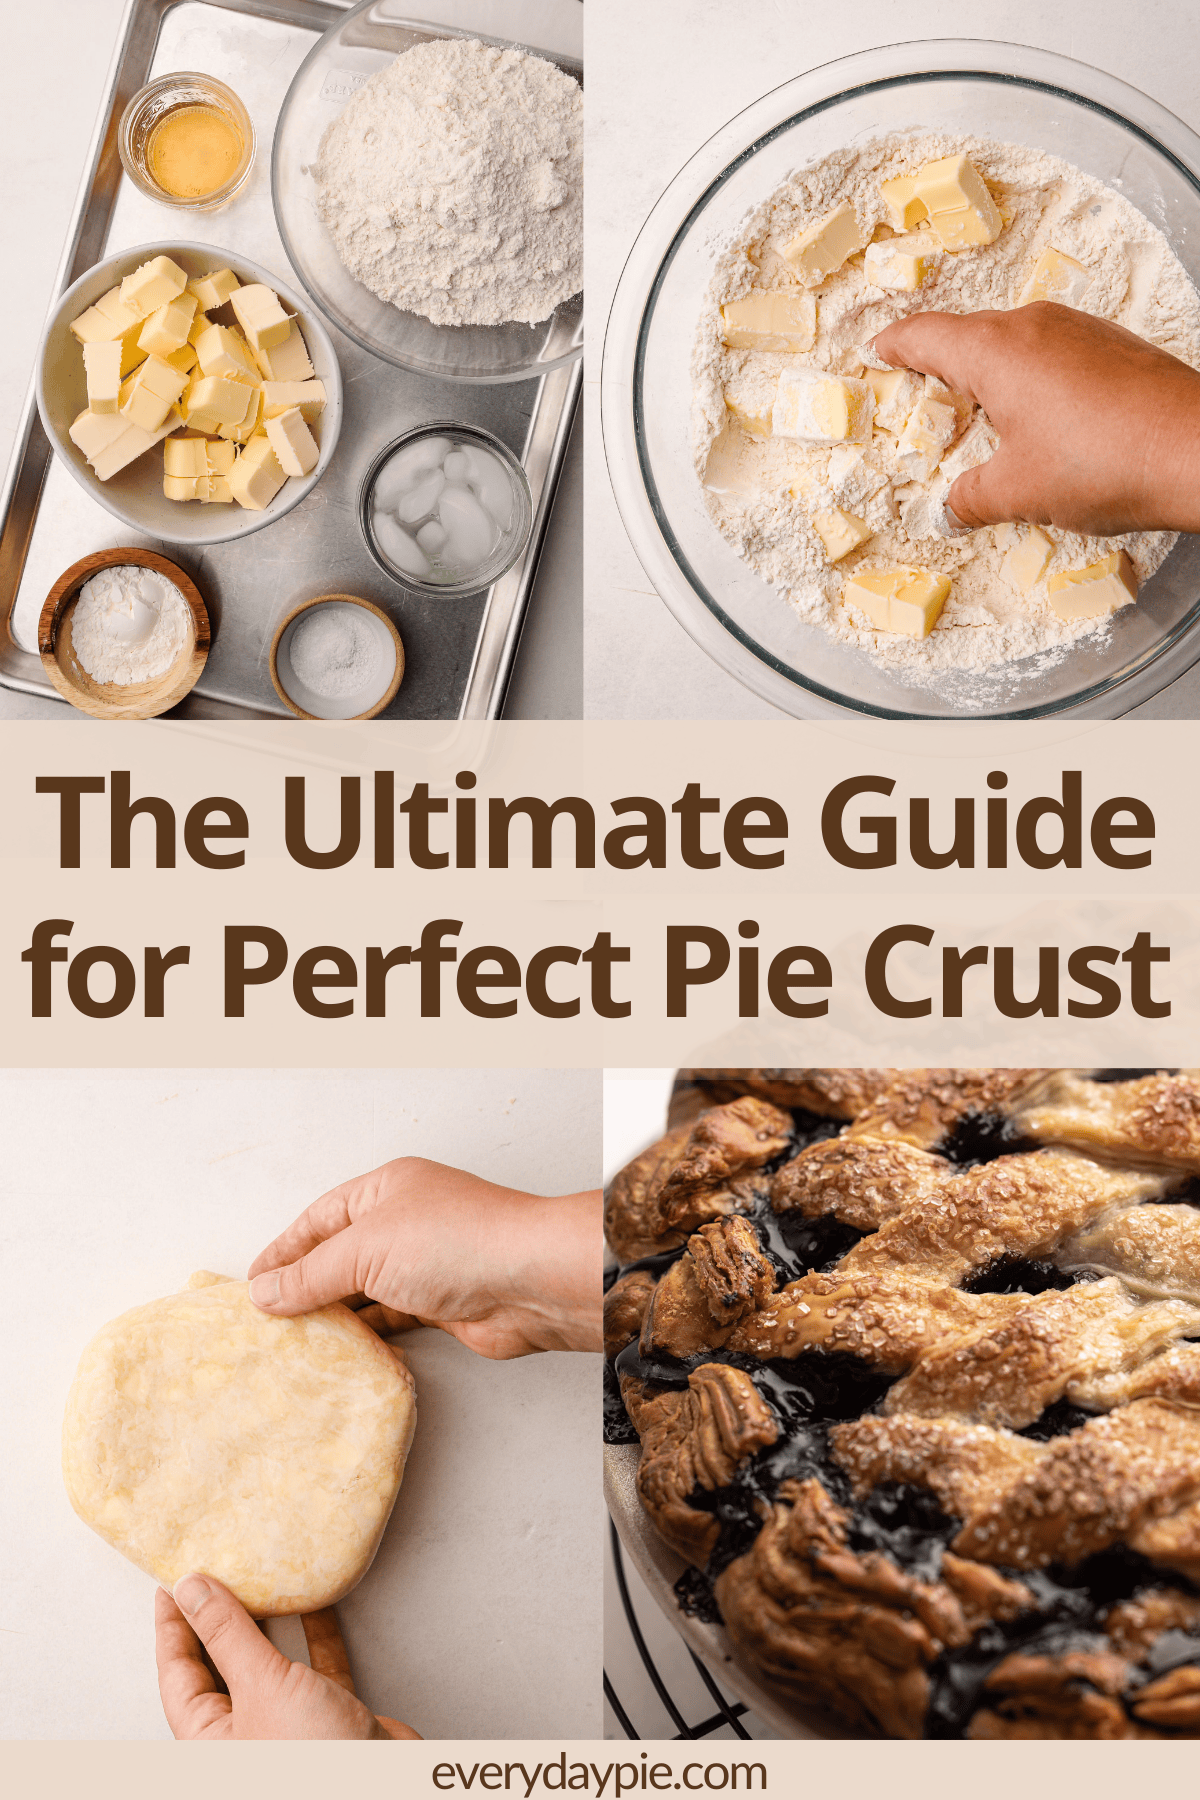
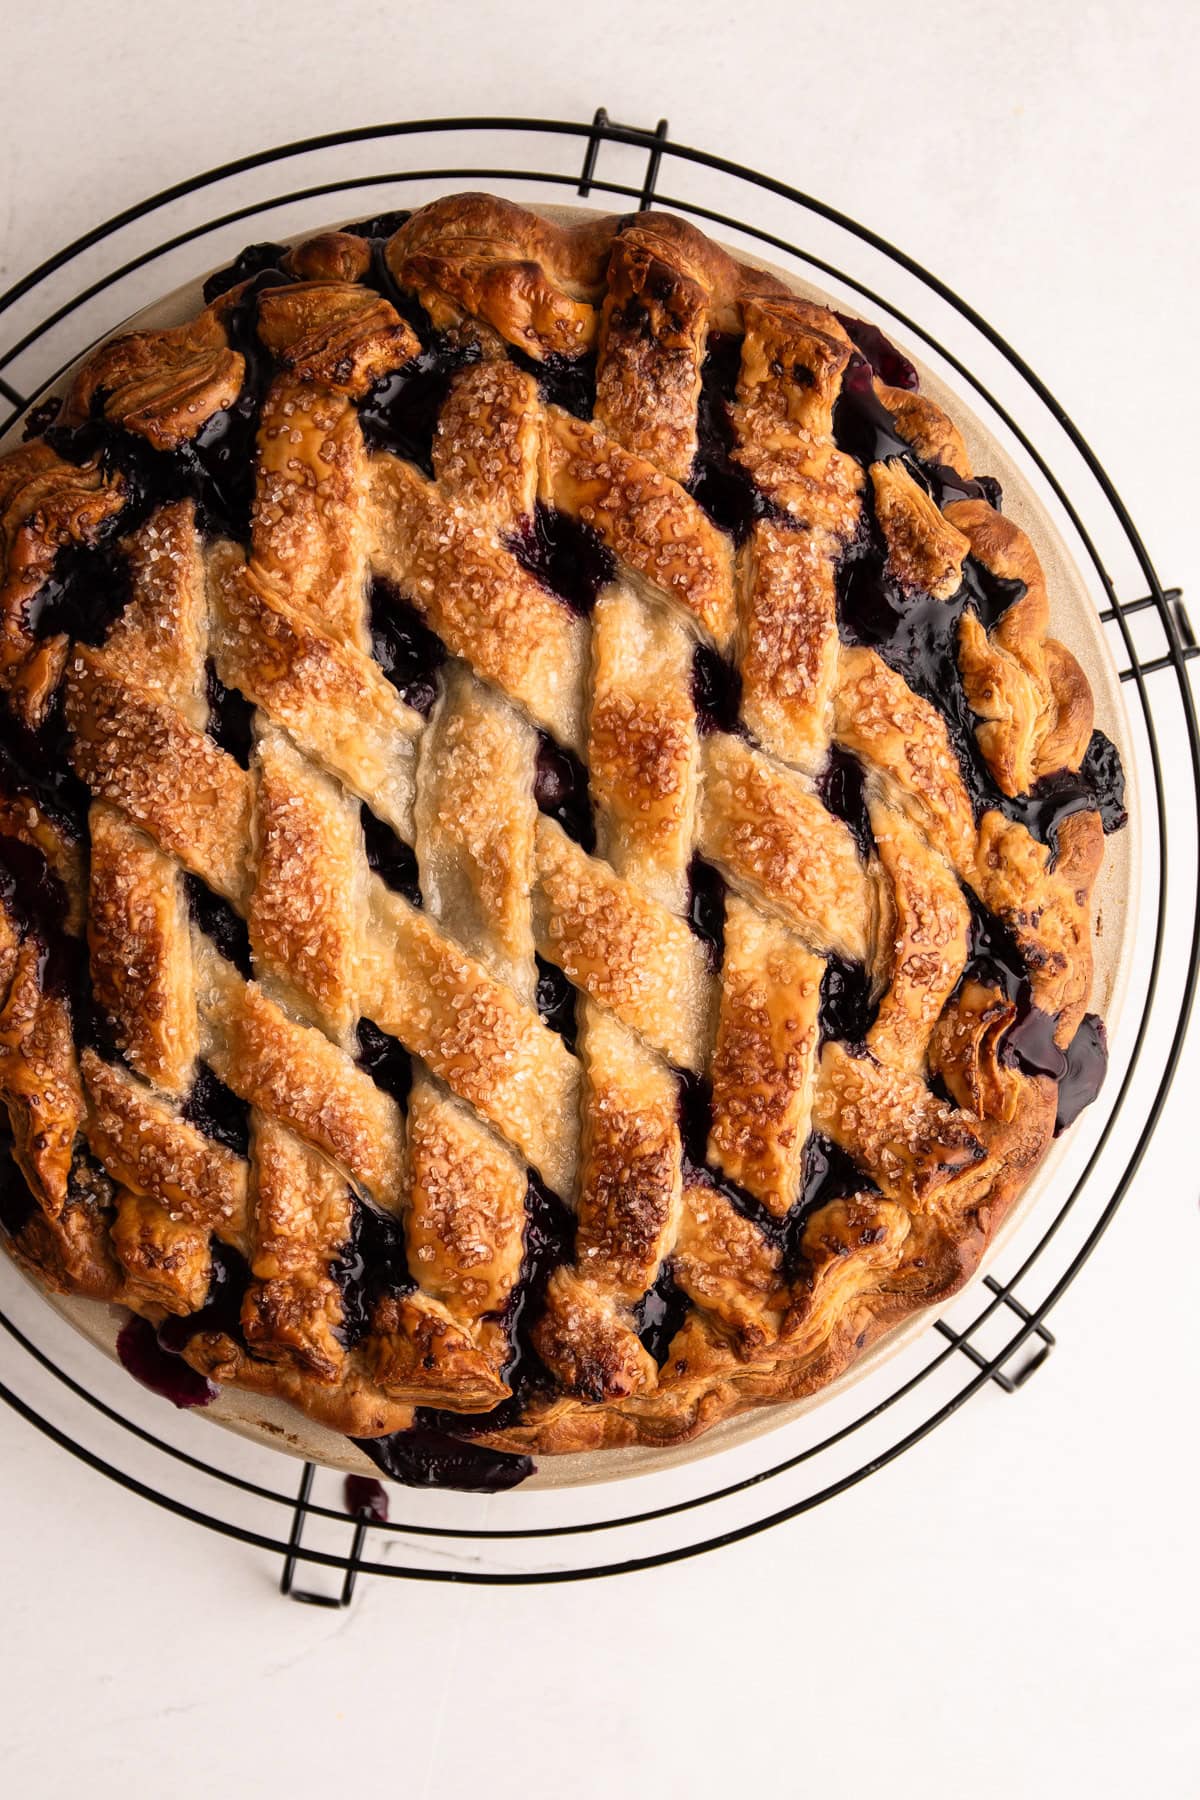
Homemade pie crust, despite its reputation, is surprisingly simple to make. All bakers, from beginners to pros, can (and should) learn to make pie crust with confidence. This Pie Crust Tutorial provides everything you need for consistently perfect results.
Want to save this recipe?
Enter your email & I'll send it to your inbox. Plus, get weekly updates from me!
Bakers, whether new or experienced, often feel intimidated by making pie crust. There are so many "rules" out there that can make the process feel overwhelming. After more than a decade of baking pies professionally and five years of running a pie blog, I wanted to create a comprehensive guide to simplify the process. I'll also address common challenges my readers face when it comes to making pie crust.
I'm on a mission to convince bakers to skip the store-bought dough and try making their own at home. Pie dough made from scratch is not only quick and easy but also well worth the small amount of extra effort it requires compared to buying it from the store.
This comprehensive guide on How to Make Pie Crust is jam-packed full of useful information and should be considered a roadmap for you. While there is a recipe at the end of this tutorial with all the recommended ways to make pie crust, this was designed as a gateway to help you discover the best method for you making pie crust with links to additional helpful articles and tutorials that will support you in mastering pie crust. You can jump around using the menu below, or skip to the end of the article for the full recipe.
Jump to:
- The Science Behind the Ingredients
- Different Types of Pie Crust
- Before We Begin
- Useful Tools for Beginners
- Essential Pie Crust Tools
- Methods for Making Pie Crust
- Properly Hydrating Pie Crusts
- Making Large Batches of Pie Crust
- Storing Pie Crust
- Rolling Out Pie Crust
- Baking Homemade Pie Crust
- Frequently Asked Pie Crust Questions
- More Resources
- Full Recipe
The Science Behind the Ingredients
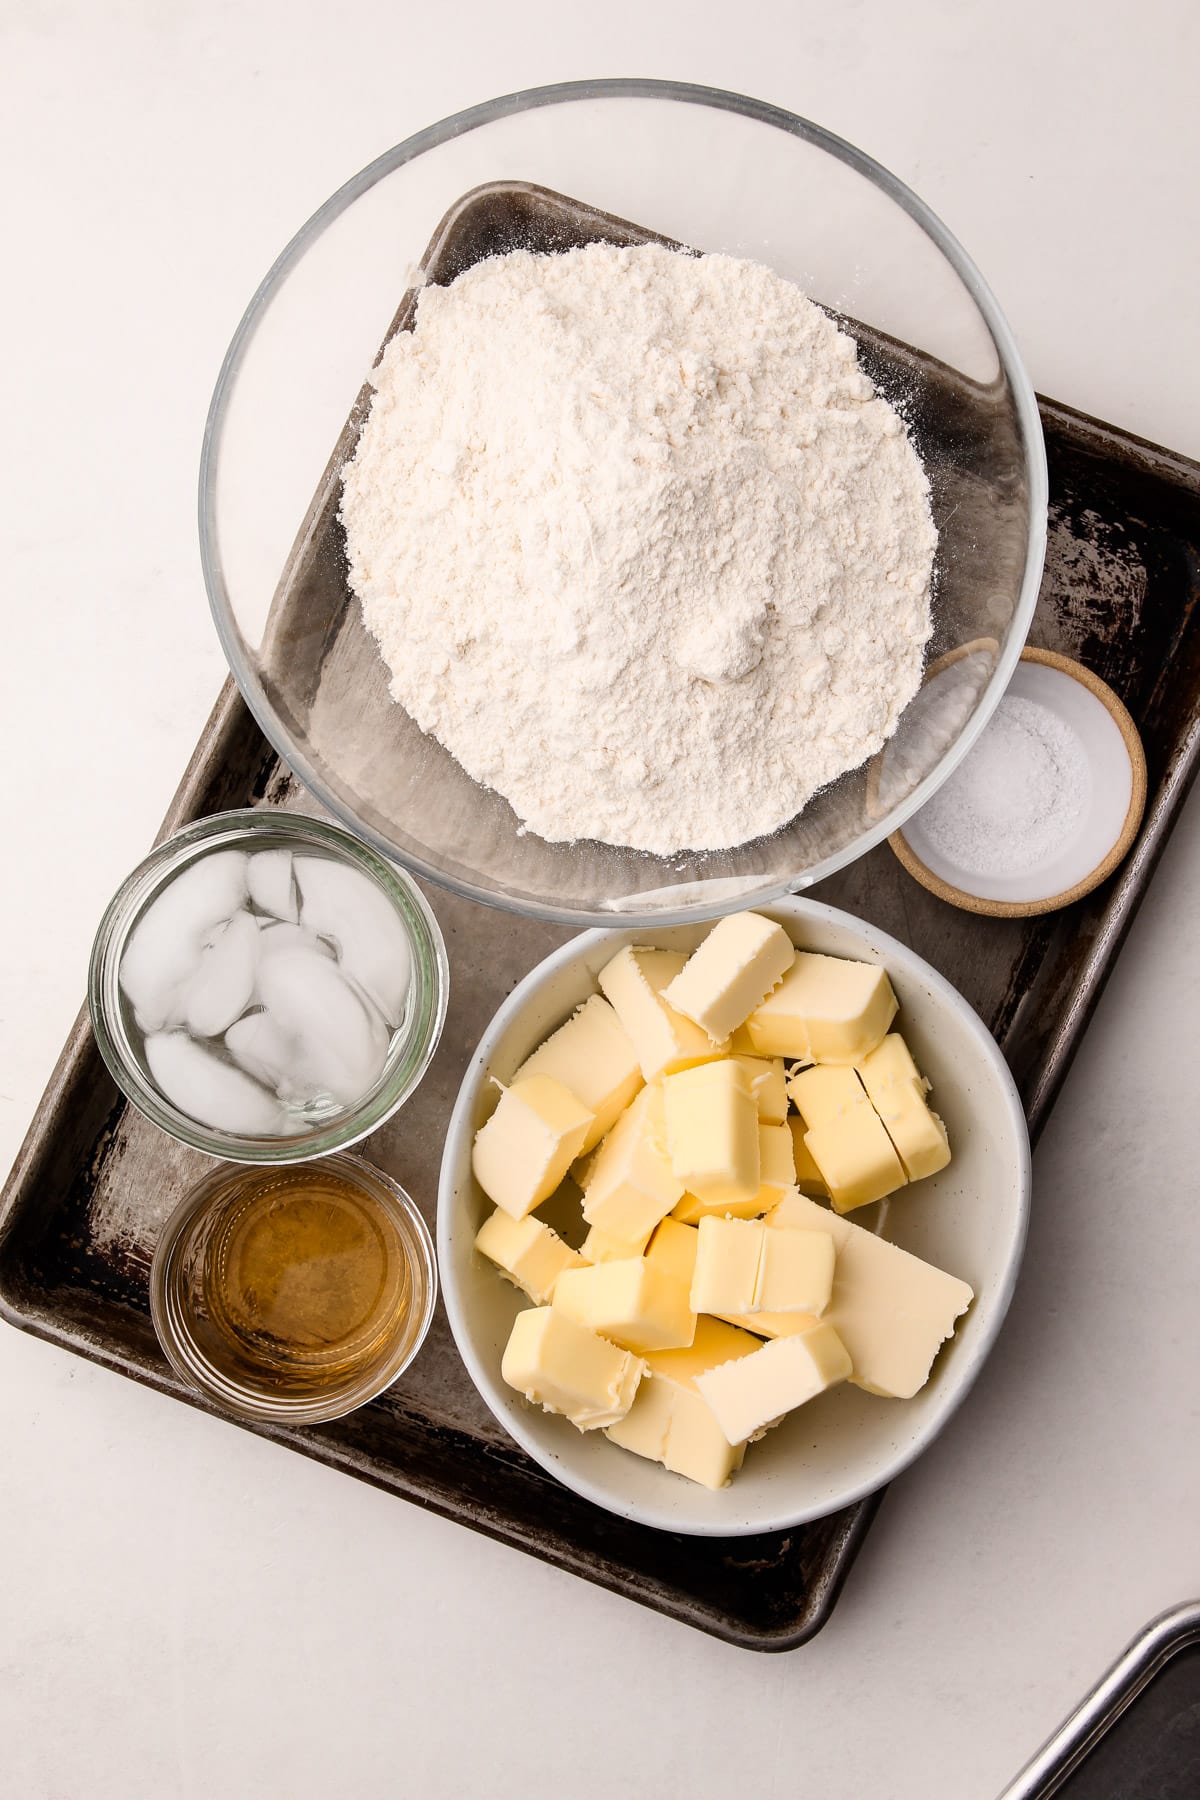
At its core, a good pie dough is a balance of three key ingredients: flour, butter, and water. While some pie crust recipes include additional ingredients to enhance flavor or texture (like salt, vinegar, or sugar), technically, these are the only three you need. A successful pie crust balances structural ingredients (flour and water) that form gluten and support the filling, with tenderizing ingredients (butter) that create a flaky, delicate texture.
Proper handling of pie dough is essential to avoid common mistakes. Overmixing can lead to excessive gluten development, resulting in a tough crust. Under-hydrating makes the dough difficult to work with, while over-hydrating leads to a sticky, flat pastry.
Once the dough is mixed, it needs both resting and chilling. Resting allows the water to fully hydrate the dry ingredients, making the dough easier to handle. Resting also relaxes the gluten formed during mixing, preventing a tight, tough crust. Chilling firms up the butter, ensuring it doesn’t melt into the flour, so your pastry bakes up flaky. While the dough can be used after 30 to 60 minutes of chilling, preparing it a day in advance produces the best results.
Many pie crust recipes on my website (like my Essential All Butter Pie Crust) have additional ingredients such as cornstarch, apple cider vinegar, or sugar added to them, which aid with tenderizing the dough and providing additional flavor. The recipe shared here is a very streamlined version of pie dough with just the essentials (flour, butter, and water) as well as salt.
Different Types of Pie Crust
It's important to remember that there are many types of pie crusts. While a flaky, buttery crust is the classic choice in the U.S., it's not always the best option for every pie. On this site alone, you'll find 25 different pie crust recipes, each tailored to specific types of pies. They can be sweet or savory, light and crumbly, flaky and buttery, press-in or roll-out; there is a whole range of styles to fit various applications.
While you can explore the archives for more specific pie crust recipes, this tutorial focuses on classic American-style buttery, flaky pie crust. This type of crust is ideal for traditional fruit pies or savory pies served warm or at room temperature. However, flaky butter dough isn’t the best choice for pies that will be served cold, like cream pies. When chilled, traditional pie crust can lose its soft, flaky texture, becoming firm and tasting somewhat stale—similar to a croissant that’s been refrigerated. This happens because the butter in the crust hardens when cold, making the texture denser.
For cold pies, I recommend using Pâte Sucrée (Sweet Pie Crust) or Pâte Sablée (Sweet Tart Dough). The tips in this tutorial are geared toward traditional pie crusts and may not apply to those recipes.
Before We Begin
My motto is always, "Practice makes progress (not perfection)." Making pastry involves a variety of skills that will improve with time and practice. Don’t be discouraged if your first attempt isn’t picture-perfect. I’ve made thousands of batches of pie dough, and I’m still learning new tricks and ways to improve.
The truth is, any homemade pie dough you make will be miles better than what you can buy at the store. So, even if you’re a beginner, don’t worry—you’ve got this!
Useful Tools for Beginners
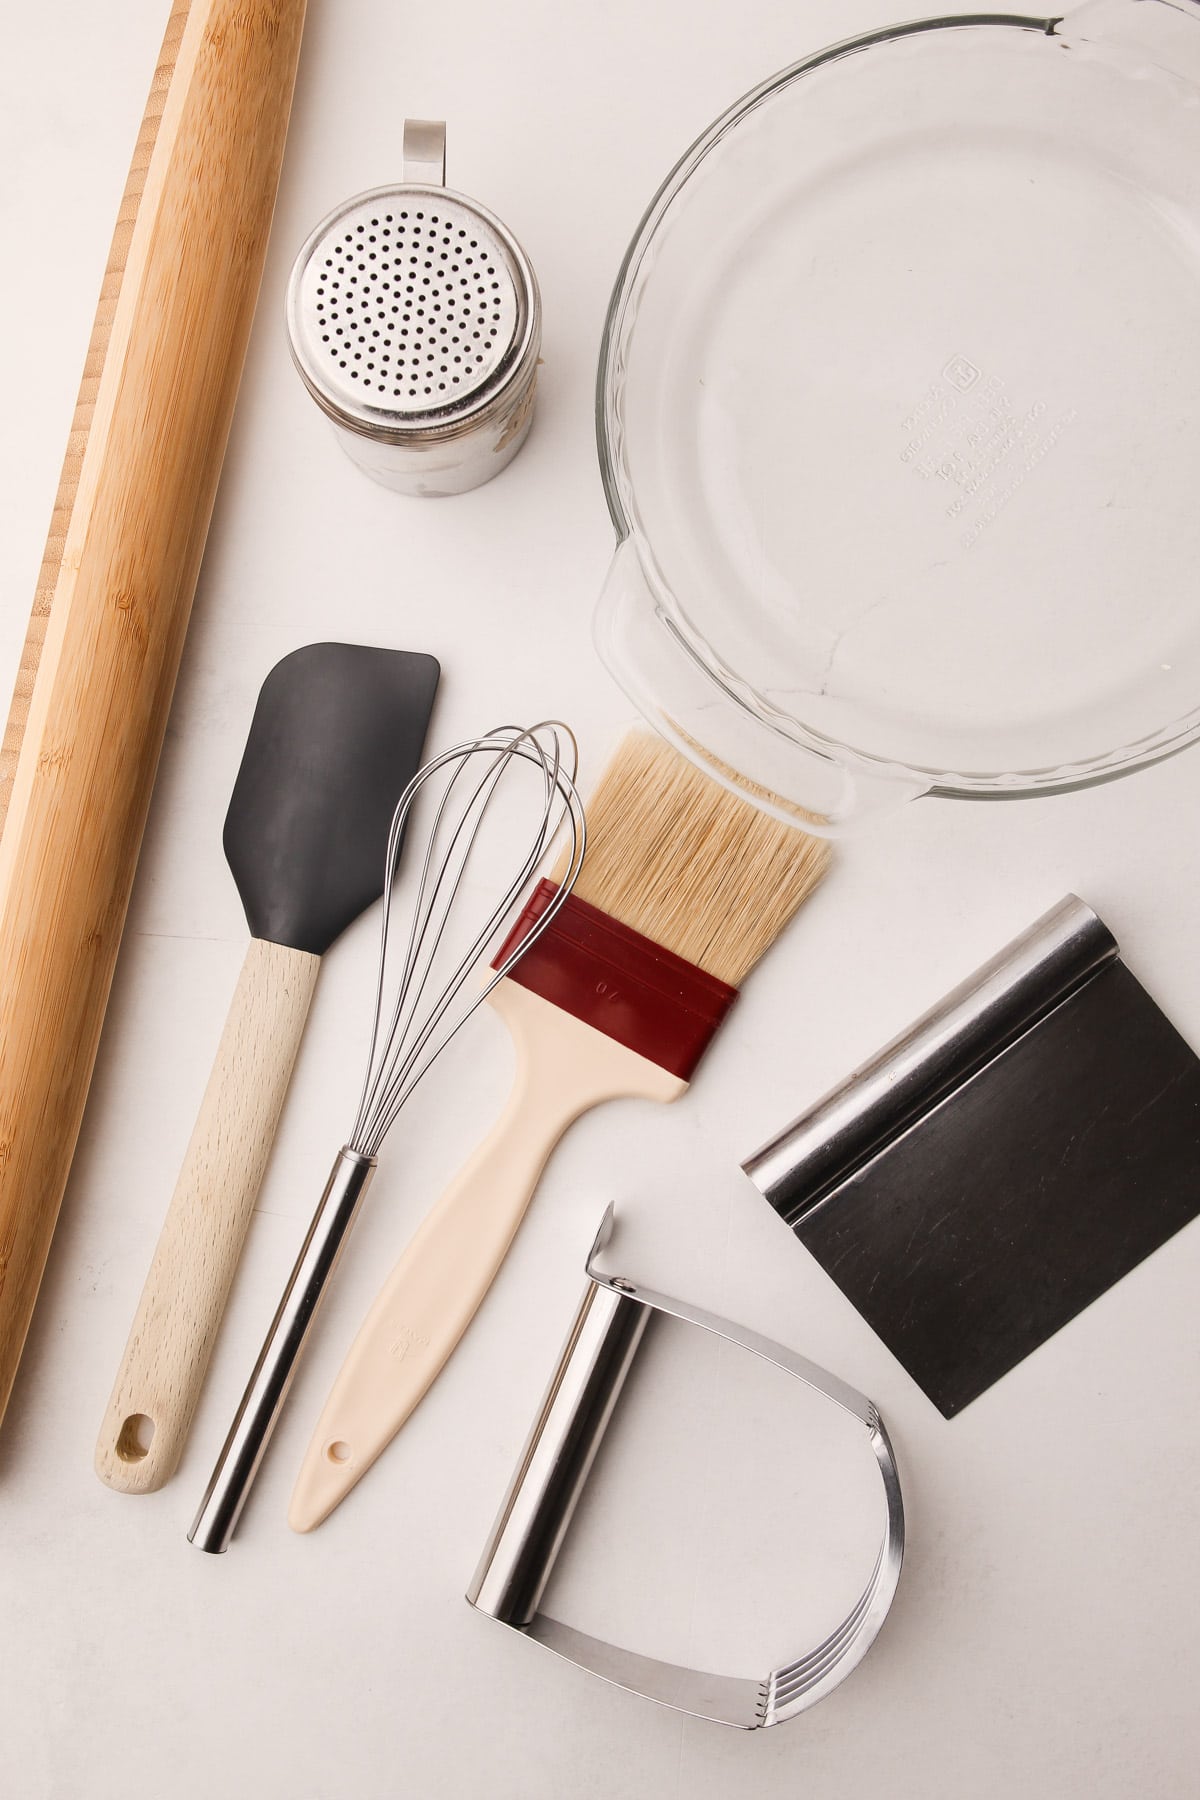
You don’t need fancy equipment to make great pie dough at home, but at minimum, you do need your ingredients, a big bowl and a rolling pin. However, having a few key additional tools can help a reluctant pie baker overcome their intimidation and set themselves up for success. The right tools will save you time and help you make a perfect pie. Here is a quick overview of some useful tools to have on hand to successfully tackle homemade pie crust:
Kitchen Scale: Flour should always be measured by weight. If you want to bake like a pro, a kitchen scale is a must. It's more accurate than measuring by volume and leads to better results. Though I list cup measurements in my recipes, I personally only measure dry ingredients in grams or ounces to avoid errors—using a scale will transform your baking routine for the better.
Rolling Pin: There are many styles of rolling pins, and the best one is the one you're most comfortable with. That said, I do have some preferences. I usually use two rolling pins when rolling out pie dough: a tapered French dowel for control and precision and a straight dowel to ensure even thickness of the dough. If I had to pick one, it would be the tapered pin. I’m not a fan of rolling pins with handles, as they offer less control, but what matters most is using what you're comfortable with.
A Food-Safe Spray Bottle: This is a very useful tool for hydrating spots of pie dough that are dry without adding too much water. If you’ve ever struggled with properly hydrating pastry (more on that below), this is a great tool to have.
Dry Pastry Brush: A dry pastry brush is essential for brushing off excess flour, especially when working with sticky dough that needs extra flour for rolling. It should have natural bristles and should always be kept dry and reserved exclusively for pastry work to maintain the condition of the bristles.
Pastry Wheel: A pastry wheel is the best tool for cutting pie dough into lattice strips. You could absolutely use a knife instead, but a pastry wheel makes the task easier and more precise.
You'll also need a food processor, pastry blender, or stand mixer if you plan to make pie dough using those tools.
To see all these recommended products as well as a few other tools that are useful to have for making pies, check out this Guide on Essential Tools for Making Perfect Pies.
Essential Pie Crust Tools
 Buy Now →
  Buy Now →
  Buy Now →
  Buy Now →
 Methods for Making Pie Crust
Just as there are many types of pie crust, there are also many ways to prepare it—and it's important to remember that no single method is "the best." Each approach has its own advantages and drawbacks, and every baker will need to find the method that works best for them. It’s also important to note that the technique you choose can also affect the texture of your crust, whether you're aiming for ultra-flaky or tender and buttery. Understanding how each method works will help you decide which one is right for your pie, your tools, and your personal preference. Let’s talk about the pros and cons of each to see how they can impact the final result.
Making Pie Crust by Hand:
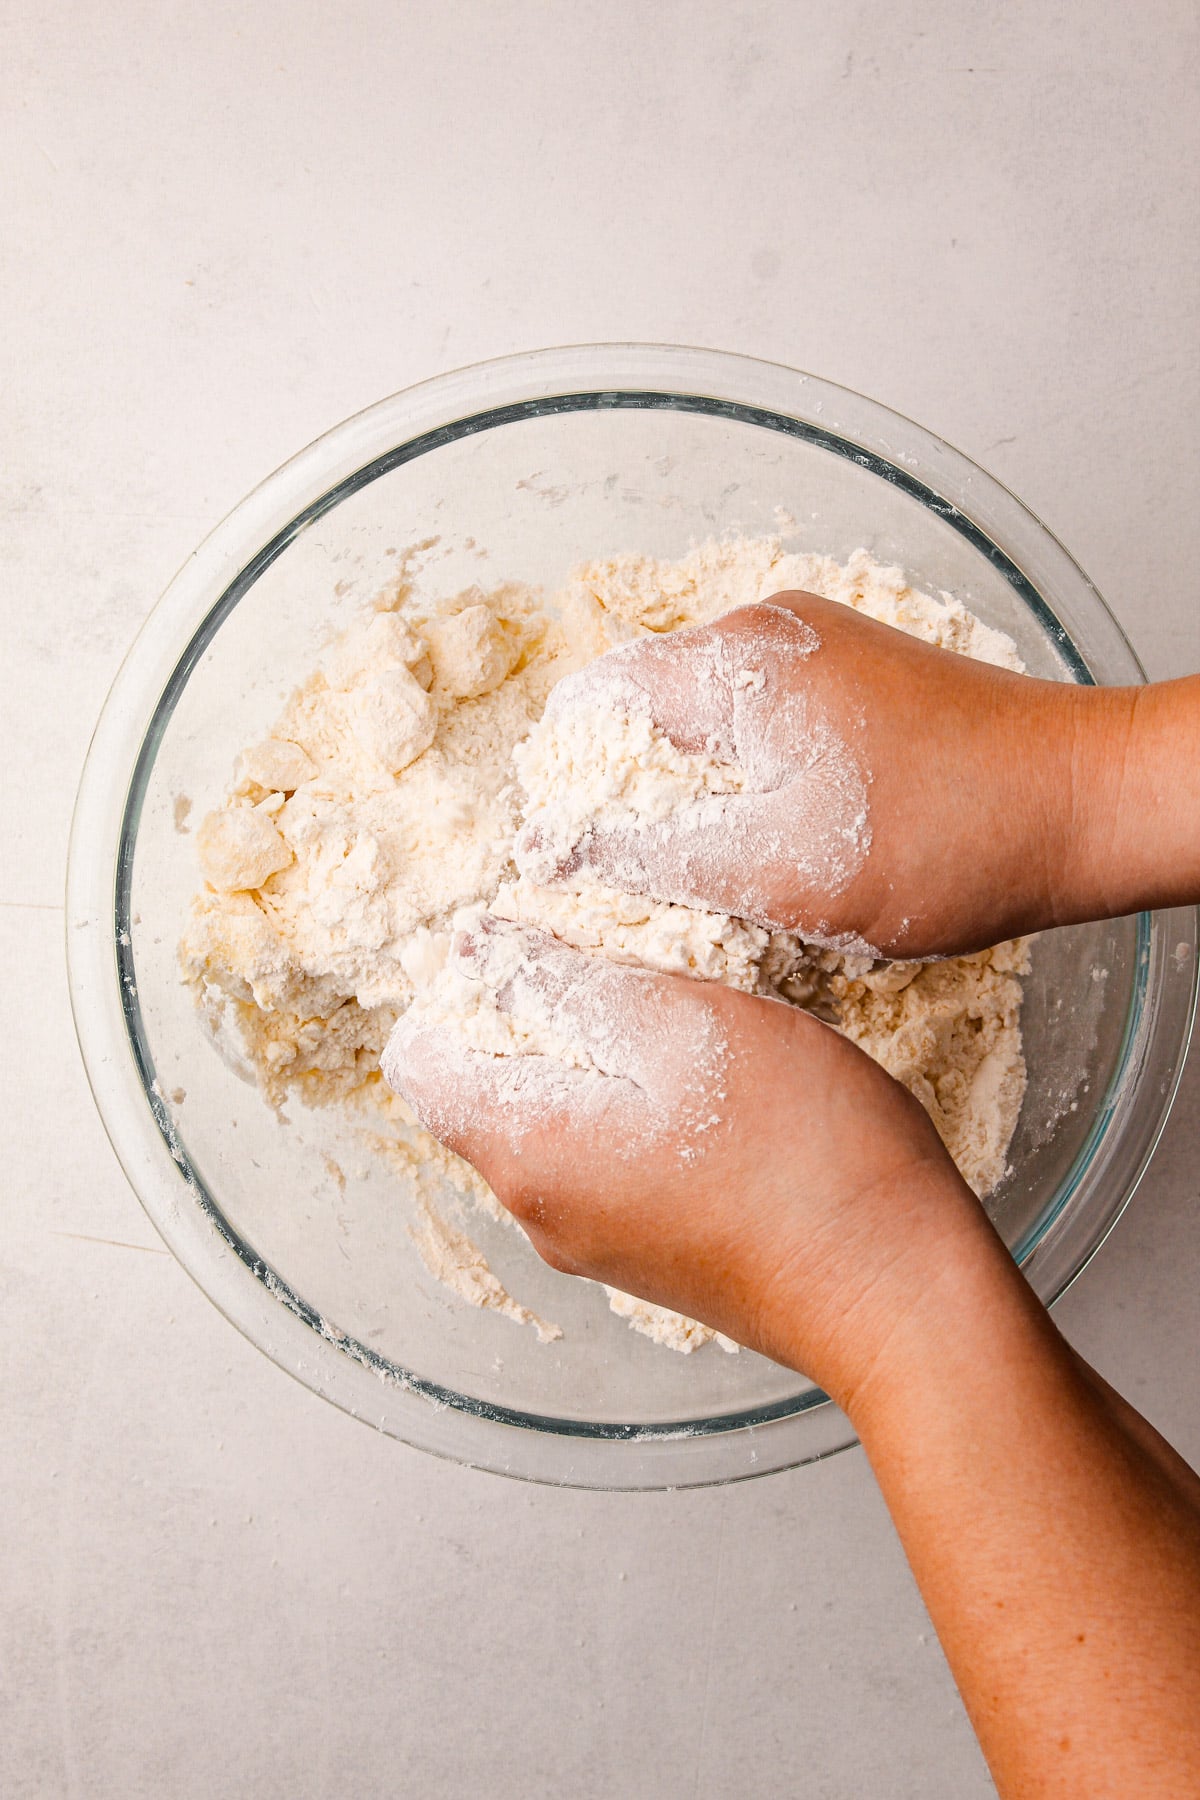
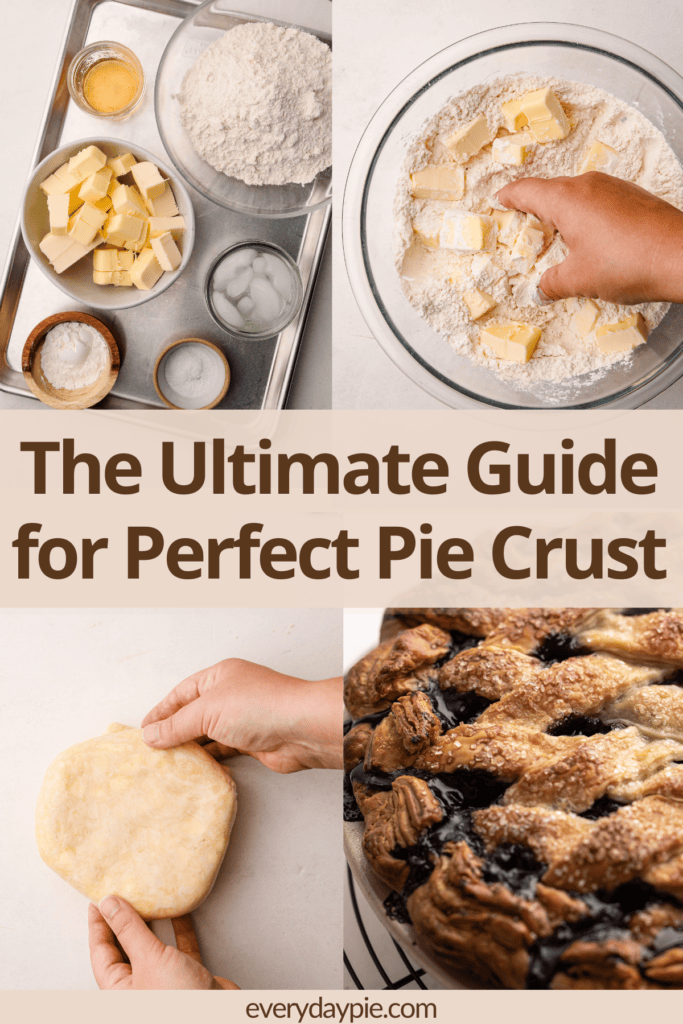
Pie dough made by hand will almost always be flakier than when made by any other method. The reason handmade dough is flakier is that the butter naturally stays in larger pieces than when processed by a machine. The bigger the butter chunks, the flakier the dough.
The con of this method is that it is more difficult to evenly hydrate the dough, so you may need to add more water than with other methods to get it to come together.
See this Guide to Making Pie Crust by Hand for more in-depth information on this method.
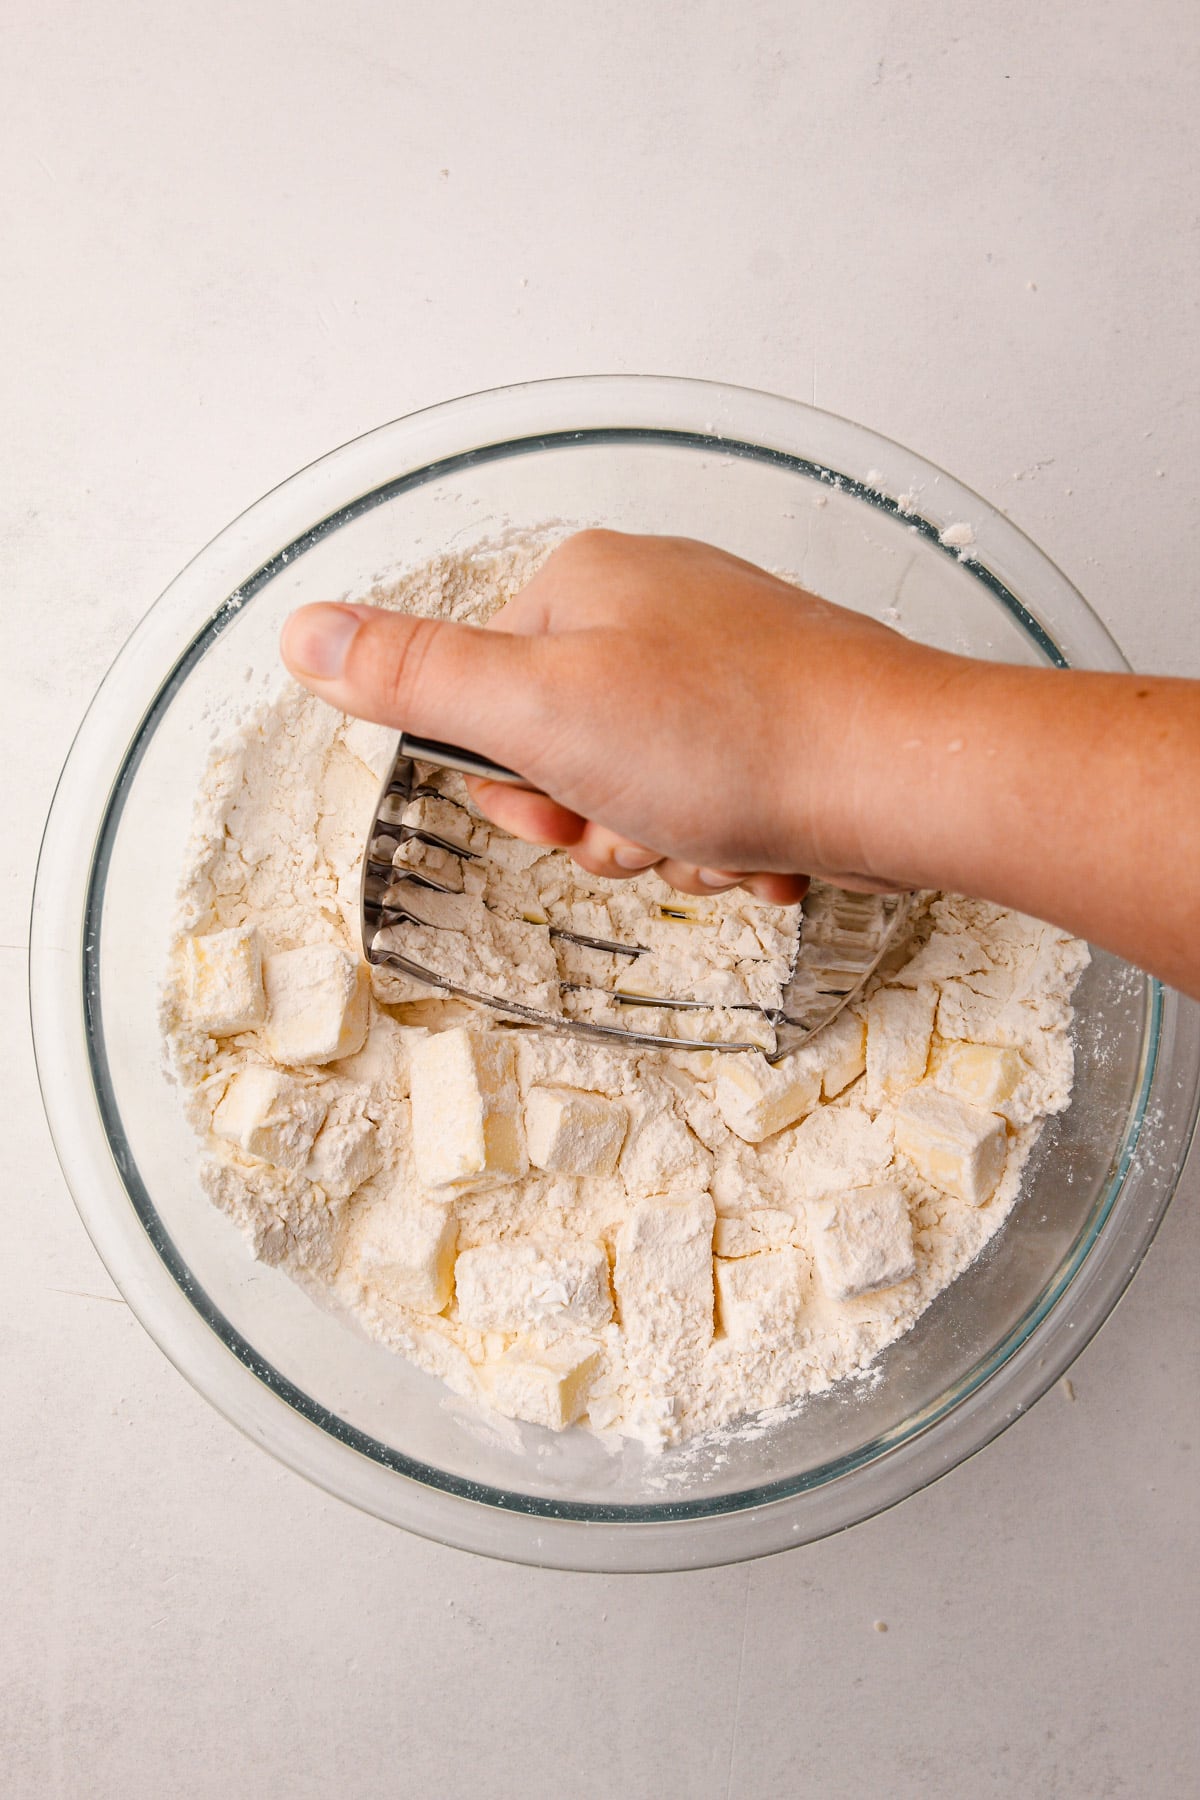
Making Pie Crust with a Pastry Blender:
This method is similar to making pie dough by hand, but instead of rubbing the butter into the flour with your fingers, you use a pastry blender to cut the butter into the flour. It’s a great option if you want the benefits of handmade dough—flaky texture, no large equipment, quick to do—without getting your hands messy.
The downside of this method is similar to the handmade method: it can be harder to evenly hydrate the dough. Additionally, if you don’t have a dishwasher, cleaning a pastry blender can be a bit of a hassle.
See this Guide to Making Pie Crust with a Pastry Blender for more in-depth information on this method.

Making Pie Crust In a Stand Mixer:
If done properly, making pie dough in a stand mixer can result in very tender, mildly flaky pie dough. The dough comes together easily, especially after the water is added, and it’s easy to clean up.
The con here is that making the dough this way causes the most gluten formation, since the dough is "worked" more by the mixer. To adjust for this, do not let the machine run beyond the point when the dough has come together.
See this Guide to Making Pie Crust in a Stand Mixer for more in-depth information on this method.
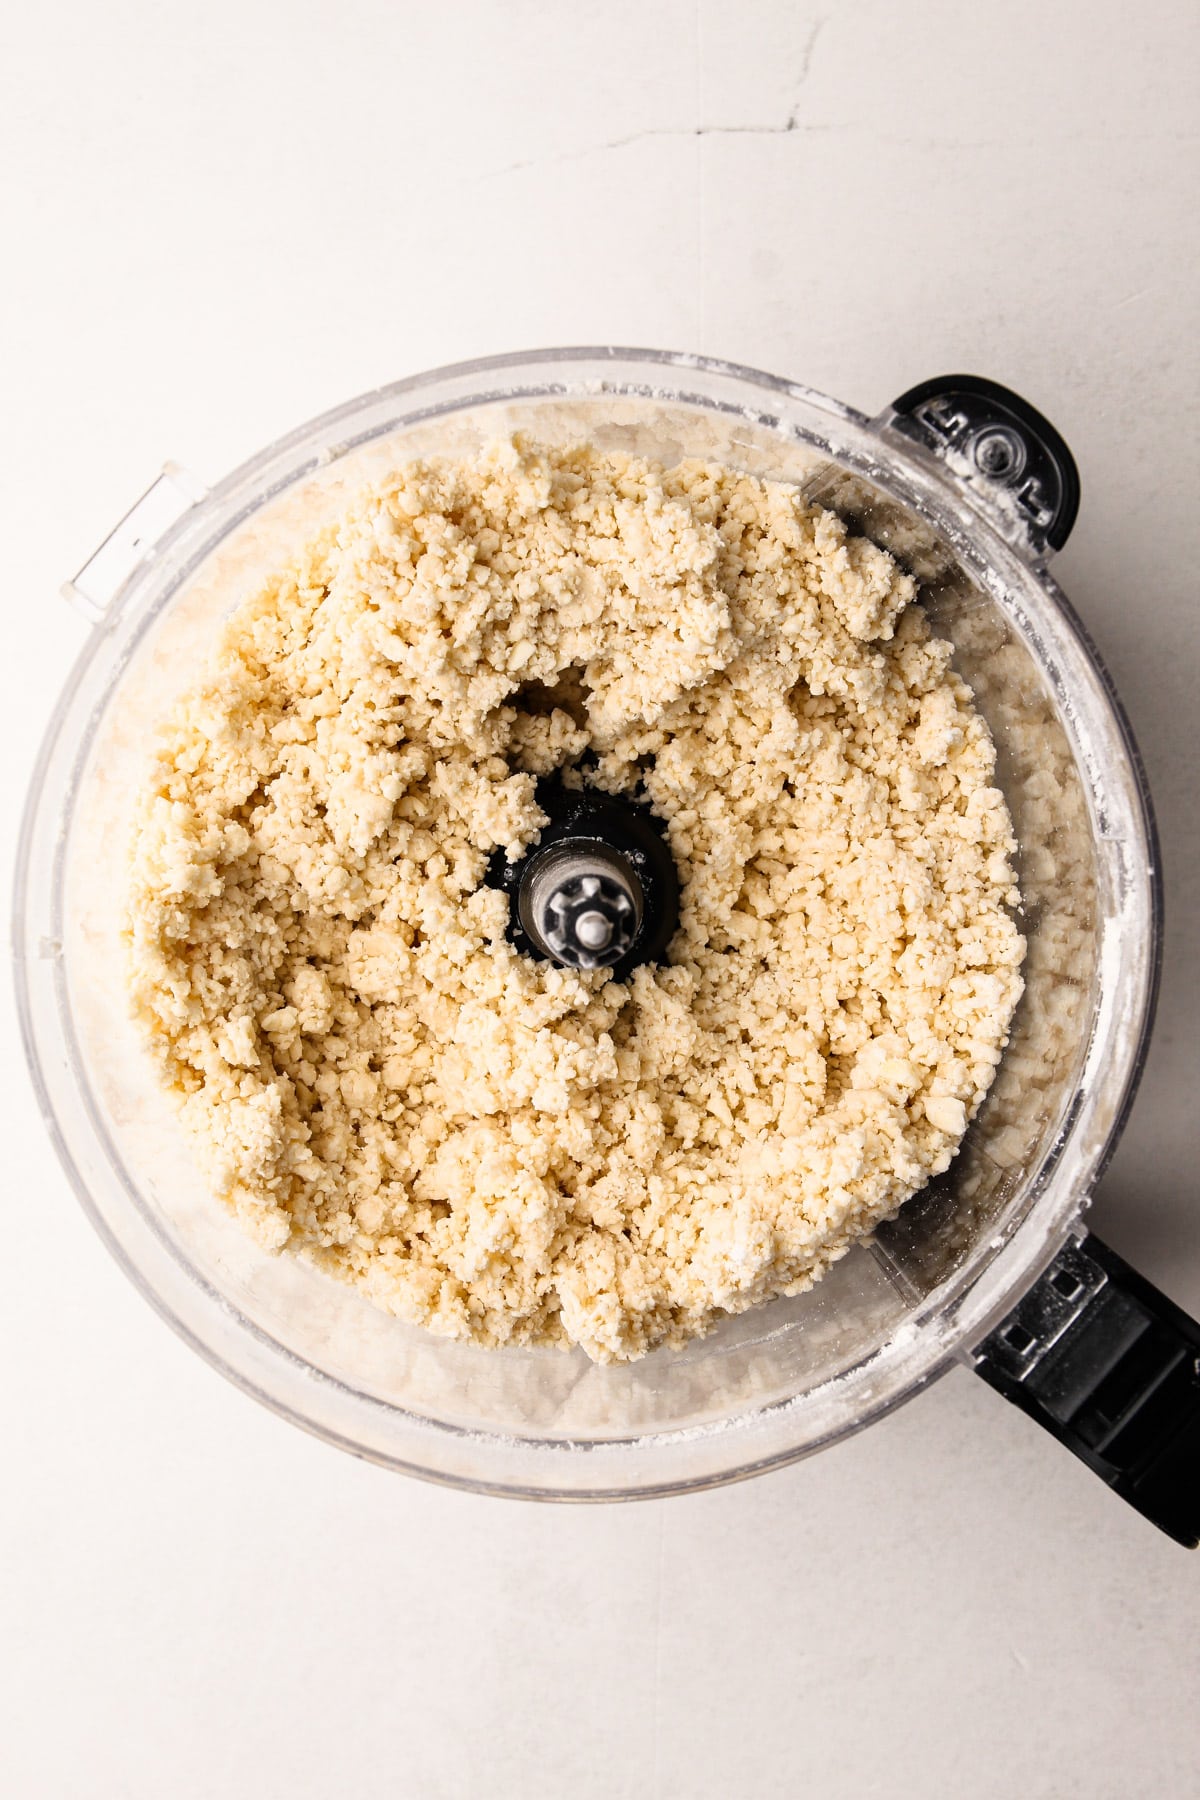
Making Pie Crust in a Food Processor:
Using the food processor is my overall preferred method for making pie dough. While it may not produce the flakiest crust, it creates an ultra-tender dough that’s incredibly easy to make with just the push of a button. The dough hydrates evenly, so you won’t need to add extra water.
The downside is that pie dough made in a food processor isn’t as flaky, since the butter tends to break down into smaller pieces. However, it strikes a great balance: mildly flaky, ultra tender, and very simple to make.
See this Guide to Making Pie Crust in a Food Processor for more in-depth information on this method.
Properly Hydrating Pie Crusts
Hydrating pie crusts properly can be a bit tricky. If you underhydrate it, the dough will crack, fall apart, and become brittle when baked. If you overhydrate it, it will be squishy during rolling and will be a bit tougher due to excess build-up of gluten.
In an ideal world, your pie crust would be perfectly hydrated (and rested, see more on that below). I've noticed that bakers are typically afraid of over-hydrating their pie dough and causing toughness, and therefore most tend not to add enough water to their dough.
If I had to pick, I'd rather your pie dough be slightly over-hydrated than under-hydrated. In fact, over the years I have found myself adding more water than most other recipes call for in order to make rolling out the dough easier.
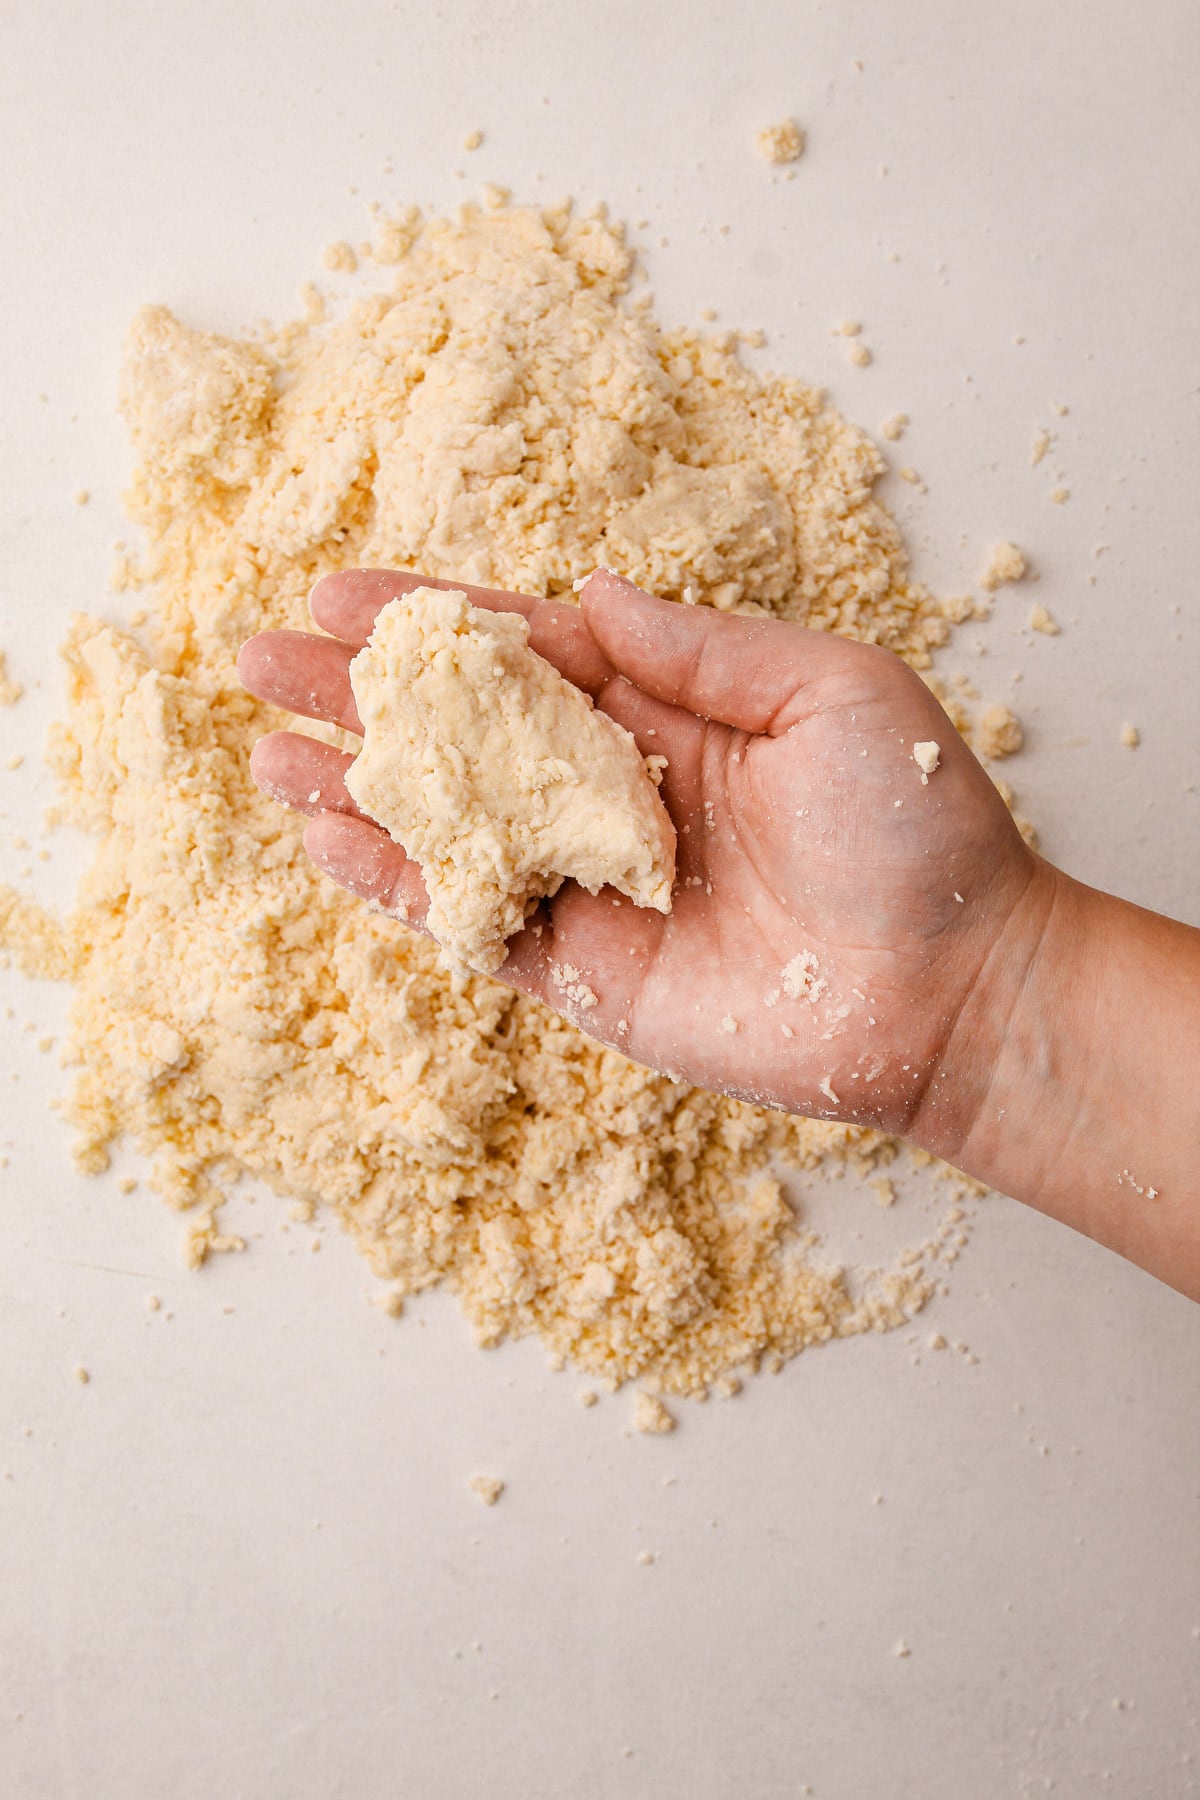
Make sure to add enough water so there are no dry spots in your pie dough, as those dry spots will not disappear even during resting. Err on the side of adding more water rather than less. The pie crust should hold together easily when gently squeezed in your hand. Any powdery bits should be gently hydrated with a few drips of water. As mentioned above, in recent years I’ve come to love using a kitchen-safe spray bottle to perfectly hydrate tricky dry spots.
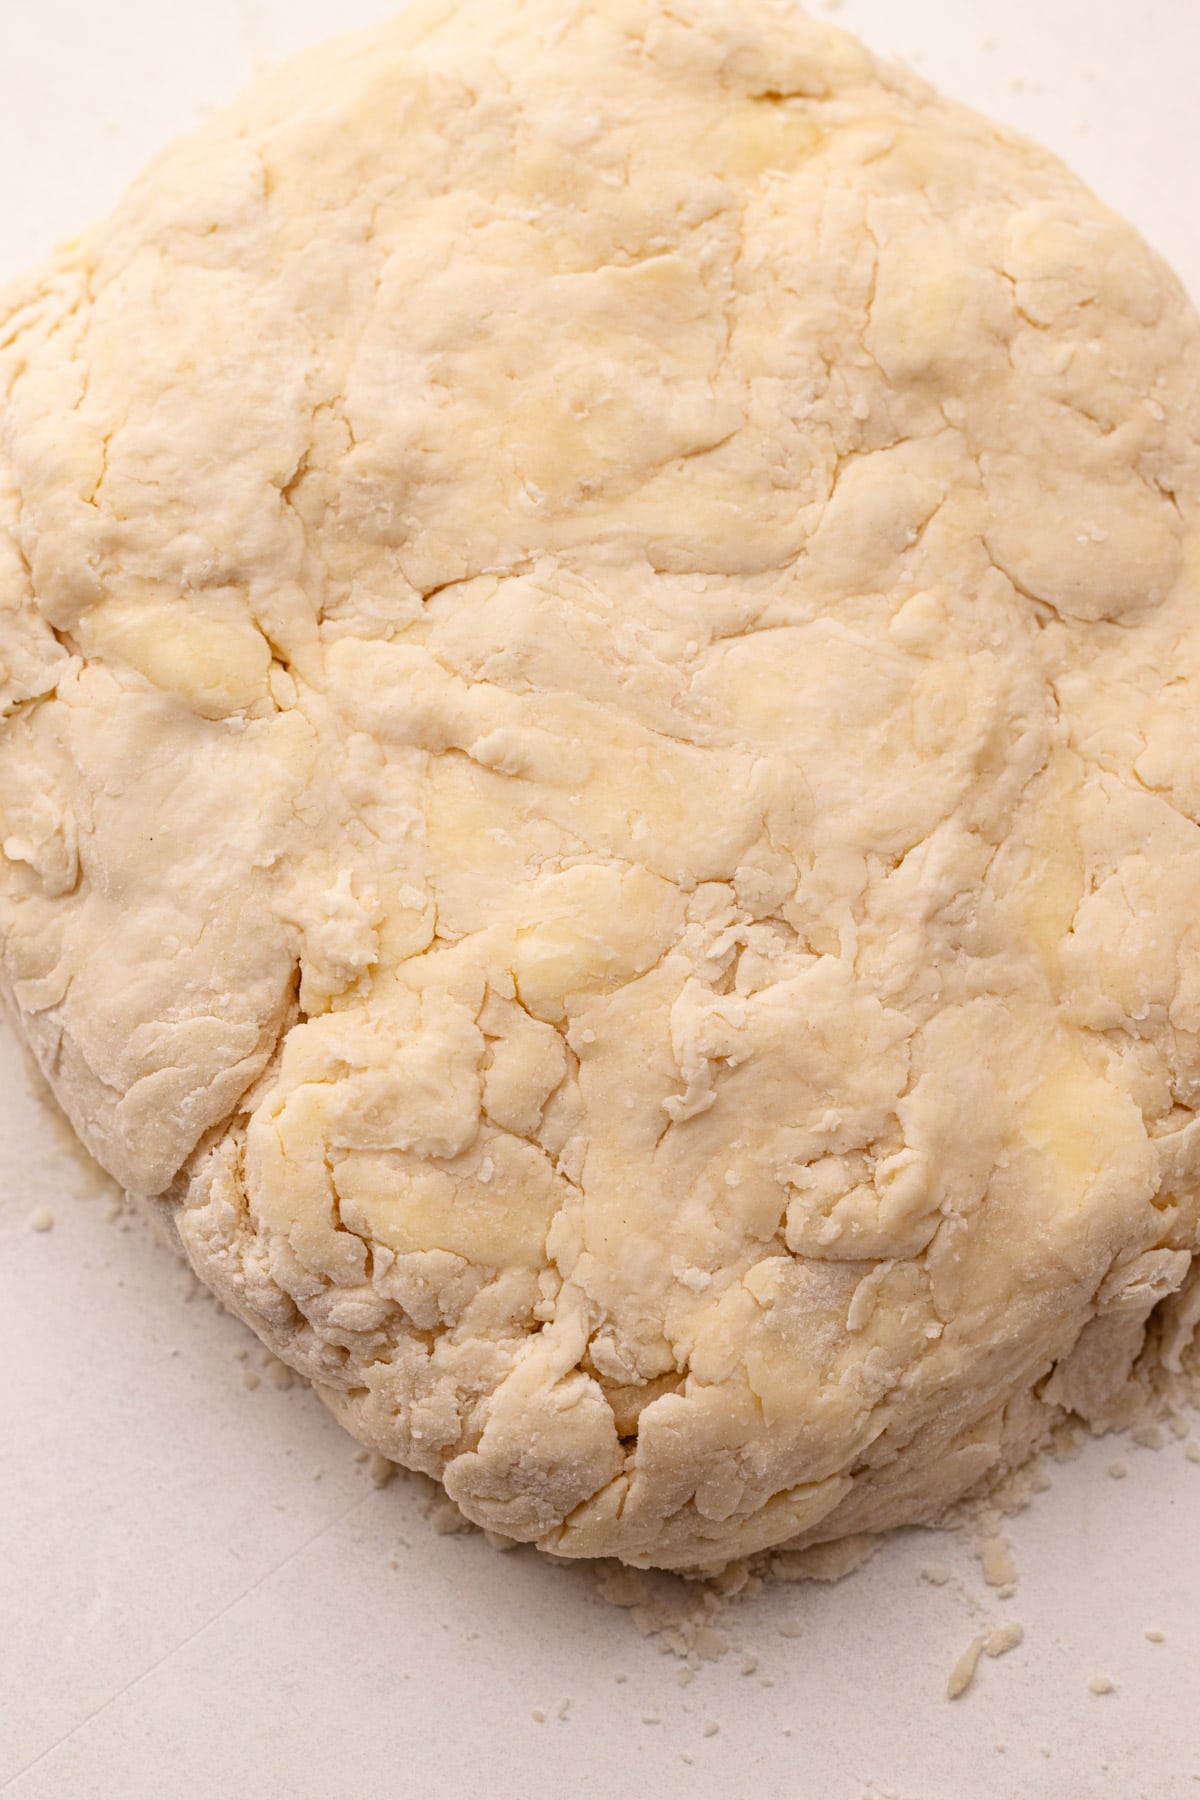
That being said, don't add so much water that your pie dough becomes super soft! You'll know it when you see it.
Making Large Batches of Pie Crust
It always makes sense to make a bigger batch of pie crust if you need to make multiple pies, but attempting to make too large of a batch at once can ruin the whole lot of them.
If you want to make a large batch of pie dough, the stand mixer is the best choice. Depending on the size and strength of the mixer, it can make between 2 and 6 pie crusts at a time. The recipe shared in this article yields 2 pie crusts, but it can be doubled or tripled as needed.
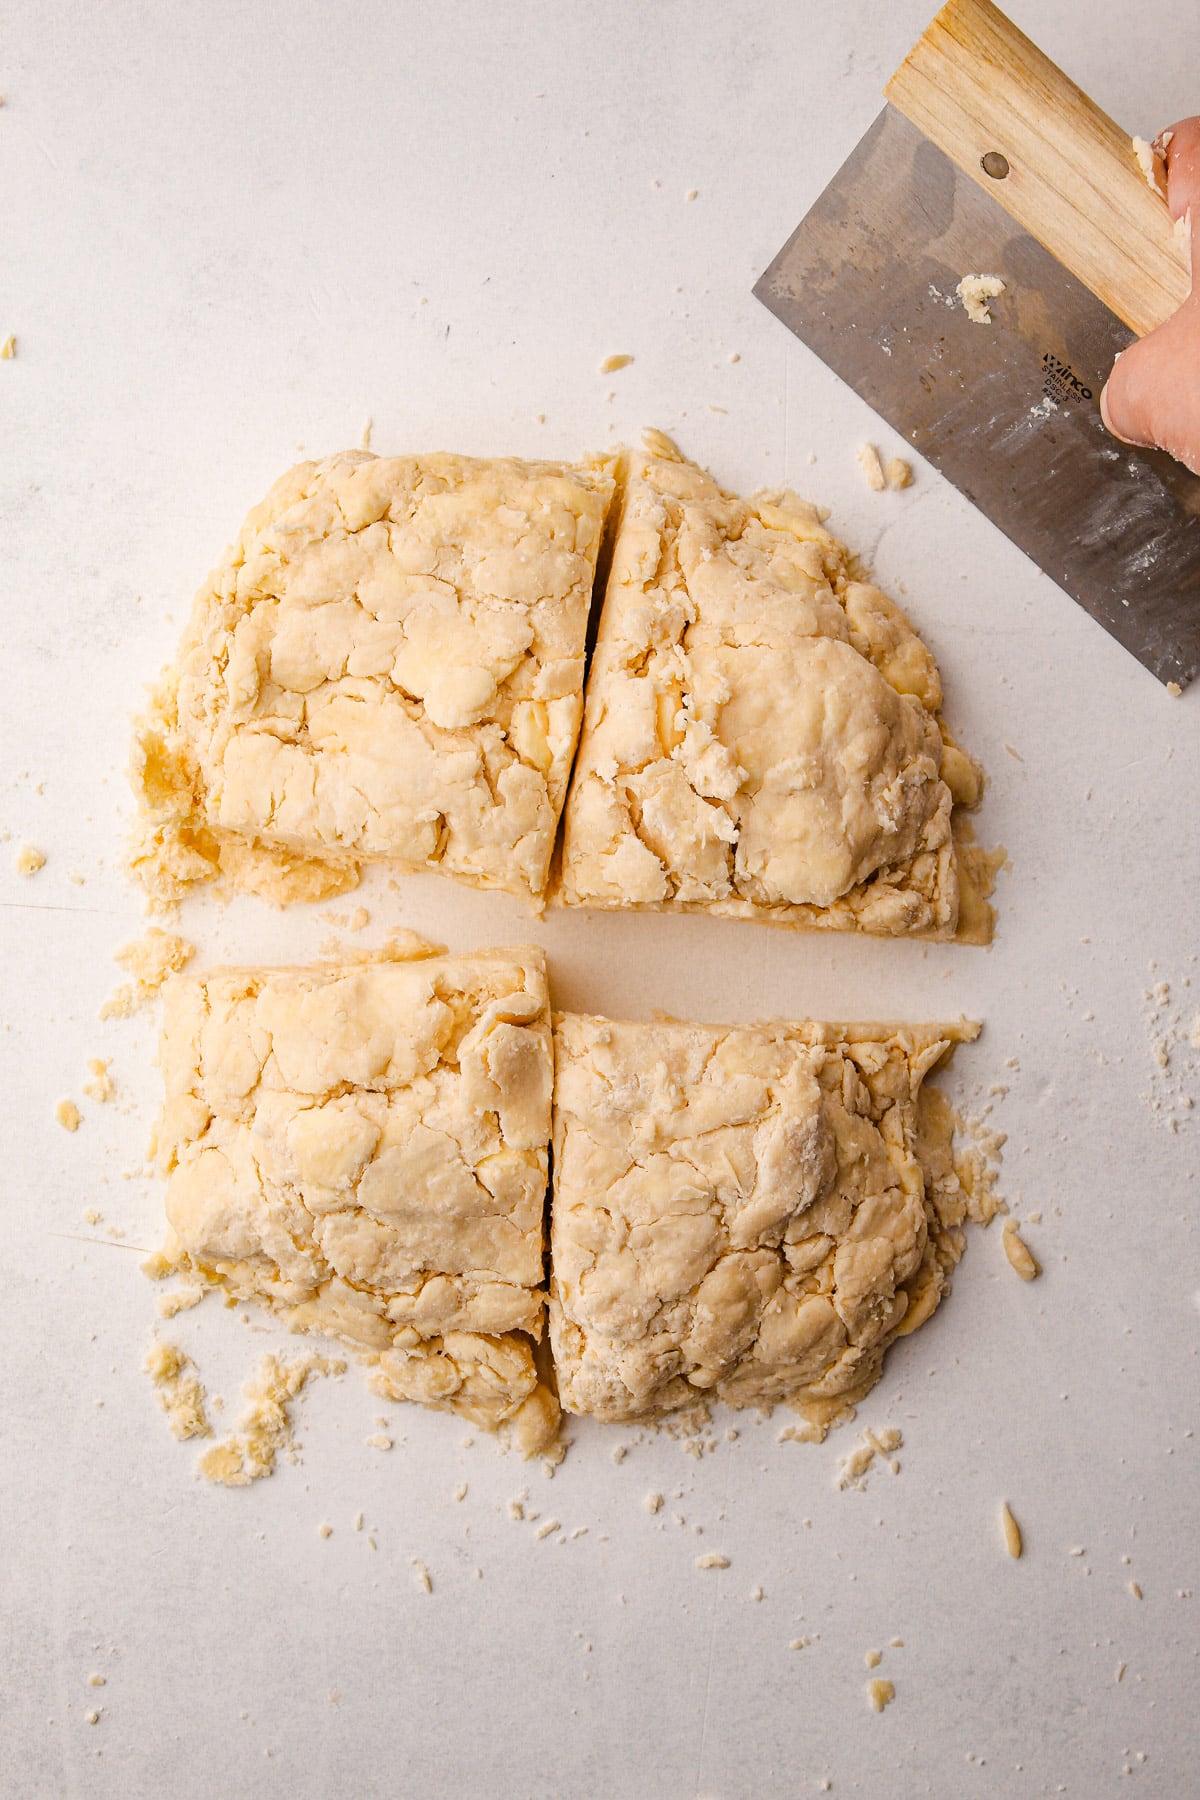
If you wanted to use a food processor to make a double or triple batch of pie crust (which would yield 4 and 6 pie crusts accordingly), it's best to hydrate the dough by hand. Here's how it works: you can use the food processor to cut the butter into the flour, but once that step is done, transfer the crumbly mixture to a large bowl. From there, slowly add the water while mixing with a rubber spatula by hand. This method allows for better control over hydration and prevents the dough from becoming overworked, which can happen easily in a food processor.
Alternatively, I find it more time-efficient to measure out the ingredients for multiple individual batches of pie dough all at once. Then, process each batch in the food processor, one at a time, almost like an assembly line. This method keeps the dough manageable and ensures consistency while still saving time by batching the tasks.
Storing Pie Crust
Resting is an essential step in making a proper pie crust. Resting both allows time for proper hydration and relaxes the gluten that was formed during the mixing process. Both of these things will also make rolling out the pie dough easier.
I don’t recommend making pie dough the same day it needs to be rolled out or baked! If possible, plan to make pie dough at least one day ahead of time. You can store it in the refrigerator for 2 to 4 days or the freezer for up to 3 months.
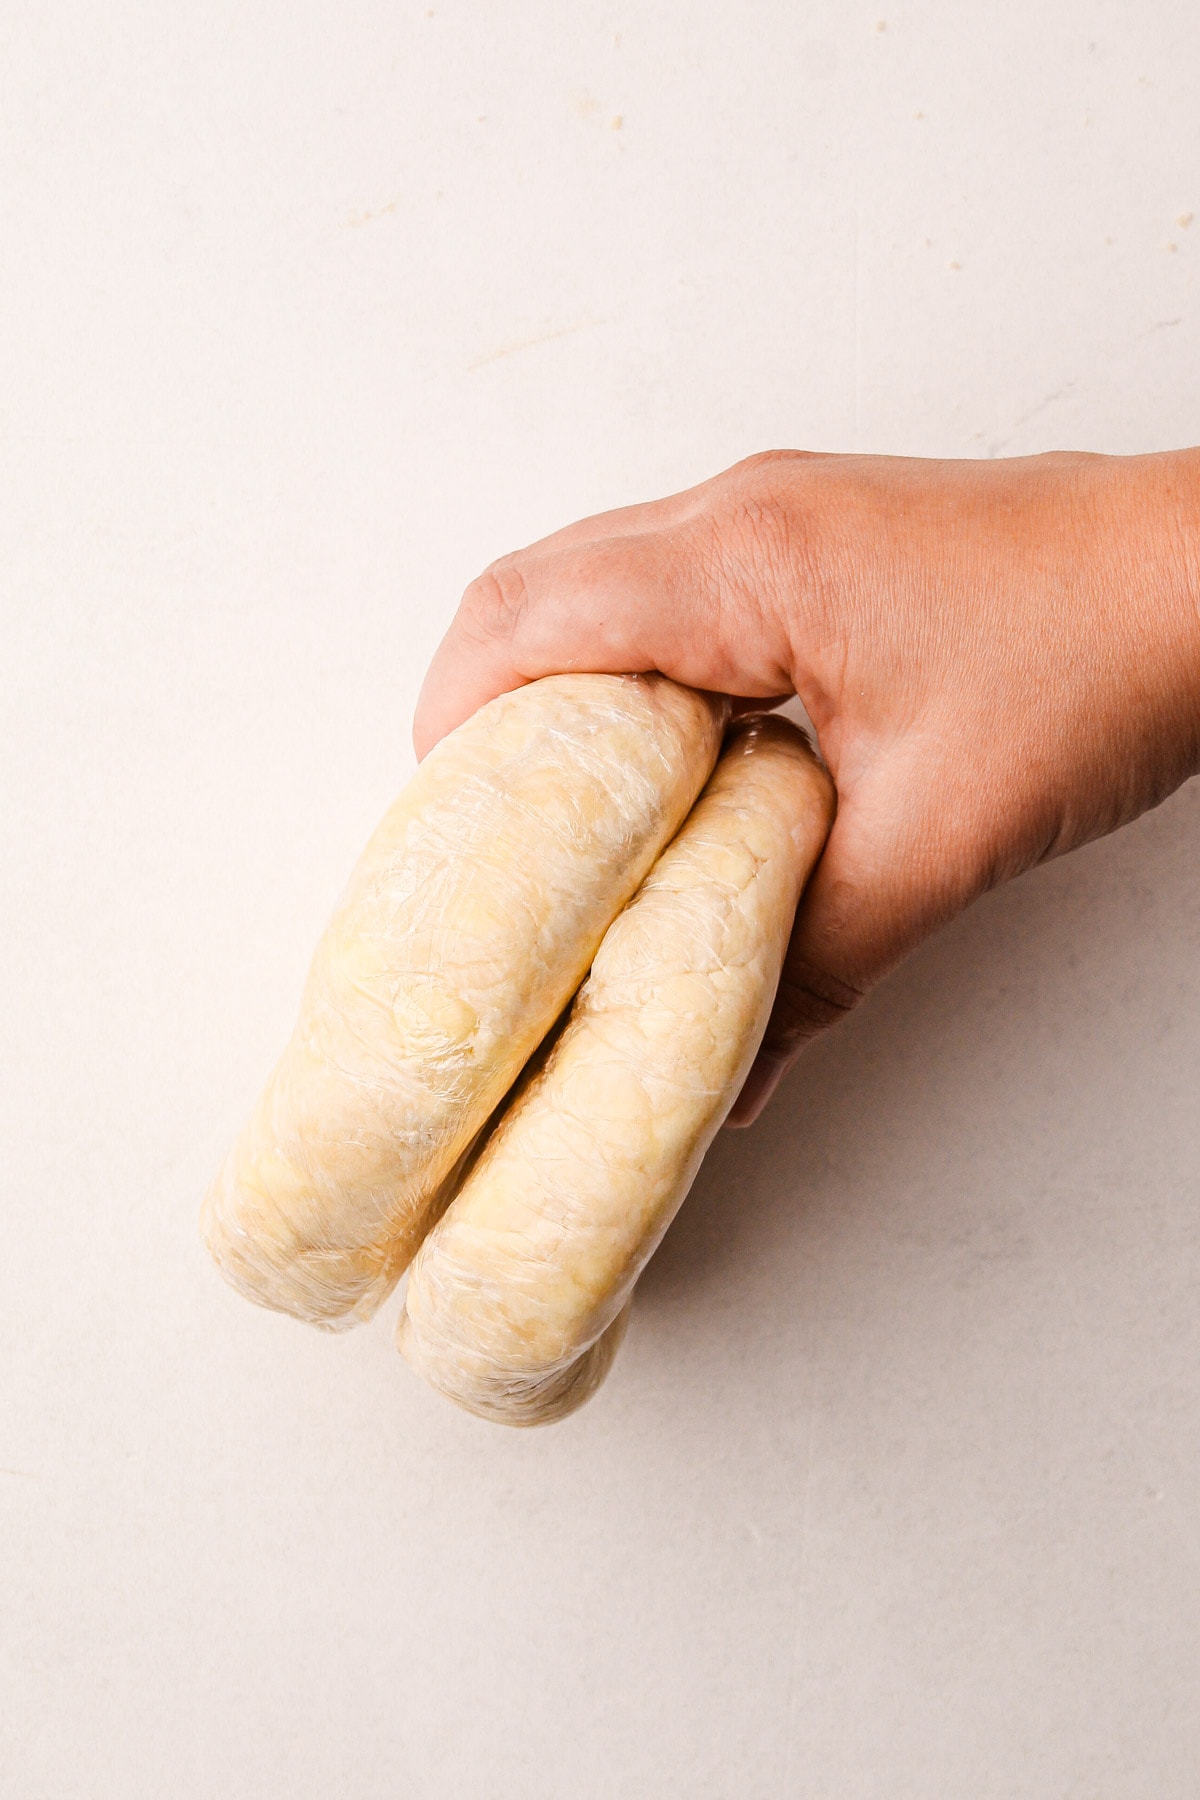
To store pie dough, wrap it as tightly as you can in plastic wrap, then use a rolling pin to roll out the pie disk and flatten it so it fills any gaps and essentially makes an airtight seal with the plastic wrap. This helps to prevent it from oxidizing (or turning a muddled gray color). If you plan to store the dough for an extended period of time, then wrap it in a double layer of plastic wrap.
Rolling Out Pie Crust
When you're ready to roll out your dough, take it out of the refrigerator and let it sit at room temperature for 5 to 10 minutes. This step isn’t essential but makes rolling easier. You want the dough to soften slightly—if it's too cold, it may crack when rolled. But conversely, if it's too warm it can be difficult to work with. The dough is ready to roll when it yields slightly to the touch.
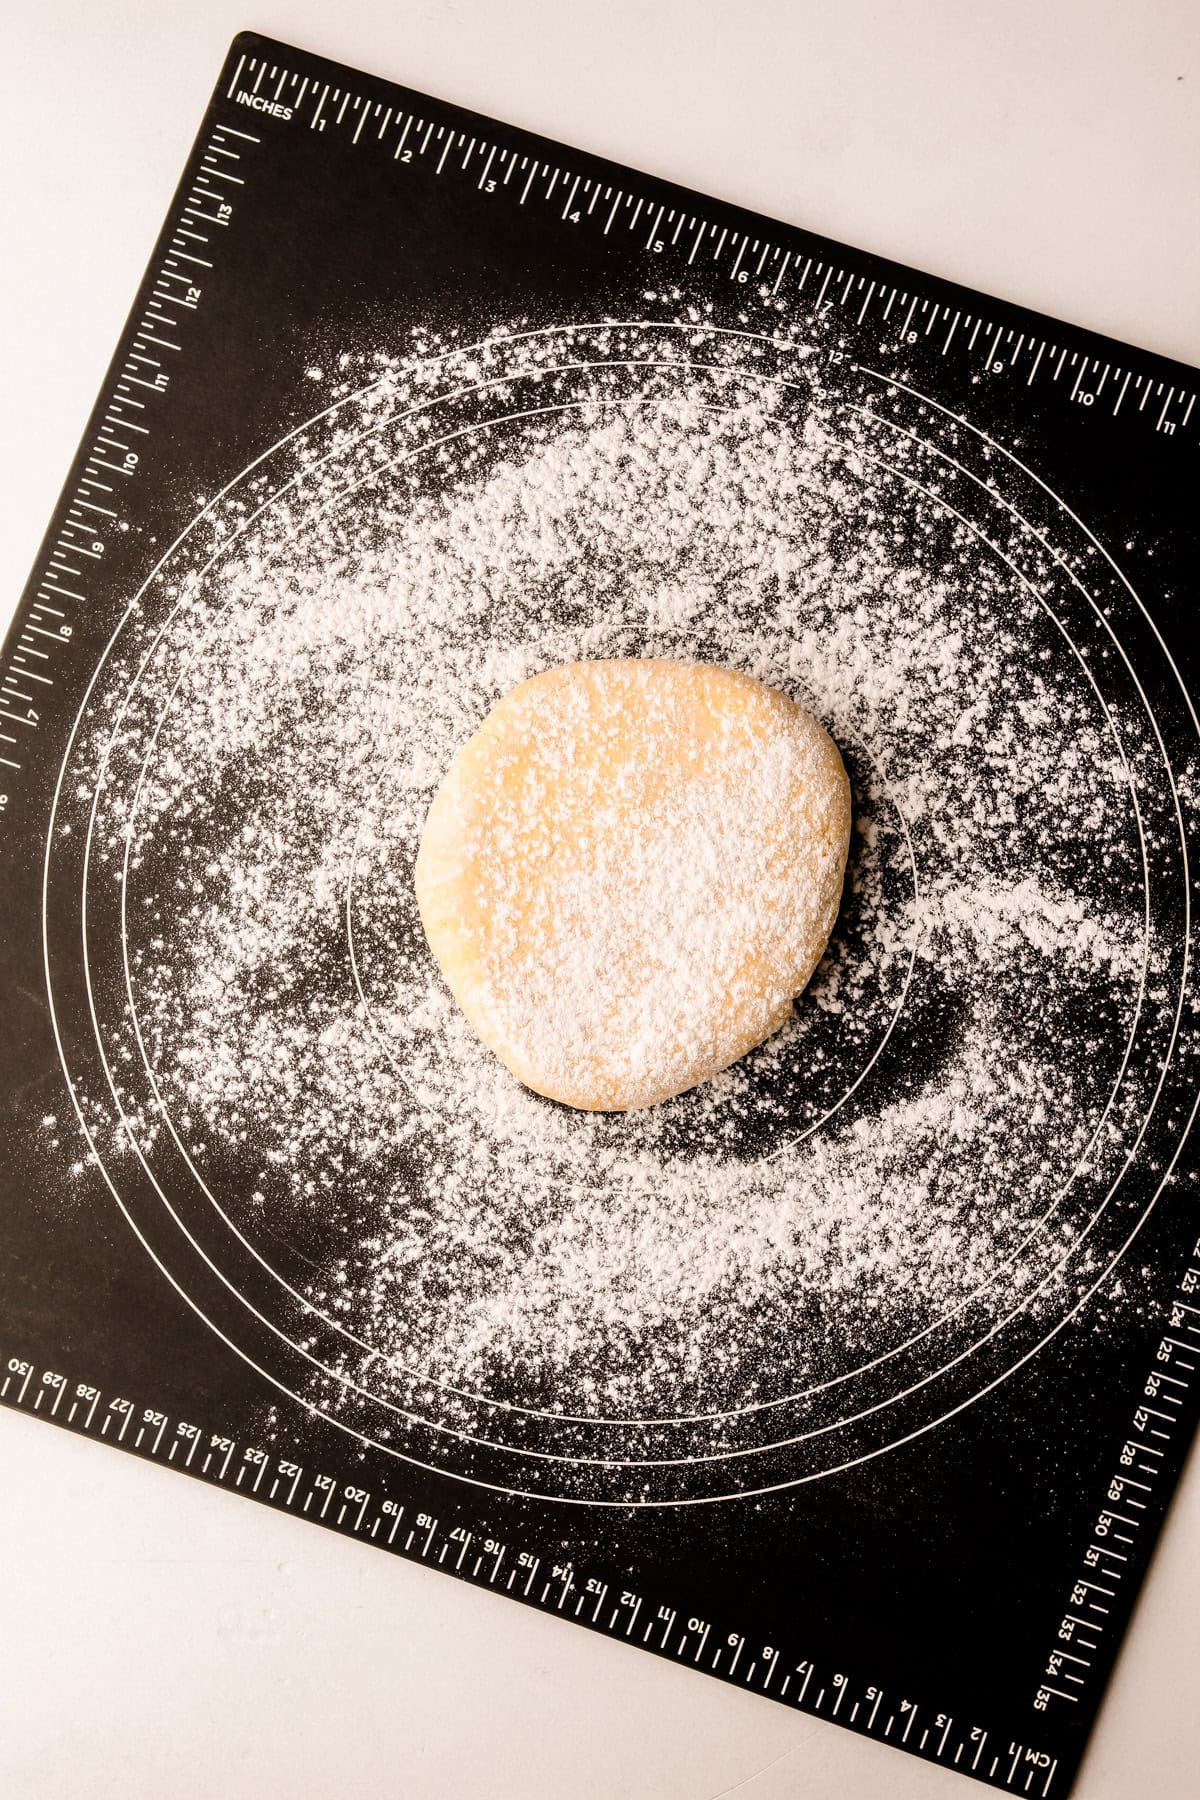
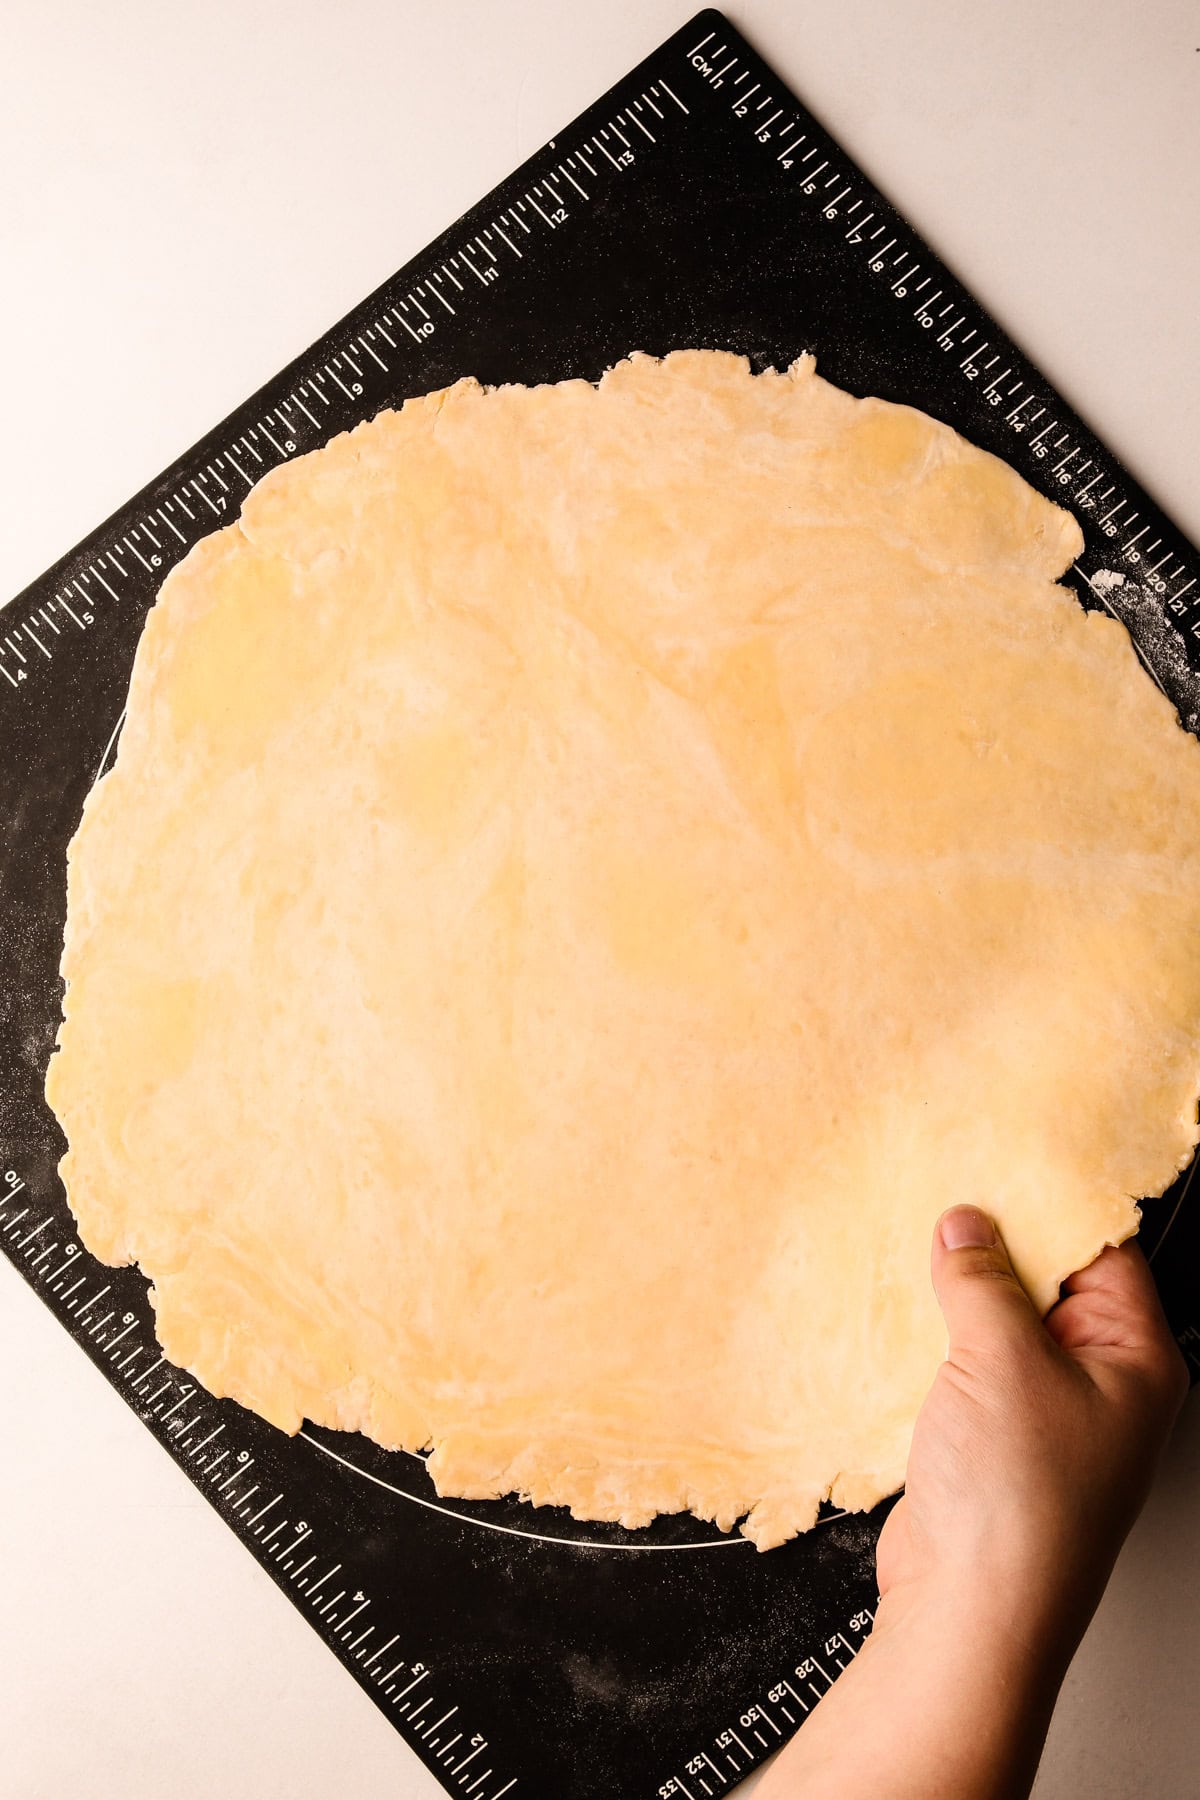
Make sure to flour your work surface liberally to prevent your pie dough from sticking to the surface or the rolling pin. Contrary to popular opinion, I would rather use too much flour than too little. Having your pastry stick to your work surface can ruin the dough. I liberally flour my work surface to prevent the pie dough from sticking.
As you are rolling, periodically check to make sure the pie crust isn't stuck and sprinkle more flour underneath it. It's useful to have a bench scraper by your side for this, just in case it does get stuck. Use the sharp bench scraper to lift the dough off the surface without damaging it too much.
Once you are finished rolling out the dough, brush off any excess flour with a dry pastry brush.
If at any point during rolling you feel like your pie dough is too warm, place it back in the refrigerator for 10 to 15 minutes to firm up.
Baking Homemade Pie Crust
Almost as important as how you prepare pie pastry is how you bake it. There is one main rule to remember when it comes to baking all-butter pie dough: very cold dough should be put in a very hot oven. All-butter pie pastry should be thoroughly chilled before baking and baked at a high temperature, ideally around 425ºF.
See this Guide to Baking Double Crust Fruit Pies for more detailed tips.
I recommend chilling a pie crust either in the freezer for 10 to 20 minutes or in the refrigerator for 30 minutes to 1 hour before you bake it. While this is an extra step, it makes a huge difference in the final product.
However, not all pie fillings can be baked at a high of a temperature, which means that sometimes the pie crust will need to be partially or fully blind-baked. Usually, a specific pie recipe indicates how the pie crust should be baked, so refer to those directions.
Nearly any pie crust that has a filling that needs to be baked below a temperature of 400ºF should be blind-baked first. The reason for this is that a pie crust--at least a classic butter pie crust--needs a long baking time at a high temperature in order to be fully baked through, which may cause the filling to be overbaked.
Some people like to use specially purchased pie weights to blind-bake, but I prefer to use dry rice and/or dried beans. I like to use rice because the grains are small, can really pack into small crevices, and do a great job holding up the edges of the crust so they don't sink down. I keep the same rice on hand for many years and reuse it to blind-bake pie crusts. I always fill the entire pie with the rice and this ensures the edges don't sink in.
Here is a full guide on Blind Baking Pie Crusts for more information.
Frequently Asked Pie Crust Questions
After five years of running a pie blog, I’ve been asked countless questions about making perfect pies. Here are some of the most common ones:
Don’t overthink it! There’s too much negativity surrounding pie crusts. Start by making the dough by hand, pay attention to its hydration, follow my step-by-step photos, and learn from your mistakes. No one is a perfect baker on the first try. If you make a mistake, figure out what went wrong, and adjust for next time.
An all-butter pie crust is hands down better than one made with shortening. The flavor lost with using shortening isn’t worth any gains in the texture. If made properly, an all-butter crust can be just as, if not more, tender and flaky than one made with shortening. But if you prefer shortening, go for it!
Cold butter creates flaky layers as it creates pockets of steam in the oven. If the butter melts too soon, it releases its liquid into the flour, making the pastry tough.
Too much water can create too much gluten, making the crust tough. On over-hydrated dough will be soft and sticky, requiring more flour to roll out, which compromises the texture.
Under-hydrated dough is difficult to roll out and prone to cracking. It may also have visibly dry or powdery patches. A well-hydrated dough rolls smoothly and doesn’t crack. It’s always better to add a bit too much water than too little.
The most common reason for this is that the crust was too warm, or the oven wasn't at the right temperature. So make sure to chill your pie crust before baking and to fully preheat your oven!
High-quality, unbleached flour from brands like King Arthur Flour, Bob's Red Mill, or Arrowhead Mills is ideal. Pastry flour is excellent for making pie dough, but most people don’t keep it on hand, so I don’t include it in my recipes.
Overworking the dough, using too much water, or rolling it out too many times can all result in a tough crust.
Yes, resting allows the flour to hydrate and the gluten to relax. A minimum of two hours is recommended but overnight is ideal. Resting also makes the dough easier to roll out.
Cracking usually means the dough is under-hydrated. For small cracks, patch it in the pie dish. If it's very crumbly, knead in a bit more water (1 tablespoon at a time) and let it rest for 2 hours or overnight. If the dough is too cold, let it sit for 10 minutes before rolling.
This could be due to underhydration or the dough being too cold. Let it warm up for 5 to 10 minutes before trying again to roll it out.
This can happen if the pie dough isn’t cold enough, the oven temperature isn’t high enough, or there isn’t enough weight in the center of the pie. Check out my Blind-Baking Tutorial for troubleshooting.
Yes, it’s still usable. The gray color is caused by oxidation. To prevent this, wrap the dough tightly and use it promptly if it starts to oxidize. Handmade dough tends to oxidize faster than dough made with a food processor or stand mixer.
Yes and no. With a well-chilled pie crust and a properly preheated oven, any pie plate will work. However, certain metals have better baking properties than others. Check out my post on the Best Type of Pie Plate for more details.
More Resources
As a dedicated pie website, there are a lot more tutorials and guides on how to be successful at pie making. Explore this Kitchen Tutorials page for all of the articles. Here are some popular posts:
I am so honored when you make a recipe from my site! If you use this Pie Crust Tutorial, please leave a star ⭐️⭐️⭐️⭐️⭐️ rating with your experience! If you have any questions about this recipe, feel free to comment here, and tag me on instagram!
Full Recipe
How to Make Pie Crust
Homemade pie crust, despite its reputation, is surprisingly simple to make. All bakers, from beginners to pros, can (and should) learn to make pie crust with confidence. This Pie Crust Tutorial provides everything you need for consistently perfect results.
- Prep Time: 00:10
- Total Time: 10 minutes
- Yield: (2) 9" pie crusts
- Category: Pie Crust
Ingredients
- 3 cups (360 grams) all-purpose flour
- 1 teaspoon (4 grams) Diamond Crystal kosher salt (see note for other)
- 16 tablespoons (227 grams) unsalted butter, chilled and cut into 1" pieces
- ½ cup (115 grams) ice water, more as needed
Instructions
Gather the tools and ingredients required for the method you are using to make the pie dough.
To Make it By Hand:
- In a large bowl, whisk together the flour and salt.
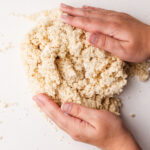
- Add the butter and toss to coat with the flour. Using your fingers, squeeze and work the butter into the flour. Use both hands and make the motion as if you were dealing out cards. Continue squeezing and tossing until most of the butter looks shaggy. Some larger pieces can remain, up to the size of a marble.
- Drip in ¾ of the ice water throughout the dough, then toss the mixture together with your fingers. When there is enough water added, the dough should easily squeeze together with your hands. Transfer any fully hydrated dough to a work surface. Drip in more water as needed to any remaining dry spots (or use a kitchen-safe spray bottle). Add just enough water to bring the dough together.
To Make it in a Food Processor:
- Add the flour and salt to the bowl of a food processor.
- Pulse 2-3 times until combined.
- Add in the butter and pulse 5 times.
- With the motor running, slowly pour the water into the flour. The dough should be crumbly and it should hold together when squeezed.
- Empty the flour mixture onto a work surface. If there are any dry spots, drip (or spray) a bit more water on them and briefly knead the dough together.
To Make it in a Stand Mixer:
- In the bowl of a stand mixer fitted with a paddle attachment, combine the flour, and salt on low speed.
- Add in the butter, and turn the mixer on low (cover the bowl with a towel if flour starts to spill out). Let the paddle cut the butter into the flour until the butter is in small pieces, about the size of a pea, with some larger pieces remaining, no bigger than a marble.
- With the mixer running, slowly stream the water into the bowl. Mix until most of the dough comes together around the paddle, about 15 seconds, and then immediately shut off the mixer to not overwork the dough. The dough should hold together easily. If there are any dry spots in the mix, sprinkle (or spray) a few drops of water on that area.
To Make it with a Pastry Blender:
- In a large bowl, combine the flour and diced butter. Use the pastry blender to sweep through the bowl, mixing the butter to coat with flour.
- Firmly hold the pastry blender by the handle, and press the blades down through the butter. With a rocking motion, continue this process while rotating the bowl to evenly cut the butter into the flour. Aim for mostly pea-sized pieces of butter, with some larger marble-sized chunks for added flakiness.
- Slowly drip in ¾ of the ice water over the dough, tossing the mixture with the pastry blender or a rubber spatula. Add in the remaining water as needed. When enough water is added, the dough should easily squeeze together in your hands.
- Transfer the dough to a work surface and hydrate any dry spots as needed, either by dripping it in or using a kitchen-safe spray bottle. Add just enough water to bring the dough together without overworking it.
To Bring it Together:
- Using your hands, gently bring the dough together into one large ball.
- Divide it into two equal pieces, about 12 ounces each. Shape each piece into a rough disk.
- Place each disk in a piece of plastic wrap and wrap tightly.
- Using a rolling pin, roll the wrapped dough out until it stretches to the edges of the plastic wrap to ensure a tight seal.
- Refrigerate for at least 2 hours, but preferably overnight.
Notes
Weighing your flour is the most accurate way to measure. If you aren't going to weigh it, make sure to spoon it into the measuring cup and then level it off. If you scoop the flour out with the measuring cup and then level it, it could change the outcome of the final product.
This recipe was tested using Diamond Crystal coarse kosher salt. If you use Morton's kosher salt or fine salt, decrease the volume by half.
You can store this pie dough in the refrigerator for 2 days or the freezer for up to 3 months. If you plan to store it for an extended period of time, wrap it in a double layer of plastic wrap.
This recipe makes enough pastry to make one double-crust pie or two single-crust pies. You can halve the recipe if you only want to make one single-crust pie.
Some of the links on this page may be affiliate links. Everyday Pie is a participant in the Amazon Associates Program. As an Amazon Associate I earn from qualifying purchases, at no extra cost to you.



Katie
Hi I'm surprised there aren't any comments! I haven't made a pie yet but I'm on my way! You've made me excited to make a real pie crust no store bought this year. I saw your video on social media and you made it seem very attainable for everyone to create the crust of their dreams. I appreciate your clear instructions and your light hearted explanation. Your video was perfect, not too slow or overly rushed either. I just wanted to say how glad I am I took the time to watch and learn, and that you took the time to explain and teach. I look forward to a tasty pie and for more videos. Gobble Gobble 🦃🦃🥧