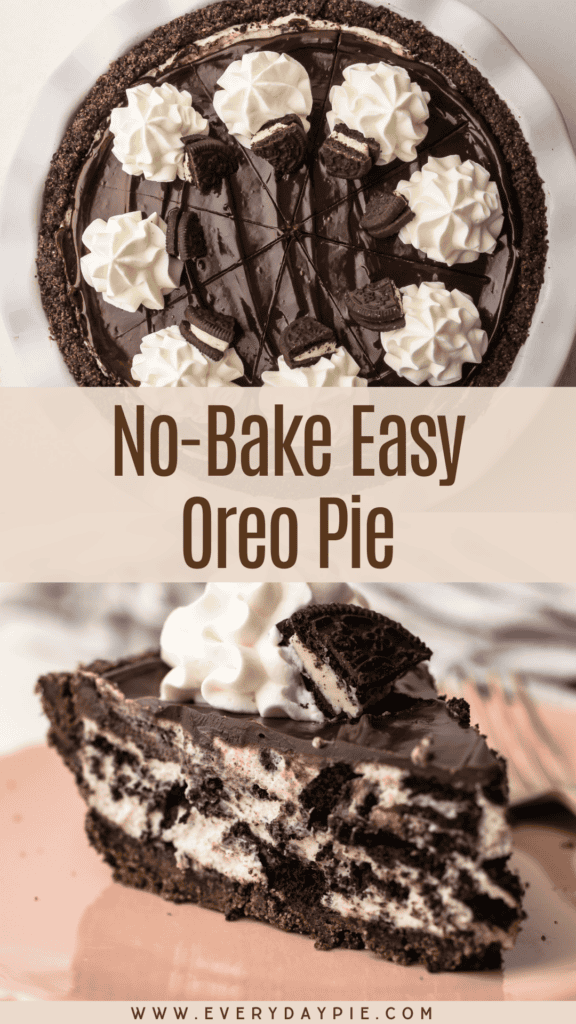
This No-Bake Oreo Pie is a creamy, icebox-style dessert made with a handful of ingredients. It is super easy to make and perfect for making ahead.
Want to save this recipe?
Enter your email & I'll send it to your inbox. Plus, get weekly updates from me!
As if Oreo cookies weren’t already great enough on their own, this no-bake Oreo pie takes them to the next level. With a crisp chocolate cookie crust, a light and creamy filling packed with Oreos, and the option to finish it off with whipped cream or ganache, this pie is a total crowd-pleaser.
It’s perfect for summer when you want to skip the oven or during the holidays when oven space is tight. Like many of my other no-bake pie recipes (such as Easy Chocolate Pie , Orange Creamsicle Pie and Nutella Pie with Potato Chip Crust), this dessert is perfect for making ahead and keeping in the freezer until you’re ready to serve.
You can keep it classic or add a twist—like espresso or mint—for something extra. This is the kind of dessert that’s good to have in your back pocket for whenever you need something sweet without much effort. This is one of the easiest pie recipes I have on my website, so if you are new to pies, this one is especially for you.
Ingredients Needed
As one of the easiest pies to make on my website, it is also one with the fewest ingredients. Oreos are already pretty perfect on their own, so we're just adding in a few structural ingredients to bring the pie together. The chocolate ganache and the whipped cream are optional additions to this pie, so they're not included on the ingredient overview here, but I have included exact ingredients and instructions for making them in the recipe below if that is of interest to you.
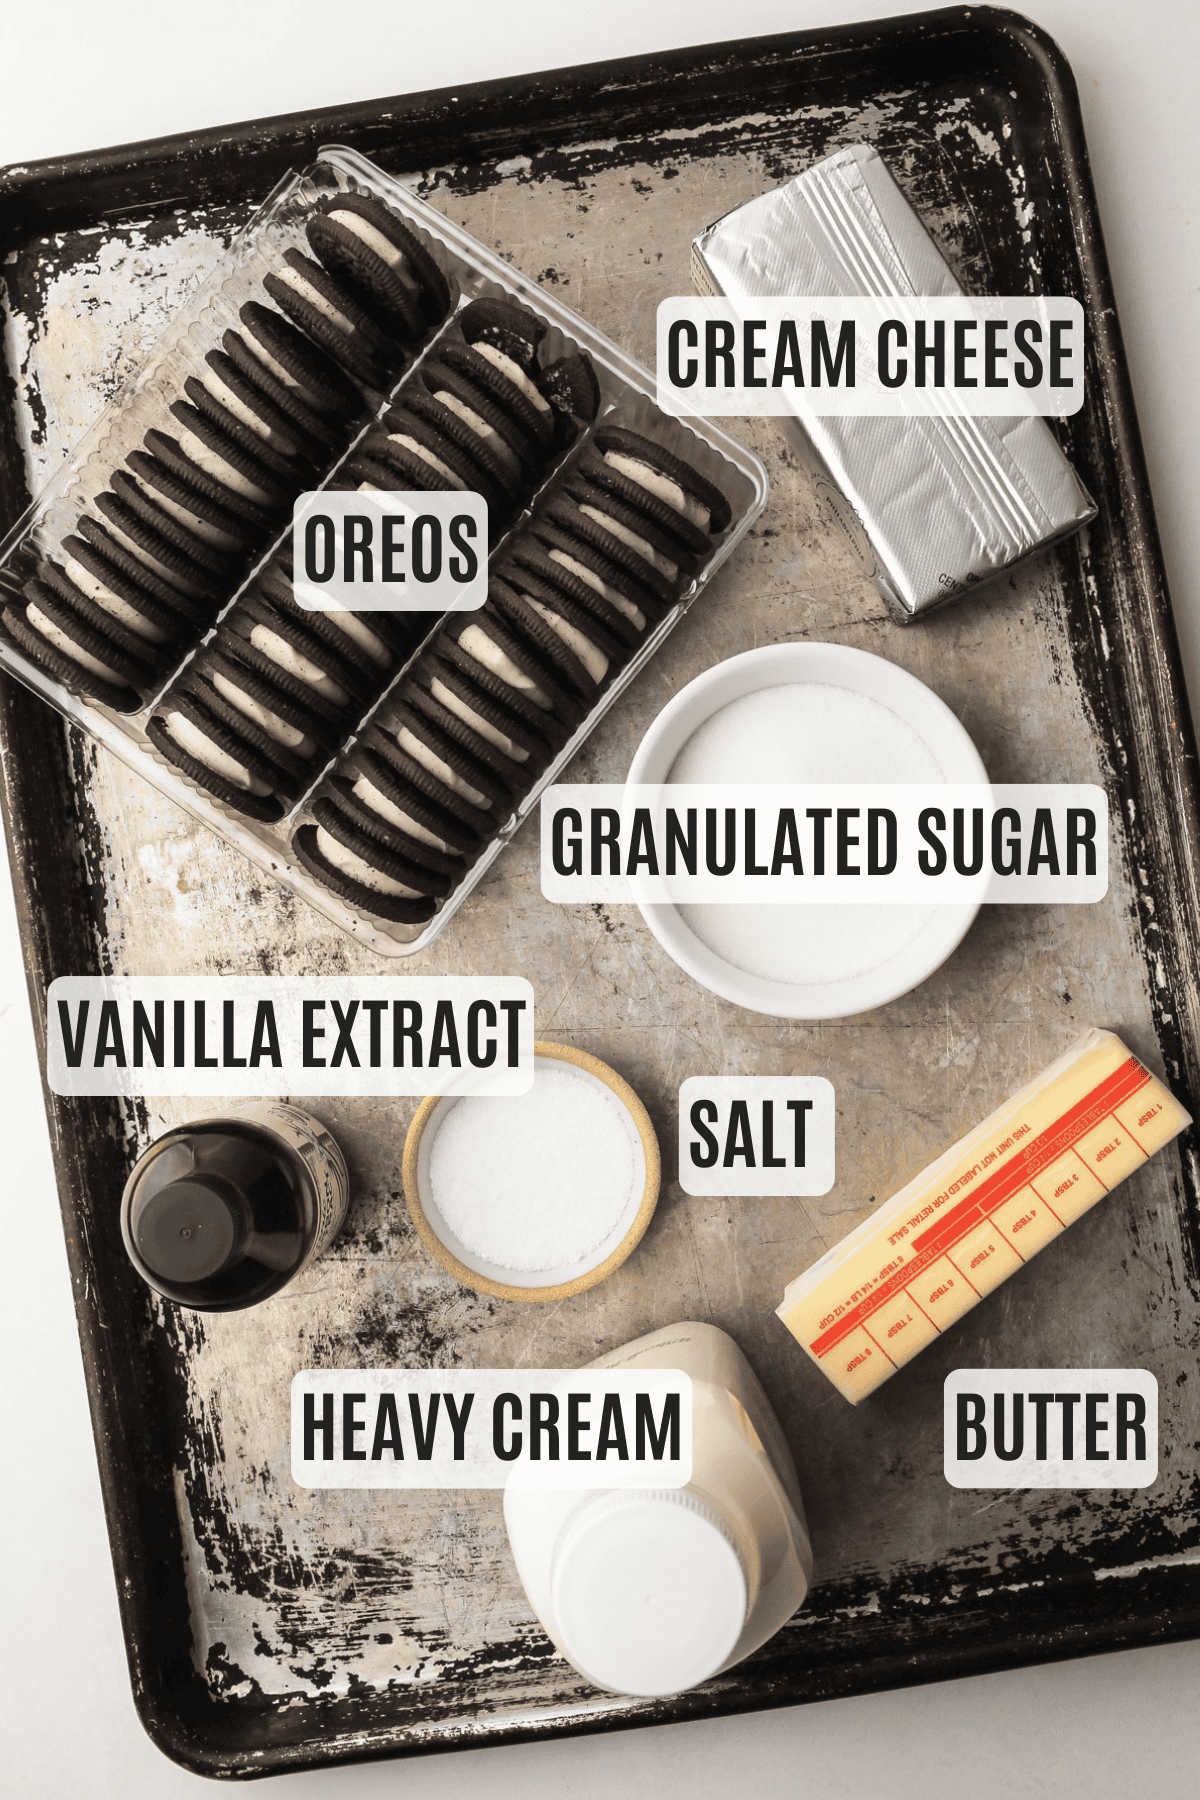
- Oreos (use the name brand or store brand, or gluten-free!)
- granulated sugar
- unsalted butter
- heavy cream
- cream cheese
- vanilla extract
- coarse kosher salt
- whipped cream
- chocolate ganache
Optional Flavors
This pie tastes delicious as it is, but an Oreo pie is a great canvas for other flavors as well. If you wanted to mix things up feel free to add in one of the following flavor options:
- espresso powder (add 1-2 teaspoon to the sugar before whipping)
- mint extract (add 1 teaspoon to the cream cheese mixture before whipping)
- orange zest (add 2 tablespoons freshly grated orange zest to the cream cheese mixture before whipping)
- malt powder (add 1-2 tablespoons in with the sugar before whipping)
How to Make It
This recipe calls for an Oreo crumb crust (because, of course!). There’s a bit of nuance to getting a crumb crust just right, so if you’re new to it, check out my dedicated recipe for Making an Oreo Crumb Crust or read through How to Make a Crumb Crust for general tips. The instructions below include everything you need, but if you’re still getting comfortable with pie-making, those guides will walk you through the finer points.
The filling is a super simple no-bake cheesecake style filling that comes together quickly in an electric mixer. It can also be made with a hand mixer. spatula--by hand--until it is completely combined.
Here is an overview of how to make this Oreo Pie (with the full recipe written below this article in the recipe card):
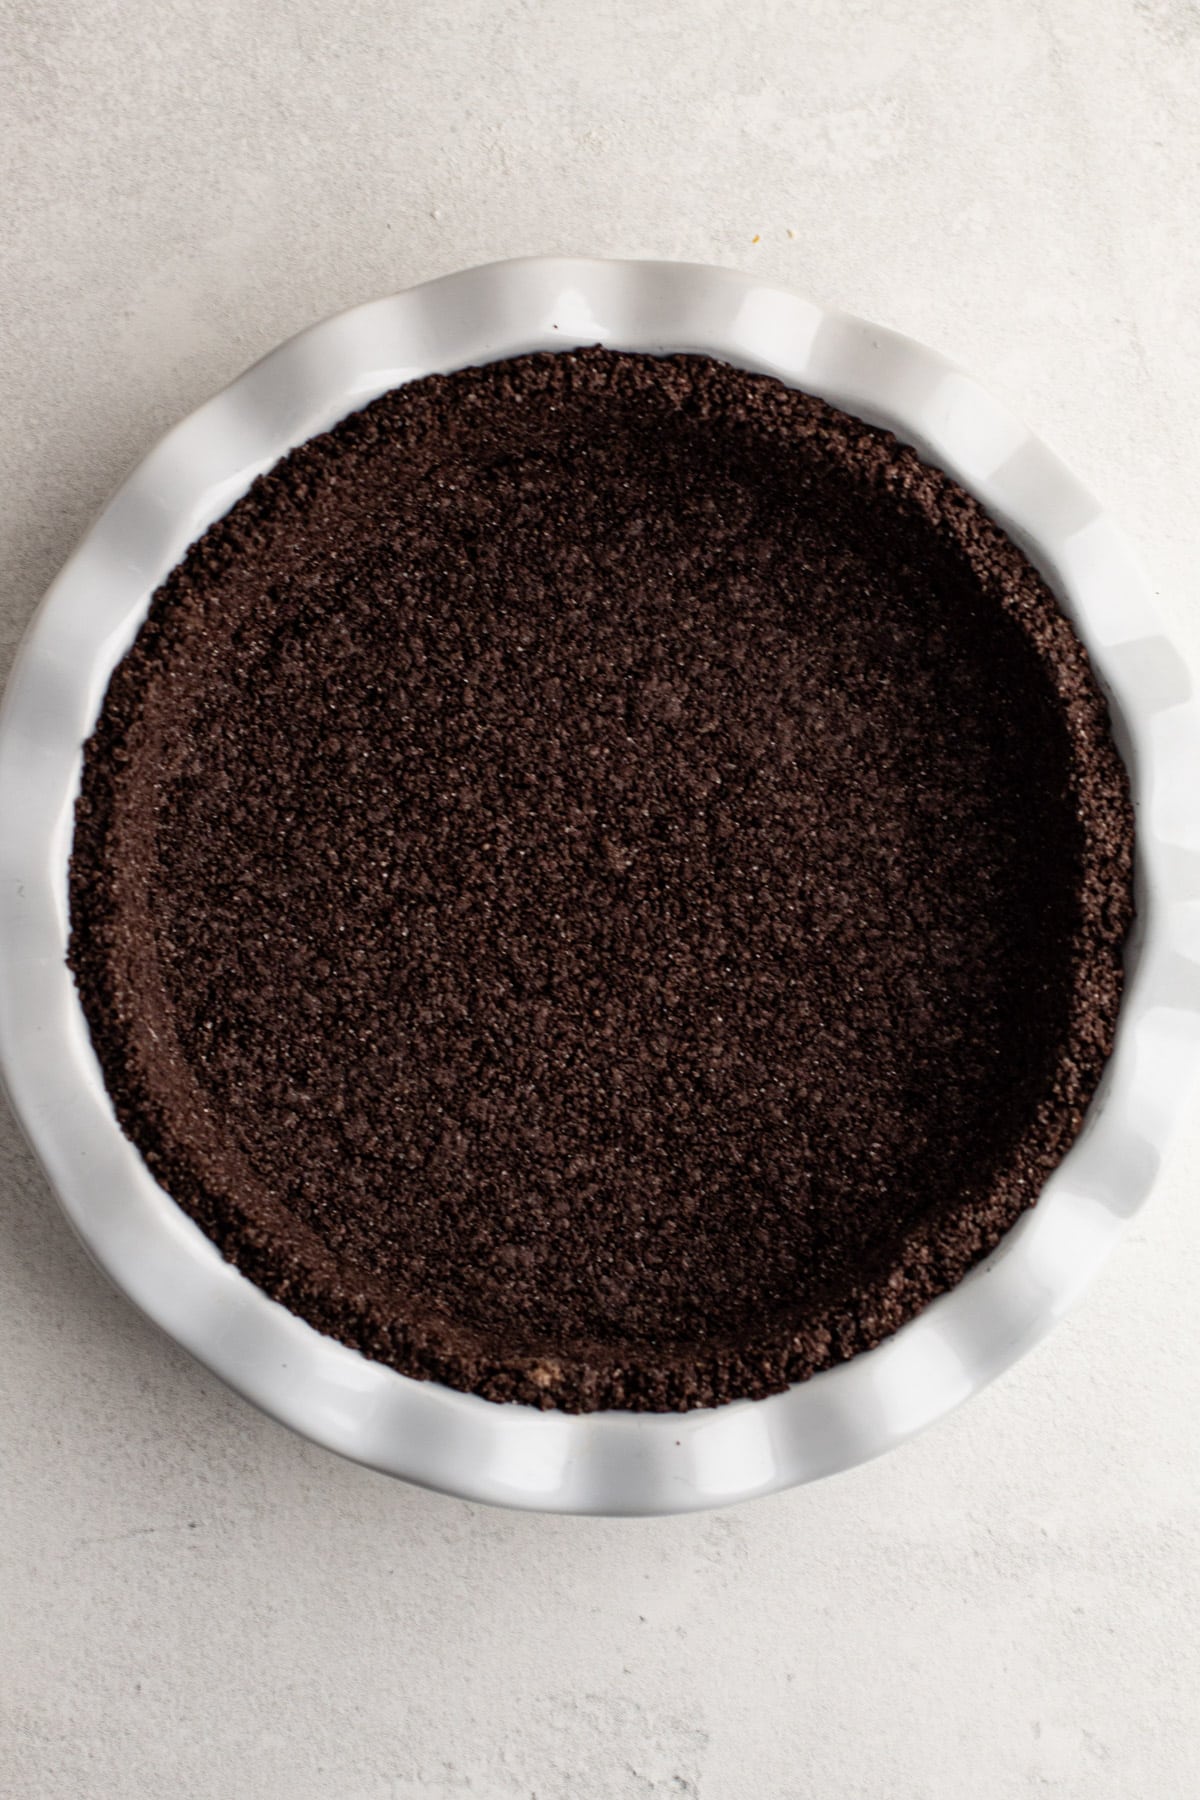
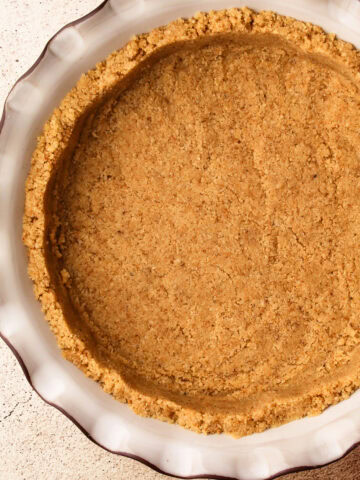
Step 1: Assemble and shape the Oreo crust and either parbake it or freeze it while preparing the filling.
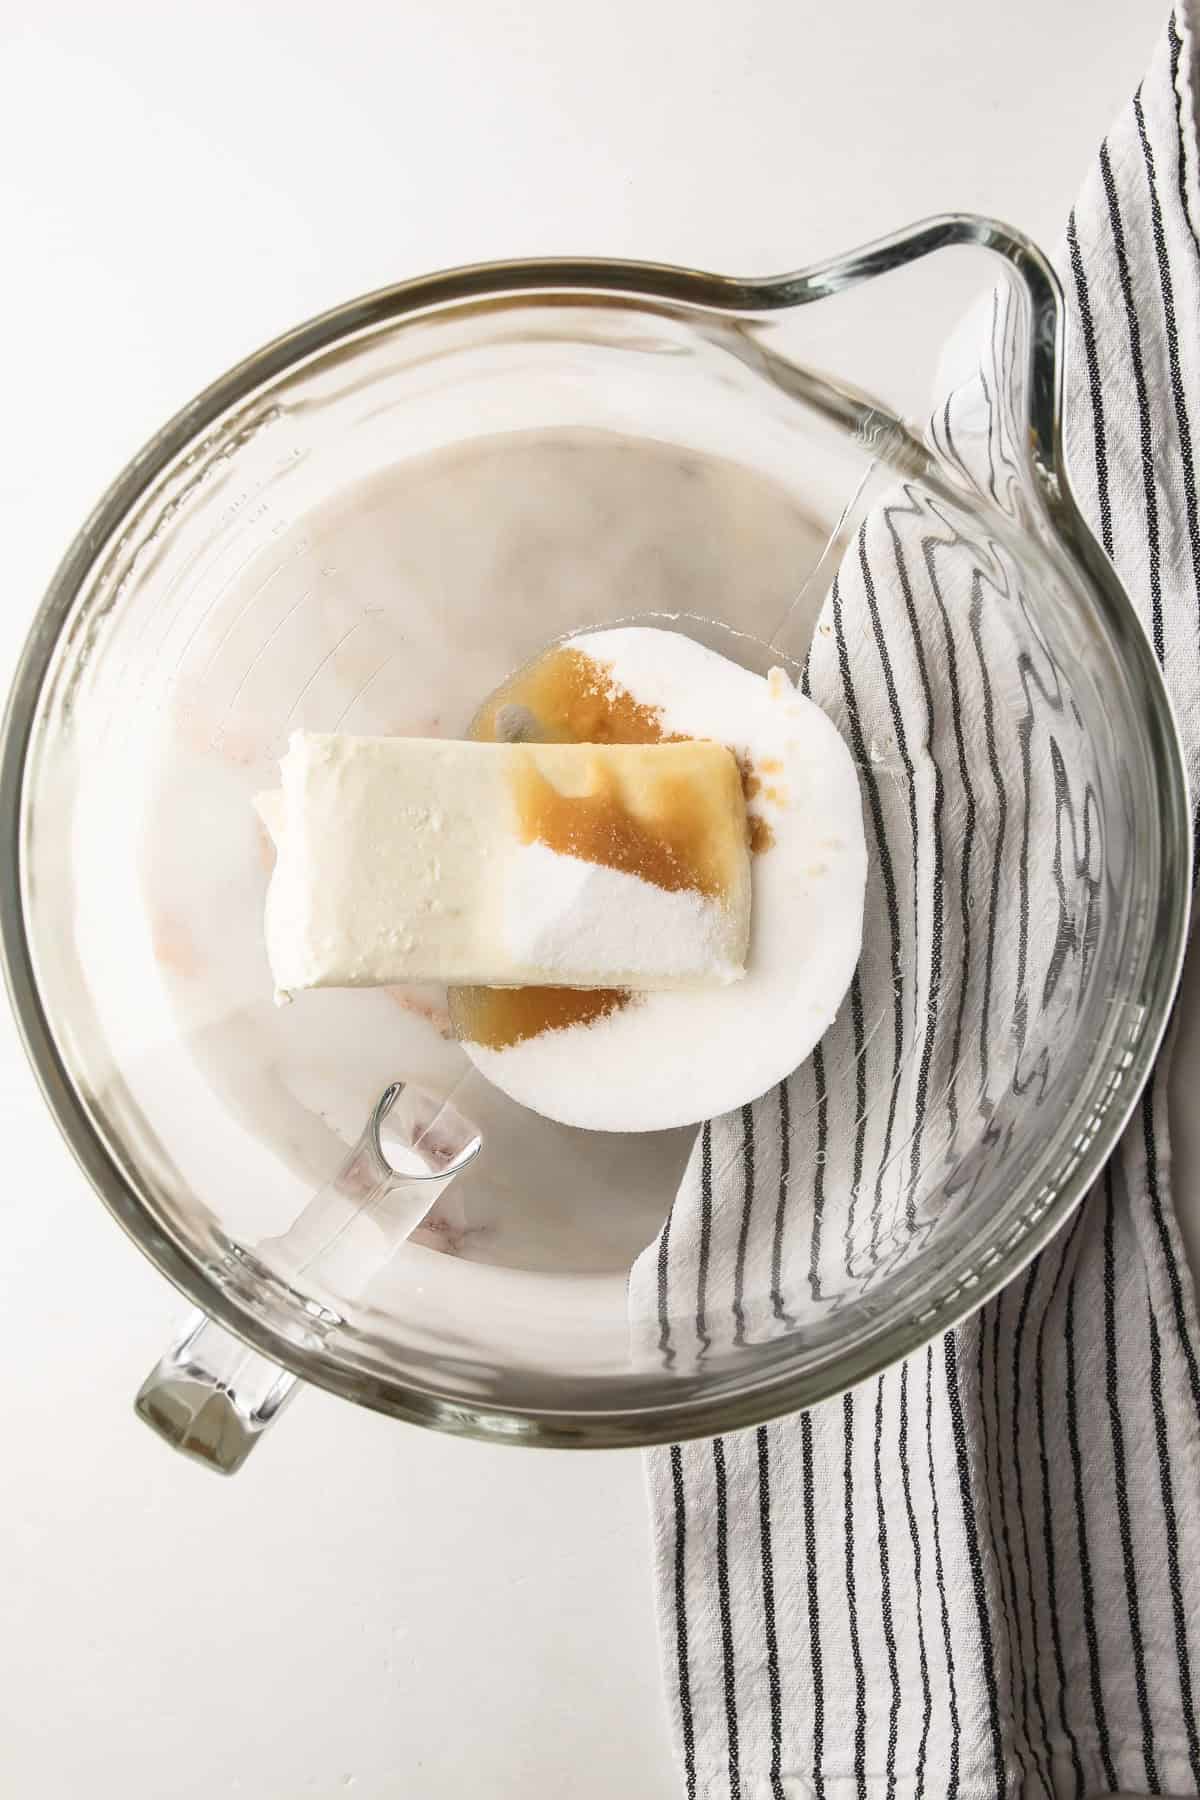
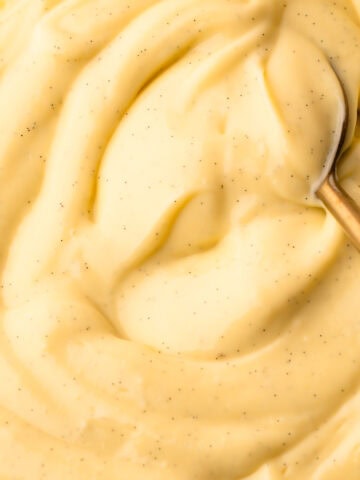
Step 2: Add the softened cream cheese, sugar, vanilla extract, and salt to the bowl of a stand mixer.
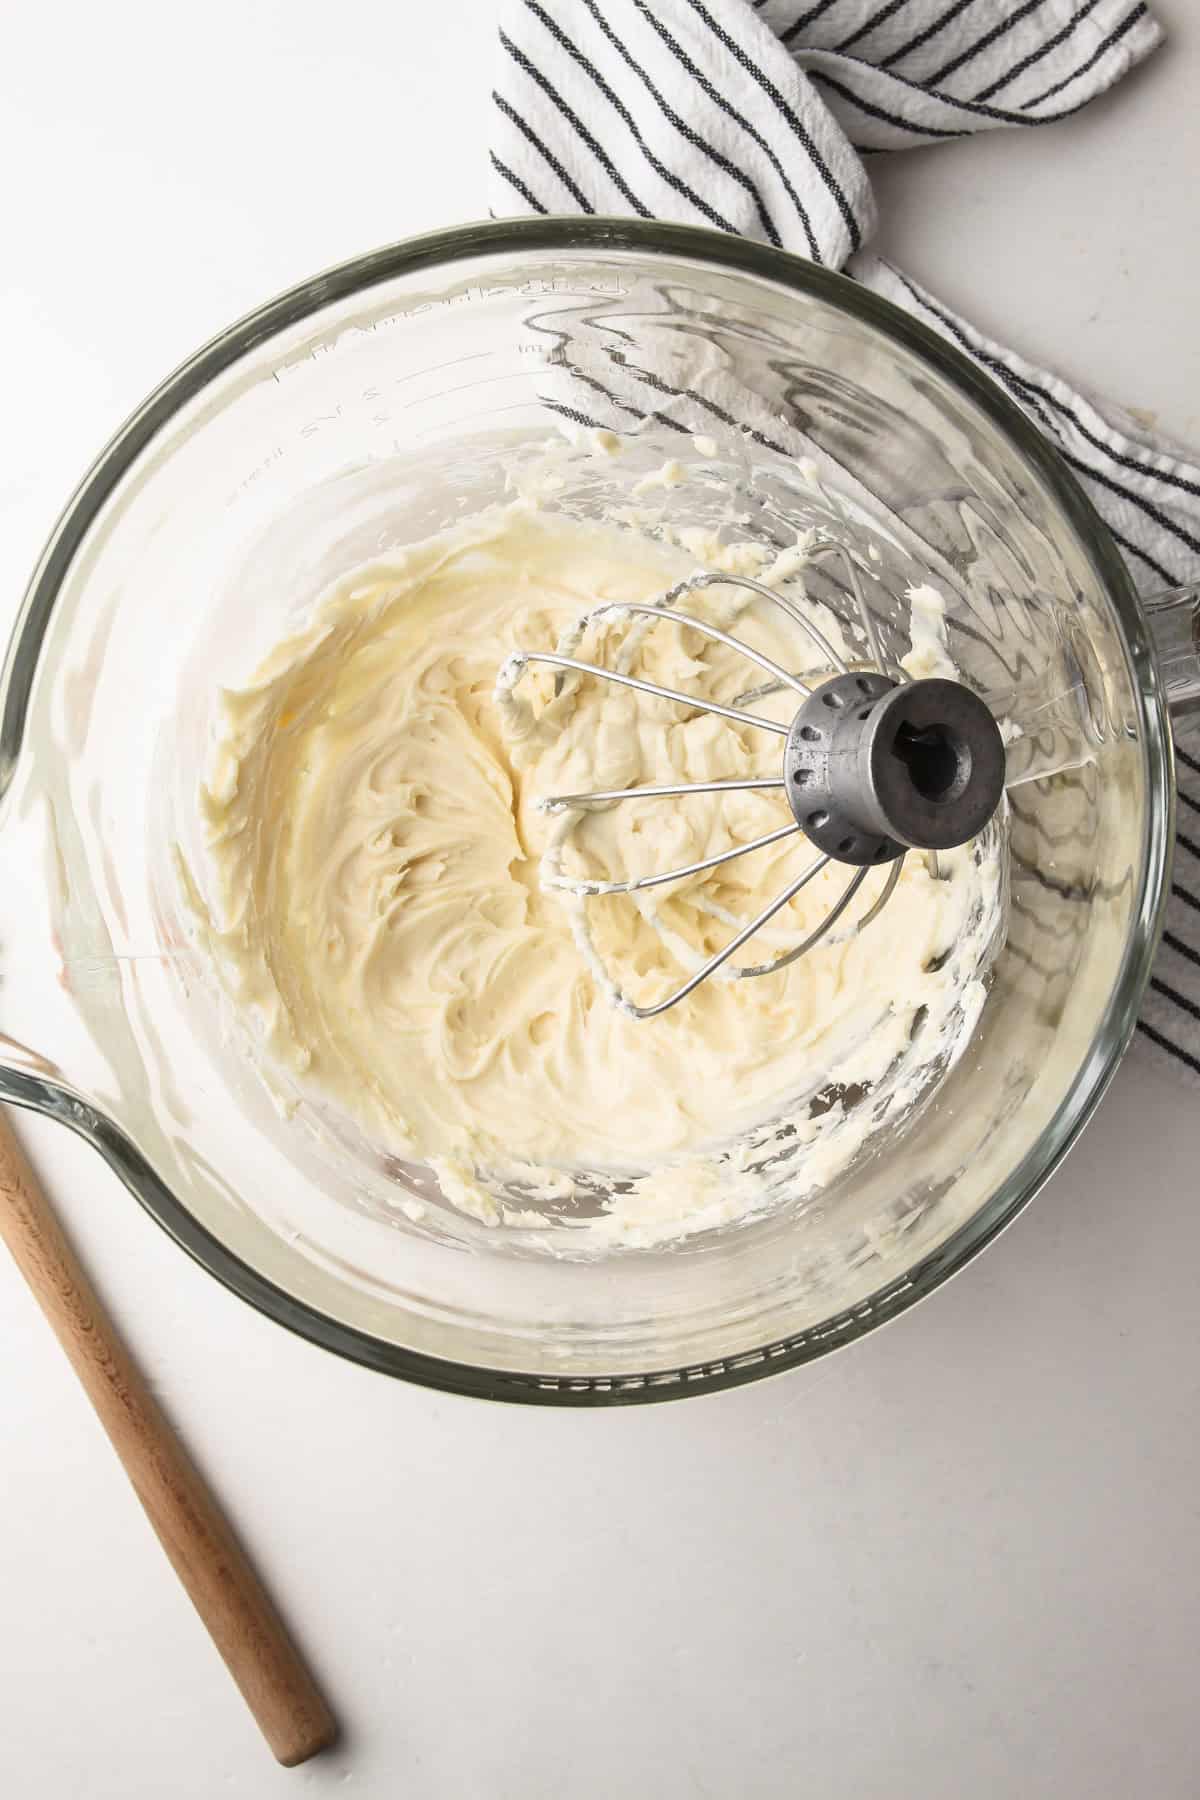
Step 3: Whip until completely smooth, scraping down the sides as needed.
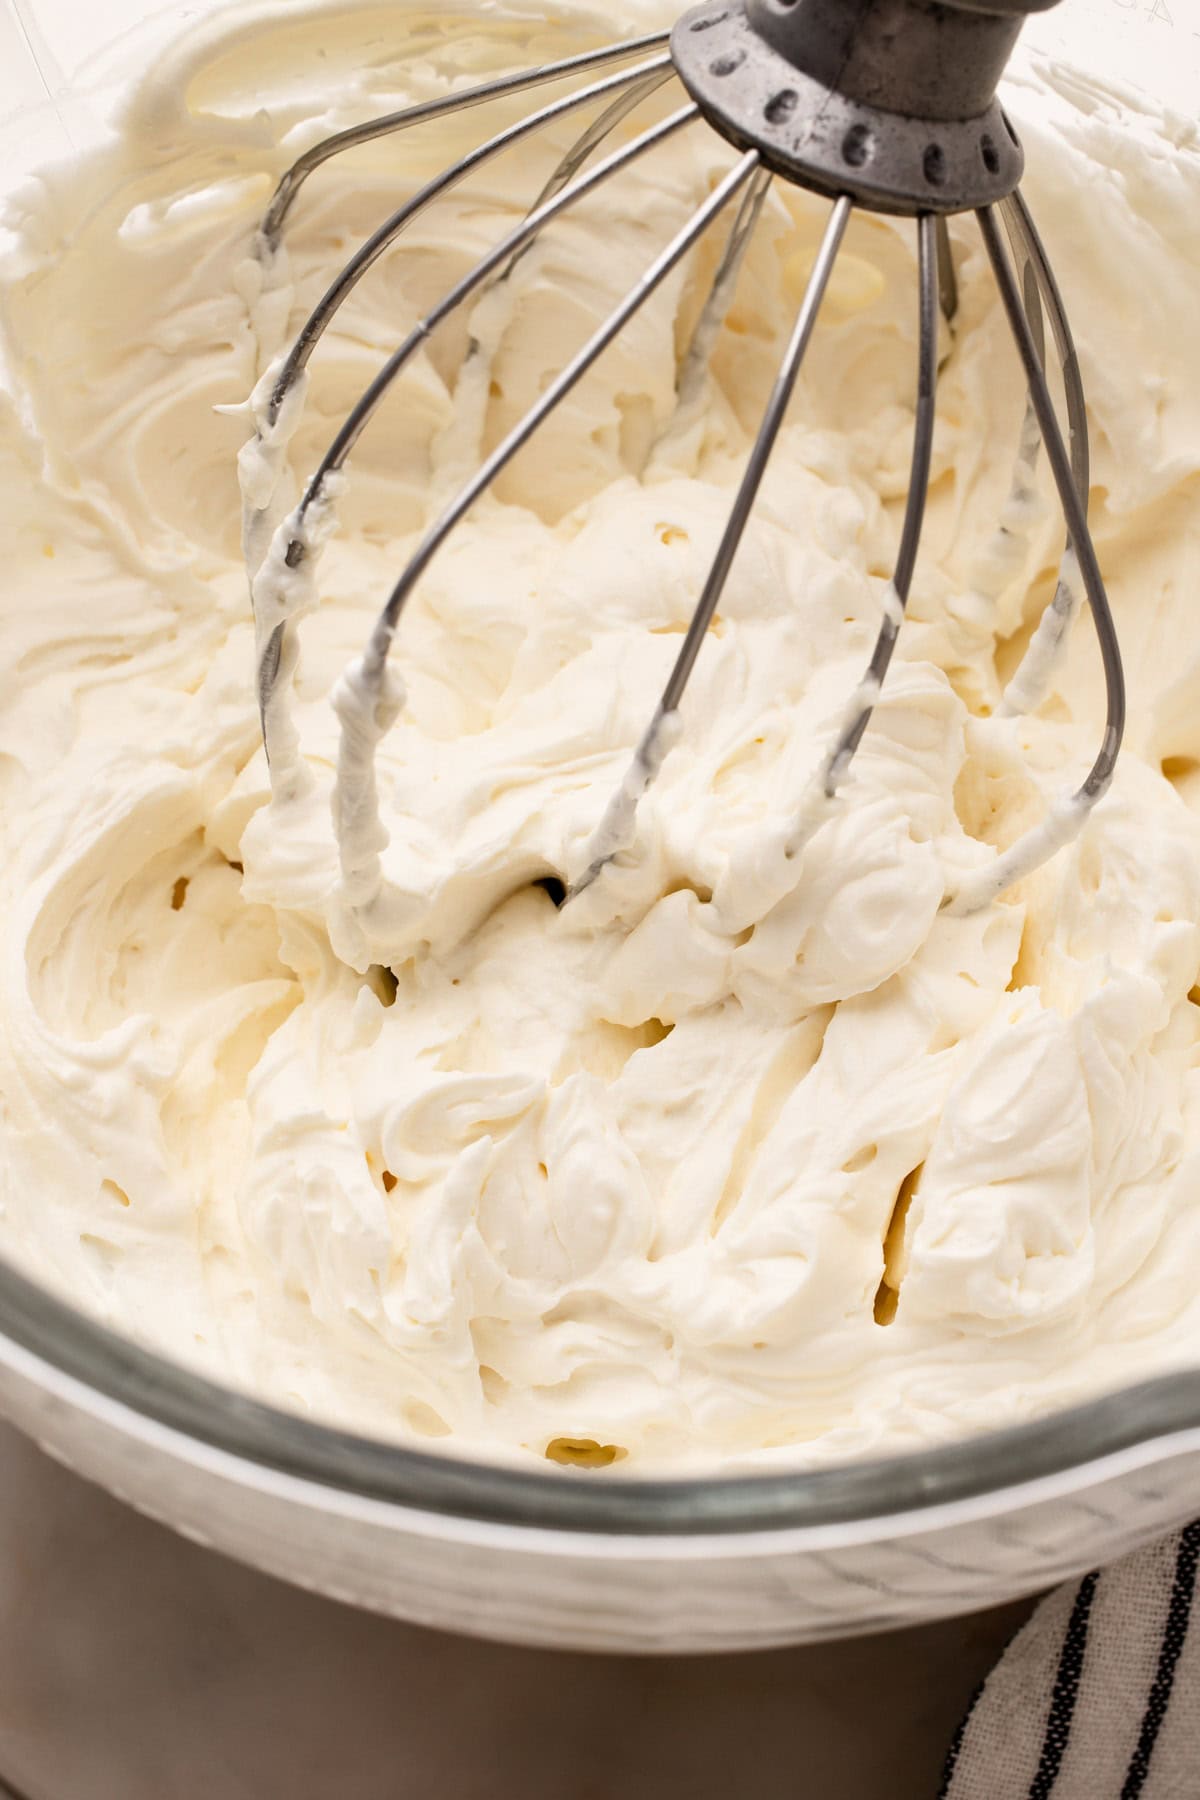
Step 4: With the mixer running on low, slowly add in the cream. Whip on medium speed until the cream is thickened.
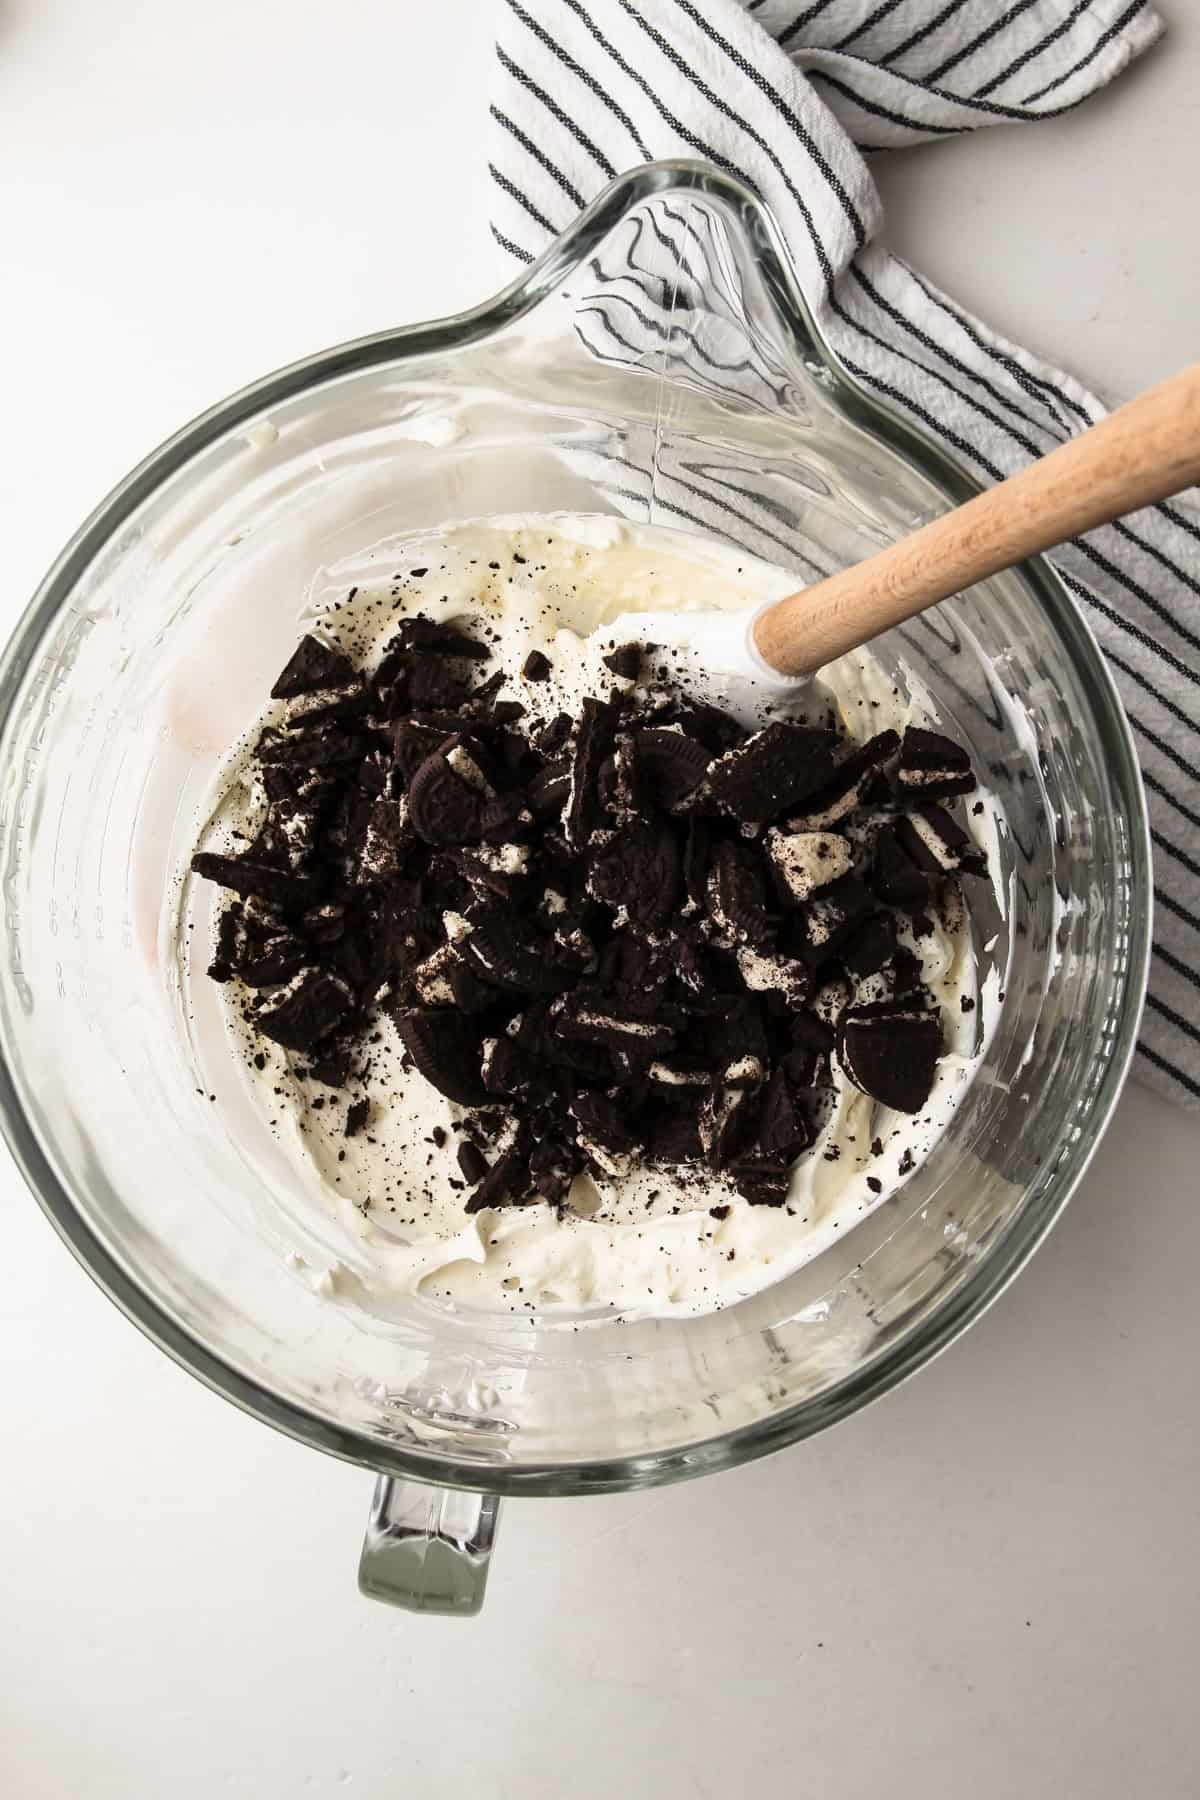
Step 5: Add the crushed Oreos to the cream cheese mixture.
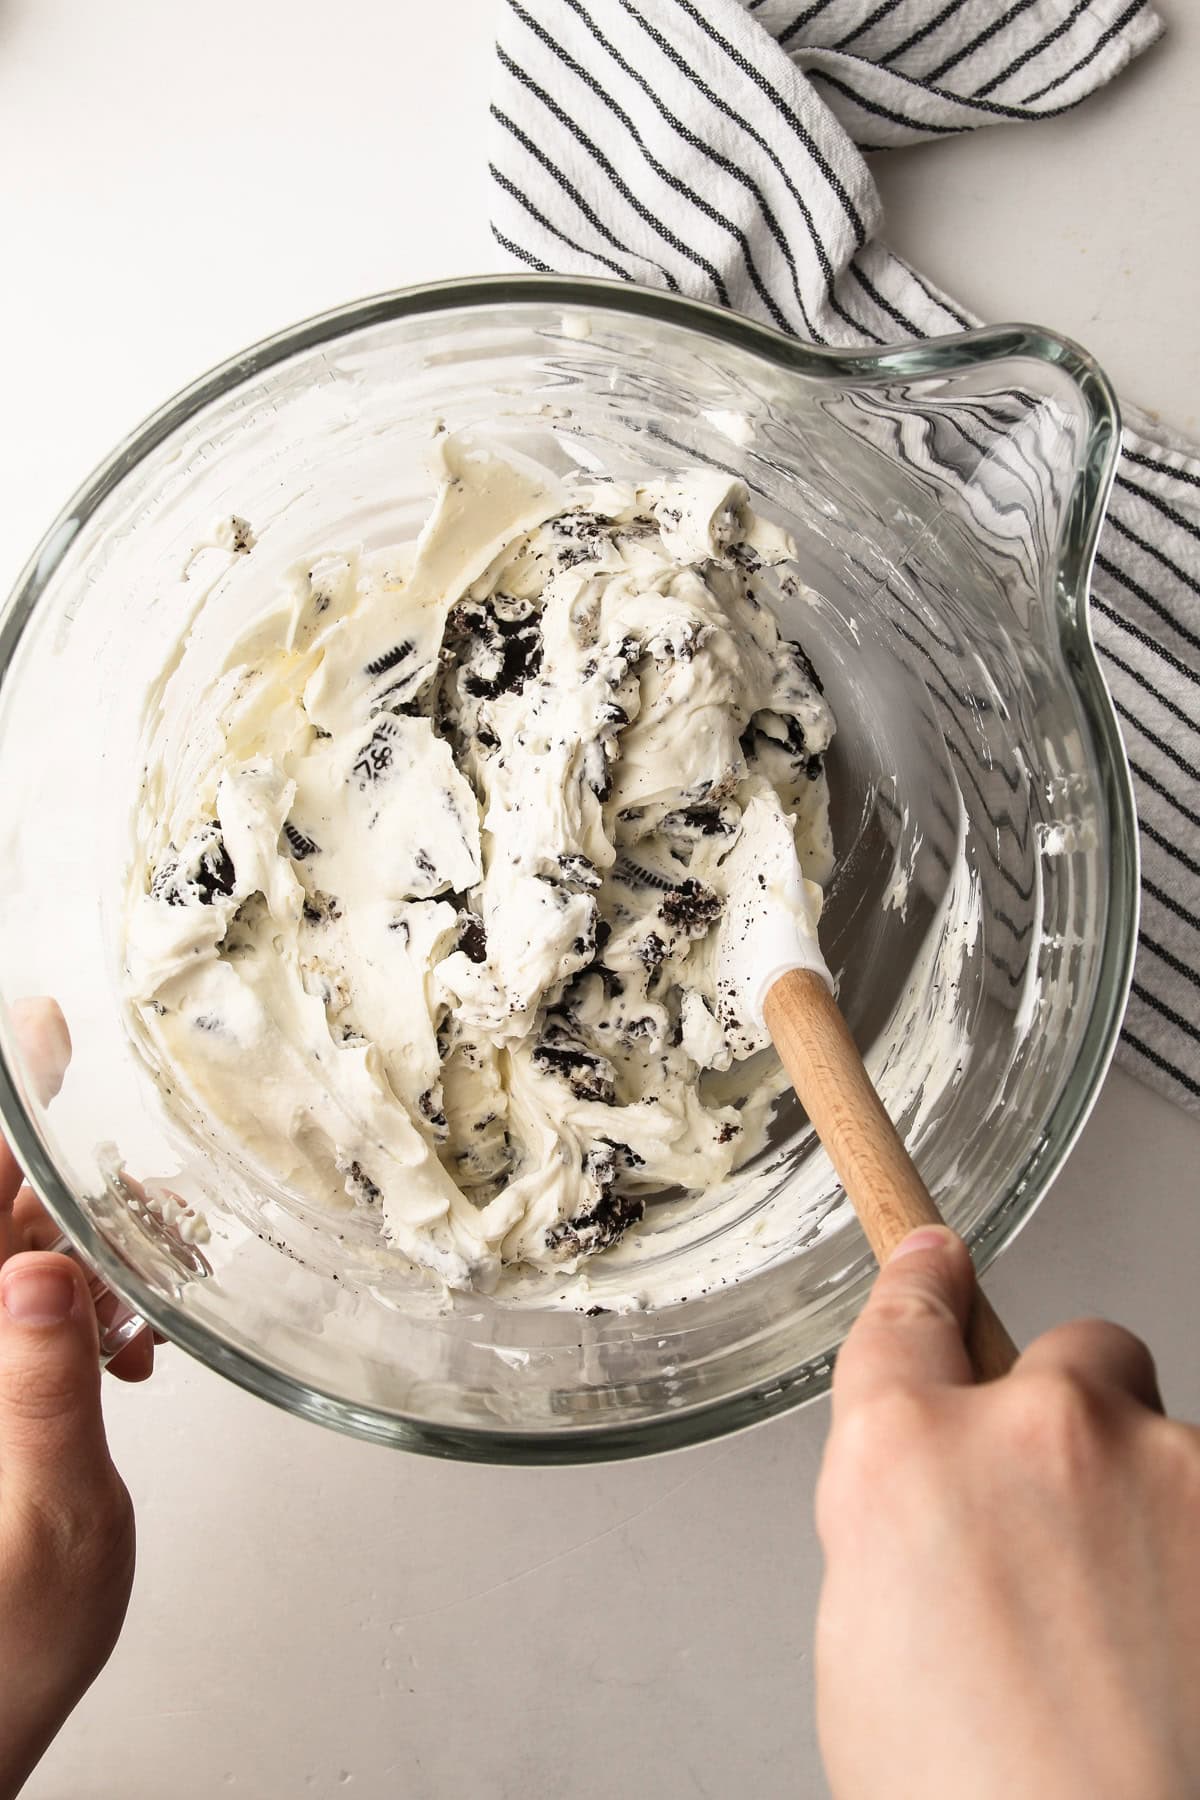
Step 6: Fold in until combined.

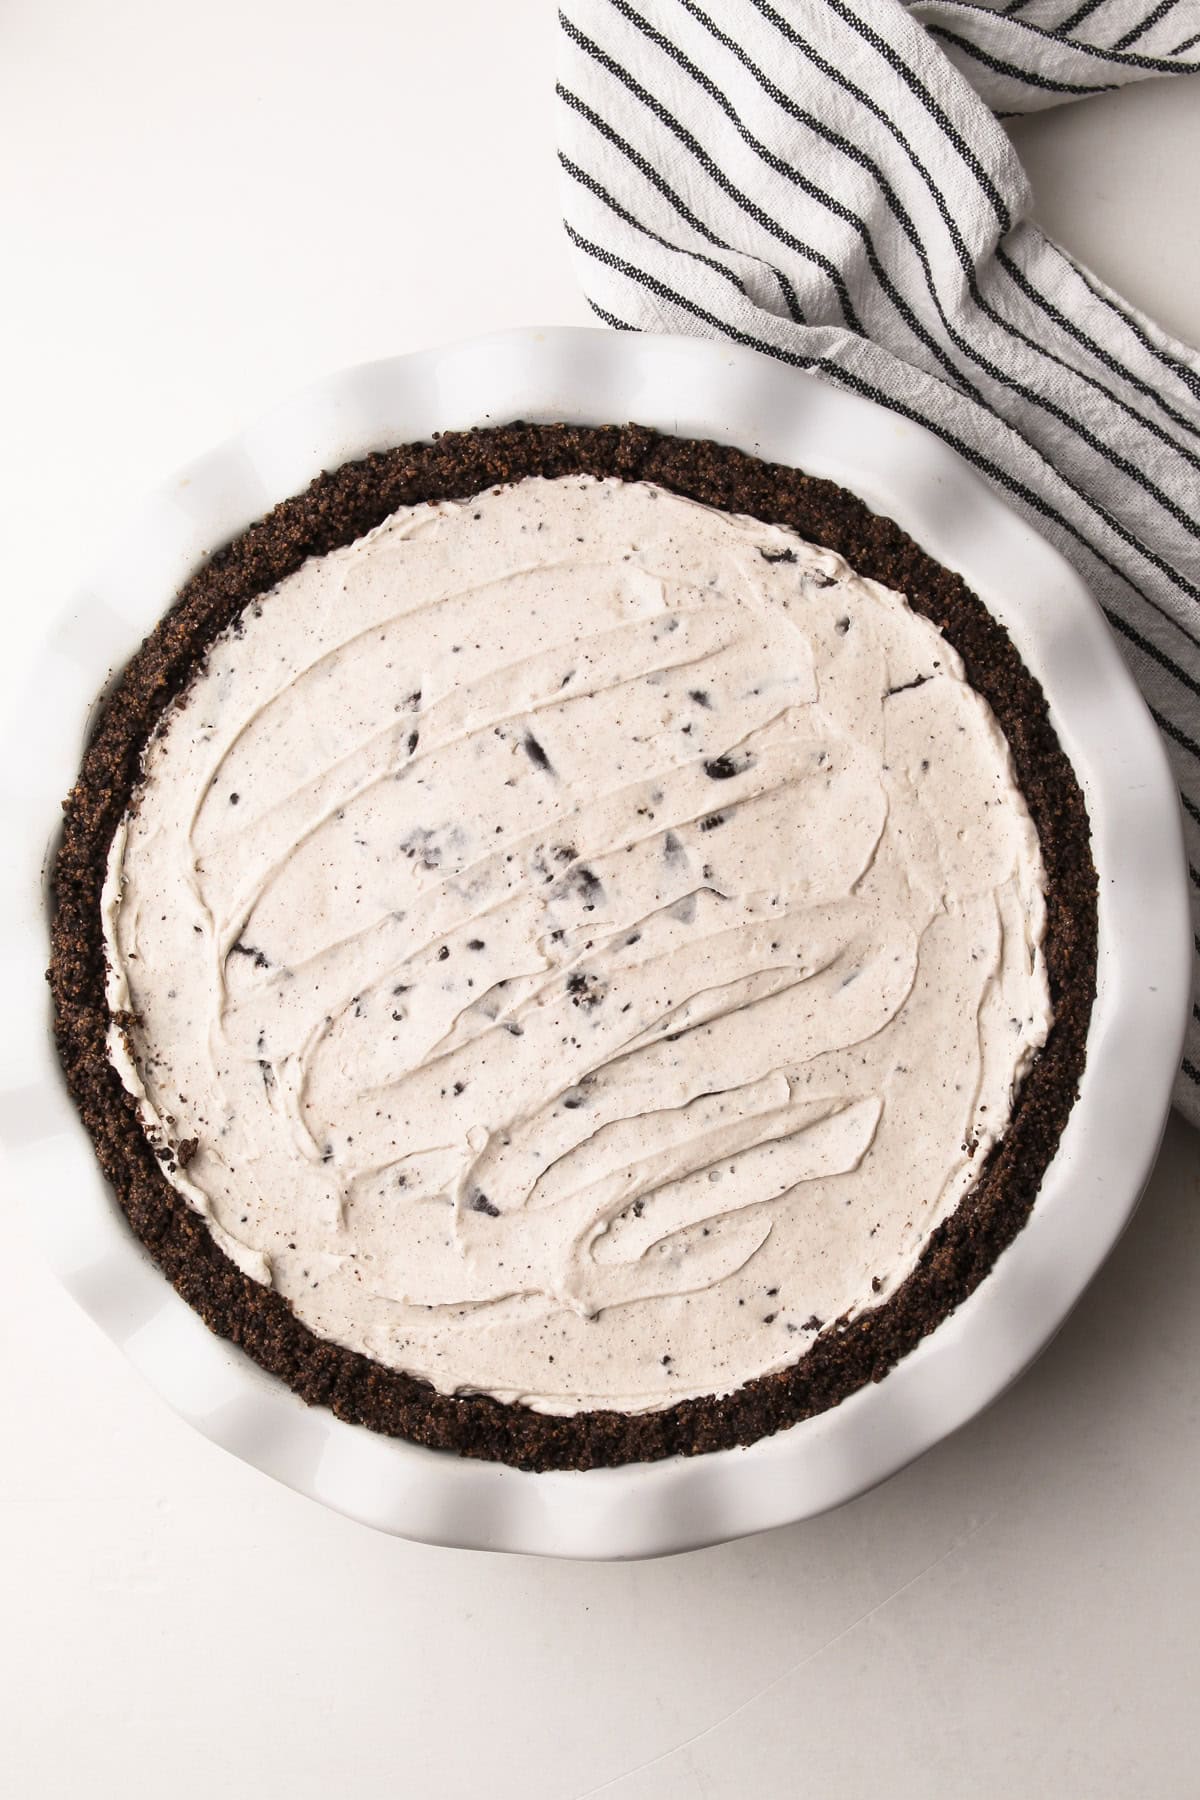
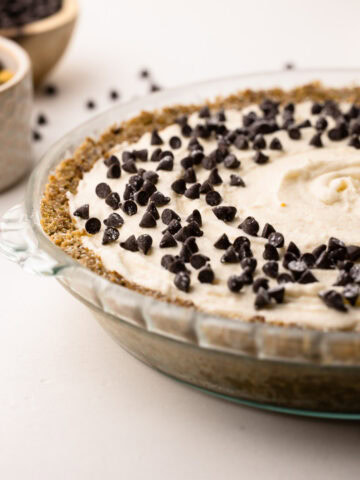
Step 7: Transfer the filling to the pie shell and smooth over the top.
Step 8: Chill the pie to finish setting up.
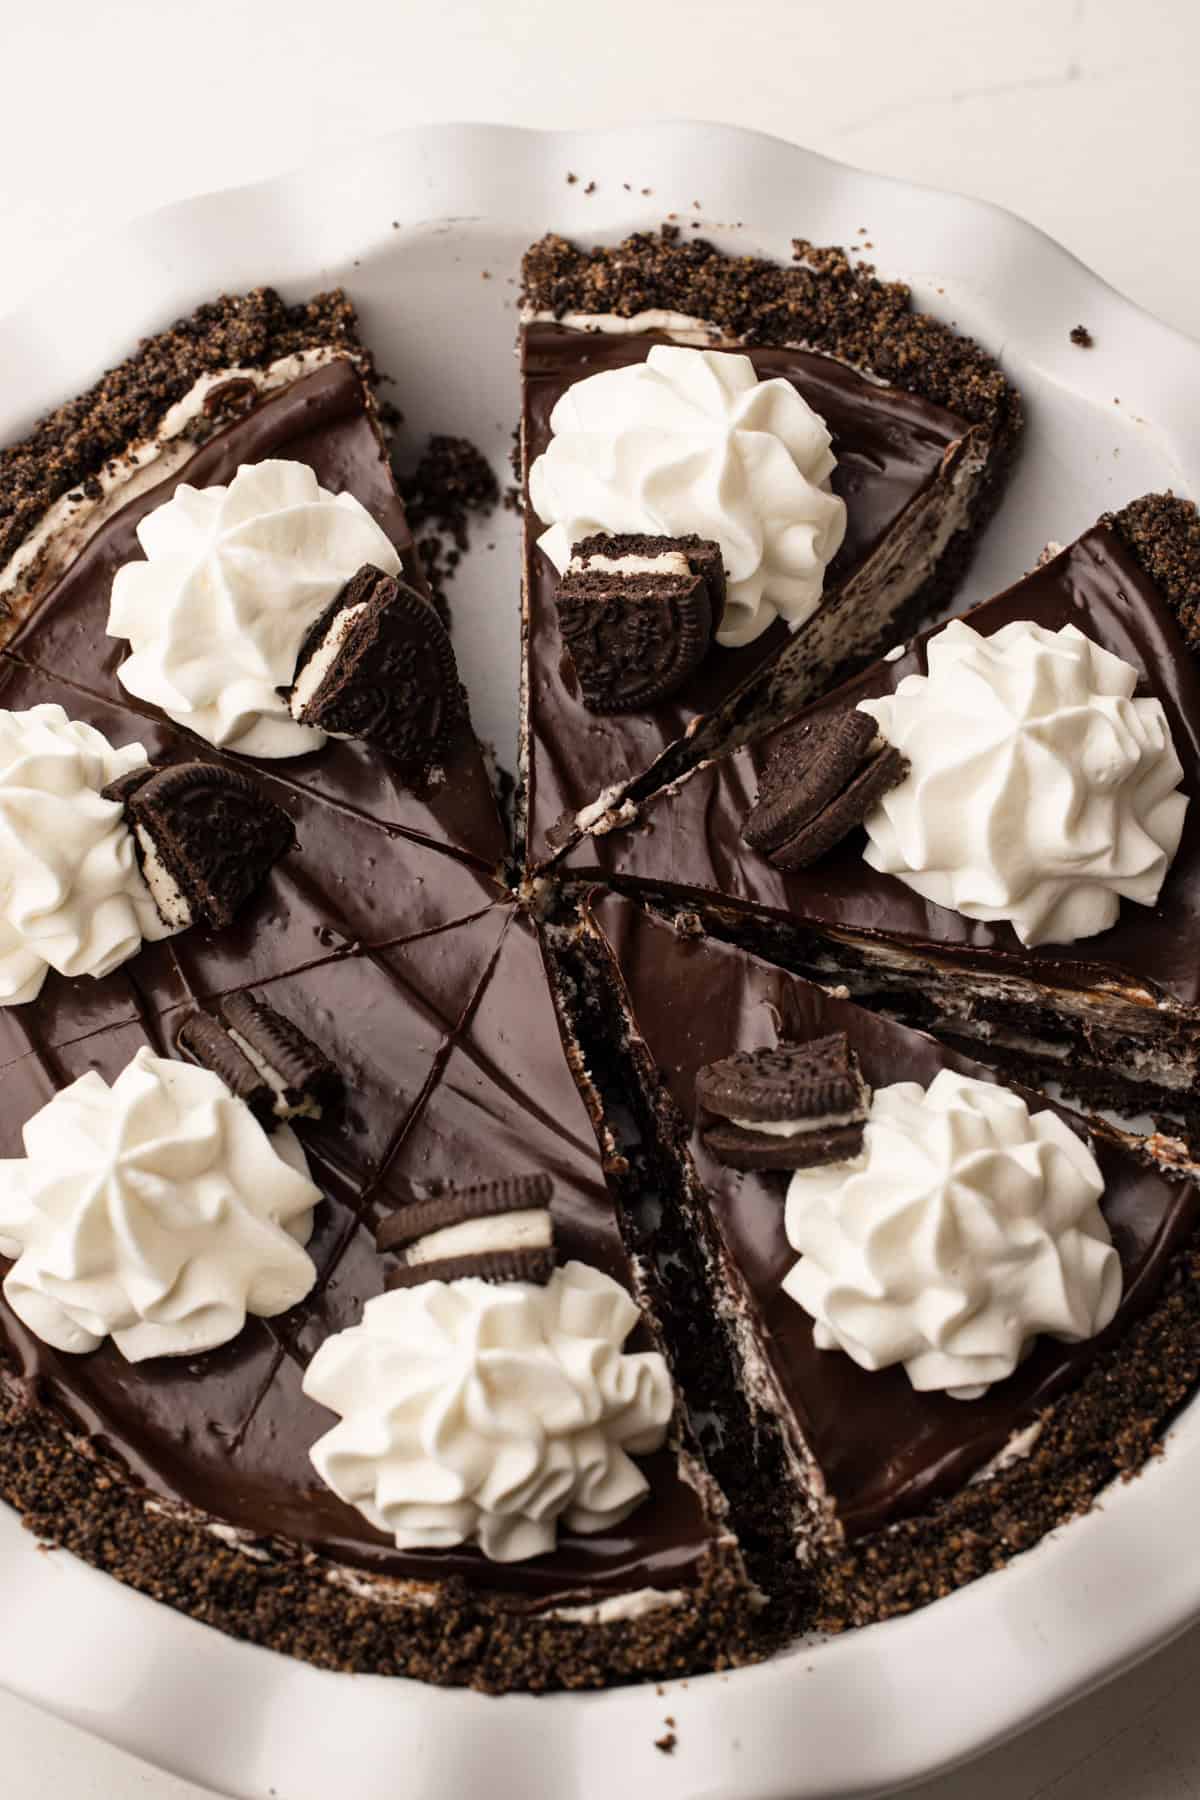
Garnish Options
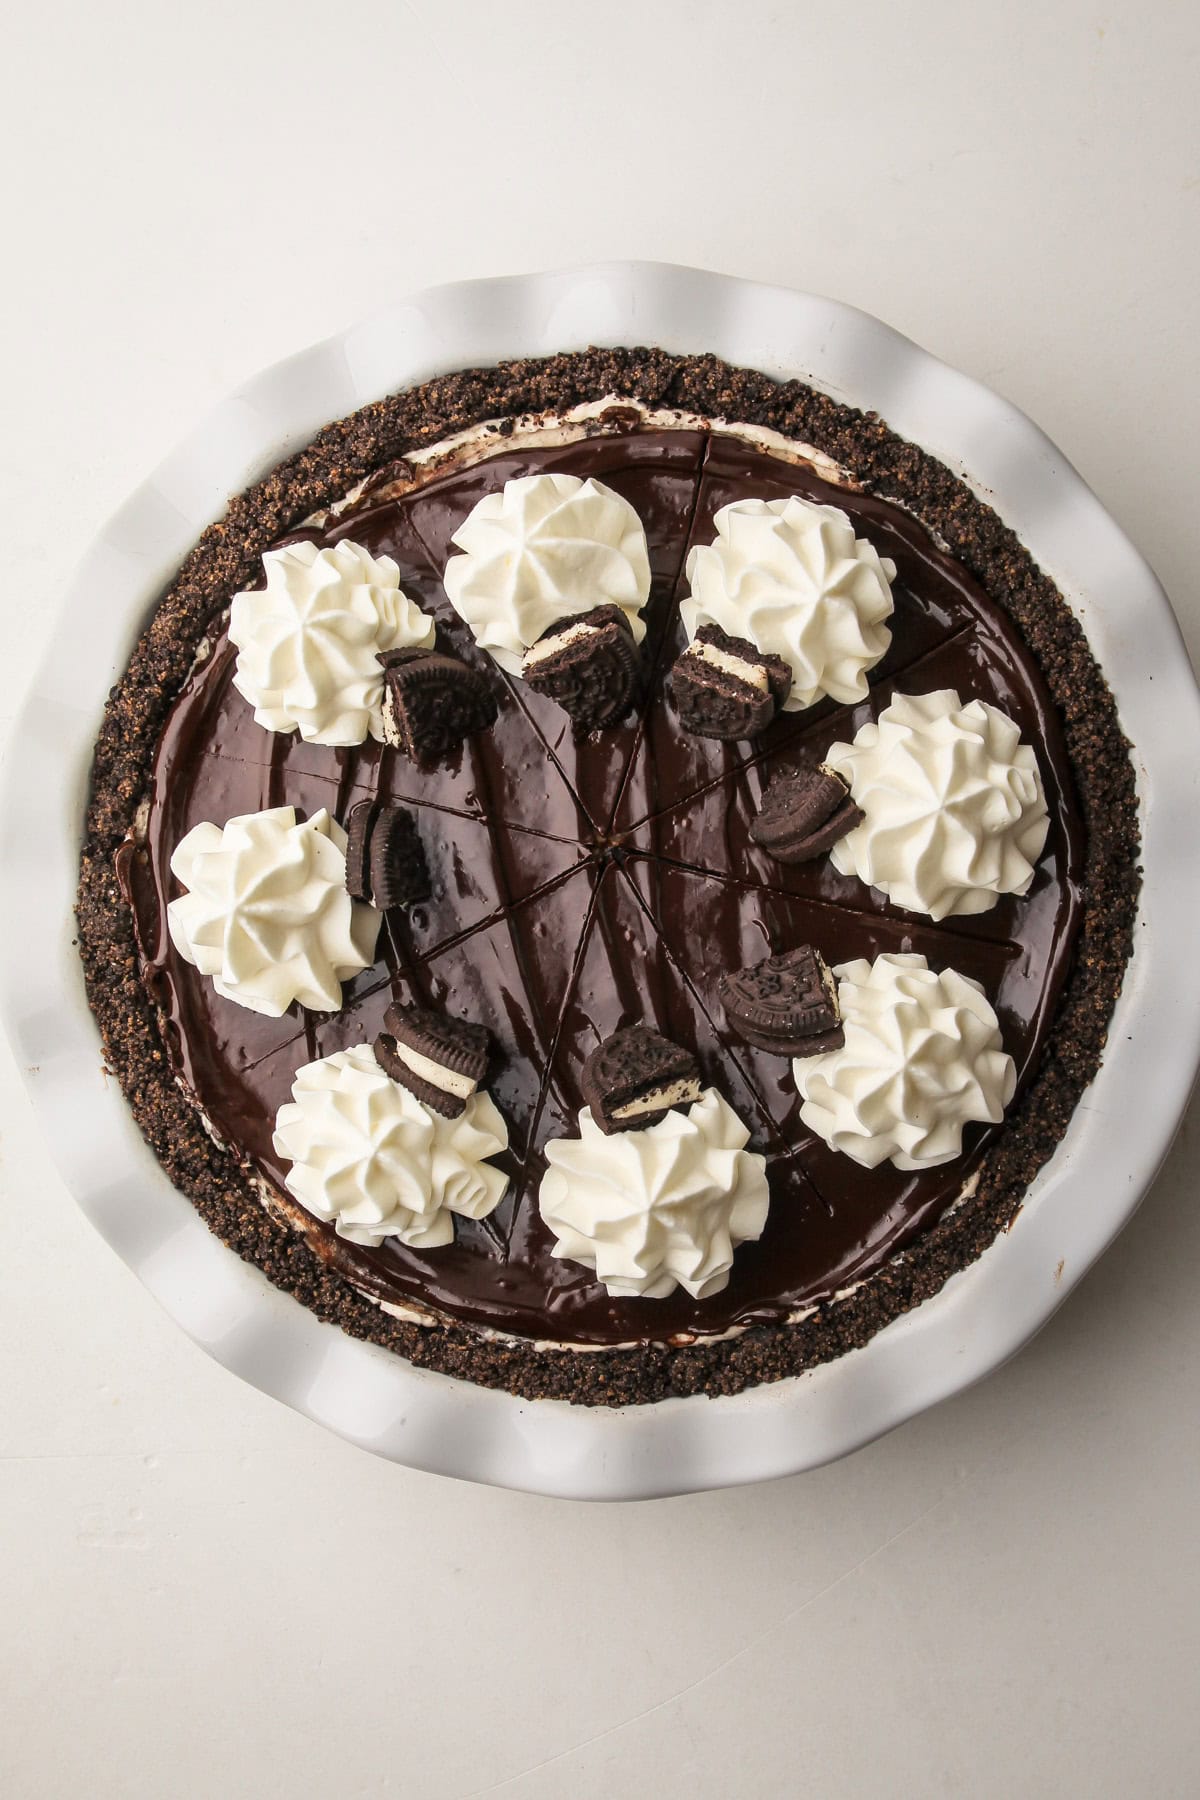
Once the pie is fully chilled, it’s ready to serve as-is—or you can dress it up with a few simple garnishes. The easiest option is to sprinkle some chopped or crushed Oreos on top. For a little more flair, pipe a border of whipped cream around the edges. The pie doesn’t need a full layer of whipped cream since the filling is already rich and creamy, but a little goes a long way to make it feel special.
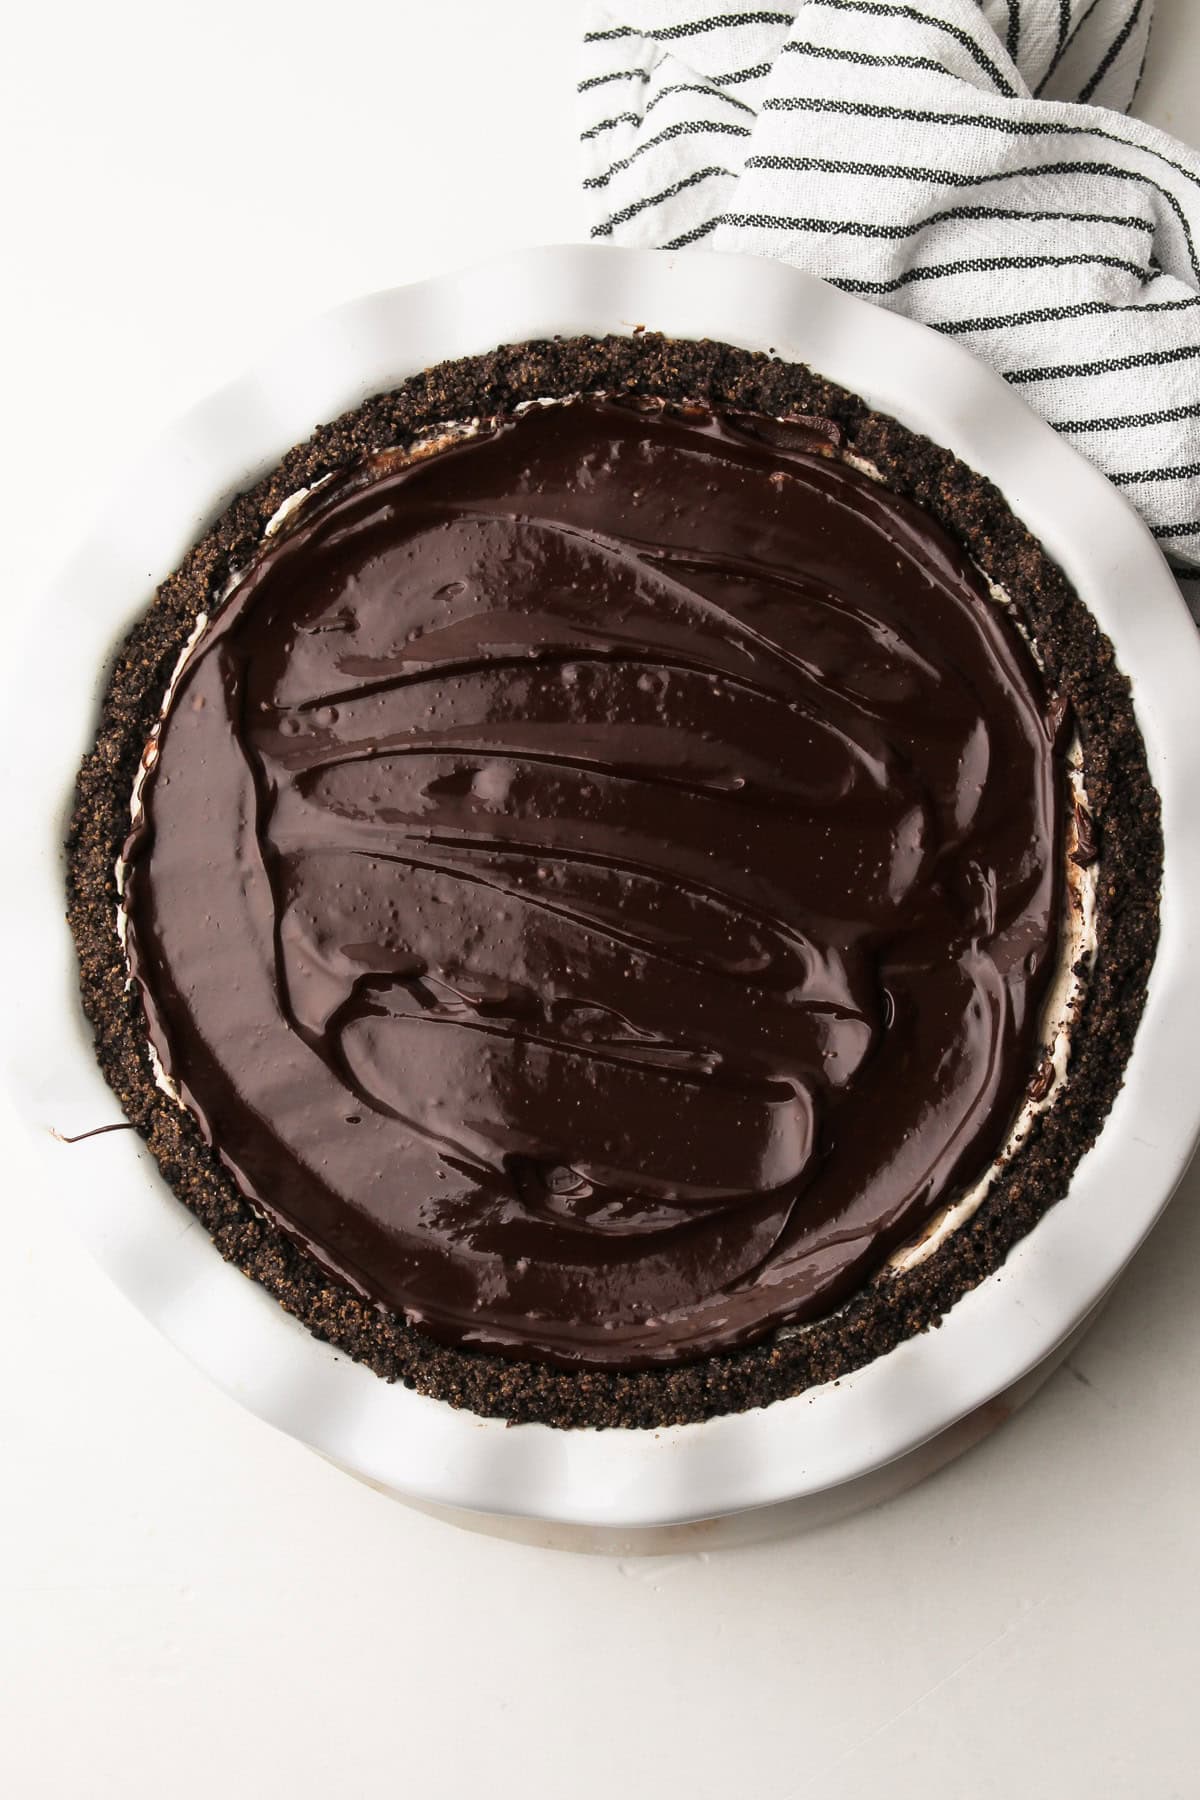
Want to really go for it? Top it with a layer of chocolate ganache, especially one made with a splash of vanilla and a good pinch of salt. It adds a welcome contrast to the sweet Oreo filling and, in my opinion, is well worth the extra effort. And to gild the lily, as they say? Add all three garnishes—ganache, whipped cream, and crushed Oreos—and take this pie from really good to extraordinary.
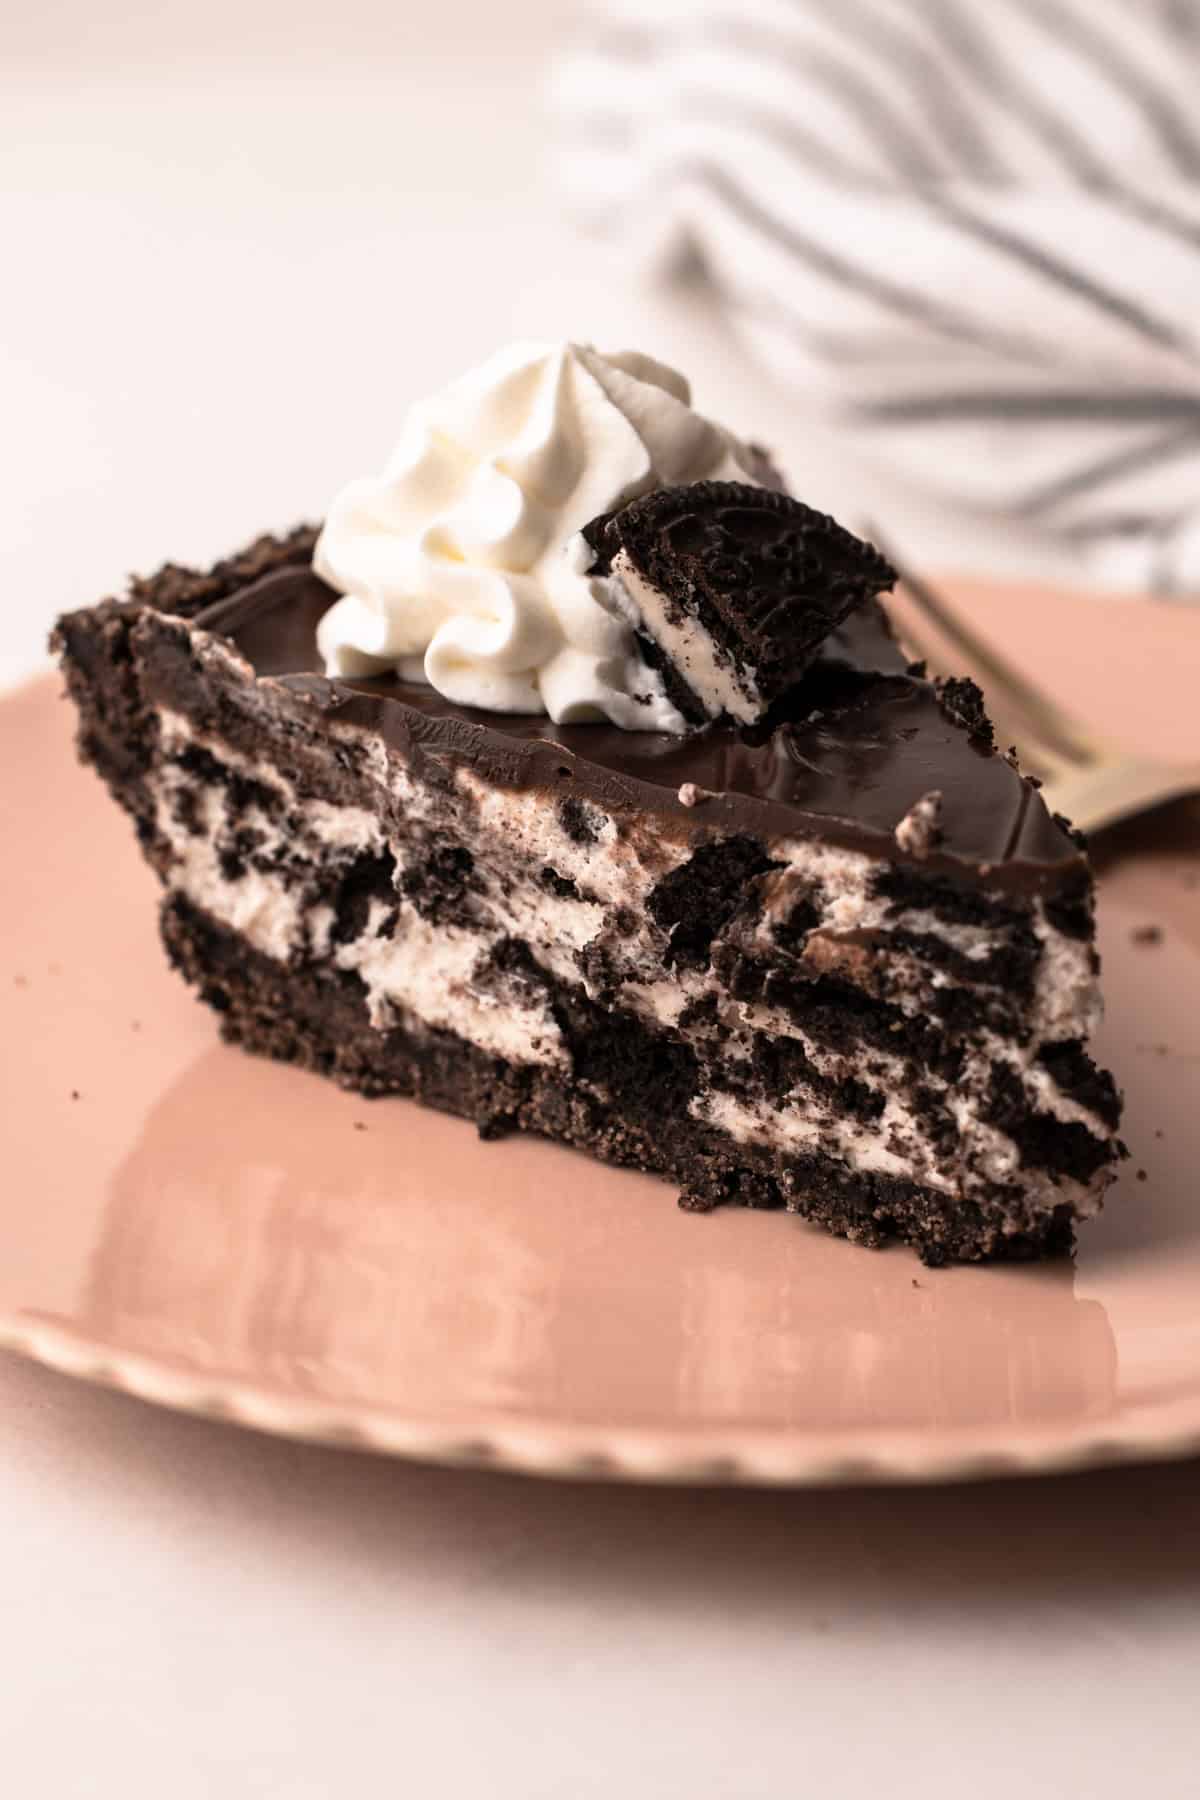
Serving This No-Bake Pie
This pie should be served well-chilled. It can be made up to 2 days ahead of time if stored in the refrigerator, or up to 1 month if frozen.
If serving the pie from completely frozen, let it sit at room temperature for 15–30 minutes, depending on the warmth of your kitchen, until it's easy to cut into.
More Chocolate Recipes
- Dark Chocolate Pudding
- Chocolate Covered Strawberry Pie
- No-Bake Peanut Butter Pie
- Nutella Pie with Potato Chip Crust
More No-Bake Recipes

I am so honored when you make a recipe from my site! If you make this Oreo Pie, please leave a star ⭐️⭐️⭐️⭐️⭐️ rating with your experience! If you have any questions about this recipe, feel free to comment here, and tag me on Instagram!
Full Recipe
No-Bake Oreo Pie

This No-Bake Oreo Pie is a creamy, icebox-style dessert made with a handful of ingredients. It is super easy to make and perfect for making ahead.
- Prep Time: 00:20
- Total Time: 00:20 plus chilling time
- Yield: Serves 8-10
- Category: Sweet Pie
- Method: No Bake
Ingredients
For Oreo Crumb Crust:
- 2 cups (290 grams) Oreo cookie crumbs (from about 19 cookies), more as needed
- 3 tablespoons (40 grams) unsalted butter, melted, more as needed
- 2 tablespoons (25 grams) granulated sugar
For Oreo Filling:
- 8 ounces (227 grams) cream cheese, softened
- ⅓ cup (65 grams) granulated sugar
- 1 teaspoon vanilla extract
- ½ teaspoon coarse kosher salt (see note)
- 1 cup (227 grams) heavy cream
- 15 Oreo cookies, crushed
For Optional Garnish:
- ¾ cup (113 grams) chopped chocolate or high-quality chocolate chips
- ¼ teaspoon coarse kosher salt
- ½ cup (113 grams) heavy cream
Instructions
Prepare the Oreo Crumb Crust:
- In a bowl, mix together the Oreo crumbs, melted butter, and sugar. The mixture should be damp, like wet sand, and will hold together when squeezed. If it is too dry, add more melted butter, a tablespoon at a time. If it’s too wet, add a tablespoon more Oreo crumbs until it’s the correct consistency.
- Pour the crumbs into a 9-inch pie plate and start pressing them up the sides of the pie plate to form the edges first. Once the edges are formed, work the crumbs down to evenly distribute them into the bottom of the pie plate. Then, pack them down into an even layer using a flat-bottomed cup or measuring cup.
- If baking: Bake in a preheated 350ºF oven for 10 minutes. If freezing: freeze for 30 minutes for a no-bake pie option.
Prepare the Filling and Assemble:
- Using an electric mixer with the whisk attachment, whip the softened cream cheese, sugar, vanilla extract, and salt on medium speed until completely smooth, about 2 minutes, scraping down the sides of the bowl halfway through.
- With the mixer running, slowly add in the cream. Once added, stop and scrape down the sides of the bowl to ensure no cream cheese is stuck to the bottom of the bowl. Whip on medium speed until the cream is thickened and the whisk leaves visible trails behind as it drags through the mixture.
- Use a rubber spatula to fold in the crushed Oreos to the cream cheese mixture.
- Transfer the filling to the prepared pie crust and smooth over the top.
- Chill the pie in the refrigerator for at least 4 hours to set up. The pie will keep, without garnish, in the refrigerator for 2-3 days or in the freezer for up to 3 months.
Add the Garnish (optional):
- Garnish the pie when ready to serve, or up to 24 hours before.
- In a heatproof bowl, combine the chopped chocolate and salt.
- Heat the cream in a small saucepan on the stovetop until just simmering around the edges.
- Pour the hot cream over the chocolate, making sure the chocolate is completely submerged. Let the mixture sit, undisturbed, for 2 minutes.
- Gently stir the cream into the chocolate until the chocolate is melted and fully combined.
- Immediately pour the warm chocolate ganache on top of the pie. For a beautiful smooth finish, pick up the pie plate and tilt it to use gravity to send the chocolate ganache to the edges of the crust. Alternatively, use an offset spatula to glide the chocolate ganache to the edges.
- Pipe or spoon whipped cream on top, and decorate with additional Oreos, if desired.


Notes
A food processor is the best way to make Oreo crumbs. If you choose to do it by hand instead, make sure to get the Oreos smashed into very fine pieces. Big chunks of Oreo can make the crust too crumbly. You can use any type of chocolate sandwich cookie you like, including gluten-free. Just know that the amount of butter the crust will require will vary depending on the brand you use!
Baking a crumb crust makes it more stable and introduces additional flavor. However, the pie crust can be frozen instead of baked for a truly no-bake pie. It won’t be as stable or crisp, but it will still work if need be. Freeze the shaped pie shell while making filling, then once cold, add the filling to it.
This recipe was tested using Diamond Crystal coarse kosher salt. If you use Morton's kosher salt or fine salt, decrease the volume by half.
This pie tastes delicious as it is, but an Oreo pie is a great canvas for other flavors as well. If you wanted to mix things up feel free to add in some other flavor elements like mint extract or espresso powder. See the section in the article above labeled “Optional Flavors” for more ideas and suggested quantities.
Some of the links on this page may be affiliate links. Everyday Pie is a participant in the Amazon Associates Program. As an Amazon Associate I earn from qualifying purchases, at no extra cost to you.
Stephanie
Perfect summer pie for when it's too hot to turn on the oven! Such a crowd pleaser and easy to make!