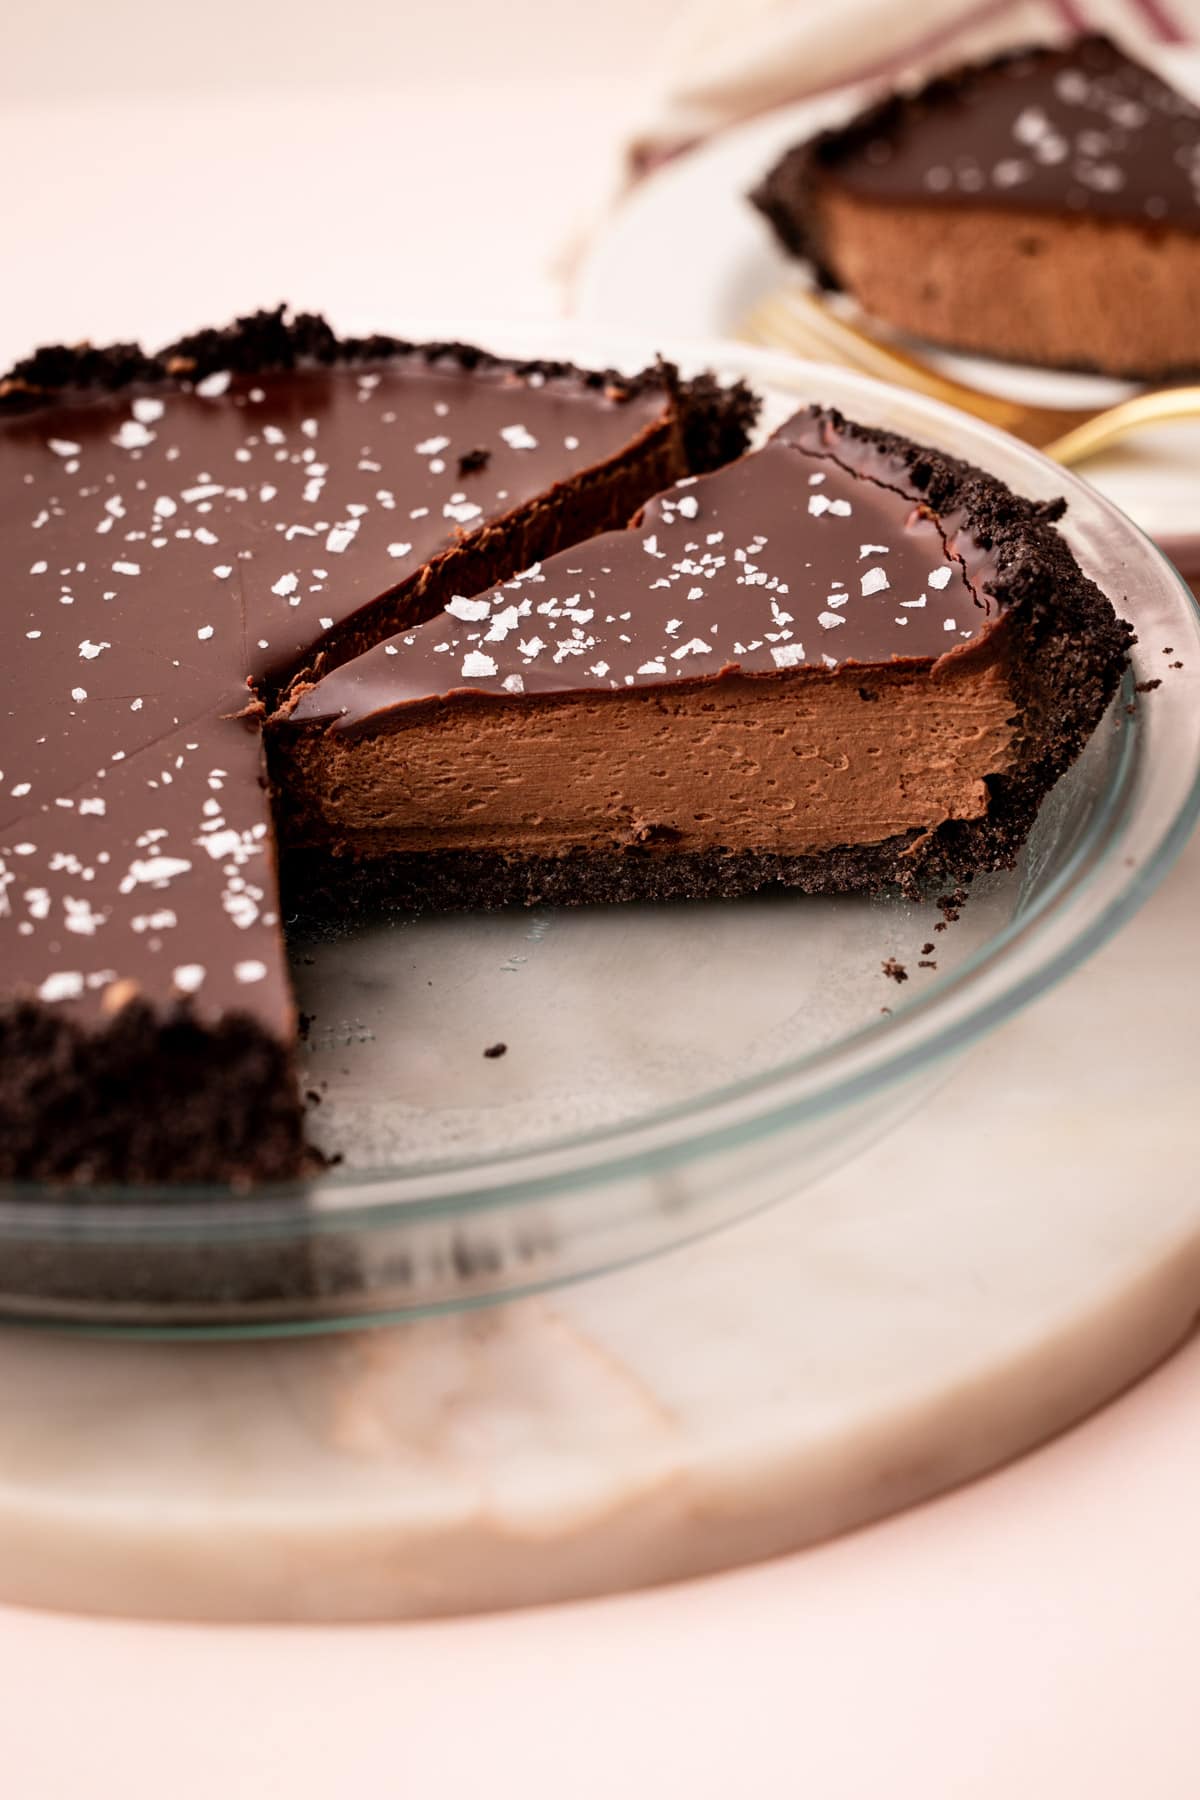
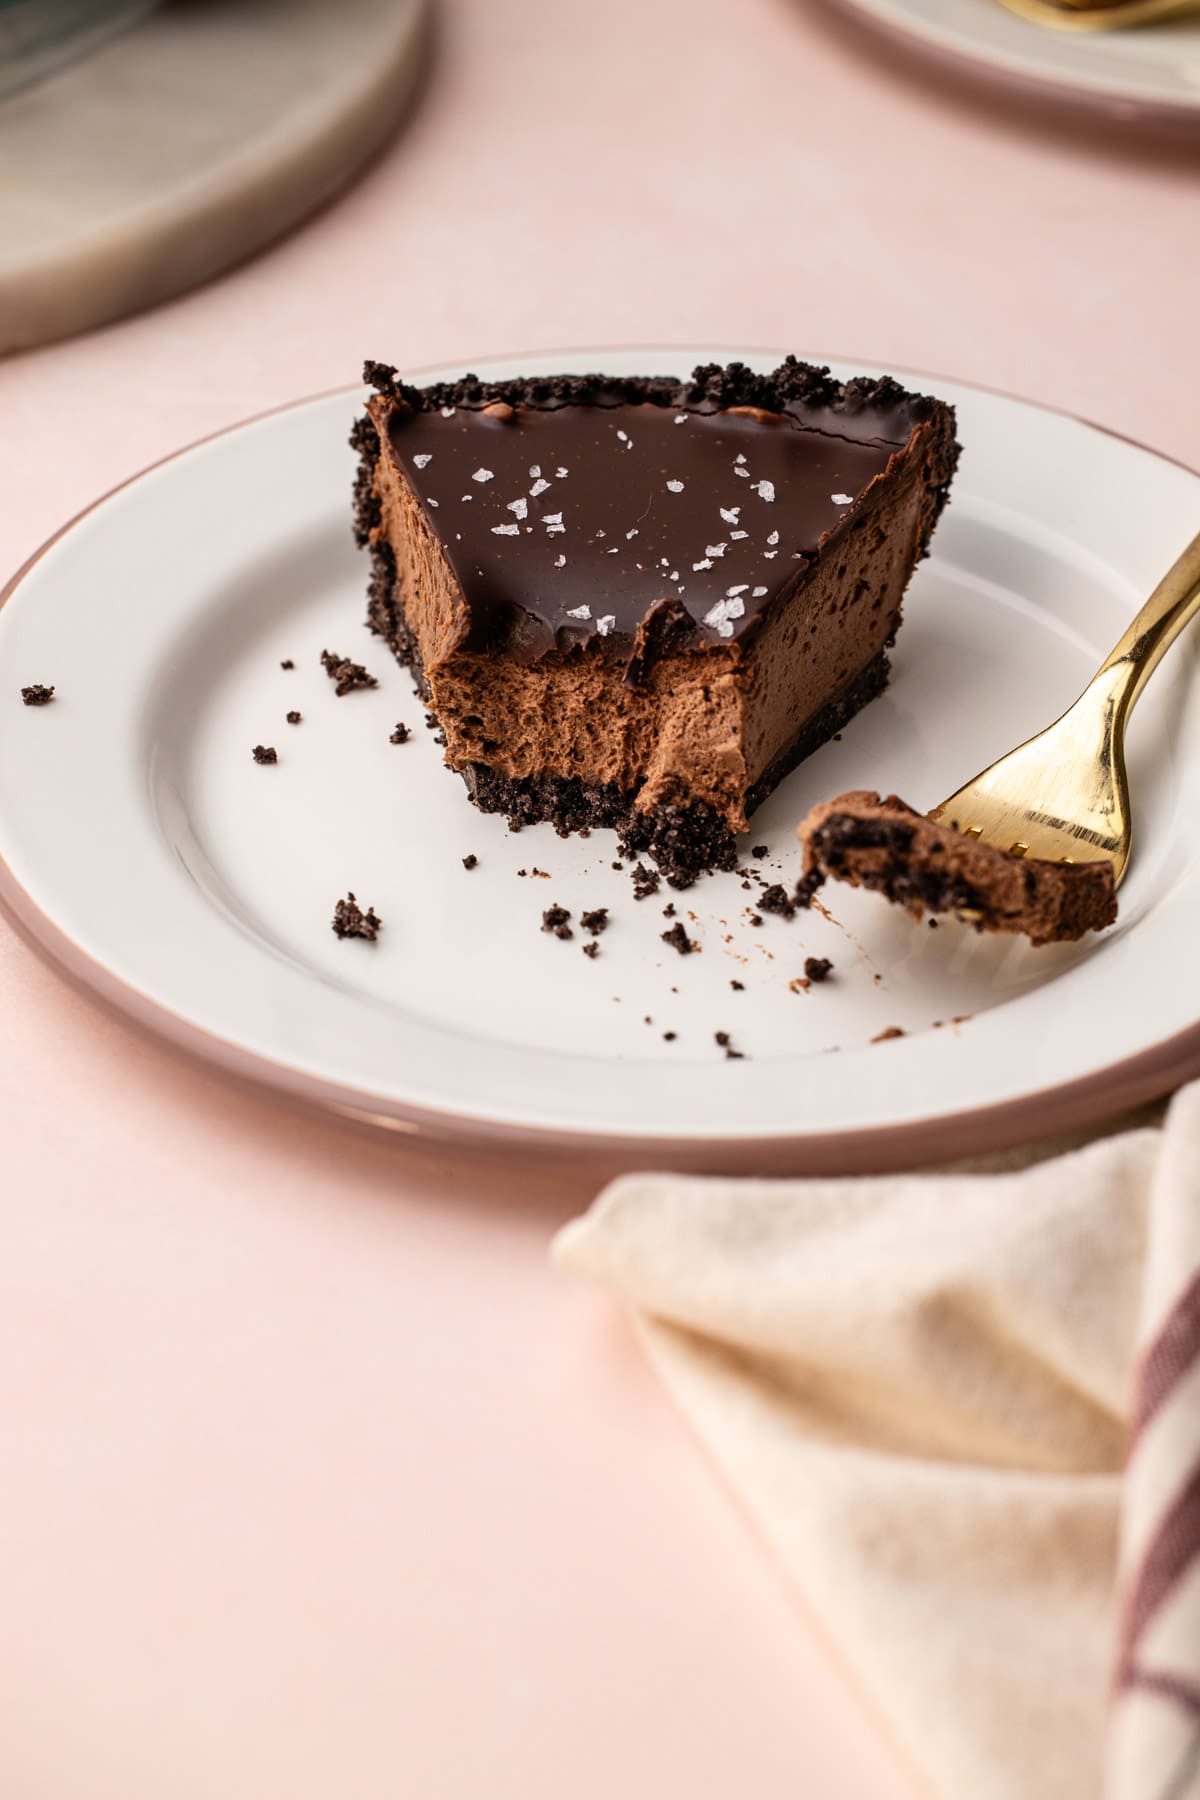
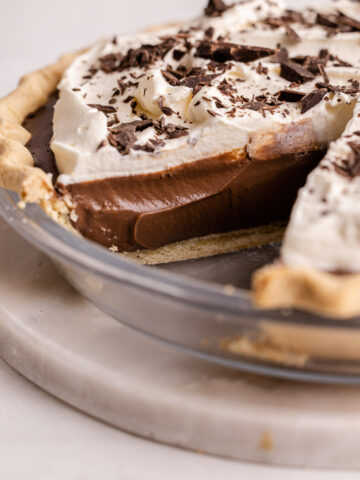
This Easy Chocolate Pie has a creamy, decadent no-bake filling with a chocolate cookie crumb crust, finished off with chocolate ganache and a pinch of flaky salt. While the pie is easy to make, it delivers an exceptional taste that's all about mastering the basics.
Want to save this recipe?
Enter your email & I'll send it to your inbox. Plus, get weekly updates from me!
This pie is a celebration of chocolate. With its crunchy, chocolaty Oreo crust and silky, rich no-bake filling, this recipe is for the true chocolate lovers.
Though the title of "Easy Chocolate Pie" might suggest that it is ho-hum in flavor, the exact opposite is true with this recipe. Along with good-quality chocolate, this pie uses two common ingredients, vanilla extract, and salt, to elevate this dessert to the next level. And I really mean next level.
This pie is perfect for any time of year, whether it's the height of summer when a no-bake easy pie is just the ticket, or during the holidays when oven space is hard to come by. Additionally, this pie can be stashed away in the freezer for whenever you are ready to serve it.
So, let's get to making it, shall we? The article below details all the information you need to know to make this pie successfully, concluding with the recipe at the end. You can jump around using the menu below, or skip to the end of the article for the full recipe.
Jump to:
- Behind the Scenes of the Development Process
- Ingredients Needed and Substitutions
- Crust Options
- Troubleshooting the Oreo Crumb Crust
- Alternative Even Easier Pie Crust Option
- Making the Chocolate Filling
- Assembling the Pie
- Chilling Time
- Kelli's Best Tips
- Serving + Storage
- More No Bake Pies
- More Chocolate Recipes
- Full Recipe
Behind the Scenes of the Development Process
It's always the pies that I think will be super simple to develop that I end up spending the most time working through (see here this Hot Cocoa Pie). But that's okay because you win in the end with a tried-and-true, tested recipe! And I guess my family wins, too, because they got to eat their way through all the chocolate pies I was slinging to get to this end result.
Here were the requirements I was looking for with this recipe:
- to be an achievable task for the average baker, but with truly extraordinary taste.
- I didn't want to rely on store-bought shortcuts (no hate to the ubiquitous "whipped topping" in that blue container, but you won't find recipes using it on this website!)
- Additionally, I felt it was imperative that the chocolate flavor really pop while not overwhelming the palate.
- And of course, different textures within the pie would be key to balance everything out.
In the end, this recipe nailed my taste test rule: after three bites, I either crave more, or am totally fine to stop eating it. And this one hit it out of the park because I honestly couldn't get enough!
Ingredients Needed and Substitutions
Here is a brief overview of the ingredients needed to make this recipe. The recipe card lists the full recipe with quantities and detailed instructions (located below this article).
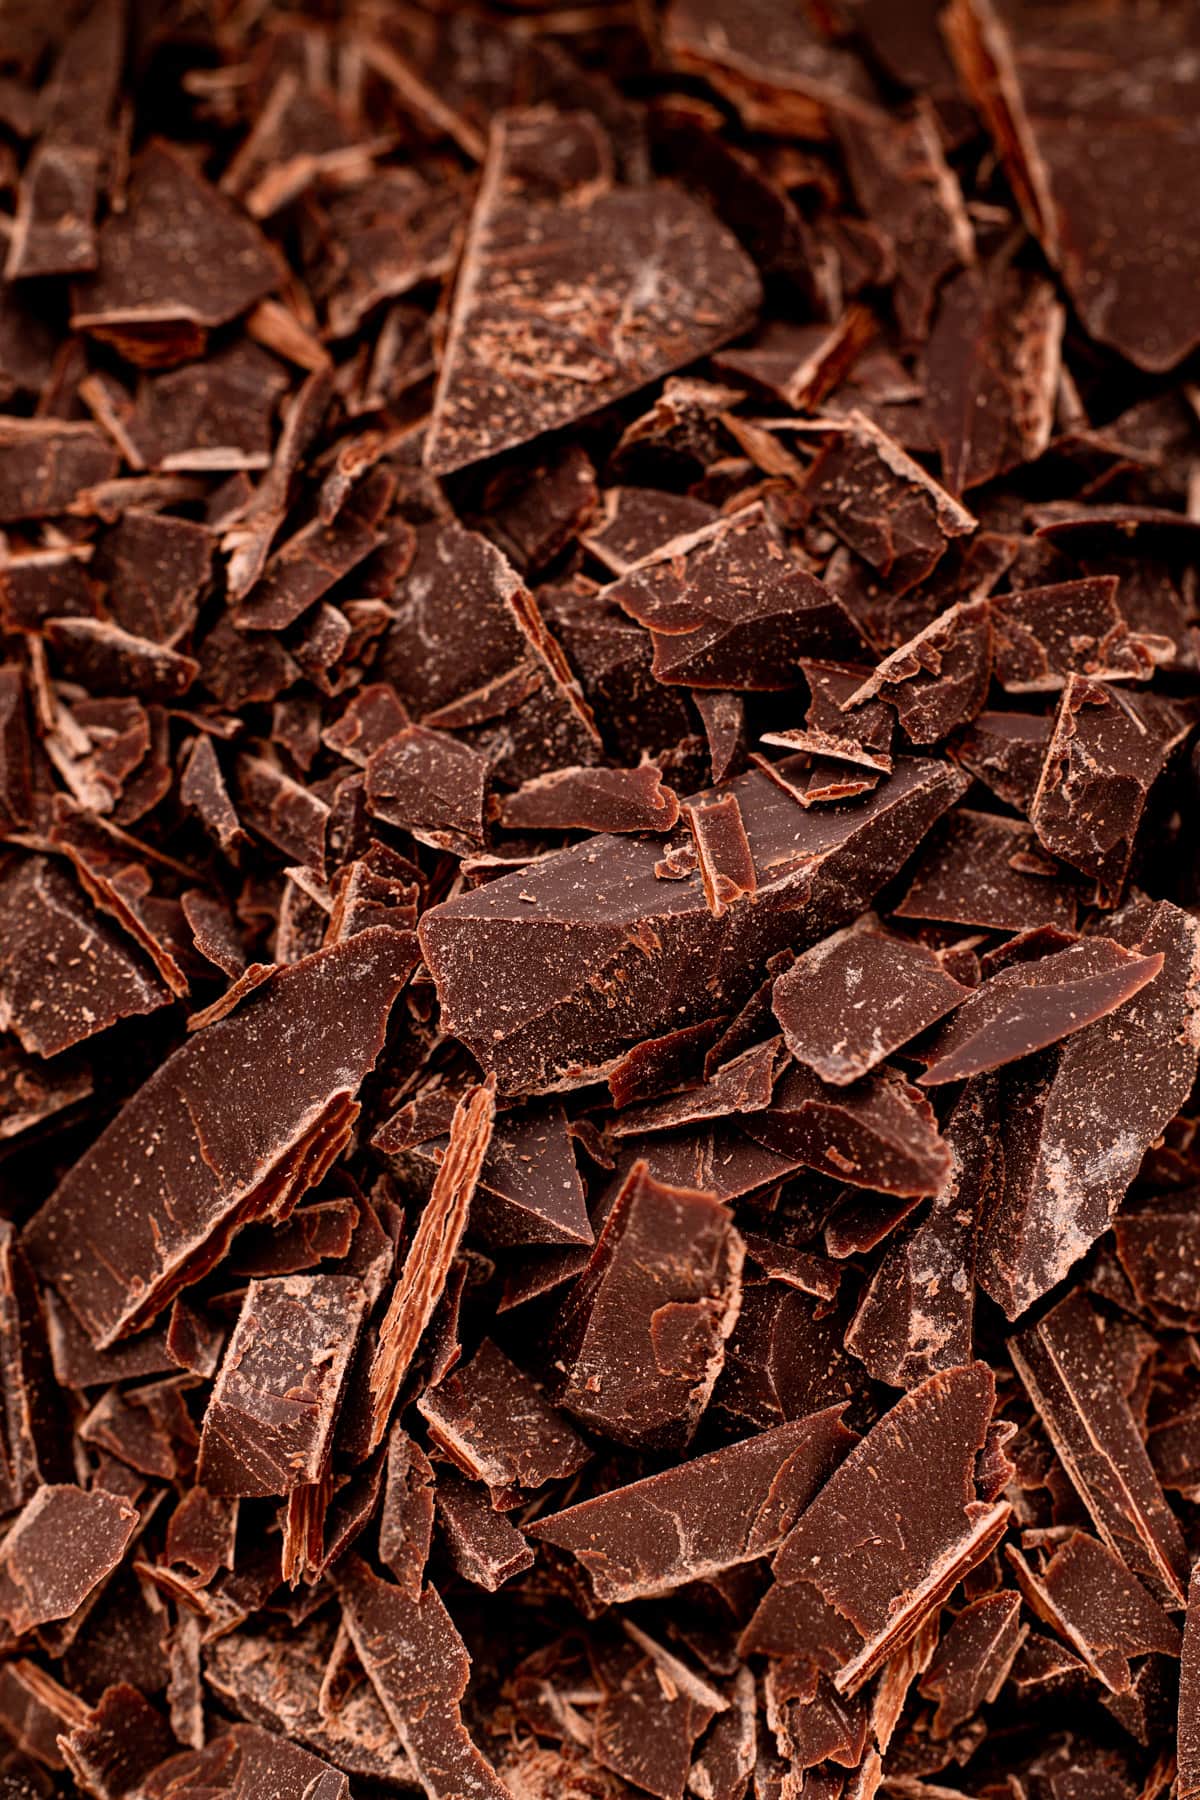
- bittersweet chopped chocolate or high-quality chocolate chips (see further discussion on this below)
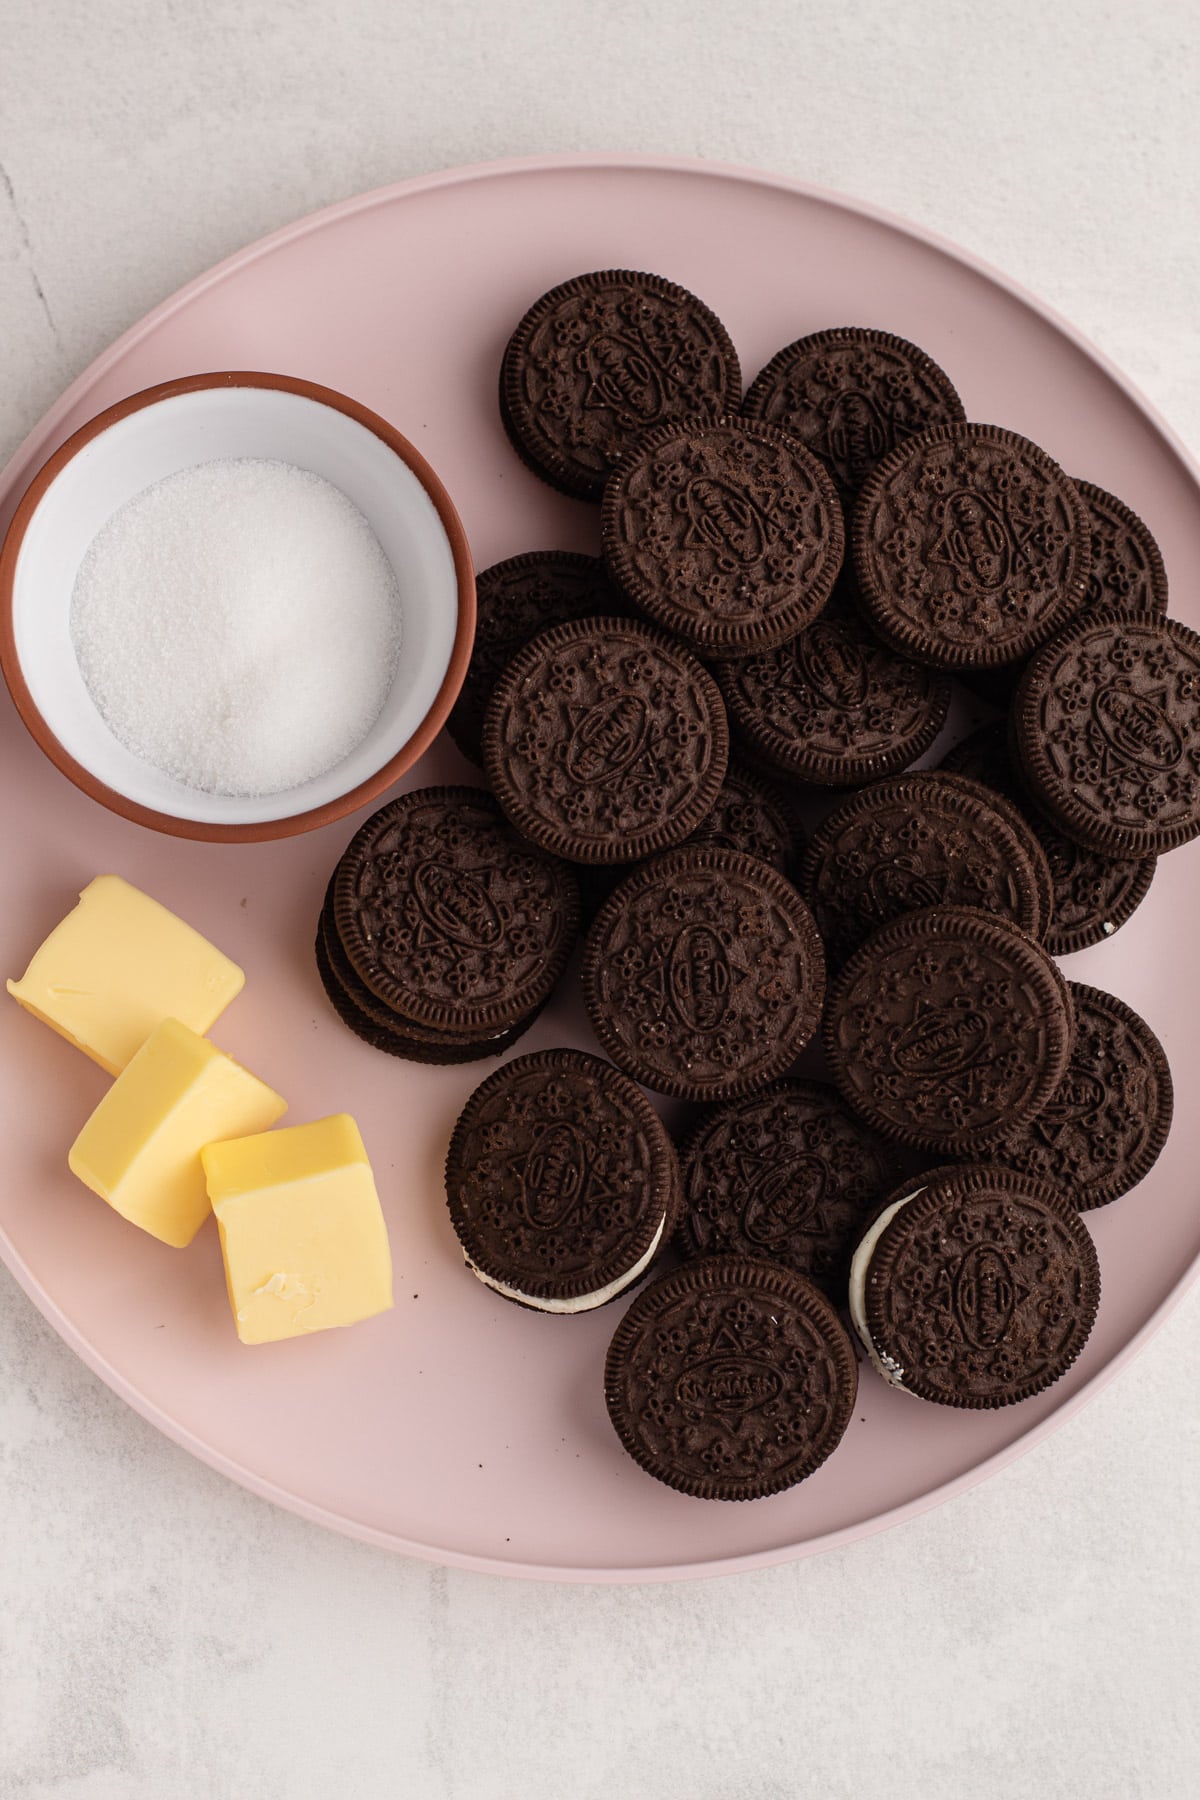
- chocolate sandwich cookies (such as Oreos, though I personally prefer Newman-O's)
- unsalted butter
- granulated sugar
- heavy cream
- cream cheese or mascarpone cheese
- cocoa powder (Dutch-processed cocoa powder is preferred in this recipe for a more rounded flavor, but natural cocoa powder is also fine for deep, slightly bitter chocolate flavor)
- espresso powder (this is optional, but deepens the chocolate flavor)
- vanilla extract (use the best quality you can, and don't skimp on it!)
- coarse kosher salt (using the correct amount of salt in this pie is key to helping that chocolate flavor pop--I use Diamond Crystal coarse kosher salt, but if you use Morton's kosher salt or fine salt, decrease by half for volume, or use the same amount by weight)
- Maldon flaky salt, for garnish (optional but not optional, ya know?)
Type of Chocolate to Use
This recipe calls for bittersweet chocolate, which honestly can mean a lot of things. Basically, use dark chocolate that you like the taste of, with a cacao percentage range somewhere between 60%-80%.
In an ideal world, when baking or cooking with chocolate (see: French Silk Pie), it is best to use a pure chocolate bar from a high-quality brand. A pure chocolate or baking bar is best because it doesn't contain additives that help it keep its shape like chocolate chips.
However, it's not always a perfect world, and we don't always have high-quality chocolate bars on hand when the desire for chocolate pie appears.
So, if you want to make the best possible chocolate pie, use a whole chocolate bar that has been chopped up very finely for the ganache. If that's not possible, use high-quality chocolate chips. By high-quality, I mean I don't recommend making this with something like Nestle. Instead, I recommend brands like Ghirardelli, Guittard or Callebaut.
Crust Options
I wrote a whole post on Making an Oreo Pie Crust in case you are new at it. Essentially, what you need to know is that you mix together crushed Oreo cookies with butter and pat it into the pan. Doesn't get much easier than that!
You do not remove the cream filling from the cookies--it stays in the pie.
Troubleshooting the Oreo Crumb Crust
Not all chocolate sandwich cookies are the same: I've tested out making crusts using different brands of chocolate sandwich cookies, all with different results. Typically at home I use Newman-O's, and they require about 3 tablespoons of melted butter. But when I tested with the Oreo brand and a few others, each one required a different amount of butter.
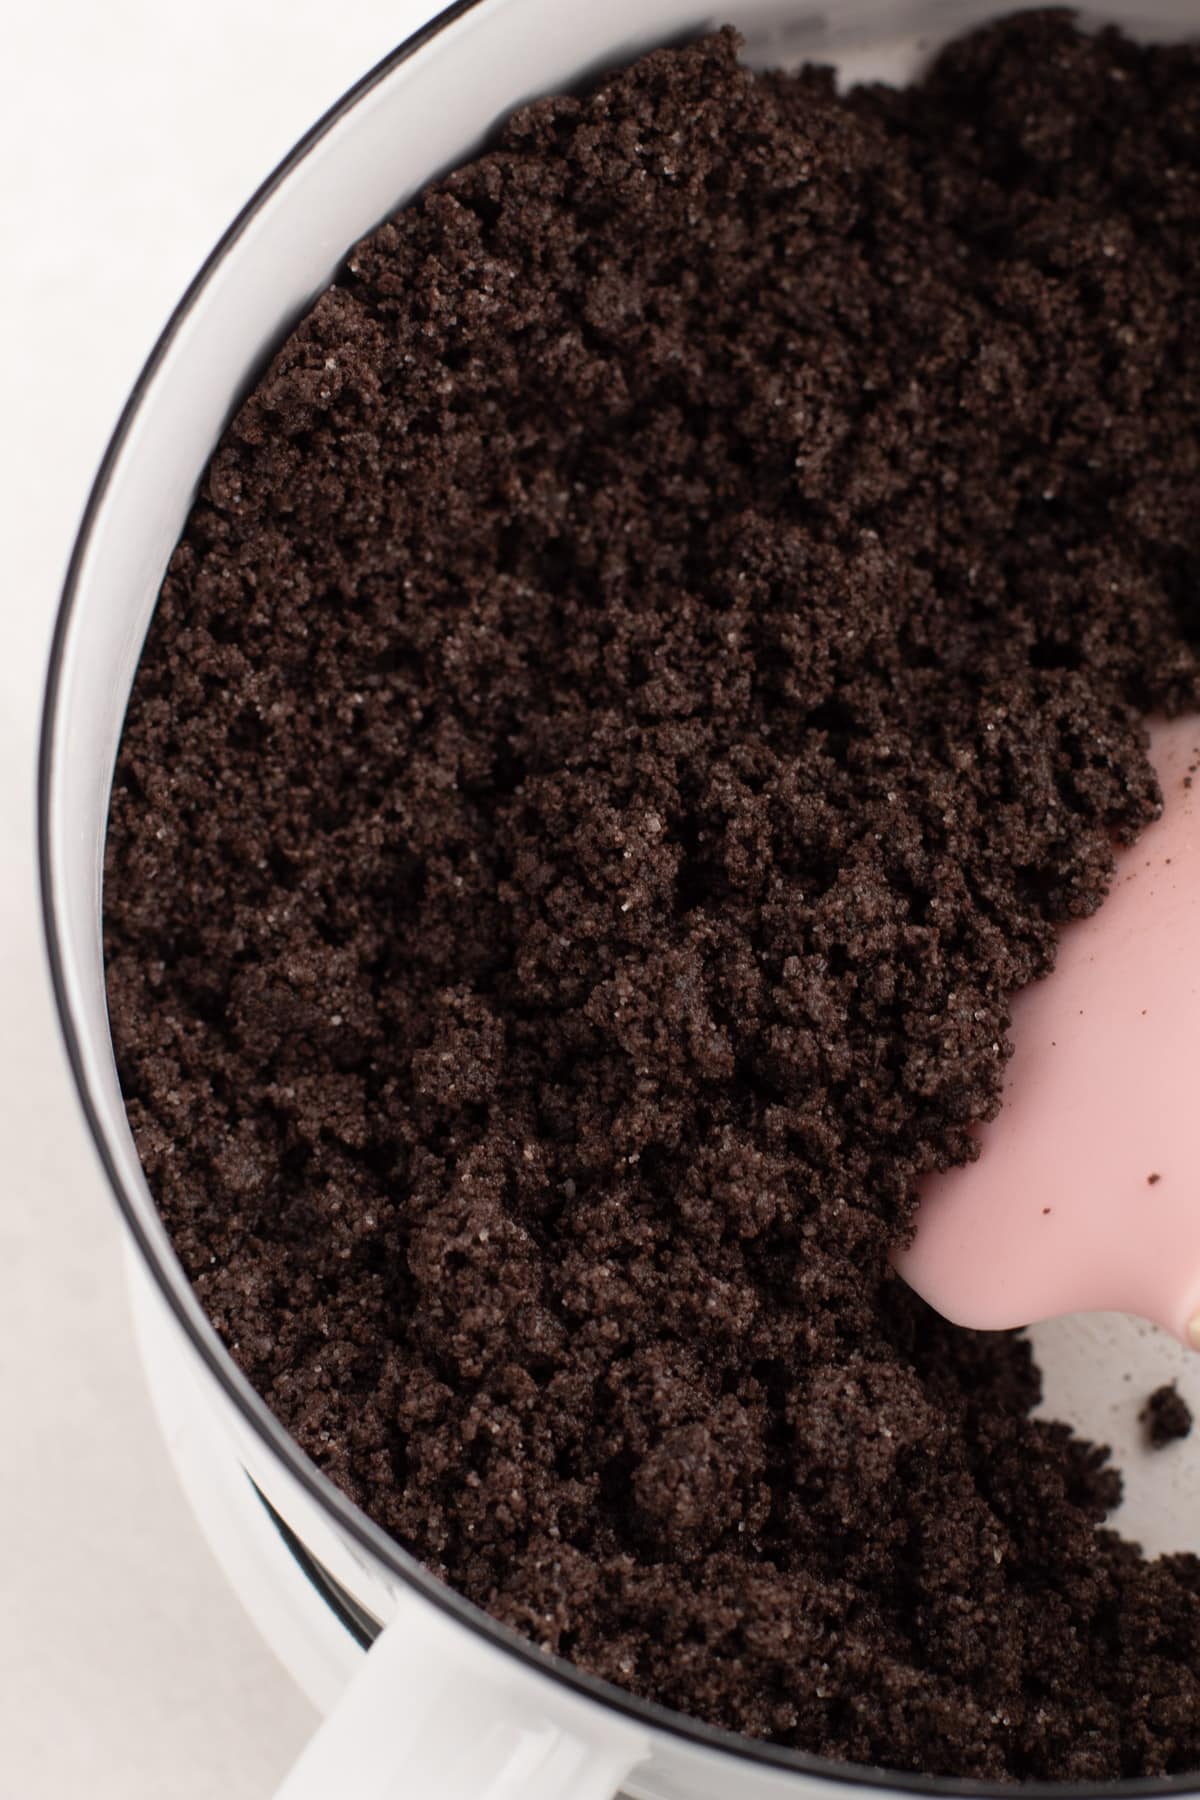
So, while making an "Oreo" pie crust is pretty straightforward, the amount of butter you'll need can vary. Start with 3 tablespoons, then add more, 1 tablespoon at a time, as needed. Alternatively, if your mixture is too wet and hard to work with, add more cookie crumbs until it is easy to pat into the pan. The consistency should be like wet sand, and when you squeeze the mixture, it should hold its shape but not be soggy.
Alternative Even Easier Pie Crust Option
One day, while testing this recipe, I was feeling rather lazy and decided to skip making the Oreo crust altogether. Since I still needed to have a crust for testing purposes, I decided to layer whole Oreos in the bottom and up the sides of a pie dish. My family and I ended up loving this version. And I was surprised by how cleanly it sliced! So, if you want an extra-easy pie crust option, just put a layer of whole chocolate sandwich cookies into the bottom of a pie dish (or even an 8-inch square baking pan).
Making the Chocolate Filling
This no-bake filling is super easy to put together. Here is an overview of how to make it (with the full recipe written below this article in the recipe card):
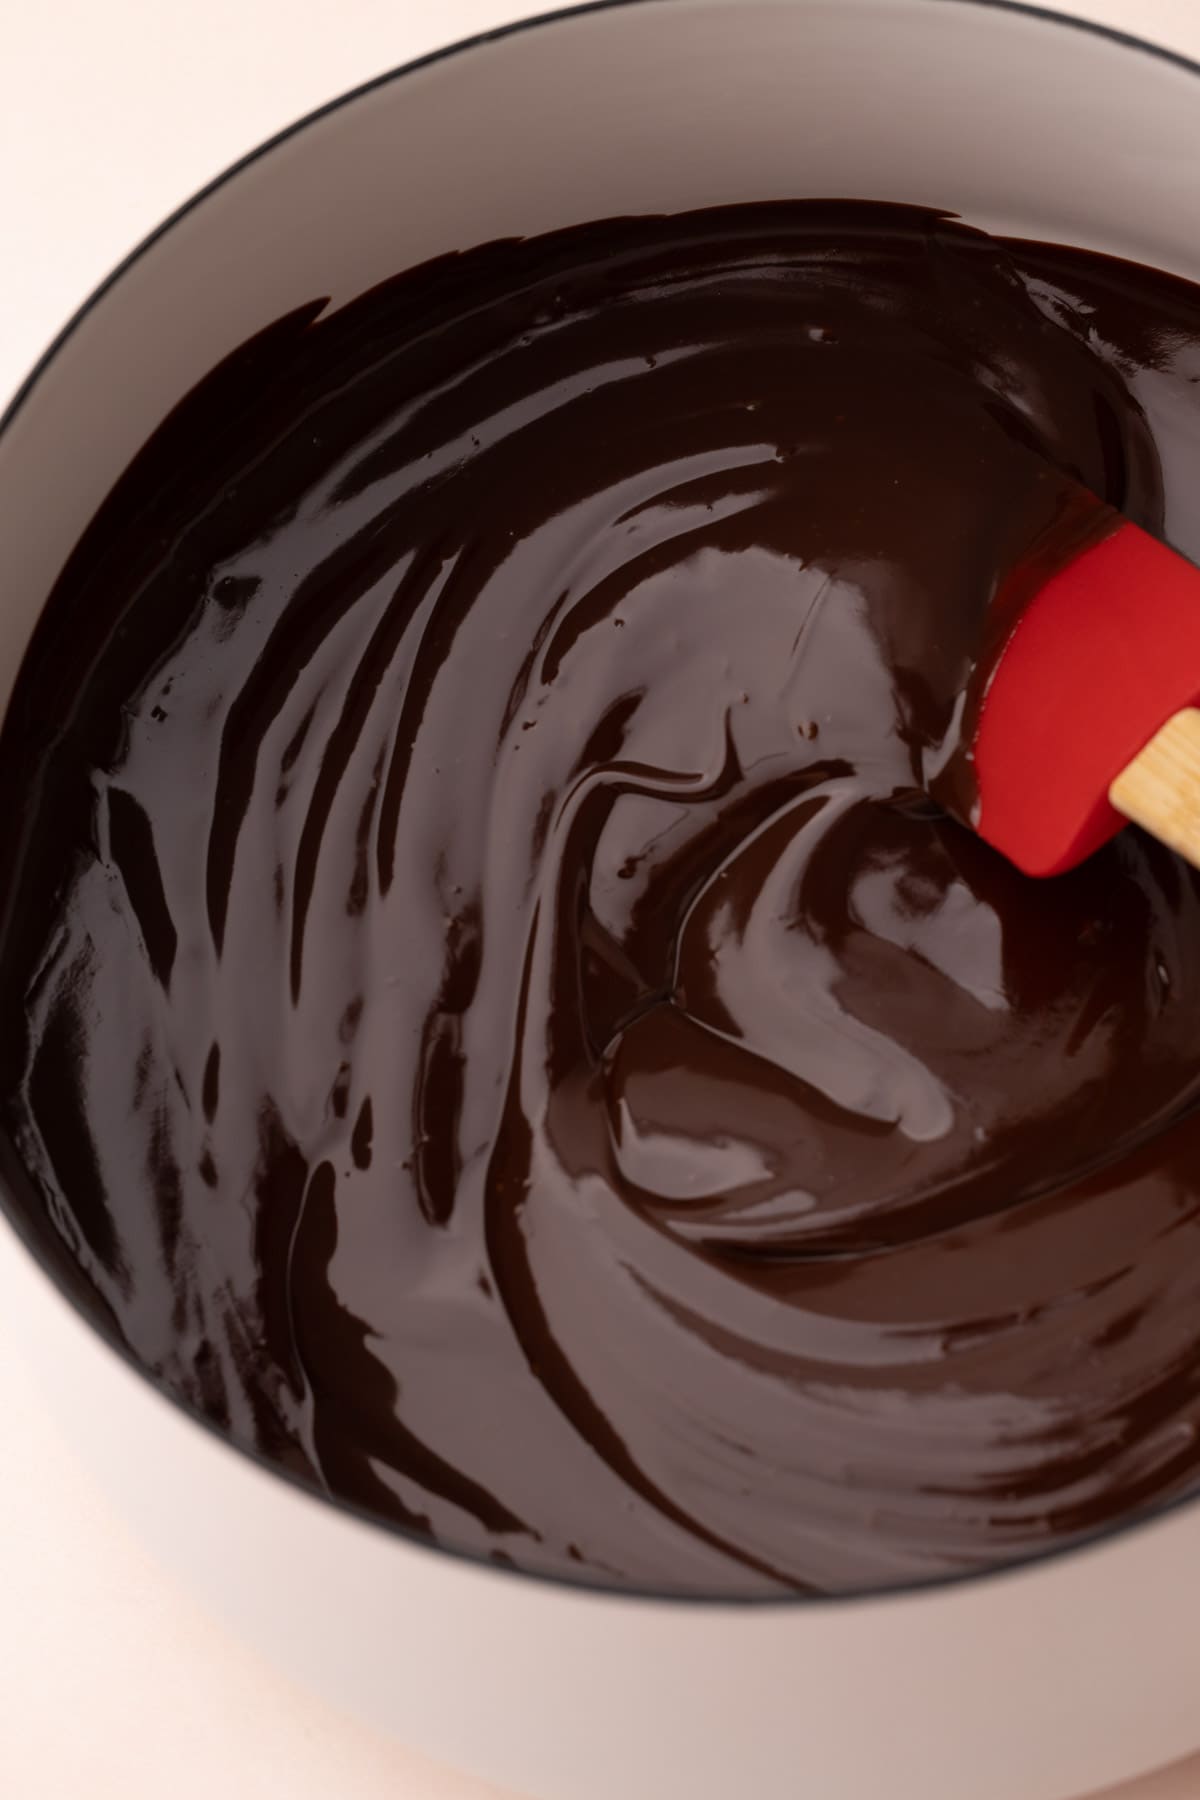
Step 1: Make the chocolate ganache.
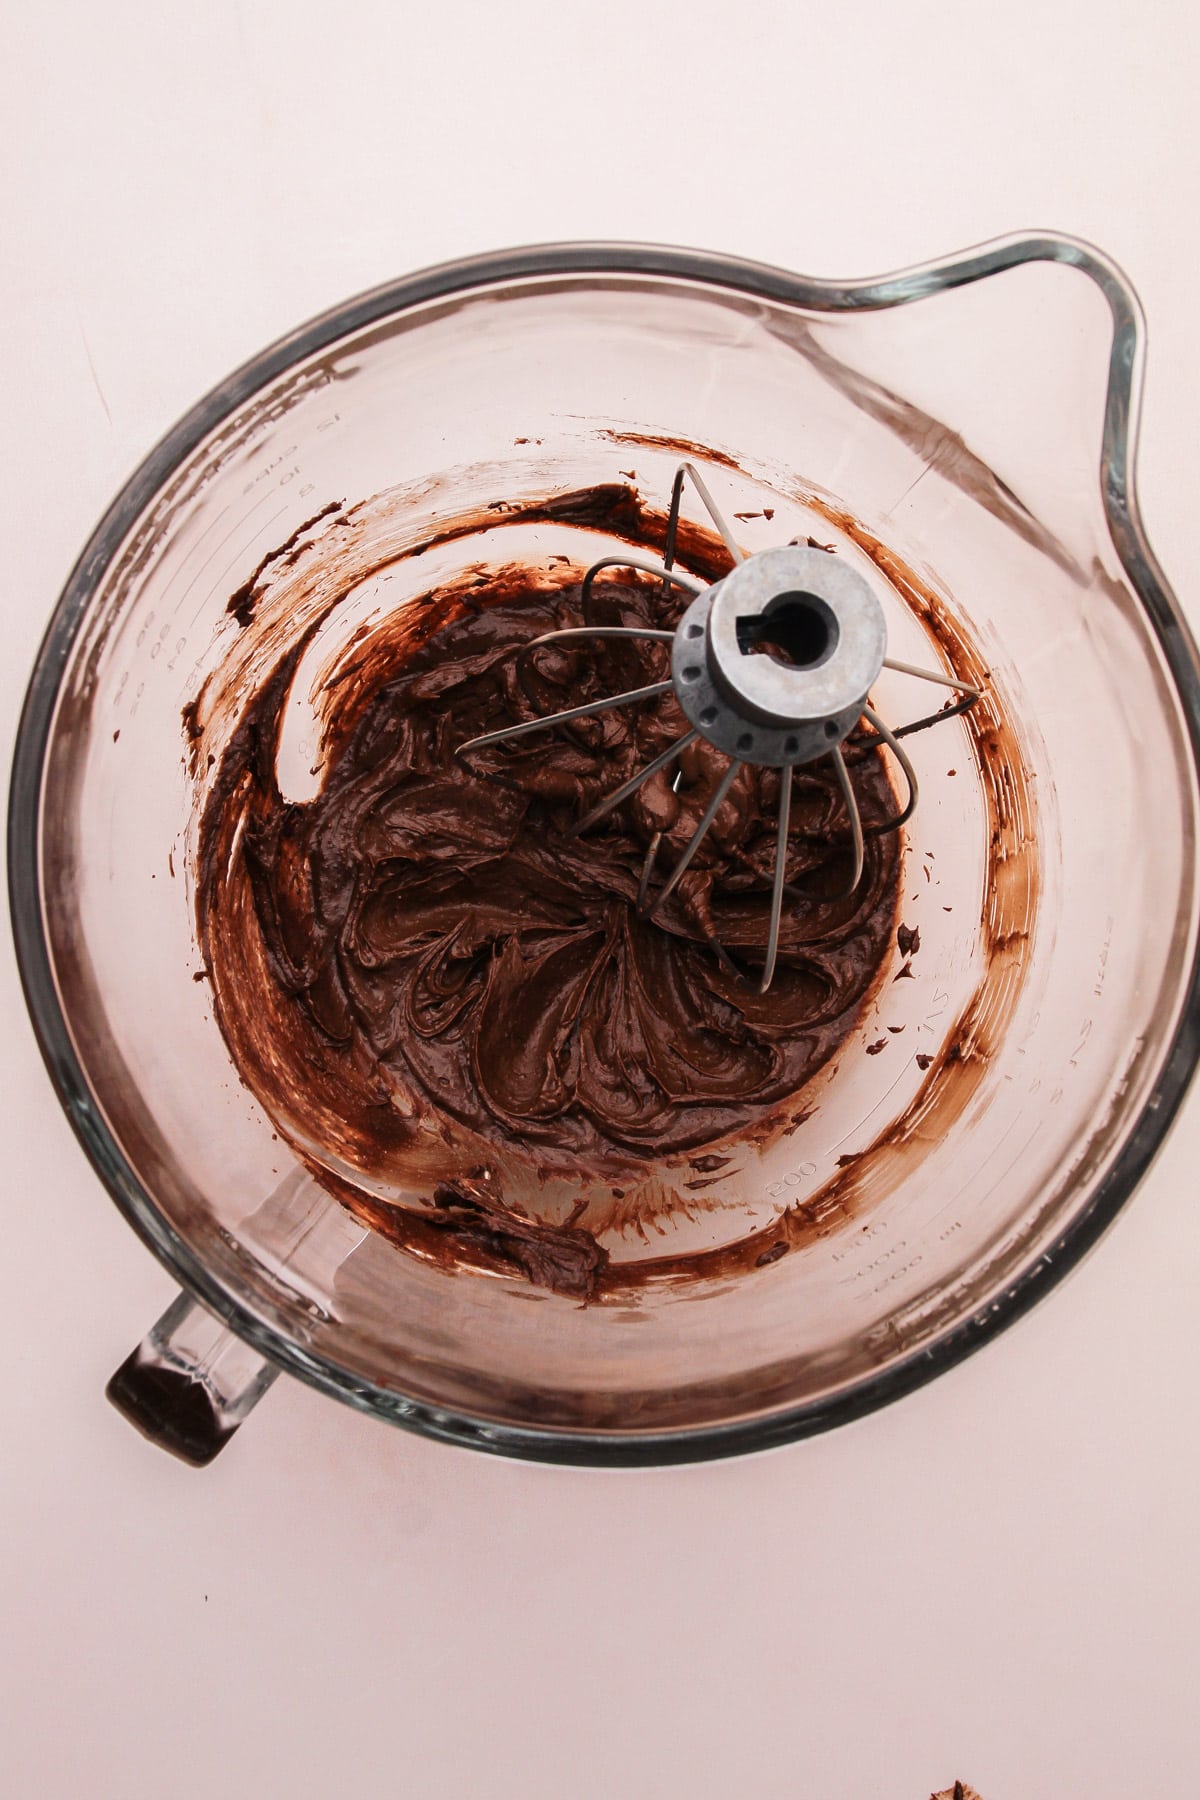
Step 2: Whip together the cream cheese and cocoa (along with a few other ingredients) until smooth.

Step 3: Add the cream and whisk until thick, glossy peaks form.
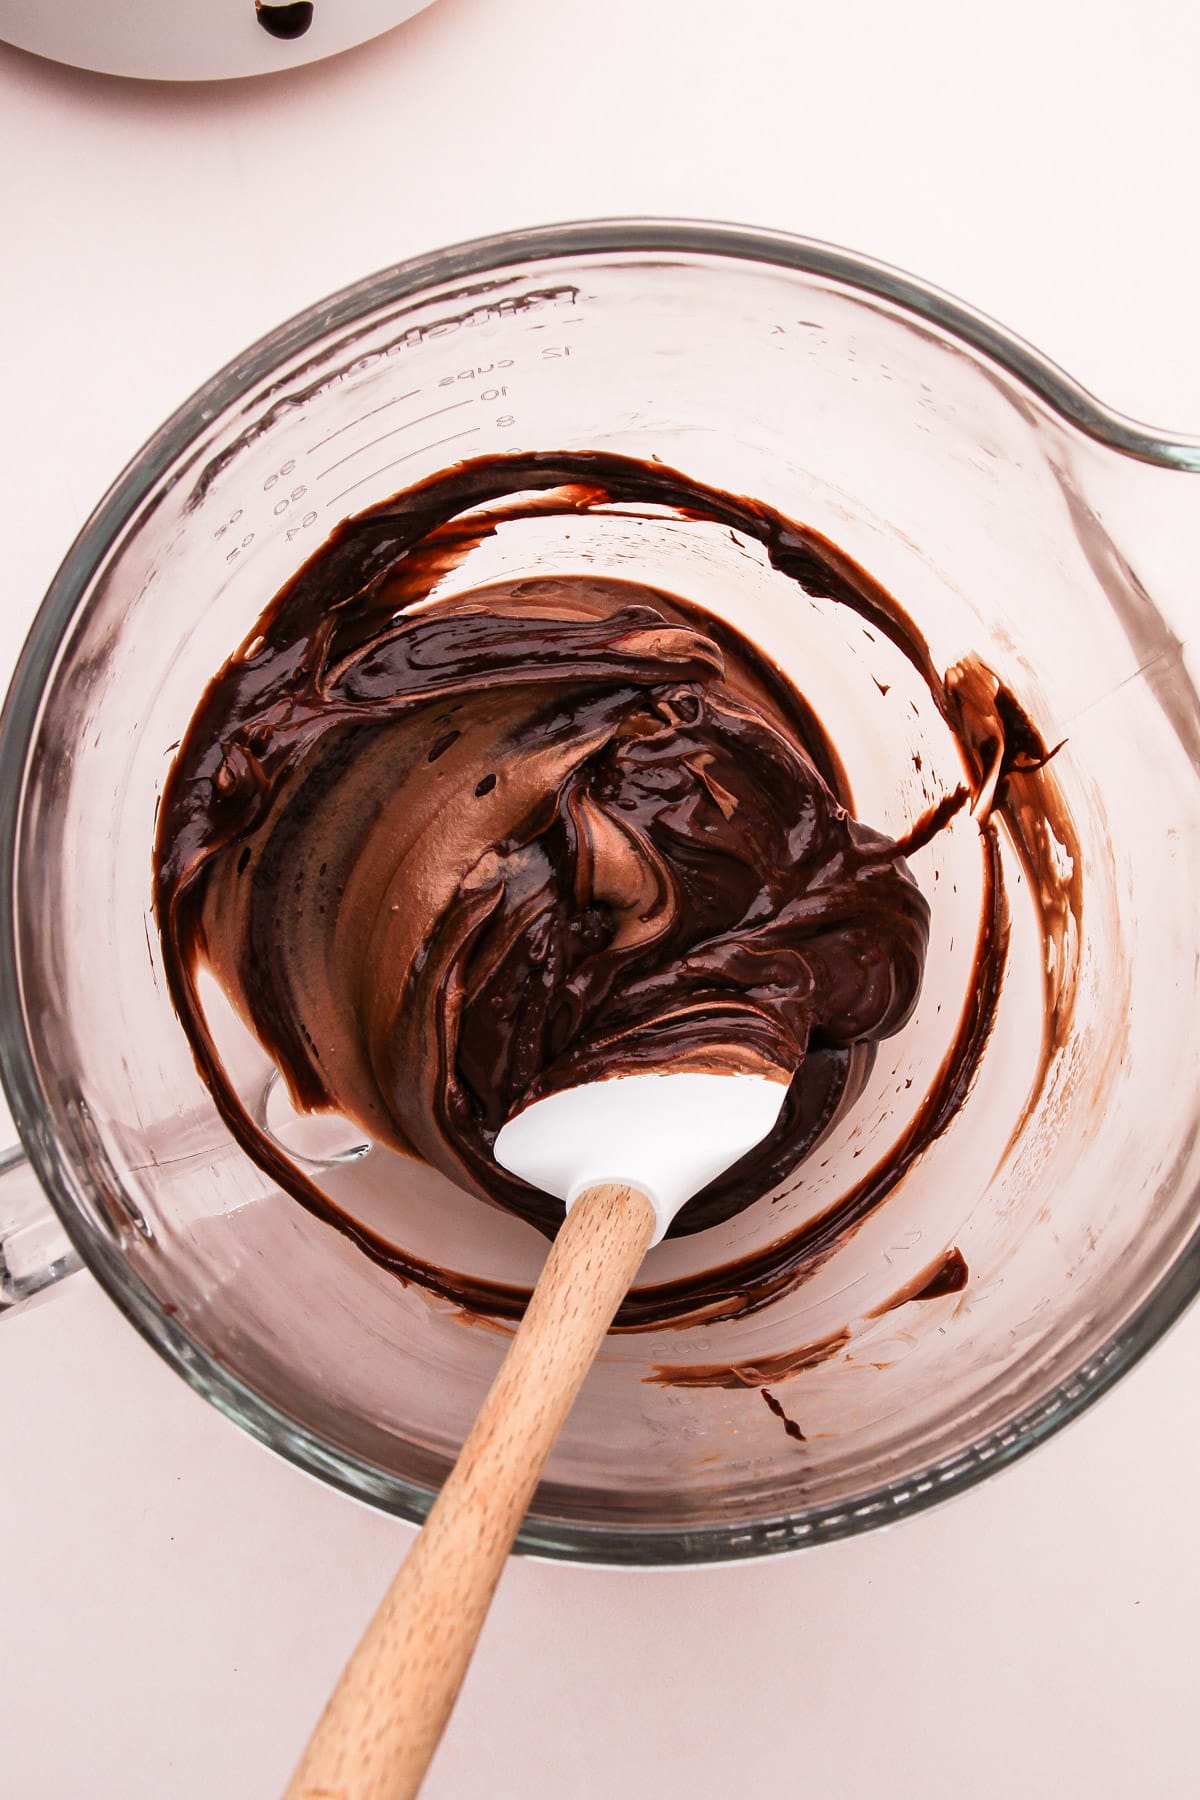
Step 4: Fold in about 1 cup of the room-temperature ganache.
Assembling the Pie

Step 1: Transfer the chocolate filling to the prepared pie crust.
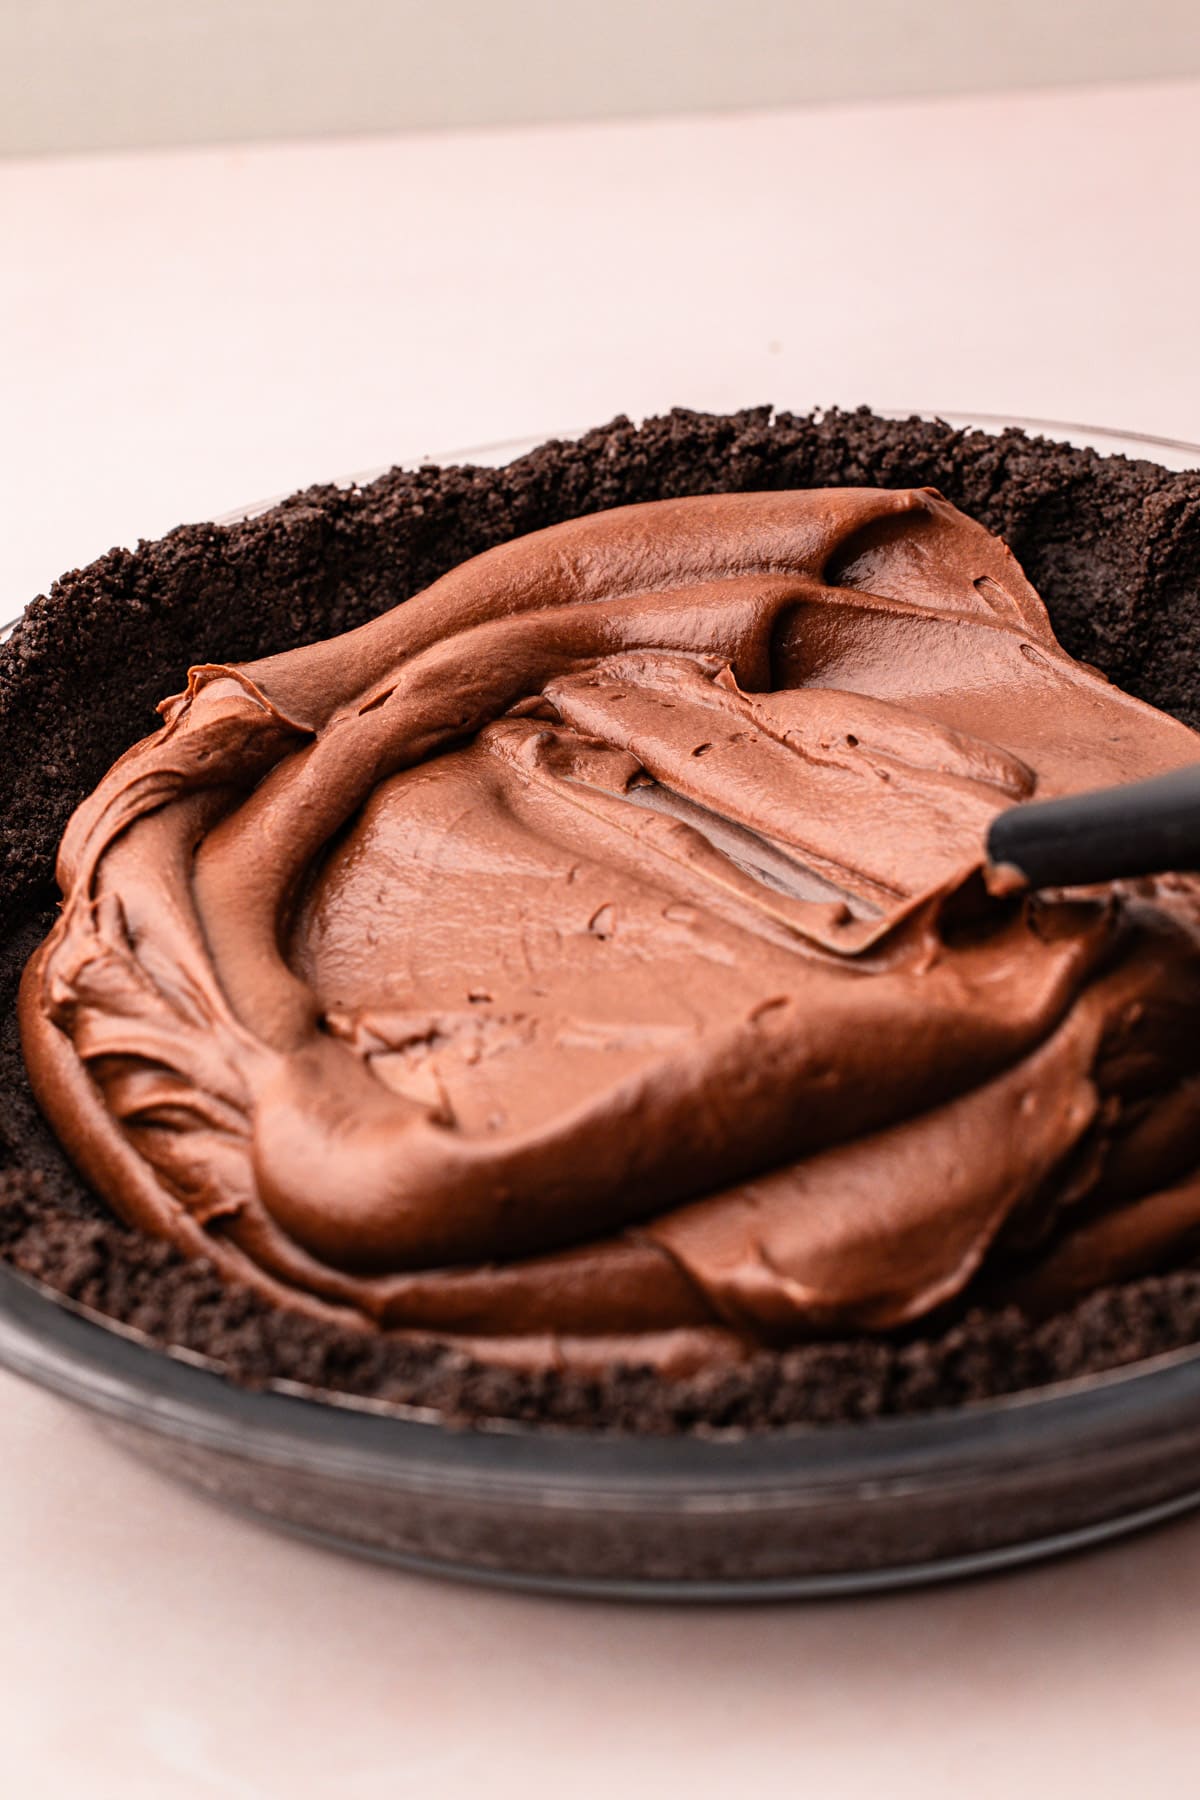
Step 2: Gently smooth it out in the crust, without deflating it.

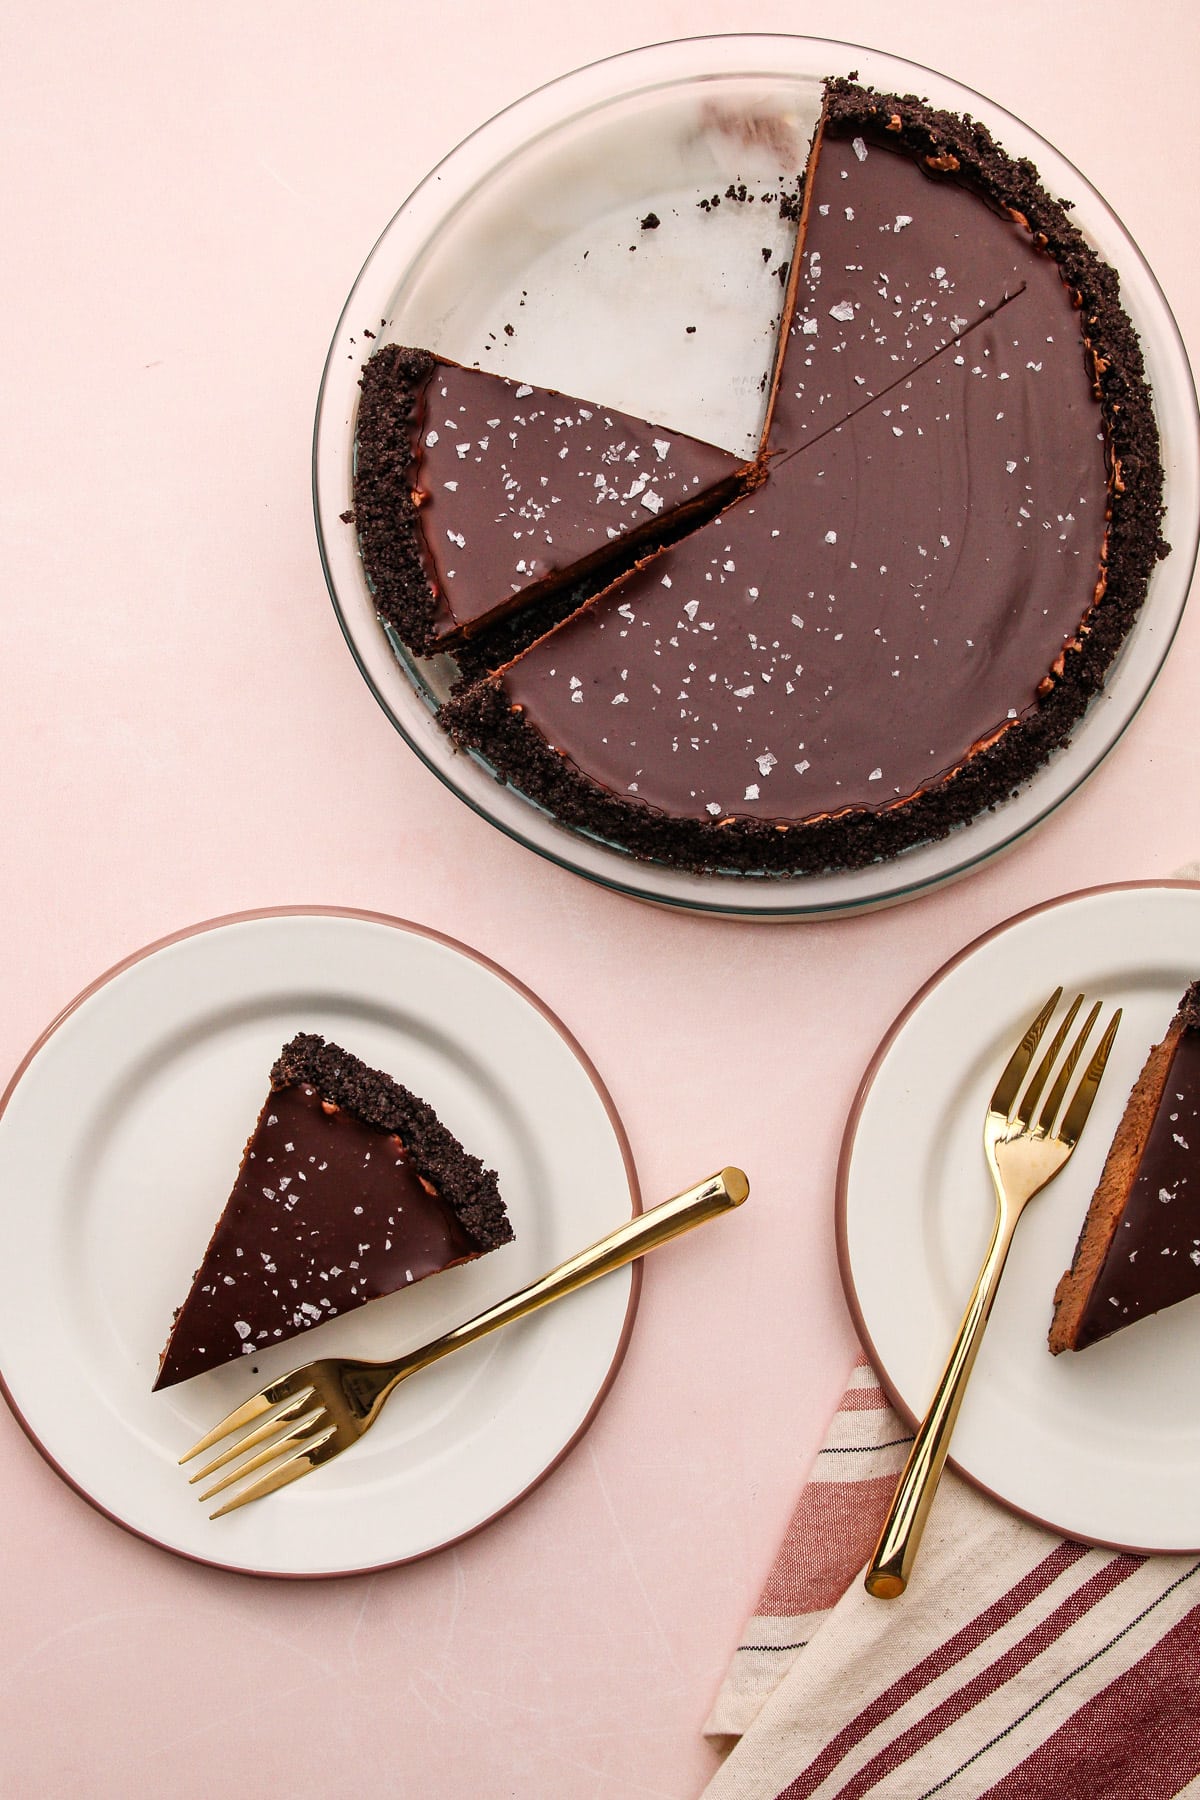
Step 3: Freeze the pie for 15 minutes, then pour over the room-temperature ganache.

Step 4: Send the ganache to the edge of the pie in one even layer. Chill, then sprinkle with flaky salt before serving.
Chilling Time
This pie should be chilled in the refrigerator for at least 4 hours before serving, preferably overnight. It can also be frozen for up to 3 months.
Kelli's Best Tips
- Don't overwhip the cream; it can "break," and your mixture will curdle.
- Make sure the chocolate ganache is at room temperature before folding it into the chocolate cream.
- Take the time to freeze the filled pie before pouring the ganache over the top. If the ganache is too cold to pour over the top, briefly rewarm it to 80-90ºF.
Serving + Storage
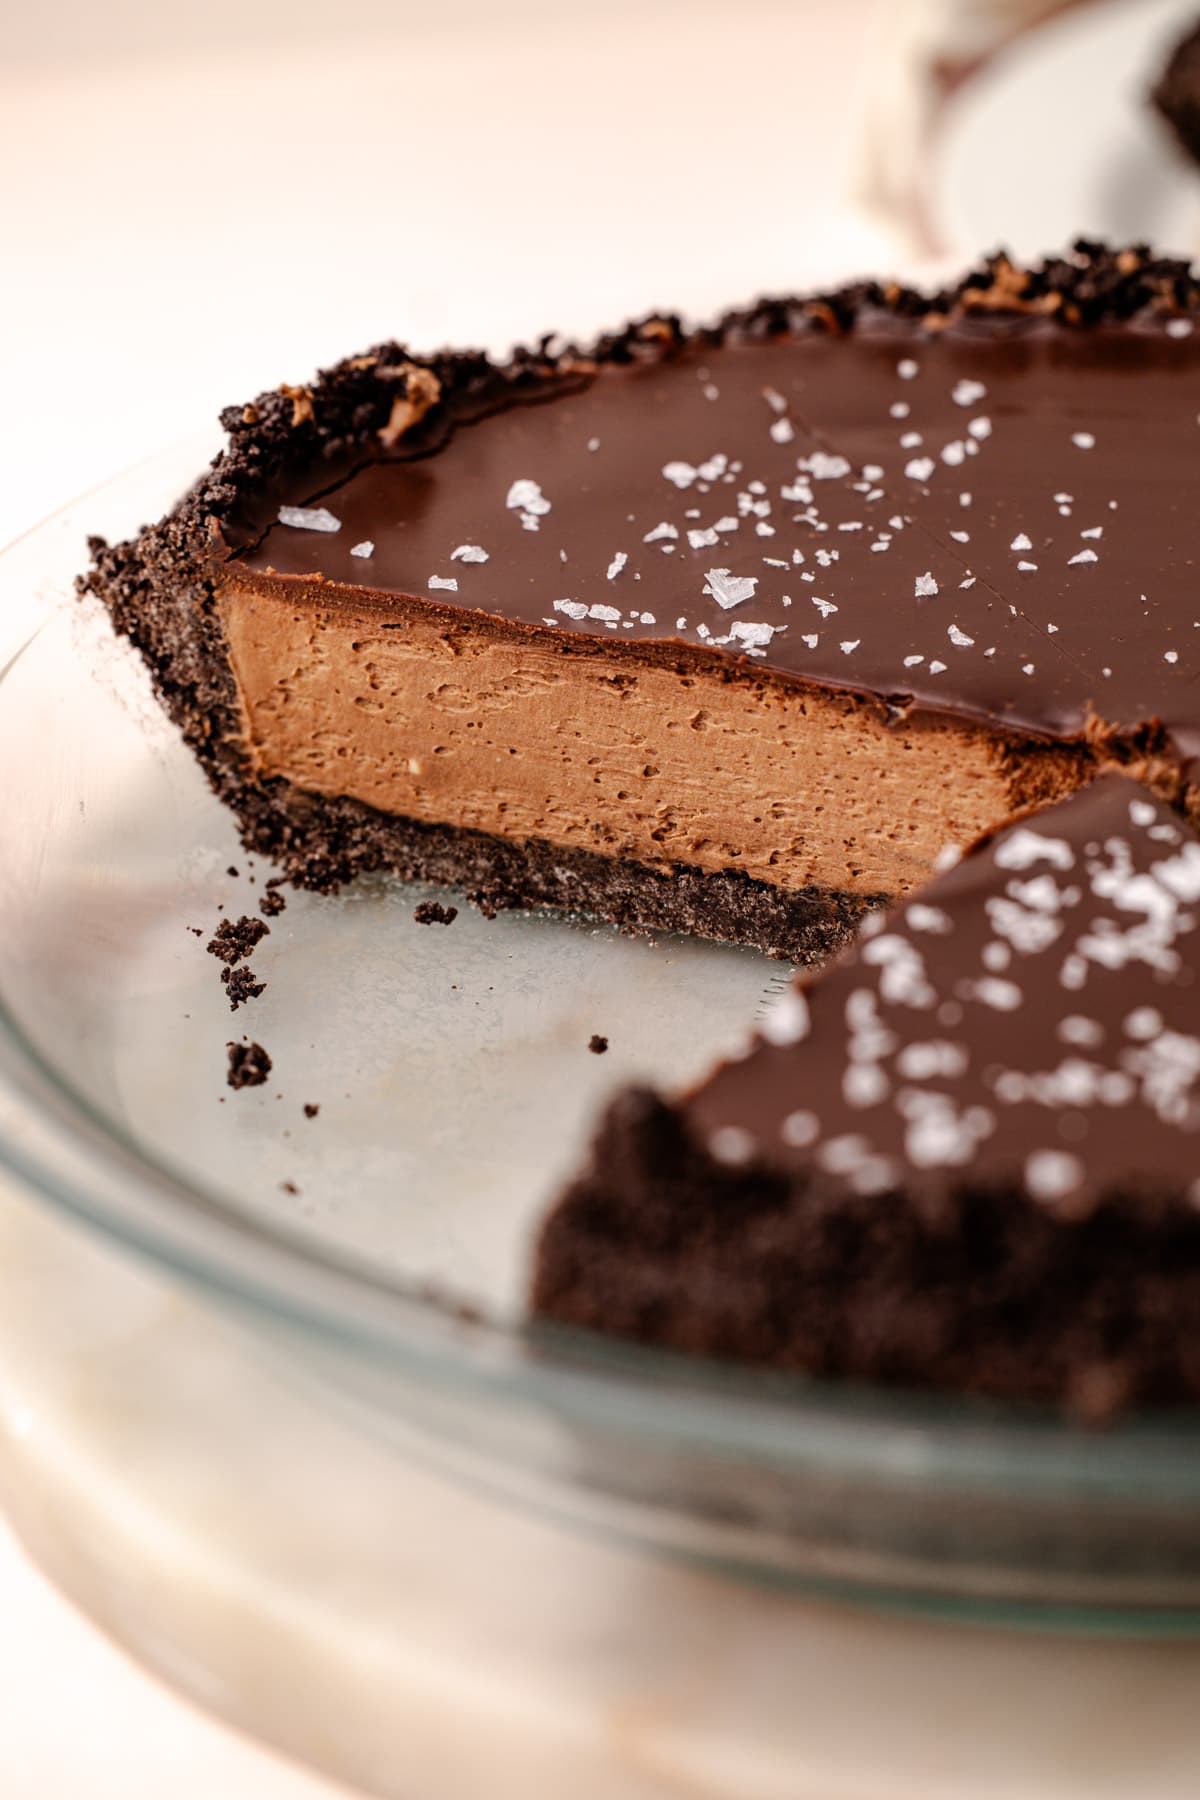
This pie should be served very cold. It can be made up to 2 days ahead of time when stored in an airtight container in the refrigerator, or up to 1 month if frozen.
To serve it from frozen, let the pie sit at room temperature until it’s easy to cut into, 15-30 minutes, depending on how warm your kitchen is.
More No Bake Pies
More Chocolate Recipes
I am so honored when you make a recipe from my site! If you make this Easy Chocolate Pie, please leave a star ⭐️⭐️⭐️⭐️⭐️ rating with your experience! If you have any questions about this recipe, feel free to comment here, and tag me on Instagram!
PrintFull Recipe
Easy Chocolate Pie (No-Bake)
This Easy Chocolate Pie has a creamy, decadent no-bake filling with a chocolate cookie crumb crust, finished off with chocolate ganache and a pinch of flaky salt. While the pie is easy to make, it delivers an exceptional taste that's all about mastering the basics.
- Prep Time: 00:20
- Chilling Time: 04:30
- Total Time: 4 hours 50 minutes
- Yield: Serves 8-10
- Category: Dessert
- Method: No-Bake
- Cuisine: American
Ingredients
For the Oreo Crust
- 2 cups (290 grams) Oreo cookie crumbs cookies (about 19 cookies)
- 3 tablespoons (35 grams) unsalted butter, melted (plus more as needed)
- 2 tablespoons (25 grams) granulated sugar
For the Easy Chocolate Filling
- 1 cup (180 grams) bittersweet chopped chocolate or high-quality chocolate chips
- 1-½ cups (360 grams) heavy cream, divided
- 4 ounces cream cheese or mascarpone, softened
- ½ cup (100 grams) granulated sugar
- 2 tablespoons (16 grams) cocoa powder (either Dutch-processed or natural)
- 1 teaspoon espresso powder
- 2 teaspoons vanilla extract
- ½ teaspoon coarse kosher salt (see note)
- Maldon flaky salt, for garnish (optional)
Instructions
Prepare the Crumb Crust:
- In a bowl, mix together the Oreo crumbs, melted butter, and sugar. The mixture should be damp, like wet sand, and will hold together when squeezed. If it is too dry, add more melted butter, a tablespoon at a time. If it’s too wet, add a tablespoon more Oreo crumbs until it’s the correct consistency.
- Pour the Oreo crumbs into the pie plate and start pressing them up the sides of the pie plate to form the edges first. Once the edges are formed, work the crumbs down to evenly distribute them into the bottom of the pie plate. Then, pack it down into an even layer using a flat-bottomed cup or measuring cup.
- If baking: Bake in a preheated 350ºF oven for 10 minutes. If freezing: freeze for 30 minutes for a no-bake pie option.
Prepare the Filling and Assemble:
- Heat ¾ cup of the cream in a small metal saucepan on the stovetop over medium-low heat until just simmering around the edges. Remove from the heat and add in the chopped chocolate, making sure the chocolate is completely submerged. Let the mixture sit for 1 minute without disturbing it. Gently stir until it is fully combined, resulting in a shiny, silky chocolate ganache. Set aside in the metal pan to slightly cool down to about room temperature (about 70 degrees).
- Using an electric mixer with the whisk attachment, whip the cream cheese, granulated sugar, cocoa powder, espresso powder, vanilla extract, and salt on medium speed until completely smooth, about 2 minutes, scraping down the sides of the bowl halfway through.
- With the mixer running, slowly add in the remaining ¾ cup of cream. Once added, stop and scrape down the sides of the bowl to ensure no cream cheese is stuck to the bottom of the bowl. Whip on medium speed until the cream is thickened to stiff peaks.
- Fold in about 1 cup of the chocolate ganache to the cream cheese mixture.
- Transfer the chocolate-cream cheese filling into the prepared pie crust and smooth over the top.
- Chill it in the freezer for 10 minutes to set the filling.
- If the chocolate ganache has set up, heat it over very low heat until it’s silky smooth, but not super hot.
- Working quickly, pour the remaining ganache on top of the cold pie. For a beautiful smooth finish, pick up the pie plate and tilt it to use gravity to send the chocolate ganache to the edges of the crust. Alternatively, use an offset spatula to glide the chocolate ganache to the edges.
- Chill the pie in the refrigerator for 4 hours to set up. If desired, sprinkle the top of the pie with Maldon flaky salt before serving.
Notes
Using the correct amount of salt in this pie is key to helping that chocolate flavor pop--I use Diamond Crystal coarse kosher salt, but if you use Morton's kosher salt or fine salt, decrease by half for volume, or use the same amount by weight
You can use any type of chocolate sandwich cookie you like, including gluten-free. Just know that the amount of butter the crust will require will vary depending on the brand you use!
Looking for shortcuts? Opt for a store-bought Oreo crust! Alternatively, skip the crust altogether and layer whole chocolate sandwich cookies in the bottom of the pie dish (or an 8" square baking pan). During testing, this shortcut produced clean slices and was a family favorite.
Choose bittersweet chocolate with 60%-80% cocoa content, opting for a pure chocolate bar (or couveture pieces). If unavailable, use high-quality chocolate chips.
This pie should be served very cold. It can be made up to 2 days ahead of time when stored in an airtight container in the refrigerator, or up to 1 month if frozen. To serve it from frozen, let the pie sit at room temperature until it’s easy to cut into, 15-30 minutes, depending on how warm your kitchen is.
Some of the links on this page may be affiliate links. Everyday Pie is a participant in the Amazon Associates Program. As an Amazon Associate I earn from qualifying purchases, at no extra cost to you.



Sherry
Can this be made with semi sweet baker's chocolate? I'd like to give this a go!
Kelli Avila
Yes!
Inoshi
I love this recipe but my filling didn’t come to a stiff peak… I used thickened cream… any troubleshooting for that?
Kelli Avila
What do you mean by thickened cream?
Hallie
We love this pie. It’s creamy, smooth and delicious. I kind of want to try to make it next with the whole Oreo crust. I a want to invest in the flake salt for dusting the top.