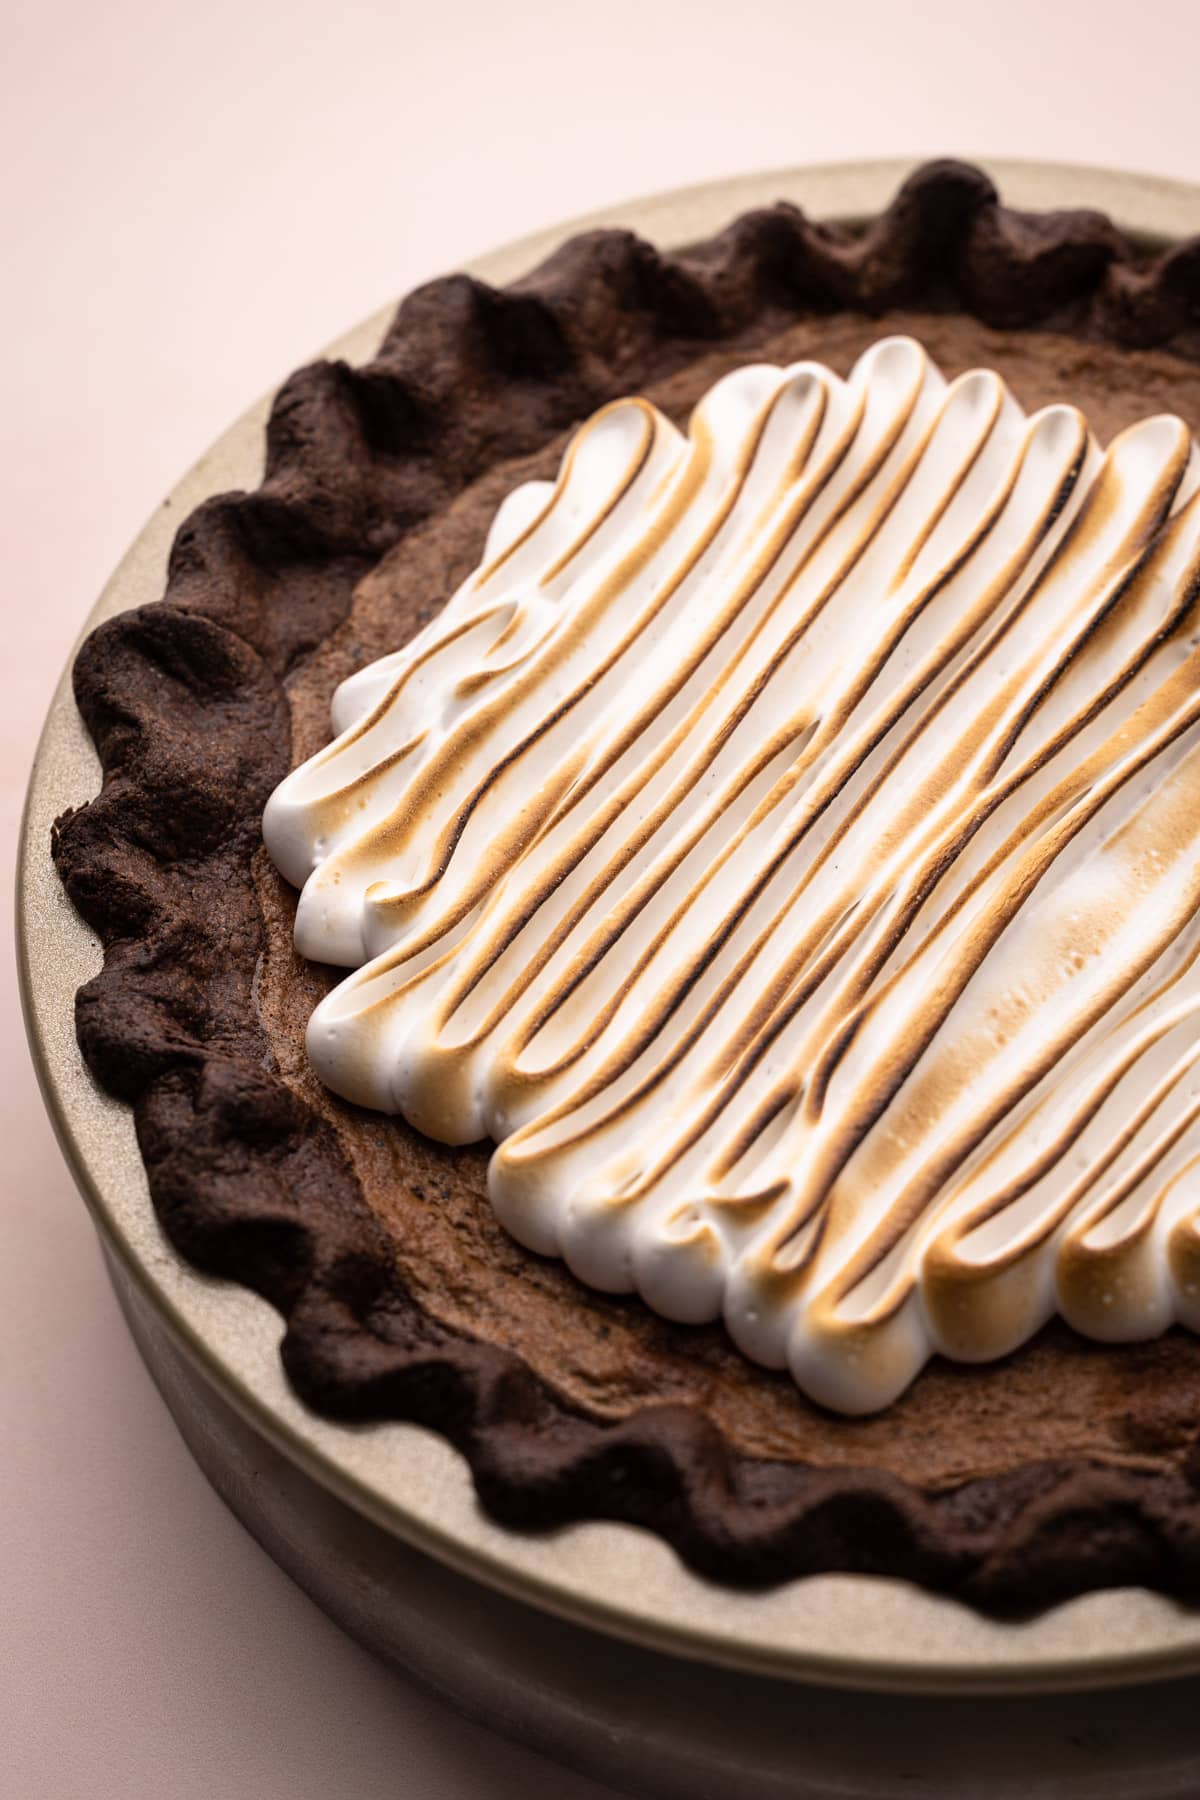
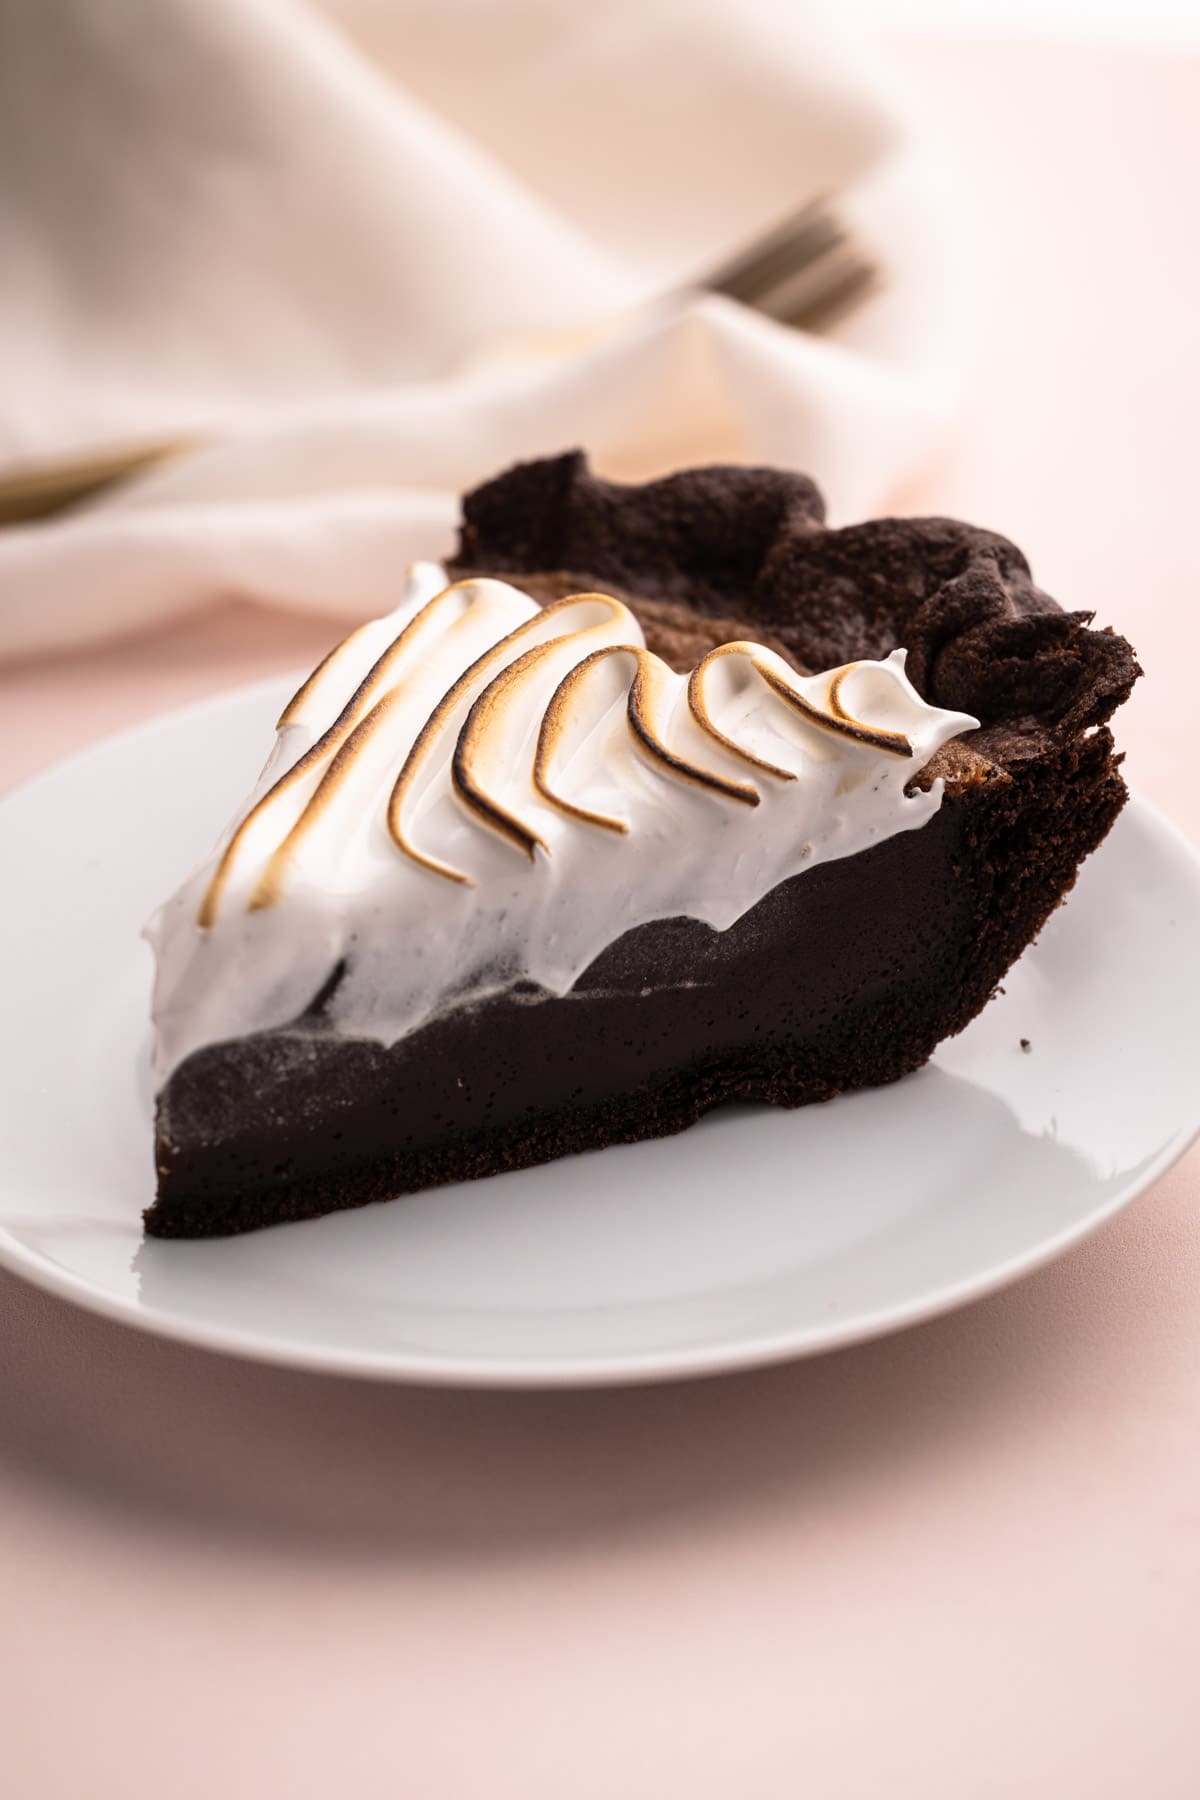
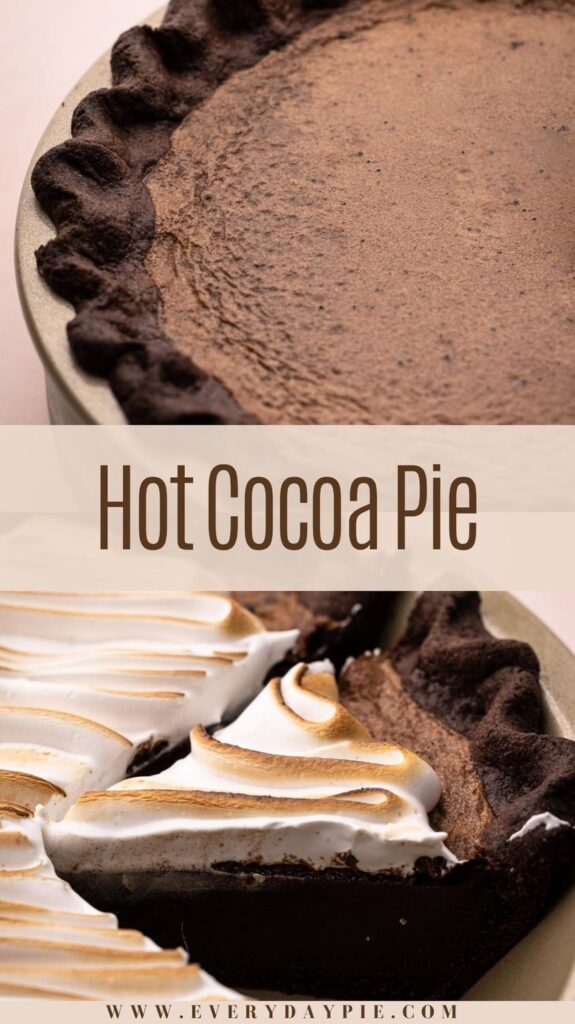
Hot Cocoa Pie is exactly what it sounds like: a warm pie that tastes remarkably like the iconic winter drink. This pie features a chocolate shortbread crust with a silky smooth milk chocolate filling and a melty marshmallow topping.
Want to save this recipe?
Enter your email & I'll send it to your inbox. Plus, get weekly updates from me!
Hot Chocolate Pie Recipe
This past fall I was very busy and wasn't really finding the time for developing pie recipes. Despite that, I couldn't get one particular idea out of my head that kept popping up in my thoughts: a hot cocoa pie. My vision was somewhat simple. A warm pie with the flavor of that milky chocolatey drink topped with a melting marshmallow. Even though my time was limited then, I just couldn't keep myself out of the kitchen trying to bring my dream to life for this pie. It took a few months to get it just right, but this resulting recipe was everything I was hoping it would be.
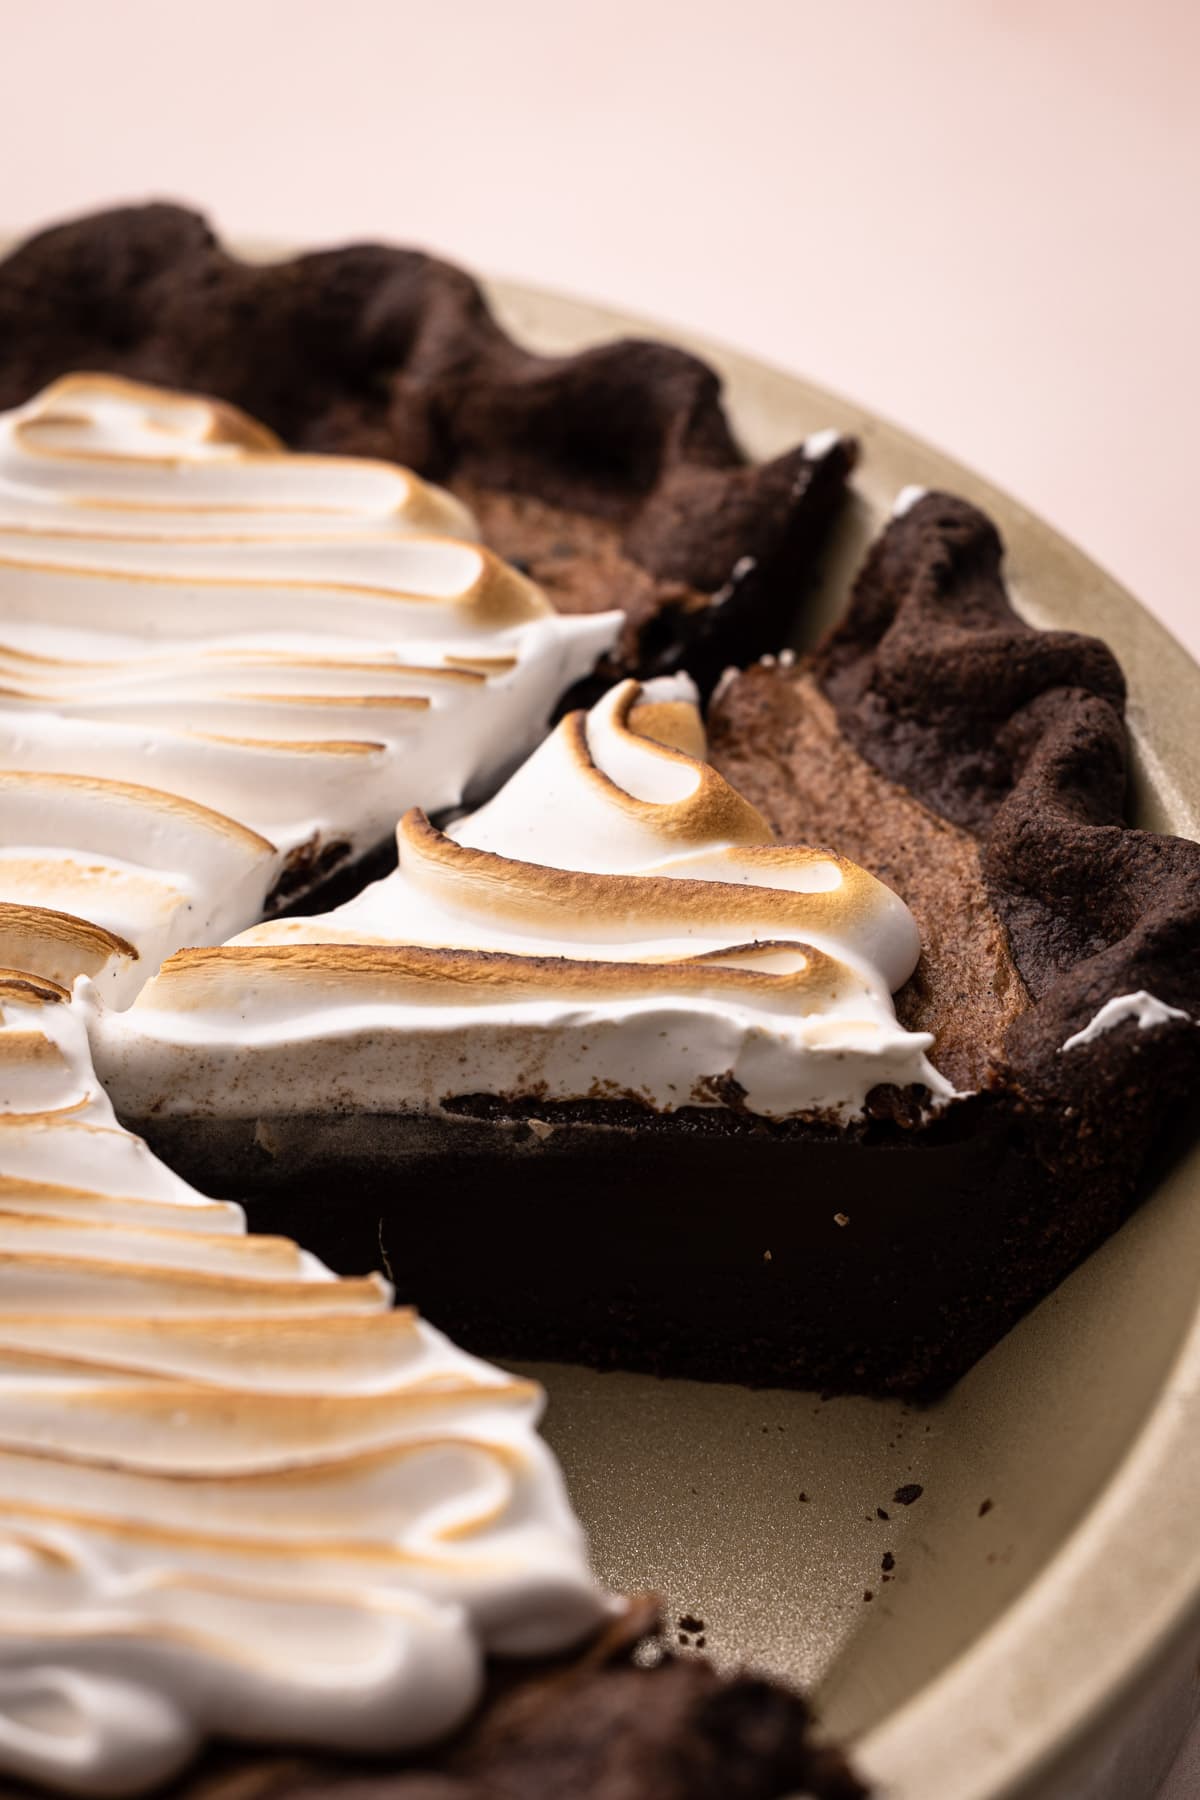
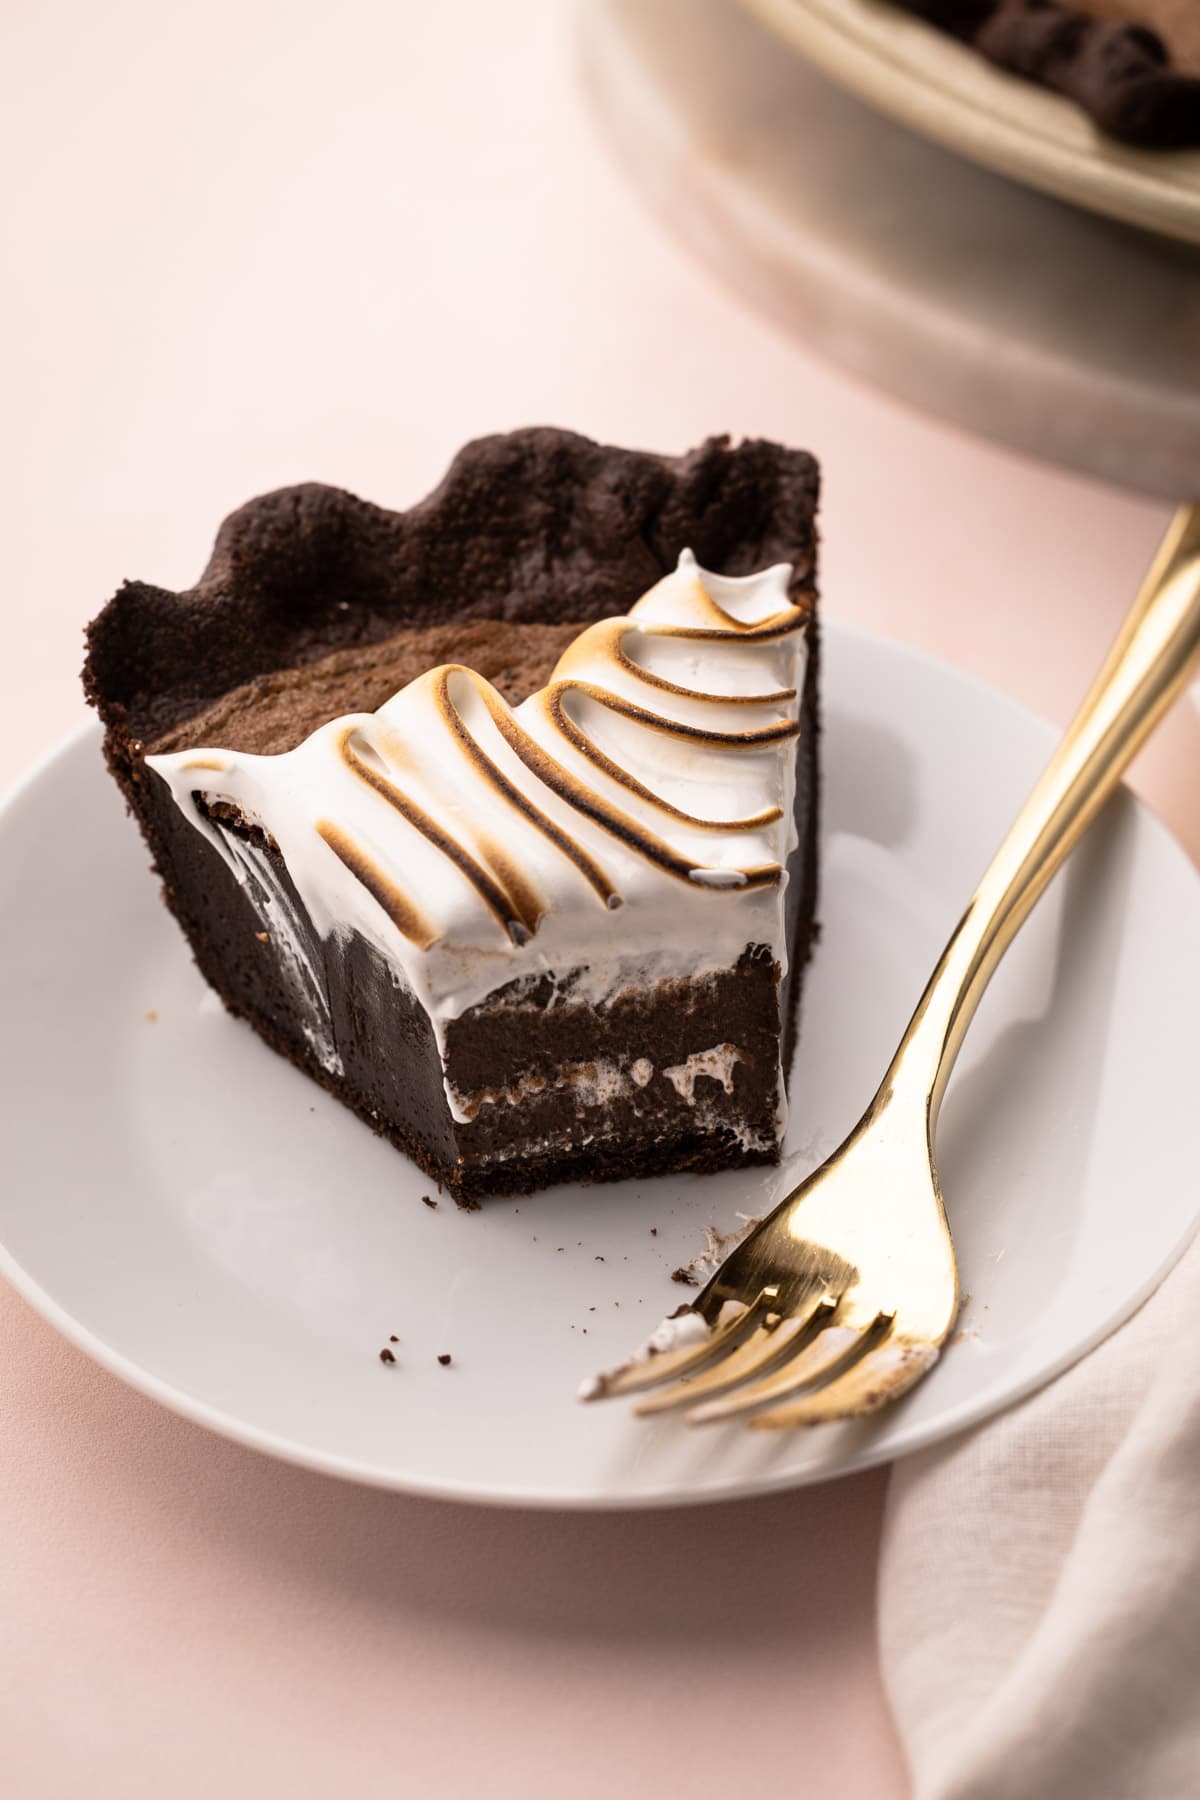
The pie has an undeniable hot chocolate vibe, only much more extravagant in all of the best ways. It starts with a crunchy and crumbly chocolate shortbread pastry which is delicious all on its own. The crust is paired with a milk chocolate filling which is like nothing I've ever tasted before. It can be best described as a cross between a custard and a mousse, but it's served warm, which is unique. And finally, it has to be finished with a melty marshmallow topping (also known as swiss meringue) that makes it feel like real hot cocoa.
So, let's get to making it, shall we? The text below offers tons of tips and helpful notes, or you can scroll to the bottom to grab the recipe and get started!
Ingredients Needed
Here is an overview of the ingredients needed for this recipe. The full recipe is listed below in greater detail.
- all-purpose flour
- unsweetened cocoa powder (dutch is preferred, but natural is okay too)
- powdered sugar + granulated sugar
- kosher salt (I use Diamond Crystal kosher salt in my house, which is coarse... if you use table salt or fine salt, you may need to adjust the salt amount)
- unsalted butter
- eggs
- milk chocolate (see more on this below)
- evaporated milk (sorry but you won't need the whole can here, just a cup!)
- cream of tartar (this is optional but encouraged for a more stable marshmallow topping)
- vanilla extract
Let's Talk Chocolate
This recipe calls for milk chocolate. I tried this pie with several brands of milk chocolate, including Hershey's. I strongly advise DO NOT use Hershey's. I also encourage you to use the best milk chocolate you can as it really affects the texture and the flavor.
In addition to that, the recipe calls for chopped chocolate, as opposed to chocolate chips. Bar chocolate is far superior to use in baking recipes because it doesn't have any additives meant to help it hold its shape.
Can you use chocolate chips for this in a pinch? Sure, but make sure they are high-quality chocolate chips. By high-quality, I mean I don't recommend making this with something like Nestle. I recommend brands like Ghirardelli, Guittard, or Callebaut.
Out of all the pies I made, the best-flavored chocolate one was with Hu milk chocolate bars.
Useful Tools to Make This Recipe
Here is a list of some of the primary tools I use in this recipe. You won't necessarily choose to use them all, but they are exactly what I used. Any links may contain affiliate links.
- food processor (to make the pie dough)
- metal pie plate (see note on this below)
- rolling pin
- fine-mesh strainer
- metal bowl (one that fits over the top of a small pot)
- kitchen essentials: baking scale, bowls, measuring cups, measuring spoons, etc
Why a Metal Pie Plate is Best
Normally I don't recommend metal pie plates, or even specify anything about the pie plates aside from the size in my recipes but with this pie it's essential.
Because there are already a lot of steps in this recipe, I wanted to take away the need to blind-bake the pie. For the pie crust to cook well, it needs to be baked in a material that is the best conductor of heat, and that is metal. I noticed a big difference in the crust cooking all the way through when I cooked it on a glass pie plate vs. a metal pie plate.
If you cannot use a metal pie plate, I recommend you blind-bake the pie crust first. Check out this Guide to Blind Baking if you are unfamiliar. Bake the chocolate pastry at 375ºF, and then since the pie crust will already be cooked, you can lower the temperature when you bake the filling to prevent the chocolate crust from overcooking.
Recipe Overview
There are three components needed to make this hot chocolate pie:
- the chocolate pie crust
- the hot cocoa pie filling
- the melty marshmallow topping (aka swiss meringue)
Some components can be made ahead of time (such as the pastry) but others should be made just before serving (like the melty marshmallow). See more on the specific components below.
Making the Chocolate Pie Crust
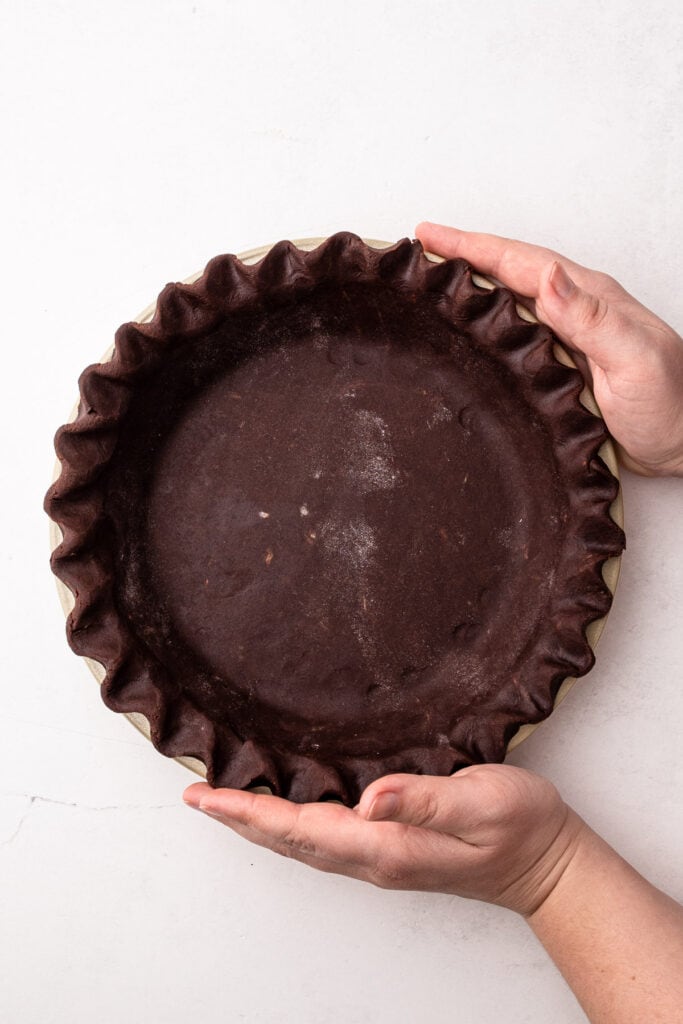
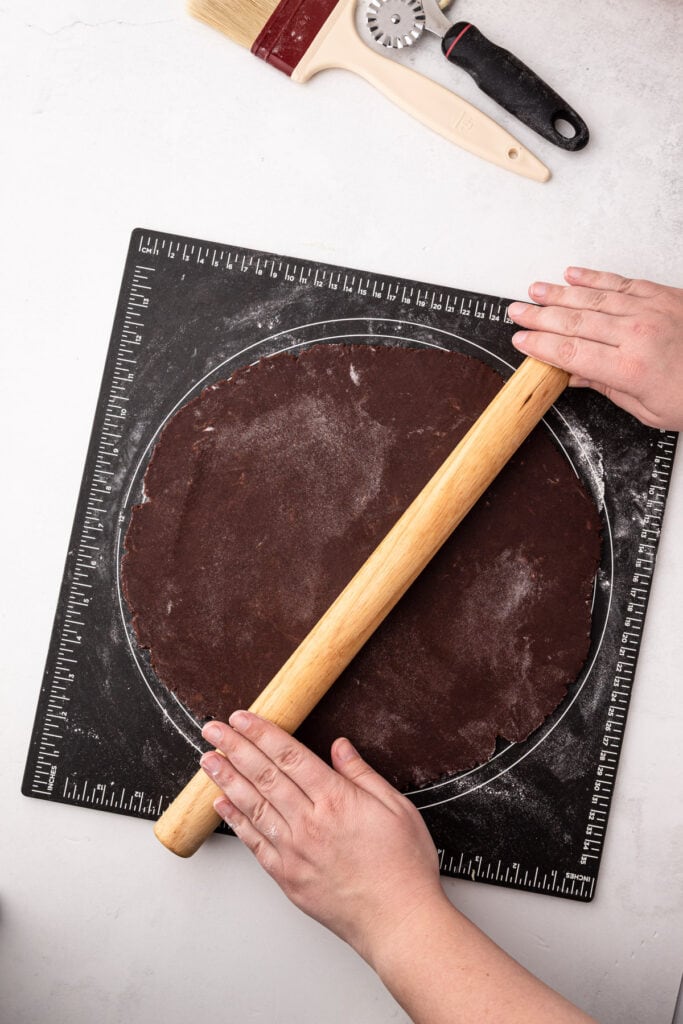
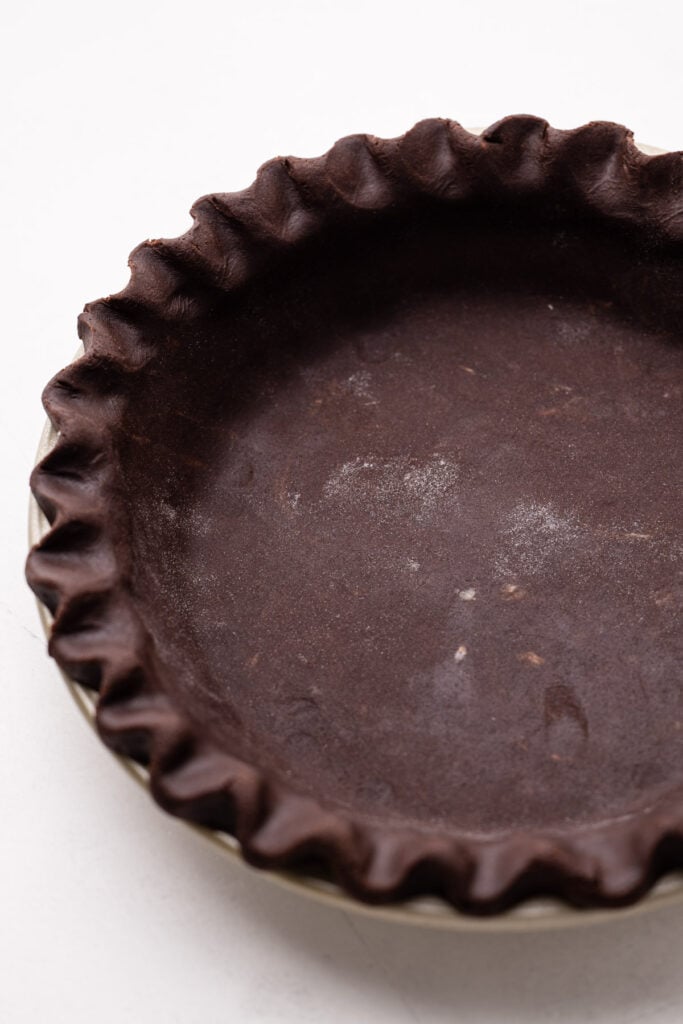
This hot cocoa pie pairs so well with a crumbly sweet chocolate pie crust. This chocolate pastry is basically a chocolate cookie baked in a pie tin. It's more stable and soft than a chocolate crumb crust.
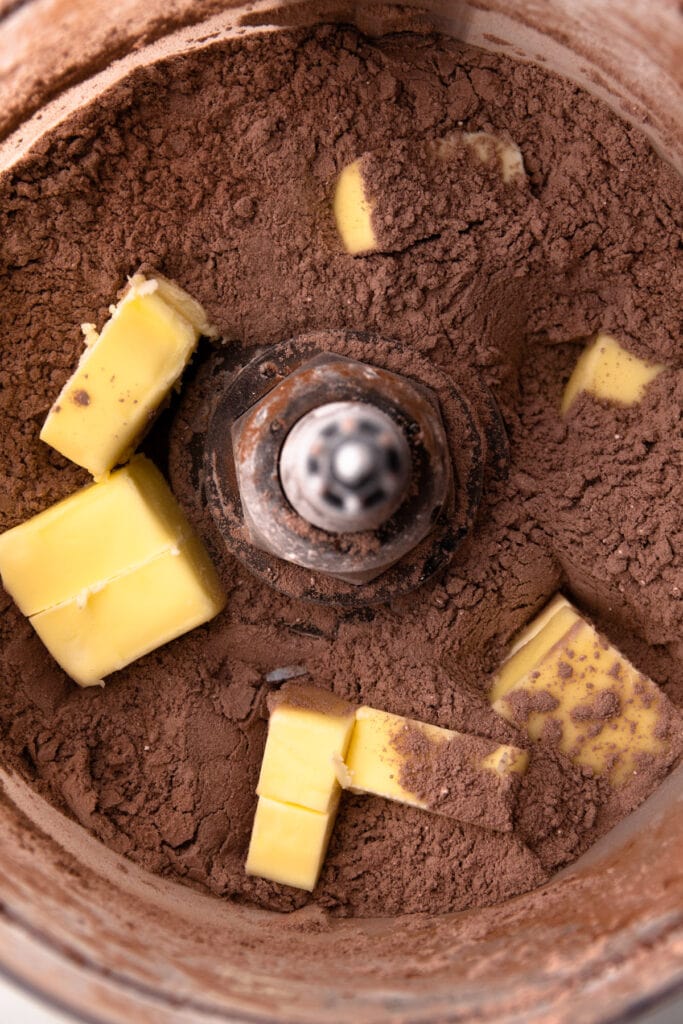
It also comes together quickly in a food processor following the usual way to make a crumbly pie crust:
- Add the dry ingredients
- Pulse in the butter
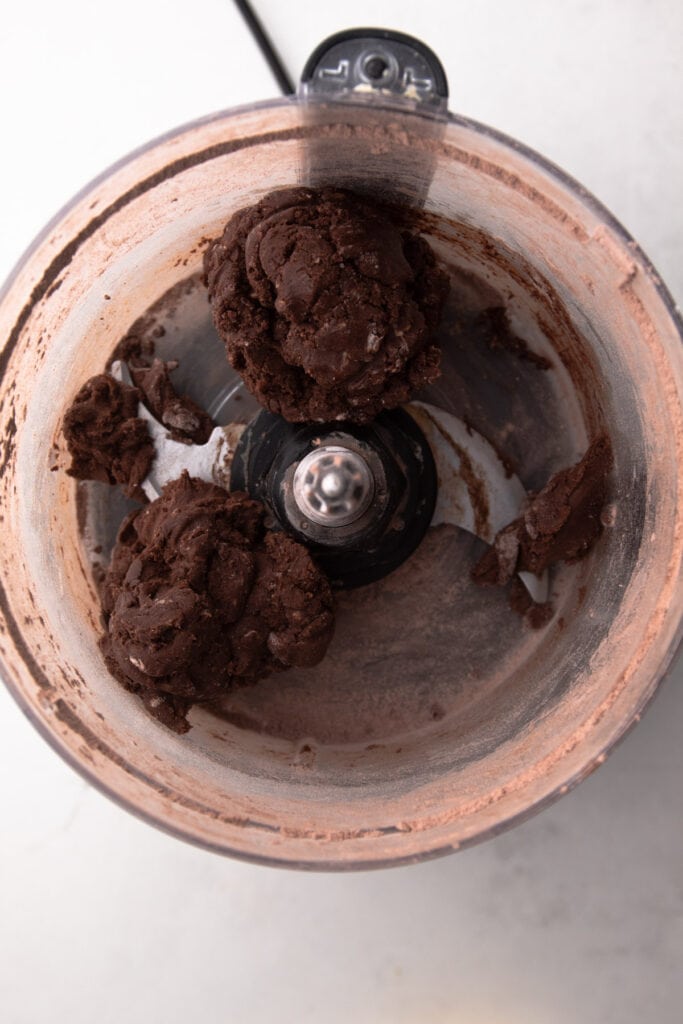
- Add the wet ingredients--in this case, an egg--and pulse until it just comes together around the blade, and then stop!
The consistency will be that of play dough when it's done. It needs to chill for a bit before rolling it out. It's best to leave it chilling for about 2 hours, but if you are good at rolling out pie dough, as little as 30 minutes would probably suffice. It's also perfectly fine to make it ahead by a few days.
Please note, the recipe does not call for you to dock the pie crust. This hot cocoa pie filling is too liquidy, and if the crust has holes in it, it surely runs the risk of the filling leaking through. Similarly, make sure your pie crust is rolled out to an even thickness with no cracks in it.
How to Make the Chocolate Filling
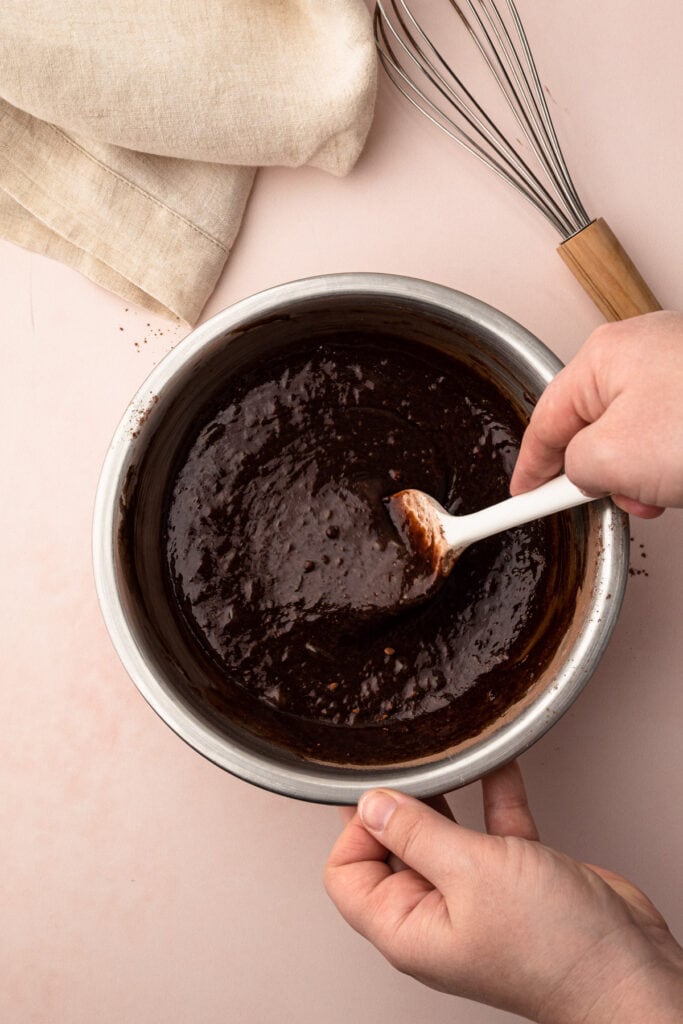
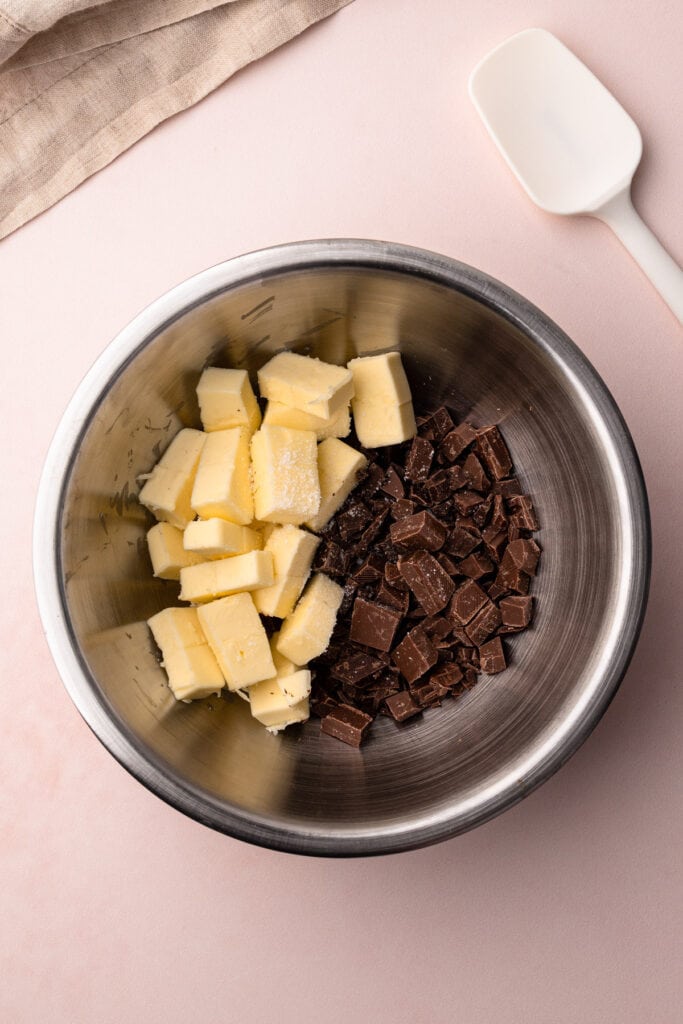
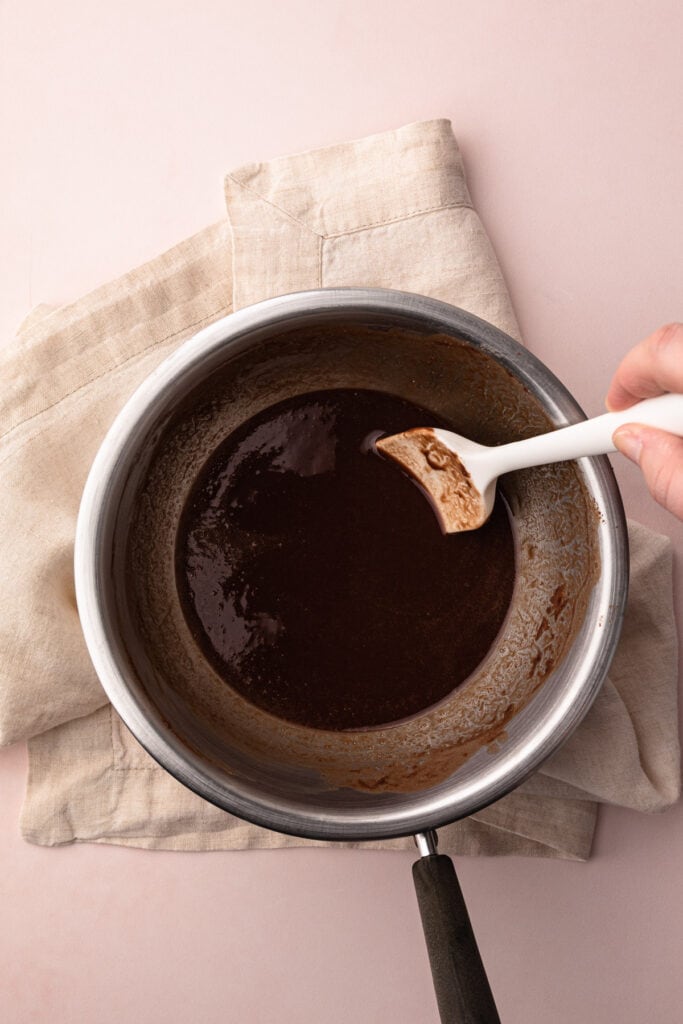
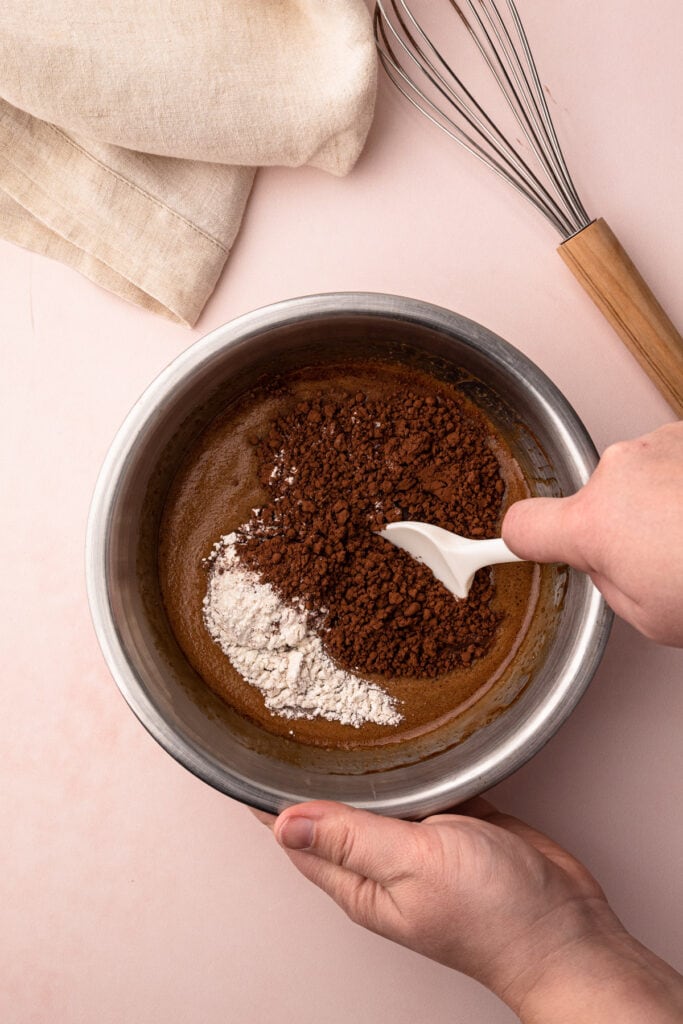
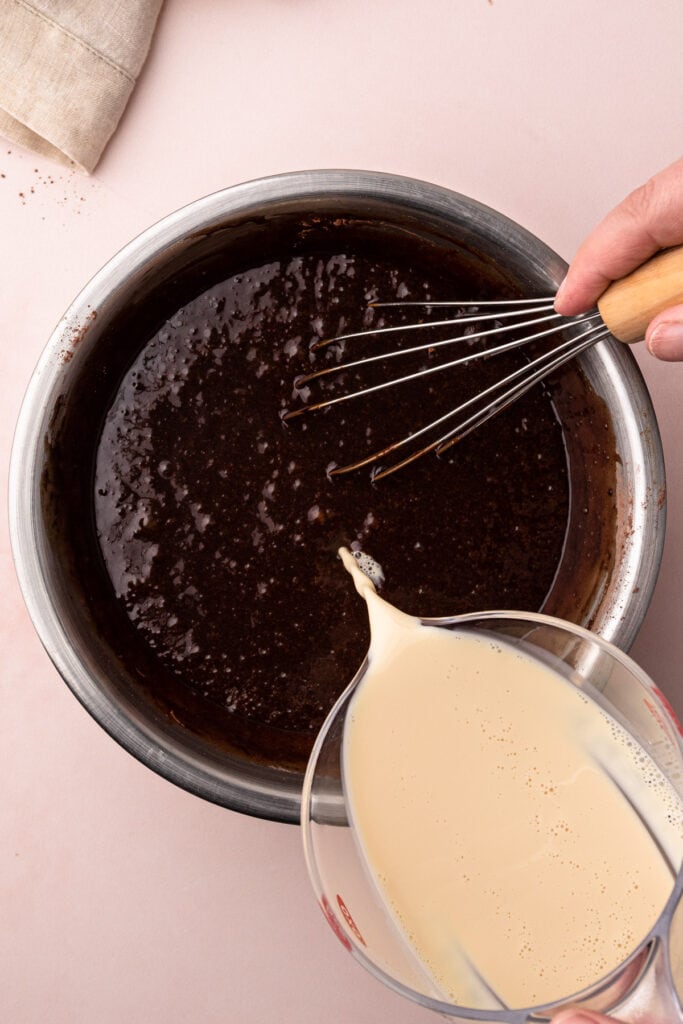
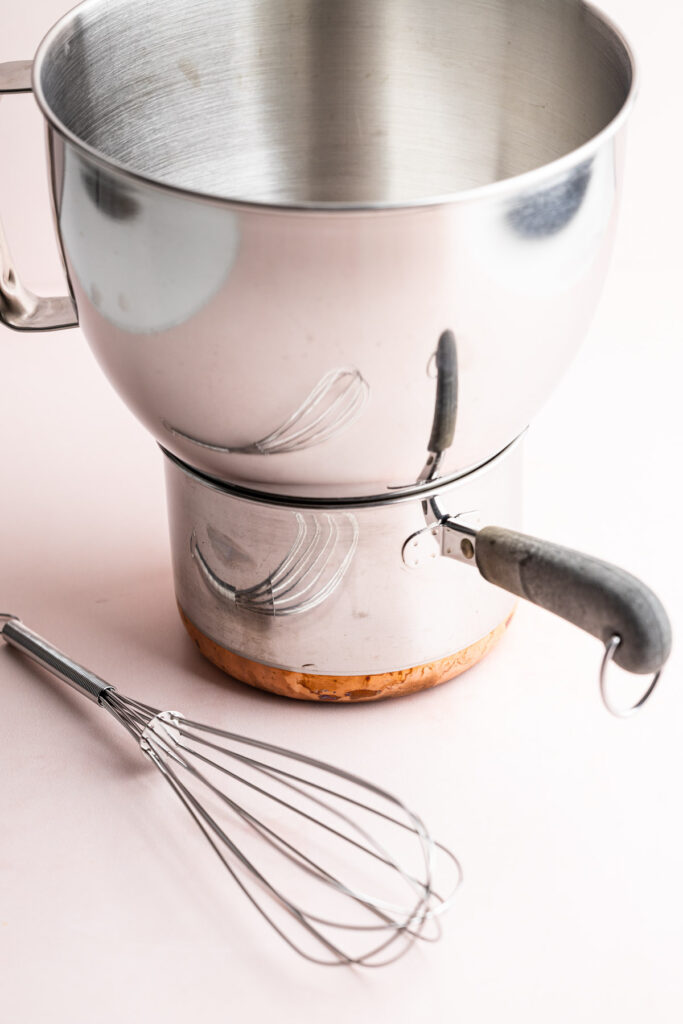
The filling starts with melting butter and chocolate together over a double boiler. Which most people don't keep in their homes (including me), so a "makeshift" double boiler will do just fine. This entails putting the butter and chocolate in a heat-safe bowl (I don't recommend glass at all for this purpose, metal is best) and let it sit on top of a pot of simmering water. Heat it until it melts.
Then, add in the rest of the ingredients as the recipe instructs. In the end, strain the filling twice.
This step is helpful to strain out any clumps from the cocoa powder or flour, or pieces of egg that didn't blend in well, and also, it helps get out any air bubbles that might have formed in the process of mixing.
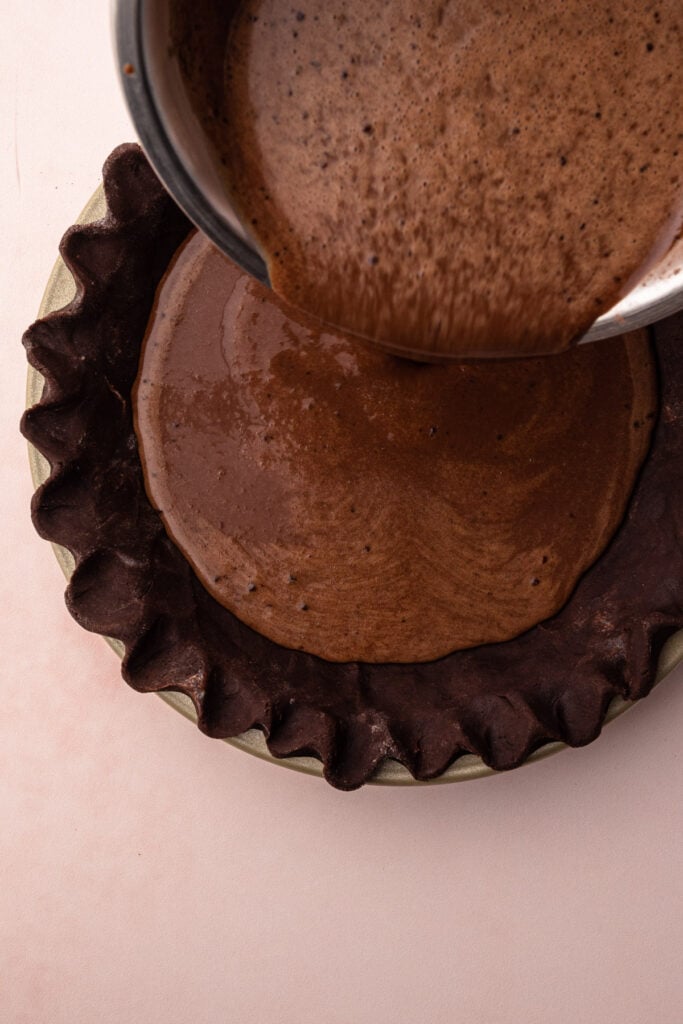
Once you've made your filling, let it sit for about 5 minutes. Though you have already strained it twice, this quick resting aspect also aids in removing any air bubbles.
Then it's time to bake!
How to Tell When the Pie is Fully Baked
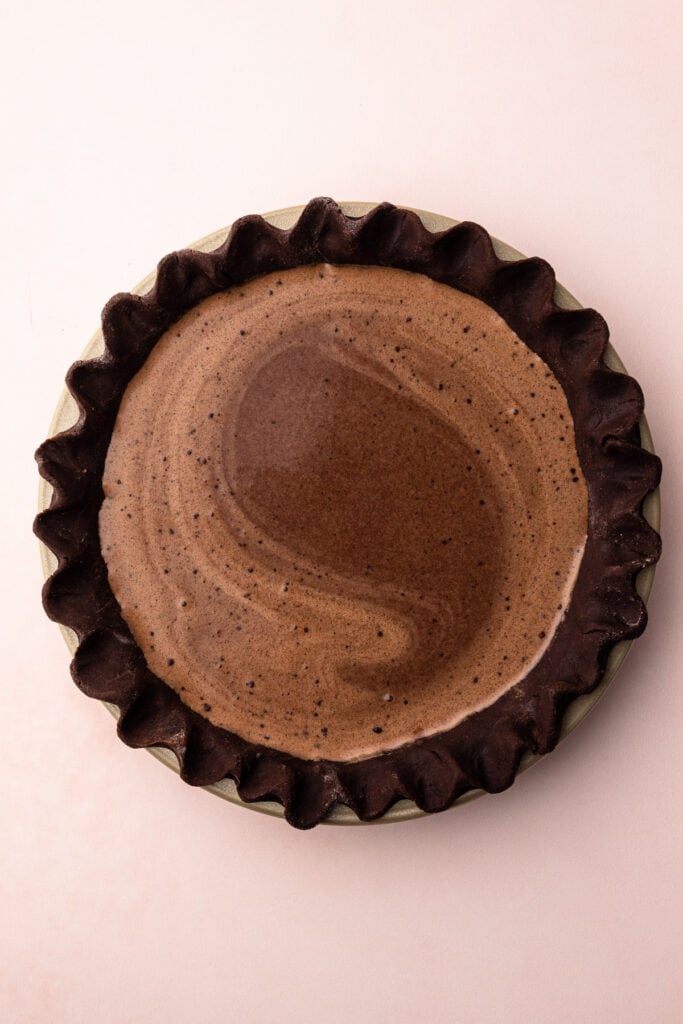
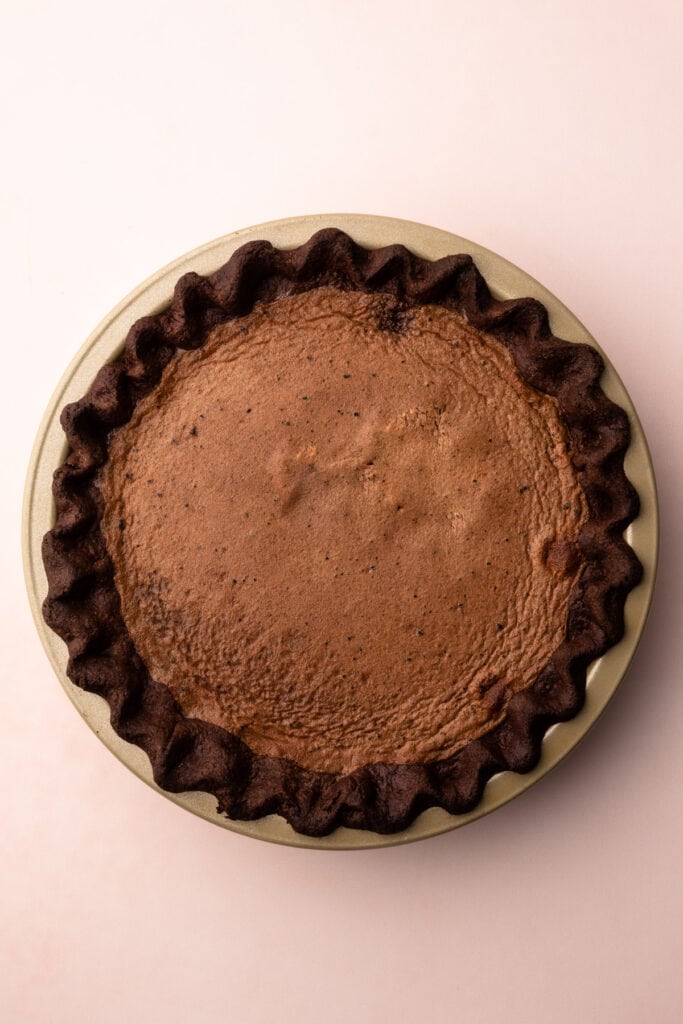
Here comes the important part! If you've read any of my previous custard pie recipes, you'd know I normally instruct that the pie is fully baked when just the edges are set but the middle is still a little bit wobbly. Well, in this case, that is the opposite of true.
Because the intention is for this pie to be served warm, the filling should be fully set up. And as soon as it's set, pull it from the oven. This means you'll have to keep a close eye on it towards the end of the prescribed baking time.
Making the Melty Marshmallow Topping
What is hot cocoa without marshmallows, right? This pie had to have it in some form, and I thought about maybe torching some homemade or store-bought marshmallow on top of it, but then I thought about the texture of eating it and I knew it had to be something entirely different. After all, the best part of hot cocoa is when the marshmallow gets all warm and gooey from the heat of the cocoa.
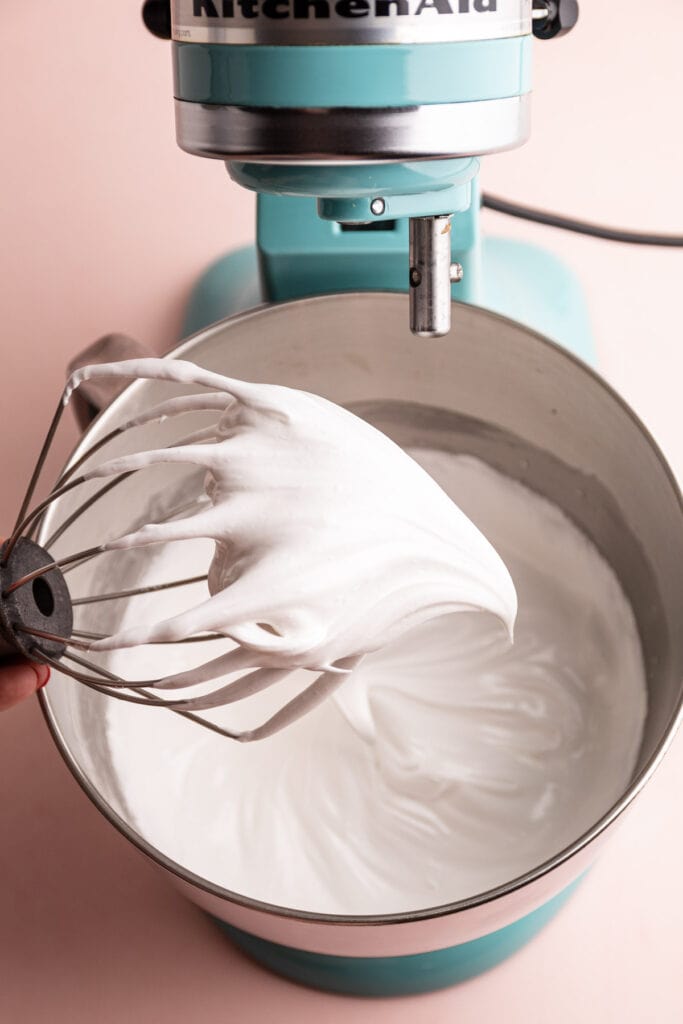
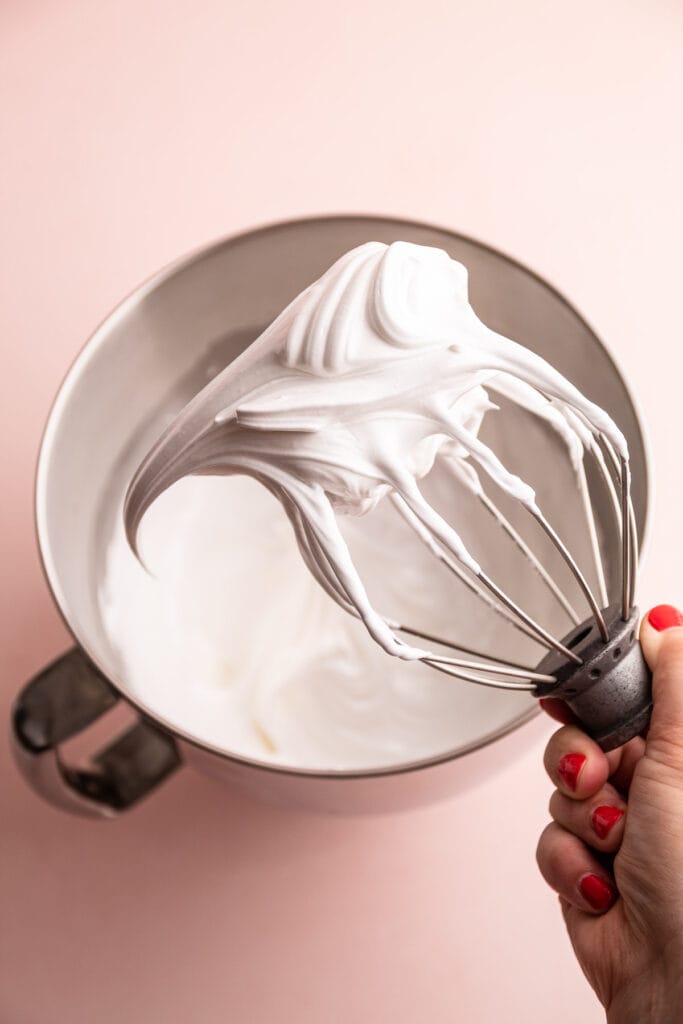
So even though it's an extra step, I knew this pie needed a melty marshmallow topping, aka a swiss meringue. Swiss meringue is made by cooking egg whites and sugar together over a double boiler and then whipping it until a super fluffy, billowy meringue emerges. The egg whites are cooked through, which takes away any fear of consuming raw eggs, and it has a thick, glossy texture that can't be matched.
Here is an overview of the steps needed to make this swiss meringue:
- Set up a double-boiler: Luckily, you've already done this to melt the chocolate, so be sure to keep that on the stove while the pie bakes.
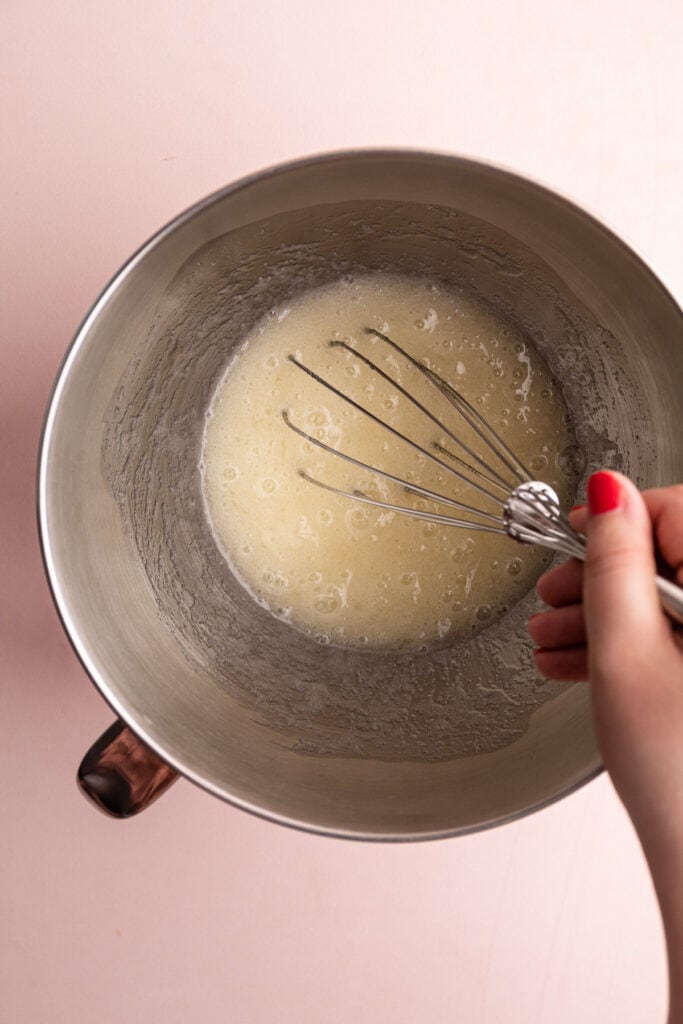
- Add ingredients to the metal bowl and whisk them together.
- Cook the egg whites over the double boiler until they reach 160ºF: this takes no more than 10 minutes, and I don't recommend you walk away from the stove, to avoid overcooking the eggs.
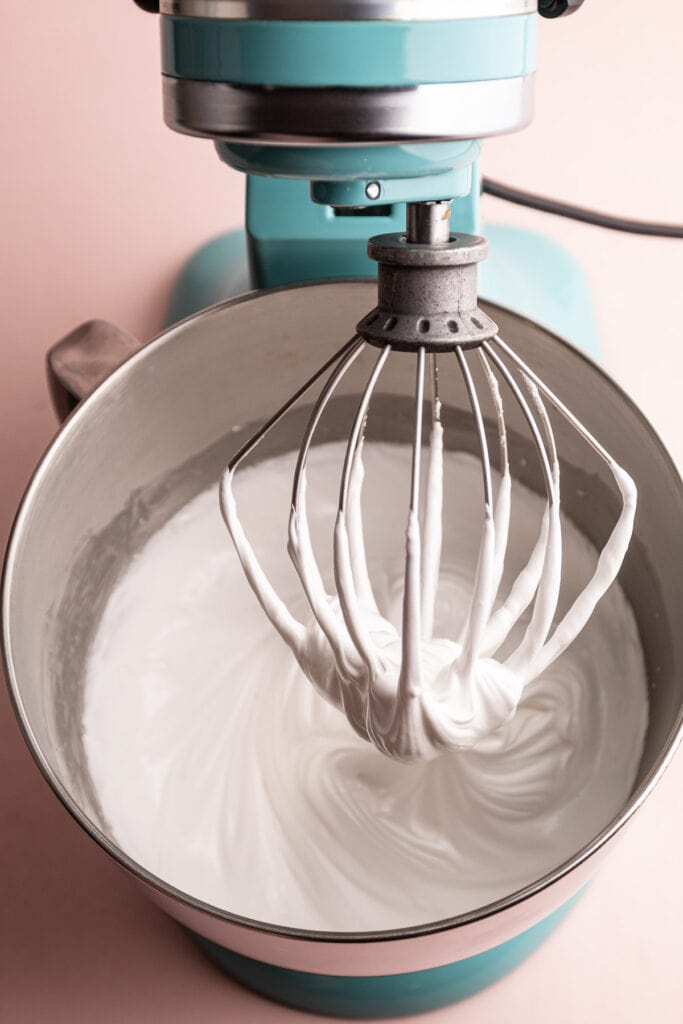
- Whip the eggs: remove the egg whites from the double-boiler, and slowly start to whip up the egg whites until stiff and glossy.
Tips for Making the Marshmallow Topping
- Clean your mixing bowl and whisk attachment well: Before I begin making a meringue, I always rewash my bowl and whisk by hand with hot soapy water. I dry it and then wipe it down with a thin coating of white vinegar. This ensures there are no leftover spots of grease, which could prevent the meringue from whipping up properly.
- Use your hands to separate the egg: I find using my hands to be the easiest way to separate the eggs, but also to ensure no egg yolks get into the egg whites. Egg yolk streaks in the egg whites could prevent them from whipping up.
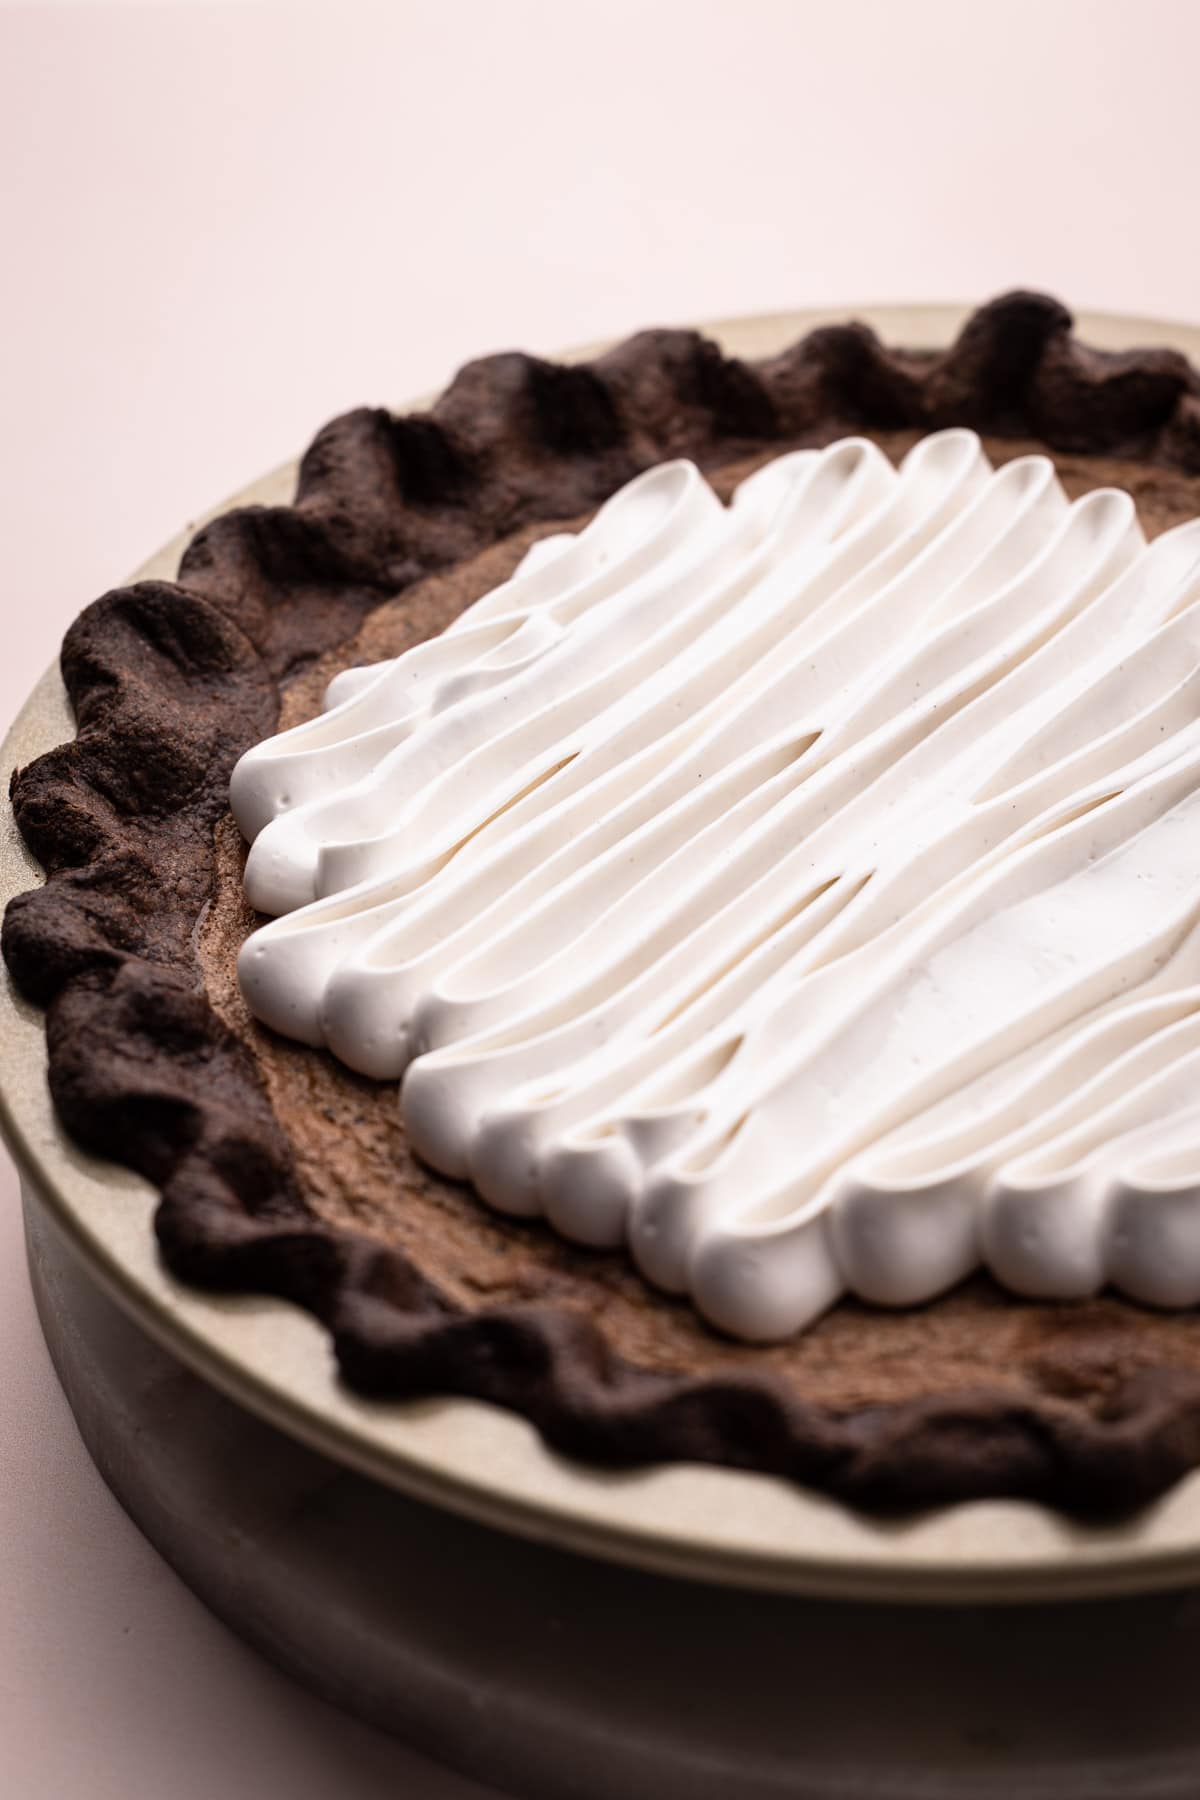
- Use a smaller pot for the double boiler: You may have noticed in the photo above that I'm using a pretty small pot for my double boiler, and this is very strategic. I like to keep the heat on the bottom because it helps ensure no crystalized sugars on the side of the bowl (see my second tip below for an elaboration on this).
- Make sure all the sugar is melted: Alternate between whisking the mixture and scraping down the sides of the bowl with a spatula when you are heating the egg whites and sugar. You want to be whisking the egg whites to ensure they cook evenly, and don't scramble. Just be sure none of the sugar has climbed up too high on the side of the bowl before it has a chance to dissolve. This runs the risk of cooking the sugar to the side of the bowl which could result in a grainy meringue. This is why you alternate between whisking and scraping down the side of the bowl to make sure all the sugar dissolves. Whisk and scrape, whisk and scrape.
- Use an instant-read thermometer: The egg whites need to be cooked to a temperature of about 160ºF to ensure the egg whites are cooked through to be safe to eat, and this makes them more stable. An instant-read thermometer reads the temperature quickly and accurately. If you are really stuck and don't have a thermometer, cook the egg whites until the sugar has fully dissolved (you can rub the mixture between your fingers to check) and until the mixture is thickened and started to get glossy.
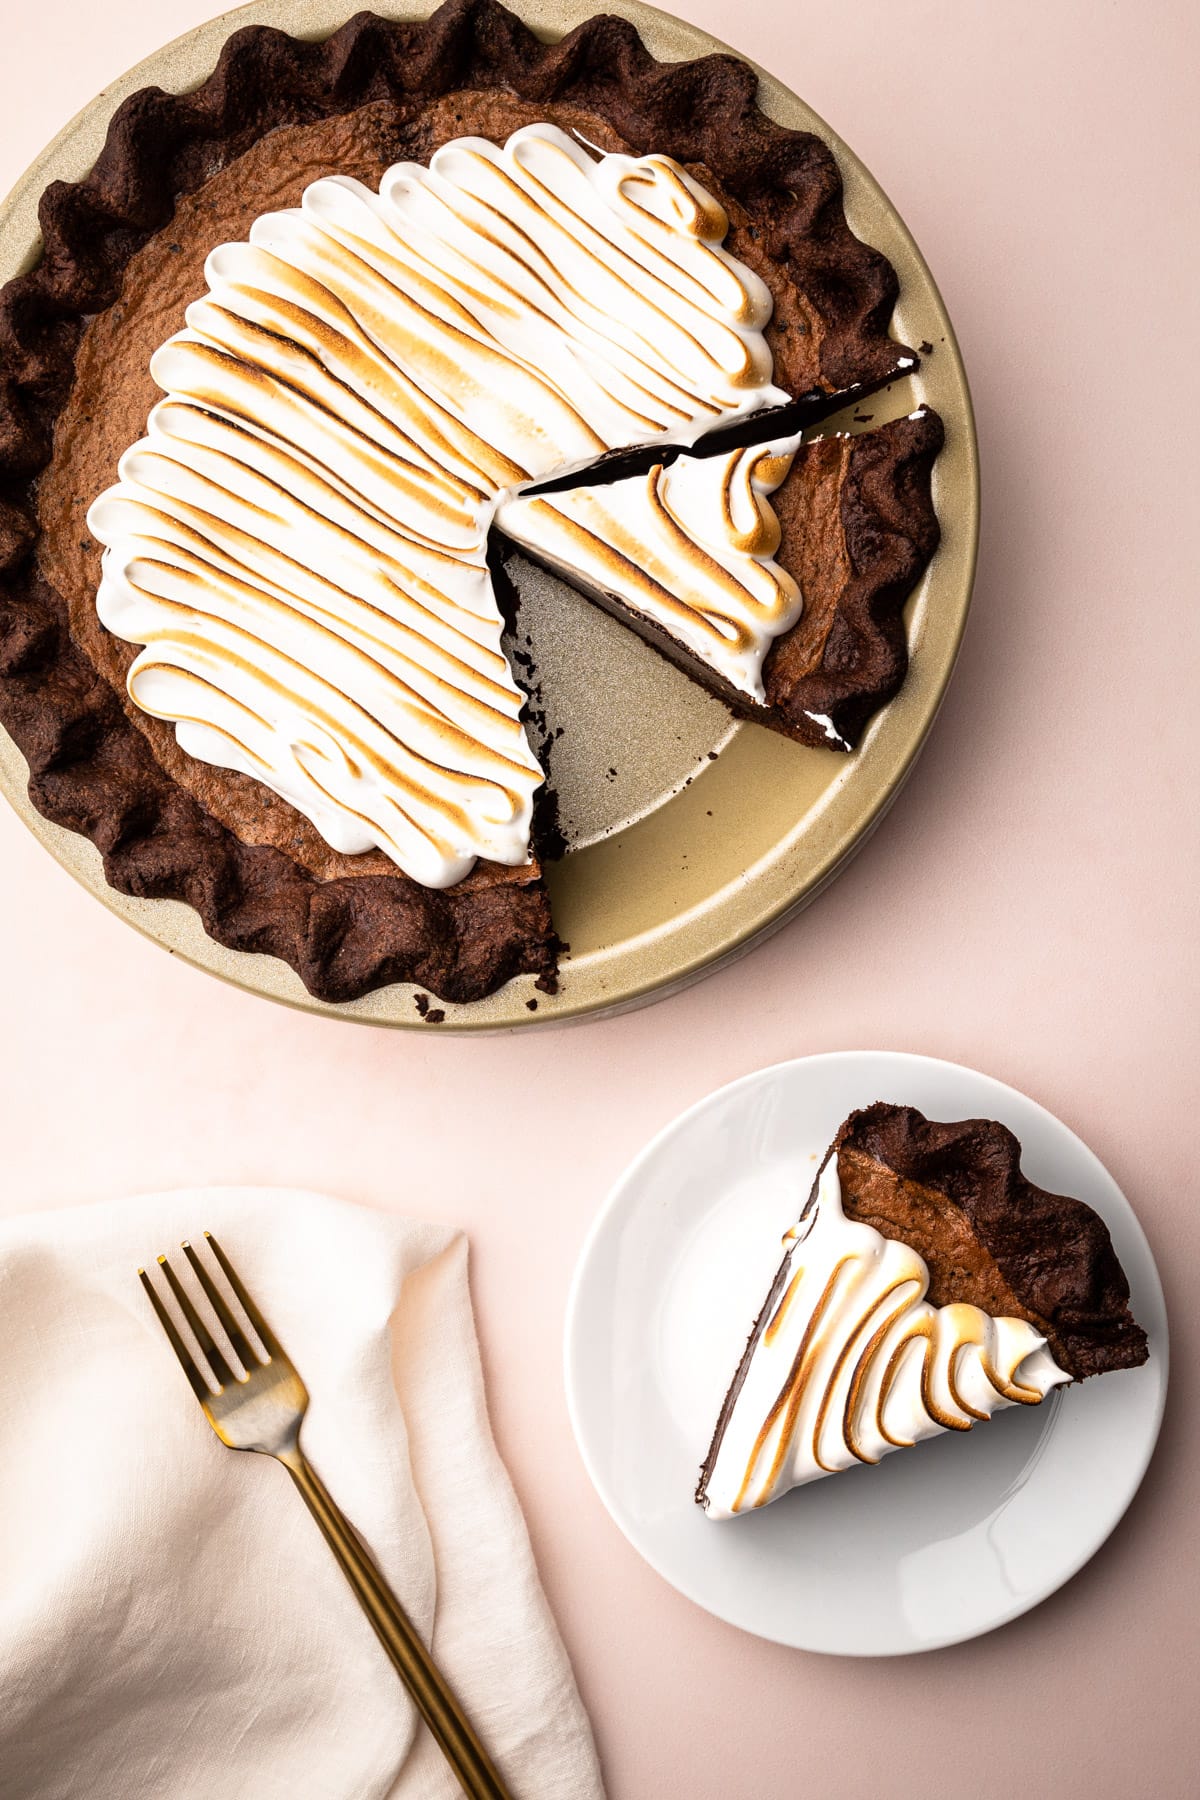
- Piping the meringue on top: this step adds a beautiful look to the pie, but you can also just pile it on top
Don't want to make the marshmallow topping?
I don't recommend skipping the topping because the quantity of sugar in the pie filling was specifically calibrated to account for the sugar in the topping. So if you serve this pie without it, the pie might not taste sweet enough. If you absolutely do not want to put on the marshmallow, I recommend increasing the sugar in the pie between ¼-1/2 cups.
Another alternative is to use store-bought marshmallow fluff! It has a similar texture!
How to Serve It
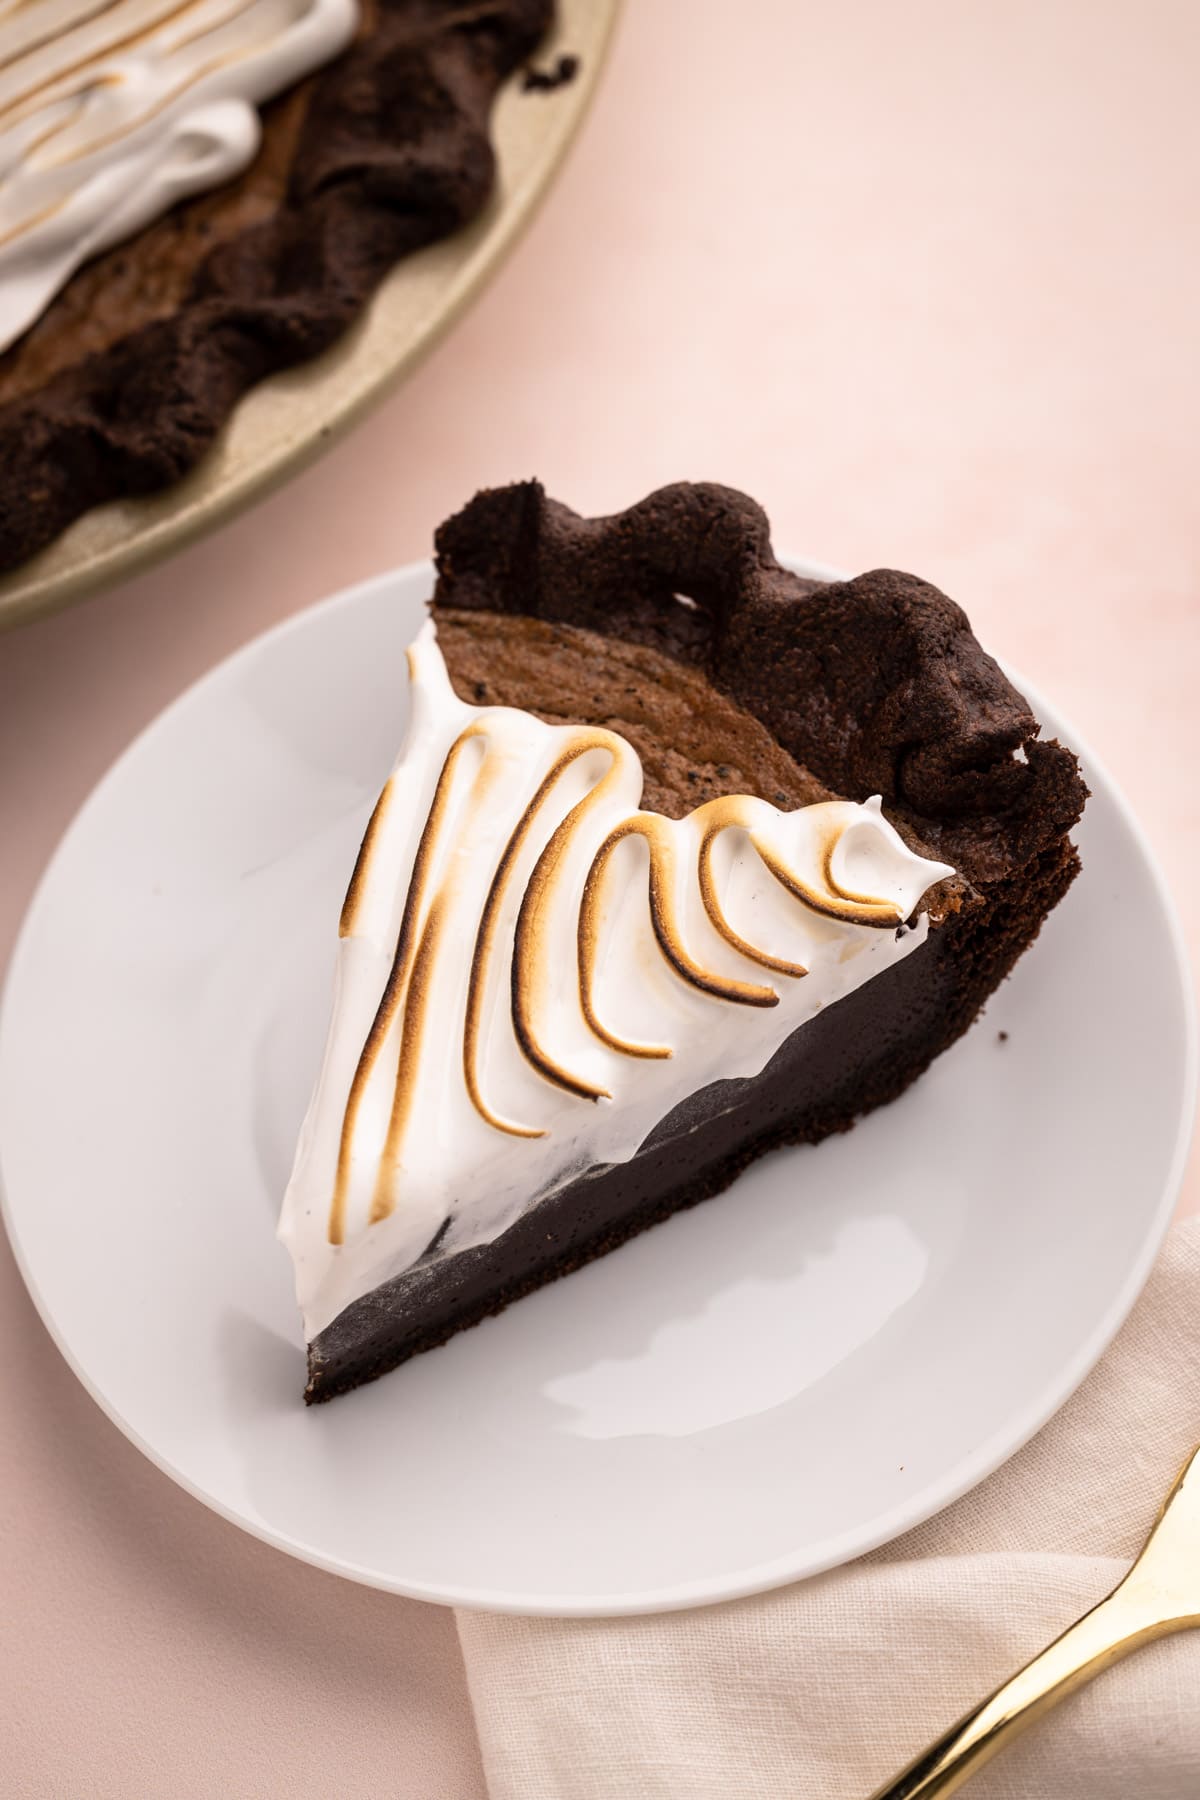
The pie is intended to be served warm, just like hot chocolate. It needs to rest for about 30 minutes after it is baked, but then it's ready to serve!
As it cools down it takes on a different texture. Still delicious, so leftovers are ok, but do try it when it's warm.
The pie will keep in the refrigerator for a few days.
More Chocolate Pies
I am so honored when you make a recipe from my site! If you make this Hot Cocoa Pie please leave a comment and a star rating with your experience! If you have any questions about this recipe, feel free to comment here, too!
PrintFull Recipe
Hot Cocoa Pie
Hot Cocoa Pie is exactly what it sounds like: a warm pie that tastes remarkably like the iconic winter drink. This pie features a chocolate shortbread crust with a silk smooth milk chocolate filling and a melty marshmallow topping.
- Prep Time: 00:35
- Cook Time: 00:45
- Total Time: 1 hour 20 minutes
- Yield: 10-12
- Category: Sweet Pie
- Method: Bake
Ingredients
For the Chocolate Pastry:
- 1 cup (120) all-purpose flour
- ¼ cup (28 grams) unsweetened cocoa powder (dutch is preferred)
- ½ cup (56 grams) powdered sugar
- pinch salt
- ½ cup (113 grams) unsalted butter, cold
- 1 large egg
For Hot Cocoa Filling:
- ¾ cup (130 grams) milk chocolate, chopped (or high-quality chips)
- 8 tablespoons (113 grams) unsalted butter, cubed
- ¾ teaspoon kosher salt
- ½ cup (100 grams) granulated sugar
- 2 whole eggs
- 2 egg yolks
- 2 tablespoons (12 grams) cocoa powder
- 2 tablespoons (12 grams) all-purpose flour
- 1 cup (227 grams) evaporated milk
For Melty Marshmallow topping:
- 2 egg whites
- ½ cup (100 grams) granulated sugar
- Pinch of kosher salt
- Pinch cream of tartar (see note)
- 1 teaspoon vanilla extract
Instructions
Make the Chocolate Pastry:
- Add the flour, cocoa powder, powdered sugar and salt to the bowl of a food processor. Pulse until combined.
- Add in butter and pulse 7 times.
- With the motor running add in the egg and let process until the dough forms together into a cohesive ball.
- Scrape the dough from the bowl and place in a piece of plastic wrap and form into a disk and wrap tightly. Using a rolling pin roll the dough out until it stretches to the corner of the plastic wrap to ensure a tight seal.
- Refrigerate for at least 2 hours, but preferably overnight.
To Make the Filling and Bake:
- When ready to to make the pie, the preheat oven to 375ºF.
- Roll out the pastry on a lightly floured surface to an 11″ circle. Transfer the pastry to a 9” metal pie plate (see note), crimping the edges as desired. Do not dock the pie dough. Place the pie pastry in the refrigerator while the filling is assembled.
- Fill a small sturdy pot with at least 1 ½ inches of water and turn on the heat to medium-high. This is the bottom of your makeshift double boiler.
- Add the chopped chocolate, butter pieces and salt to a heat-proof bowl.
- Set the bowl over the steaming water and melt the chocolate and butter together, stirring frequently. Once the chocolate has just nearly all melted, shut off the heat and remove the bowl from the double boiler (keep the pot of water on the stove as you will need it a little later).
- To the melted chocolate add the sugar. Whisk until it is all combined. The chocolate might look like it’s separating, this is normal.
- Add the eggs and egg yolks and whisk vigorously to combine until it comes together into a smooth filling.
- Add in the cocoa powder and flour and gently whisk in. Then add in the evaporated milk.
- Let the filling sit for about five minutes, and then strain the mixture twice through a fine-mesh strainer to remove excess air bubbles or clumps from the filling.
- Pour the filling into the refrigerated chocolate pastry and bake for 30 minutes.
- Lower the oven temperature to 350ºF and continue to bake until the pie is fully set up, about another 10-15 minutes. The crust should be just set up (it should not have a jiggly center). If at any point the edges of the crust appear to be cooking too much, cover with a pie cover or with tinfoil.
- When the pie is done, remove from the oven and transfer to a wire rack to cool for 30 minutes.
To Make the Melty Marshmallow:
- Return to the makeshift double boiler. If the water has evaporated, fill it back up. Turn the heat to medium-high.
- Combine the egg whites, salt, sugar, and cream of tartar to a heat-proof bowl (the metal bowl from your electric mixer is perfect here) and whisk together until fully combined.
- Set the bowl over the steaming water. Alternate between whisking the mixture and scraping down the sides of the bowl with a spatula, until egg whites reach a temperature at 160°F, roughly between 8 and 10 minutes, and all the sugar has dissolved.
- Remove the mixture from the heat and attach the bowl to an electric stand mixer fitted with a whisk attachment. Turn the mixer on the lowest speed, and gradually increase the speed until it reaches medium-high speed.
- Whip until the meringue is glossy and is beginning to pull away from the sides and the bowl, about 8 minutes. It should have stiff peaks and be cooled down significantly. Now add in the vanilla and whisk until combined.
- When the pie is still warm, pipe on (or add with an offset spatula) the melty marshmallow topping. It can be optionally toasted with a kitchen torch.
- Slice and serve warm.
Notes
Cream of tartar is not absolutely essential, but it creates a more stable marshmallow filling. So if you have it, use it.
The recipe calls for a metal pie plate. This is to ensure that the pie crust bakes through. If you don't have a metal pie pan, I recommend blind baking the pie crust to. If the pie crust is blind baked, the pie filling should be baked at 350ºF instead of 375ºF to ensure the crust doesn't brown too much.
Sometimes the sugar in the filling causes some bubbling on the pie. This is ok and I haven't found a way to avoid it. The pie will be covered with the marshmallow topping anyways, so it doesn't really matter.
Typically, a 9" pie serves around 8. This pie is rich (as most desserts with milk chocolate are). I advise cutting the pie into 10-12 servings (aka small slices).
Some of the links on this page may be affiliate links. Everyday Pie is a participant in the Amazon Associates Program. As an Amazon Associate I earn from qualifying purchases, at no extra cost to you.


Grayson
the ingredient list has 'granulated sugar' and the instructions say 'powered sugar' SOS
Kelli Avila
Hi grayson. The recipe is very detailed and has the ingredients and steps broken down for each component. The pie crust uses powdered sugar, and the filling and marshmallow topping uses granulated sugar. The instructions match up with each one. I've read through my entire post and recipe to see if I could locate what you are talking about, but I could not. If I've missed something, please let me know exactly what you are talking about. I also want to say that you giving my recipe, which you have not tried, and as far as I can see is without errors in the recipe, 3 stars is a big hit for my small business. Believe it or not, the reviews readers give recipes really matter, and a 3 star review is a detriment to the visibility of this recipe. I publish all reviews so I can't change that a reader left a 3-star review for a recipe they didn't make so I'd kindly ask that you rethink doing this to small business owners like myself. Thank you. And I'm happy to fix any errors if they are in fact there, but I can't see what you are speaking of. Nor can my editor.
Kate
This pie really does taste exactly like hot cocoa! Absolutely delicious and pretty easy to make. I think it will become a winter holiday regular!
Catherine
This is a beautiful pie! Absolutely going to be one of my Christmas desserts.
Kelli Avila
Hi Catherine! I hope you enjoy! -Kelli