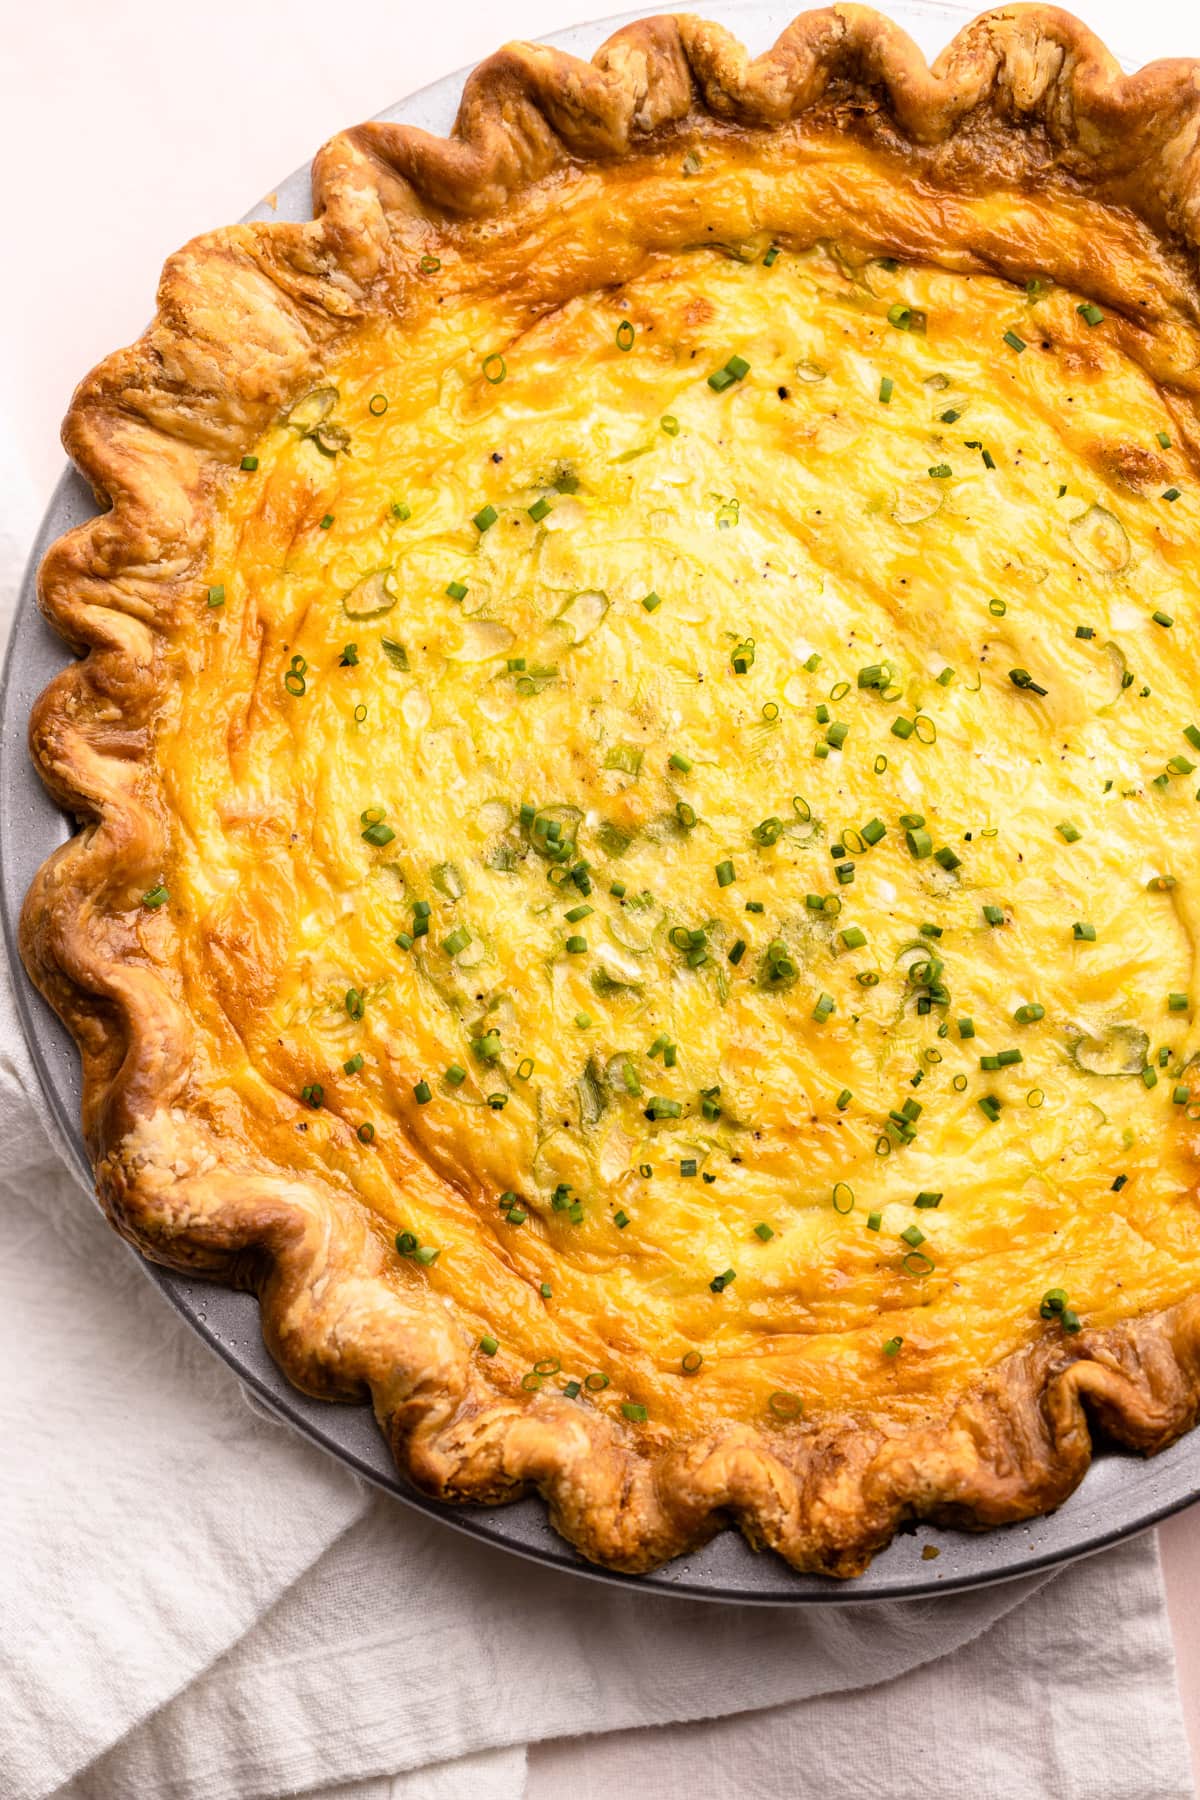
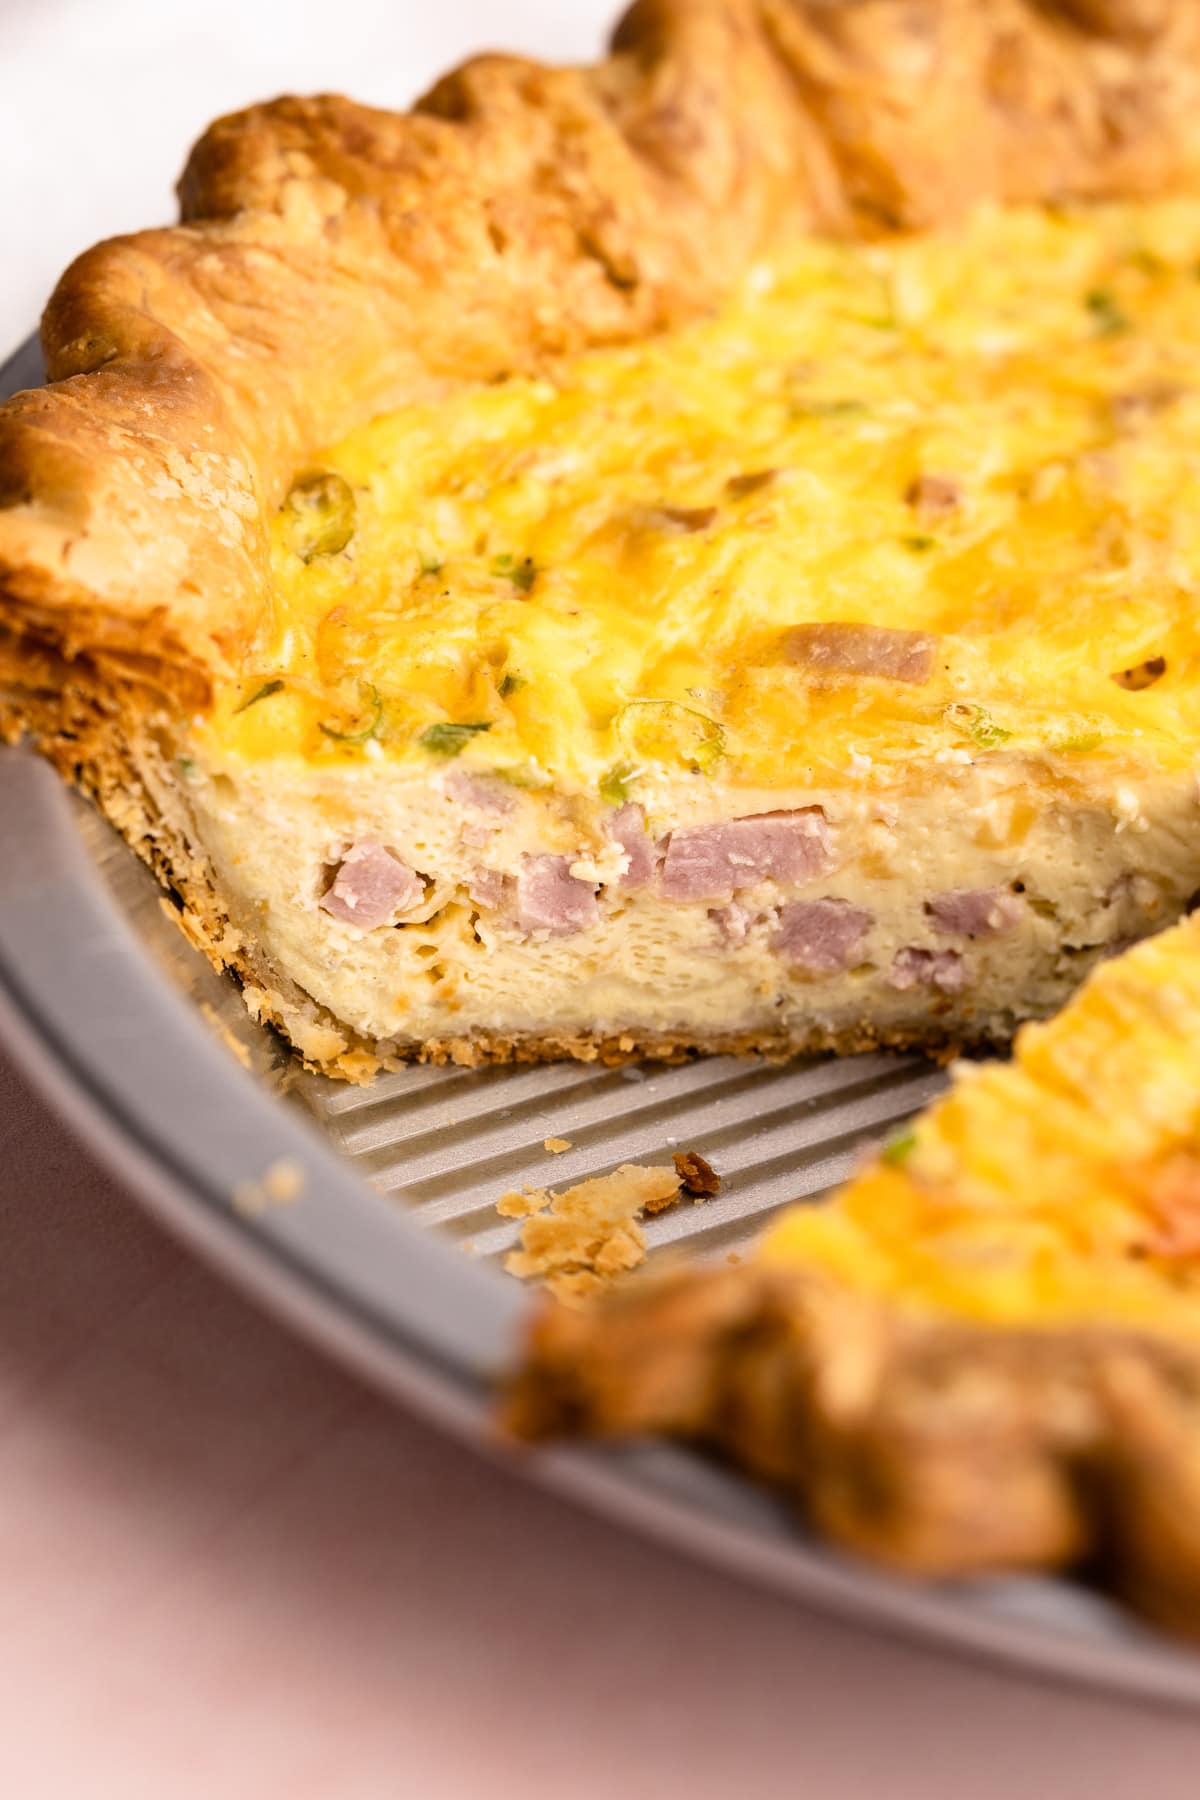
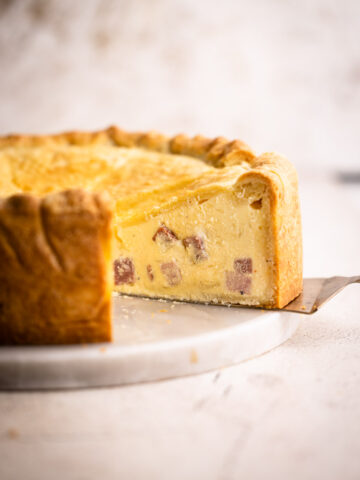
Made with just a handful of ingredients, this Ham and Cheese Quiche is an easy go-to dish for your next brunch, make-ahead lunch, or dinner. It is also a great way to use up leftover ham!
Want to save this recipe?
Enter your email & I'll send it to your inbox. Plus, get weekly updates from me!
Ham and Cheese Pie
Don't be fooled by this simple-sounding recipe because this Ham and Cheese Pie is big on flavor, thanks to a simple trick I accidentally discovered (see more on that below). Nestled in a homemade flaky pie crust, filled with a protein-packed, savory egg custard, and adorned with just the right amount of ham and melty cheese, it's the ultimate brunch pie.
Quiche recipes range from ultra-rich (like this Quiche Lorraine) to delightfully light (like this Broccoli Cheddar Quiche). This Ham and Cheese falls into the lighter category. Eggs take the spotlight in this quiche, complemented by a balanced amount of dairy. Instead of drowning in heavy cream, this pie relies on good flavor pairings and proper seasoning.
So, let's get to making it, shall we? The article below details all the information you need to know to make this successfully, concluding with the recipe at the end. You can jump around using the menu below or skip to the end of the article for the full recipe.
Jump to:
How to Amp up the Flavor
When I was baking and selling pies before I started this website, I used to cater a lunch for 60+ people by myself every month. It required quite a bit of logistical planning; considering I only had one oven, one set of hands, and of course, minimal time to get fresh, hot, homemade pies out the door.
For me, prepping early was always a lifesaver! So when I had this Ham and Cheese Pie on the menu, I would dice up the scallions, ham, and cheese and portion them out the night before in containers. Then, all I had to do in the morning was whisk together the eggs and dairy into my already portioned ingredients.
I learned that this early prep was not just a time-saver, it also really enhanced the flavor of this quiche. The scallion essence not only became quite soft, but it also infused into the ham and cheese and gave this pie a considerable flavor boost. Cue the wow factor!
So, if you are planning on making this for brunch, I recommend prepping up the scallions, ham, and cheese together the night before and placing them in a sealed container in the refrigerator. As stated above, it will cut down on prep time and will truly make a difference in how the ingredients mix and mingle.

Ingredients Needed and Substitutions
Here is a brief overview of the ingredients needed. The recipe card lists the full recipe with quantities and detailed instructions (located below this article).
- ham (you can use either leftover ham or ham from the deli counter)
- sharp cheddar cheese
- eggs
- scallions (aka green onions)
- dijon mustard
- half & half (or milk and cream)
- salt and pepper
- pie crust (I give a few options below)
Options for Pie Crust
Included in the recipe below is my favorite 3-ingredient homemade pie crust. It's simple to make and so delicious.
However, as this is a pie website, I have many different crusts you could pair with this quiche, depending on what you were looking for. This basic butter crust will work well here, or this cream cheese and butter pie crust for an enriched flavor.
You could also make the flavor a little bit more interesting by baking it in a Whole Wheat Pie Crust or a Spelt Pie Crust which are both super delicious.
Blind Baking the Crust
For this quiche, the pie crust must be partially blind baked at a higher temperature of 425ºF to properly cook the pie crust before adding and cooking the filling, which is baked at 375º.
Many people are intimidated by blind-baking a pie crust, but it's actually quite simple to do if you follow a few easy tips and tricks. The recipe includes instructions on how to do it below, but if you are new to blind baking, check out this Blind Baking Tutorial for a deeper dive into this subject.
Want to make a crustless quiche?
Go for it! This ham and cheese quiche bakes up perfectly without a crust, and it's really more of a frittata.
To make it without a crust: grease a 9" pie plate (or even an 8" square baking dish) and pour in the filling just like you would if it had a crust. Bake it at the same temperature in the middle rack. Start checking for doneness around 30 minutes. The pie should be mostly puffy throughout and the filling shouldn't have any wiggle left in it.
Step-By-Step Recipe Overview
This is a quick visual overview of the steps needed to make this recipe. This is not the actual recipe, which is located at the end of this article and has much greater details to ensure success.
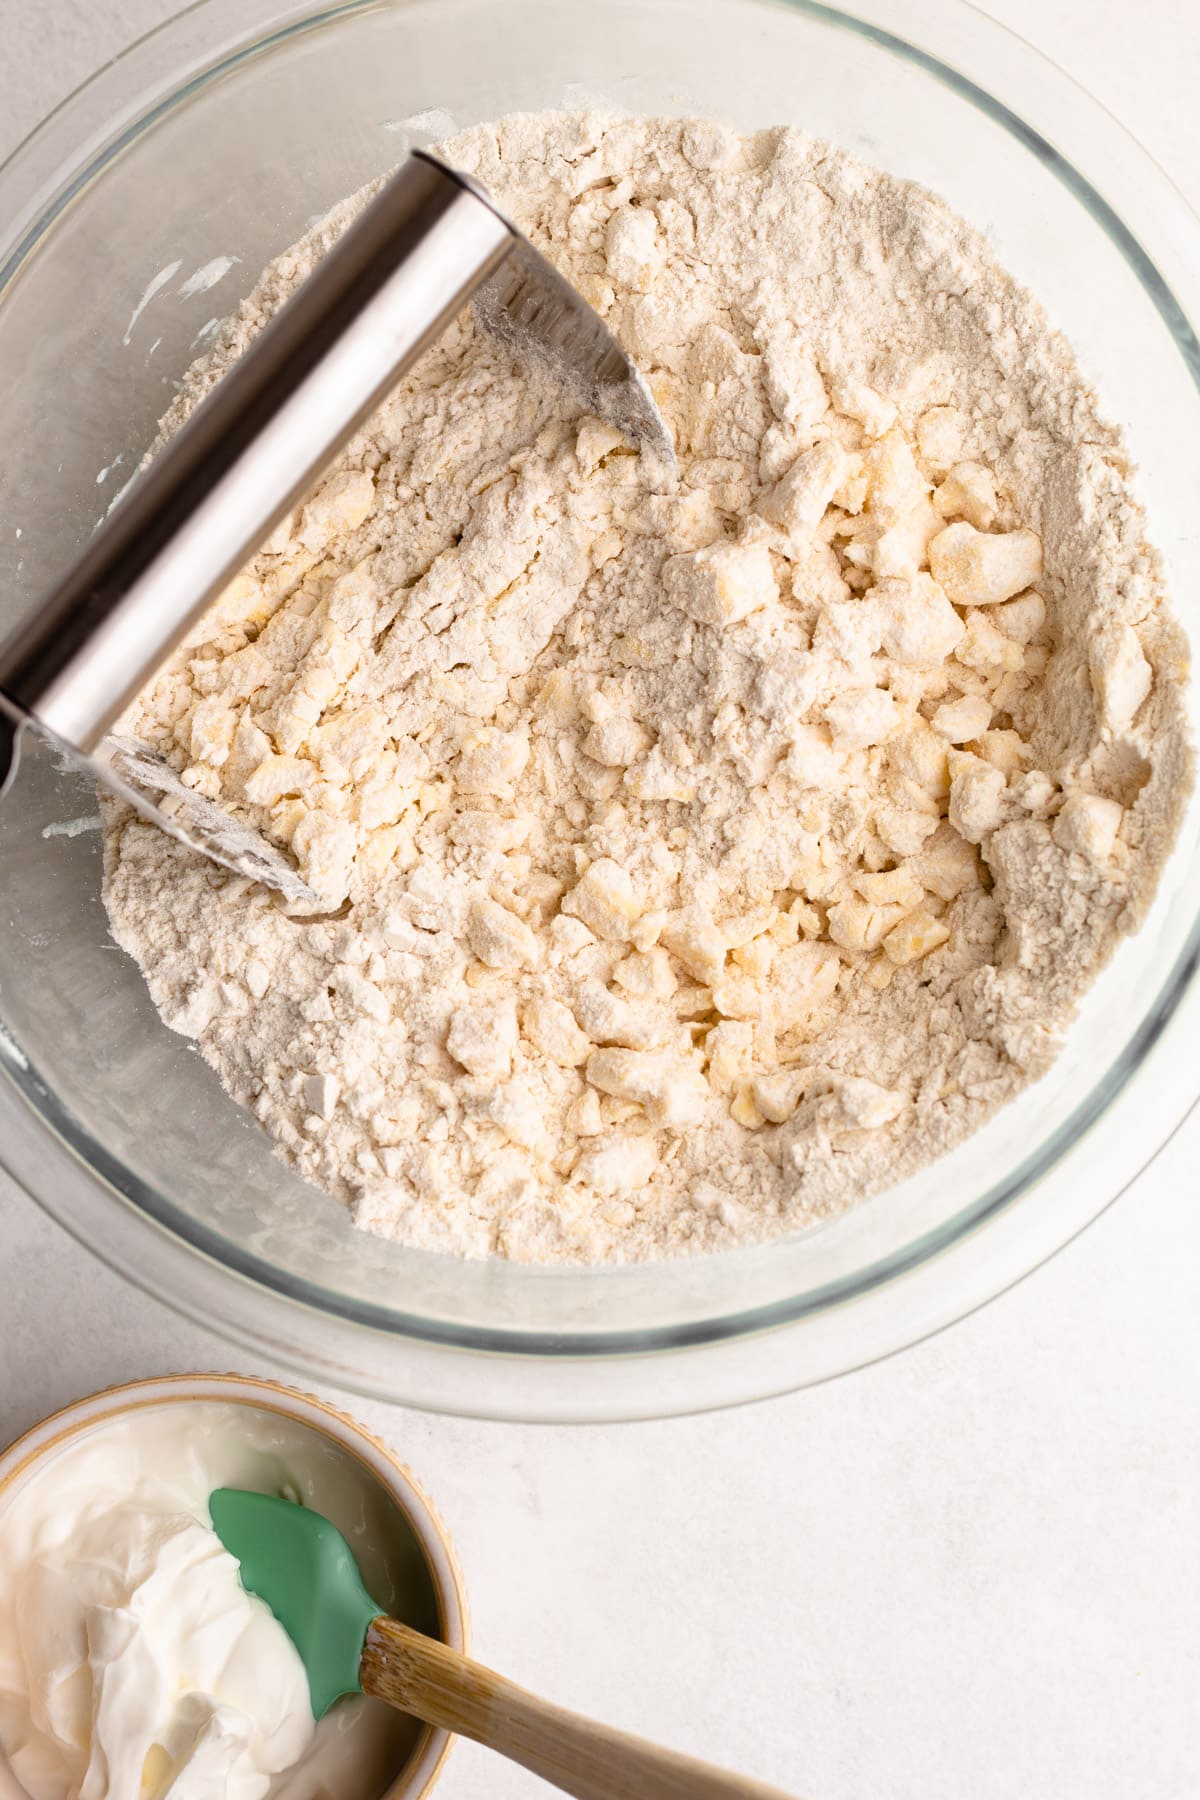
Step 1: Make the pie dough, let it rest.

Step 2: Roll out and place the pie dough into a pie dish.
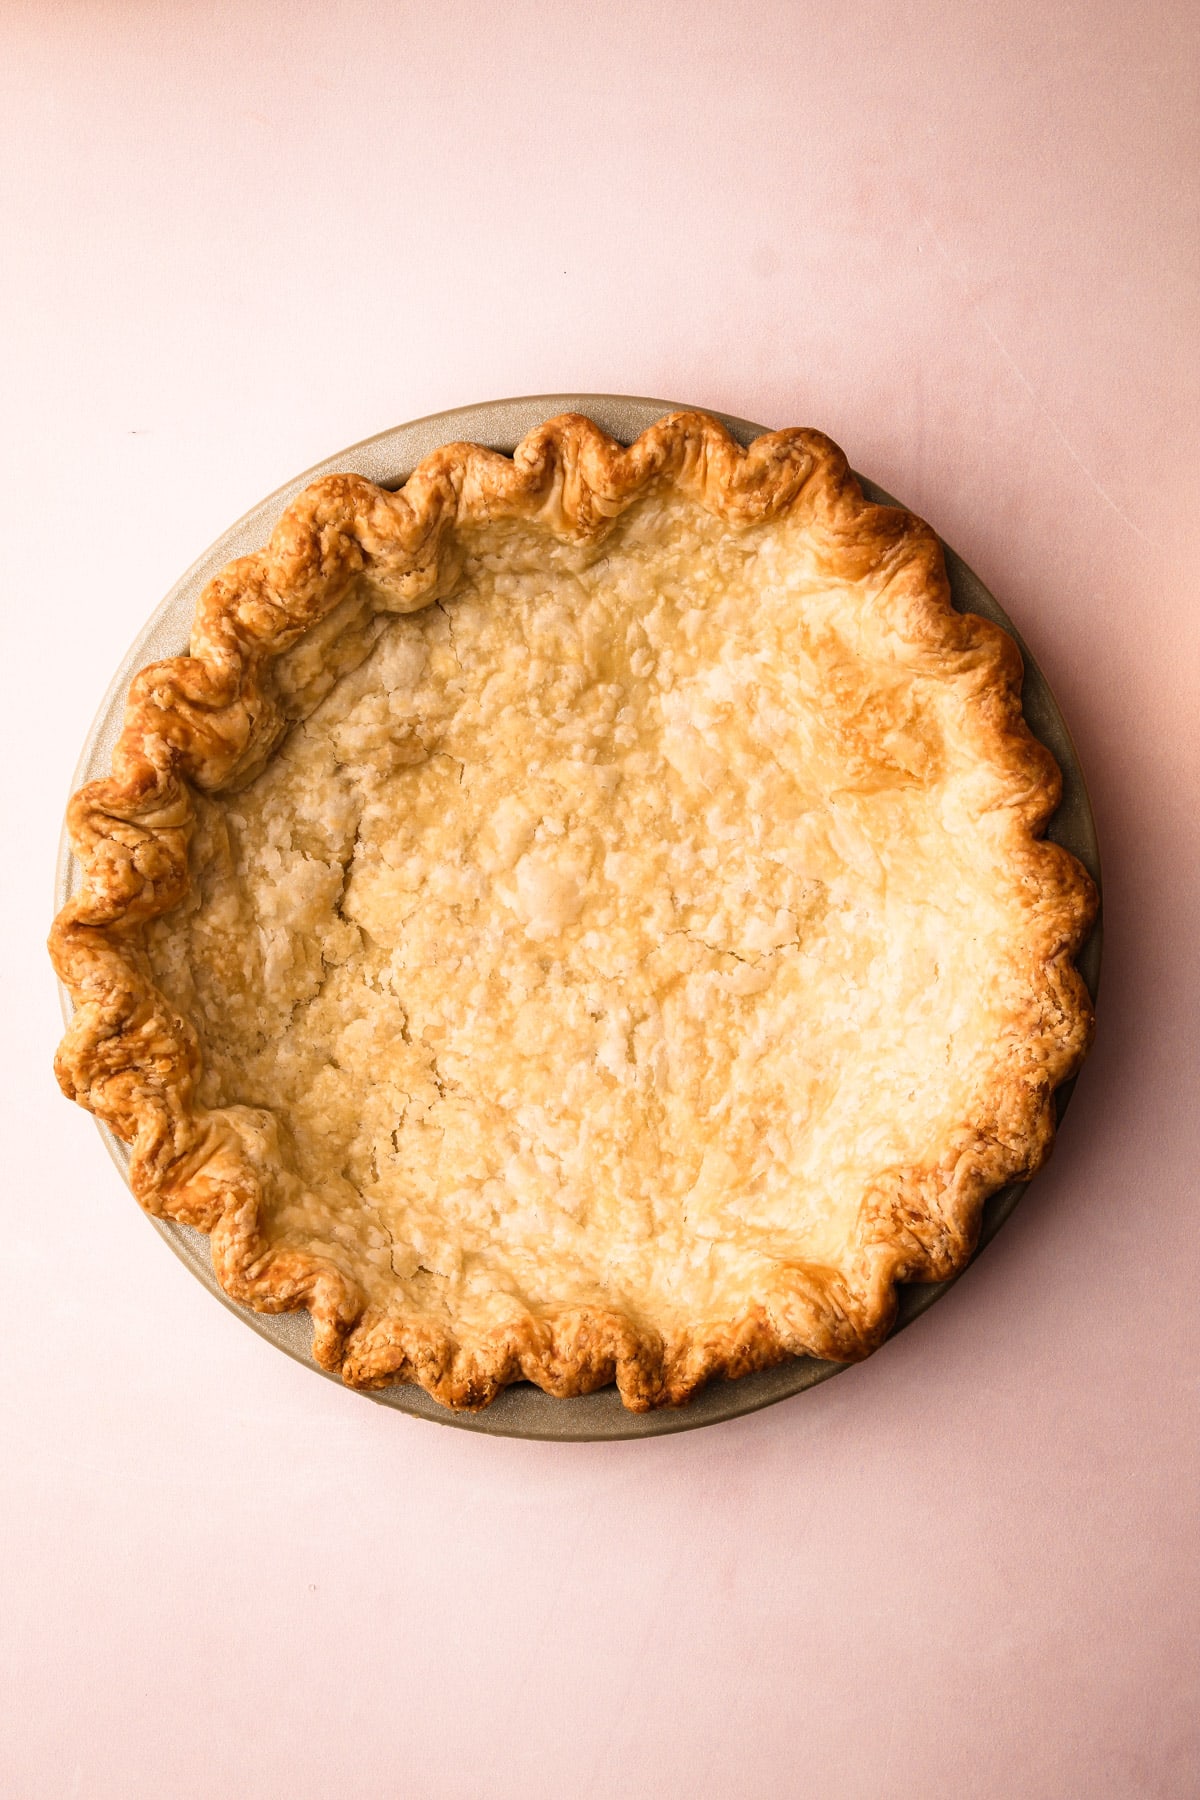
Step 3: Blind bake the pie shell.

Step 4: Whisk together the egg quiche ingredients.
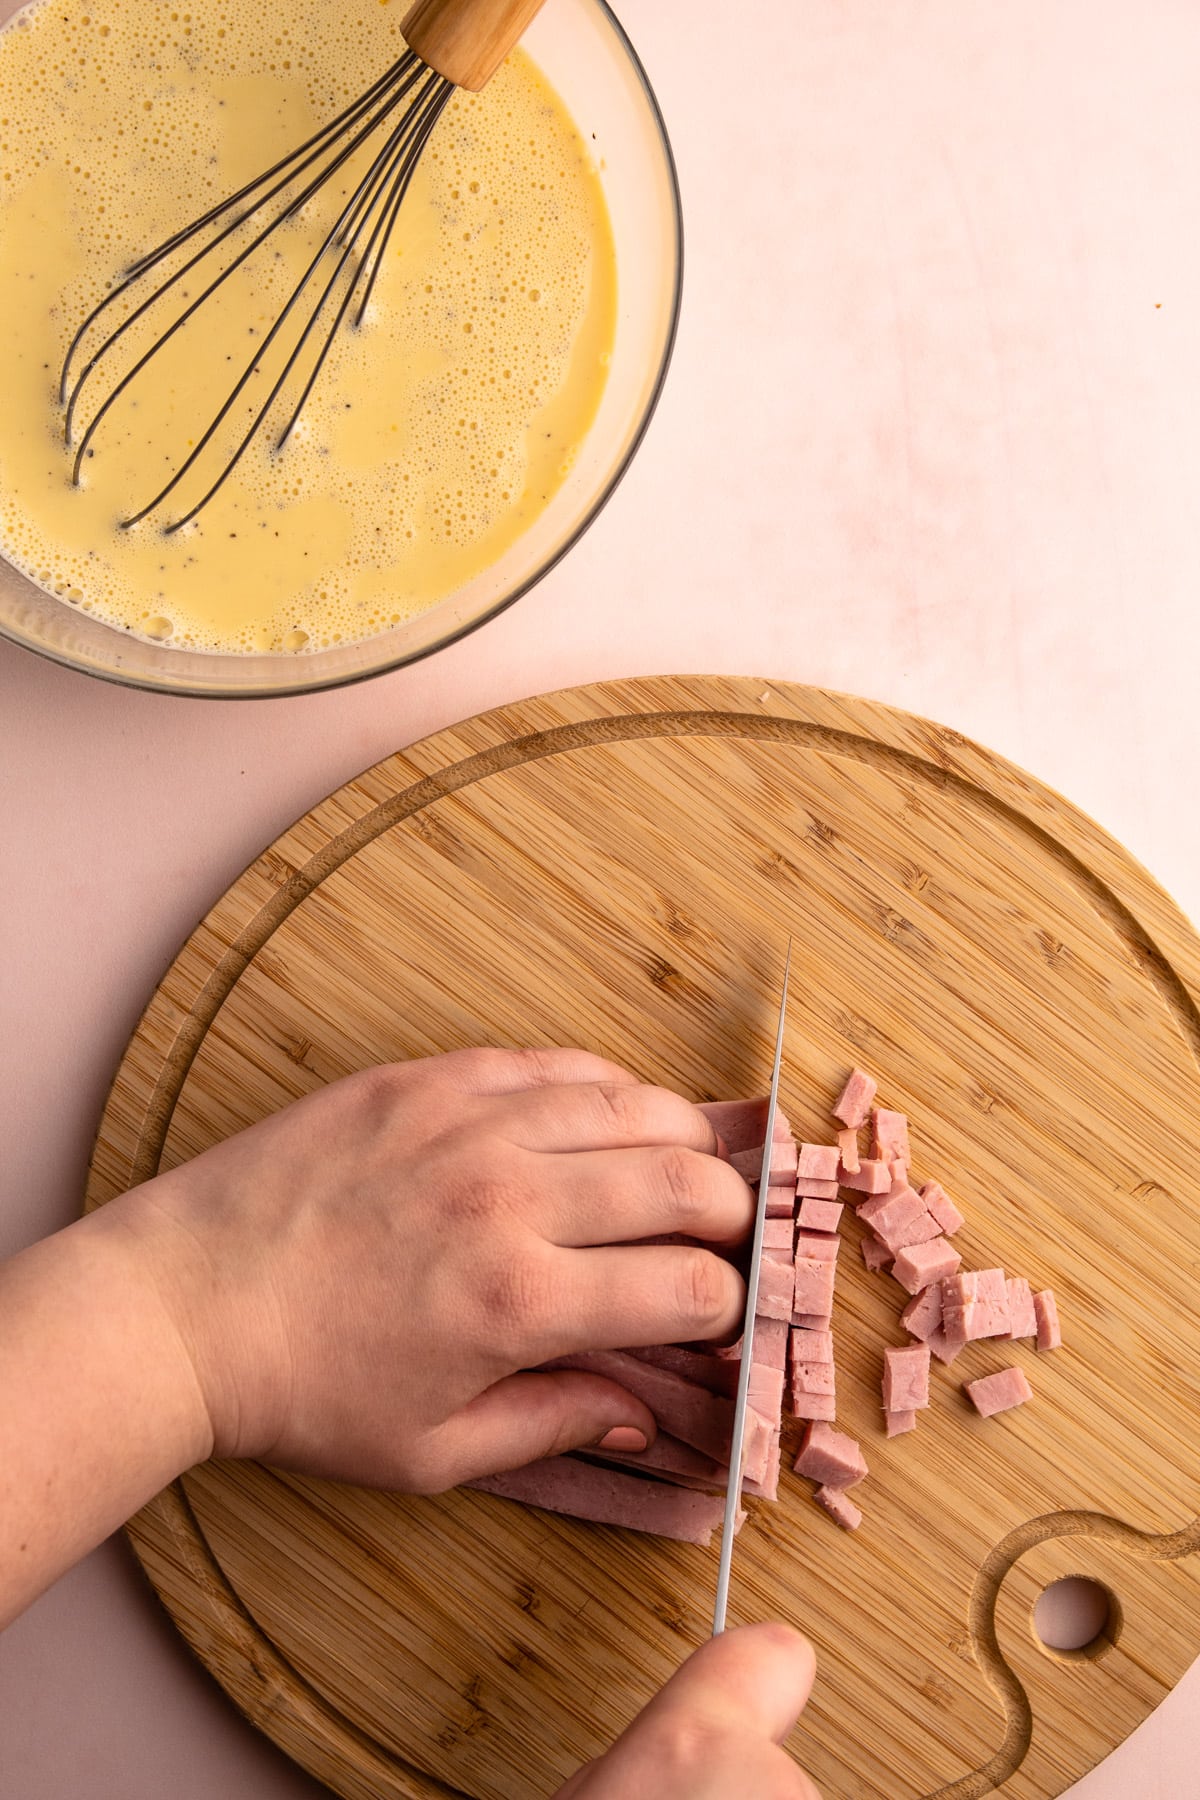
Step 5: Chop up the broccoli, scallions and shred the cheese.

Step 6: Fold in the add-in's to the quiche mix.

Step 7: Transfer the filling to the pie crust.

Step 8: Bake!
How to Tell When It's Done
Baking a quiche well requires careful attention to ensure that the eggs are fully cooked and set without shifting into overbaked, which can lead to a tough, rubbery texture in the filling.
For a perfectly cooked quiche, look for the filling to be puffed almost entirely across the pie with a slight golden hue along the edges. The middle of the pie should reach an internal temperature of around 180°F.
The quiche should cool for about 10 minutes before serving, at which point the filling will deflate slightly to form a flat surface.

Storage and Freezing Information
Nothing compares to a freshly-baked quiche! When made correctly, it is creamy, light, and bursting with flavor. The best part is that quiche can be easily prepared in advance, up to a day or two before serving. Simply reheat it before serving and enjoy!
And this recipe also freezes nicely. Cool the quiche completely before wrapping tightly in a double layer of plastic wrap, then store it in the freezer for up to 2 months. When you need an easy meal, defrost completely in the refrigerator for 24 hours, then reheat in the oven at 350º until heated through.
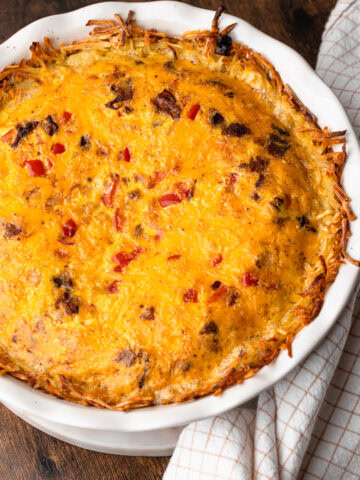
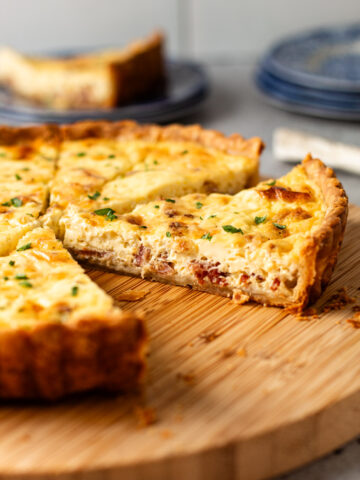
More Quiche Recipes
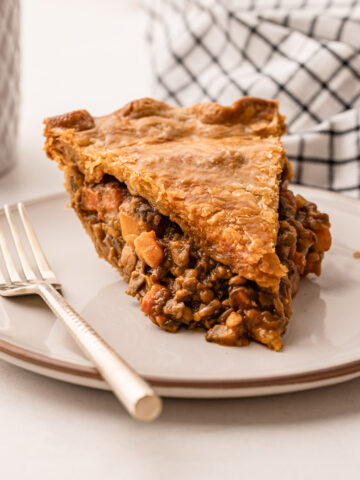
More Savory Pies
I am so honored when you make a recipe from my site! If you make this Ham and Cheese Quiche, please leave a star ⭐️⭐️⭐️⭐️⭐️ rating with your experience! If you have any questions about this recipe, feel free to comment here, and tag me on Instagram!
Full Recipe
Ham and Cheese Quiche
This Ham and Cheese Quiche is made up of a handful of simple ingredients and is easy to put together for your next brunch, make-ahead lunch or dinner. You can use either deli ham or leftover ham for this, and it can be made in a homemade pie pastry or store-bought crust. The crust will need to be par-baked because the pie is cooked at a lower temperature to keep the filling creamy. If you want to boost the flavor of this pie, prepare the ham, cheese and scallions the night before and store in the refrigerator. The scallion flavor mellows and infuses the ham and cheese with a light onion flavor that really brightens the flavor of the pie (see the body of the post for more details on this).
- Prep Time: 00:15
- Cook Time: 01:20
- Total Time: 1 hour 35 minutes
- Yield: 8 servings
- Category: Savory Pie
- Method: Bake
- Cuisine: American
Ingredients
For Pastry:
- 1-¼ cups (150 grams) all-purpose flour
- ½ cup (113 grams) diced salted butter, cold
- ⅓ cup (90 grams) sour cream
For Ham and Cheese Filling:
- 6 large eggs
- 1 cup milk
- ½ cup heavy cream
- 2 teaspoons dijon mustard
- 1 green onion, sliced thin
- ½ teaspoon coarse kosher salt (see note)
- ½ teaspoon ground black pepper
- 1-½ cups diced ham
- 1 cup (115 grams) shredded sharp cheddar cheese
- Sliced chives, for garnish
Instructions
Make the Pie Crust:
- In a large bowl, combine the flour and the diced butter. Toss to coat the butter with the flour. Work the butter into the flour using a pastry blender, by using your fingers to squeeze the butter chunks until they're flat and then rubbing them into the flour. Some larger pieces can remain, up to the size of a marble. Continue blending until the dough looks shaggy.
- Make a well in the center of the flour mixture and add the sour cream to it. Using a spatula, mix the sour cream in the flour.
- Using your hands, knead the dough a few times to help blend the sour cream into the flour until it just comes together as one large ball.
- Transfer the pastry to a work surface and shape into a rough disk shape. Place the dough in a piece of plastic wrap and wrap tightly. Using a rolling pin, roll the dough out until it stretches to the edges of the plastic wrap to ensure a tight seal. Refrigerate for at least 2 hours, but preferably overnight.
- Preheat oven to 425ºF.
- Roll out the pie dough to an 11-inch circle. Fit the pastry into a 9-inch metal pie plate, making sure to press the pastry into the sides and the bottom. Crimp the edges as desired. Prick the bottom of the dough all over with a fork. Place the pie shell in the freezer while the oven preheats, at least 15 minutes.
- Preheat the oven to 425ºF and place a rack in the lower part of the oven.
- Once chilled, line the pie shell with a round piece of parchment paper, then add pie weights (I recommend dry rice or beans or lentils), making sure to push the pie weights to the edges.
- Bake on the lower rack for 20 minutes, then remove from the oven and carefully remove the parchment and pie weights. Return to the oven and bake for an additional 5 minutes. Set aside until ready to use.
Make and Bake Filling:
- Lower the heat to 375º.
- In a large bowl whisk together the eggs, milk, cream, dijon and salt and pepper. Fold in the ham, cheese and scallions.
- Pour the filling into the parbaked crust.
- Bake at 375ºF for 50-55 minutes, until the middle of the quiche is set and slightly puffed. If necessary, cover the edges of the crust with aluminum foil to prevent them from burning.
- Transfer to a wire rack to cool. Let the quiche cool for at least 5-10 minutes before slicing.
- Serve warm or at room temperature.
Notes
Have a question or looking for tips? The text written above the recipe is always a great first place to start! There are always loads of explanations, tips and technical advice shared before the recipe.
This recipe was tested using Diamond Crystal coarse kosher salt. If you use Morton's kosher salt or fine salt, decrease by half for volume.
Weighing your flour is the most accurate way to measure. If you aren't going to weigh it, make sure to spoon it into the cup, and then level it off. If you scoop the flour out with the measuring cup and then level, it could change the outcome of the final product.
Looking for other pie crust options for this pie? This basic butter crust will work well here, or this cream cheese and butter pie crust for an enriched flavor. You could also make the flavor a little bit more interesting by baking it in a Whole Wheat Pie Crust or a Spelt Pie Crust which are both super delicious. Need it to be gluten-free? Check out this Gluten-Free Pie Crust.
This recipe was originally published in 2019, and updated with new photos in 2024.
Some of the links on this page may be affiliate links. Everyday Pie is a participant in the Amazon Associates Program. As an Amazon Associate I earn from qualifying purchases, at no extra cost to you.



Alyson
The BEST easy, yummy quiche recipe. I used the basic butter crust recipe instead, because we forgot sour cream in our grocery run but it turned out perfect! We got so many compliments for our Easter brunch.
Tammy
This was my first pie that I’ve ever made and it was SO good. I followed directions exactly as written and it turned out great. My crust came out perfectly flaky and buttery. I’m making the custard pie today too and can’t wait to see how that turns out 🙂
Kelli Avila
Tammy that's so awesome! I'm so happy you have started baking pies!
Lori
Looks amazing! I’ll be making this ahead for Christmas morning and wondering how long to reheat in the oven for? Looks like 350 degrees to reheat after being in the fridge overnight, but for how long? Thanks and Merry Christmas!
Kelli Avila
Hi Lori, it depends on how cold your refrigerator is, to be honest. I recommend starting with 15 minutes, and cover the edges if the edges start to brown. Either take the temperature of the pie and it should be above 170, or stick a butter knife in the middle and feel if the metal is warm / hot after you take it out.
Thammy
I did not have ham so I used bacon instead, but the quiche turned out great! The pie crust itself was very tasty and nice to work with - can't wait to try your other recipes 🙂
Kelli Avila
Hi Thammy! I'm so glad you loved it! Thanks for stopping by!