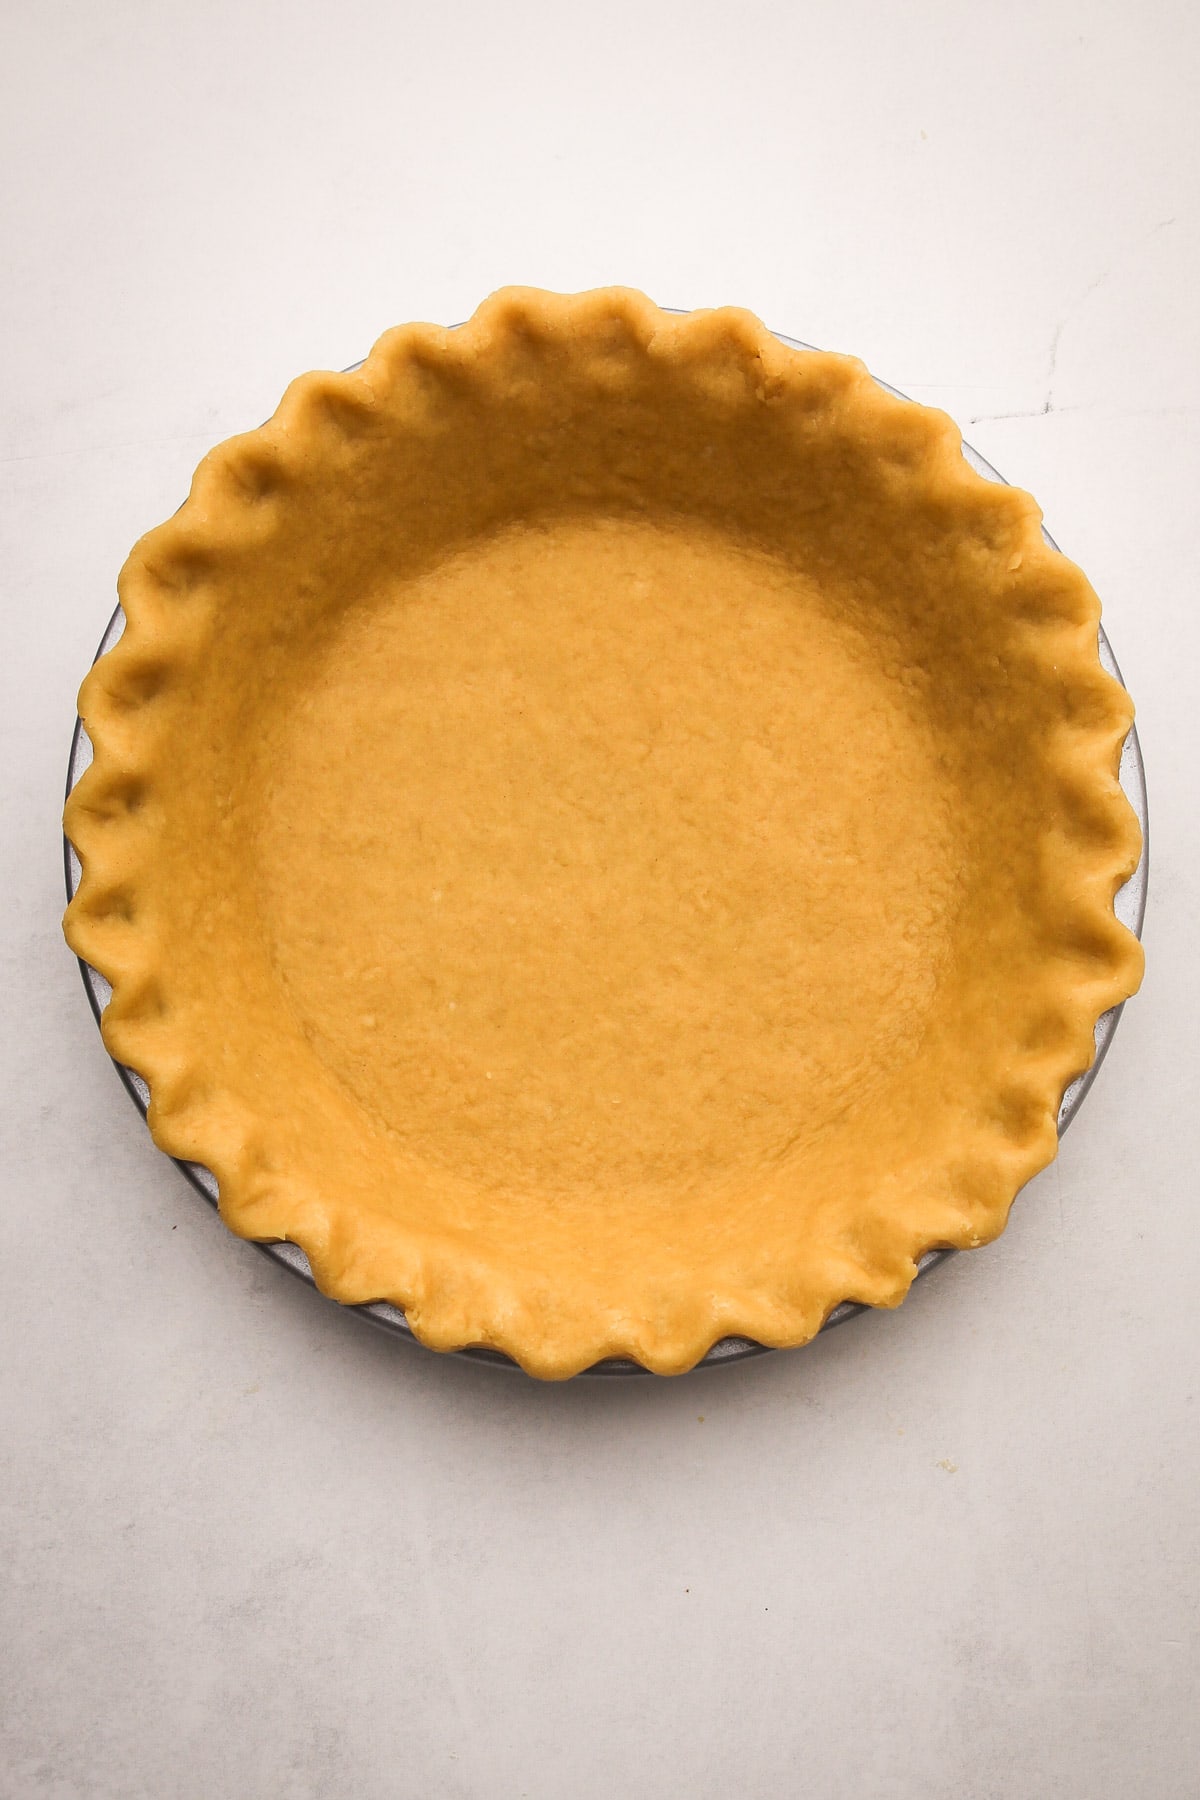
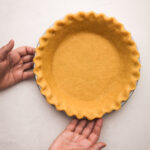
Olive Oil Pie Crust is a great option for savory pies. It's both easy to make and really delicious! The best part? This dough does not require significant chilling time (just a brief rest), so it's perfect for making quick and easy dinner pies on busy weeknights and is naturally dairy-free.
Want to save this recipe?
Enter your email & I'll send it to your inbox. Plus, get weekly updates from me!
Olive oil pie dough is a great option for easy, fuss-free weeknight baking. Typically, butter pie dough should be chilled for at least 2 hours before rolling out because that type of pie crust relies on cold butter to work its magic. This dough, on the other hand, only needs 10-30 minutes of resting time at room temperature to fully hydrate before it's ready to roll.
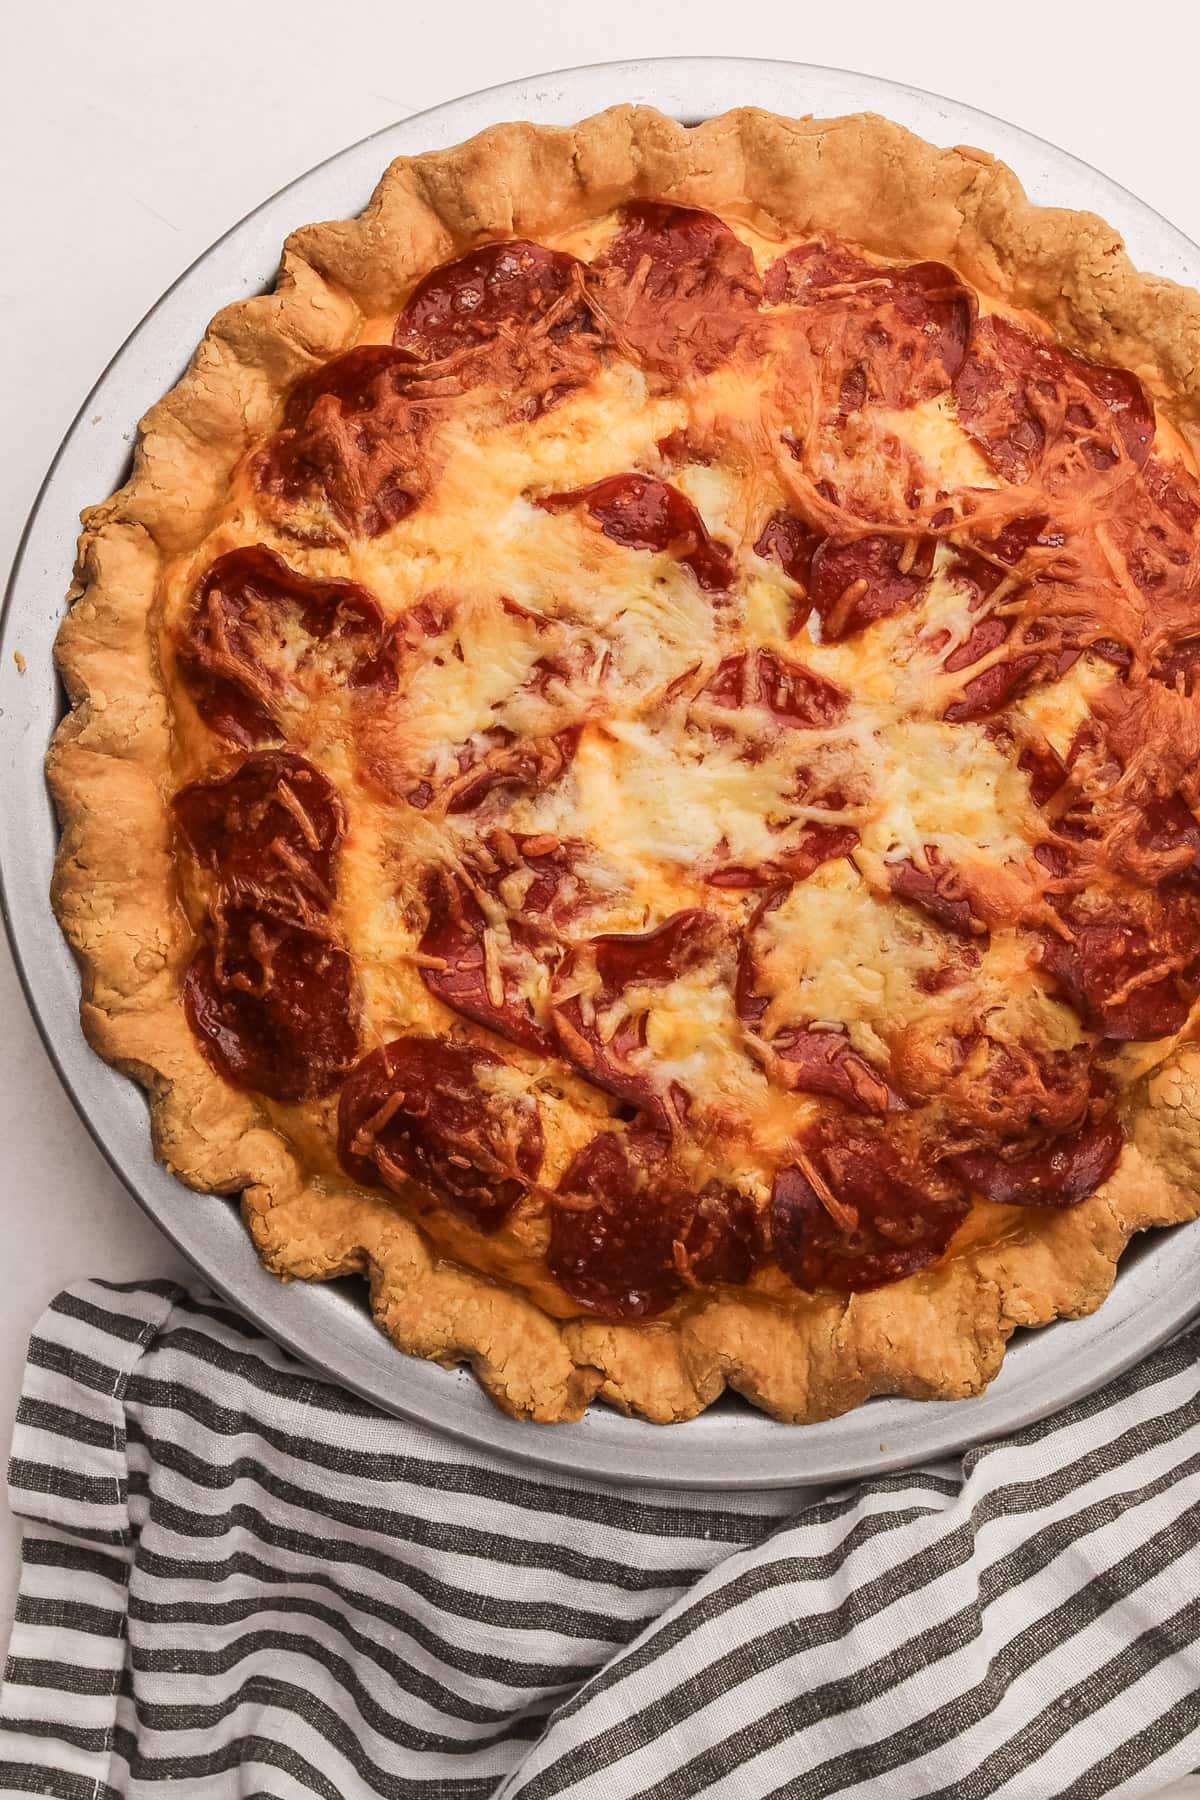
Aside from its ease of preparation, olive oil pie dough is also a uniquely delicious crust with a lovely texture and taste. This is not an airy, flaky crust. Think of it more as a crumbly, flatbread-type texture. It pairs well with many savory pie fillings, such as this Pepperoni Pie, Spinach and Artichoke Quiche and Corn, Jalapeño and Feta Pie.
To make it, all you need are a bowl and fork. The dough actually comes together very similarly to fresh pasta. So, if you know how to make pasta by hand, you'll do just fine! And if you've never made pasta before, well, after making this easy recipe, I think you'll find yourself empowered to do so!
So, let's get to making it, shall we? The article below details all the information you need to know to make this successfully, concluding with the recipe at the end. You can jump around using the menu below, or skip to the end of the article for the full recipe.
Jump to:
Recipe Inspiration
This recipe is adapted from pastry chef and cookbook author Nick Malgieri. I first started using his recipe back in the days of my micro-bakery, and often produced it along with another adaptation of one of his recipes, this Kale and Potato Pie. My recipe adaptation yields a larger quantity of dough, some adjusted quantities of ingredients, and I added an egg yolk to increase the tenderness (among other things).
I first shared this recipe when I started my blog in 2019. Since I first published it, some readers have had difficulty making the dough. While the recipe remains the same, this updated article will give readers a more in-depth explanation of how to make the dough, including step-by-step photos. As I've spoken with readers who have made this recipe, I can see where they've had trouble and have also included some troubleshooting tips.
Ingredients Needed and Substitutions
Here is a brief overview of the ingredients needed. The recipe card lists the full recipe with quantities and detailed instructions (located below this article).
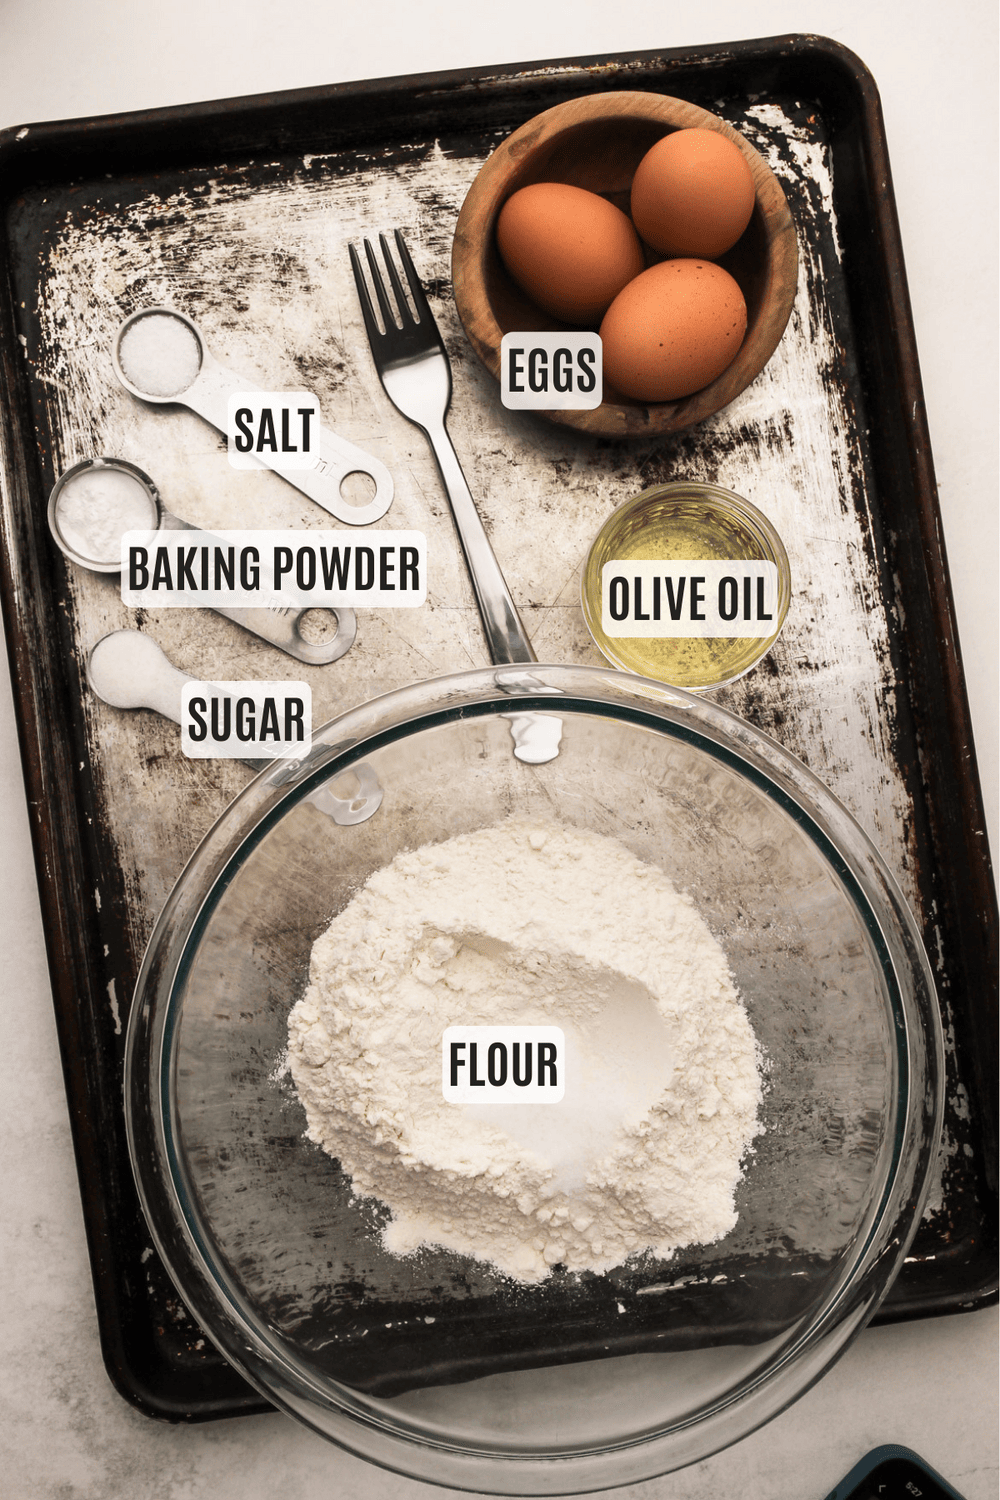
- olive oil (it's best to use a light to medium olive oil that you enjoy the taste of, as the flavor will come through in the crust)
- all-purpose flour (weighing your flour is the most accurate way to measure. If you aren't going to weigh it, make sure to spoon it into the measuring cup, then level it off. If you scoop the flour out with the measuring cup and then level, it could change the outcome of the final product.)
- granulated sugar (this provides tenderness and just a bit more flavor to the dough, but it doesn't make the dough sweet)
- baking powder (as mentioned before, without the use of cold butter in this crust, we need some chemical agents to help with lift)
- coarse kosher salt (This recipe was tested using Diamond Crystal coarse kosher salt. If you use Morton's kosher salt or fine salt, decrease the volume by half.)
- eggs (this recipe uses two whole eggs and one extra yolk for additional tenderness and hydration)
Step-By-Step Recipe Overview
This dough preparation method is similar to the initial stages of making pasta dough by hand, with one significant difference: the aim is to minimize gluten development. The method to make it requires only a bowl and a fork, but it's crucial to understand the visual and tactile cues to ensure you are making the dough properly. And, a little faith helps. I believe some readers have not understood that the dough will fully hydrate during the brief resting period.
Here is a visual overview of the steps of this recipe. This is not the actual recipe, which is located at the end of this article and has much greater detail to ensure success.
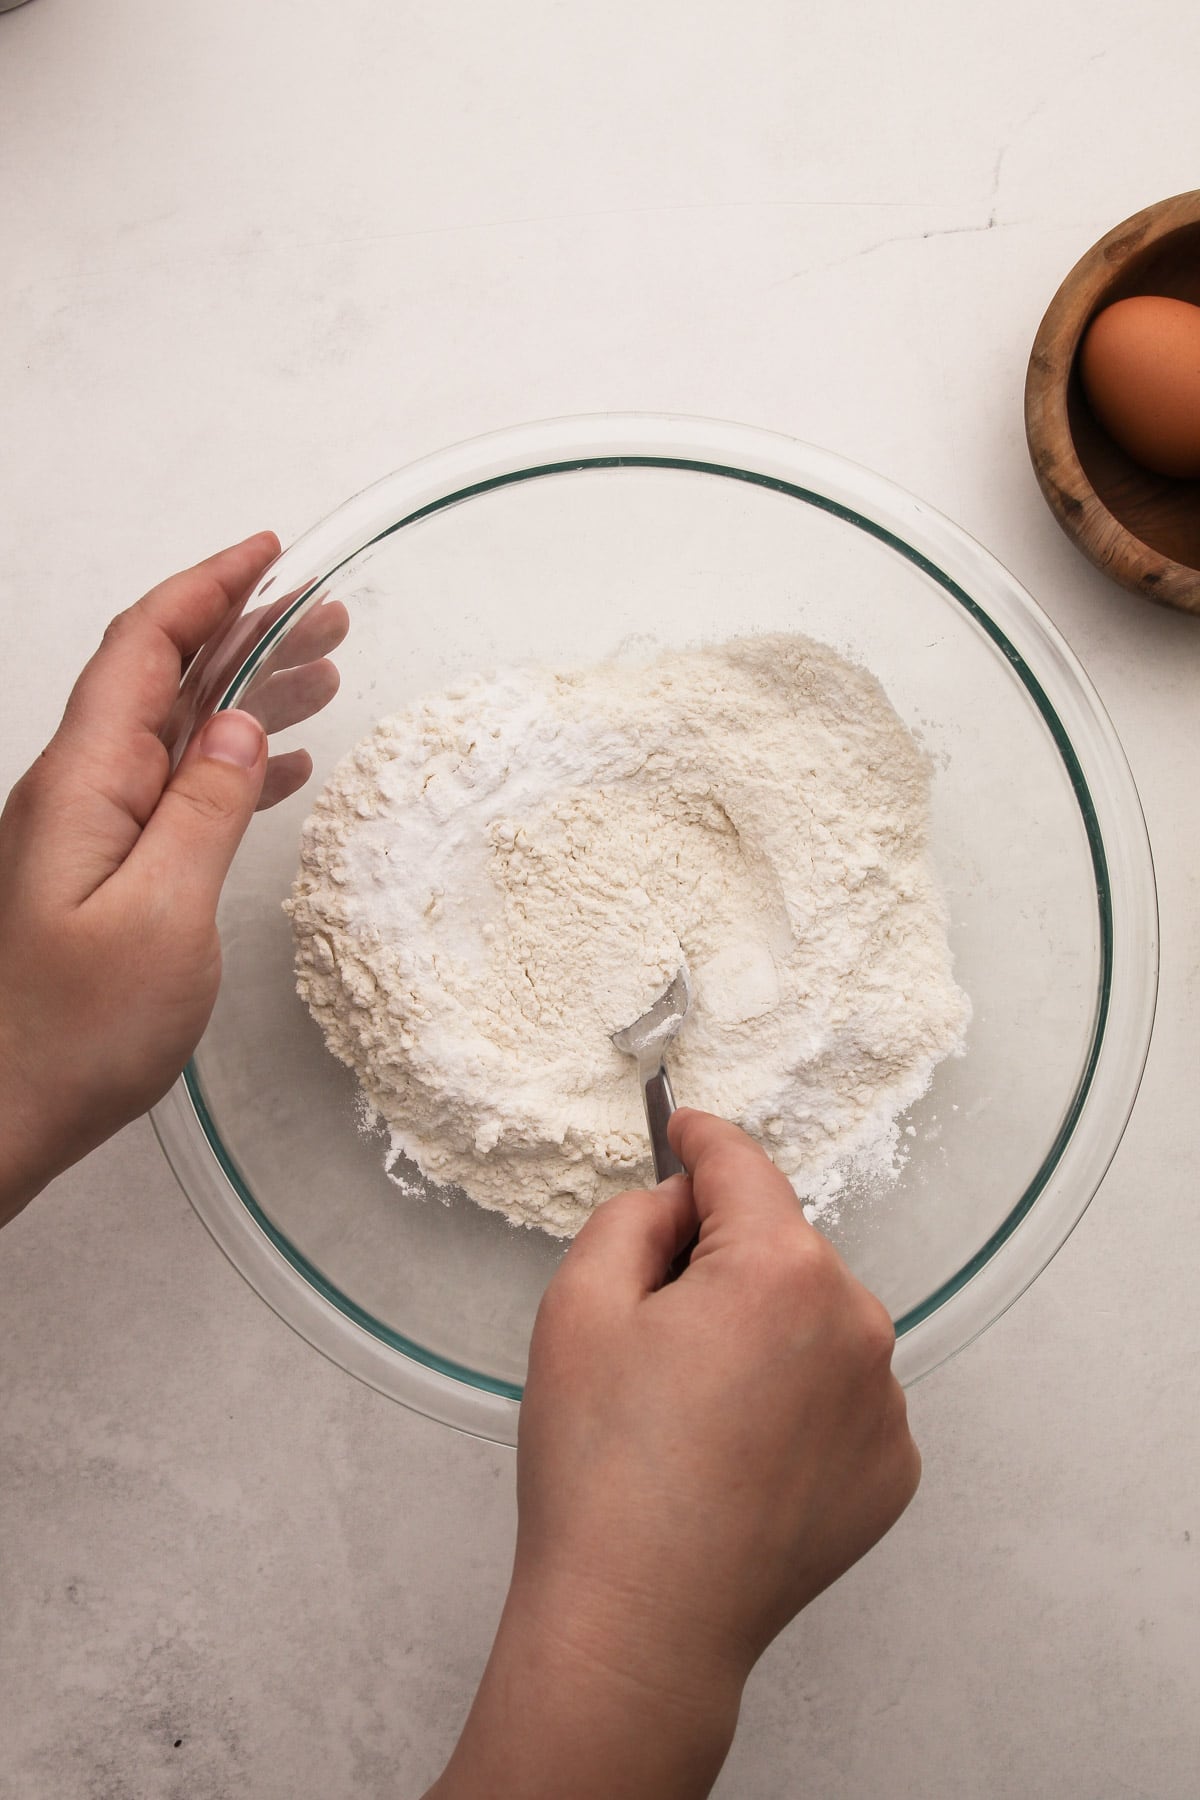
Step 1: Whisk together the dry ingredients in a medium bowl.
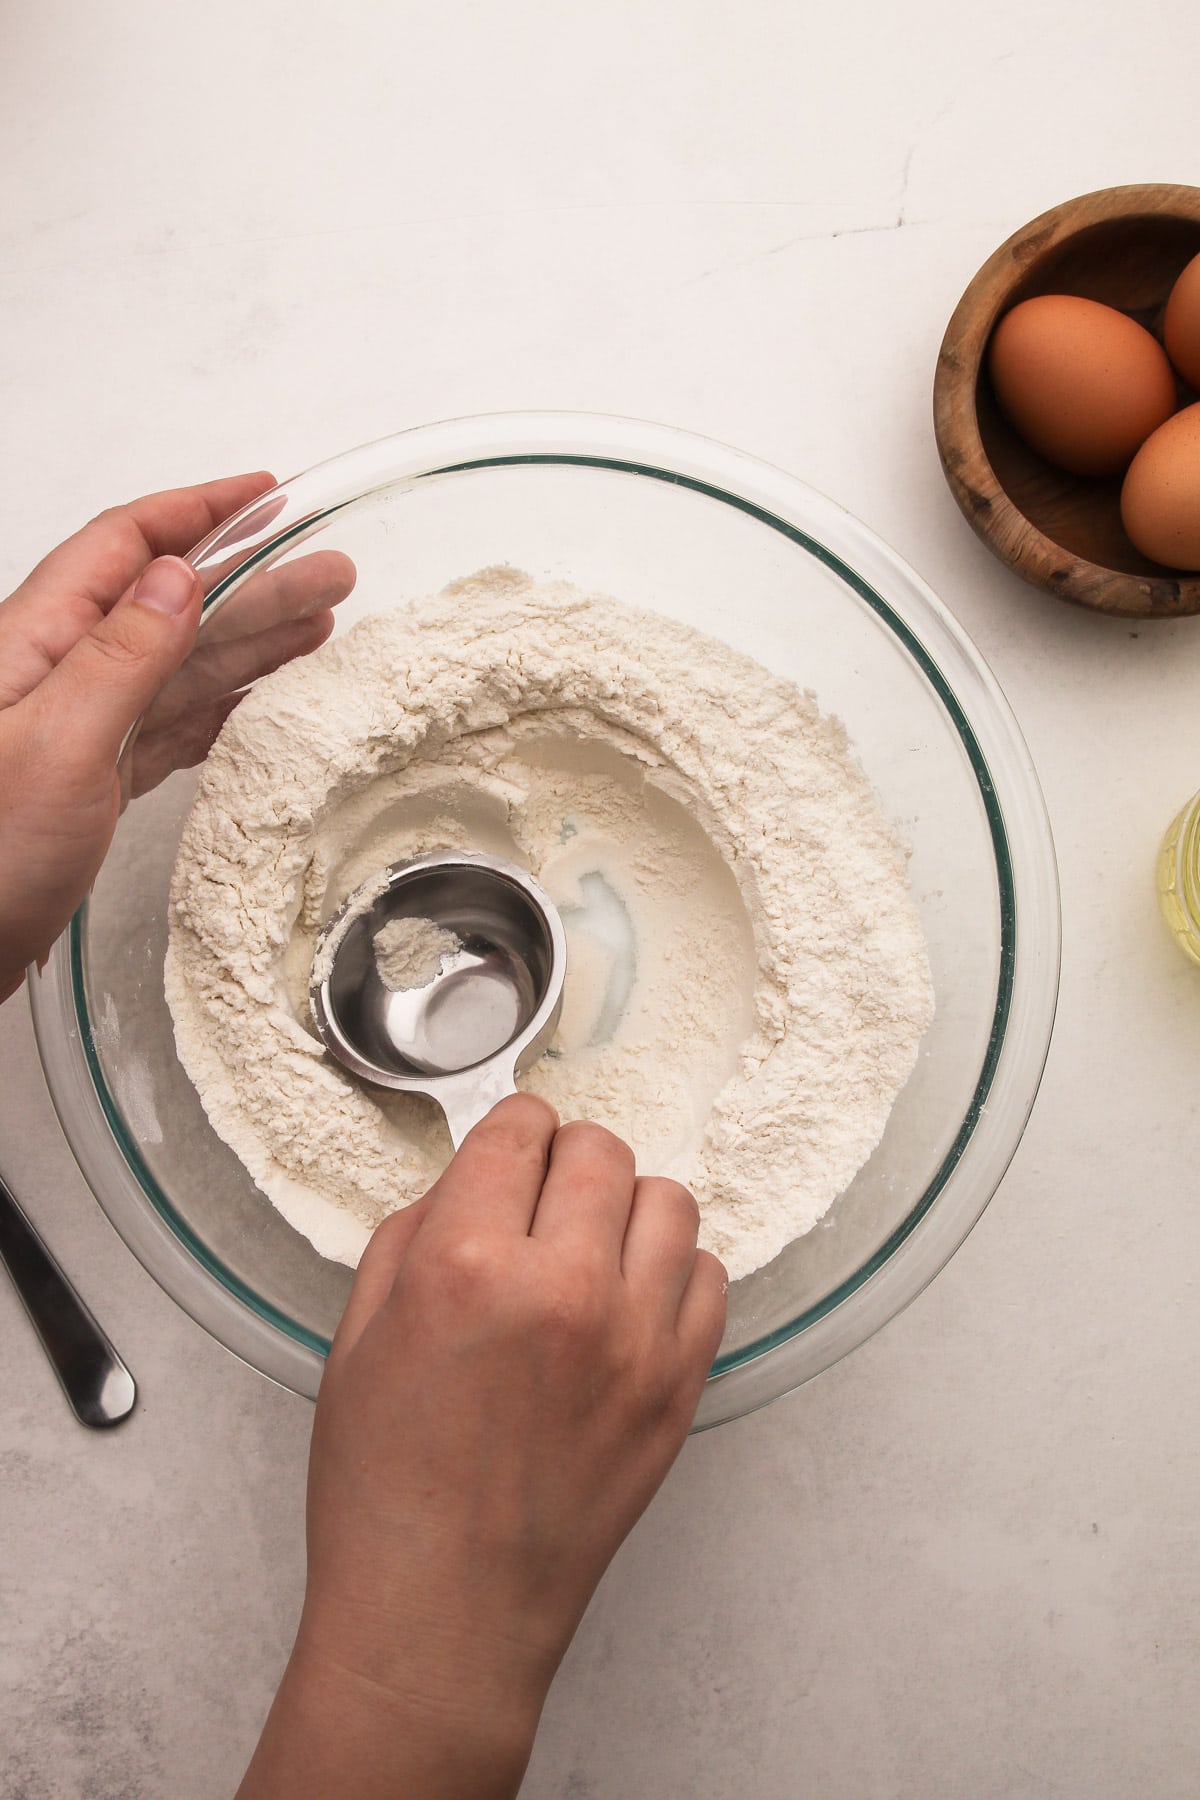
Step 2: Make a well in the center.
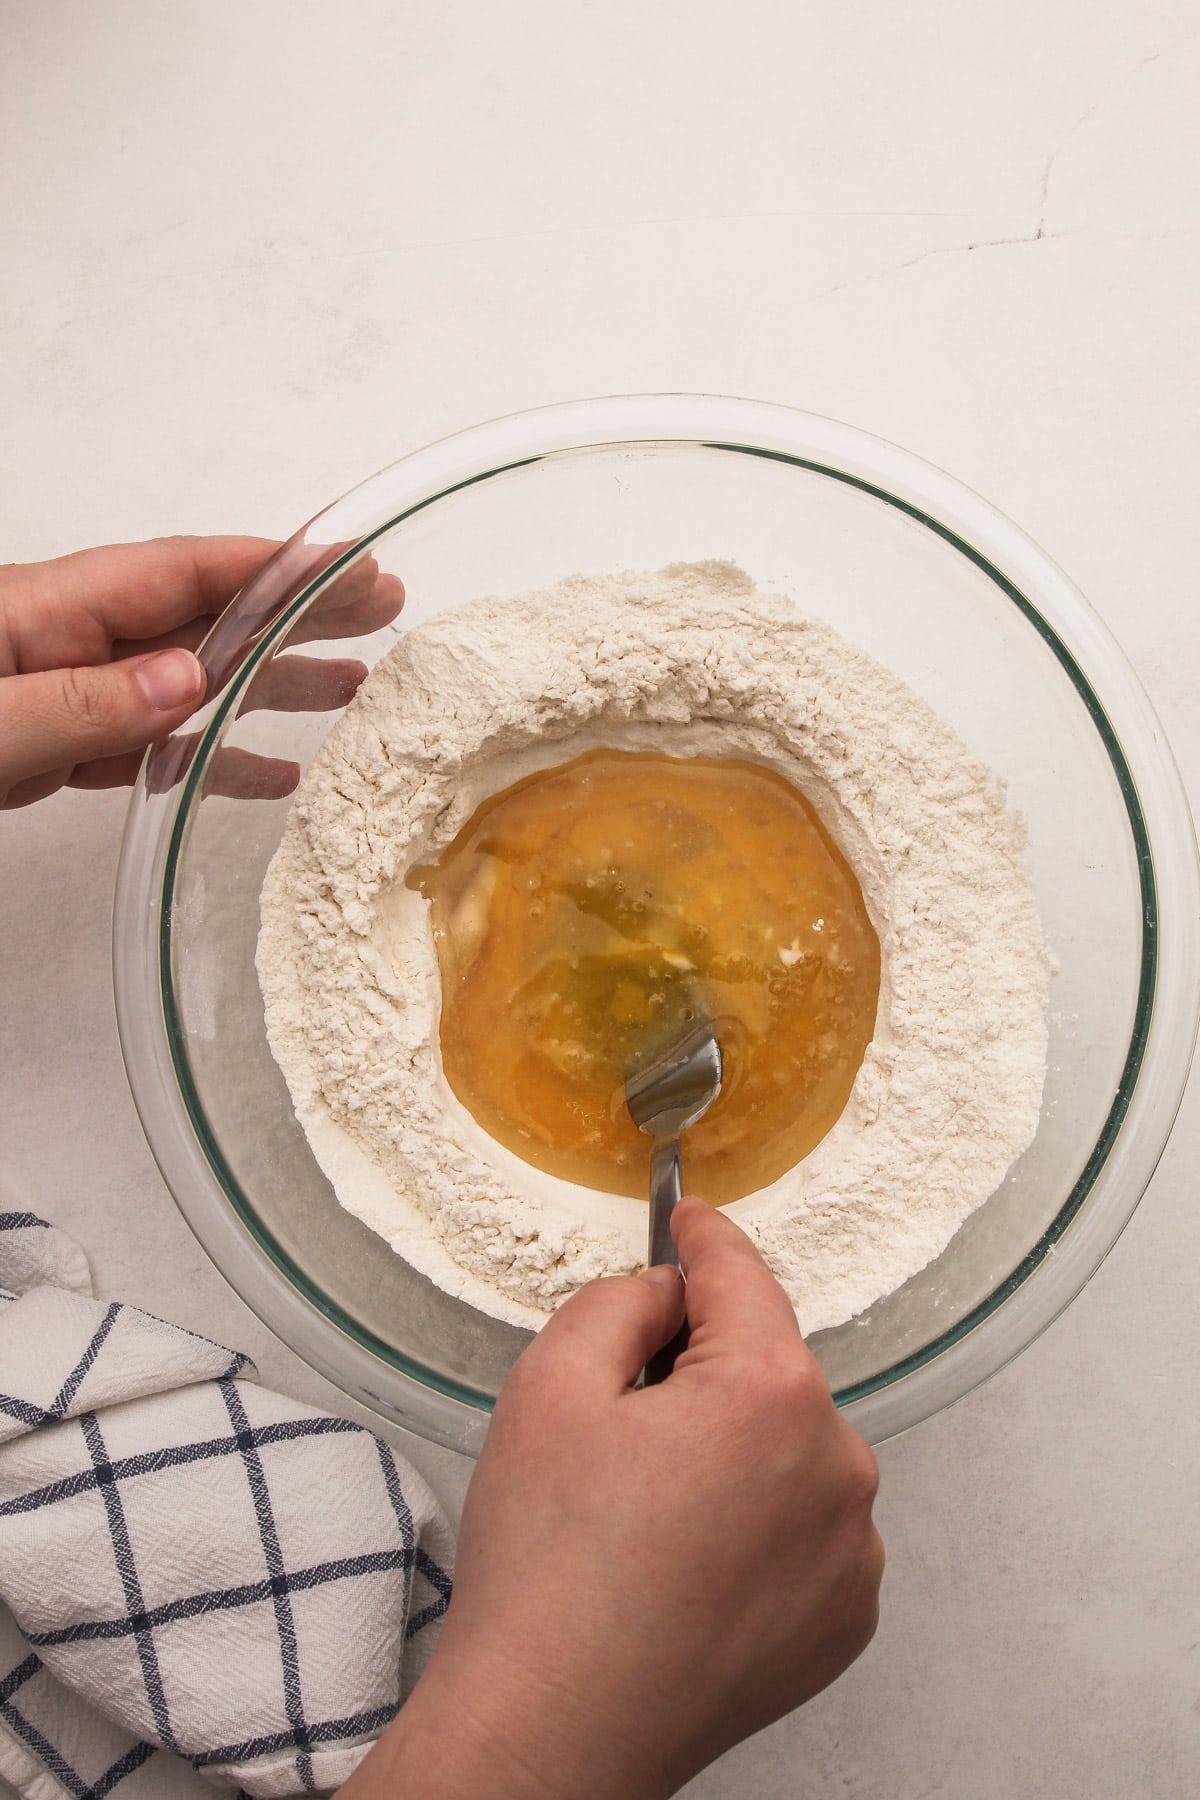
Step 3: Add the olive oil and the eggs to the center, and use a fork to scramble the eggs.
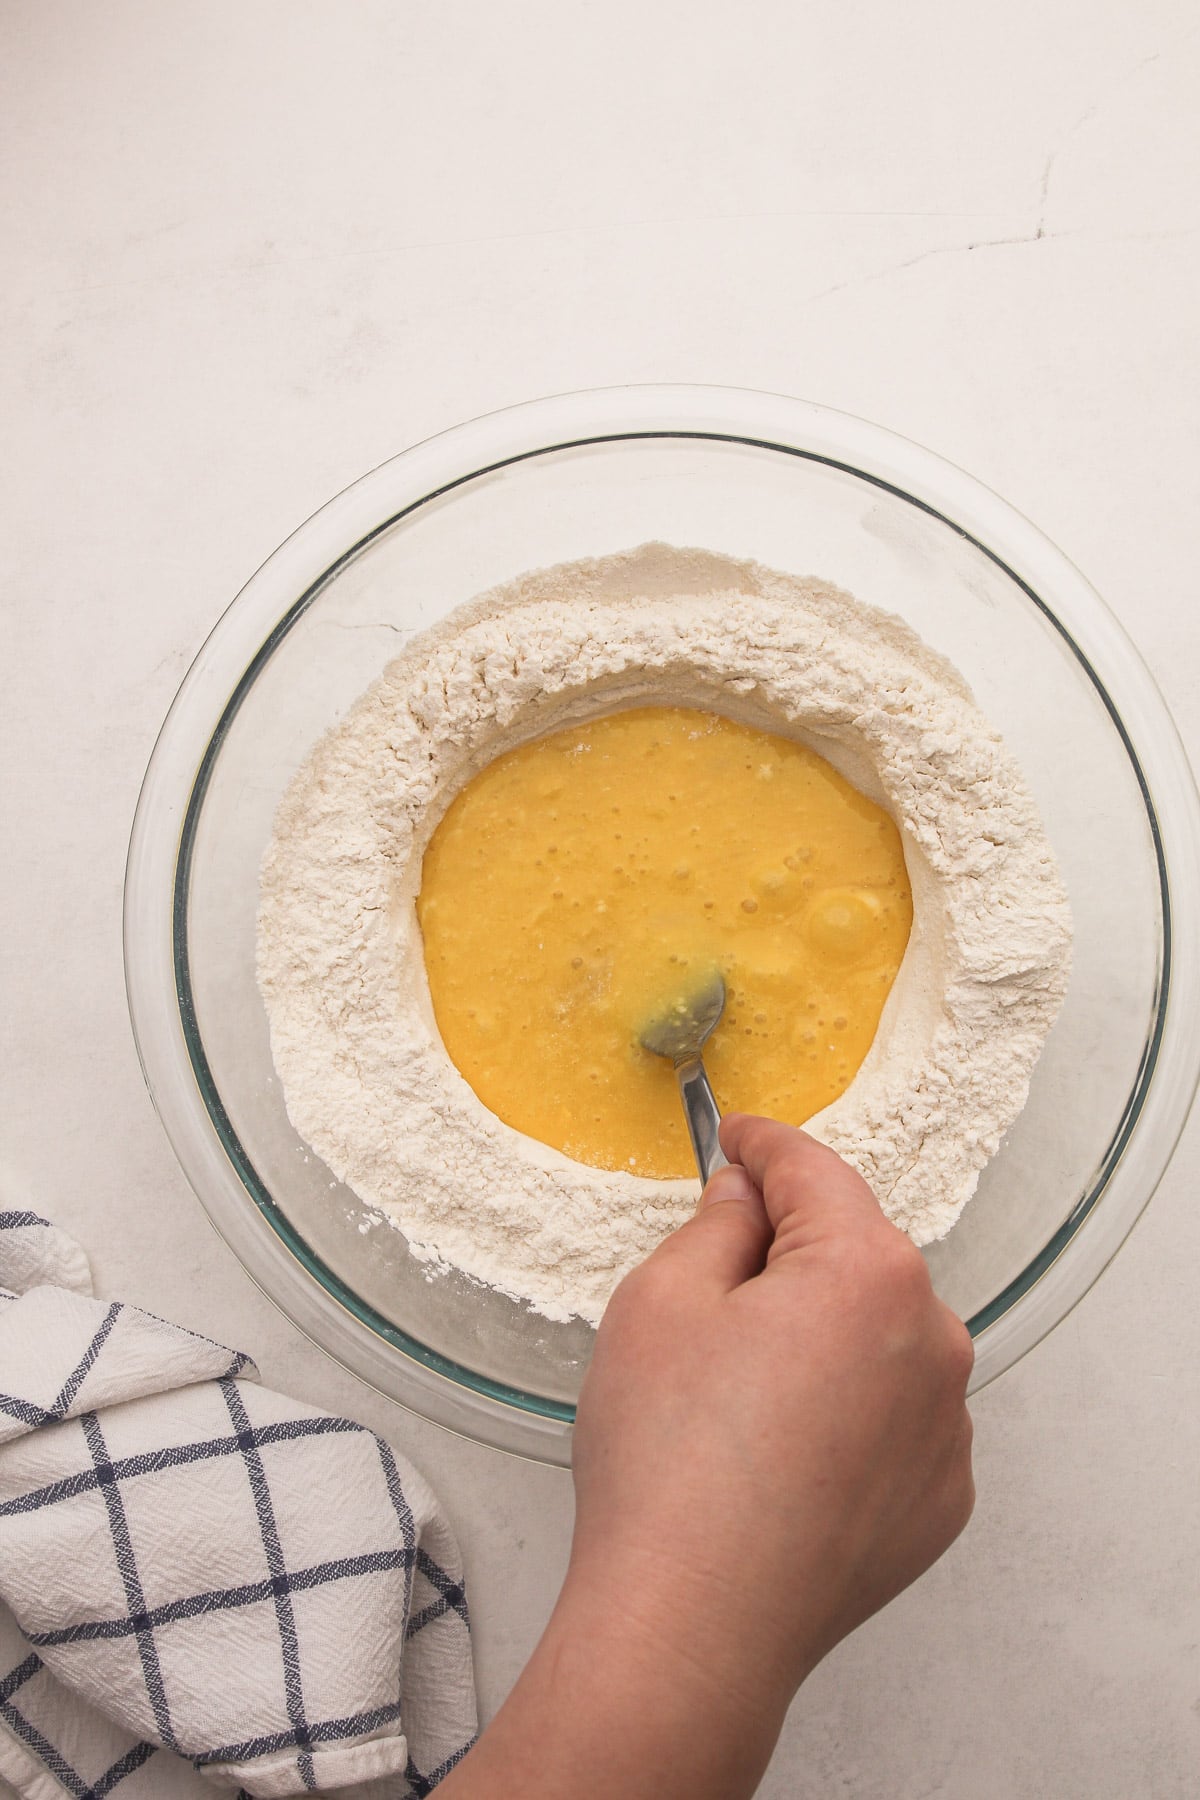
Step 4: Continue to whisk together the eggs and olive oil while slowly taking in flour and incorporating it in.
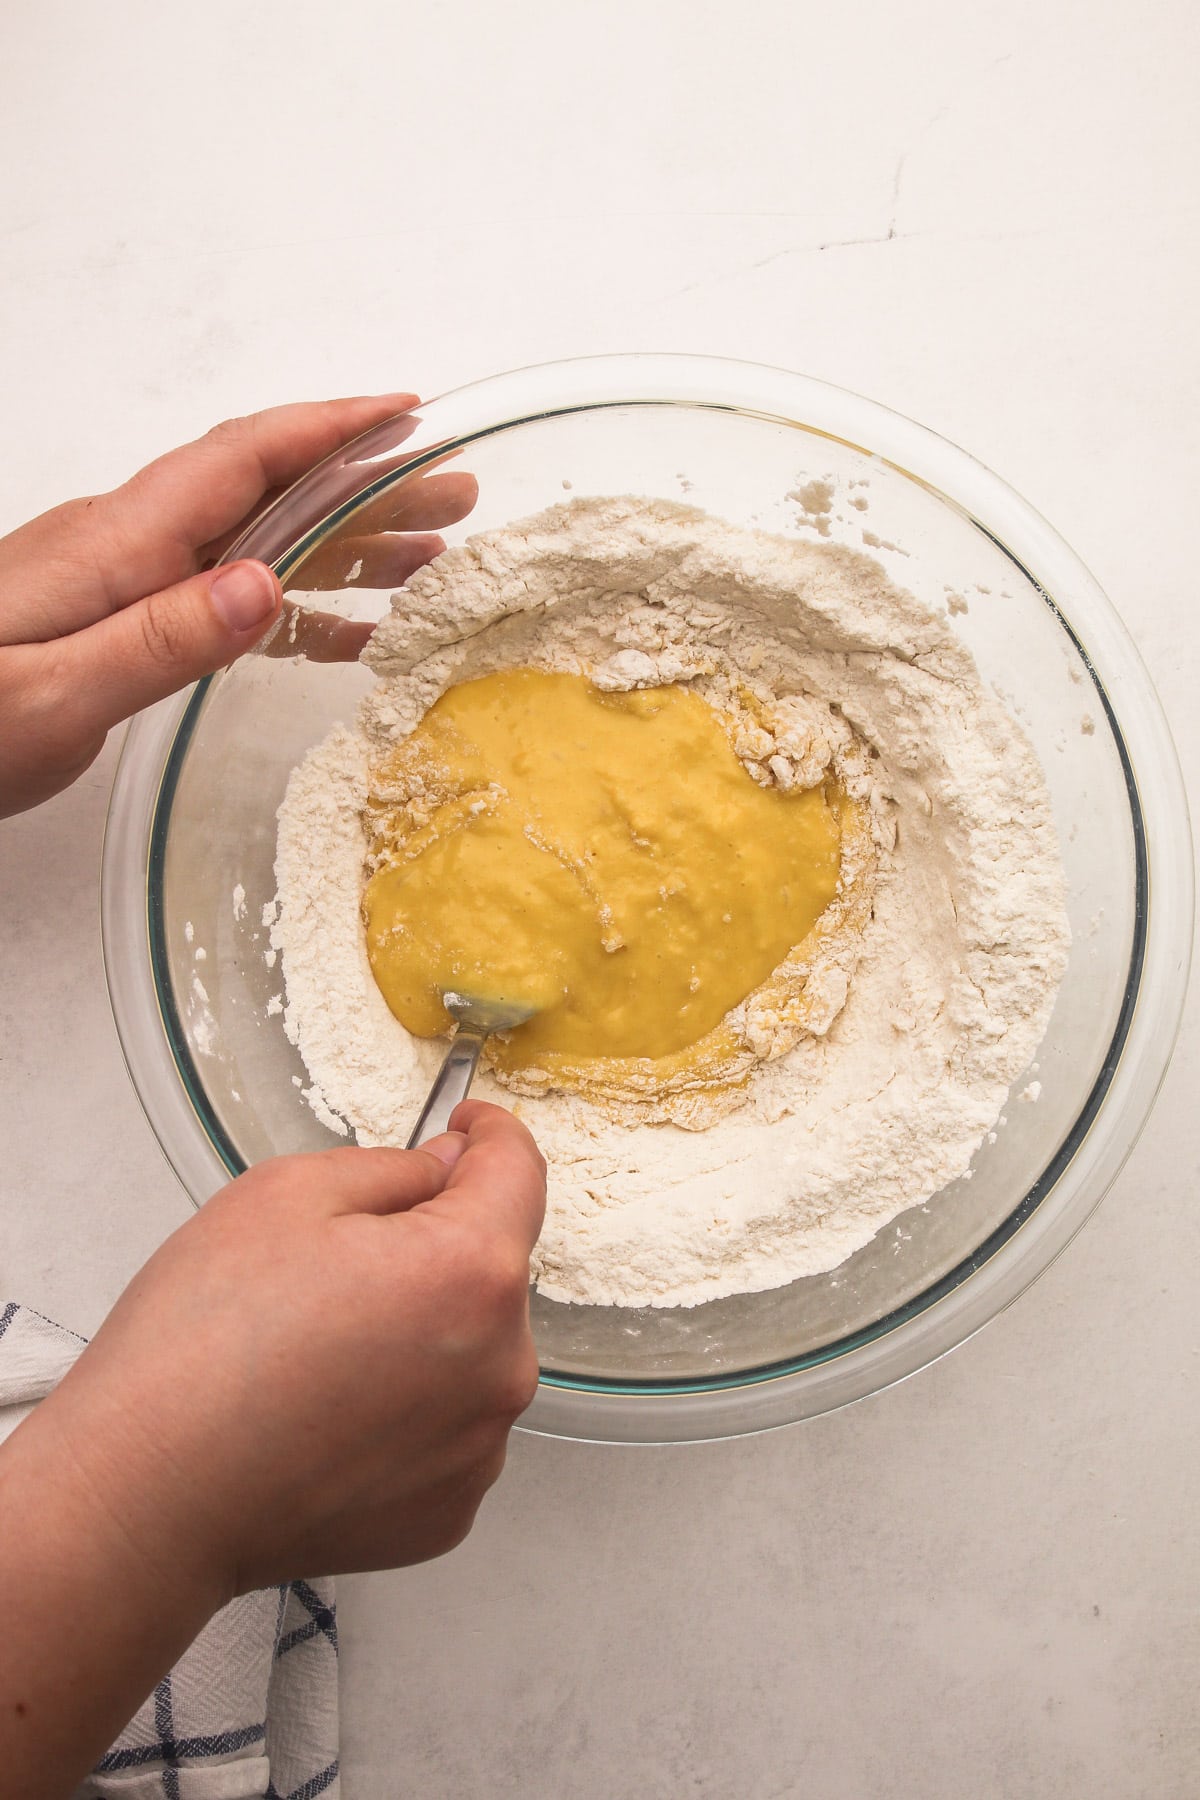
Step 5: It should begin to resemble a thickened pancake batter as you mix.
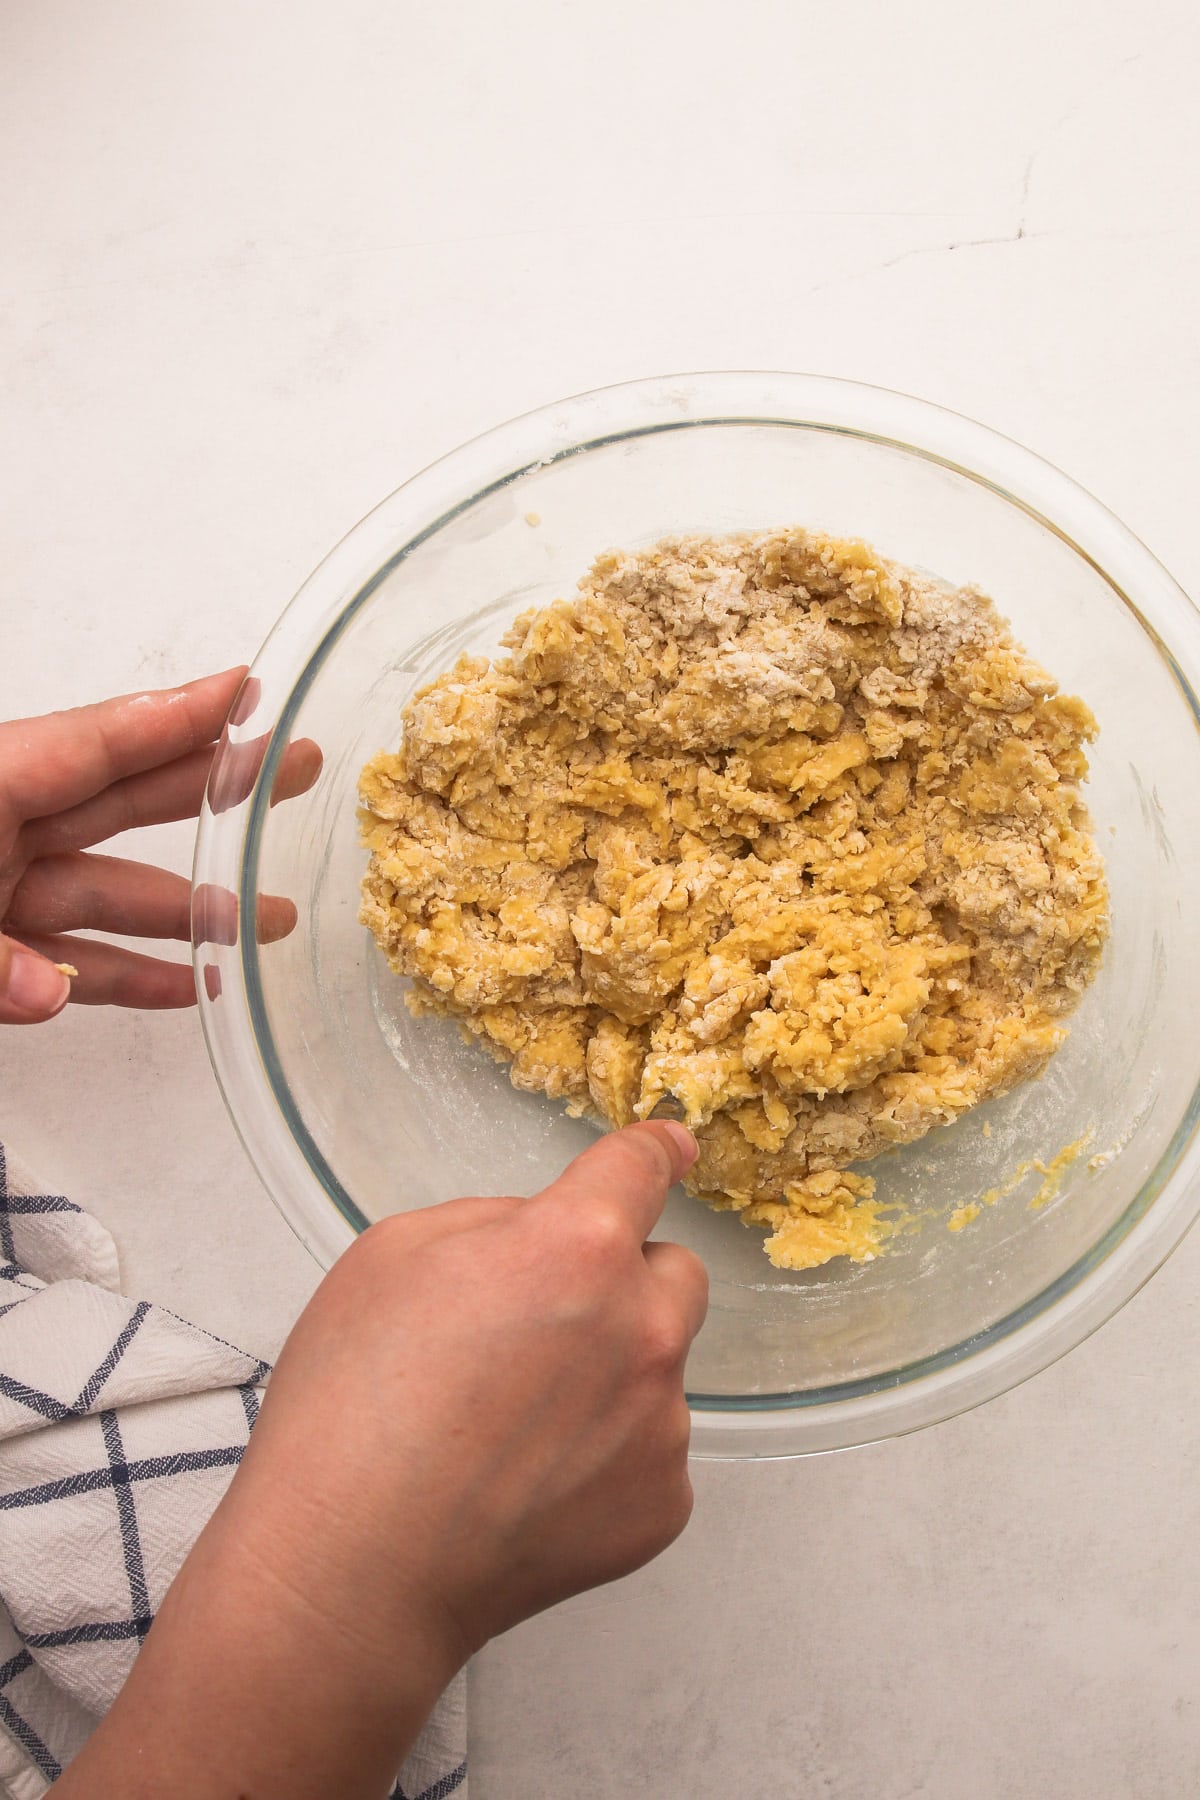
Step 6: After it becomes too thick to whisk, combine the remaining liquid and flour together with the fork.
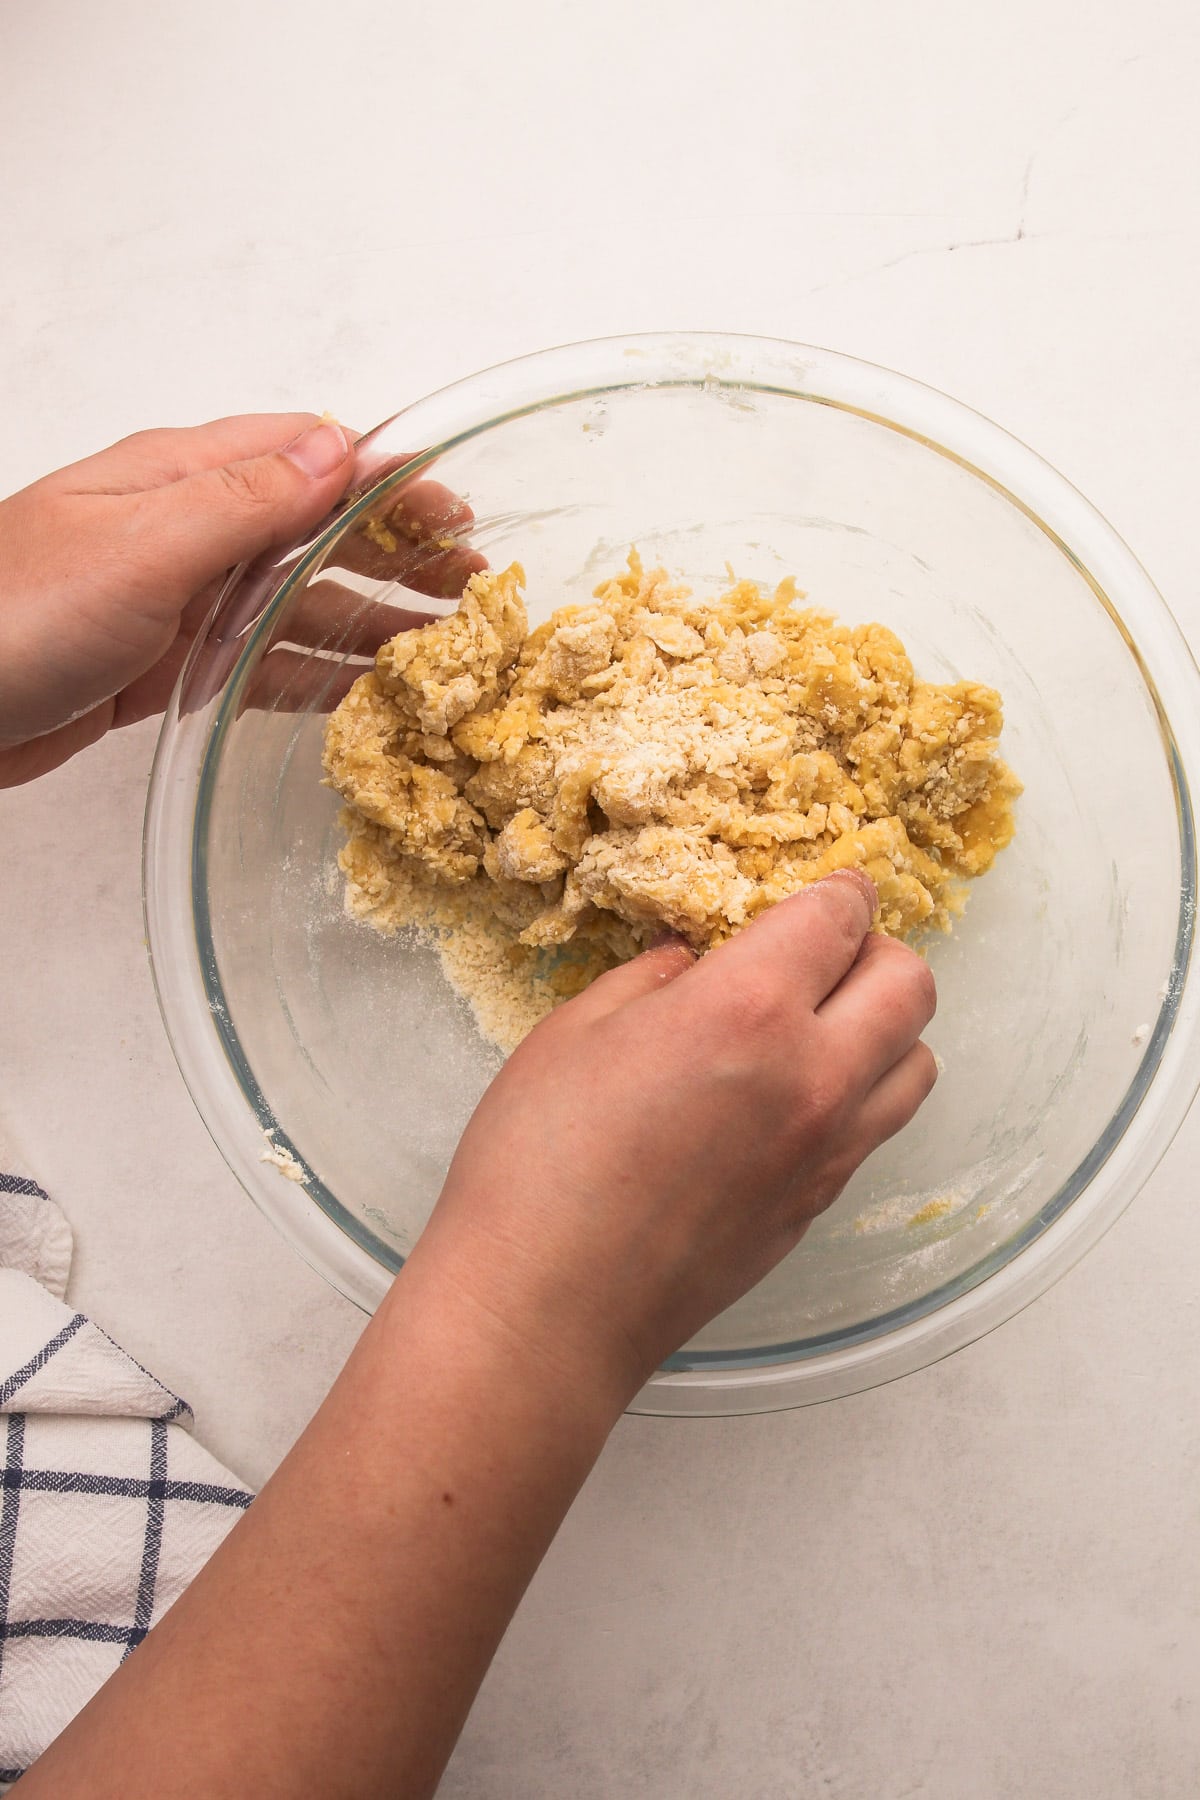
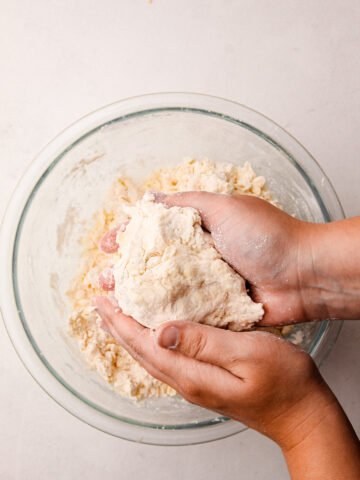
Step 7: This is the stage where you might be concerned the dough is too dry. It is not. Knead it together briefly.
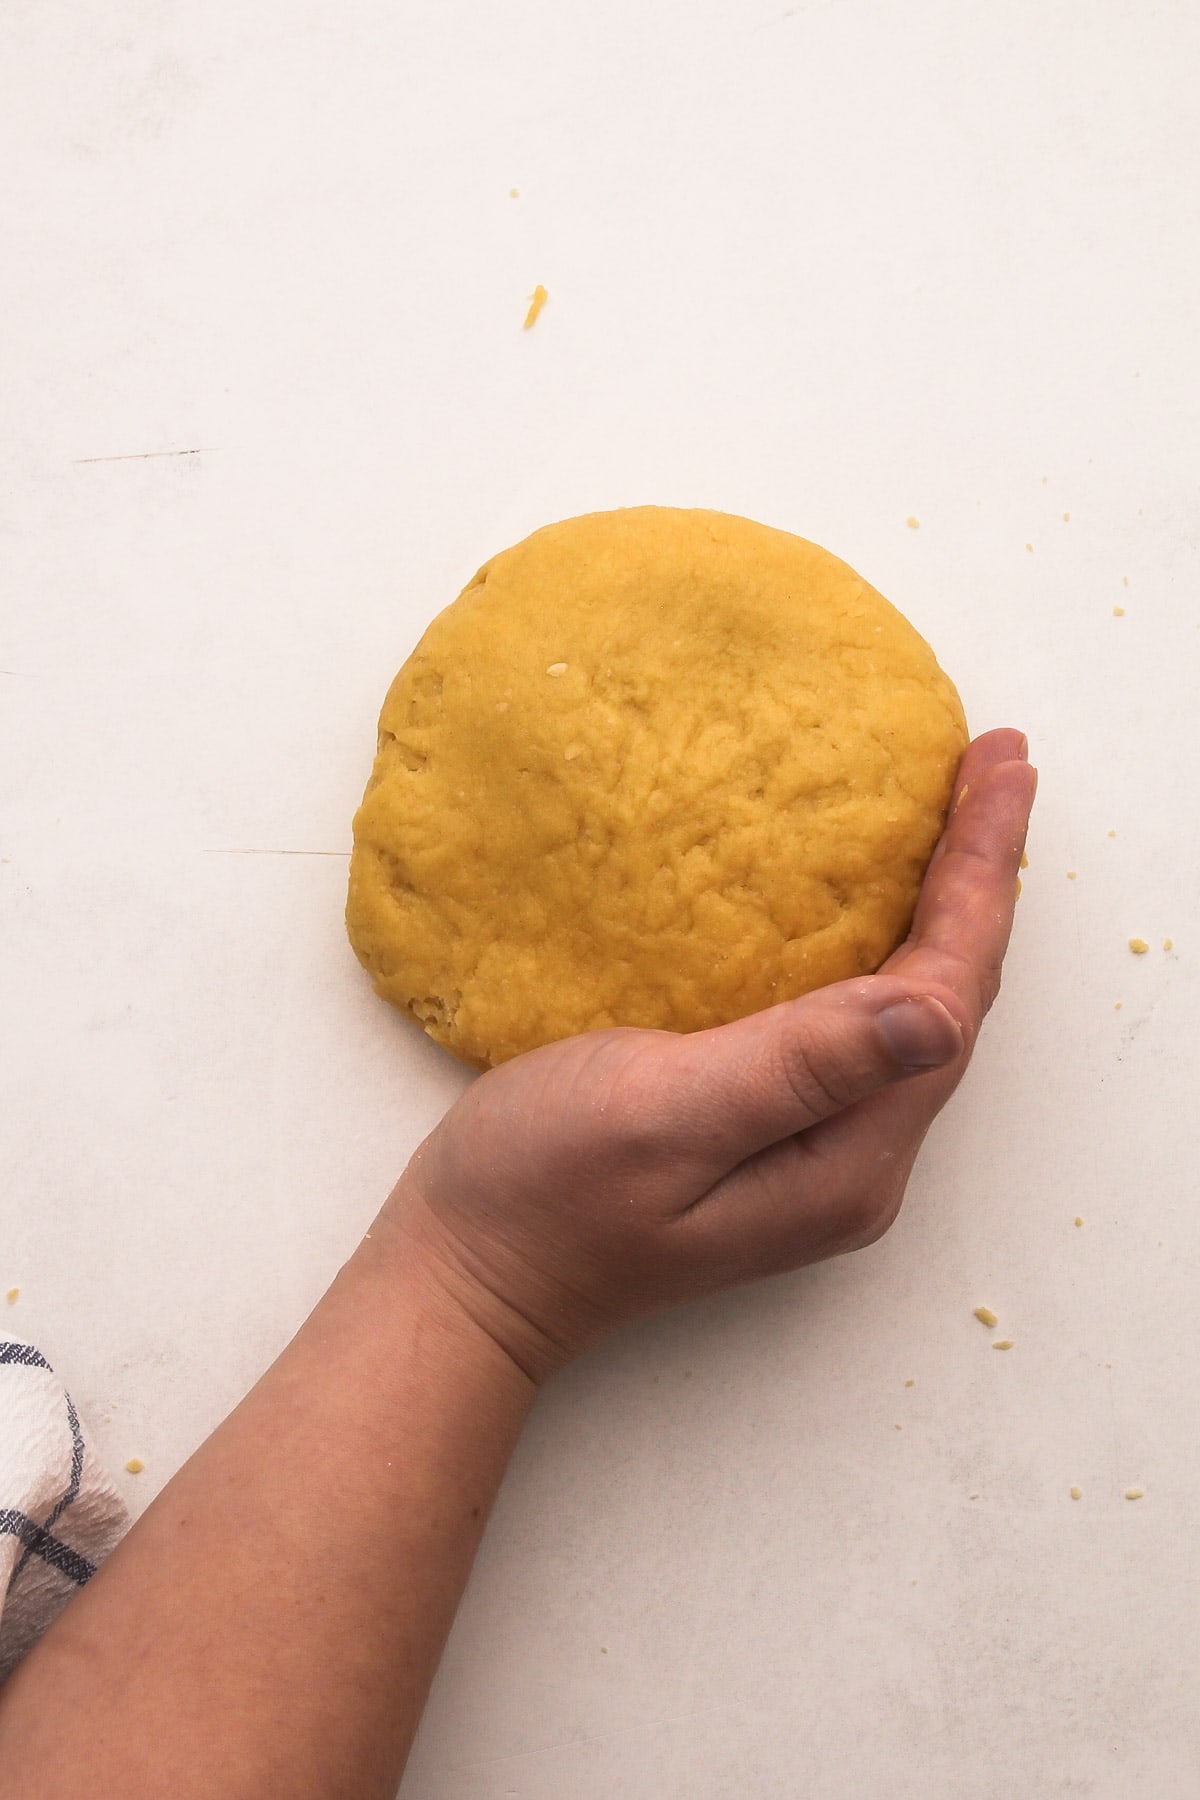
Step 8: Stop kneading once the dough is nearly cohesive; however, it should not be fully smooth.
Notes on Making the Dough
- The initial stage of whisking the eggs together while slowly adding bits of flour is important. It creates an emulsion that forms the dough. Don't rush this process. Continue whisking the eggs and flour until it looks like a very thick pancake batter, and stop when it becomes too thick to whisk.
- Then, use the fork to stir the dough until it's shaggy, then move on to kneading.
- It's imperative not to over-knead the dough. This dough only requires about 3-4 quick turns. The dough will not be smooth, but it will be cohesive.
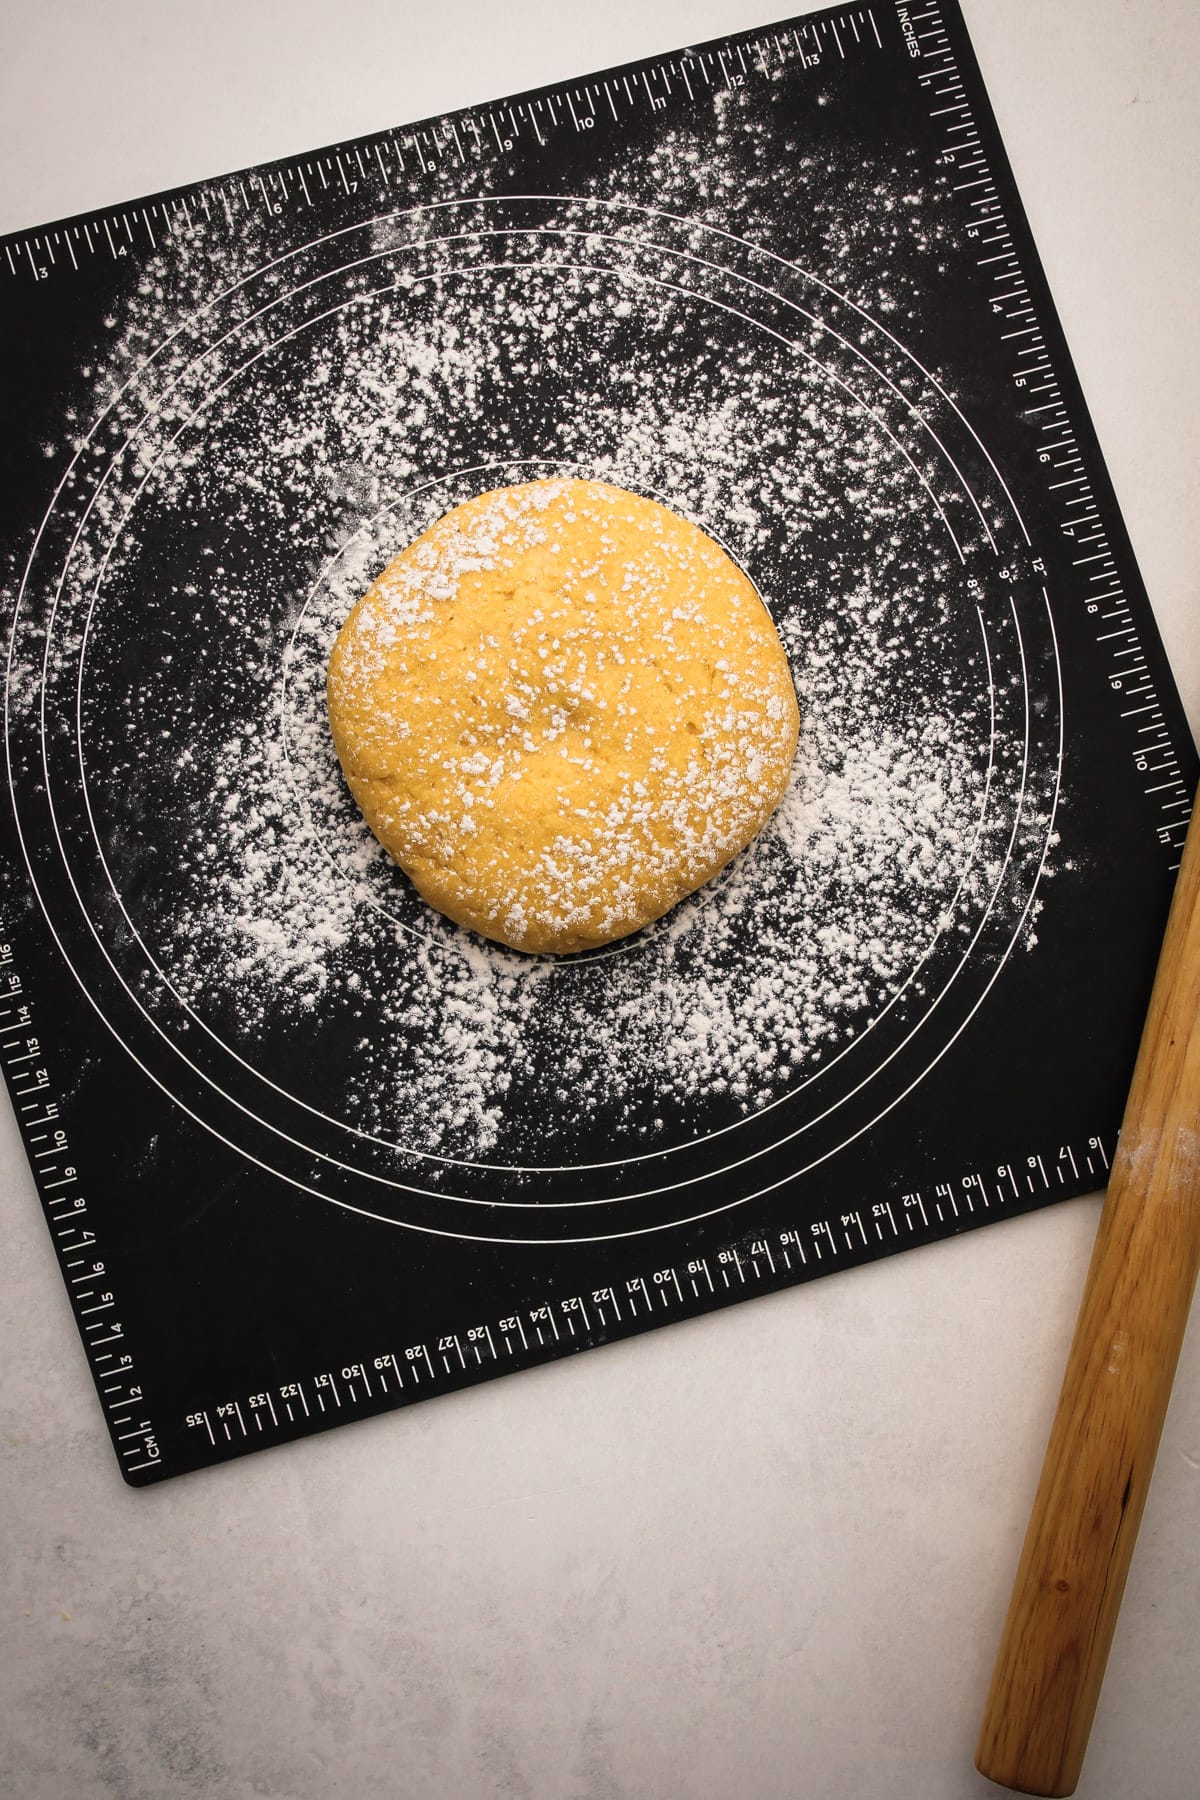
- The dough should rest on a floured surface for 10 to 30 minutes.
- As it rests, some of the built up gluten will relax, the dough will more evenly hydrate, and the baking powder will start reacting and making the dough puffy. All of this makes it easier to roll out the dough.
How to Roll It Out
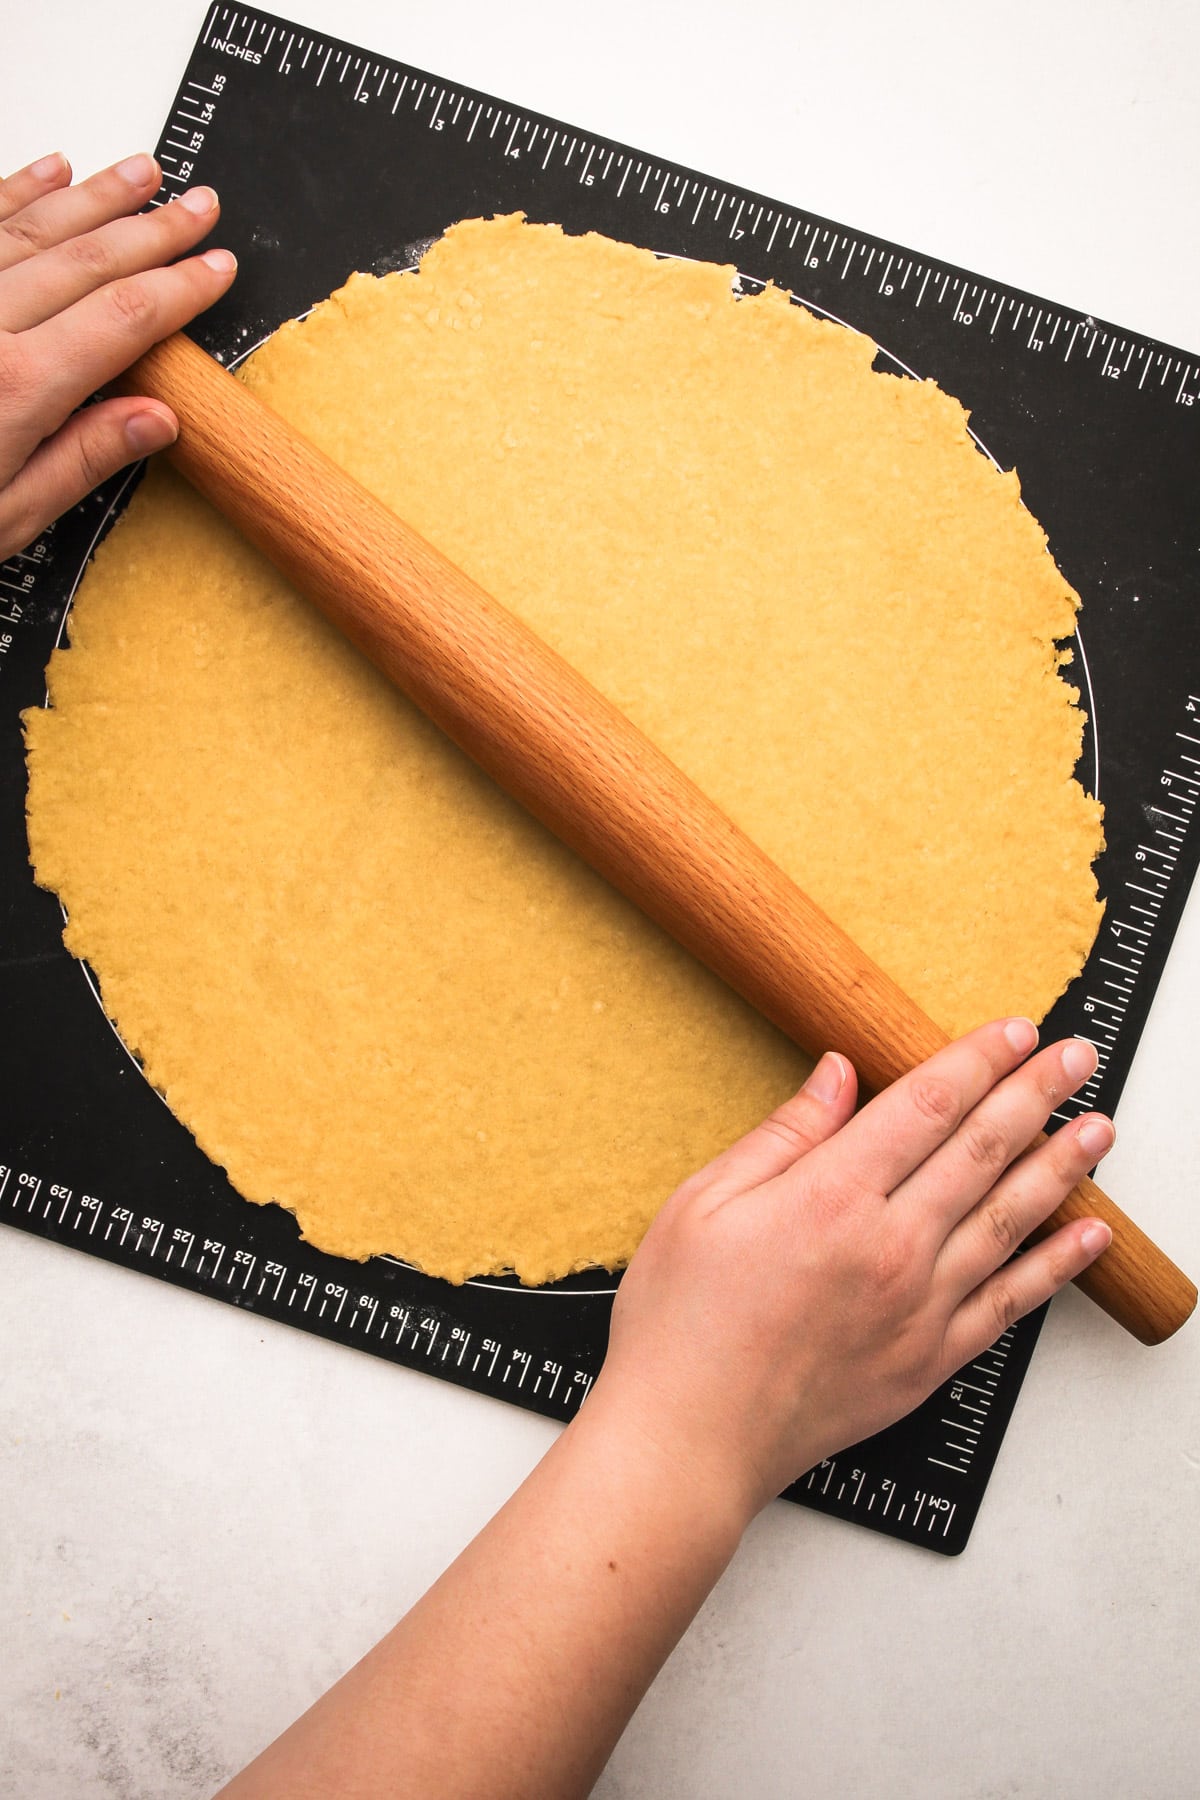
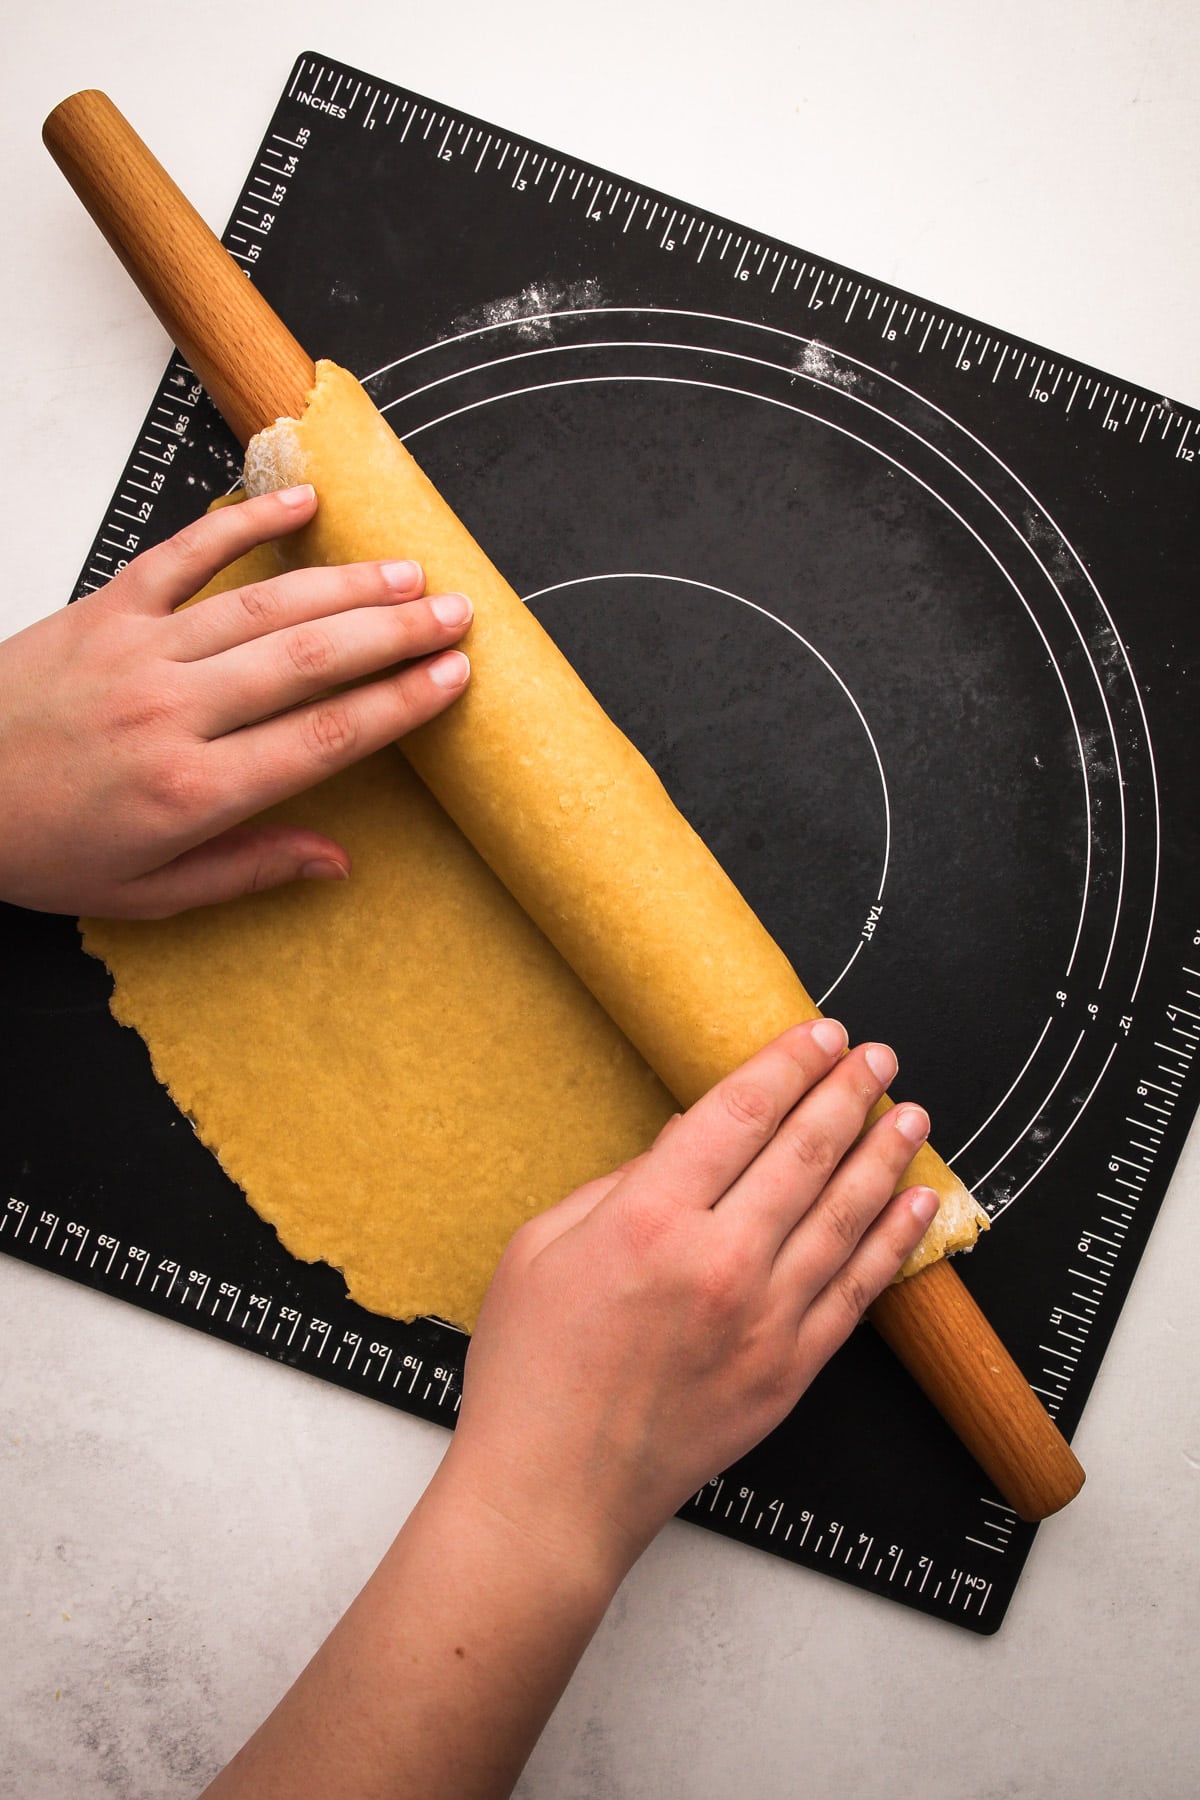
After allowing the dough to rest, rolling it out should be a easy. The dough can be slightly sticky, so be sure to flour your work surface and your rolling pin before rolling. Be mindful to add just enough flour to facilitate rolling without overdoing it. You can always brush off any excess flour with a dry pastry brush later on. Should the dough stick despite your best efforts, use a bench scraper or a thin metal spatula to release it from the work surface.
When rolling out the dough, if you find it resisting and springing back, that's a sign that the gluten needs more time to relax. Simply cover the dough with plastic wrap and come back to it in 10 minutes. Never fight the gluten; it will always win.
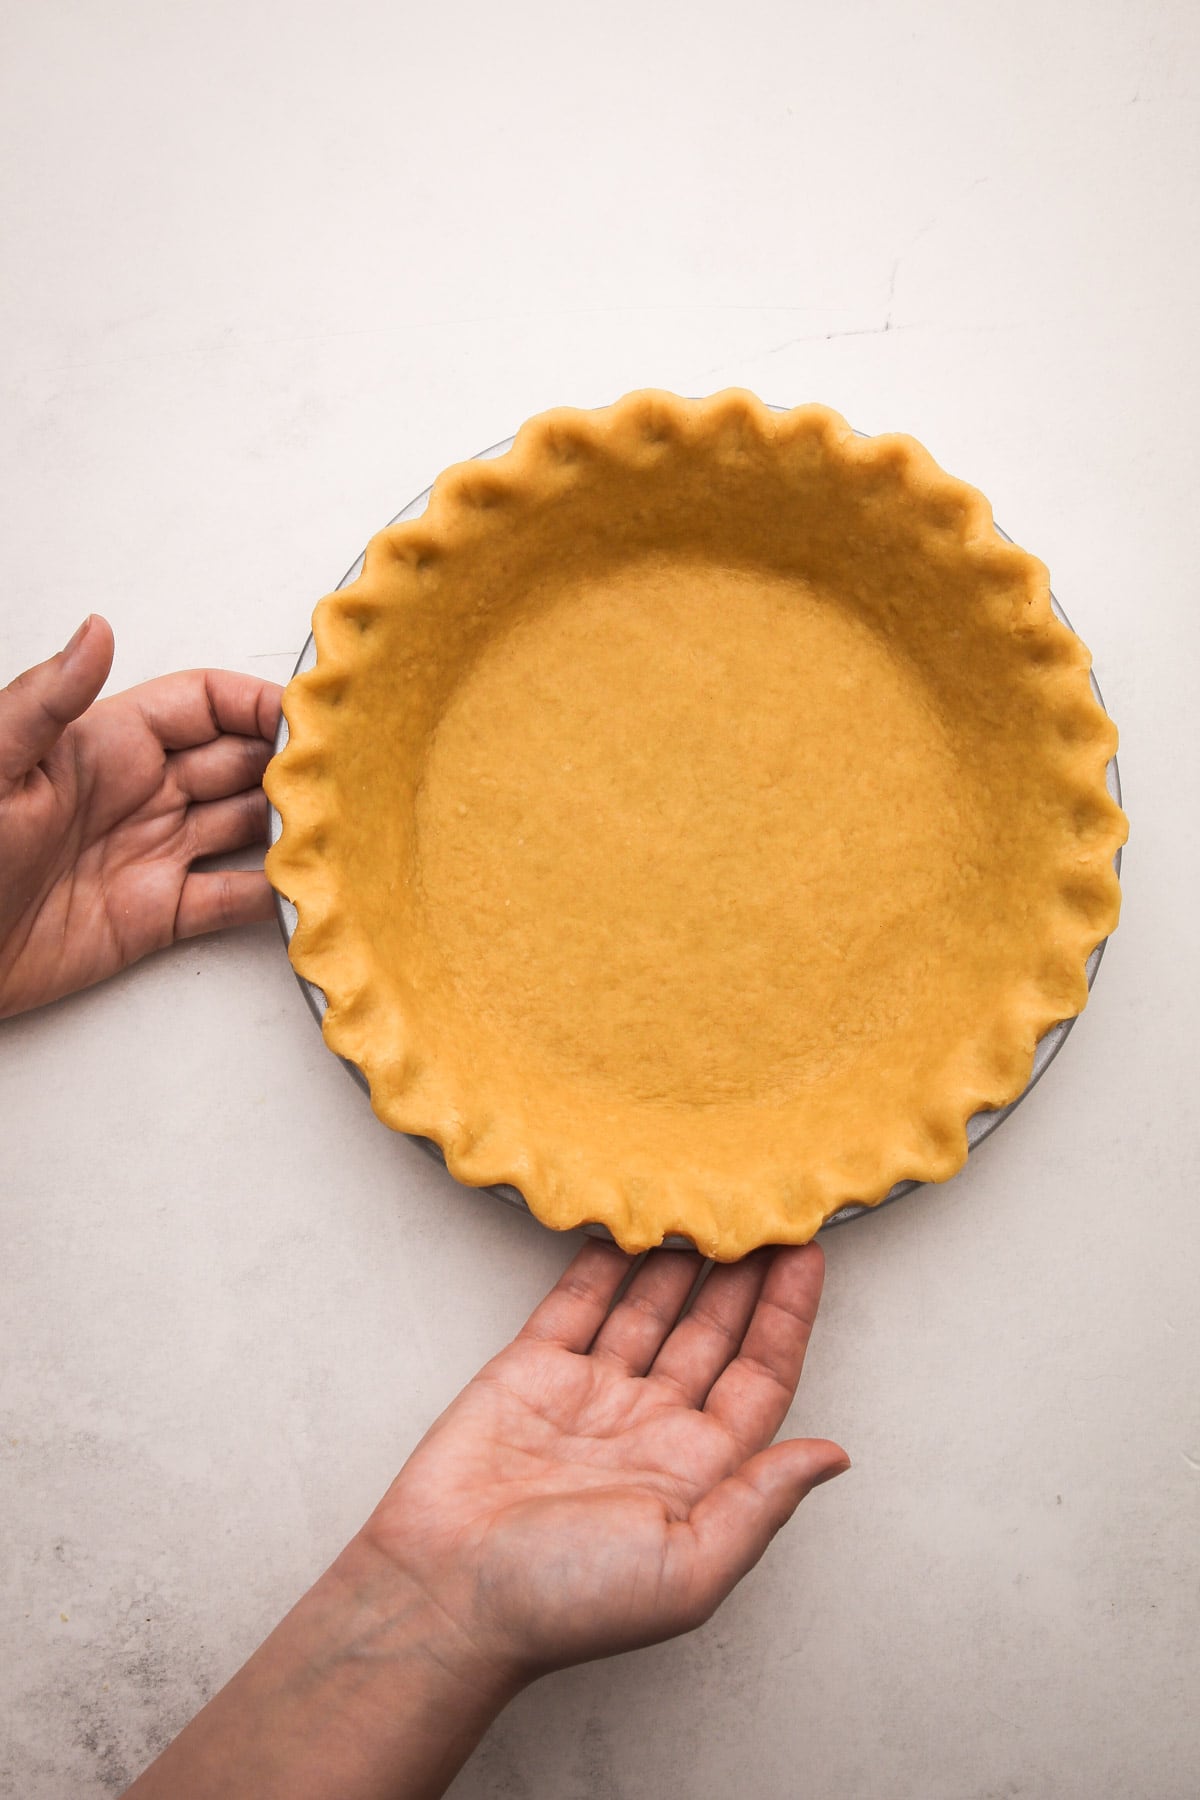
The dough needs to be rolled out relatively thin, about a ¼-inch thickness if possible, as it will puff up when it's baked.
Best Way to Bake It
This dough is best baked at a moderate temperature, around 375ºF. It can be blind-baked (following this Blind-Baking Tutorial for more info) if you need to, but that's not required if the recipe you are pairing it with will be baked at 350ºF for 45 minutes or more, or for 375º for 30 minutes or more.
In my experience, it is best to use a metal pie plate when baking this pie dough. Metal pie plates are the best conductors of heat and help the bottom of the pie crust bake well without the need for blind-baking. See this Guide to Pie Plates for more info if you are interested.
Kelli's Best Tips
This article is jam-packed with helpful tips on making this recipe, but here is a short-and-sweet TLDR:
- Make sure to whisk together the baking powder into the flour really well so there aren't parts of the dough that have more baking powder than others.
- Use light or medium-flavored olive oil for the best crust. You want the flavor to shine through but not to overpower the pie crust or finished pie. I prefer the taste of "light olive oil" in this crust.
- Knead the dough just enough so that it comes together, but not so much that the olive oil starts to leak out. Overworking it has a bad effect on this dough. 3-4 turns is the right amount.
- Let the dough rest at room temperature for 10-30 minutes after you make it. This helps relax the gluten, allows the dough to fully hydrate, and gives the baking powder time to activate, making it easier to roll out the dough later.
- This dough should not be made ahead of time. Because it is hand-kneaded, it usually oxidizes pretty quickly. In addition, the baking powder in the dough gets pretty weird after a few hours (speaking from experience!).
More Pie Crust Recipes
I am so honored when you make a recipe from my site! If you make this Olive Oil Pie Crust, please leave a star ⭐️⭐️⭐️⭐️⭐️ rating with your experience! If you have any questions about this recipe, feel free to comment here, and tag me on Instagram!
Full Recipe
Olive Oil Pie Crust
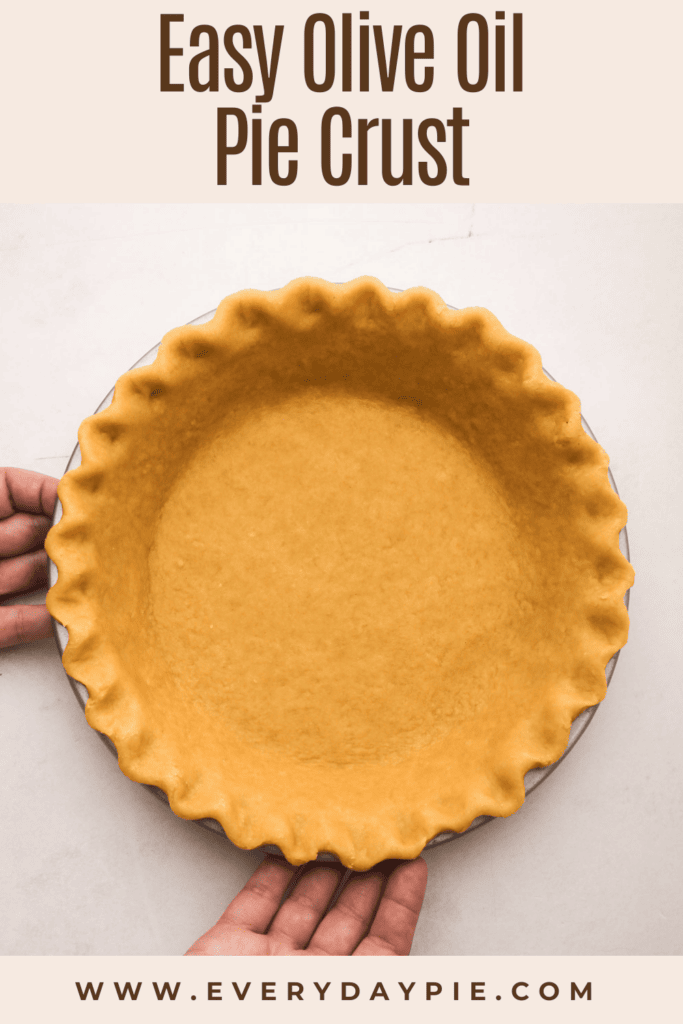
This Olive Oil Pie Crust recipe is perfect for savory pies and so easy to make. The best part is that you don't need to chill it, so it's a great option for easy weeknight dinner pies. It also happens to be dairy free!
- Prep Time: 00:08
- Cook Time: 00:00
- Total Time: 8 minutes
- Yield: 1 pie crust
- Category: Pie Crust
- Cuisine: Italian
Ingredients
- 1-¾ cups (210 grams) all-purpose flour, plus extra for work surface
- 2 teaspoons granulated sugar
- 1-½ teaspoons baking powder
- 1 teaspoon (3 grams) coarse kosher salt (see note)
- ⅓ cup (70 grams) olive oil
- 2 large eggs
- 1 egg yolk
Instructions
- In a medium bowl, use a fork to stir together the flour, sugar, baking powder, and salt.
- Make a well in the center of the dry ingredients and add in the oil, eggs, and yolk. Use the fork to beat the eggs and oil together until they are combined. Then, gradually draw the dry ingredients into the egg mixture until the flour is almost all hydrated.
- Briefly knead the dough together just until it is mostly smooth, about 3-4 times. Do not over knead it or the oil will start to separate out from the dough.
- Wrap the dough in plastic wrap and let it sit at room temperature for a minimum of 10 minutes and maximum of 30 minutes (see note) so the dough can rest and fully hydrate.
- When ready to roll out, liberally flour a work surface.
- Use a rolling pin to roll out the dough, making sure it isn’t sticking to the surface. Transfer to the desired pan and bake with your recipe of choice. This dough is best baked in a 375ºF oven. See this post’s article for more notes about baking with this dough.
Notes
This recipe is adapted from pastry chef and cookbook author Nick Malgieri.
Weighing your flour is the most accurate way to measure, especially with this recipe. If you aren't going to weigh it, make sure to spoon it into the measuring cup, then level it off. If you scoop the flour out with the measuring cup and then level, it could change the outcome of the final product.
This recipe was tested using Diamond Crystal coarse kosher salt. If you use Morton's kosher salt or fine salt, decrease by half for volume.
Let the dough rest at room temperature for 10-30 minutes after you make it. This helps relax the gluten, allows the dough to fully hydrate, and gives the baking powder time to activate, making it easier to roll out the dough later. If you handled the dough correctly (aka you didn't develop excessive gluten), it can be ready to roll in 10 minutes. If the dough springs back and is tricky to roll out, it likely needs a few more minutes to relax the gluten.
Some of the links on this page may be affiliate links. Everyday Pie is a participant in the Amazon Associates Program. As an Amazon Associate I earn from qualifying purchases, at no extra cost to you.


Max Anderson
It was easy and to make and handle but as the description says, it's not a flaky crust. It's not chewy either; rather more like a graham crumb crust but without the graham sweetness or flavor. The author describes it as "crumbly"; it was sort of the texture of crumbly without being overly crumbly, kind of like soft sand. I made an apple pie with it and wouldn't use it again, but I expect it would be more suitable for a savory tart.
I should mention that I don't know whether my using Canadian all-purpose flour (which has more protein than American all-purpose flour) may have affected the results; I used the specified 210 grams of flour; it came to just 1 1/2 cups rather than 1 3/4 cups.
Jaime
The easiest dough I've ever made! My kids loved it. I used it for a homemade quiche. The crust turned out super crispy, which we love. I'm using it for dinner tomorrow as well. My new go to for a savory pie crust. Thanks, Kelli, for being willing to experiment on our behalf.
Ashley
This is the worst dough recipe I’ve ever tried. It turned out crumbly and never would stick together. I tried adding more oil, then adding water. It’s awful. I threw it away and made something else for dinner.
Kelli Avila
Oh Ashley, that's the worst when a recipe doesn't work out for you! I'm not sure exactly what went wrong for you, but this is the same recipe I used to use to make hundreds of pies when I had my baking business so I know the recipe works. It's been a while since I've made it though, and it could use a facelift, so I'm going to remake it with a video and new photographs, that way I can try to get a feel for what might have went wrong for you. While I can guess you'll likely not give it a try again, I can at least learn what could have went wrong for you so it doens't go wrong for somebody in the future. I wonder if maybe you might have added too much flour by scooping it and sweeping it off? I always weigh my flour to get the correct amount. Again, sorry you had trouble, and I plan to update this post soon. -Kelli
mdm
Hi!! Tried a bunch of tour recipes, always on the spot!!!! Quick question......what pie dough would you use for mini pies, the kind you cant weight down for blind baking? I sometimes use a butter dough, but substitute with margarine...find it doesnt grow as much...but the texture is not as good. Need the shells to be pretty hallow.
Thank you!!
Kelli Avila
Hi Sarah! Sorry to hear this didn't work as expected for you. I'd love to try to help you figure out why. I've been making this for years and have never had it be crumbly--can you tell me how you measured your flour?