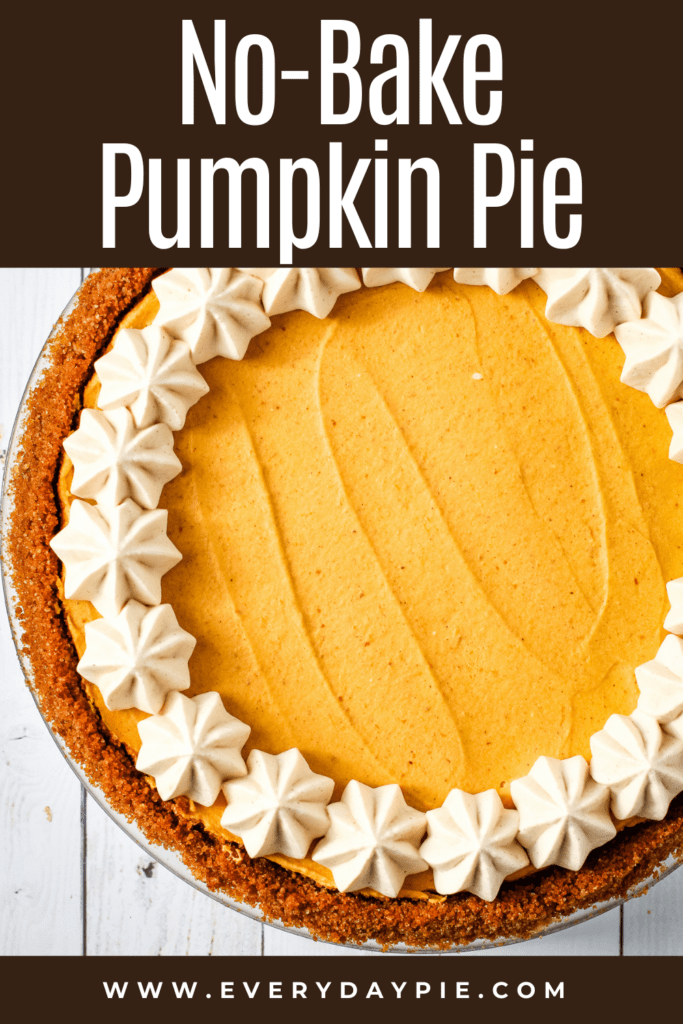

This No Bake Pumpkin Pie comes together super quick and is flavored with all the classic taste of pumpkin pie, minus all of the hard work! It's made in a pecan gingersnap crust and topped with a cinnamon whipped cream for pumpkin pie perfection.
Want to save this recipe?
Enter your email & I'll send it to your inbox. Plus, get weekly updates from me!
No Bake Pumpkin Pie
Who loves all the pumpkin but doesn't have the oven space for a classic Pumpkin Pie? This No Bake Pumpkin Pie is the perfect solution for wanting all that classic pie to serve for Thanksgiving, but without needing to actually bake it.
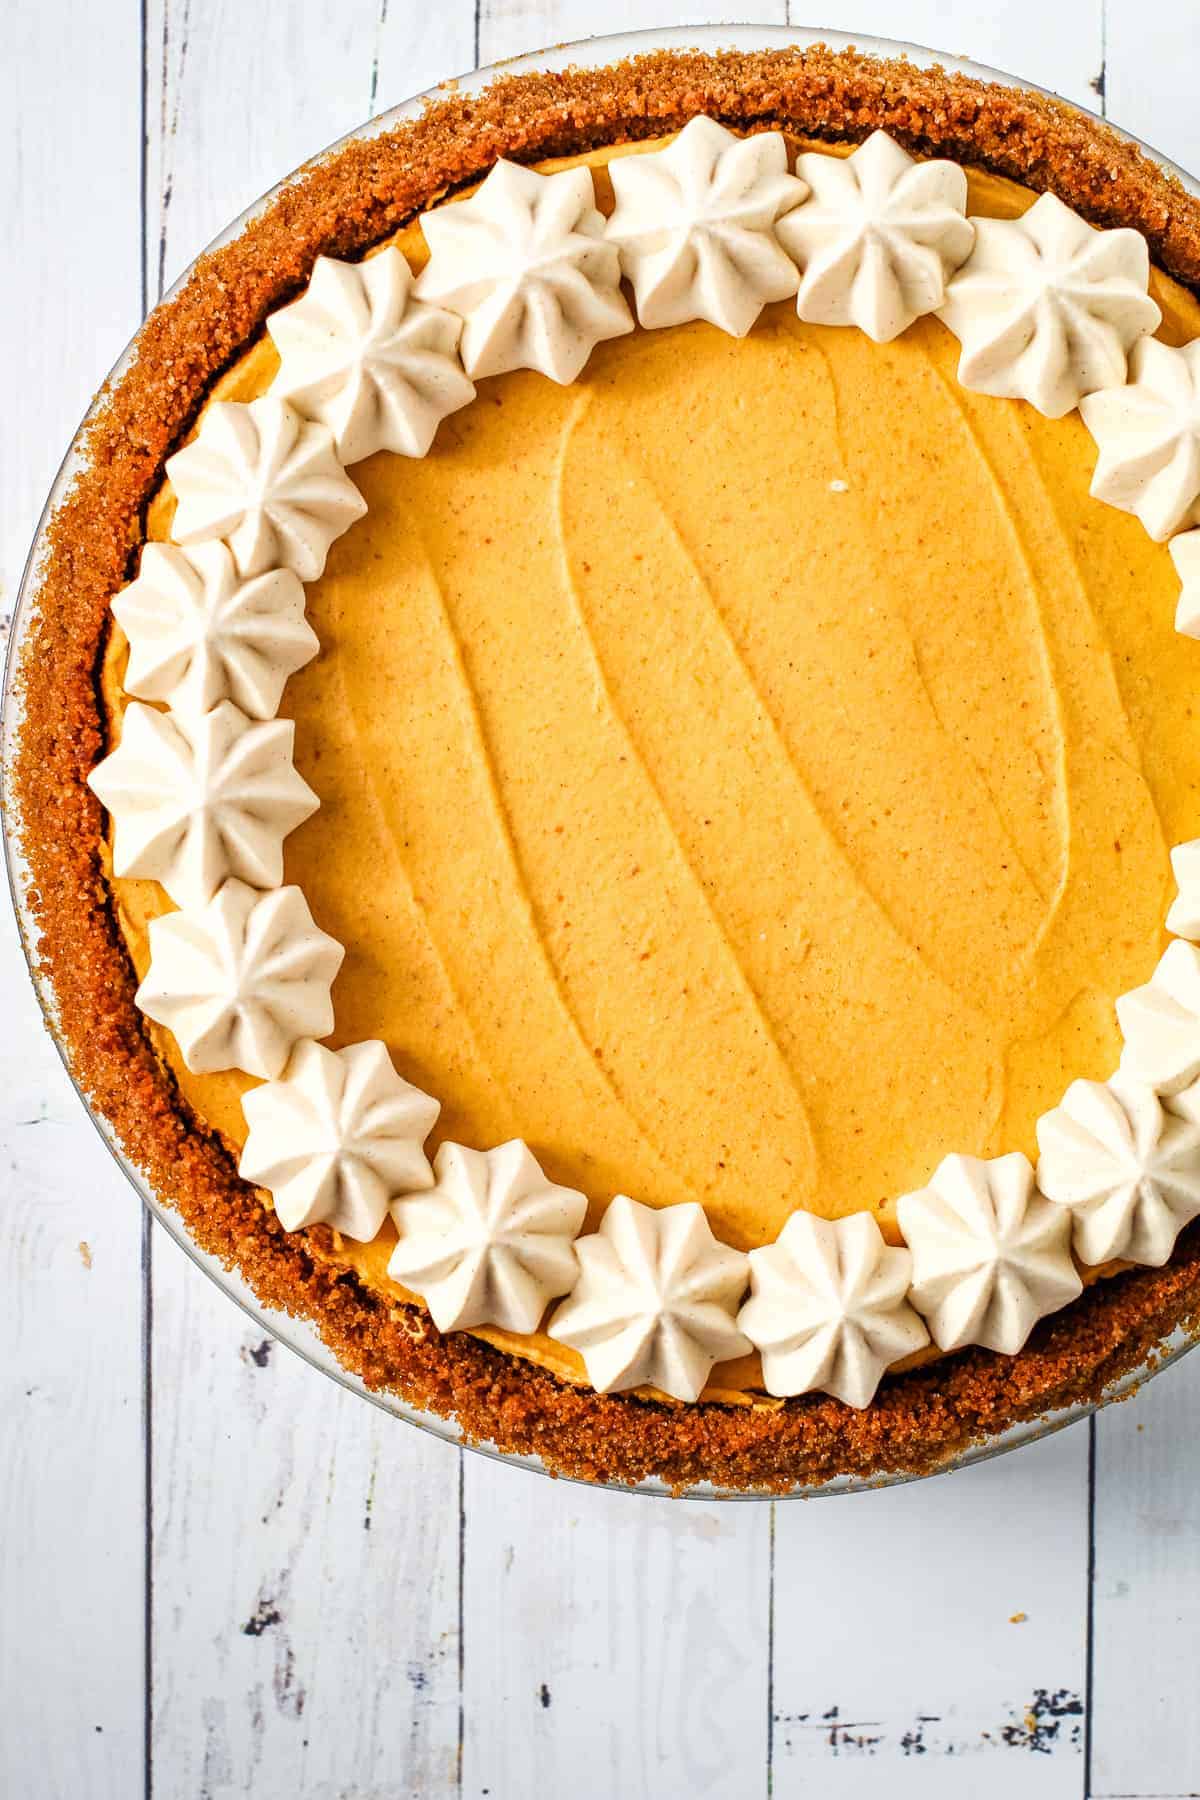
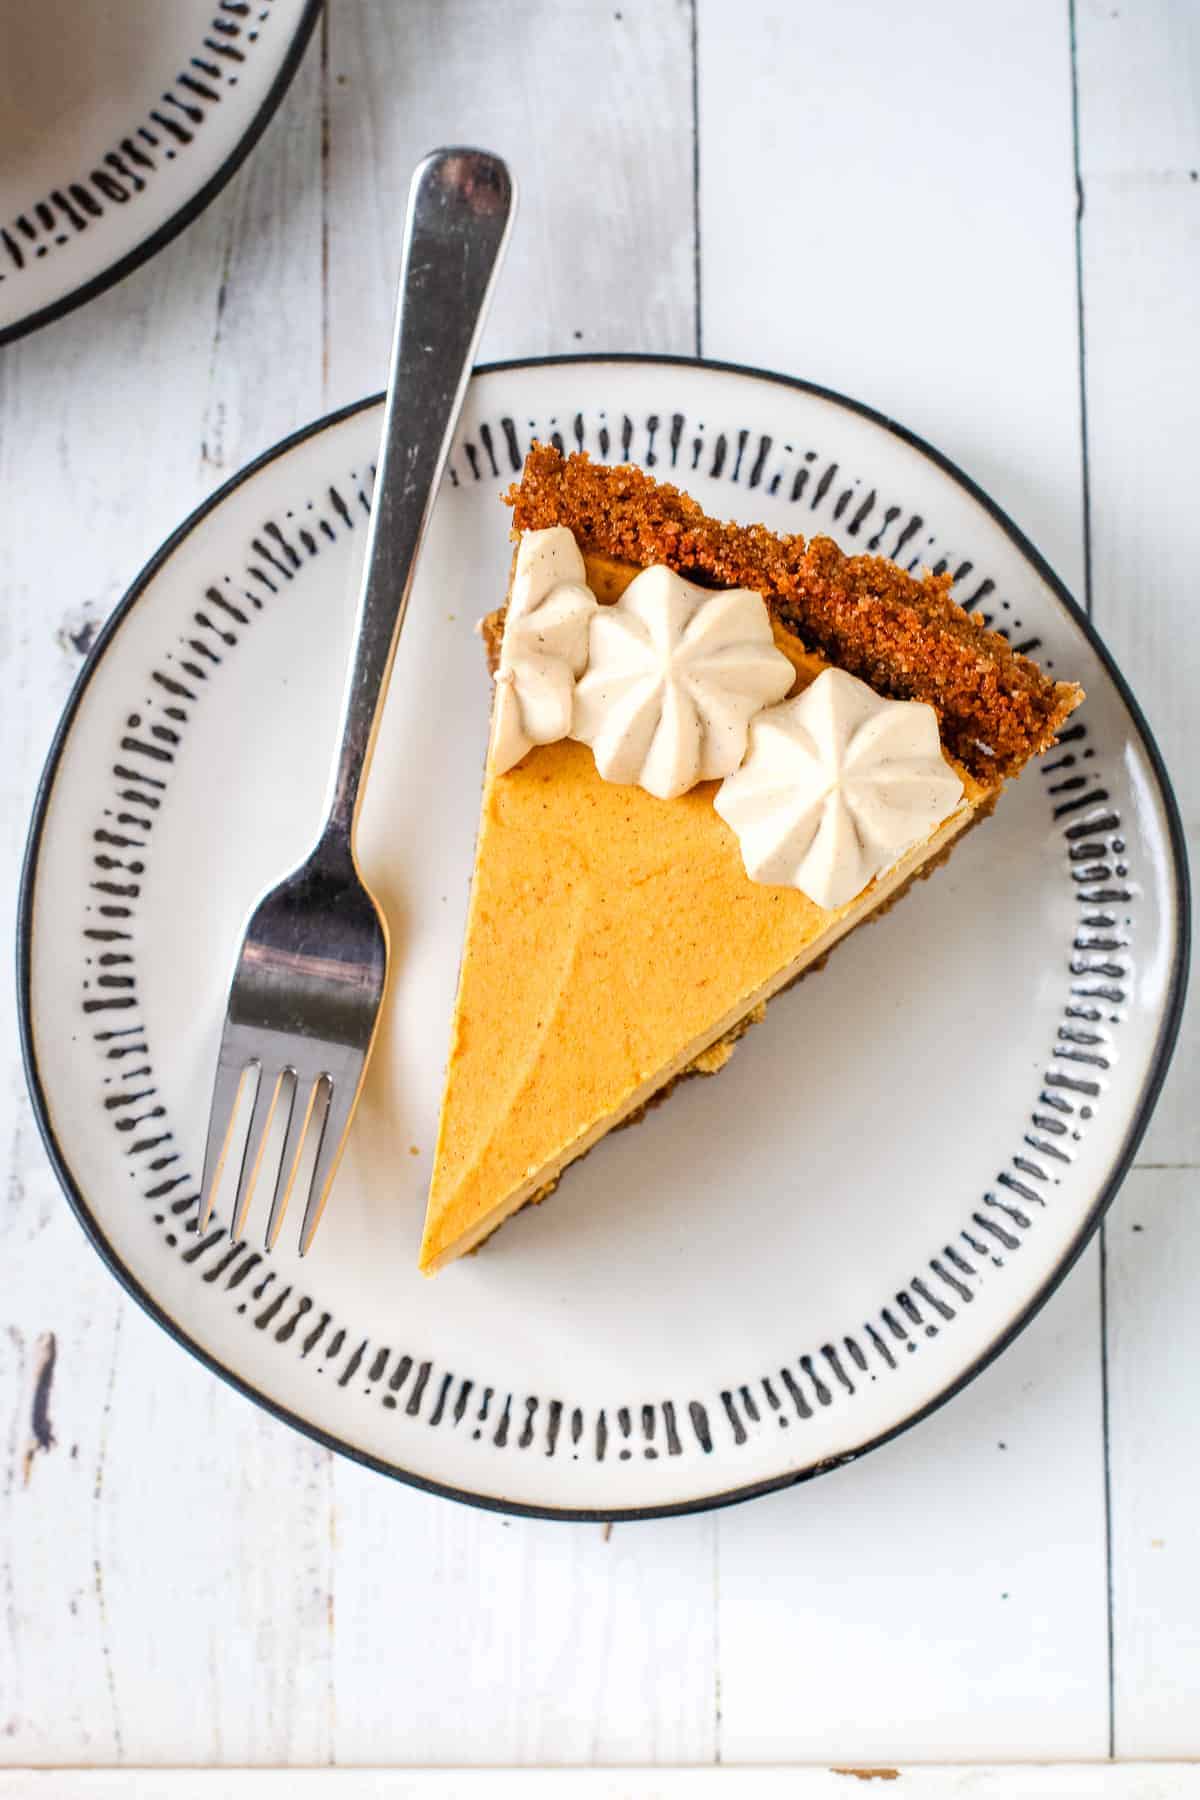
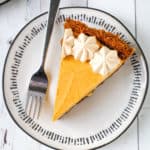
This pie is sort of a cross between a no-bake cheesecake and a pumpkin pie. It's baked in a Pecan Gingersnap Crust and topped with cinnamon laced whipped cream and totally loaded with that pumpkin spice goodness. It's easy to make and super delicious.
No Bake Pumpkin Pie Ingredients
Here is an overview of the ingredients needed for this recipe. The full recipe is listed below in greater detail.
- Gingersnap Cookie Crust
- Pumpkin Puree
- Brown Sugar
- Cream Cheese
- Heavy Cream
- Vanilla
- Spices
Tools Needed
Here is a list of some of the primary tools I use in this recipe. You won't necessarily choose to use them all, but they are exactly what I used. Any links may contain affiliate links.
- food processor
- electric mixer
- off-set spatula
- pie plate
- baking essentials: small pot, bowls, spatula, offset spatula


Pie Crust Options
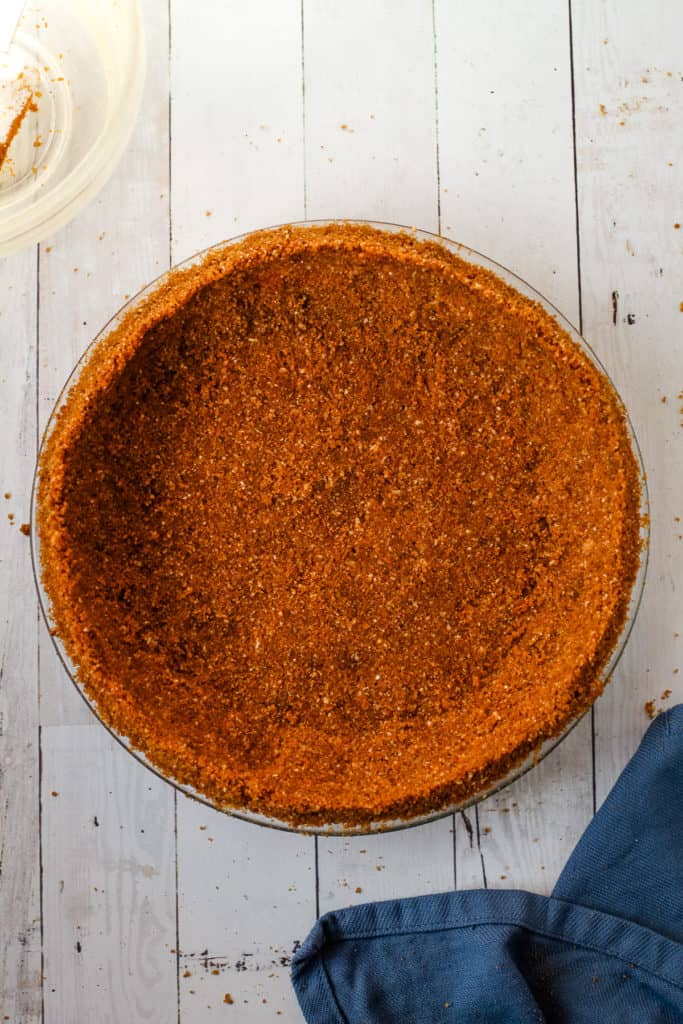
This pie was developed with this Pecan Gingersnap Cookie Crust. It's the perfect compliment to this no bake style pumpkin pie. Also, it does the crust does not have to be baked (though I do recommend if you can par-bake it, it's preferred).
This pie could also be made in a Graham Cracker Cookie Crust, or for a twist a Oreo Cookie Crust (or a Gluten-free Faux-Oreo Crust).

How to Make No Bake Pumpkin Pie
Start by making the crumb crust. You have the choice of either par-baking the pie crust for 8 minutes in the oven, or you can freeze it to firm it up. My preference is always to par-bake the crust because it makes the crust sturdier and gives it a nice toasted taste. However, if the oven space is limited, go ahead and freeze the crust for 30 minutes before filling.
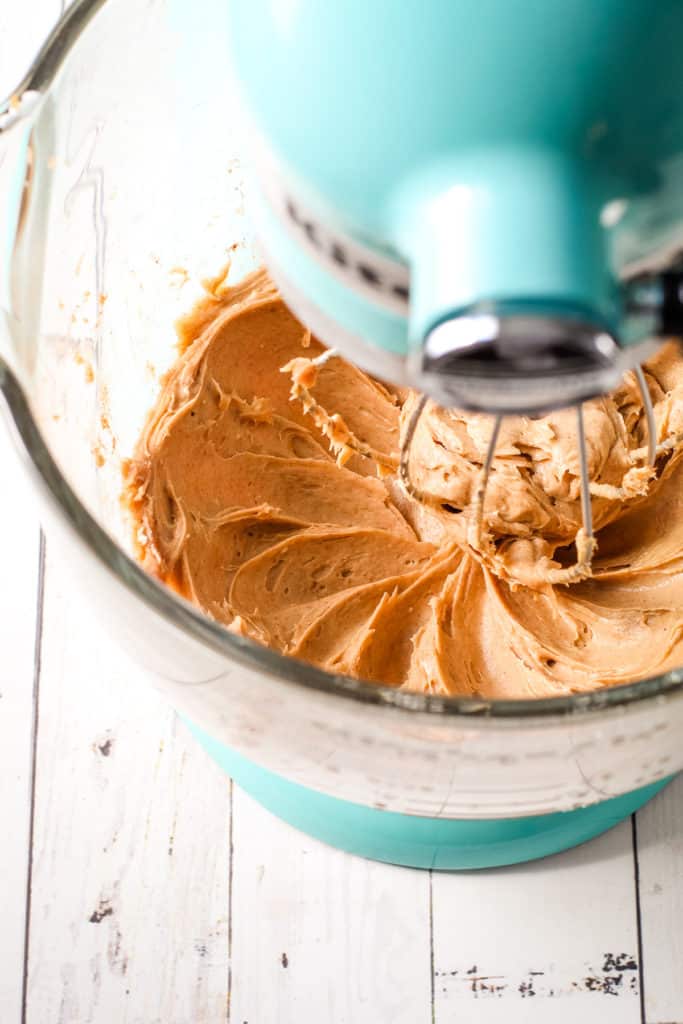
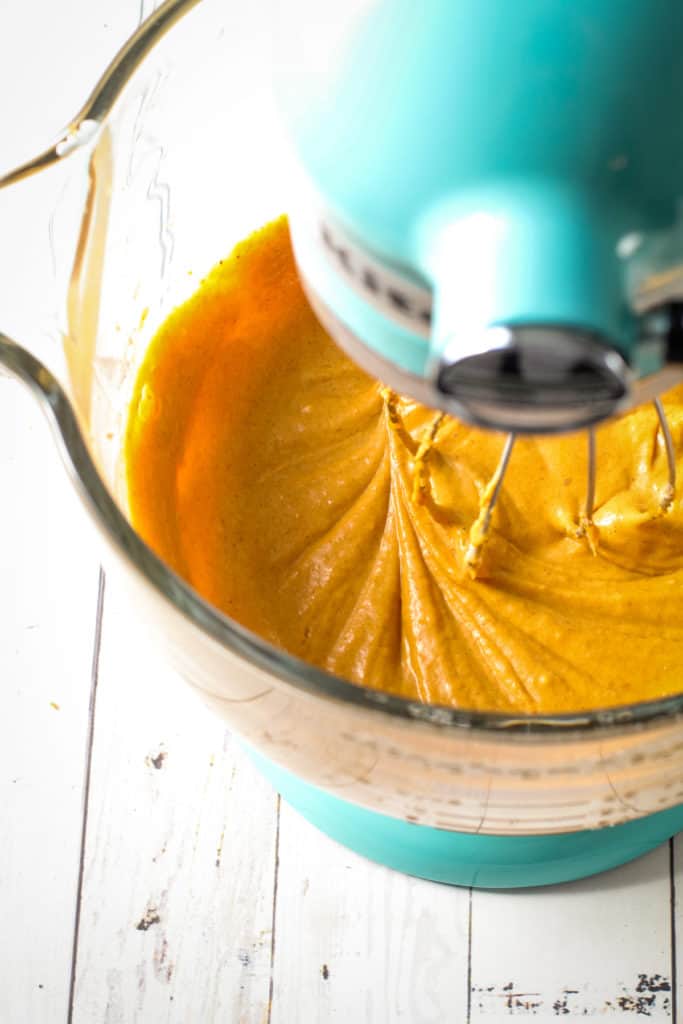
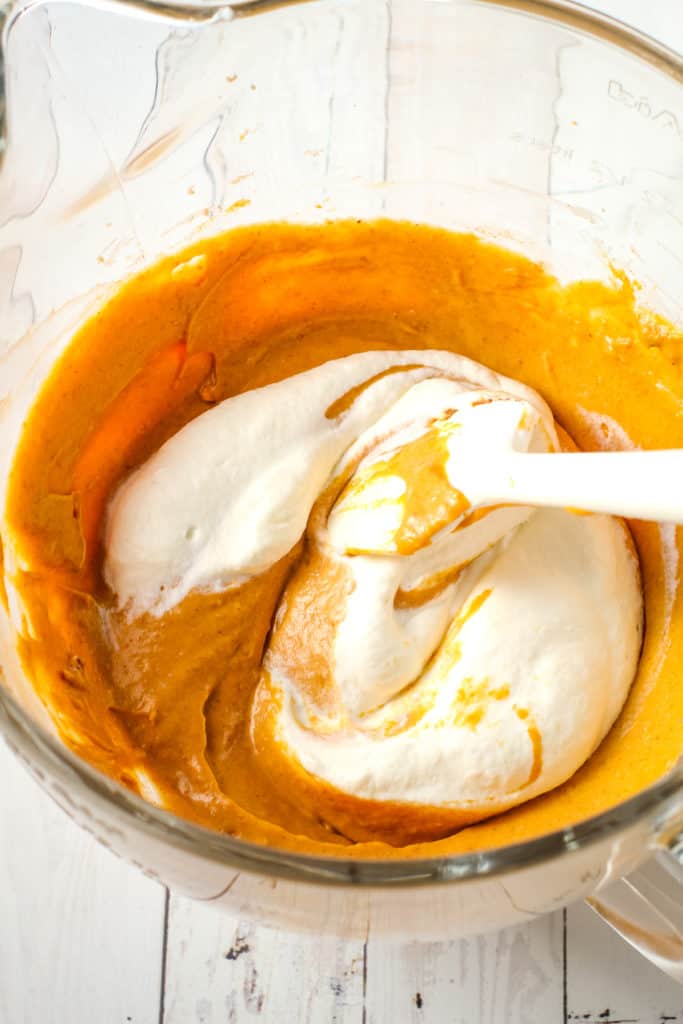
Next, get started on the filling. This no-bake pie uses cream that has been whipped to stiff peaks to act as the stabilizer, as opposed to using gelatin or egg whites. This is my preferred method to making these types of no-bake pies because it has just the right texture and flavor. To begin, whip the cream until stiff peaks form. Stiff peaks are when the you pick up the whisk and the whipped cream holds a stiff peak without moving at all. Once you've whipped the cream, remove it from the bowl and set it aside. In the now empty bowl, the other half of the filling needs to be whipped together. Whip the cream cheese and the brown sugar first until it's completely smooth. Next, add the pumpkin and spices and blend together until fully combined.
Then, the whipped cream and the pumpkin filling will be combined. Start by adding ⅓ of the whipped cream and fold it in with a rubber spatula by hand until it is completely combined. Then, add the remaining whipped cream to the bowl and gently fold it in, being careful not to deflate it. Slow and steady.
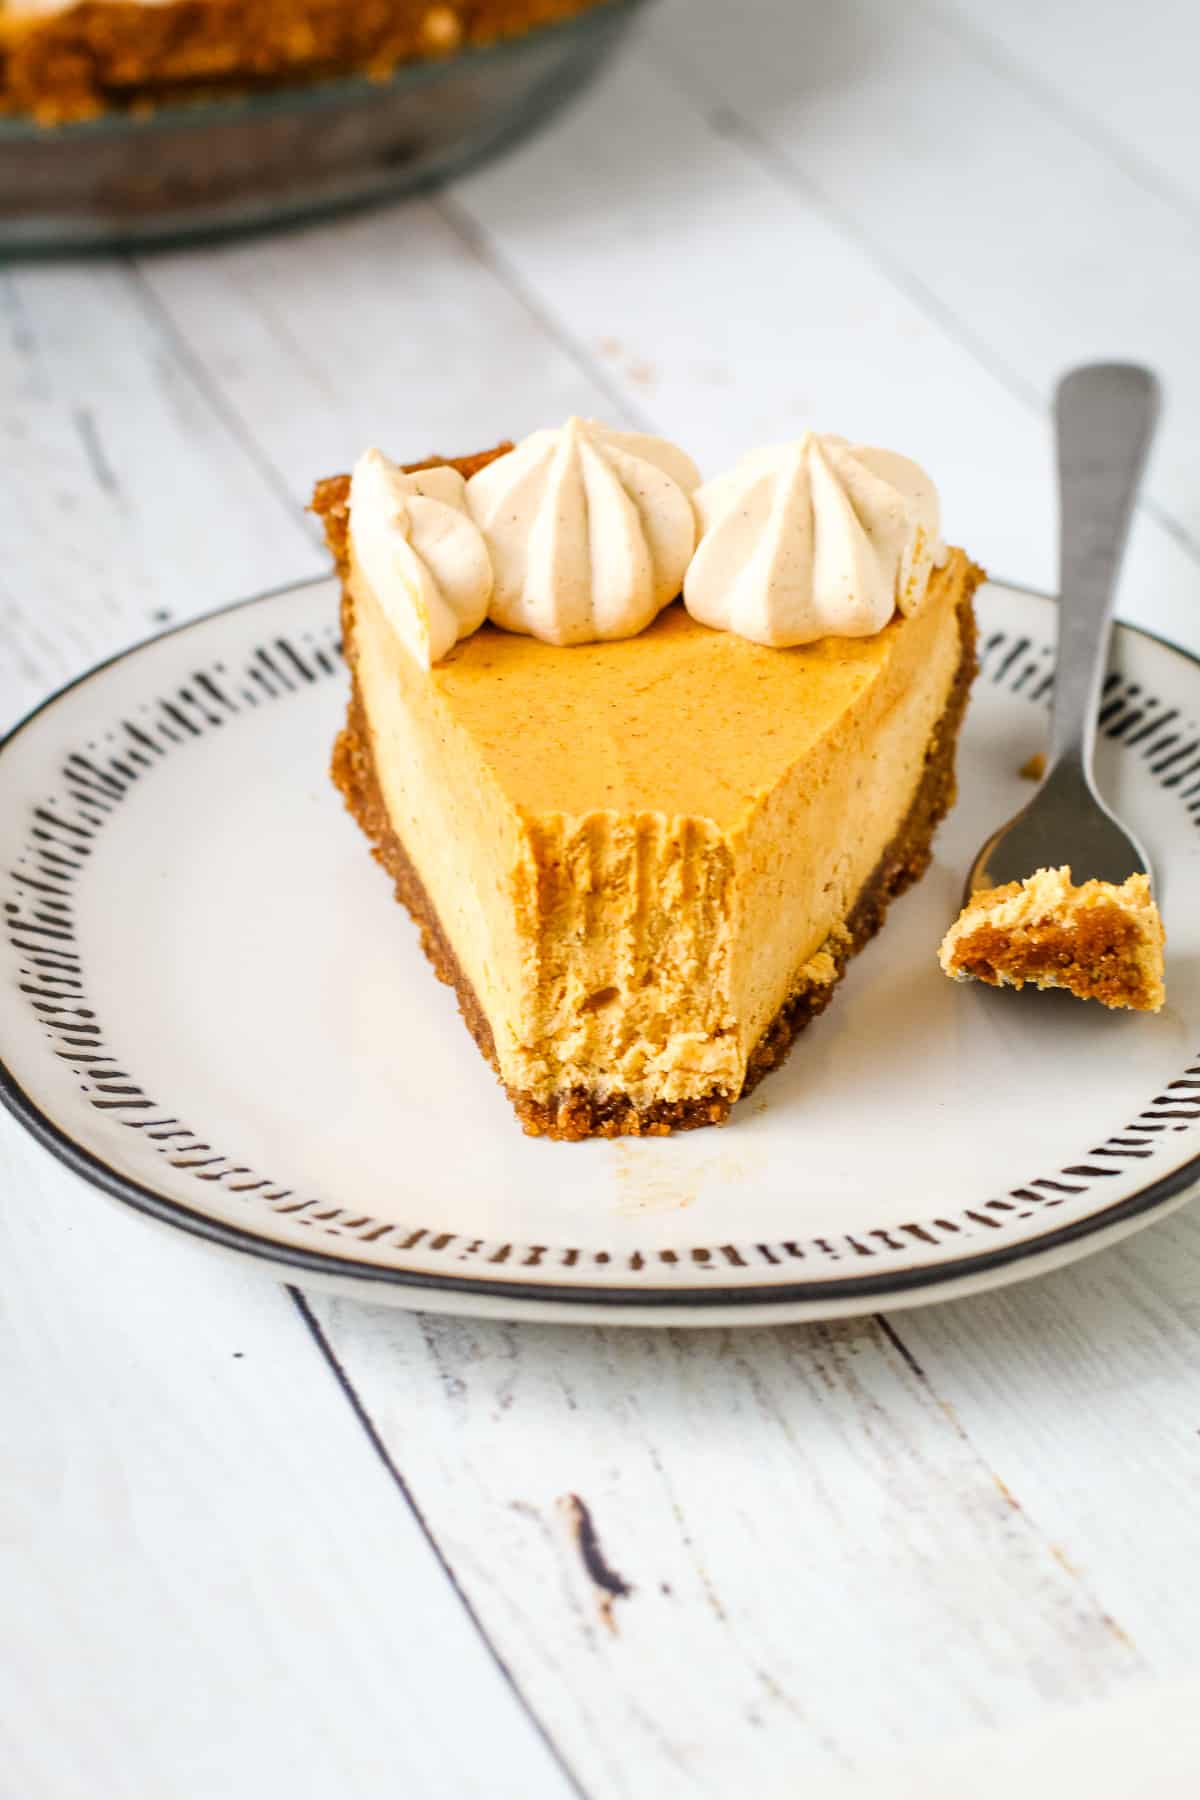
Finally, place the pumpkin filling in the prepared pie crust and smooth over the top. The whole thing needs to be chilled, either in the refrigerator, or the freezer to set up. It needs at least 4 hours chilling time, but the overnight method is best.
When ready to serve, make the Tangy Cinnamon Whipped Cream and top it as desired.

How to Garnish It
This No-Bake Pumpkin Pie tastes delicious topped with a tangy cinnamon whipped cream. Though optional, it really adds a nice touch for the end result. The whipped cream has added sour cream to give it that tanginess, but it also makes the cream more stable. It's great for piping onto the pie for a really elegant look.
Or, you could pile the whipped cream directly on top of the pie and give it a nice swirl. Sprinkle some cinnamon over the top for some contrasting colors.

How to Serve It
This pie should be served very chilled. It can be made up to 2 days ahead of time, if stored in the refrigerator, or up to 1 month if frozen. Do not top it with the tangy whipped cream until ready to serve.
If serving from the refrigerator, I recommend placing the pie in the freezer for 30 – 60 minutes before serving, though it’s not essential.
To serve from the freezer, let the pie sit at room temperature until it’s easy to cut into it, about 15-30 minutes, depending on how warm your kitchen is.
More Pumpkin Recipes:
I am so honored when you make a recipe from my site! If you make this No Bake Pumpkin Pie, please leave a comment and a star rating with your experience! If you have any questions about this recipe, feel free to comment here, too!
Full Recipe
No Bake Pumpkin Pie
This No Bake Pumpkin Pie comes together quick and is flavored with all the classic taste of pumpkin pie, without all of the work! It's made in a Pecan Gingersnap Crust and topped with a cinnamon whipped cream for pumpkin pie perfection.
- Prep Time: 00:20
- Total Time: 04:50
- Yield: 8-12 Servings
- Category: Sweet Pie
- Method: No-Bake
Ingredients
- 1- 9" Pecan Gingersnap Crust, prepared
- ¾ cup (170 grams) heavy cream
- 6 ounces (170 grams) cream cheese, softened
- ¾ cup (150 grams) brown sugar
- 1 cup pumpkin puree
- 1 teaspoon vanilla extract
- 1 teaspoon cinnamon
- ¼ teaspoon grated nutmeg
- Pinch cloves
For Tangy Cinnamon Whipped Cream:
- ¾ cup (170 grams) heavy cream
- ⅓ cup (80 grams) sour cream
- 1 tablespoon brown sugar
- 1 teaspoon cinnamon
- ¼ teaspoon vanilla extract (optional)
Instructions
- Prepare Pecan Gingersnap Crust. Set aside.
- With an electric mixer using the whisk attachment, whip the heavy cream until stiff peaks form, about 3 minutes. Set aside.
- Place the cream cheese and the brown sugar in the bowl for the electric mixer. Whip on medium speed until completely smooth, about 2 minutes. Scrape down the sides of the bowl and add pumpkin, vanilla, cinnamon, nutmeg, and cloves. Beat for an additional minute until fully combined.
- Add ⅓ of the whipped cream to the pumpkin mixture and fold it in with a rubber spatula by hand until it is completely combined.
- Add the remaining whipped cream to the bowl and gently fold it in, being careful not to deflate it.
- Pour the pumpkin filling in the prepared pie crust and smooth over the top.
- Place in the refrigerator to set up. It needs at least 4 hours chilling time, but preferably overnight.
- When ready to serve make the Tangy Cinnamon Whipped Cream: With an electric mixer using the whisk attachment, whip the heavy cream, sour cream, brown sugar, cinnamon and vanilla until soft peaks form, about 2 minutes.
- Top the chilled Pumpkin Pie with Cinnamon Whipped Cream as desired.
Notes
This pie should be served very chilled. It can be made up to 2 days ahead of time, if stored in the refrigerator, or up to 1 month if frozen. If serving from the refrigerator, I recommend placing the pie in the freezer for 30 – 60 minutes before serving, though it’s not essential. To serve from the freezer, let the pie sit at room temperature until it’s easy to cut into it, about 15-30 minutes, depending on how warm your kitchen is.
Some of the links on this page may be affiliate links. Everyday Pie is a participant in the Amazon Associates Program. As an Amazon Associate I earn from qualifying purchases, at no extra cost to you.
Alexis
Not sure what I did wrong with the crust, but it basically melted down the sides and had a pool of melted butter swimming at the bottom. Perhaps the type of gingersnap I used already had a lot of butter in it?
Katie
So yummy! Great pumpkin pie flavor with the creaminess similar to a cheesecake. Very easy to make as well, especially since you can make ahead so it's not added to the Thanksgiving cooking on the day. I've also never done my own crust like this and it was very simple. Best of all, everyone loved it! Will definitely be adding this as a staple.
Kelli Avila
Hi Katie! Thanks for taking the time to share your experience! So glad you enjoyed! -Kelli
Amber
Hi! I’m trying to figure out the best way to add chocolate to this pie. Do you think a ganache layer could work on the bottom? Or the top? Or maybe folding in chocolate chips?
Kelli Avila
Hi Amber! All of your suggestions sound amazing to me! I think any of them will work well!