This Pecan Gingersnap Crust recipe is such an easy and delicious crust option! It is perfectly spiced and takes less than 5 minutes to put together. You can bake it before filling, or freeze it for a no-bake pie crust option.
Want to save this recipe?
Enter your email & I'll send it to your inbox. Plus, get weekly updates from me!
Gingersnap Pie Crust Recipe
Sometimes, you need a simple option for a pie crust, and when it comes to this gingersnap crumb crust, it's not only effortless but also tastes better than anything you buy could purchase pre-made.
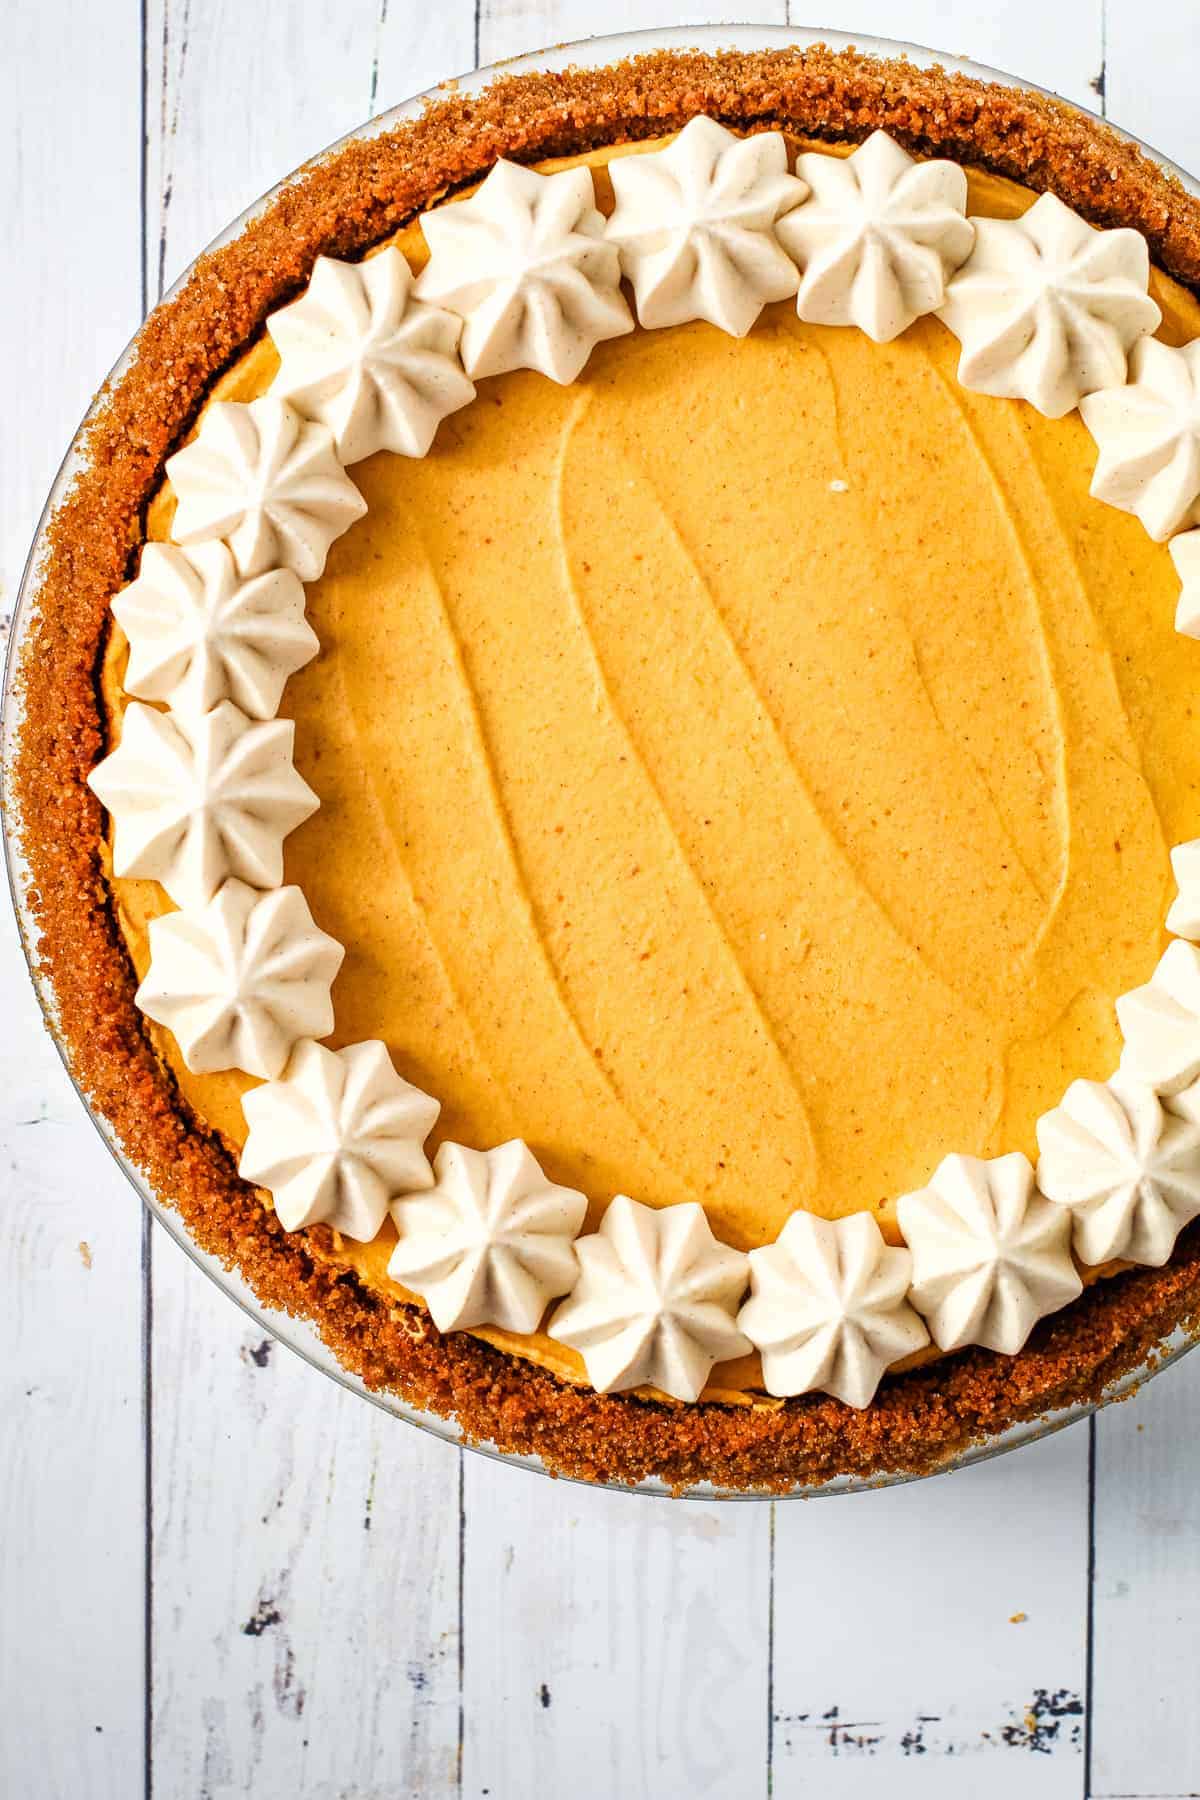
This Pecan Gingersnap Crust recipe uses only a handful of ingredients, and it takes less than 5 minutes to put together. You can either bake it briefly for a lovely toasted effect or freeze it for a no-bake pie option! It's perfect for so many pies but especially great for all the autumnal pies like this Maple Sweet Potato Pie or No-Bake Pumpkin Pie.

Ingredients Needed
Here is an overview of the ingredients needed for this recipe. The full recipe is listed below in greater detail.
- gingersnap cookies
- pecans (optional)
- butter
- brown sugar
- ground ginger
- cinnamon
- pinch salt
Troubleshooting a Crumb Crust
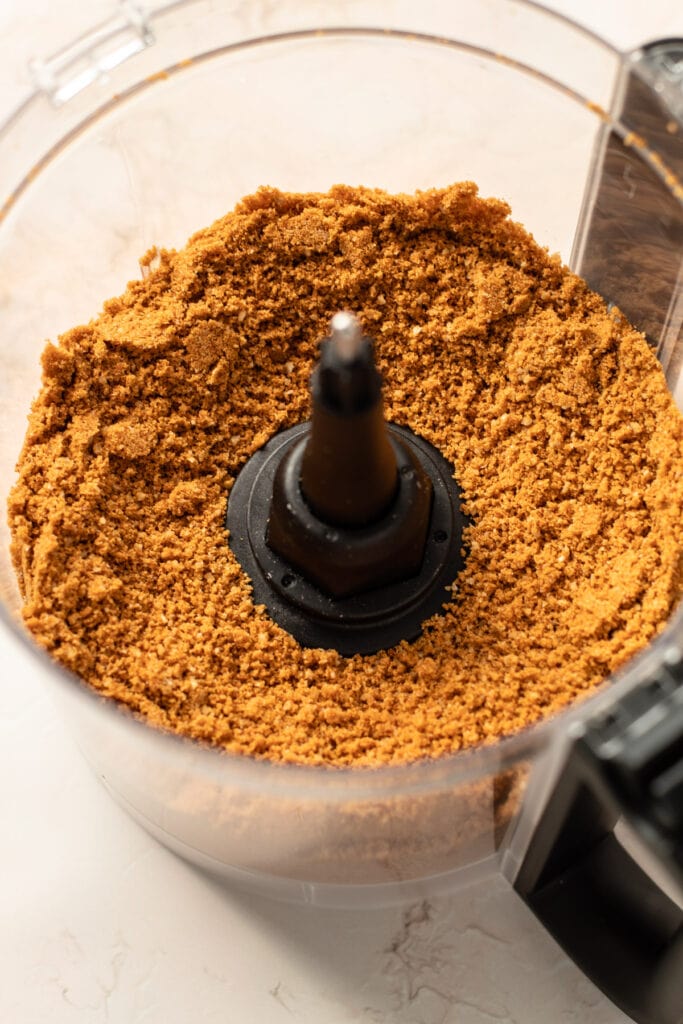
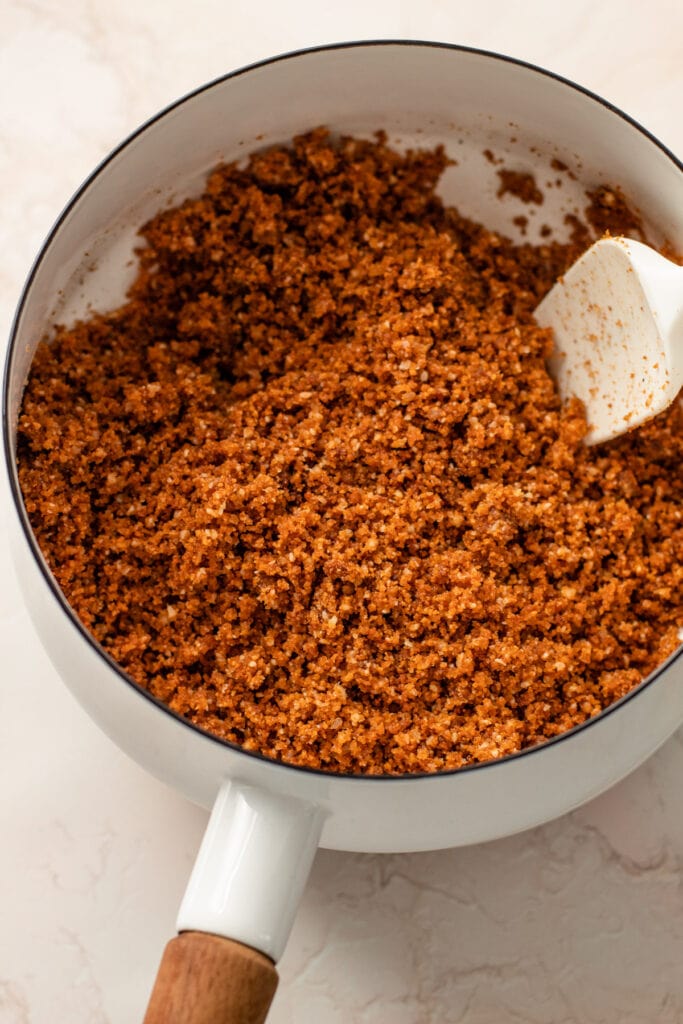
Gingersnap cookie texture can vary from brand to brand. The crumb mixture should be the consistency of wet sand. If for any reason your crumb crust is extremely dry, you can add 1 tablespoon of melted butter–one tablespoon at a time–to the crumbs until they are evenly moistened.
Alternatively, if your mixture is too wet and it is hard to work with, add more cookie crumbs until it is just moistened enough for the crumbs to stick together easily.
How to Form a Crumb Crust
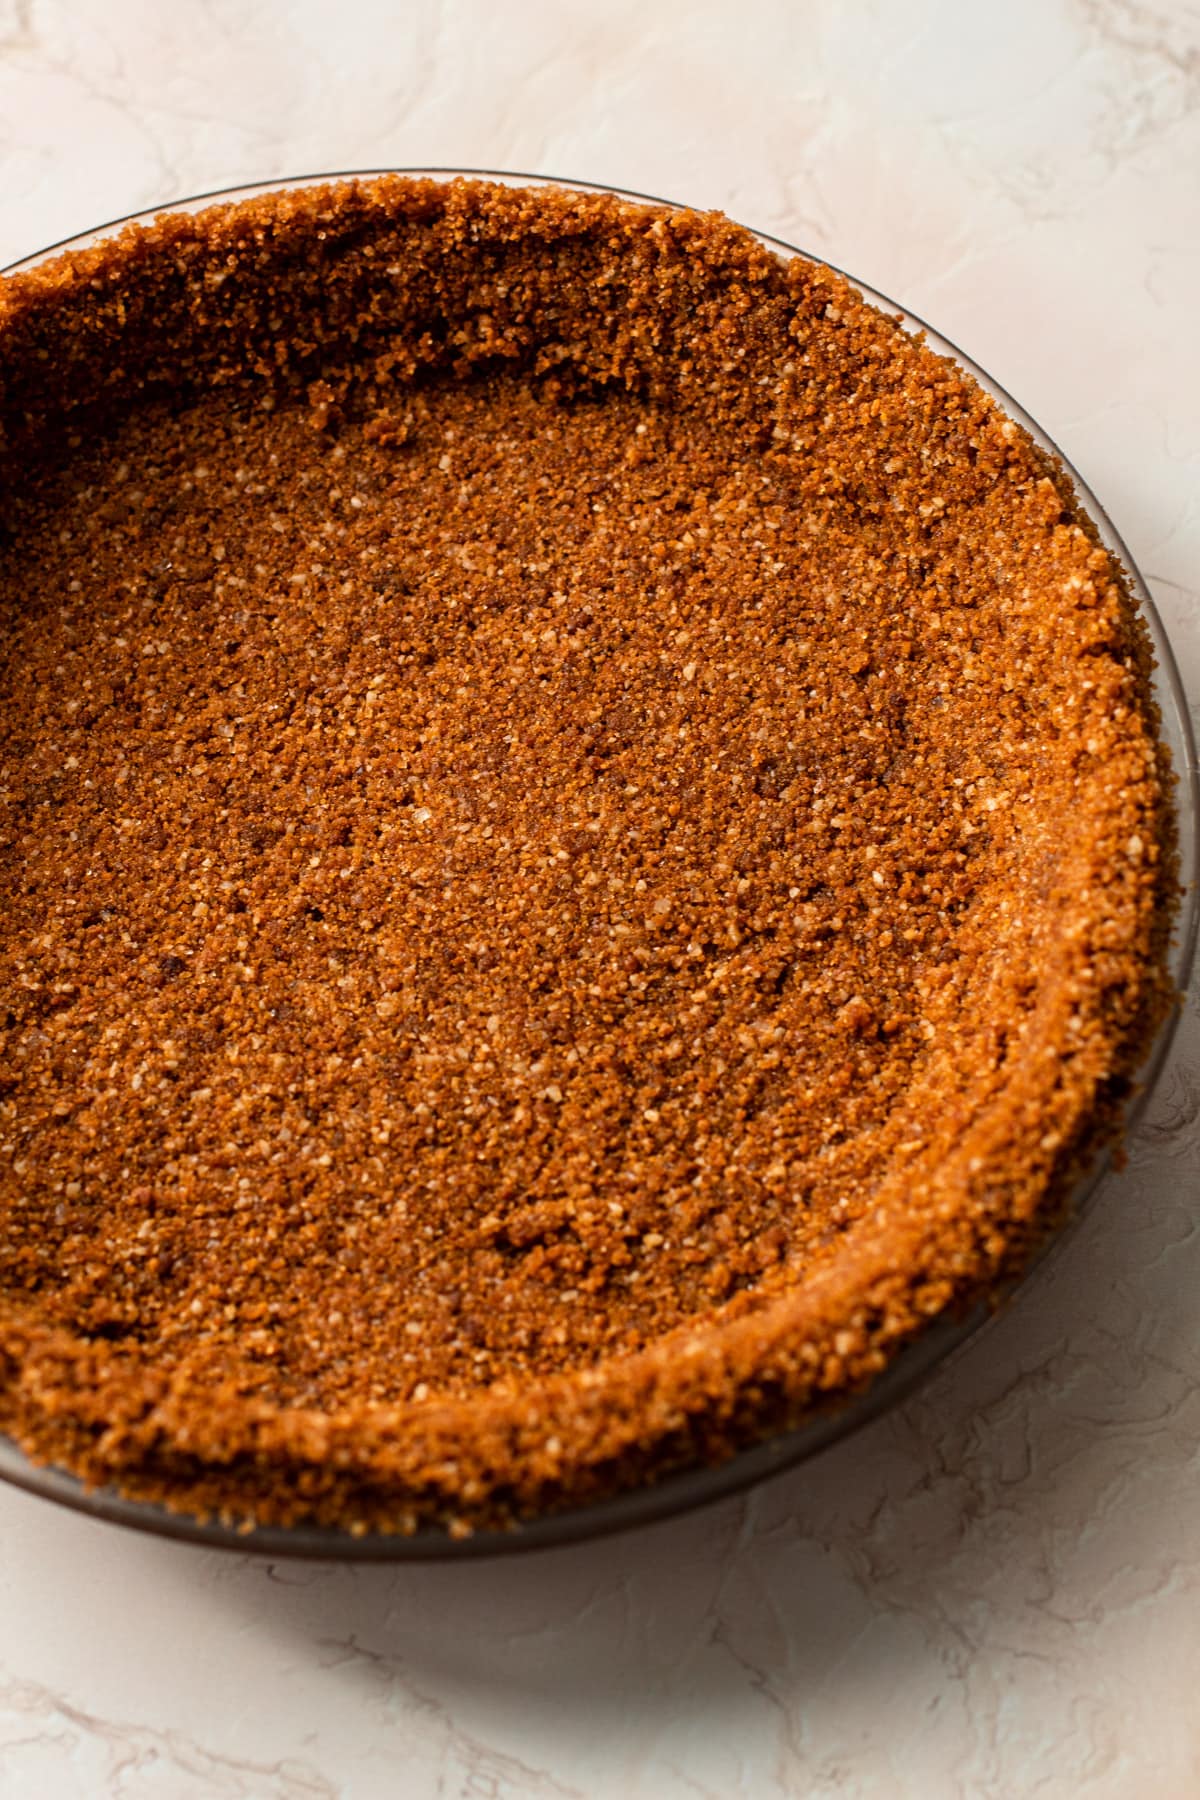
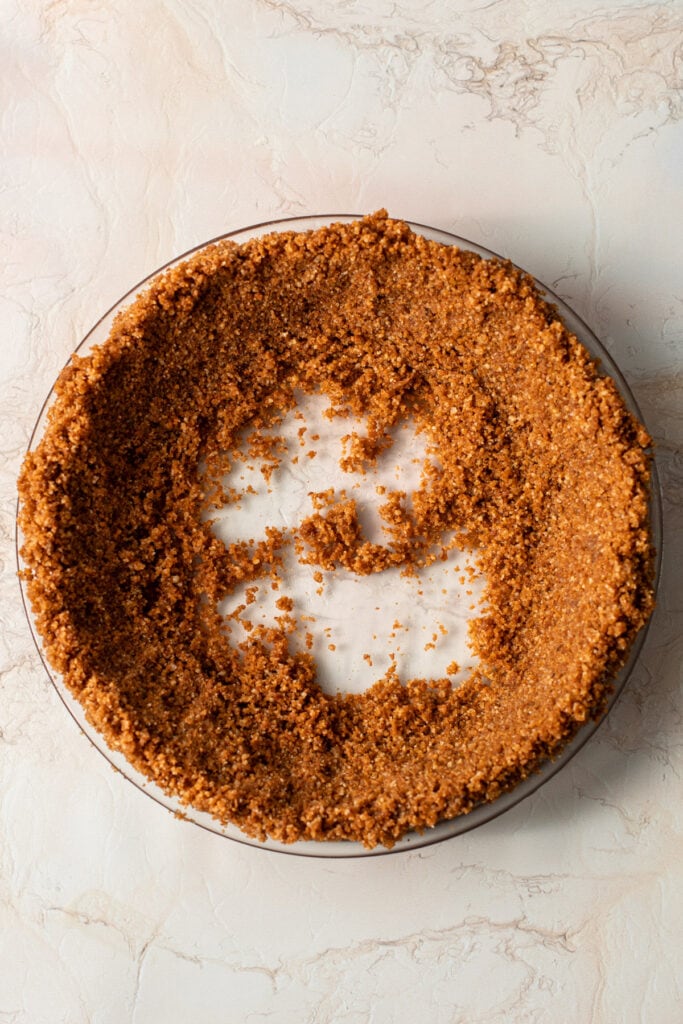
Forget everything you know about pressing in a homemade crumb crust into your pie plate because we’ve all been doing it wrong! While logic might tell you to place the crumb mixture in the middle of your pie plate and start pressing it in at that point, that notion actually makes it messy and difficult to get an even crumb base all the way up the sides. The easier and faster way to do it is to start forming the edges of the pie crust first, and then press the crumb mixture down into the bottom of the plate.
Here are the steps:
- Gather the crumb mixture loosely up the sides of the plate until all the edges are covered with crumbs.
- Form the top edges of the crust and neaten them up by pressing them together with two fingers. It may feel like you won’t have enough crumbs to fit the bottom of the pie at this point, but you will.
- Start packing down the sides of the crumb crust with your thumb in an even layer. As you do this, start moving the excess crumb mixture toward the center of the pie plate.
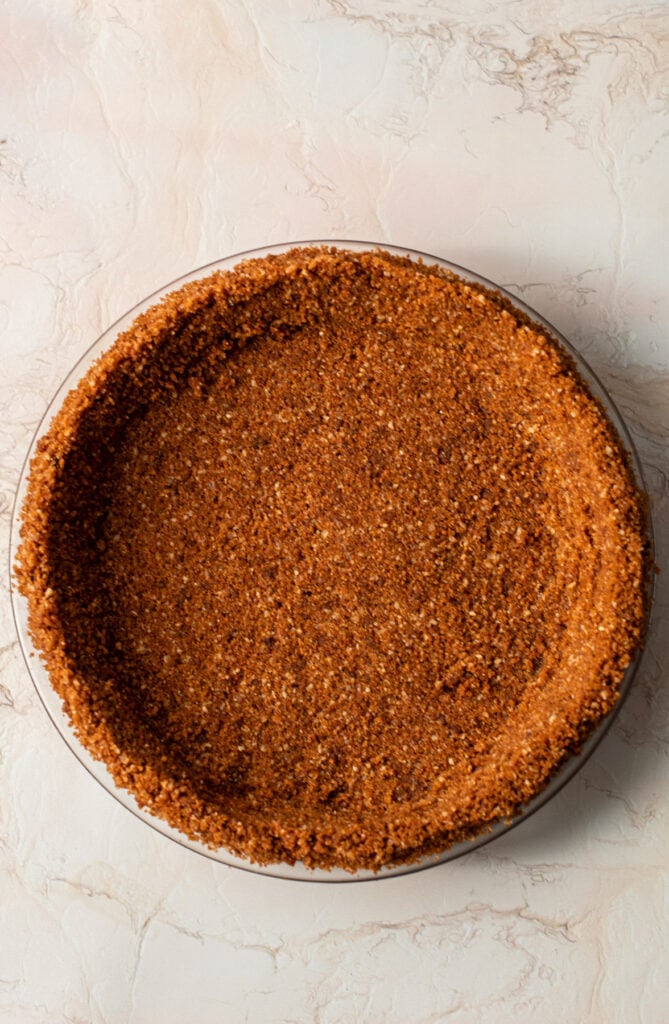
- Continue packing the crumbs from the outer edges towards the middle until you have established a single layer.
- With your fingers, a spatula or the bottom of a measuring cup, pack down the crumbs until everything is tight and even.
To Bake or Not Bake
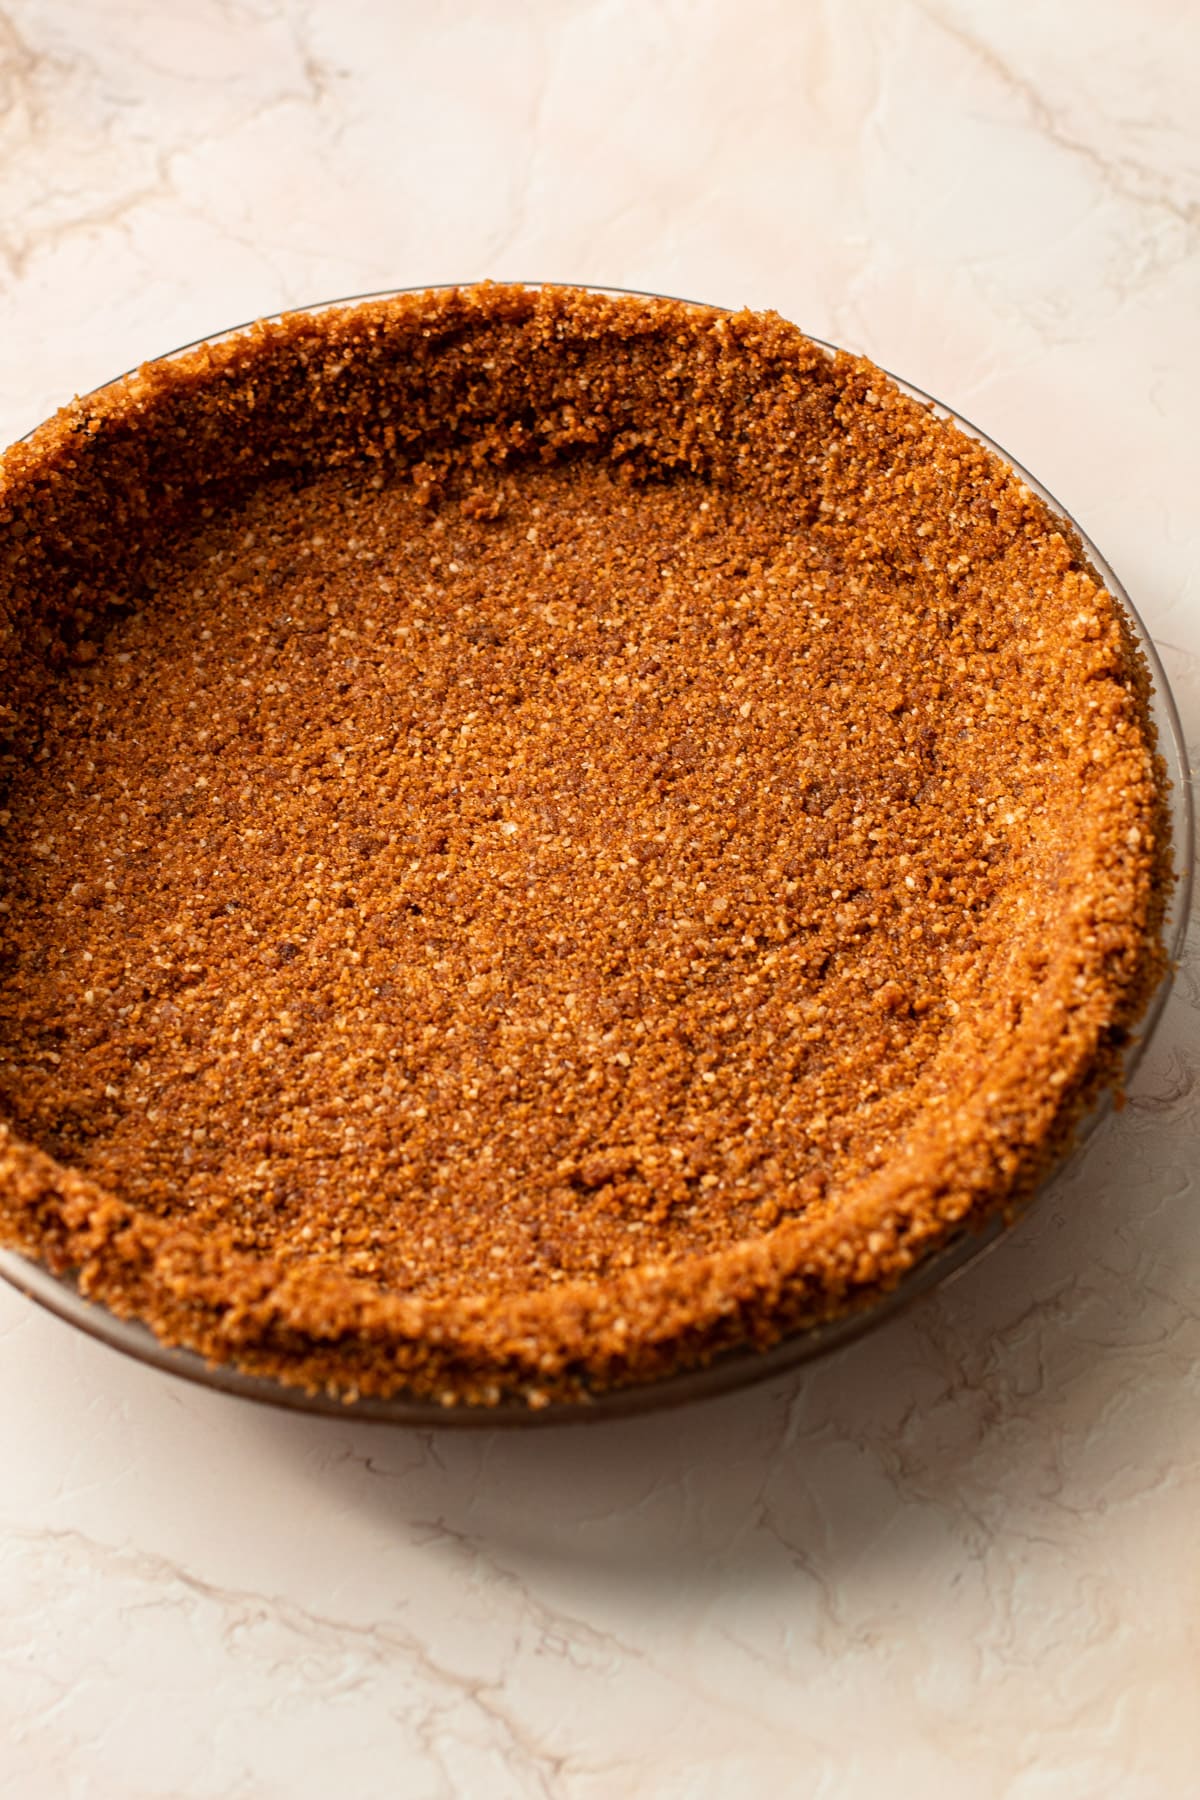
You have two options for preparing this crust. You can par-bake it or freeze it. There are pros and cons to each. But first, let’s understand that the butter and the sugar play important roles in making sure the crumb crust stays together for each of these methods. Then, you’ll know which method is best for your pie.
Freezing the Crust
Freezing the crust works because the melted butter becomes solidified and bonds the crust together. The sugar might melt slightly from the warmth of the butter, but without the par-bake, the sugar doesn’t melt enough to act as the bonding agent here. While freezing the crust is certainly easier than having to preheat an oven and par-bake the crust, it is not as sturdy as the baked version. I only recommend freezing the crust if you will be serving your pie when very cold. Otherwise, you’ll just find your crumb crust to be very crumbly! Additionally, if you plan to freeze the crust, it helps to lightly grease the pie plate so that the slices come out easily.
Par-Baking
When you bake a crumb crust, you are melting the added sugar which then helps bond the crust together. Baking it results in a crispy crust, with a nice caramelized flavor. I prefer this method and will always bake it if I can. If you are planning to bake a pie that will be served from the refrigerator, or will be left out of the refrigerator for more than 20 minutes, I recommend you par-bake the crust to ensure it holds together.
Recipes to Pair with Gingersnap Crumb Crust
This recipe works well with many pies, but here are some suggestions:
More Crumb Crust Recipes:
I am so honored when you make a recipe from my site! If you make this Pecan Gingersnap Crumb Crust, please leave a comment and a star rating with your experience! If you have any questions about this recipe, feel free to comment here, too!
Full Recipe
Pecan Gingersnap Crust
This Pecan Gingersnap Crust recipe is an easy and delicious crust option! It is perfectly spiced and takes less than 5 minutes to put together. You can bake it before filling, or freeze it for a no-bake pie crust option.
- Prep Time: 00:05
- Cook Time: 00:08
- Total Time: 13 minutes
- Yield: 9" Pie Crust
- Category: Pie Crust
- Method: No Bake
- Cuisine: Sweet Pie
Ingredients
- 6 ounces (170 grams) gingersnaps (about 27 cookies)
- ½ cup (2 ounces; 55 grams) unsalted pecans (optional)
- 6 tablespoons (85 grams) unsalted butter
- ⅓ cup (65 grams) light brown sugar
- ½ teaspoon ground ginger
- ½ teaspoon cinnamon
- pinch kosher salt
Instructions
- Preheat the oven to 350ºF and set the rack in the center of the oven.
- Place gingersnaps and pecans in a food processor and process until fine crumbs form.
- Melt butter in a medium pot. Once melted, add butter, brown sugar, ginger, cinnamon, and salt and mix to combine.
- Pour the crumbs into a 9” pie plate and start pressing the ingredients up the sides of the pie plate to form the edges first. Once the edges are formed, work the crumbs down to evenly distribute into the bottom of the pie plate and pack it down into an even layer.
- Bake in the preheated oven for 8-10 minutes, until lightly golden and fragrant. Or you can freeze for 30 minutes for a no-bake pie option.
- A baked gingersnap crust can be refrigerated and covered for about 2 days, or frozen up to 3 months.
Notes
If you plan to make a no-bake filling for this pie that is to be served cold, you can skip the steps of par-baking the crust. Read the post for more details.
Some of the links on this page may be affiliate links. Everyday Pie is a participant in the Amazon Associates Program. As an Amazon Associate I earn from qualifying purchases, at no extra cost to you.




Johanna
Hi, This recipe looks great. I just baked it for 8-10 minutes and the sides slumped down. They had been level with the pie plate edges before baking. How do I avoid that?
Jennifer
Hello. I would like to use this crust for a pumpkin pie. Once the pie is completely baked (crust and filling), can it be frozen; or, will the crust be crumbly upon thawing? Thank you.
Kelli Avila
I think it can be frozen just fine!
Lynda Beaulieu
I'm going to make this pie shell. Thanks for the tip about pressing on the sides first. I never thought of that!!!
Marla
Hi there! I've always wanted to do a pumpkin pie in a gingersnap crust... would this crust be good for that? Would the amount of time to bake pumpkin ruin this crust? Thank you in advance for any advice.
Kelli Avila
This crust is great for a pumpkin pie! I use it often for that! Enjoy!