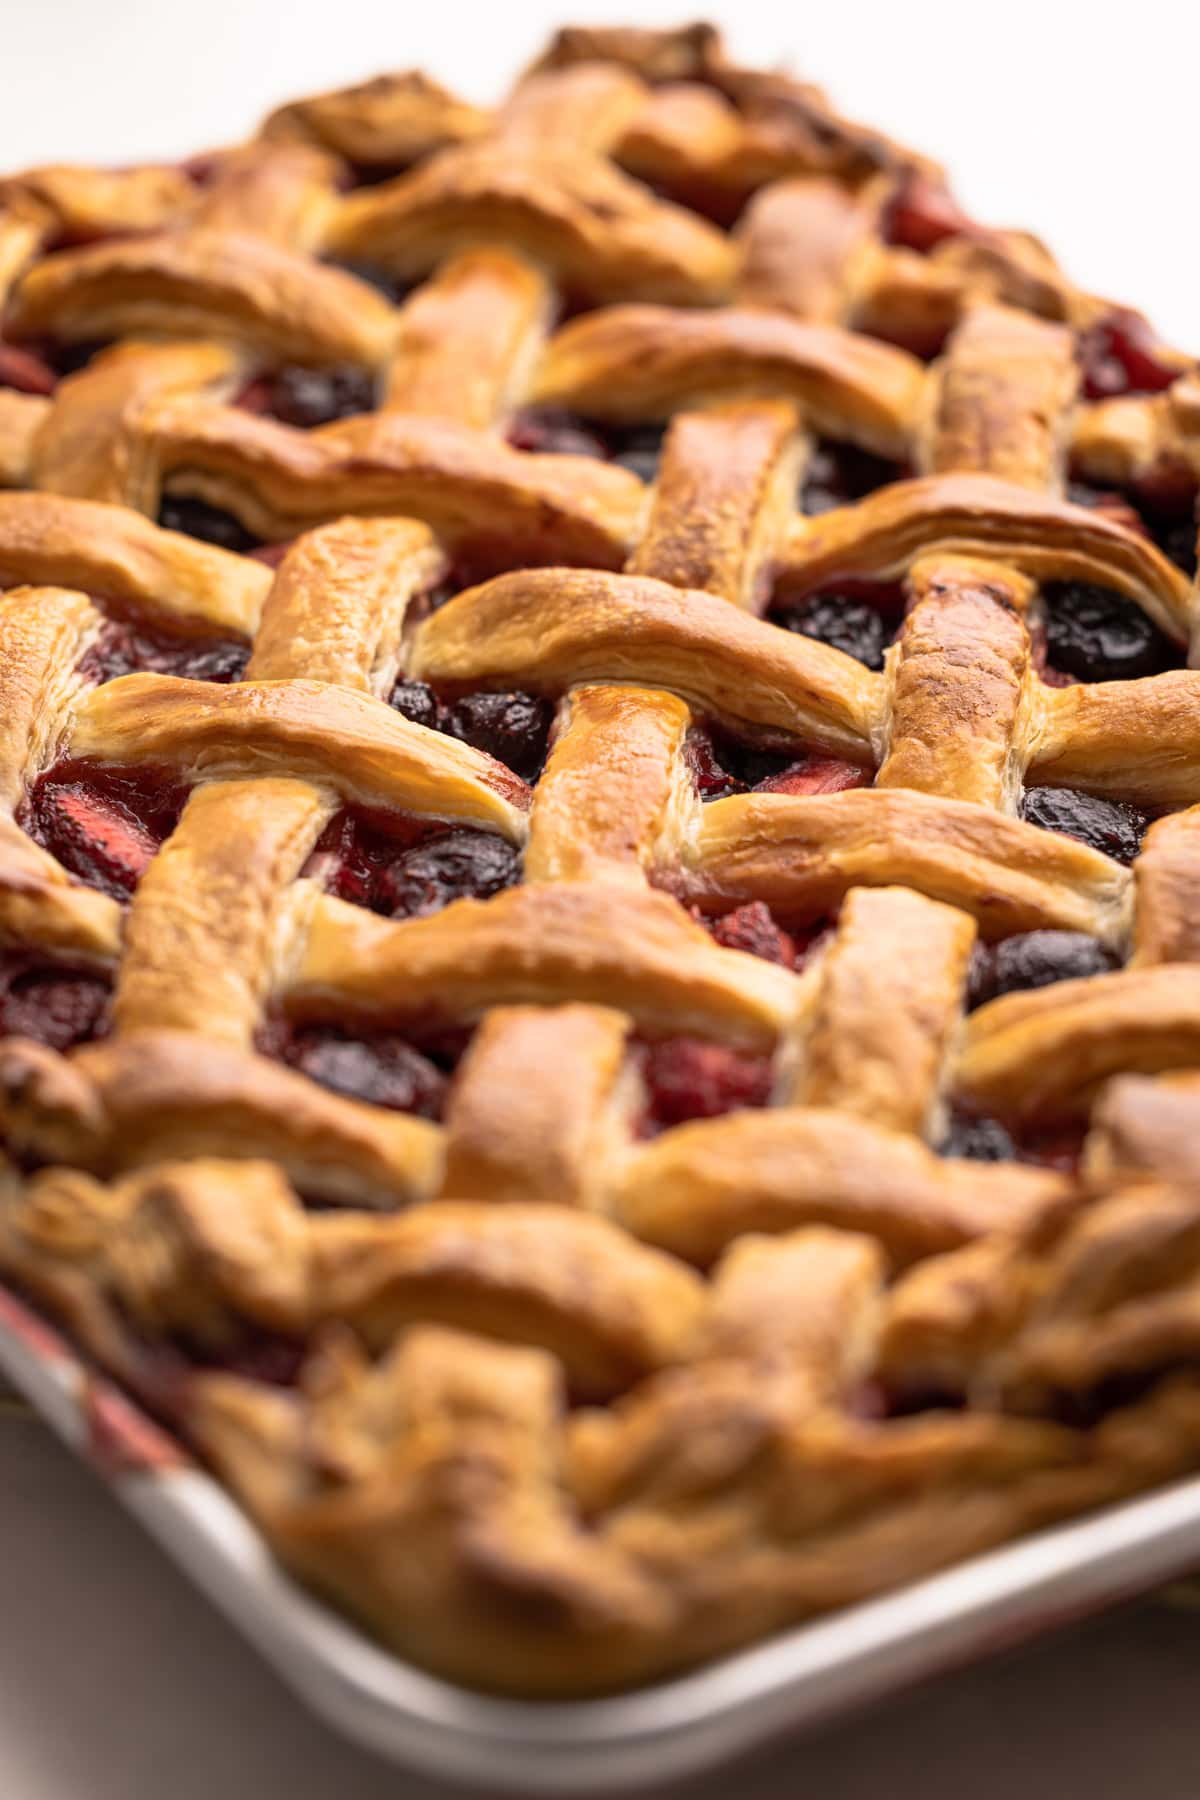
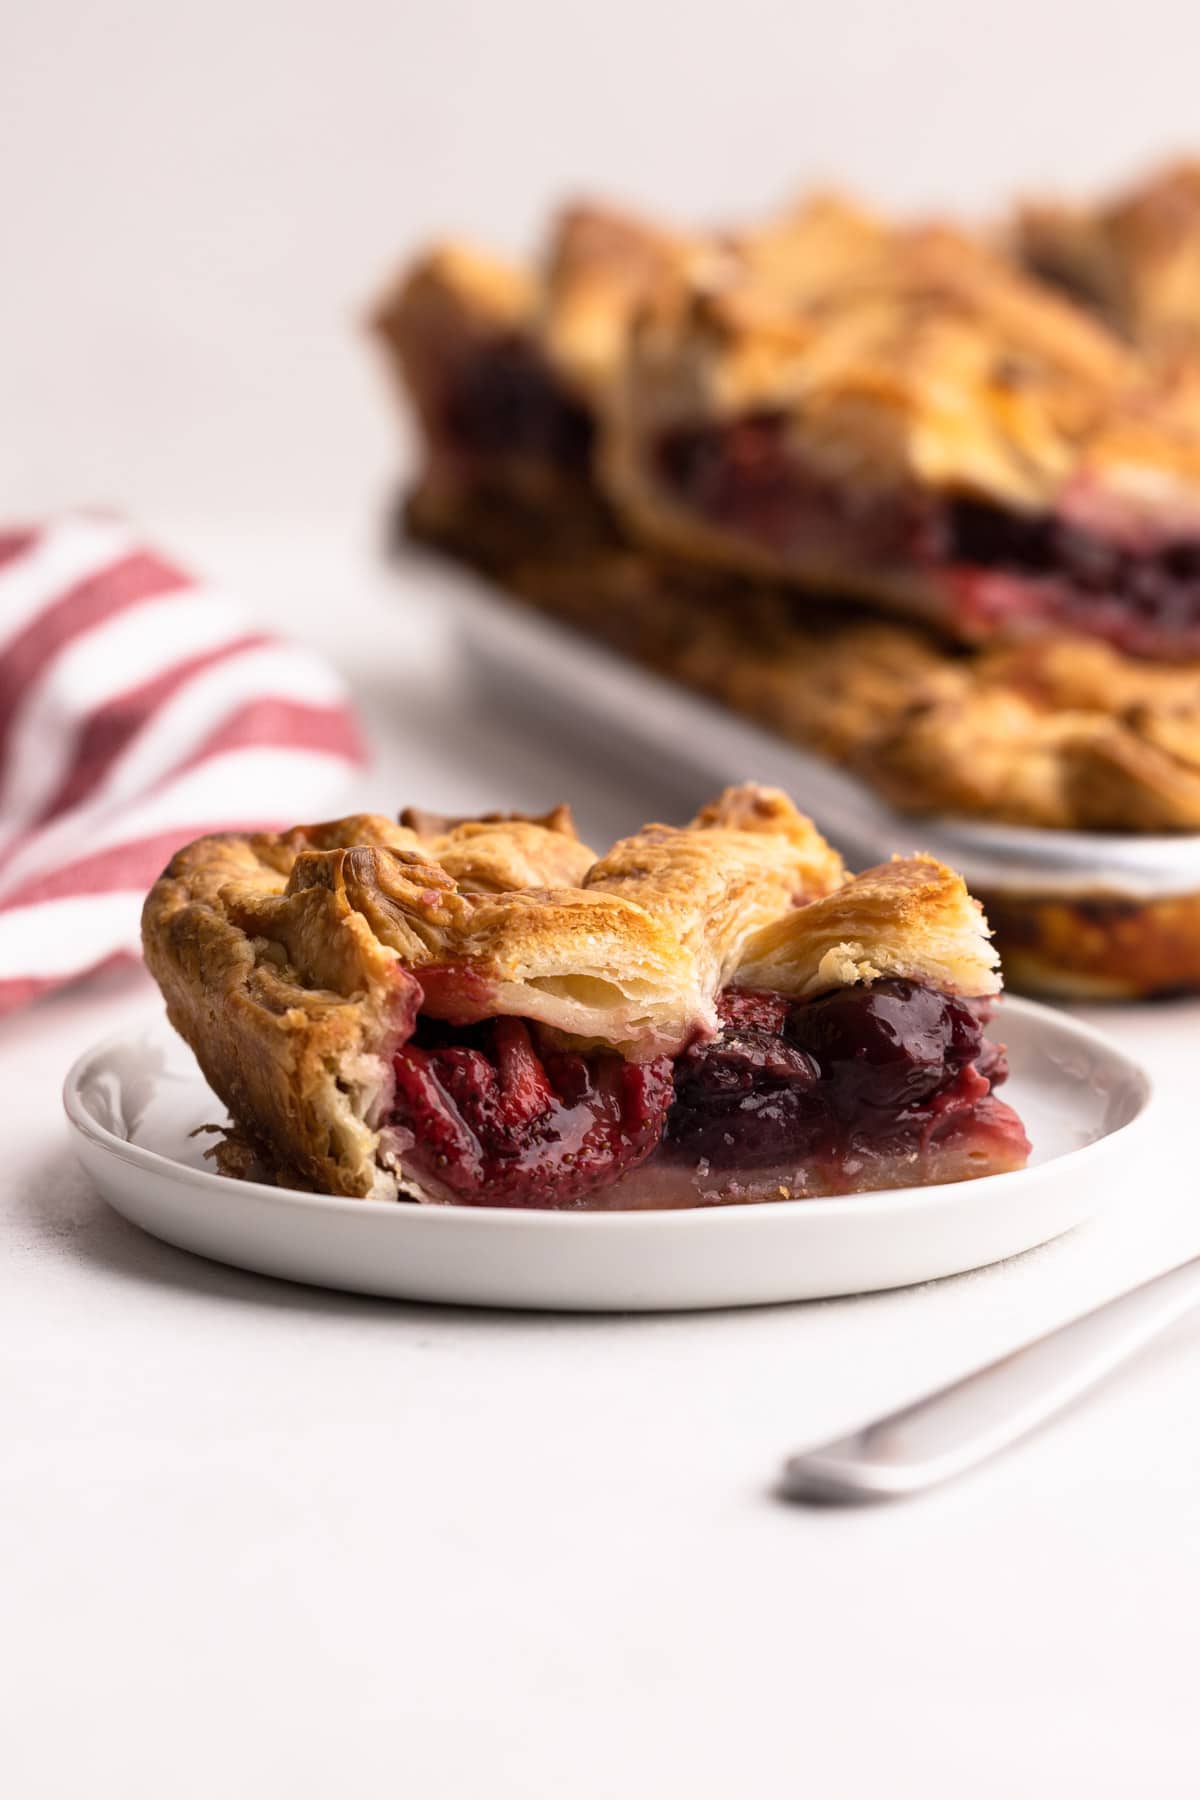
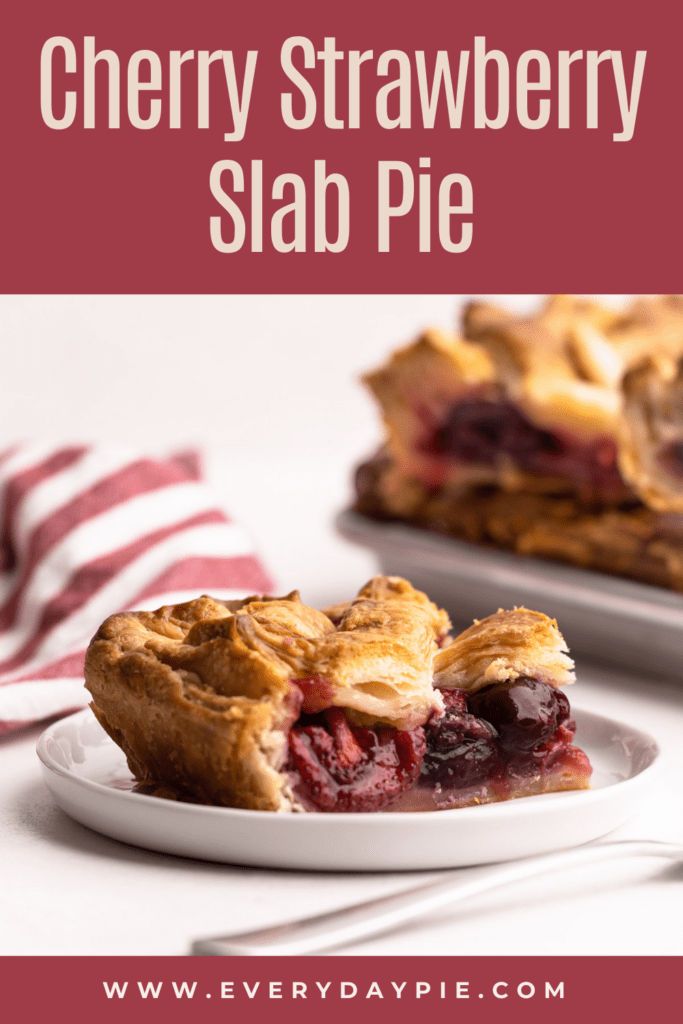
This Cherry Strawberry Slab Pie sings out "Summertime," and it's perfect for feeding a hungry crowd. It has a juicy fruit filling in the most delicious, flaky pie pastry and is perfect to serve at backyard BBQs and potlucks.
Want to save this recipe?
Enter your email & I'll send it to your inbox. Plus, get weekly updates from me!
This Strawberry and Cherry Slab Pie is a true celebration of summer fruit! The strawberries and cherries complement each other so nicely and mingle like magic, tucked inside of the rich, buttery pie pastry.
This pie is suited well for a hungry crowd. A slab pie is a pie baked in a sheet pan rather than a pie plate. It has a higher crust-to-filling ratio, compared to a regular pie, which makes it easy to be handheld and eaten as guests walk around and socialize.
Making one big pie cuts down on preparation time compared to individually making multiple pies. At a minimum, it can feed 16, but depending on how small you slice it, the pie can feed nearly double that.
So, let's get to making it, shall we? The text below offers tons of tips and helpful notes, or you can scroll to the bottom to grab the recipe and get started!
More of a visual person? Check out the video of me making it below, located right above the recipe!
Ingredients Needed
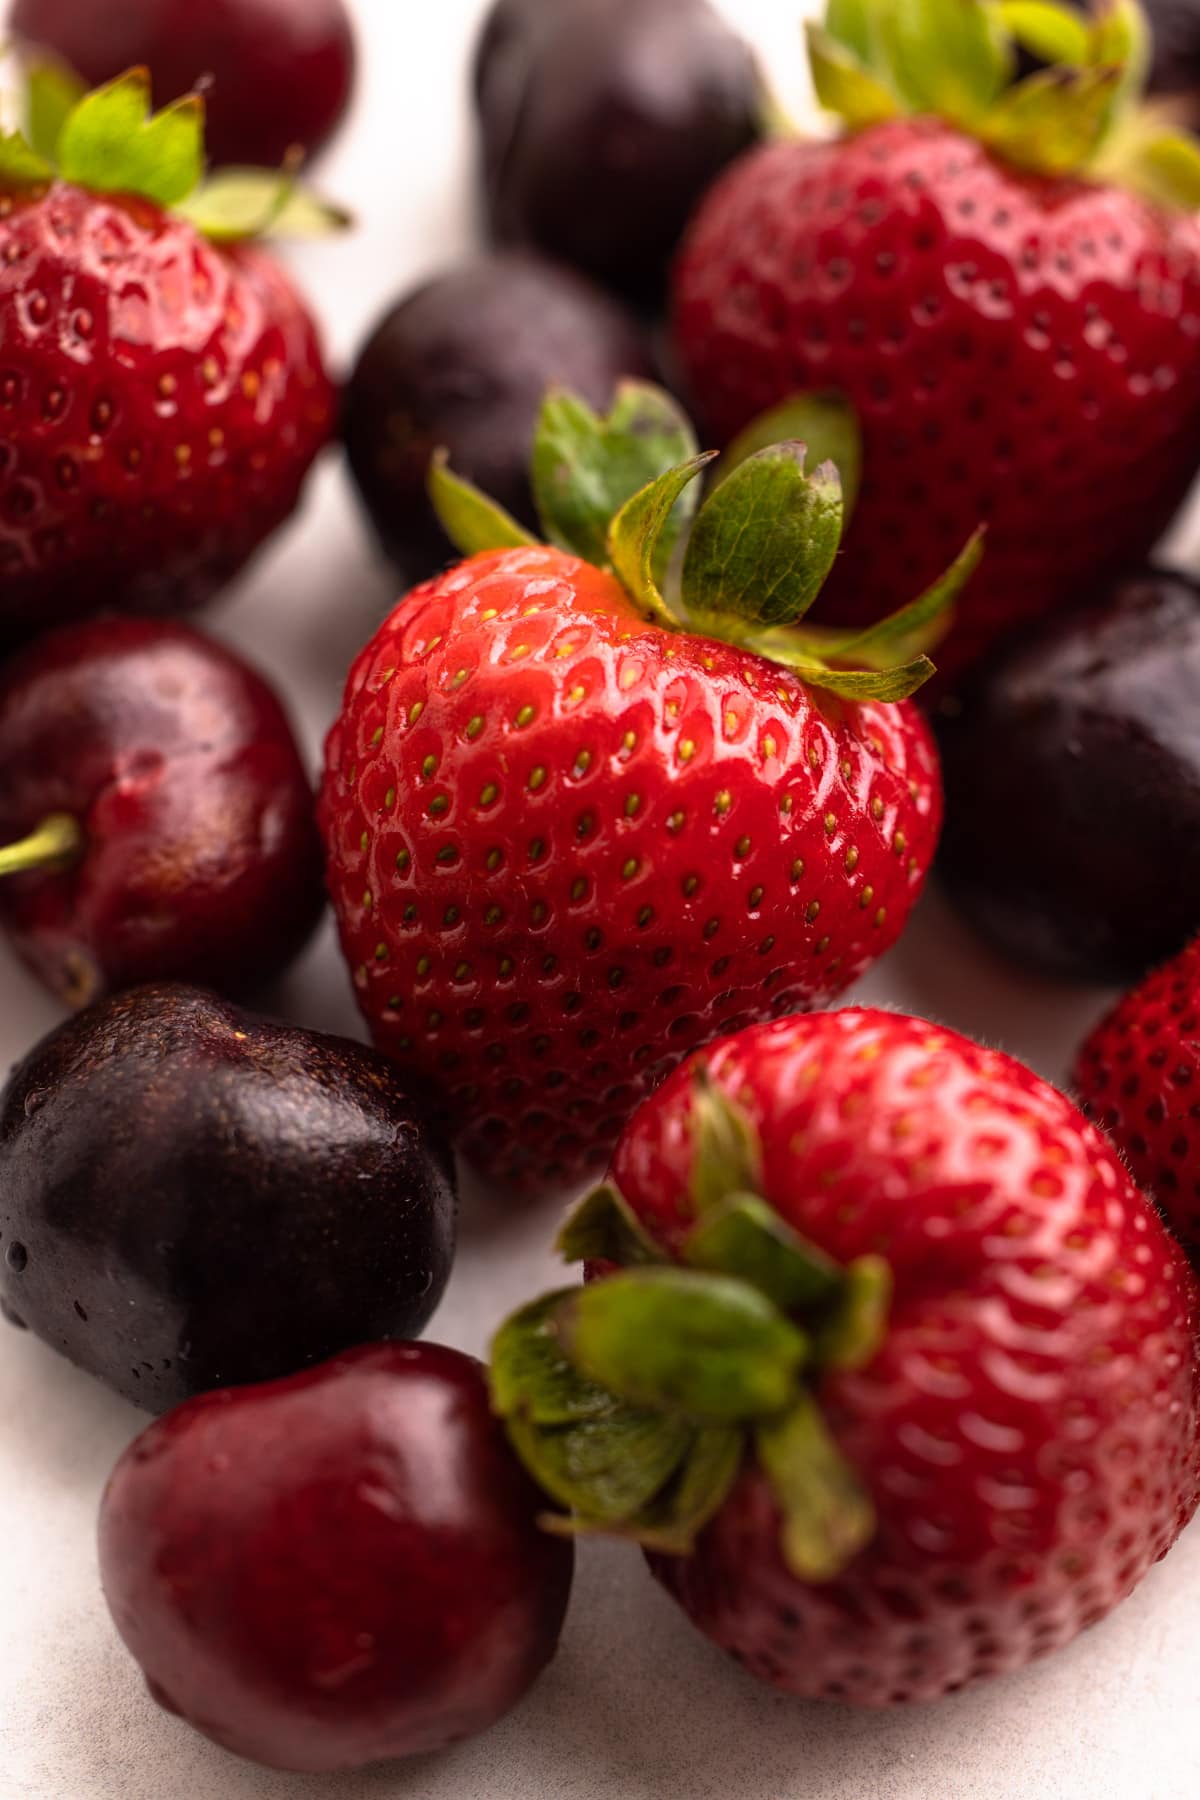
Here is an overview of the ingredients needed for this recipe. The full recipe is listed below in greater detail.
- frozen or fresh sweet cherries (sour cherries can be used but see the note to make the necessary swaps to the recipe)
- strawberries
- granulated sugar
- cream cheese (this can be replaced with butter if needed)
- unsalted butter
- lemon juice
- almond extract
- all-purpose flour
- cornstarch
- salt
- apple cider vinegar
Let's Talk Cherries
This recipe was based on sweet cherries, which are more abundantly available than sour or tart cherries. However, sour cherries can certainly be used. There are notes in the recipe for how to adapt it to use sour cherries.
Fresh or frozen cherries are fine here! I find that using frozen cherries is the easiest for this pie because, let's face it, pitting cherries takes up a lot of time. But either option will work!
Useful Tools to Make This Recipe
Here is a list of some of the primary tools I use in this recipe. You won't necessarily choose to use them all, but they are exactly what I used. Any links may contain affiliate links.
- food processor: (to make the pie dough) or a stand mixer
- jelly roll pan: (also known as an 11"x15" sheet pan)
- 13"x18" sheet pan: (also known as a half sheet pan) used to bake the slab pie on to catch any drippings
- rolling pin
- cherry pitter: it's useful if you are using fresh cherries, but certainly not essential
- ruler: if planning to make a lattice
- pastry brush: for brushing on egg wash
- pastry wheel or knife: to cut the lattice
- kitchen essentials: baking scale, bowls, measuring cups and measuring spoons, rubber spatula
Let's Talk Sheet Pans
Slab pies are typically baked on a sheet pan, which is a rimmed baking sheet. There are many different types of sheet pans in various different sizes. This recipe was developed for a specific size of a sheet pan, known as a Jelly Roll Pan, and it's about 11"x15". It makes roughly the equivalent of 2.5 regular pies, in terms of how much pastry and filling it uses. If you are baking this pie in a smaller sheet pan, you just may have some leftover pastry. Naturally, if you are baking this on a larger sheet pan, you may have to roll the pastry quite thin in order to fit, and you probably can't do a lattice. If possible, use the sheet pan size that is called for in the recipe.
An important thing to note: it is best to place a bigger sheet pan underneath this slab pie while it bakes to catch any drips of butter or filling. Nobody likes having to clean up burnt cherry and strawberry filling off the bottom of the oven.
Overview of Steps
As with most pies, there are a few steps you need to complete to get to the finished product. A lot of these components can be broken down into steps and done days (or weeks) in advance.
Steps for making cherry pie:
- Make the pie dough: you can prepare the dough up to 2 days ahead, or up to 3 months in the freezer.
- Roll out the pie dough: this can be done up to 1 day ahead of time. Roll out the bottom crust and place it on a pie plate. Keep in the refrigerator, covered completely, until you are ready to make the pie.
- Make pie filling and assemble the pie.
- Bake!
Double Crust. Vs. Lattice Crust
If you don't feel like making a lattice top, you can make this slab pie as a double crust. Just make sure to cut a few strips into the crust to allow for proper ventilation.
If you want that classic Americana finish to your pie, a lattice will undoubtedly do the trick. Many people are intimidated by making a lattice pie crust, but it’s pretty simple to do if you follow a few easy tips and tricks. Here is a complete Guide to Making a Lattice Pie Crust if you are unfamiliar with the technique.
Aside from being extremely beautiful, a lattice actually serves a purpose! Some pies (especially fruit pies) need a means for the built-up steam from baking to escape. A lattice pie is essentially built-in ventilation.
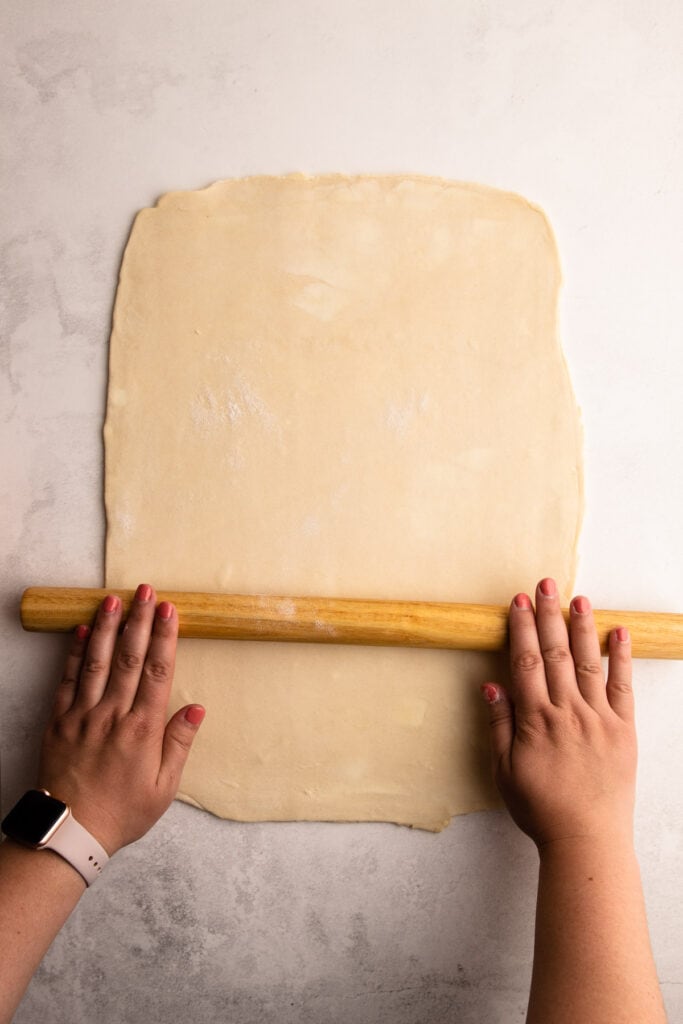
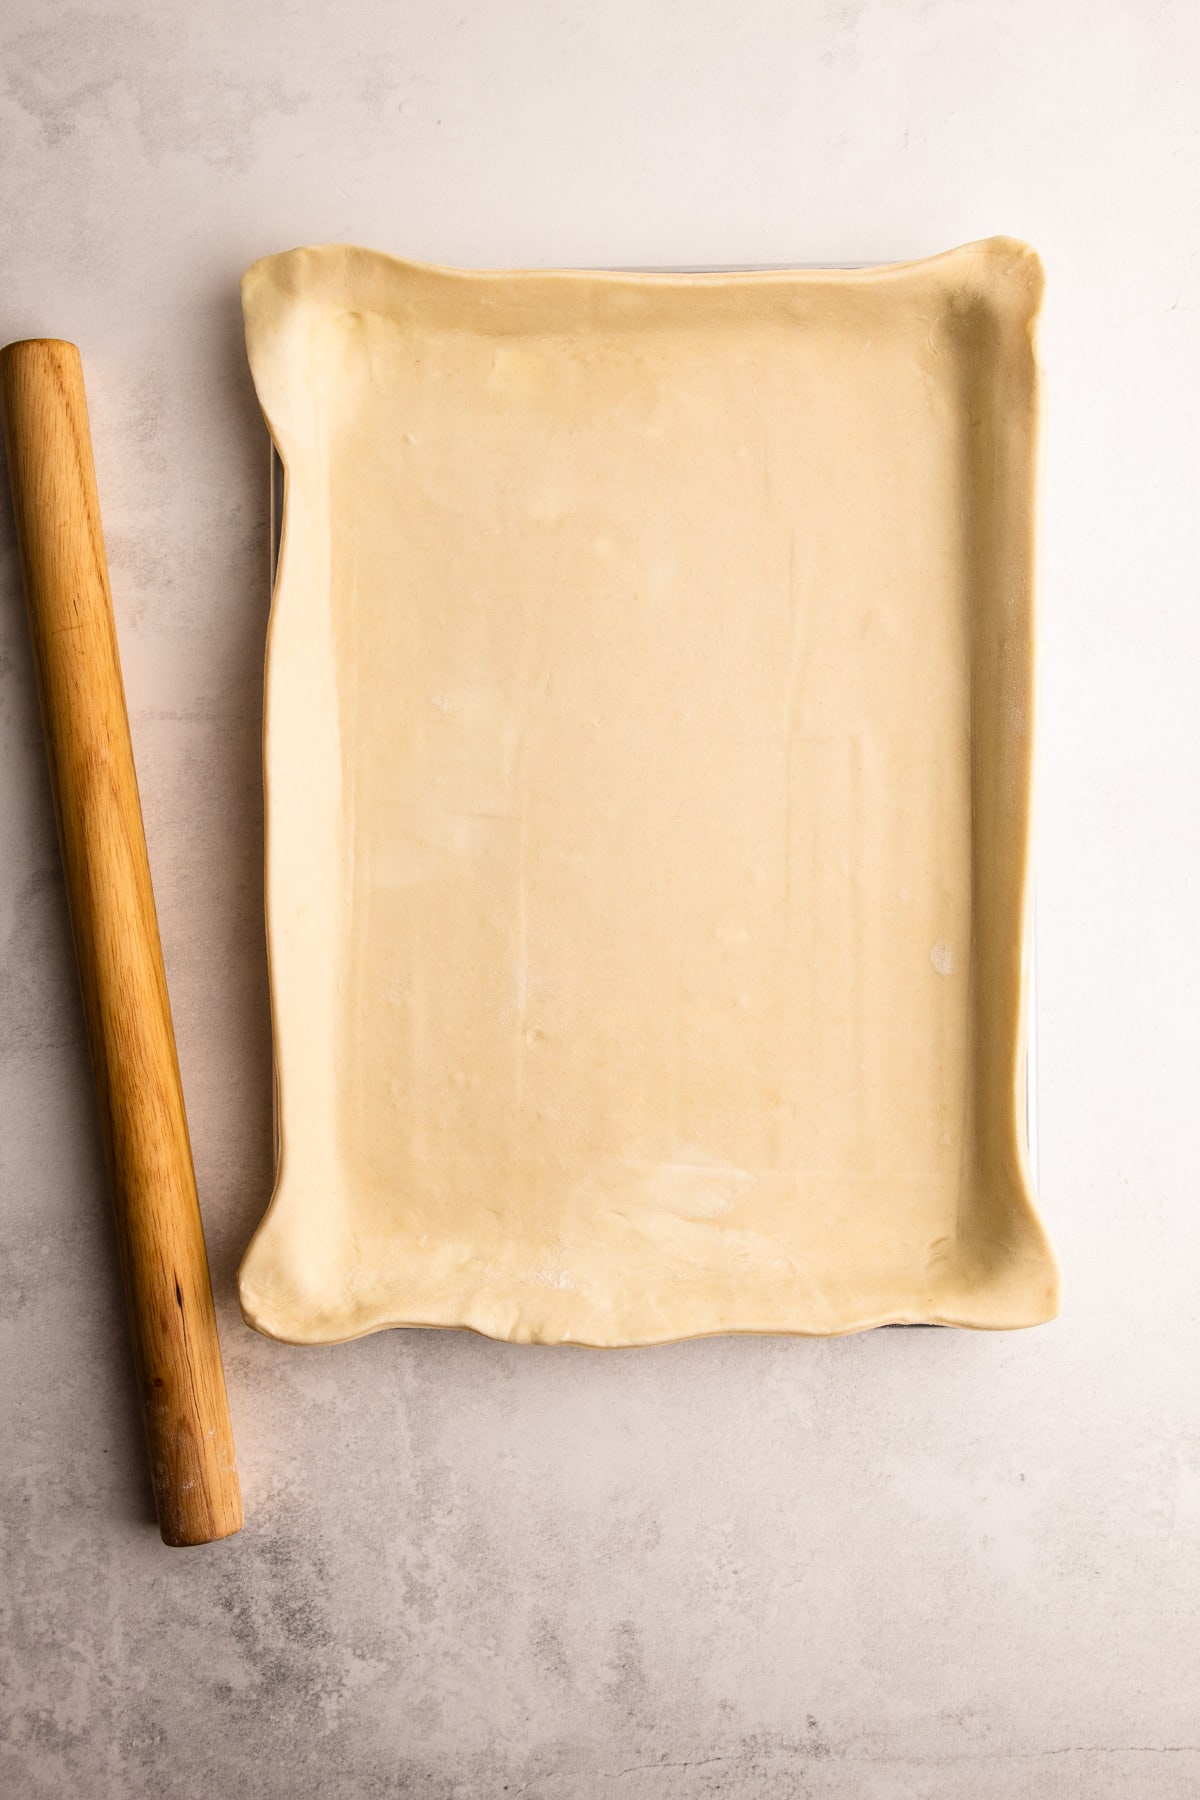
However, a full top crust is much easier to put on a pie. All you have to do is roll out pie dough to about an 11" by 15" rectangle and place it on top of the pie. Tuck the edges underneath the crust and crimp as desired. Do not forget to poke steam holes. Do this after you egg wash, so the steam holes don't get sealed.
How do you make a lattice top?
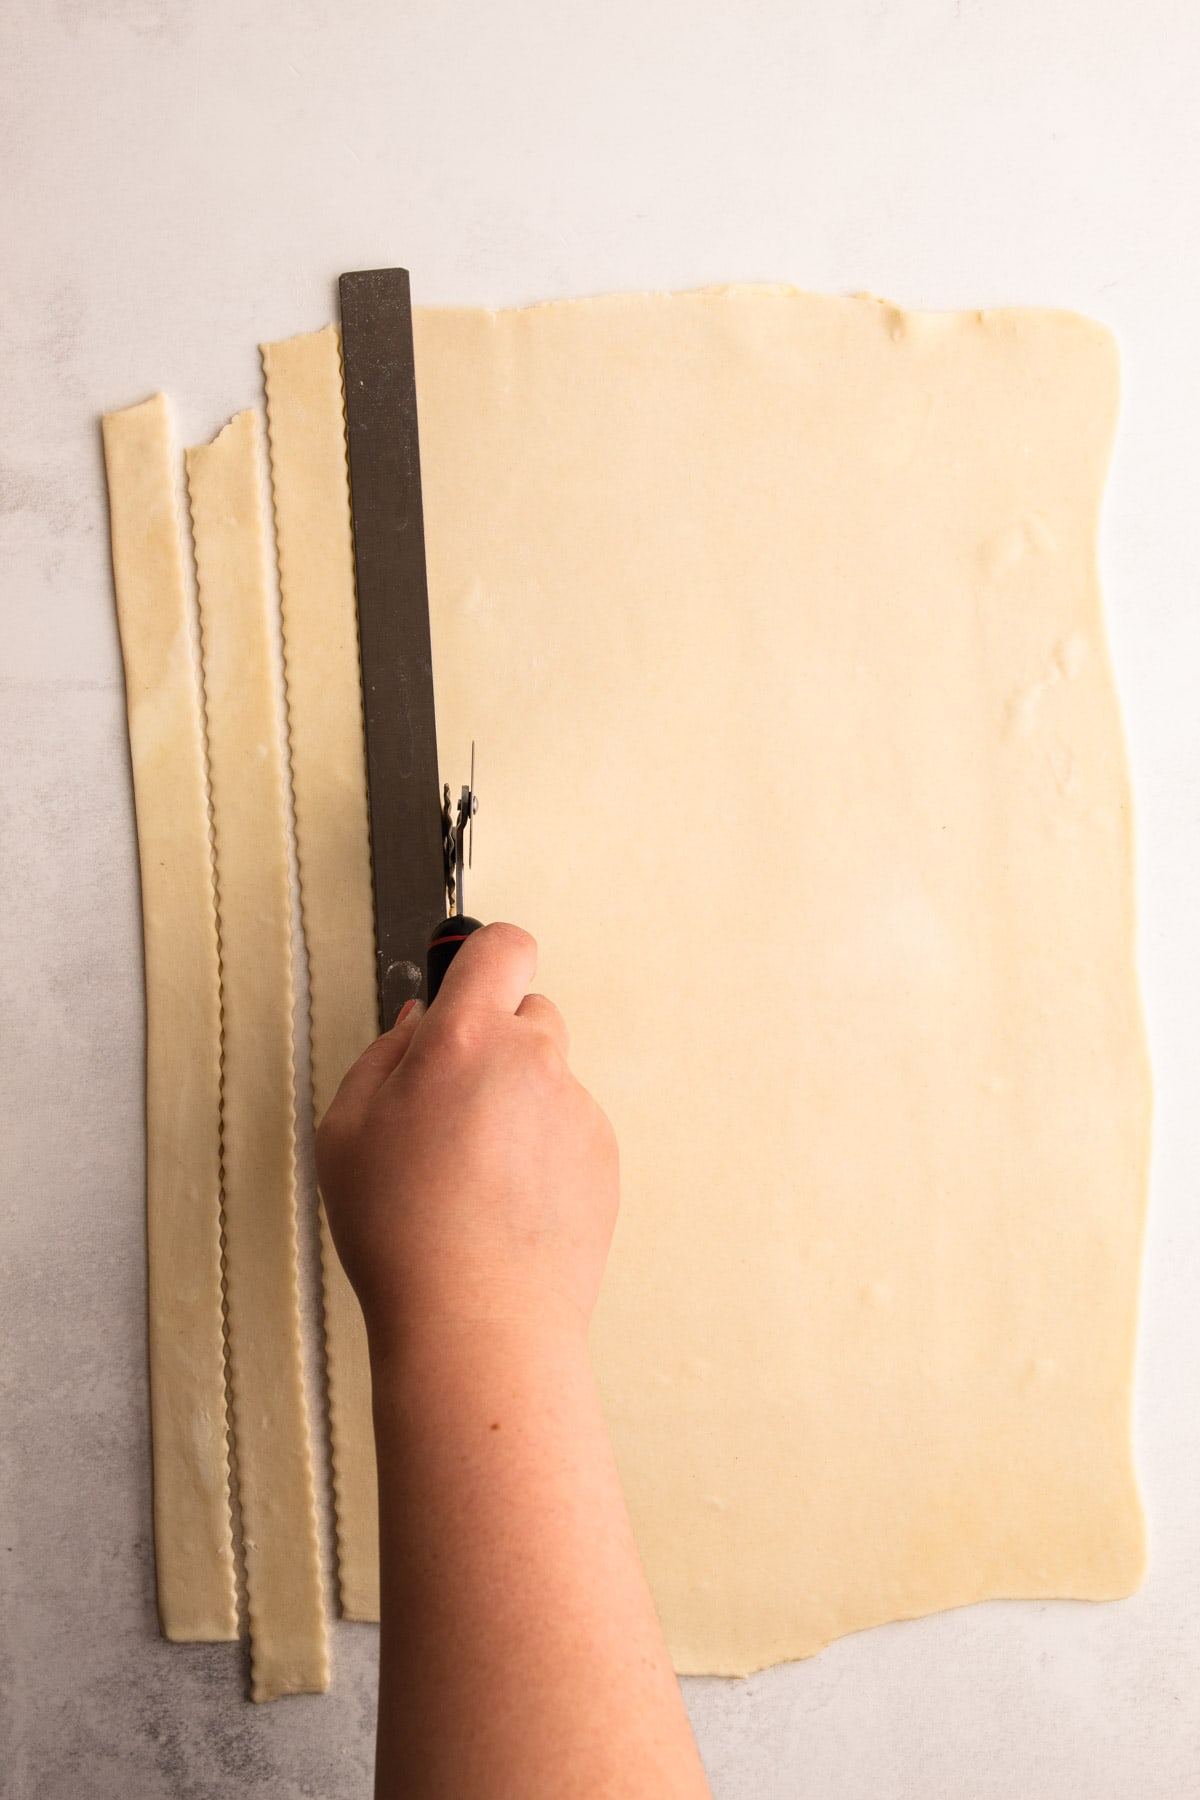
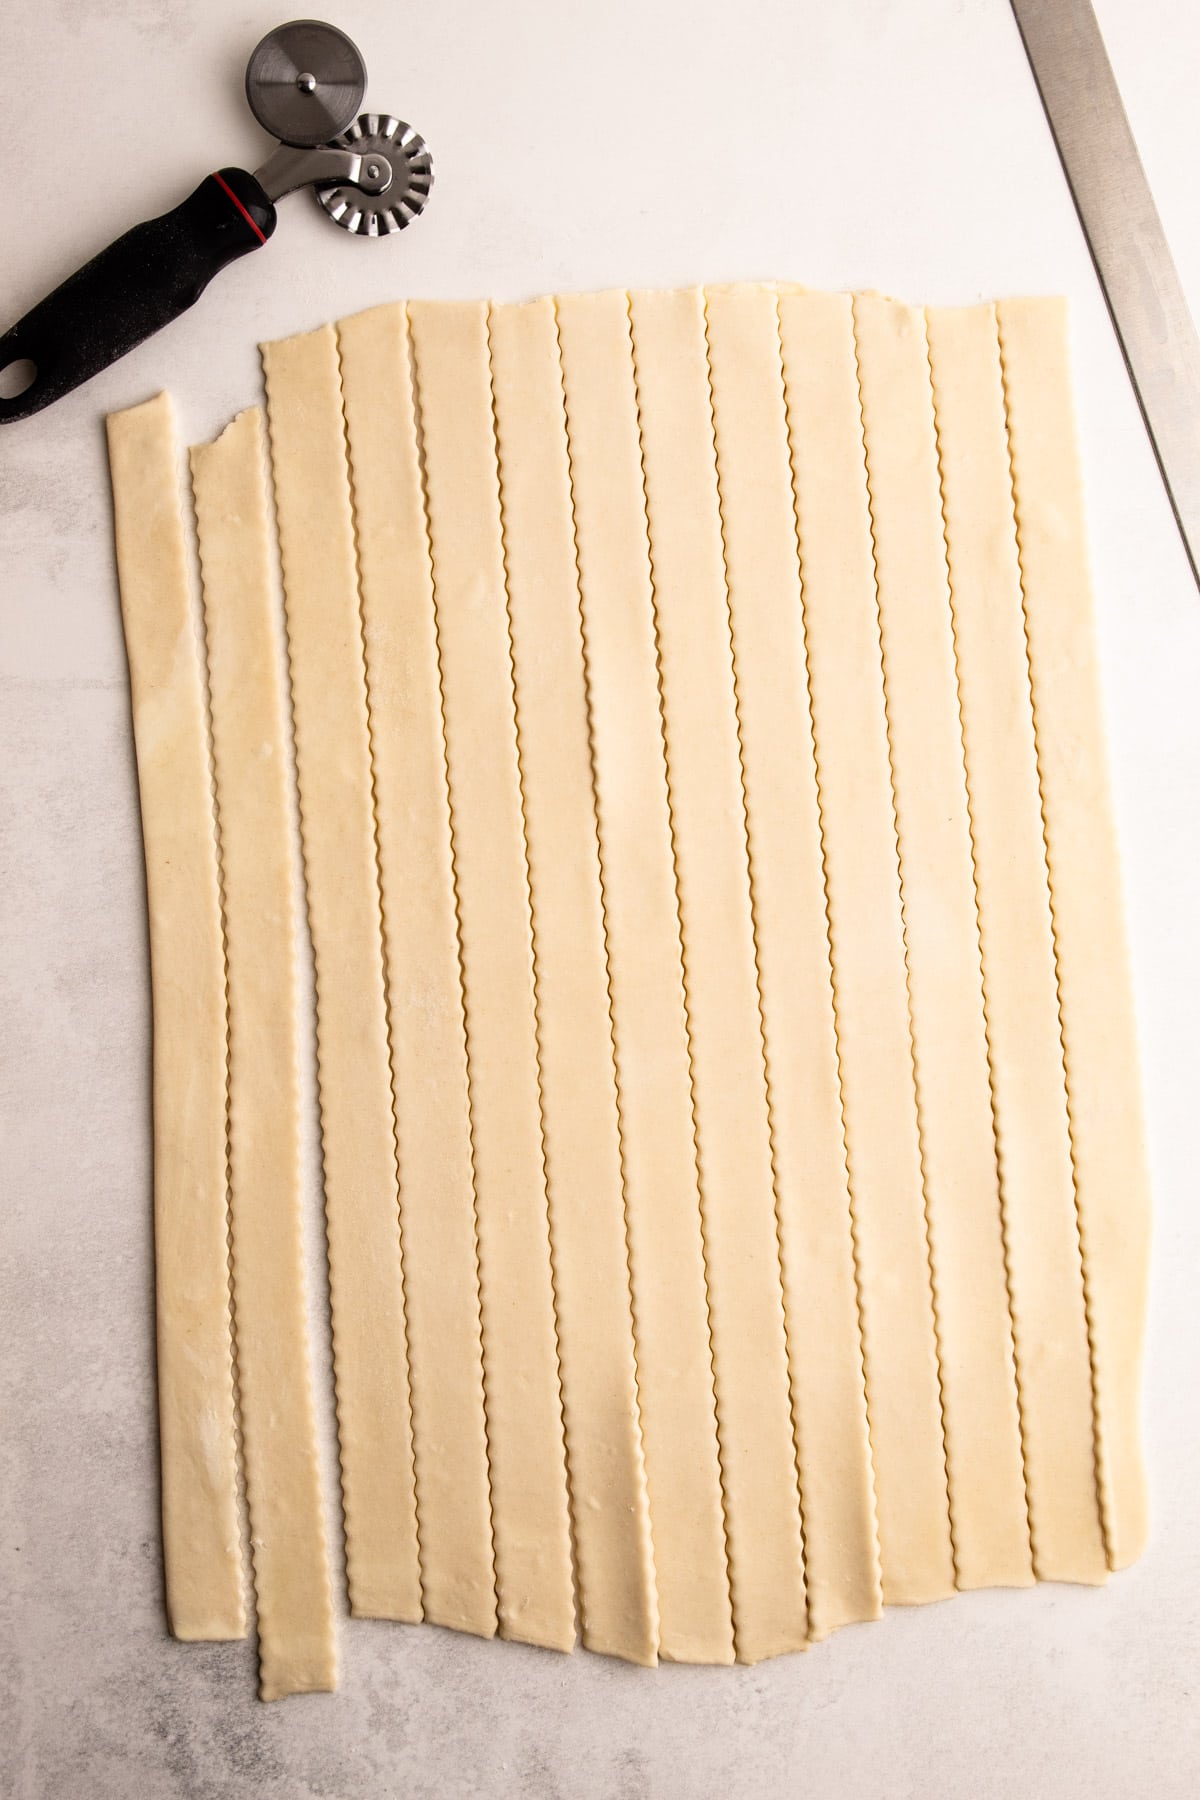
There are many different methods out there for making a lattice pie top. I find it easier to start in the middle of the pie and weave the lattice from the middle outward. You can make your lattice width as wide or as skinny as you please. I have found that if I want to make a lattice with a tight weave, I tend to need 1.5 batches of dough to complete it. The recipe for this slab pie lattice is based on that. To make a lattice:
- Take one strip of pastry and place it vertically in the middle of the pie. Take another strip of pastry and place it horizontally over the first strip of pastry in the middle of the pie.
- Take two more strips of pastry and place them vertically on either side.
- Fold back the top portion of the middle vertical piece of pastry and place a strip of pastry horizontally on top, before placing the strip back. Repeat this on the bottom portion of the vertical centerpiece of the pastry.
- Repeat this process, weaving outward until the entire pie has a lattice crust.
- Cut the excess strips of pastry, and fold the crust over to connect with the lattice.
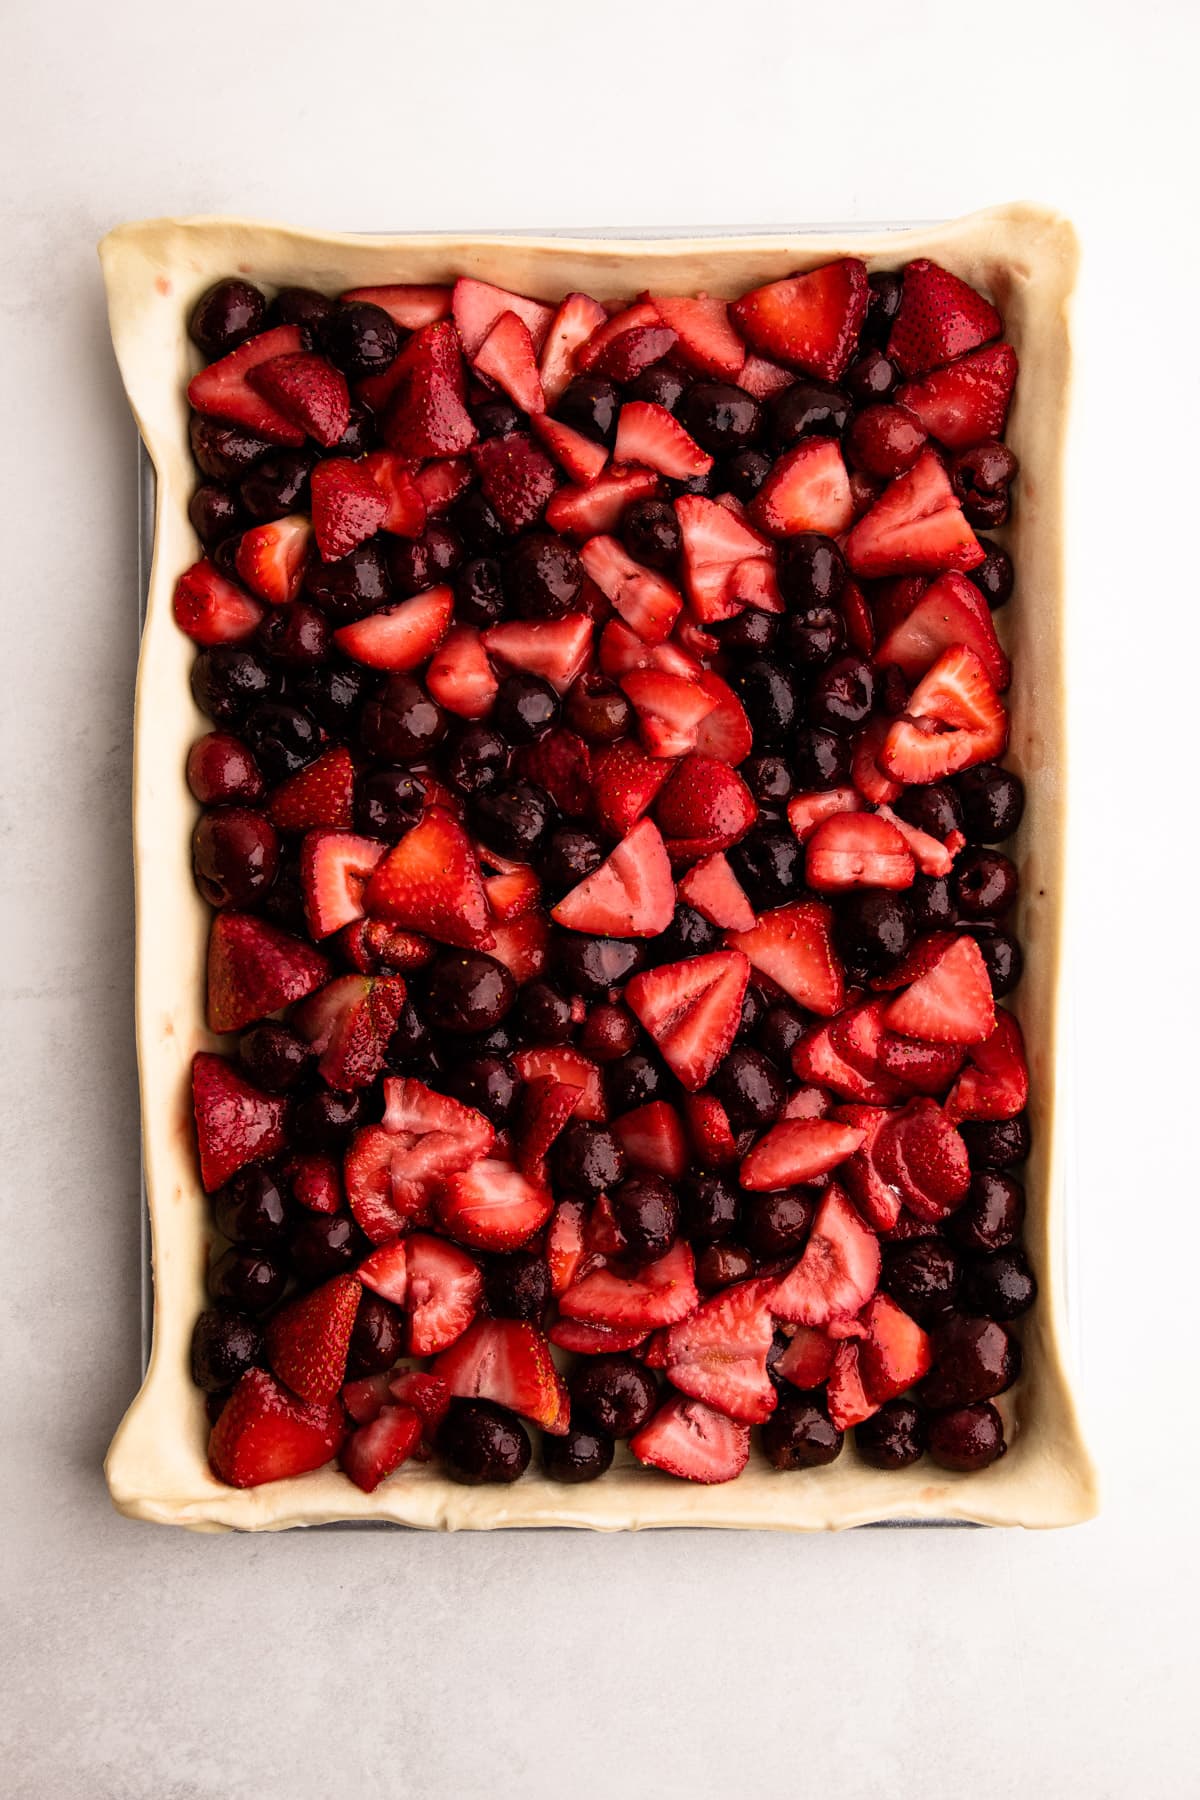
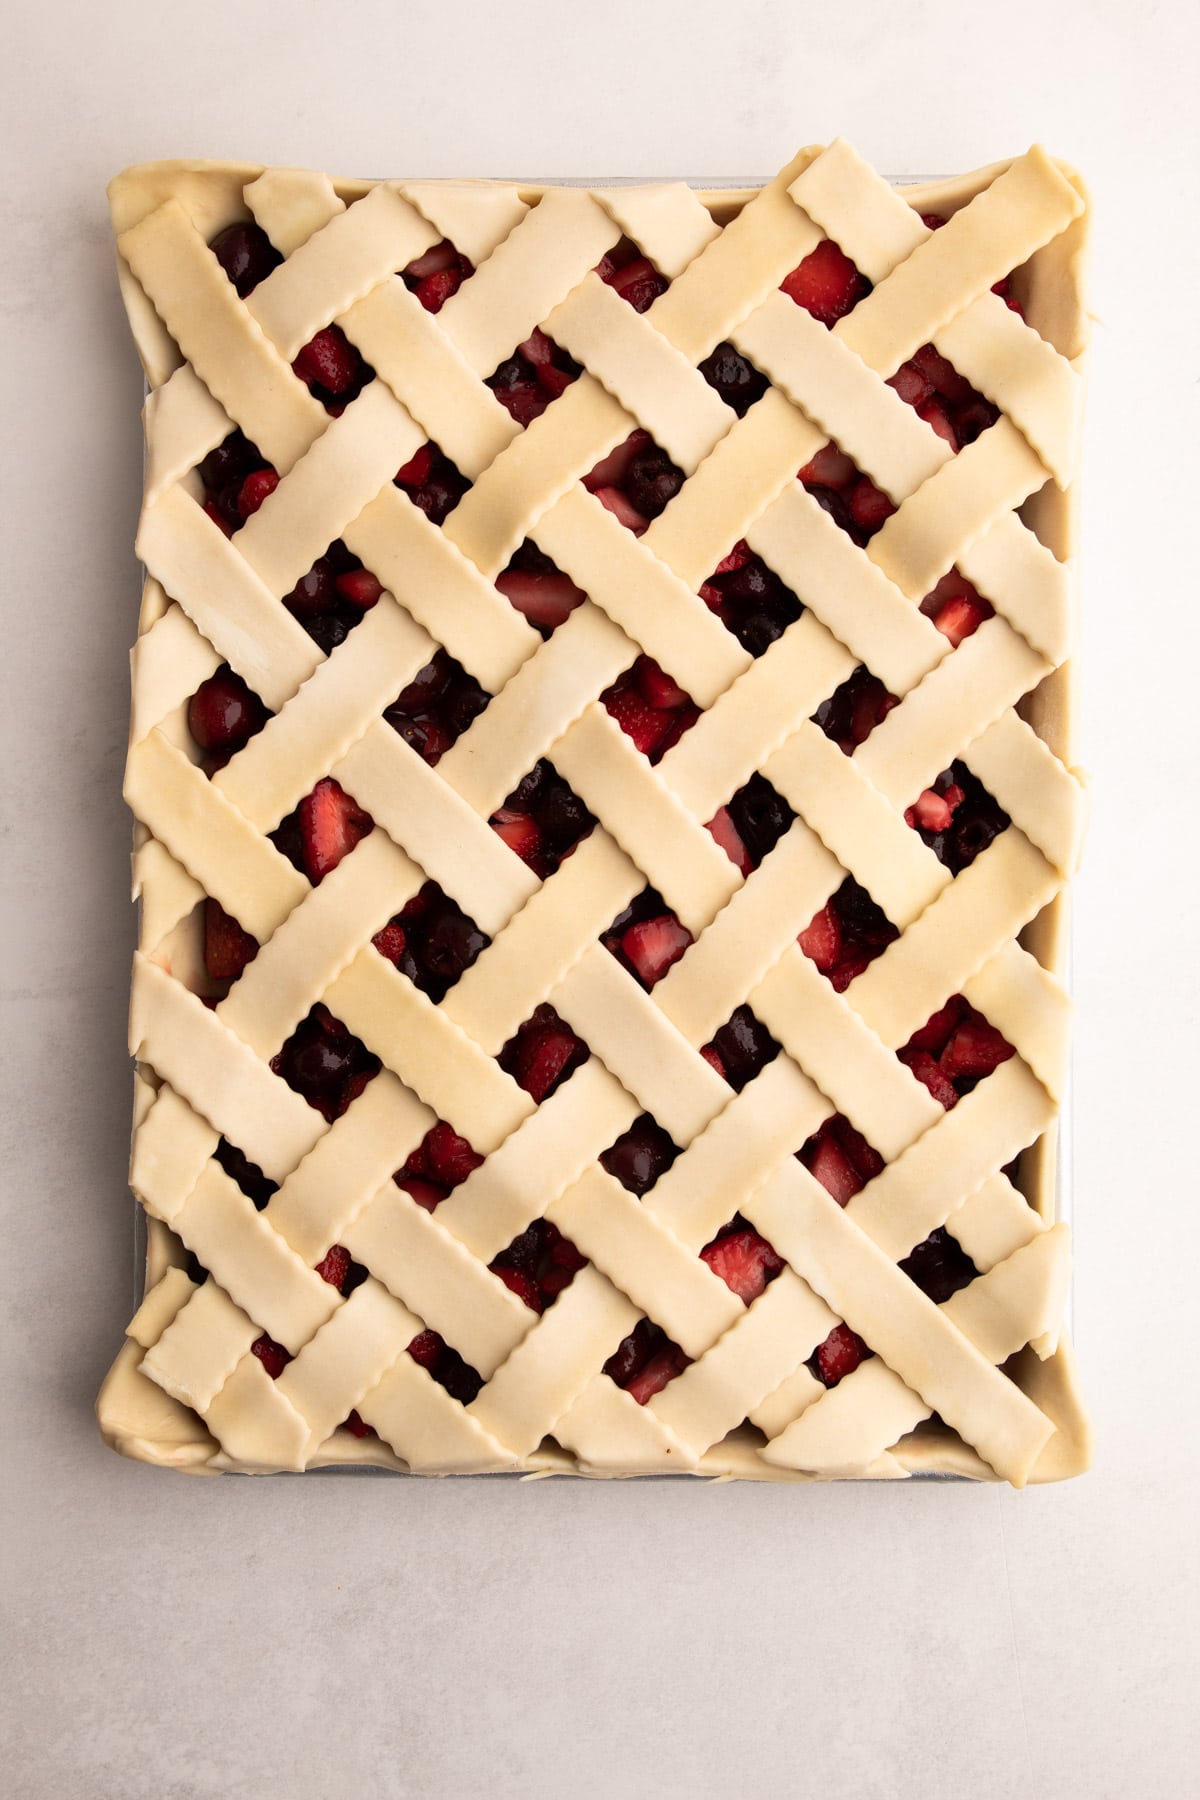
Tips for Baking a Slab Pie
Baking a slab pie is very similar to baking any other pie, but there are some differences that needed to be addressed. The main concern is that the crust is fully baked through. Because the pie crust is baked in a sheet pan, it can be a little bit more difficult to ensure the crust is fully baked in the middle.
Here are some tips for ensuring the bottom crust is well baked:
- Pre-heat your oven well. I hate to suggest you waste energy, but preheating your oven for at least 15 to 20 minutes before you plan to bake the pie ensures the oven is truly hot. Better yet, preheat the larger sheet pan that the pie needs to be baked on with the oven.
- Bake the pie on the lowest rack possible (and this is assuming you have a conventional oven with the heat source on the bottom...if your heat source is somewhere else, this tip won't work for you)
- Bake the pie on a pizza stone! It truly helps cook that crust thoroughly.
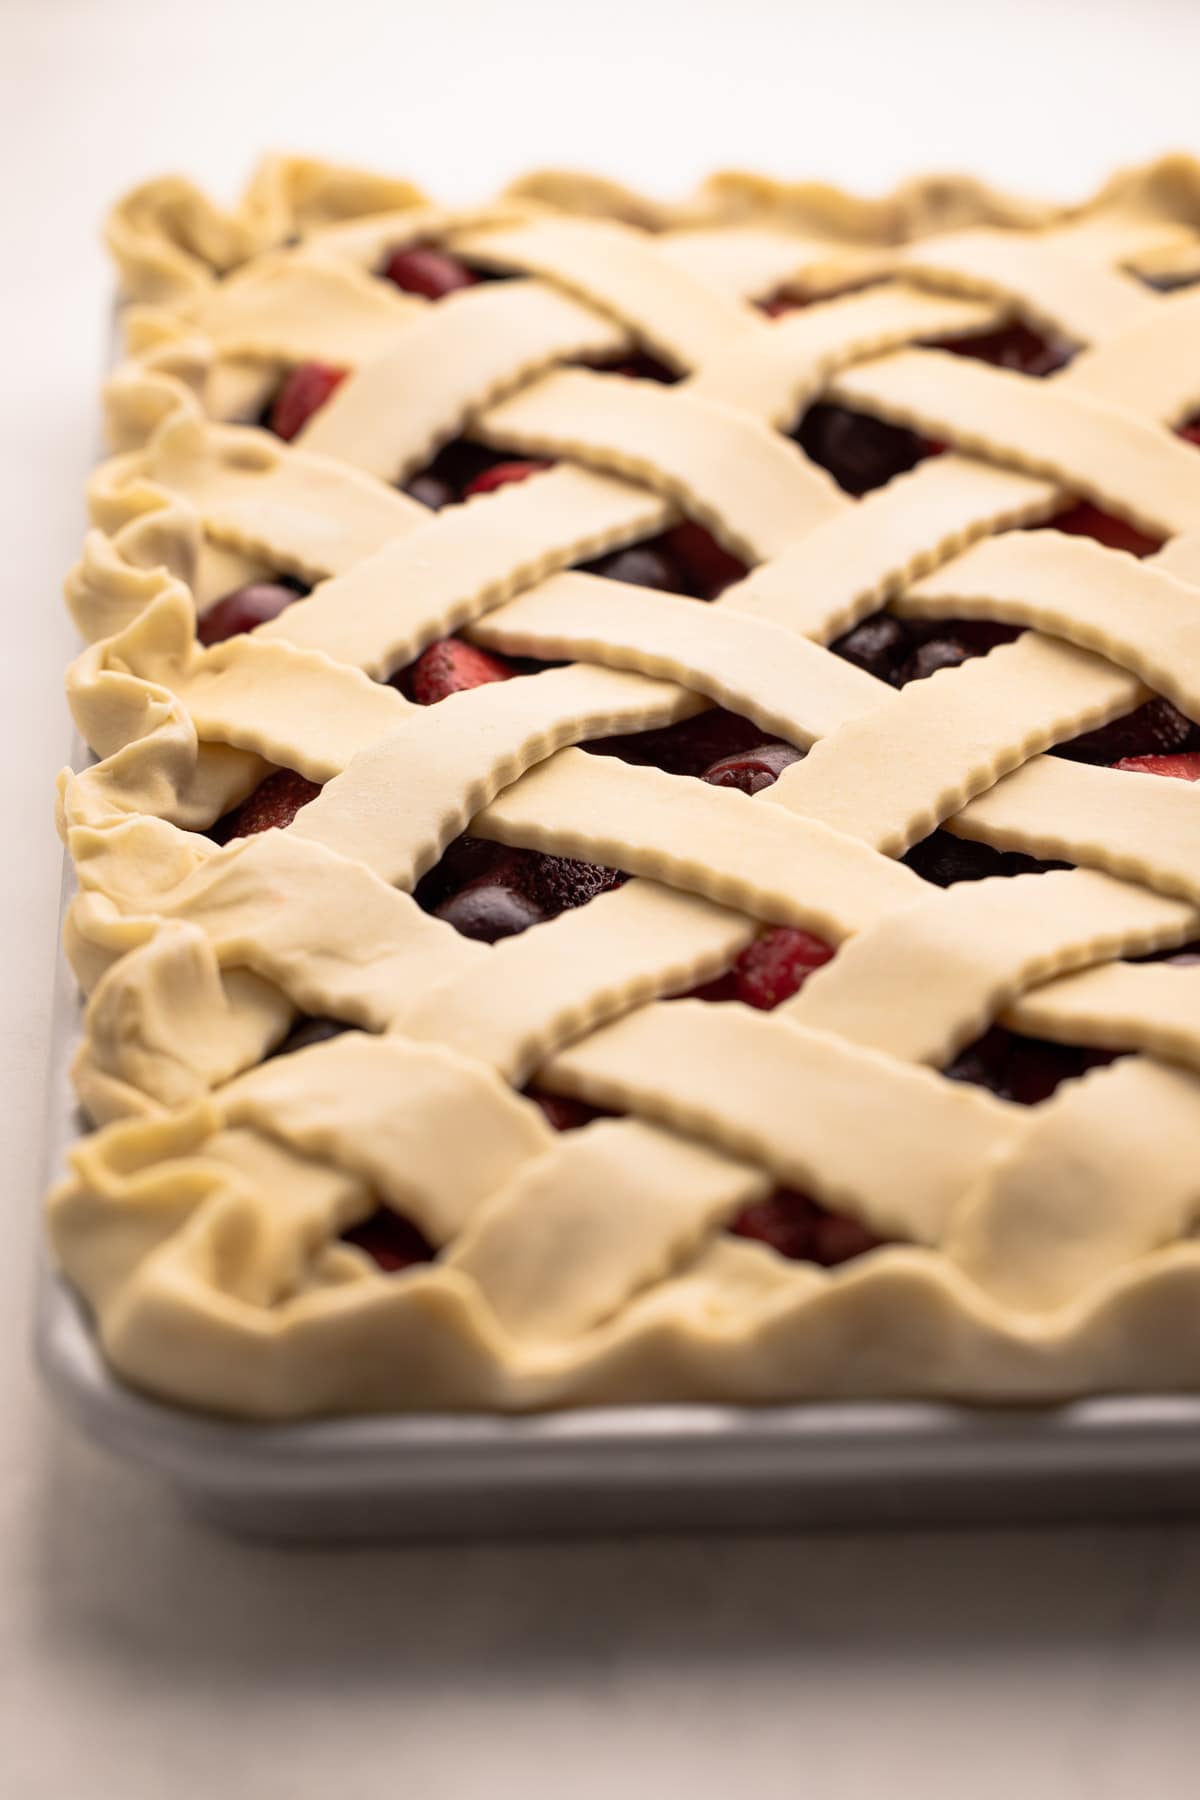
How to Tell When It's Done
It’s important to make sure that a fruit pie is cooked long enough so that it reaches a high enough temperature to activate the thickening agent.
There are two main ways to tell when a fruit pie is done. The first is by sight.
Visually speaking, look for the pastry to be golden and the pie to be puffed up nearly all the way through.
Another way to tell if the pie is ready is to look for the filling to be bubbling from the middle of the pie. The bubbling doesn't need to be rapid, just look for at least one bubble towards the middle while checking the pie.
The most fool-proof way to ensure your pie is baked correctly is to use an instant-read thermometer. I always use one to check the temperature of each and every pie that I bake. For a fruit pie, you want the internal temperature to be above 200ºF.
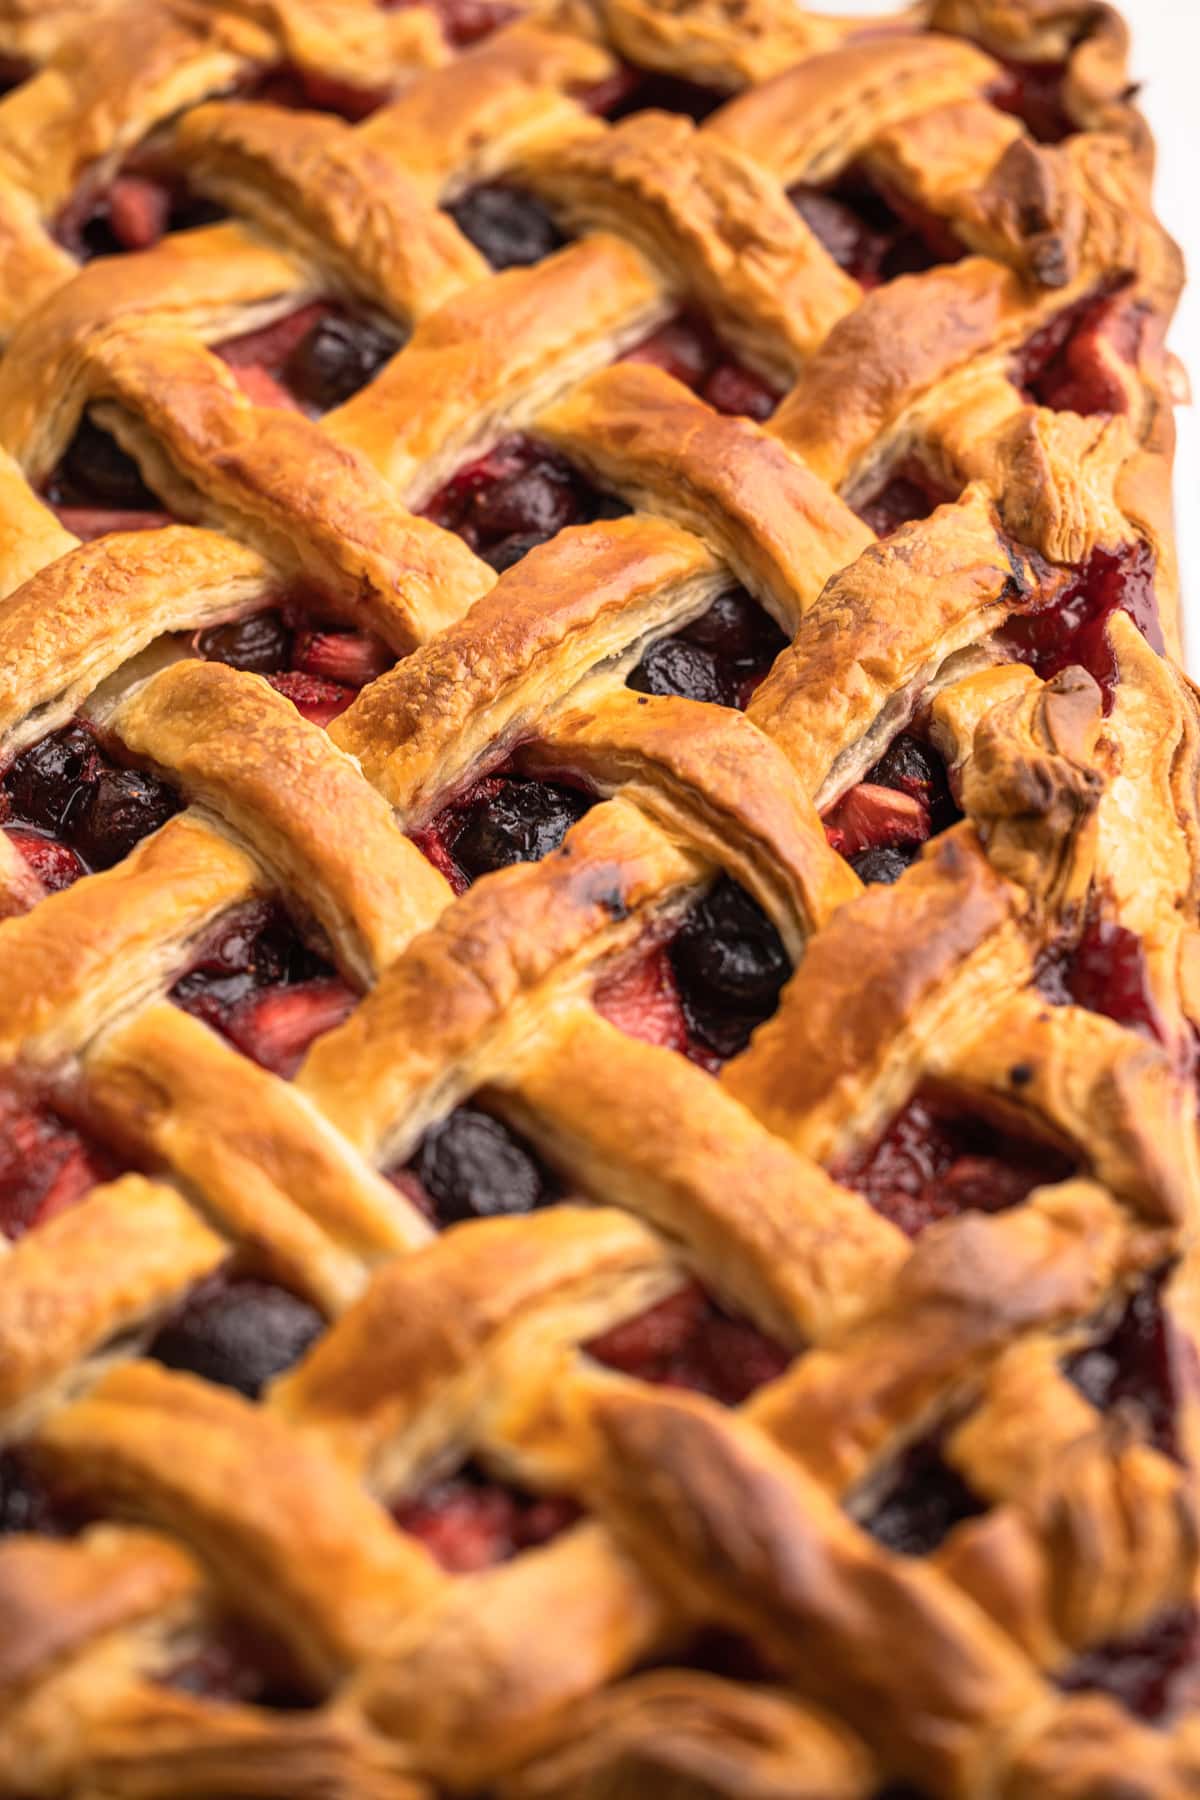
Serving a Slab Pie
Here comes the fun part! If you are bringing this pie to a potluck, everyone is going to love you when you roll up with a tray full of pie. Everyone loves the person who brings the pie!
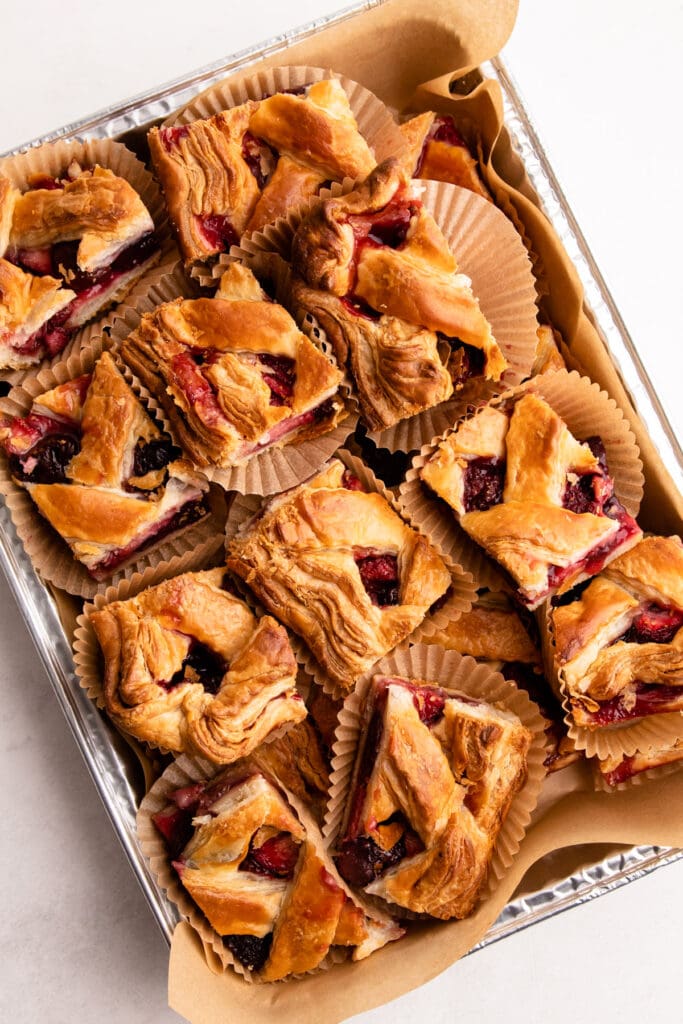
Because this pie is more crust than filling, it's perfect to eat handheld. The pie can be sliced and then placed inside a parchment muffin liners and stacked inside of a container for easy serving.
Or, you can serve it straight from the sheet pan! It does make for a good presentation.
Storing Leftovers
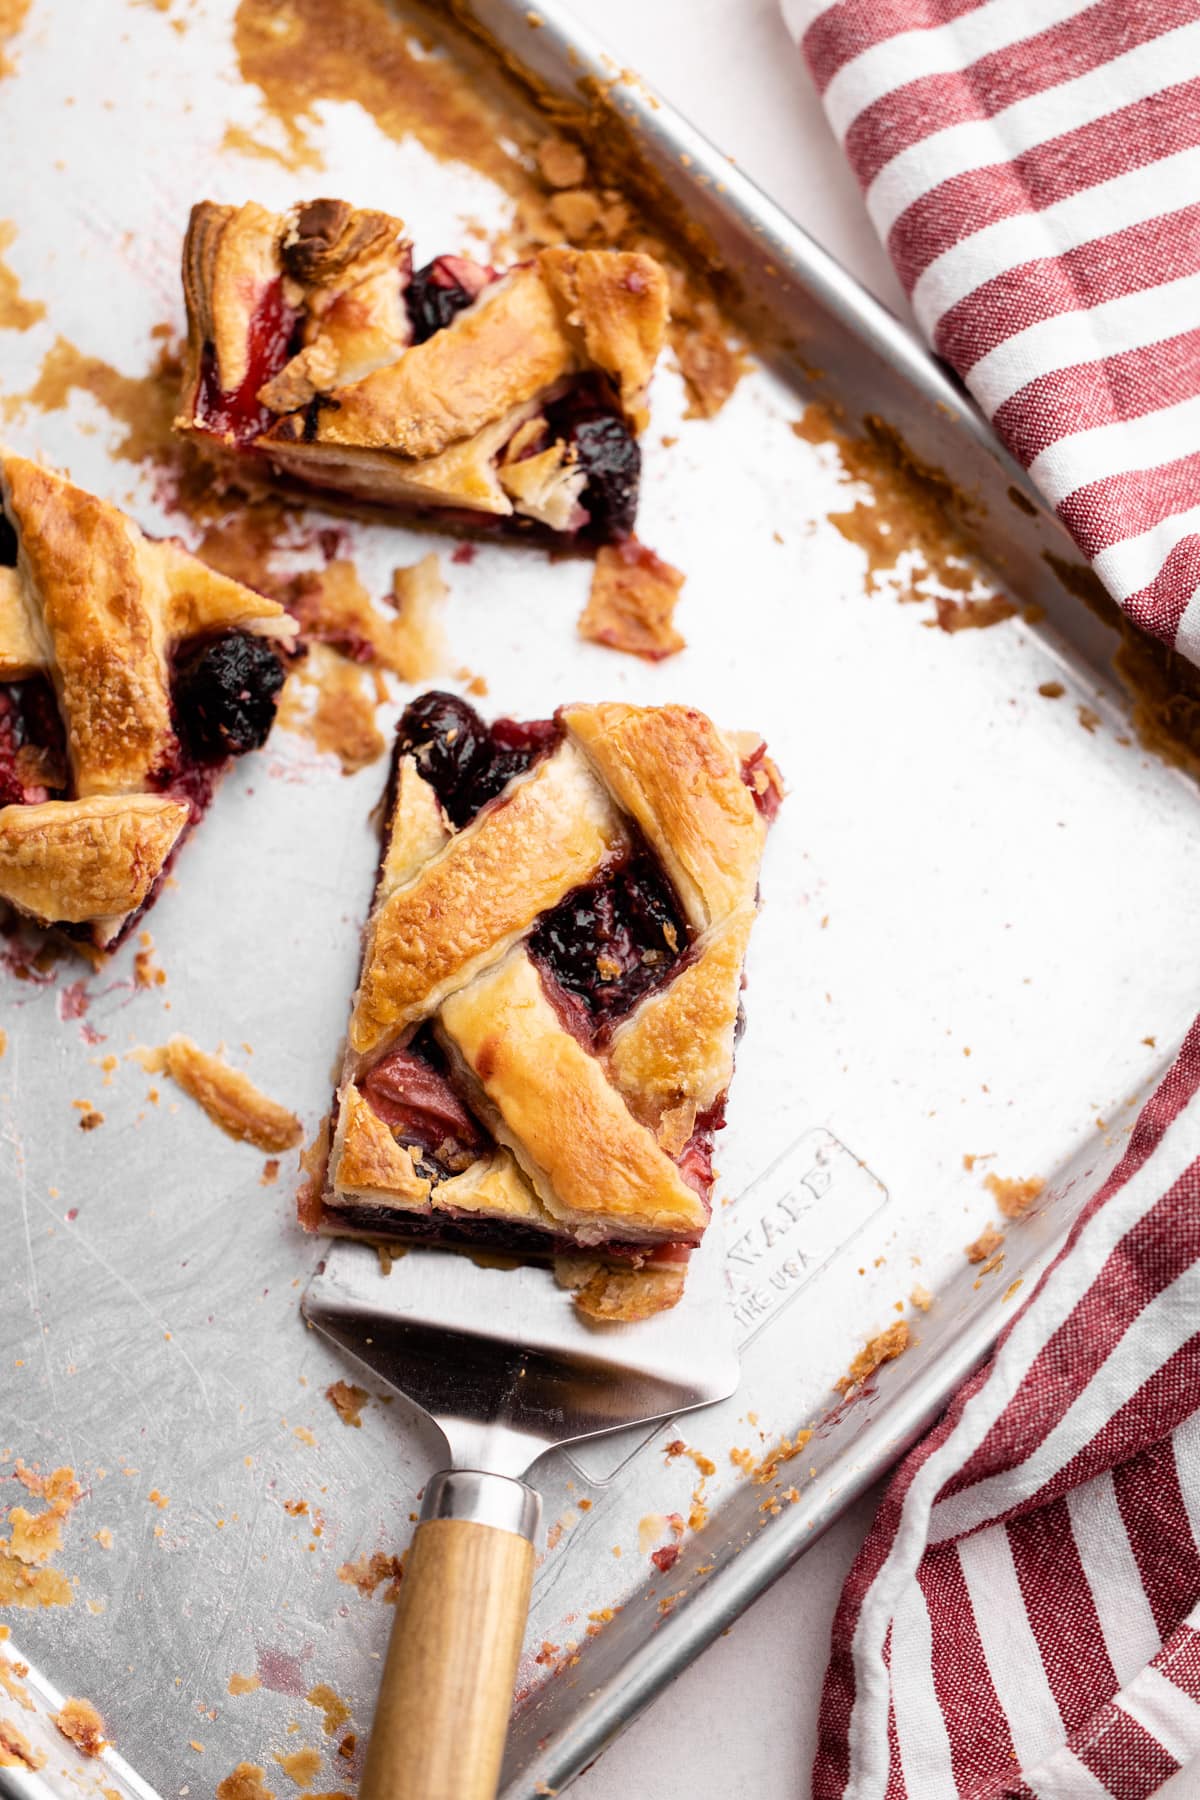
It can be stored fully baked at room temperature, covered for 1 day. If you are storing it longer, cover it and place it in a refrigerator. All fruit pies benefit from a quick crisp in the oven/toaster oven when eating leftovers.
Watch It: How to Make Cherry Strawberry Slab Pie
More Fruit Pie Recipes
I am so honored when you make a recipe from my site! If you make this Cherry Strawberry Slab Pie, please leave a comment and a star rating with your experience! If you have any questions about this recipe, feel free to comment here, too!
PrintFull Recipe
Cherry Strawberry Slab Pie
This Cherry Strawberry Slab Pie sings out "Summertime," and it's perfect for feeding a crowd. It has a juicy fruit filling in the most delicious, flaky pie pastry and perfect to serve at backyard bbqs and potlucks.
- Prep Time: 00:30
- Chilling Time: 04:00
- Cook Time: 00:45
- Total Time: 5 hours 15 minutes
- Yield: Serves 16-20
- Category: Sweet Pie
Ingredients
For Pastry:
- 5 cups (600 grams) all purpose flour
- ¼ cup (30 grams) cornstarch
- 1 teaspoon salt
- 8 tablespoons (227 grams) cream cheese, cold
- 2 cups (452 grams) unsalted butter, chilled and cut into ¼” pieces
- 1 cup (227 grams) ice water
- 2 tablespoons (30 grams) apple cider vinegar
For Cherry Strawberry Filling:
- 4 cups (600 grams) pitted frozen or fresh sweet cherries (see note)
- 4 cups (600 grams) sliced strawberries
- ¾ cup (150 grams) granulated sugar
- Pinch kosher salt
- 5 tablespoons (35 grams) cornstarch
- 2 tablespoons (30 grams) lemon juice
- 1 teaspoon almond extract
- egg wash
Instructions
To Make the Pastry:
- Add the flour, cornstarch and salt to the bowl of a large food processor. Pulse until combined.
- Add in cream cheese and pulse 5 times. Add in ½ of cold butter and pulse 5 times, then repeat with the remaining half. With the motor running pour in the water and vinegar into the flour.
- Empty the flour mixture onto a work surface and divide into two piles.
- Quickly using your hands, form each dough pile together. Place in a piece of plastic wrap and wrap tightly. Using a rolling pin, roll the dough out until it stretches to the corner of the plastic wrap. Refrigerate for at least 2 hours, but preferably overnight
Make the Filling:
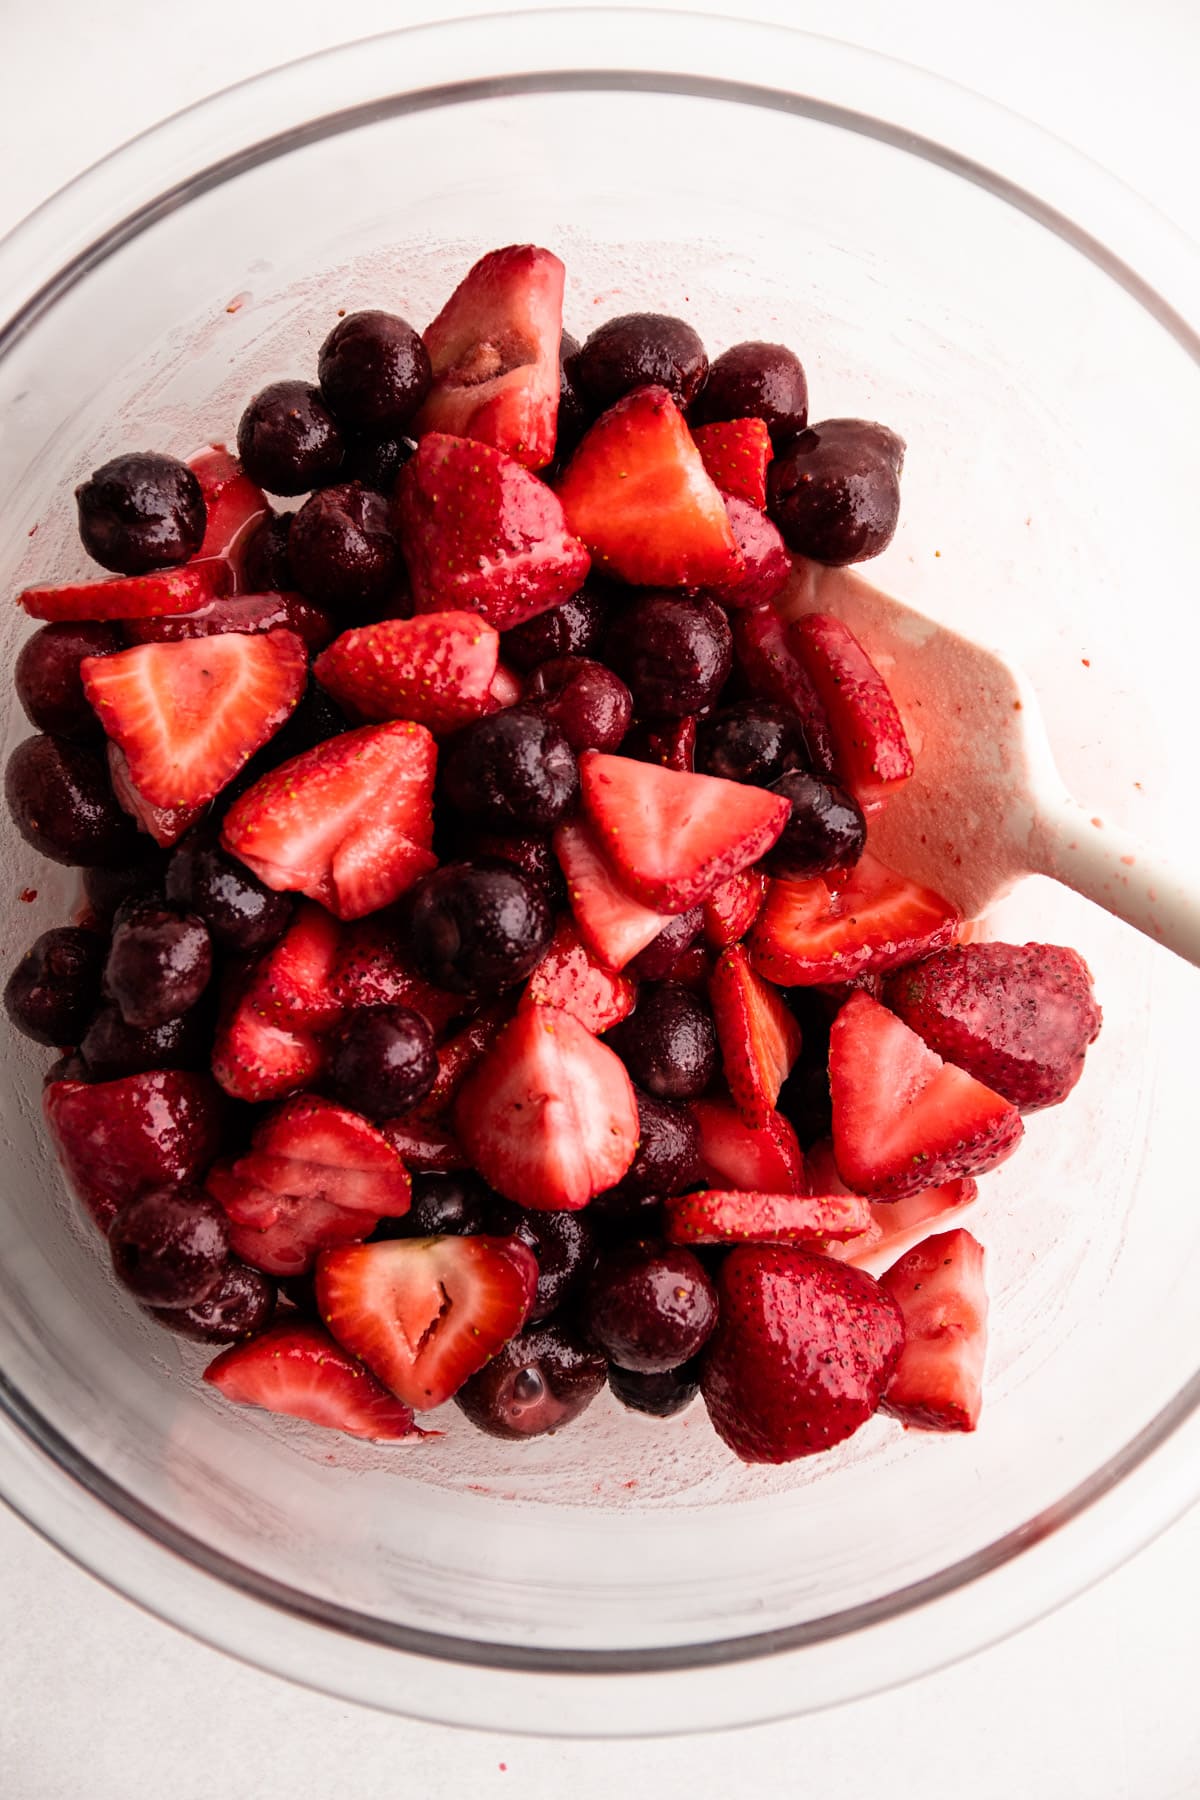
- In a large bowl, combine cherries, strawberries, sugar, salt, cornstarch, lemon juice, and almond extract. Macerate until the sugar and cornstarch have dissolved.
- Preheat the oven to 425ºF before you roll out the crust.
Assemble and Bake:
- Set aside a jelly roll pan (an 11"x15" sheet pan). Lightly dust a work surface with flour. Place dough in the middle and dust the top with flour and the rolling pin. Roll out the dough to a 13"x17" rectangle.
- Place the dough inside of the jelly roll pan and press in the edges.
- Roll out the 2nd dough disk to an 12"x16" rectangle. Cut strips to make a lattice top or roll out the dough to make a double crust.
- Transfer the cherry strawberry mixture to the pastry-lined jelly roll pan and gently press down on the fruit to ensure it is lightly packed into the dough.
- Assemble the lattice on top of the fruit, or top with the rolled-out pie dough with a few slits or small shapes stamped out of it to let steam escape.
- Brush the crust with an egg wash and sprinkle with coarse sugar, if desired.
- Place the jelly roll pan on top of another sheet pan (to catch any drippings) and bake in the preheated 425º oven on the lower rack until the crust is golden and the filling is bubbly throughout about 45 to 50 minutes. If the crust is browning too much at any point, lightly cover with foil.
- Let pie cool before serving. Pie can sit at room temperature, covered for up to 1 day.
Notes
Have a question or looking for tips? The text written above the recipe is always a great first place to start! There are always loads of explanations, tips and technical advice shared before the recipe.
Weighing your flour is the most accurate way to measure. If you aren't going to weigh it, make sure to spoon it into the cup, and then level it off. If you scoop the flour out with the measuring cup and then level, it could change the outcome of the final product.
If you do not have a large food processor, you can make this dough in a stand mixer. Check out this post for instructions on making pie dough in a stand mixer.
To make this recipe with sour cherries, increase the sugar to 1 cup.
This recipe was originally published in 2019. It was republished with new instructions due to a change in the size sheet pan originally called for. The original recipe gave instructions for making the pie in a quarter sheet pan, or a half sheet pan, but I've since updated the recipe to make a pie only for a Jelly Roll Pan (or a 11"x15" pan).
Some of the links on this page may be affiliate links. Everyday Pie is a participant in the Amazon Associates Program. As an Amazon Associate I earn from qualifying purchases, at no extra cost to you.


Laura M.
Hi! I know this has been up for a while, but I just saw it on Instagram- did I miss the note about necessary swaps for using sour cherries instead of sweet? I love a "tart" fruit pie, but inexperienced as I am at baking them myself, I don't want to make a mistake!
Kelli Avila
Hi Laura! No you didn't miss the note, I just neglected to put it in there. But it's there now. Add an additional 1/4 cup of sugar to the recipe, for a total of 1 cup.
Leslie
Could I make this without the cherries?
Kelli Avila
Yes! Replace the cherries with the same amount of strawberries.
Margie
My Strawberry Cherry slab pie came out fantastic. My husband that doesn't like Strawberries or Cherries loved it and can't stop telling everyone how good it was. Thanks for the recipe, will be making again.
Margie
I have frozen strawberries and cherries, do i need to thaw and drain or just mix them in frozen?
Kelli Avila
No need to thaw!
Will D
Ok. I made this pie crust and filling, then made the blueberry cranberry filling, and instead of doing a lattice or double crust, I made stars and stripes and created an American flag pie. It was awesome! You can really get creative with these recipes because the steps are so thorough. Thank you Kelli!
Also, I noticed under "Ingredients" -> "Half-slab" -> "For Filling", the cornstarch amount is missing. I was making the full slab, so no problem for me, but just wanted to mention : )
Kelli Avila
Yay! Your pie came out so gorgeous! And thanks for pointing that out! Will update. 🙂
Kevyn
Hi there! I have a quick question — how many ounces of dough do you use for a double crusted slab pie? For example, a typical recipe for a double crusted 9-inch yields about 21 ounces of dough. Would you say it’s twice that? Thanks!
Kelli Avila
Hi Kevyn! It's a lot of dough because of the lattice! For a half slab pie I recommend making approximately 2.5 batches of dough (which for my dough would be about 30 ounces). For a whole slab pie made in a standard half sheet pan (18"x13") is 5 batches of pie at about 60 ounces. You might be able to get away with less dough if you make less actual lattice strips. Hope that helps!