Turn fresh pumpkins into homemade purée with this simple method. It’s easy, flavorful, and perfect for fall baking.
Want to save this recipe?
Enter your email & I'll send it to your inbox. Plus, get weekly updates from me!
I have absolutely nothing against store-bought pumpkin purée, but come the ’ber months, I love picking up a few “pumpkin pie” pumpkins from the farm and roasting them to make my own. I usually grab a couple at a time, roast them, purée them, and freeze smaller portions of it for all my pumpkin recipes throughout the winter. Homemade pumpkin purée has a fresher, more true pumpkin flavor than the canned kind, which is often made from other varieties of squash, like butternut, instead of actual pumpkin.
So, for true pumpkin for your favorite pumpkin recipe, make it at home! And the process is pretty easy, too!
What Type of Pumpkin
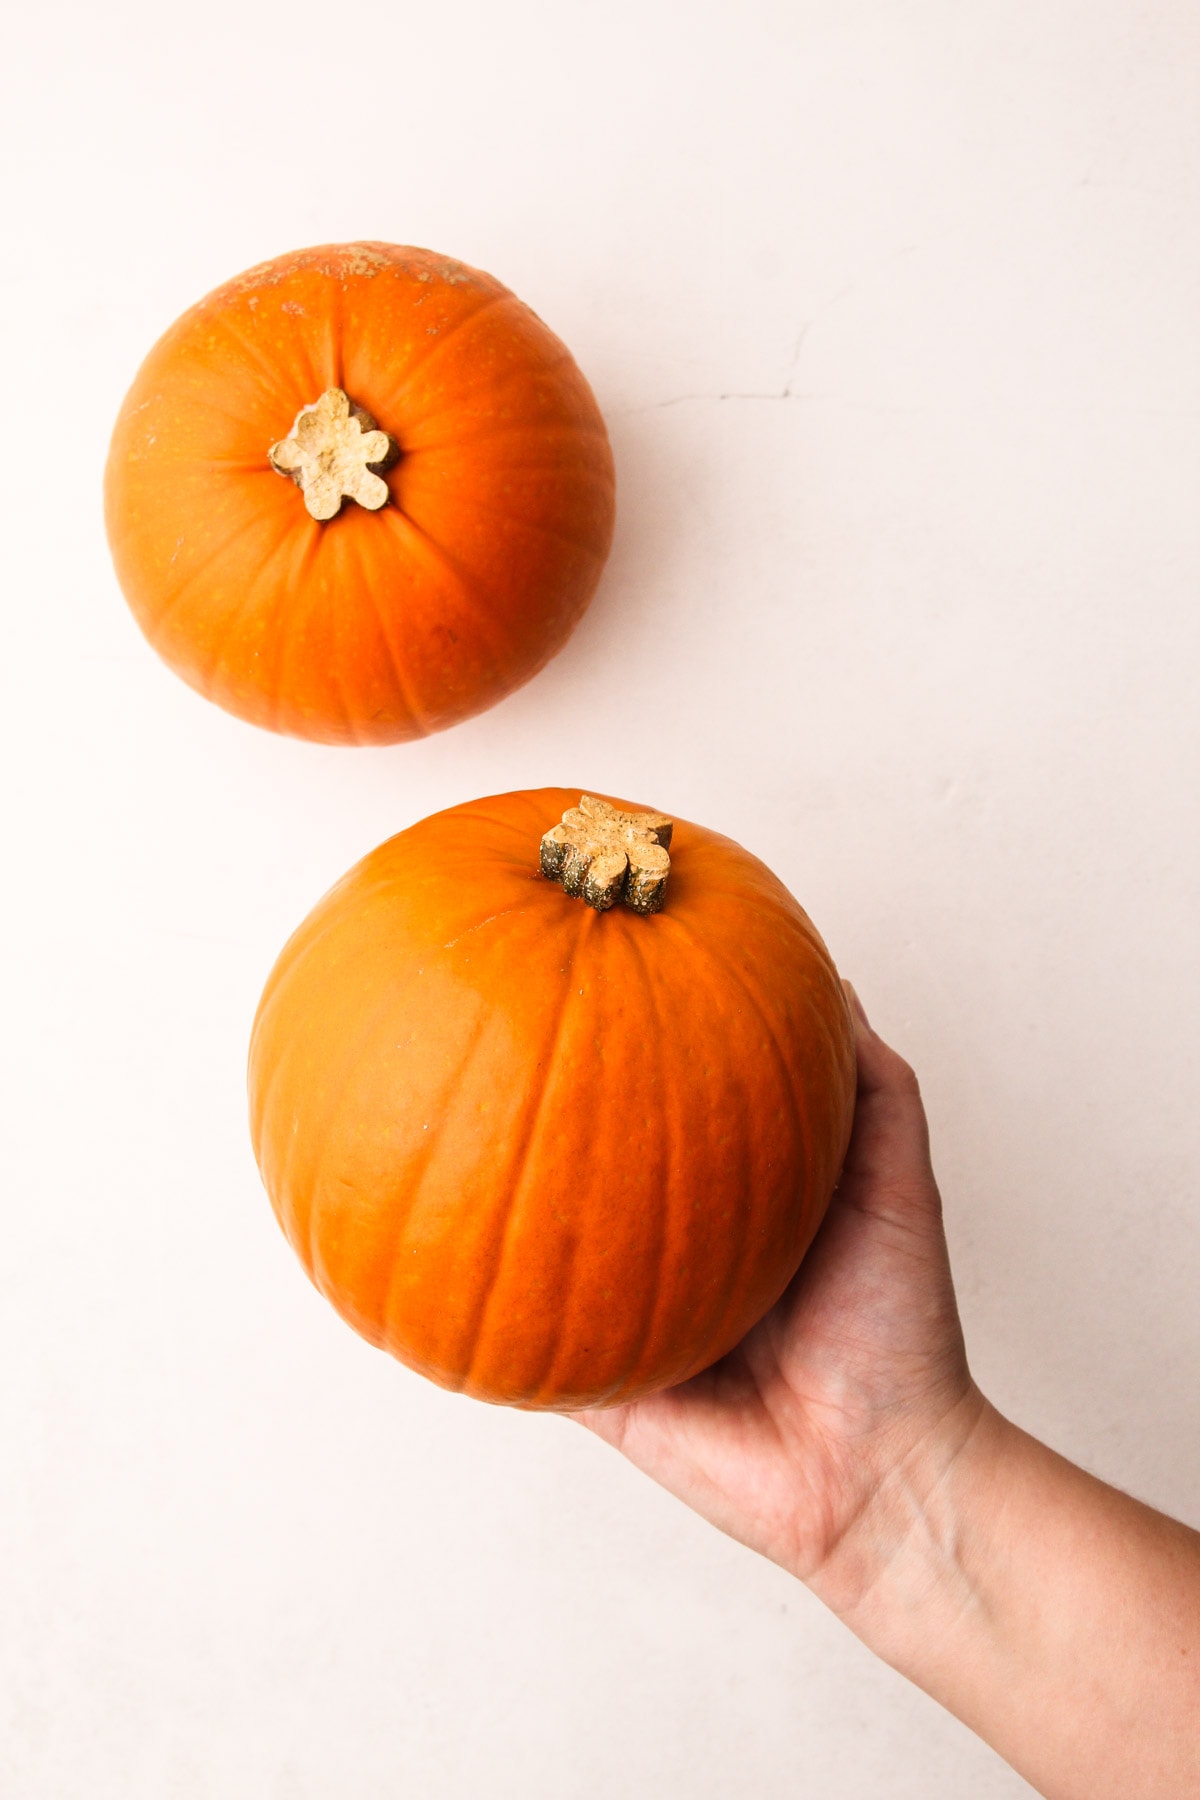
When it comes to making pumpkin puree, not all pumpkins are created equally. The type of pumpkin you choose plays a significant role in the flavor and texture. The two most commonly available pumpkins in the grocery store that are good for puree are:
- sugar pumpkins
- pie pumpkins
These pumpkins are specifically cultivated for culinary use, making them ideal for creating a rich and velvety puree. There may also be local heirloom pumpkin varieties right for making pumpkin puree. It's best to talk with the farmer to confirm that a specific varietal will be good to eat.
Regardless of the type you use, look for smaller pumpkins as they tend to have sweeter and smoother flesh.
Avoid using large carving pumpkins, as they are more fibrous and less sweet.
Step-By-Step Recipe Overview
You don’t need much for this recipe aside from the pumpkin, but you do need a good, sharp knife and a sturdy cutting board. Okay, and a food processor!
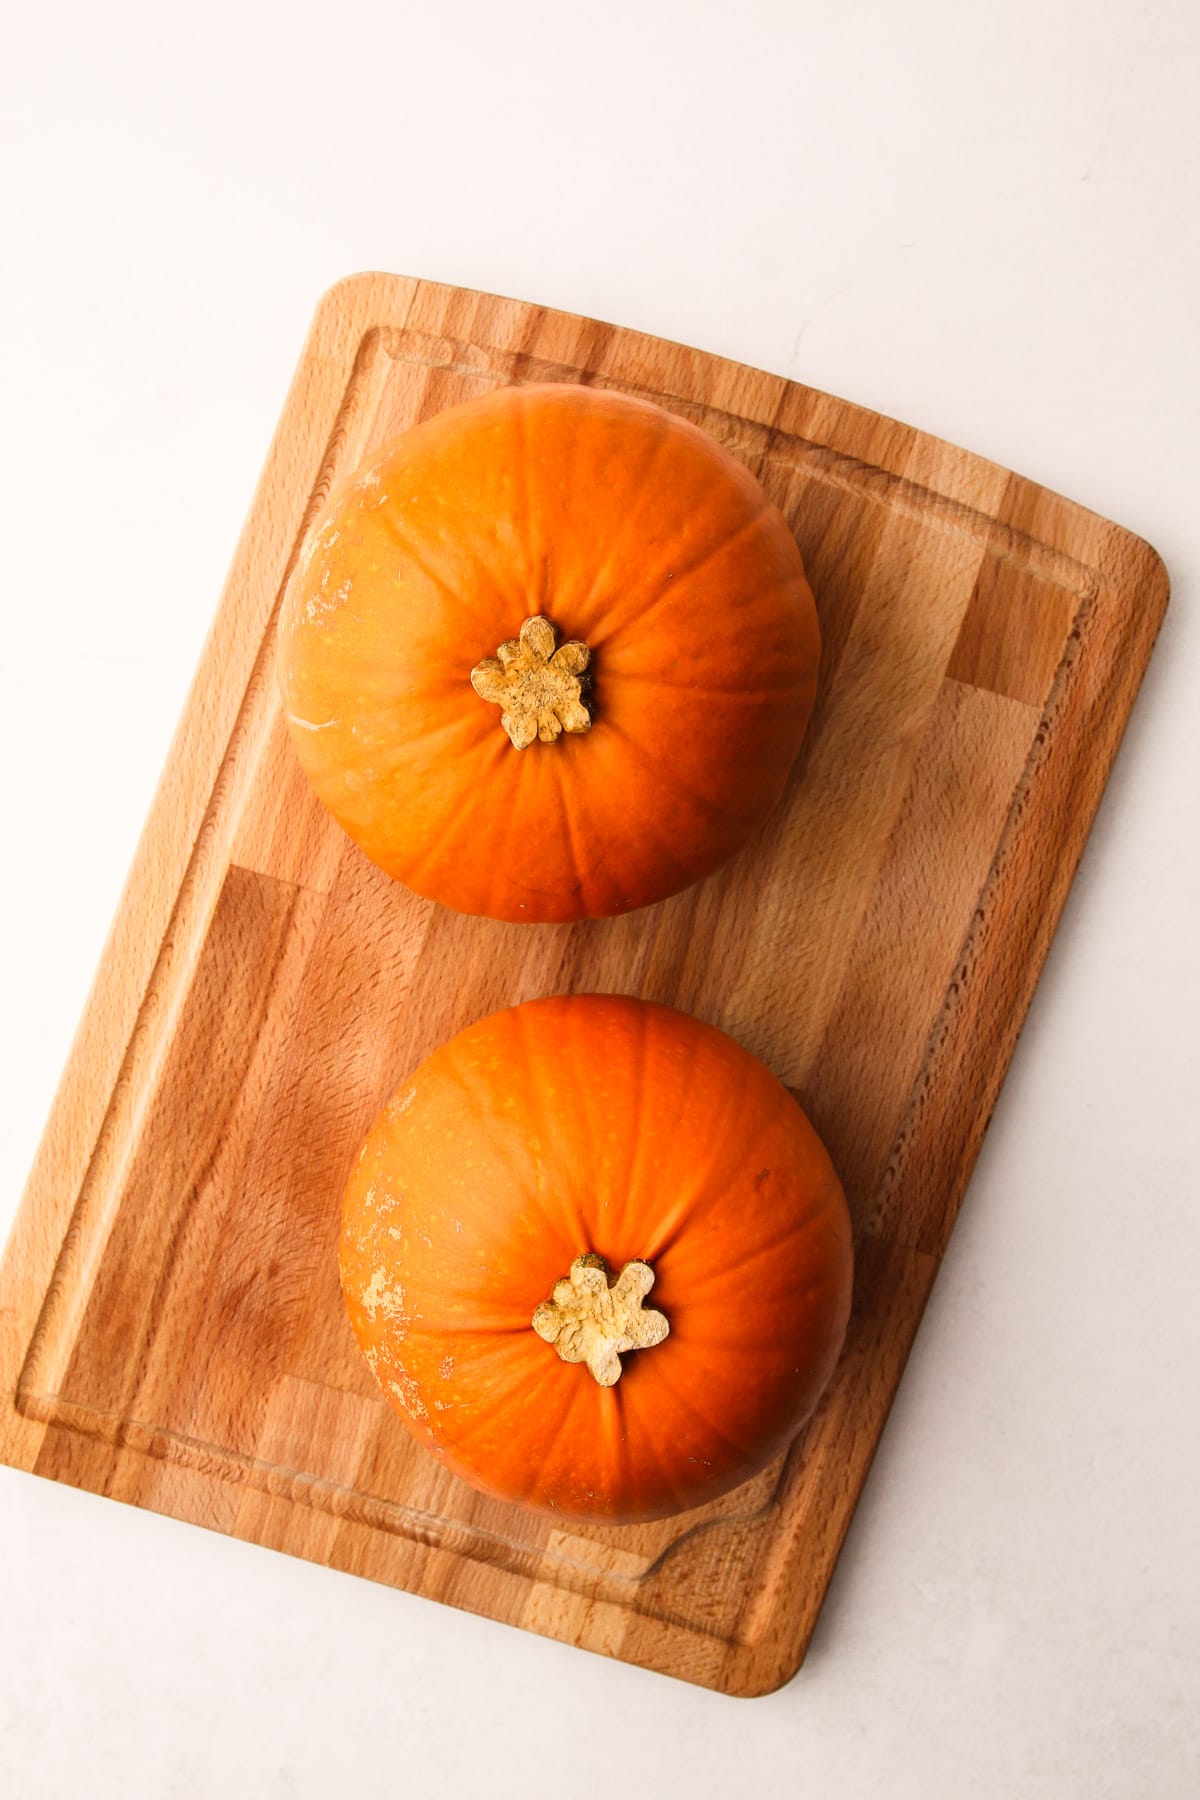
Step 1: Wash and dry the pumpkins.
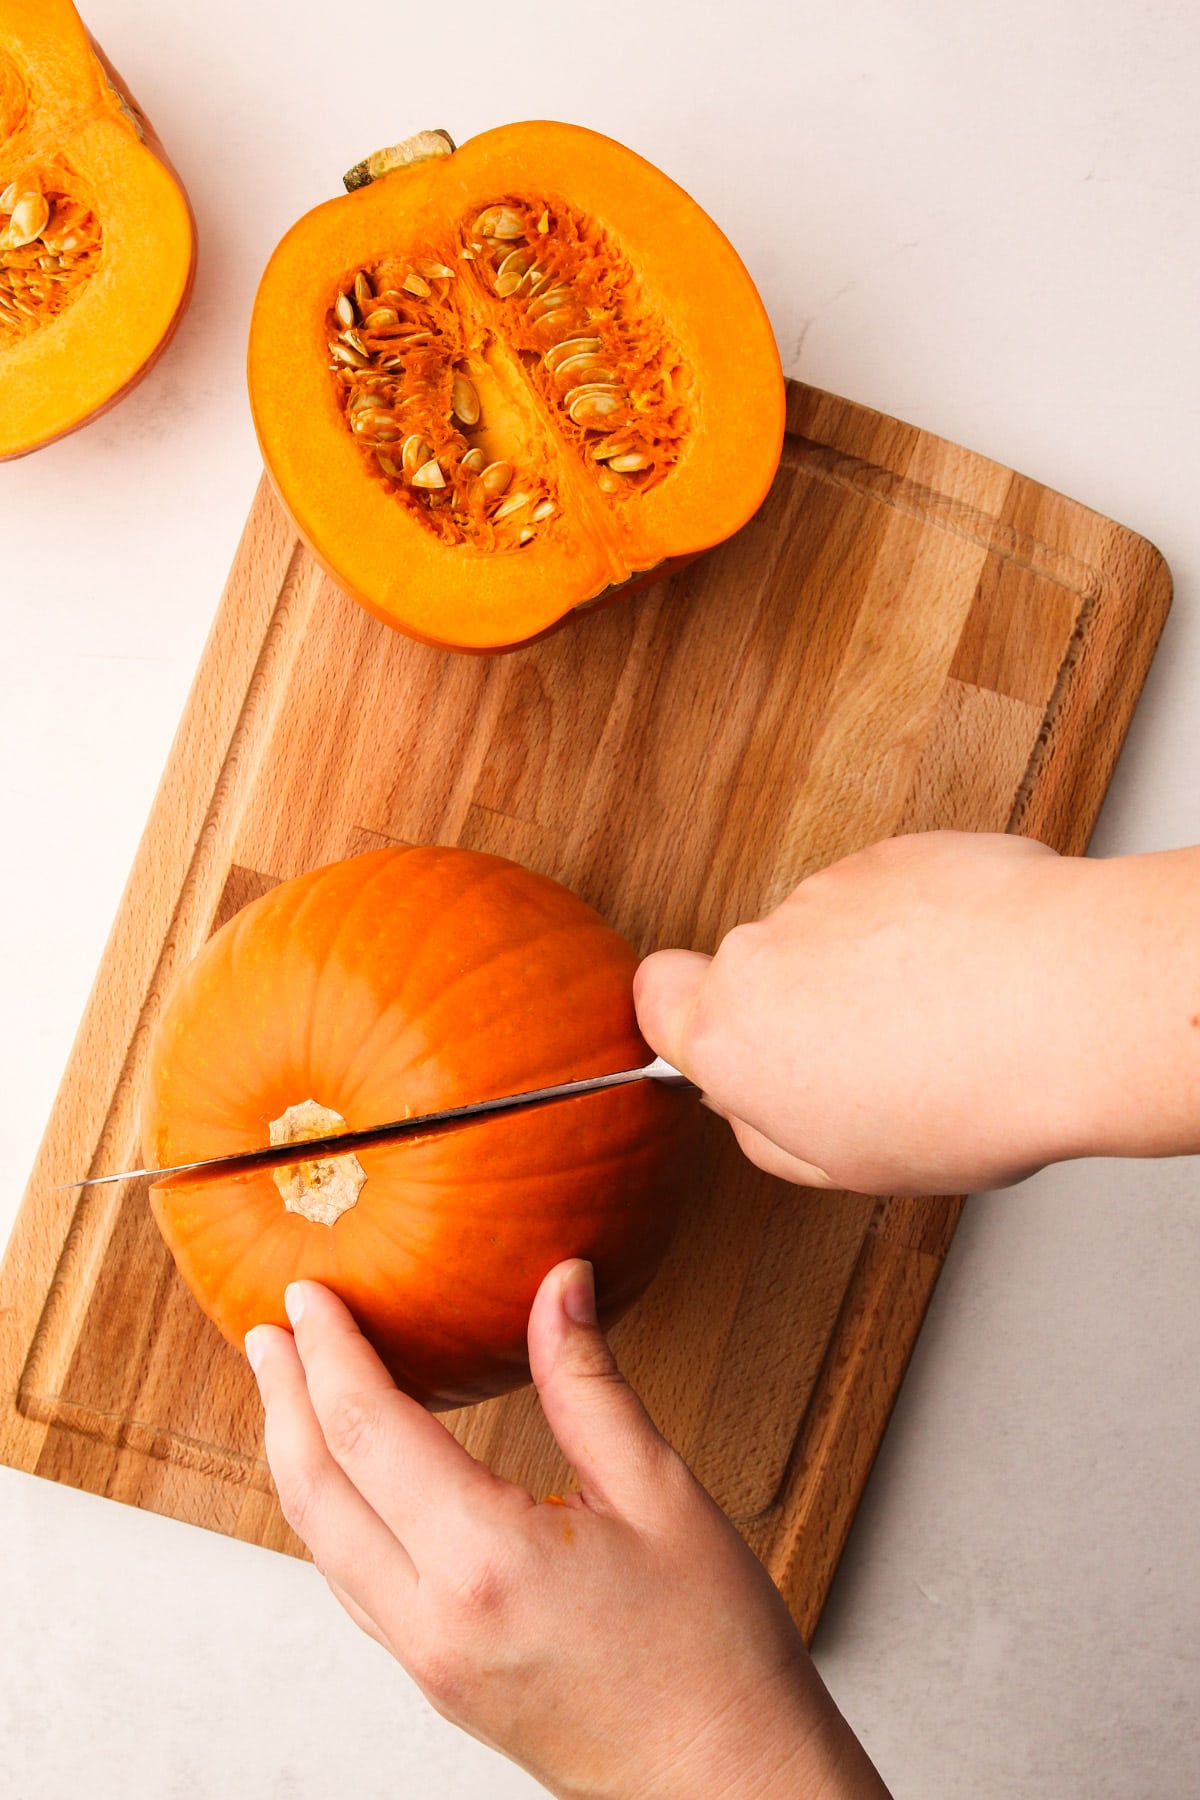
Step 2: Cut through the pumpkin (safely) from the bottom.
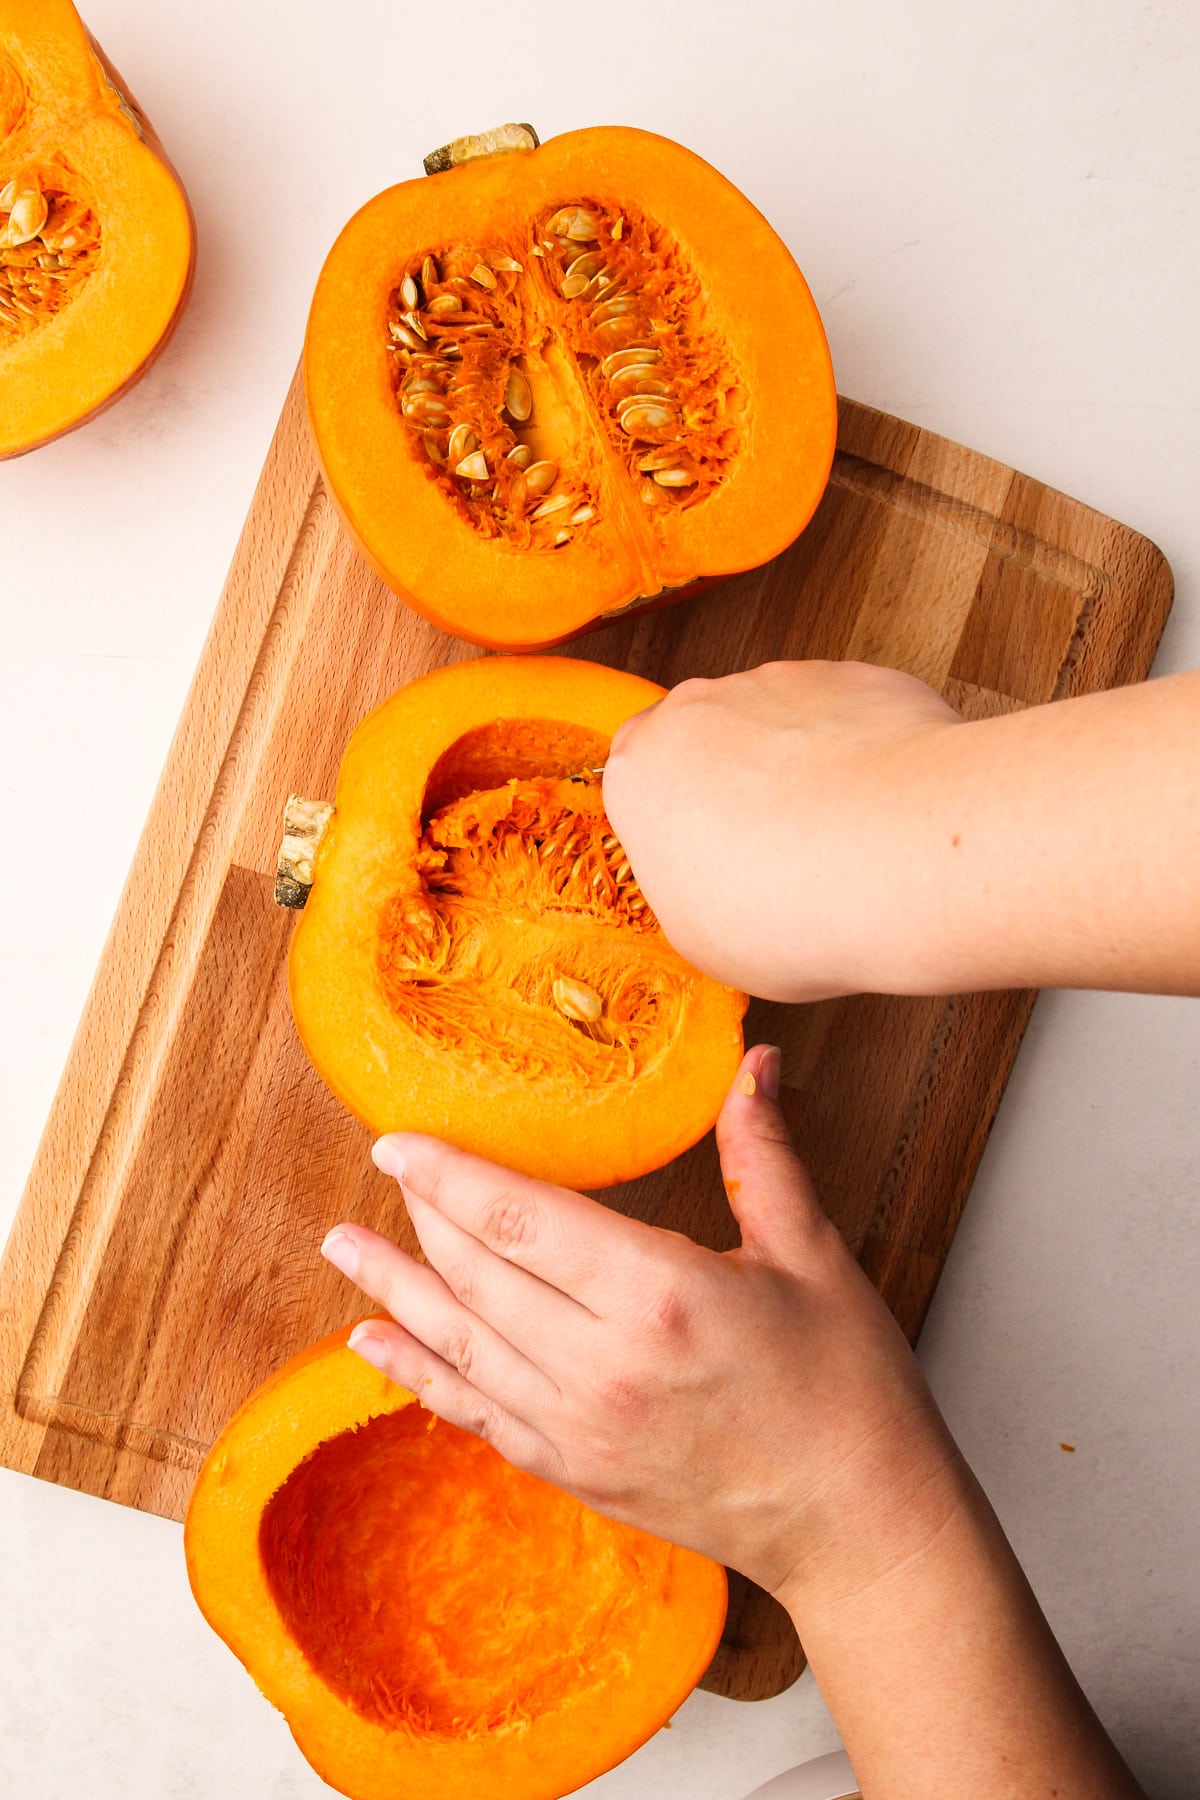
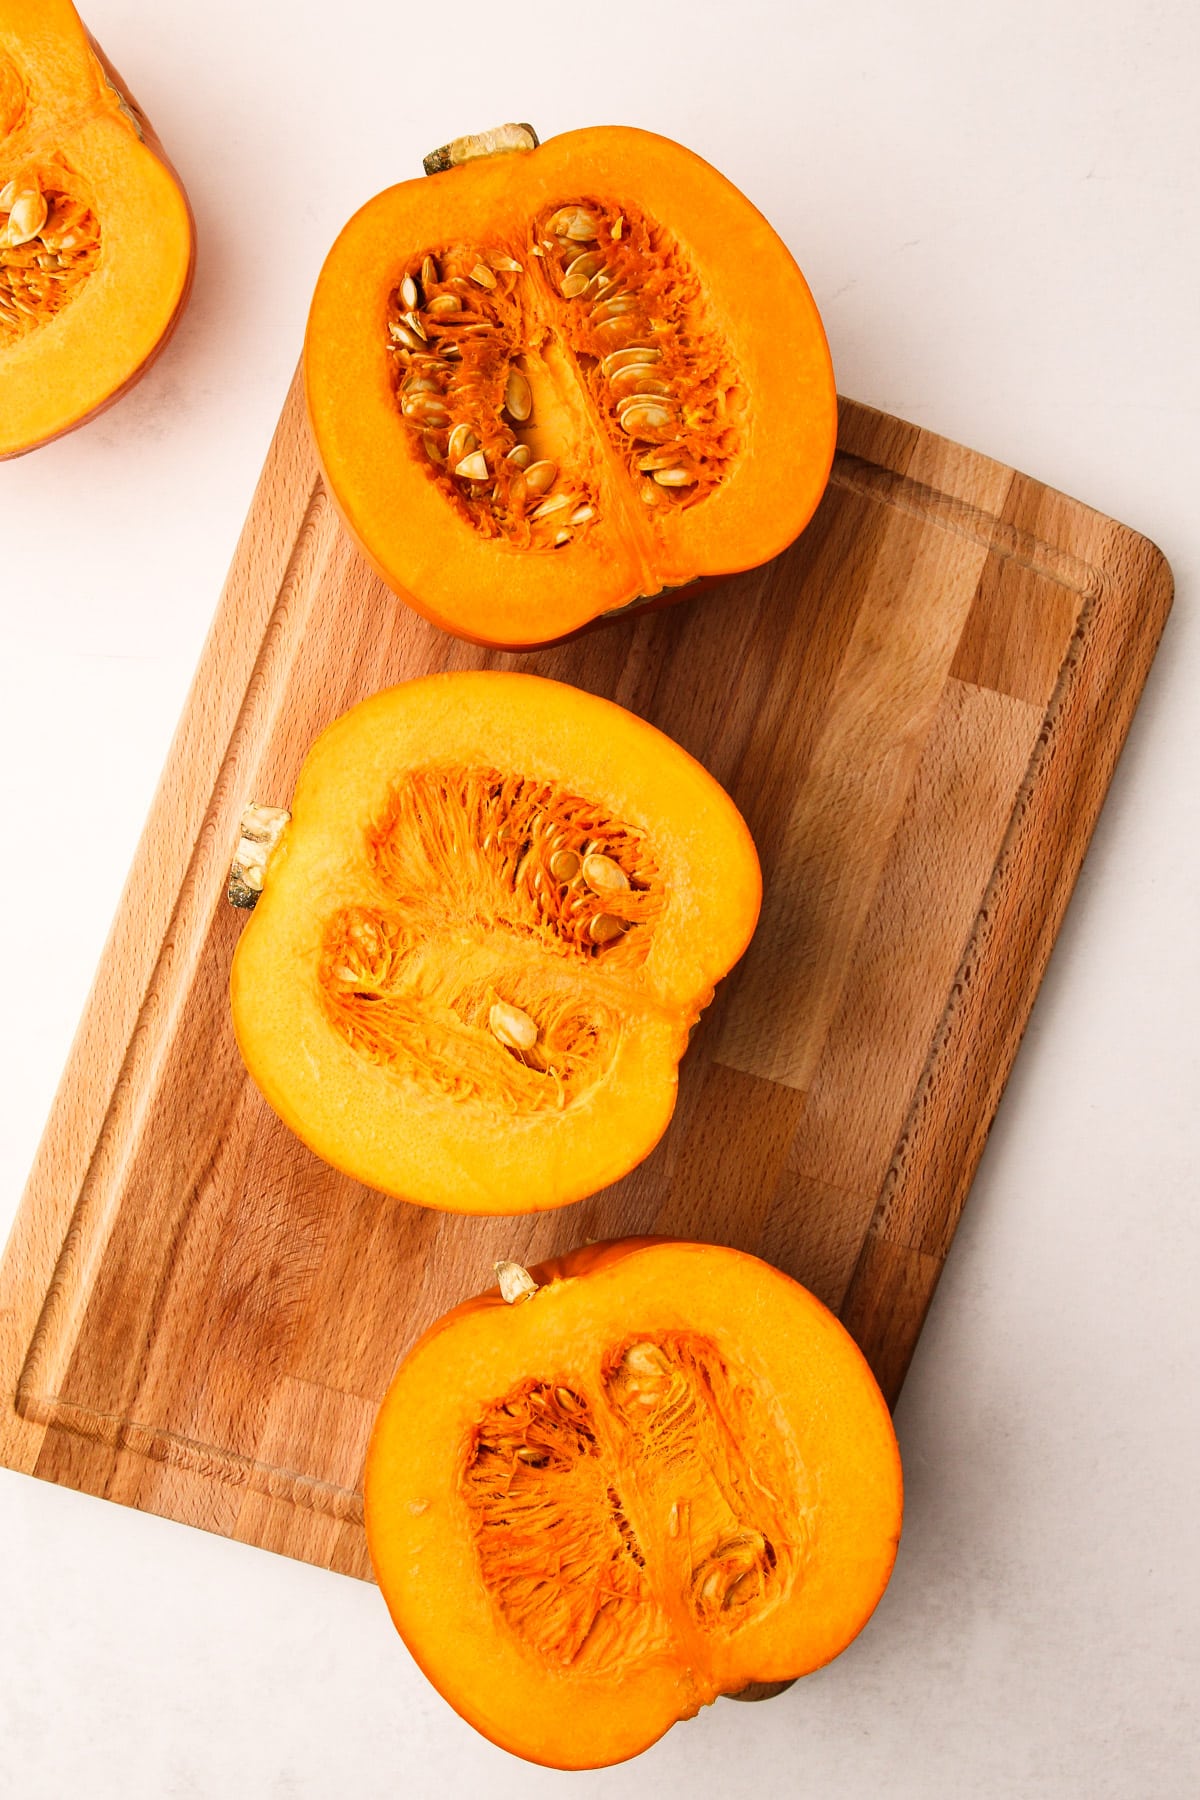
Step 3: Scoop out the stringy bits and seeds.
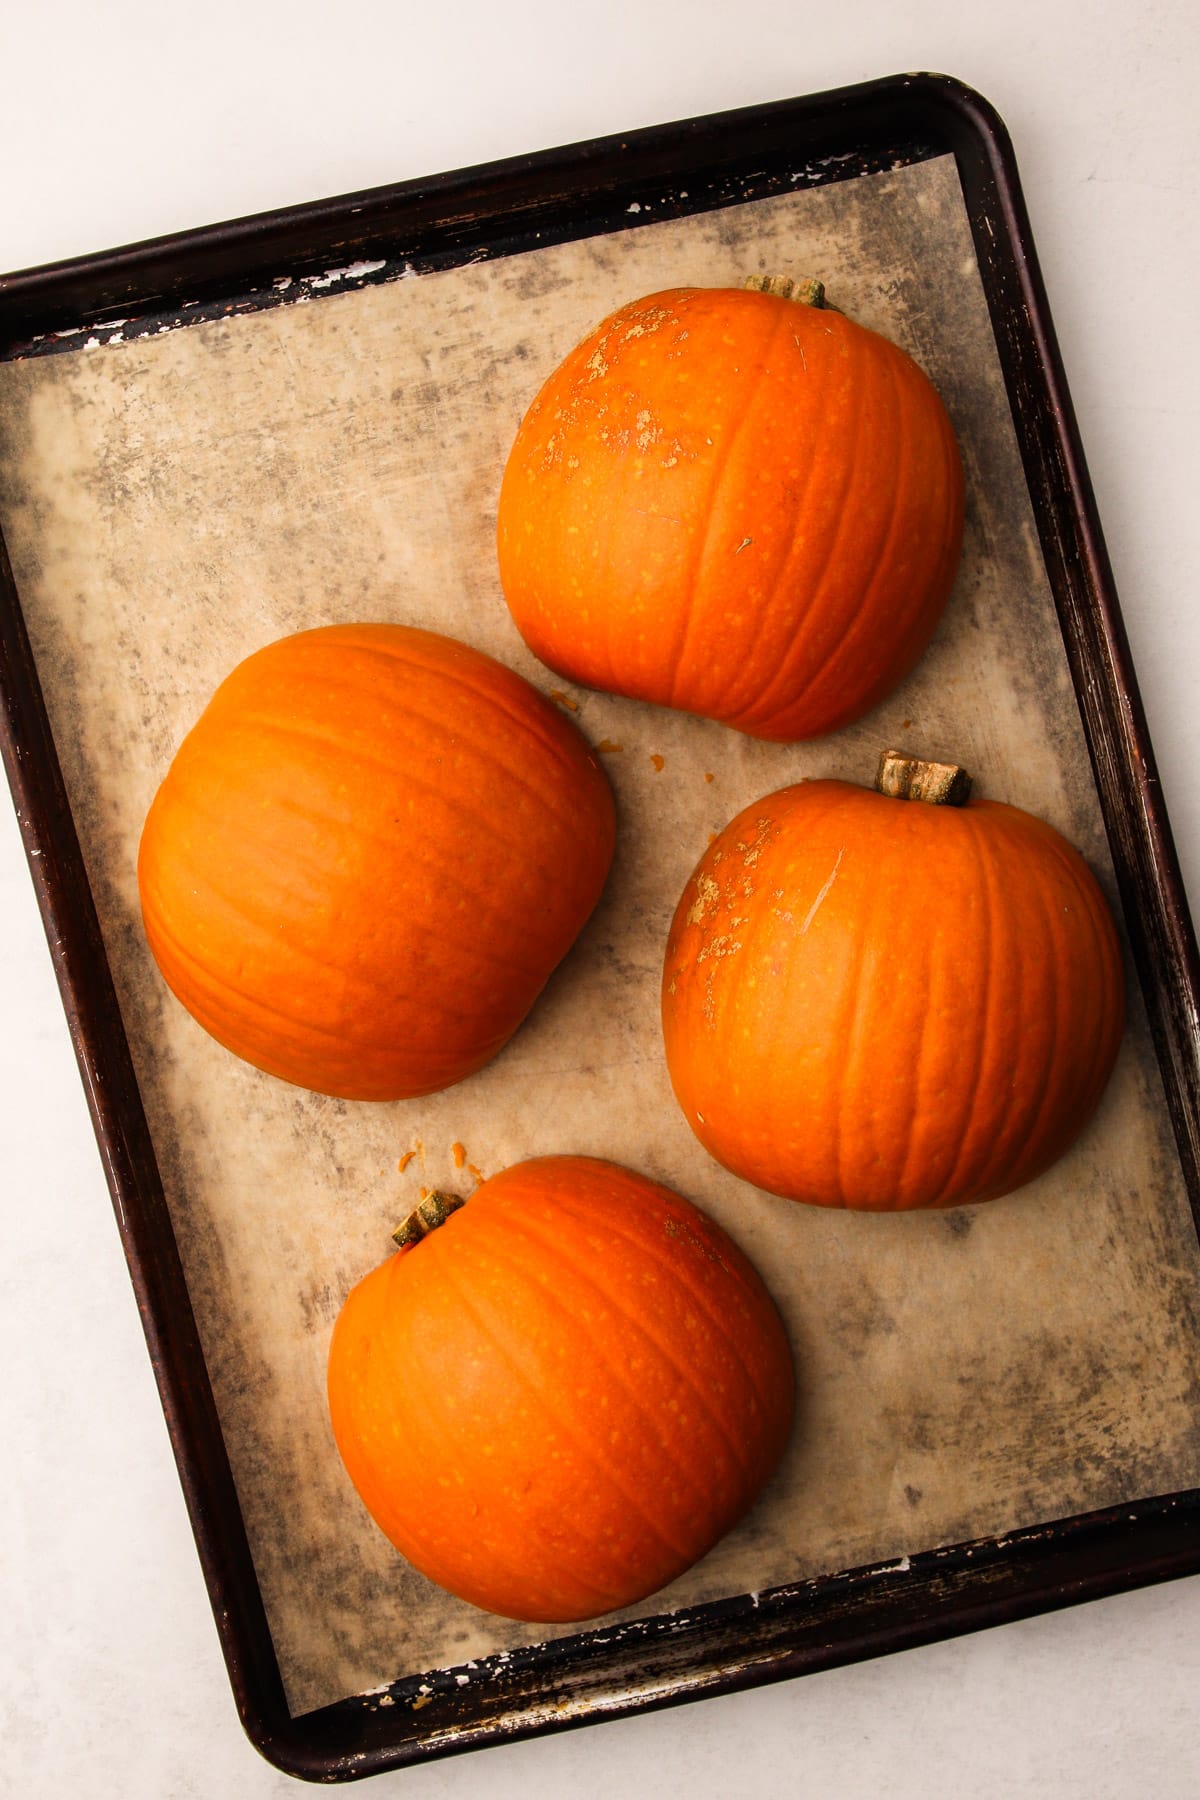
Step 4: Place the pumpkins cut-side down and bake for 30 minutes.
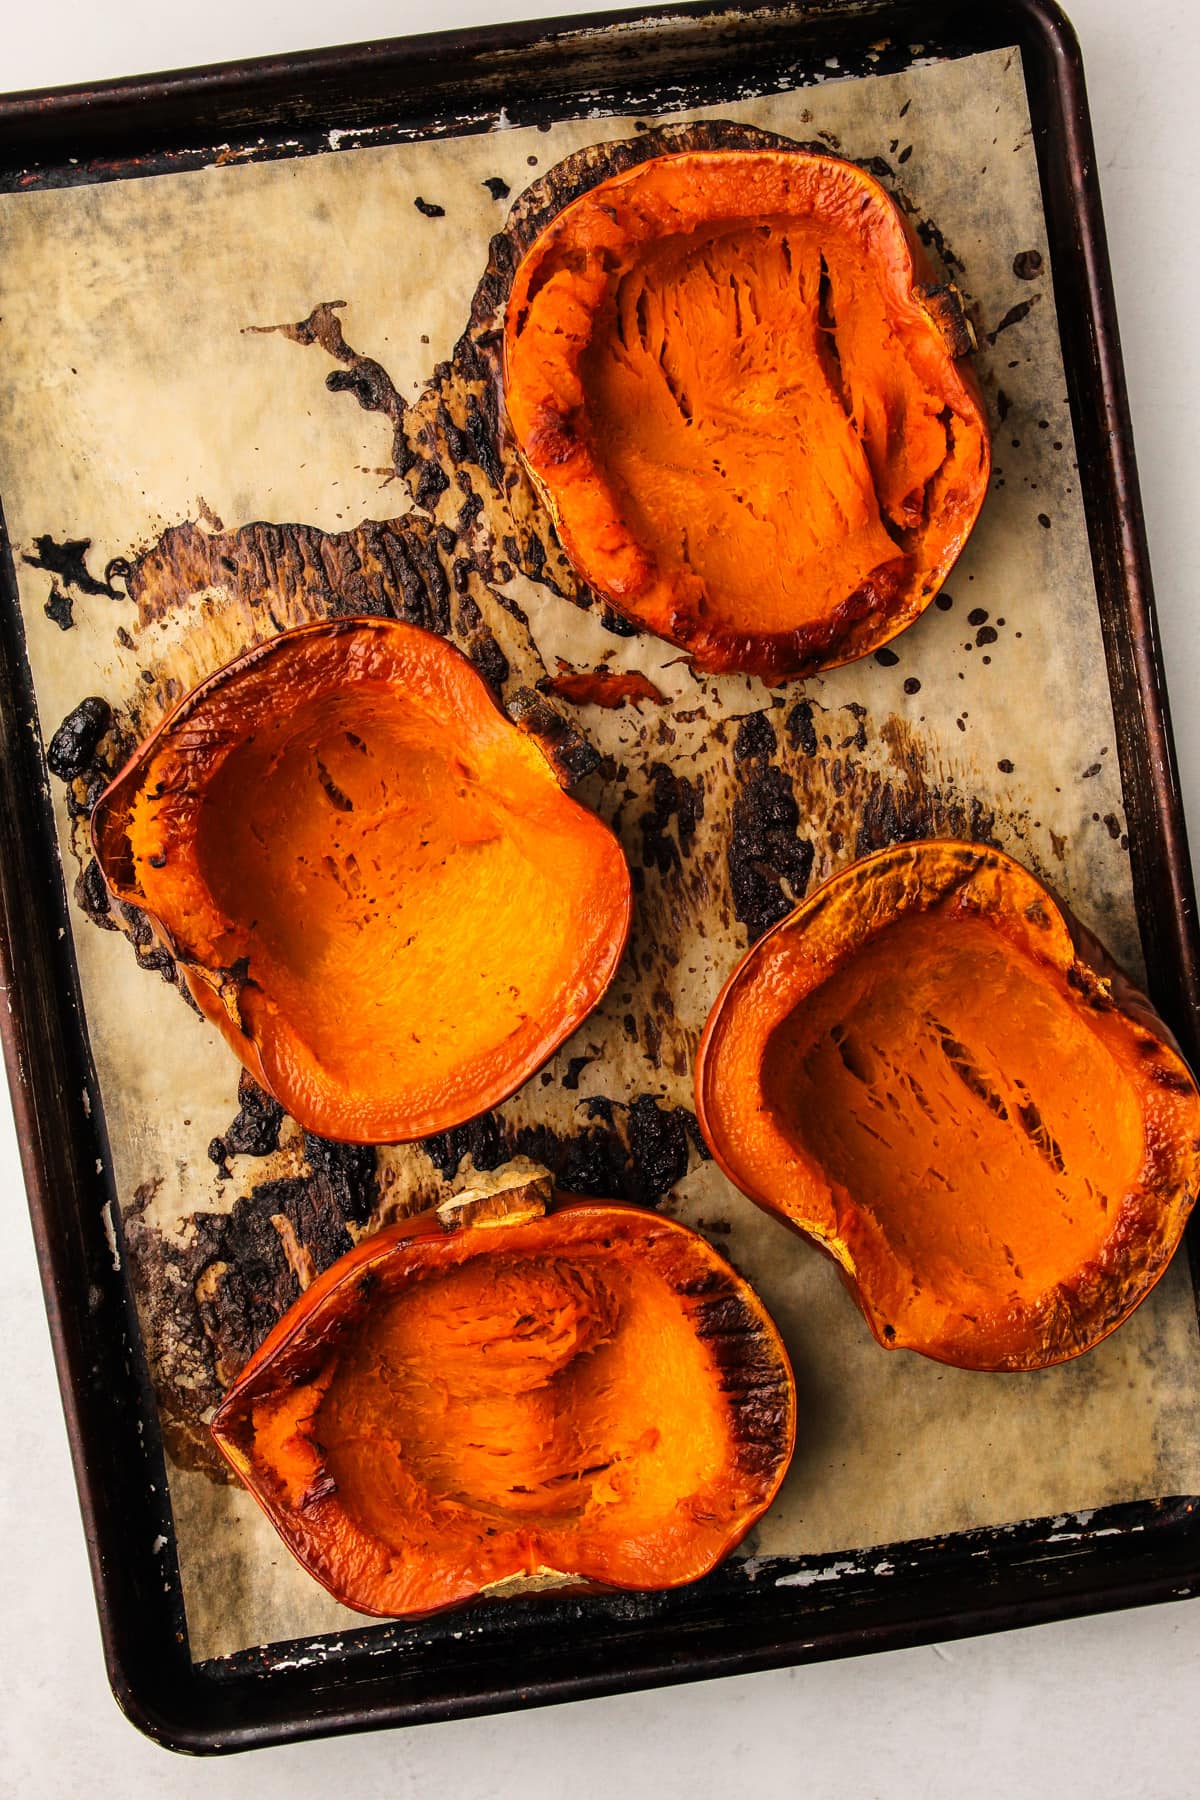
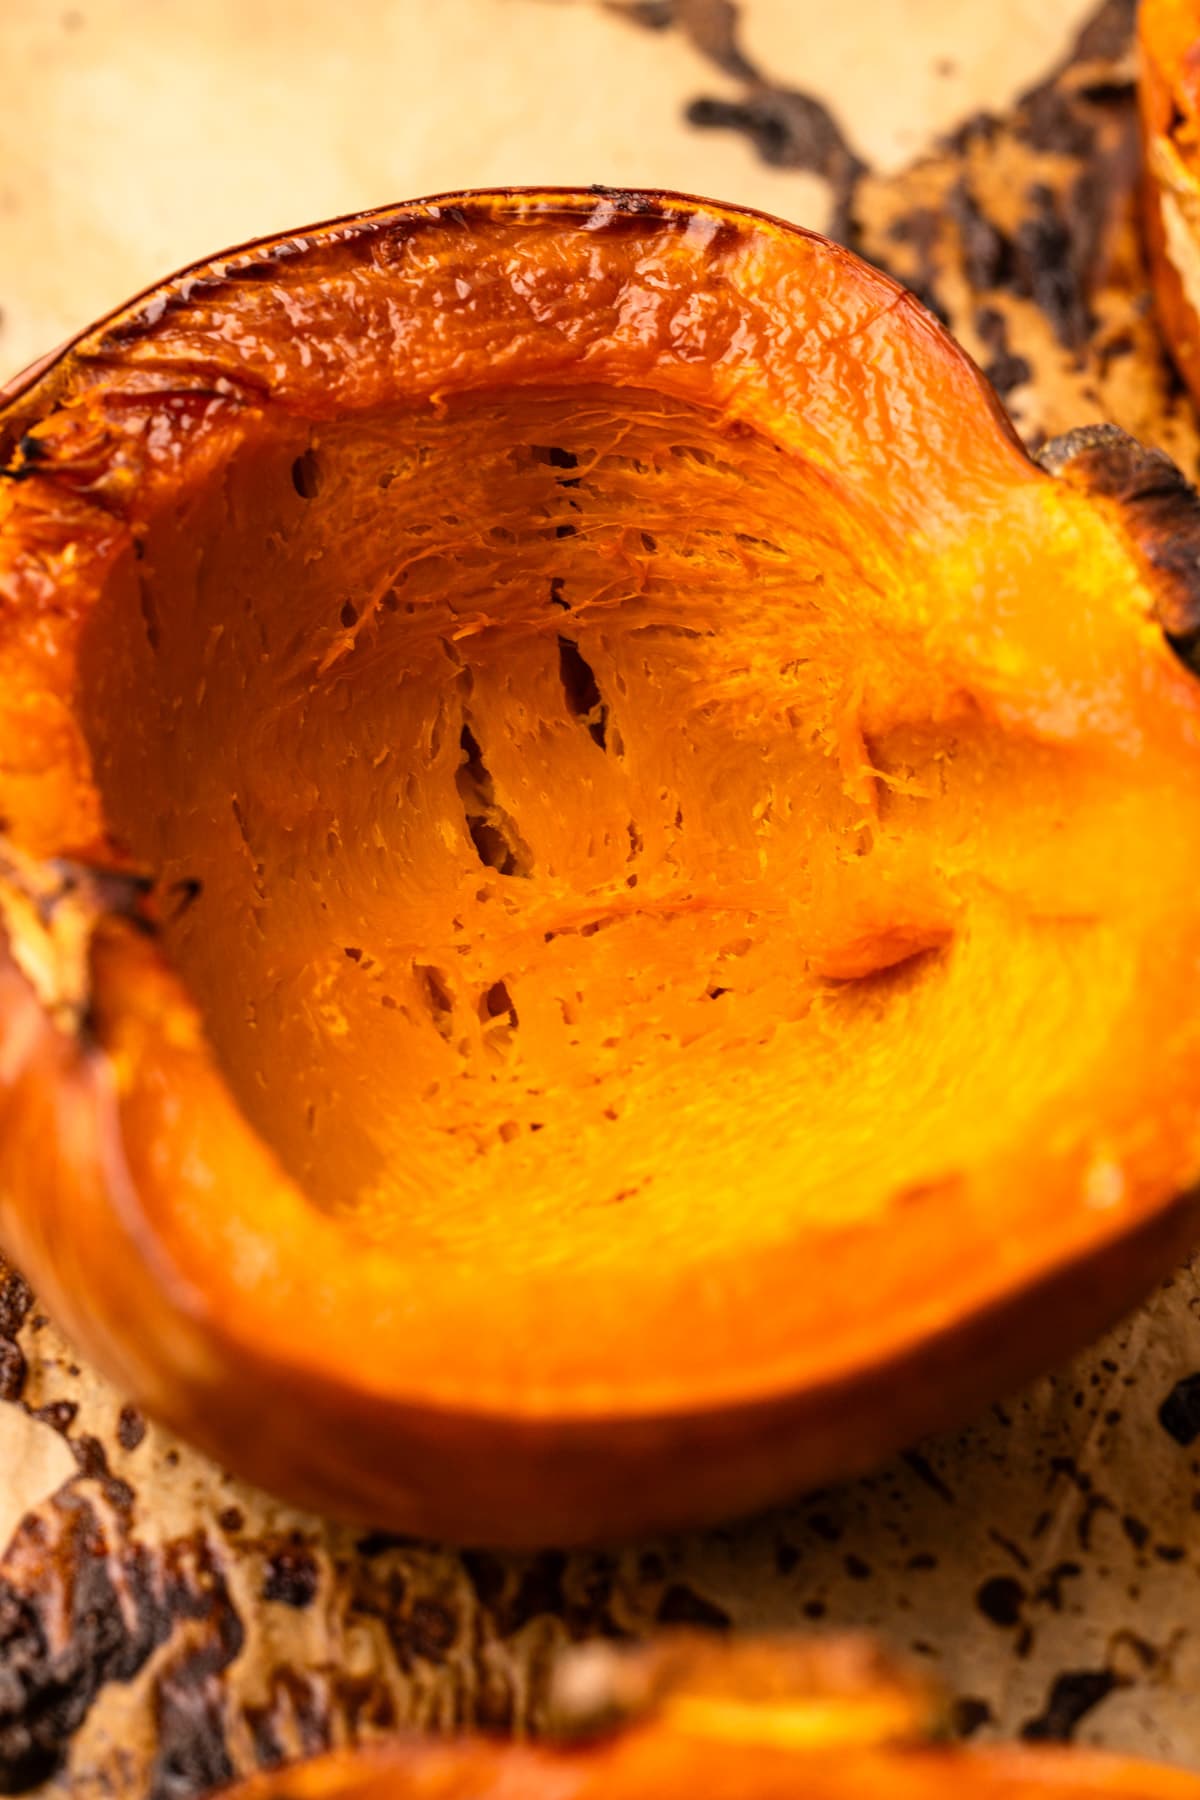
Step 5: Flip pumpkins over so they can evaporate some liquid as they become tender.
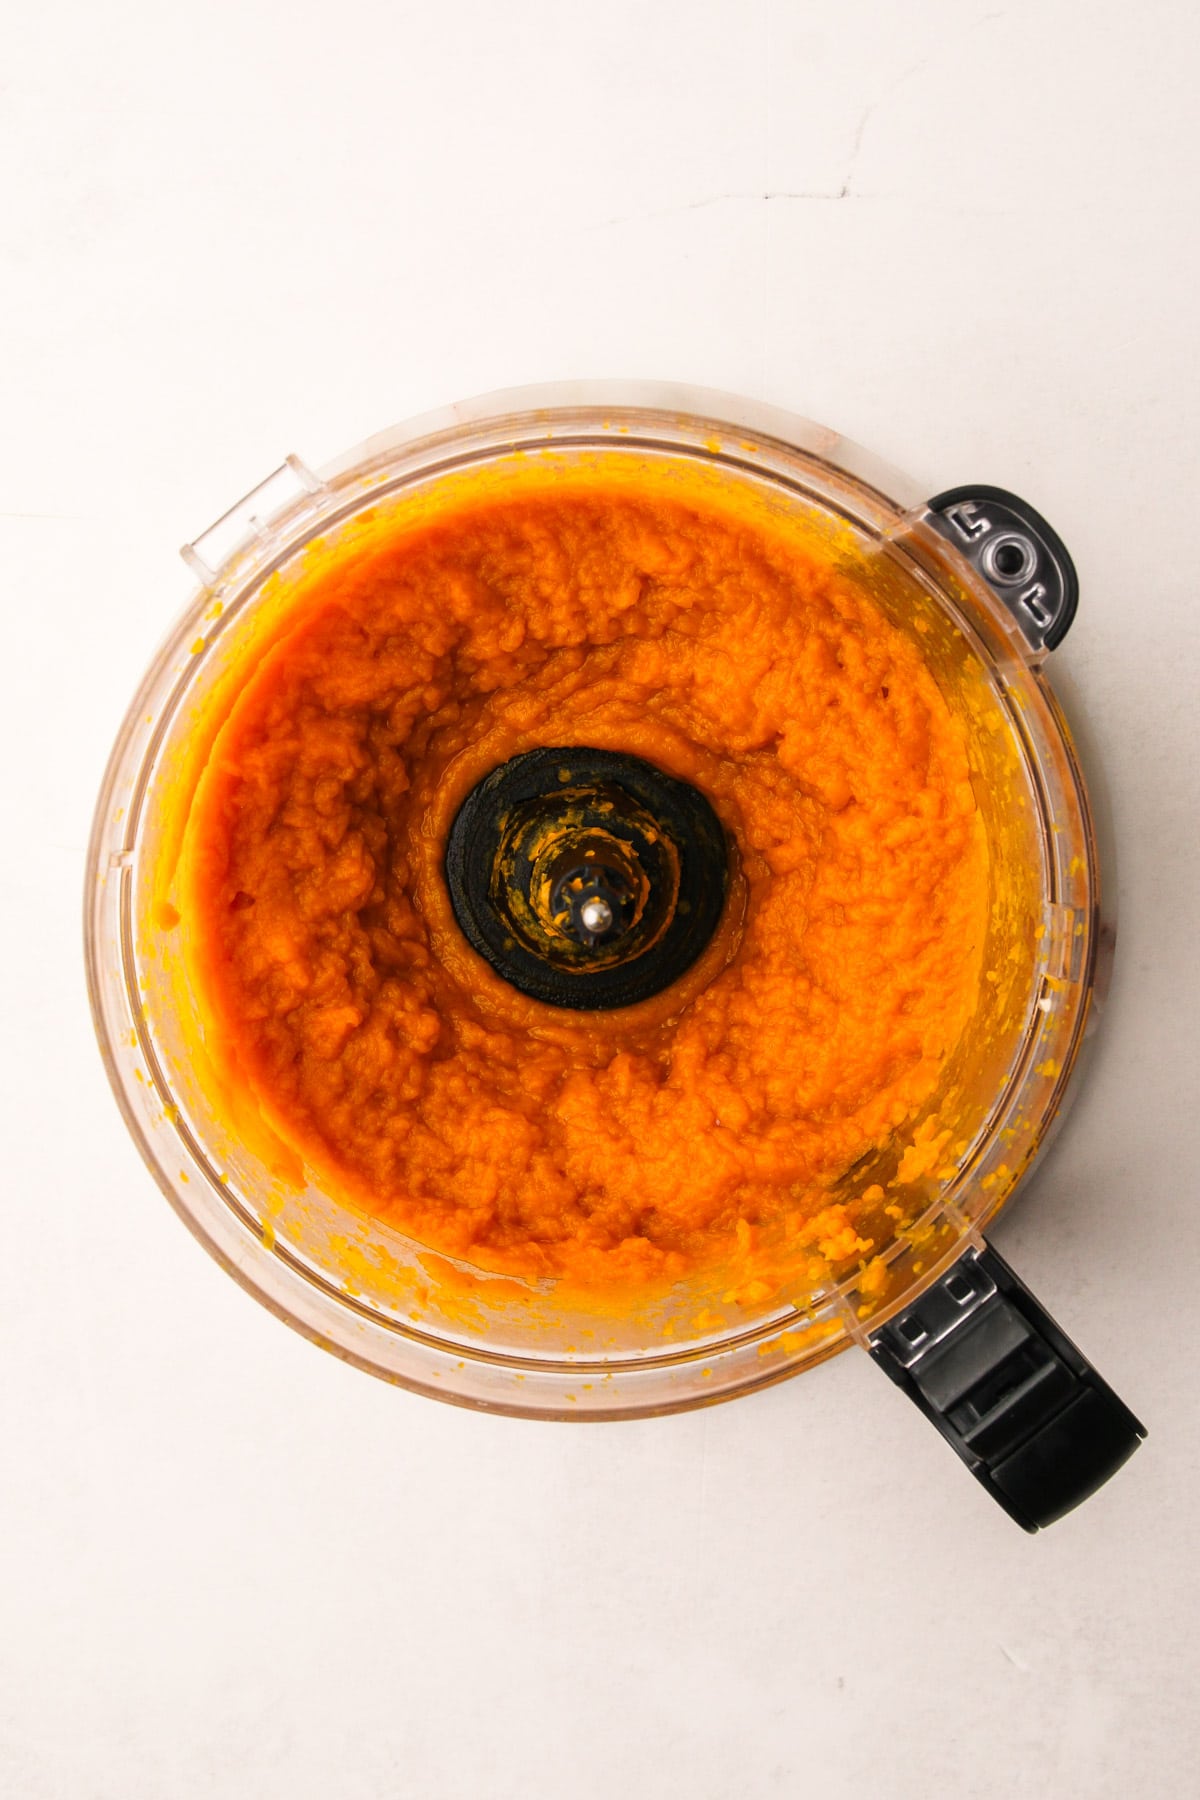
Step 4: Scoop out the flesh and puree until smooth.
Troubleshooting + Tips
Making pumpkin puree is a pretty straightforward process: roast the pumpkin then puree it! However, there are some words of caution to share/reiterate.
- Make sure to choose the right pumpkin. Using the wrong type of pumpkin can result in a stringy or less flavorful puree.
- Wash your pumpkin! It should be said that anytime you are cutting through the skin and into the flesh of any fruit or veggie, you must wash it to remove any dirt, debris, or other surface contaminants that may have gathered during the growing or handling process.
- The actual baking time will vary, depending on the size of your pumpkin. The goal for this recipe isn't to brown the pumpkin, as that would impart a different flavor, but instead to cook it until tender while reducing its moisture. That is why the recipe calls for flipping the pumpkins over halfway through cooking (to allow the steam to escape). Pay attention to prevent the pumpkin from browning too much.
- Resist the urge to add water to the baked pumpkin in the food processor. More water equals less flavor, and that is not the goal here. Instead, scrape down the pumpkin as it is blended/pureed to make a smooth consistency.
How to Concentrate the Pumpkin Puree
If you want to boost the pumpkin flavor in your filling, it helps to concentrate the purée first. Fresh pumpkin purée tends to hold more water than canned purée, which can dilute both the texture and the taste of your dessert. To fix that, you can either strain it or cook it down to reduce excess moisture.
To strain it: place the purée in a cheesecloth-lined strainer set over a bowl and let it drain overnight in the refrigerator. Or, for a quicker option, cook the purée in a wide skillet over low heat, stirring often, until it thickens.
Either method will concentrate the pumpkin’s natural sweetness and give your filling a deeper, more pronounced flavor.
Using + Storing It
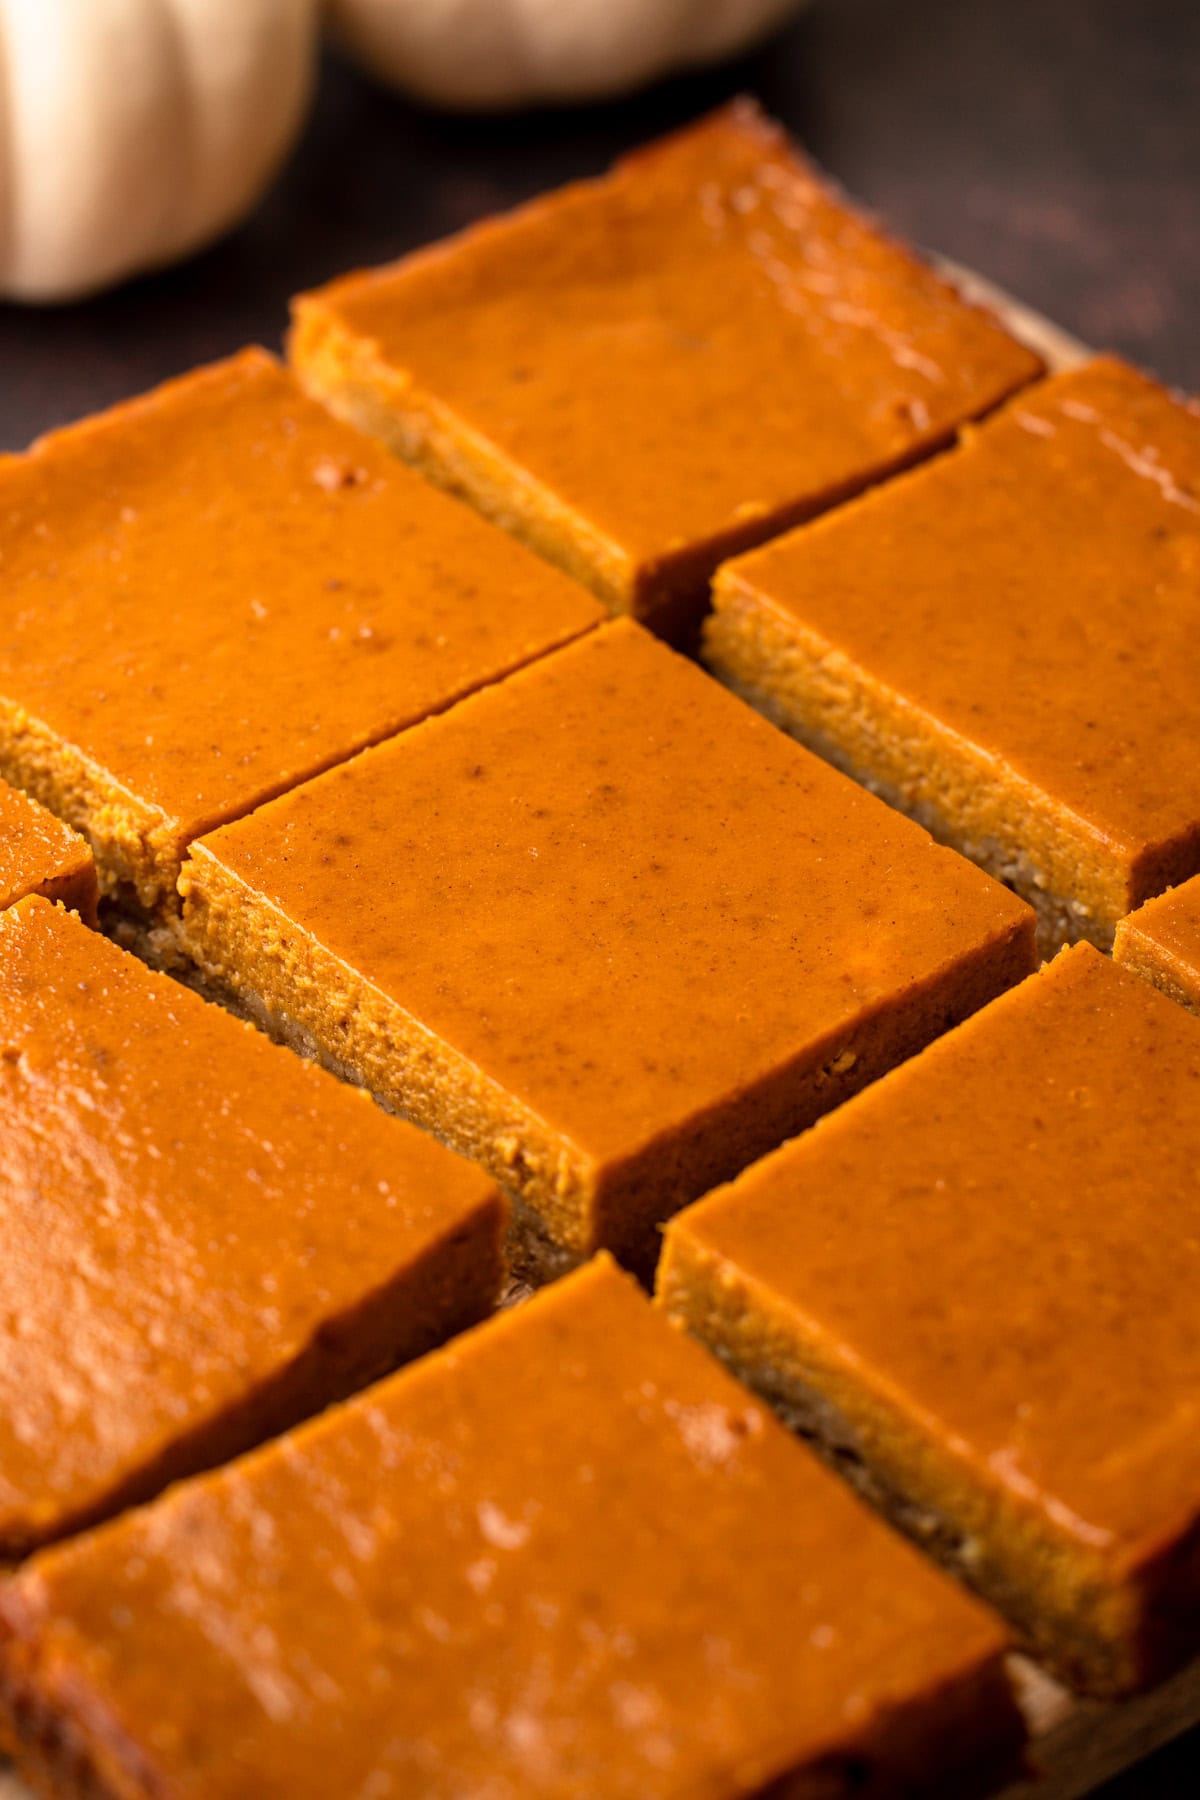
From classic pumpkin pies to not-so-classic pumpkin pie, and pumpkin bread or bars, the possibilities are endless for homemade pumpkin puree. Use homemade puree as you would for any recipe that calls for canned pumpkin.
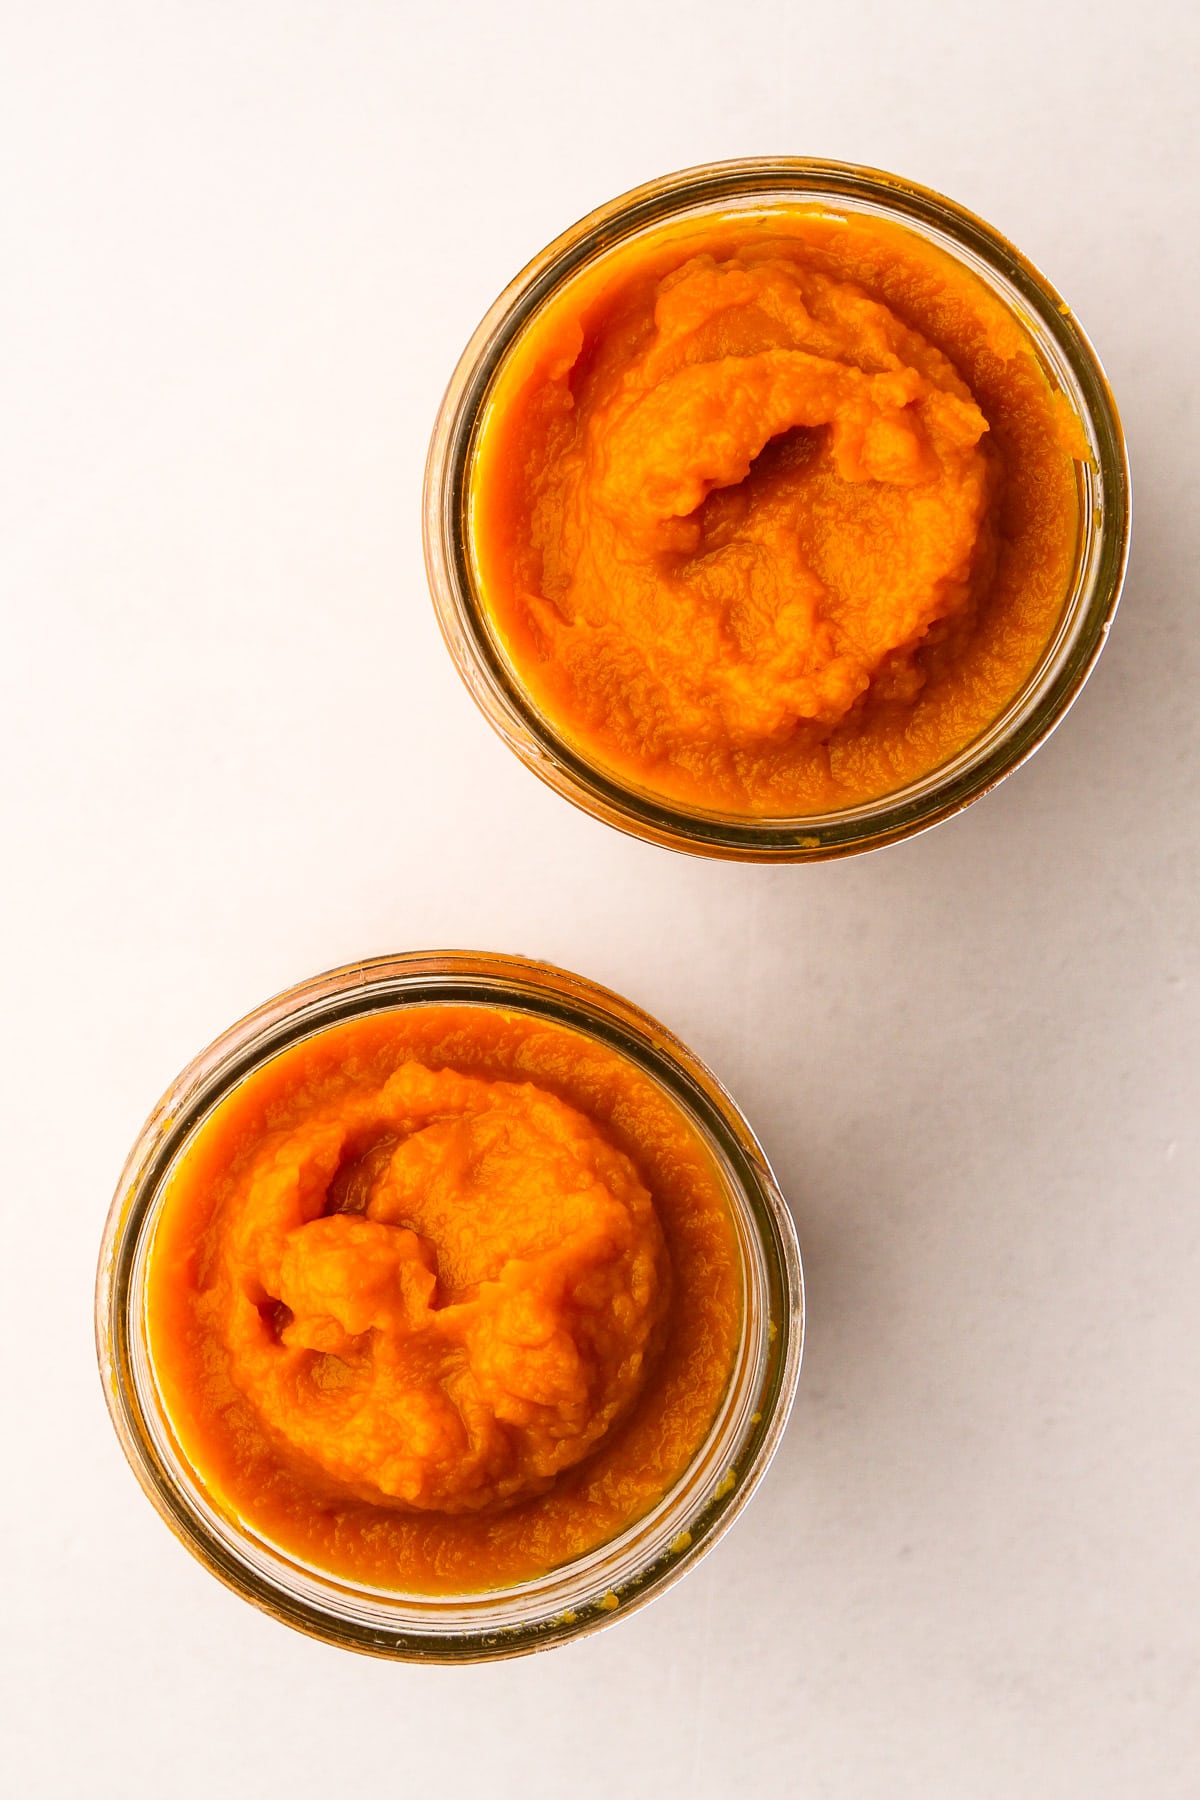
Pumpkin puree can be stored in the refrigerator for about a week or frozen for up to a year, so you can enjoy a taste of fall all year round. Storing it in a mason jar results in a similar amount as a can of pumpkin, which I find useful! Or use plastic bags or reusable silicone molds to store individual portions.
More Cooking Tutorials
More Pumpkin Recipes
I am so honored when you make a recipe from my site! If you make this Homemade Pumpkin Purée, please leave a star ⭐️⭐️⭐️⭐️⭐️ rating with your experience! If you have any questions about this recipe, feel free to comment here, and tag me on Instagram!
Full Recipe
How to Make Pumpkin Purée
Learn How to Make Pumpkin Purée at home for all your fall baking recipes!
- Prep Time: 00:10
- Cook Time: 01:00
- Total Time: 1 hour 10 minutes
- Yield: about 4 cups
- Category: Tutorial
- Method: Bake
Ingredients
- 2 small (about 5 lbs.) sugar pumpkins or pie pumpkins
Instructions
- Preheat oven to 400ºF and place an oven rack in the middle of the oven. Line a rimmed sheet pan with parchment paper.
- Wash and dry the pumpkins. On a sturdy cutting board, secure the pumpkin stem side down. With a sharp knife cut through the pumpkin starting from the bottom then through the stem. If the stem is too big or hard to cut through, cut it off completely.
- Scoop out the pumpkin seeds into a bowl, reserve for another use, or discard.
- Place each pumpkin half cut side down on the baking sheet.
- Bake for 30 minutes. Flip the pumpkins cut side up, and bake for another 30 minutes, or until they are fork tender. Once tender, remove from the oven place and briefly let it cool.
- Pour out and discard any accumulated liquid in the pumpkin. Scoop out the pumpkin flesh and place in a food processor or high-speed blender. Purée until completely smooth, scraping down the sides as necessary.
- Store in an air-tight container for up to 1 week or store in a freezer for up to a year.
Notes
Depending on the pumpkin and growing conditions, you may get one with a high moisture content. To bring out a deeper pumpkin flavor, concentrate the purée before using it. Either strain it overnight in a cheesecloth-lined strainer or cook it in a wide skillet over low heat until it thickens slightly.
Pin it for Later

Some of the links on this page may be affiliate links. Everyday Pie is a participant in the Amazon Associates Program. As an Amazon Associate I earn from qualifying purchases, at no extra cost to you.





Leave a Reply