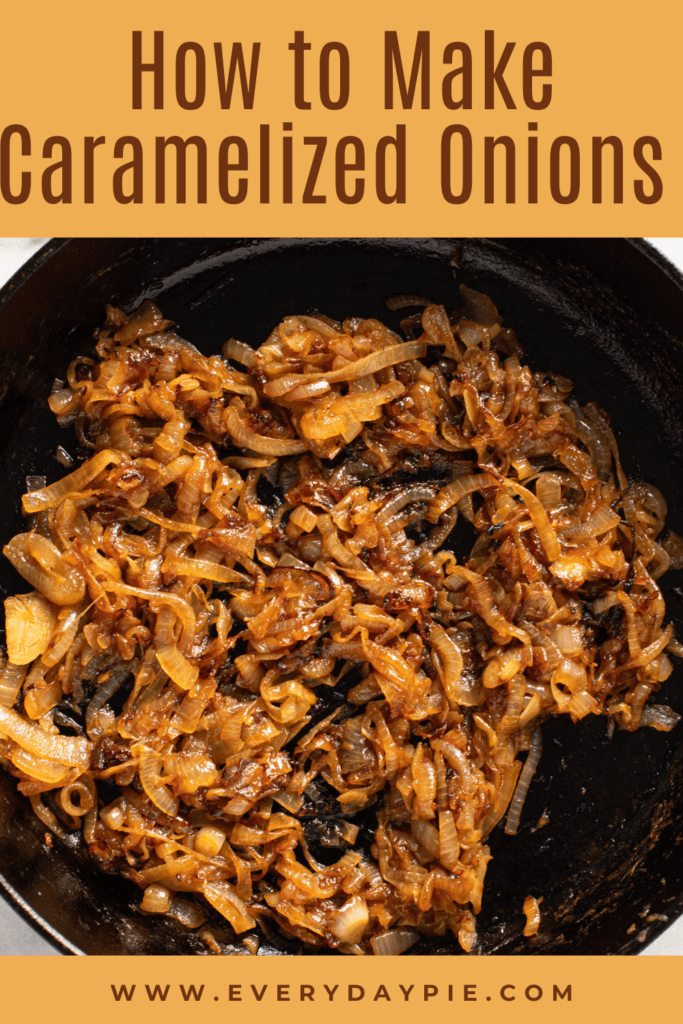
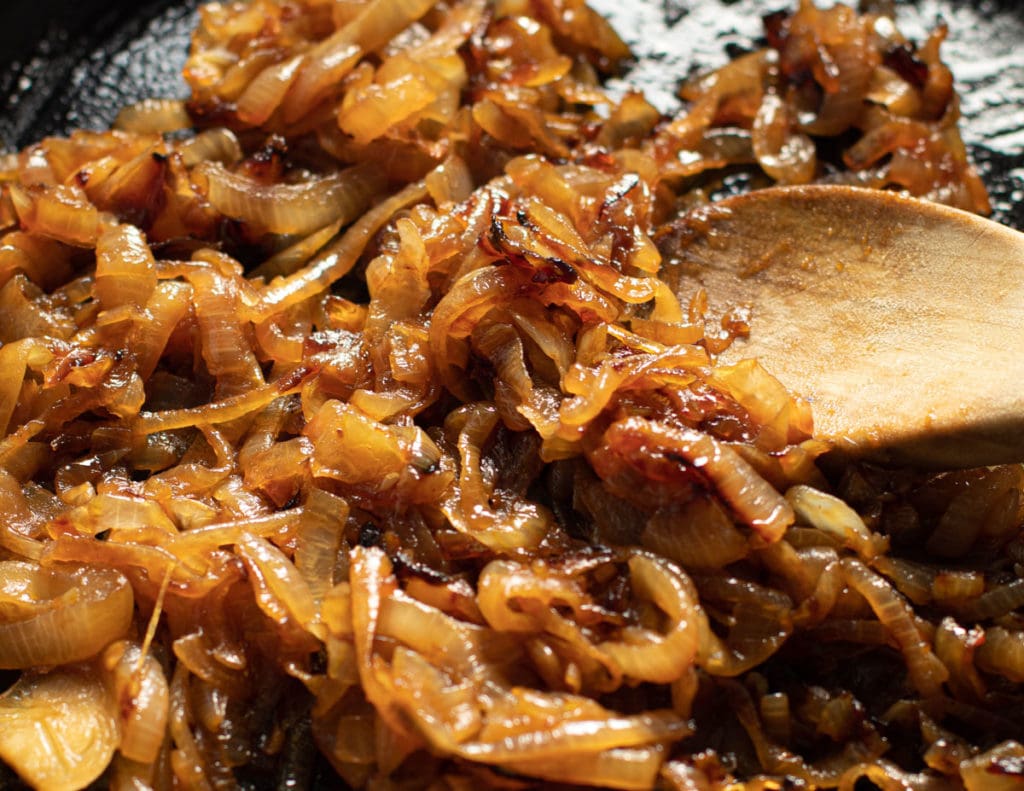
Caramelized onions are a great addition in many recipes, or for use as a condiment. They aren't tricky, but they do take time to make! Follow the tips below for How to Make Caramelized Onions!
Want to save this recipe?
Enter your email & I'll send it to your inbox. Plus, get weekly updates from me!
Caramelized Onions Recipe
Making caramelized onions are one of those essential cooking skills that will serve you well in life! Caramelized onions are a sweet, yet savory way to amp up the flavor in so many dishes. And of course, here at this website, we think that adding them to savory pies is a great way to use them!
So what does it mean to caramelize onions?
First, you need to know, onions are full of naturally occurring sugar. While some onions definitely have more sugar than others (think Vidalia onions or Walla Walla onions) they all have high sugar content.
When you cook onions slowly, the moisture is released and cooked off, leaving behind the concentrated sugars of the onion. Think of making caramelized onions just like you would making caramel!
How Do You Make Caramelized Onions?
This is super simple: you cook the onions on low heat for a long period of time, roughly about 45 minutes to an hour. The longer you cook your onions, the sweeter and jammier they get.
This isn't a process that should be rushed, or doctored. Some cooks recommend adding sugar or baking soda to make the process go faster, but truely caramelized onions have the best flavor.
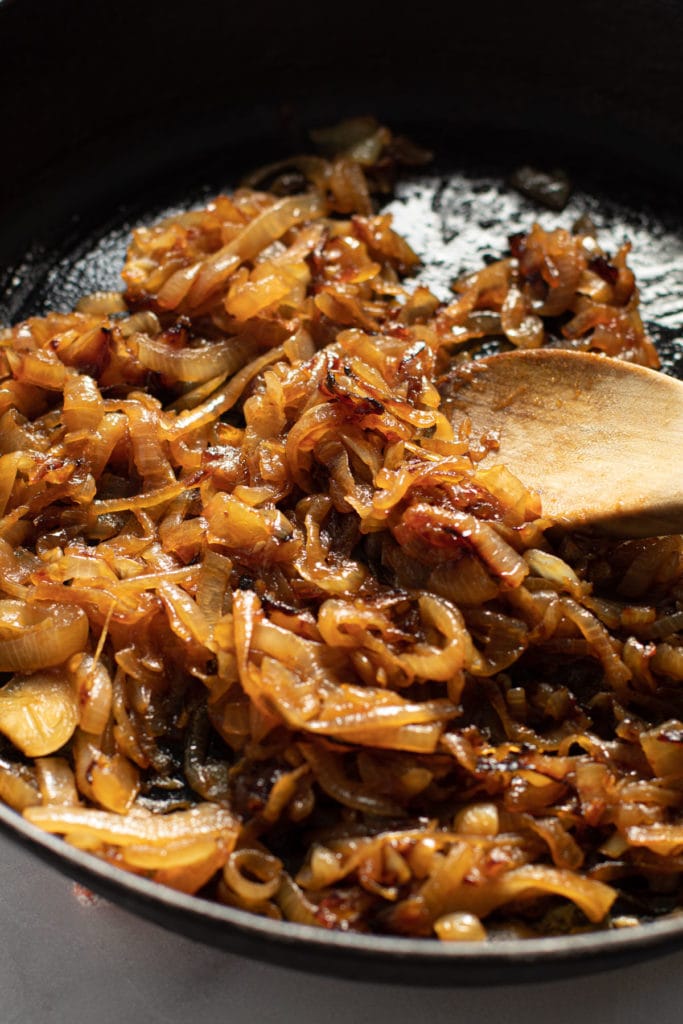
How long you cook your onions for can be a matter of preference. I prefer to leave some body left to my caramelized onions, with a slight bite to it. But if you like your onions to be super jammy, you can cook them longer until they have reduced to your liking.
This recipe includes the addition of some balsamic vinegar towards the end of cooking. This addition serves two purposes. The first is that it gives a touch of acid that really helps balance out the sweet and savory flavors. The other benefit is that it added a touch of liquid to the pan, which helps get up some of the fond that has formed on the bottom of the pot. You don't want to leave behind any of the flavor.
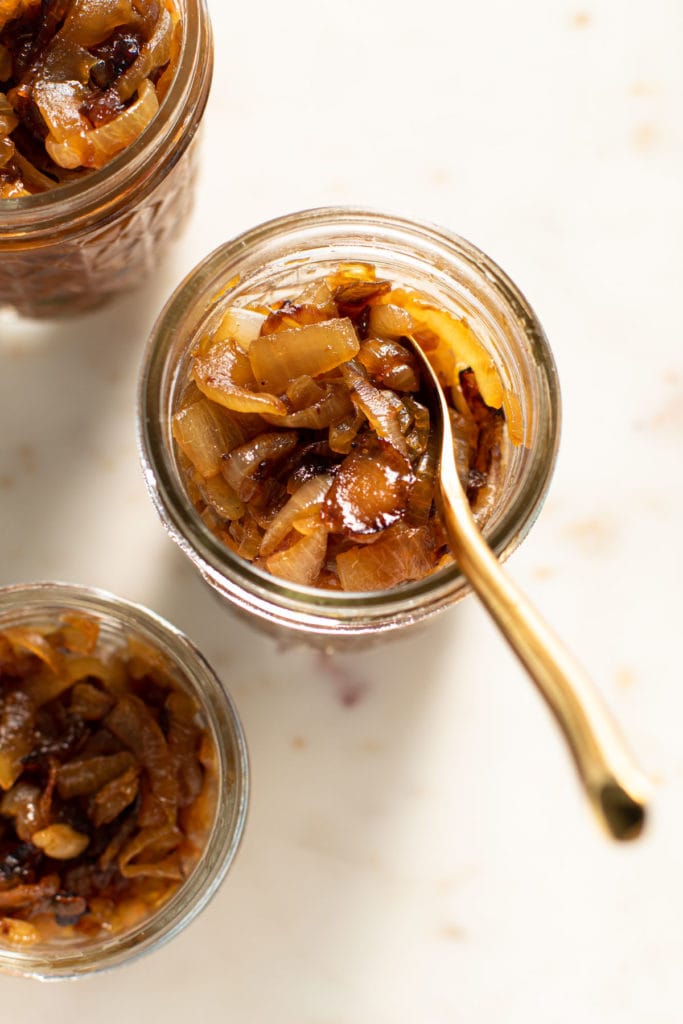
How to Store and Freeze
Caramelized onions keep well in the refrigerator for about 5 days. This recipes makes about 4 cups. Freezing is a great option to make sure you always have some on hand. You can store them in any air tight container or plastic bag. Defrost in the refrigerator overnight before ready to use.
How to Use Caramelized Onions
Any way you can! But really! They're good on top of toast, in pies (such as this Savory Butternut Squash Pie), on pizza, in sandwiches, in soup, or in a dip!
Full Recipe
How to Make Caramelized Onions
Caramelized onions are bursting with sweet and savory flavor and are a great addition to many recipes or as a condiment.
- Prep Time: 00:10
- Cook Time: 00:50
- Total Time: 1 hour
- Yield: 4 cups
- Category: Cooking Skills
Ingredients
- 3 large onions (about 3 lbs. onions)
- 2 tablespoons of oil
- ¼ teaspoon salt
- 1 tablespoon balsamic vinegar
Instructions
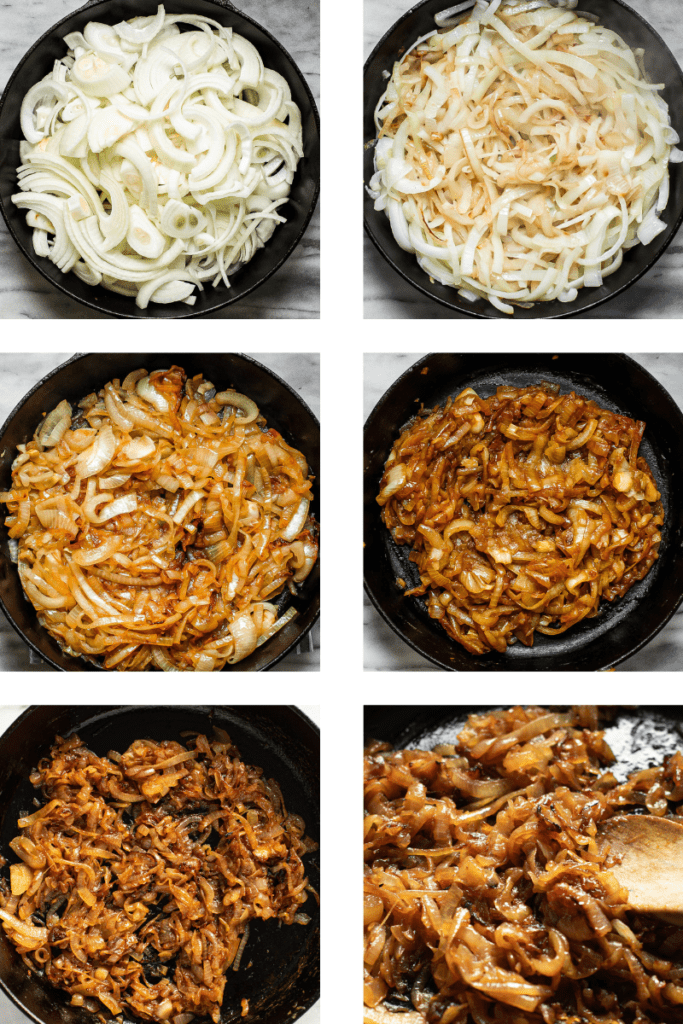
- Heat oil in a wide, heavy bottomed pan on medium heat. Add onions and cook for 10 minutes, stirring a few times to make sure all of the onions get contact with the pan and start to soften.
- Add pinch of salt and stir to combine. Lower the heat to medium low and let onions sit undisturbed for 20 minutes.
- Continue to cook for 15 more minutes at this point, stirring the pan every 5 minutes for a total of 3 times.
- Stir in balsamic vinegar and cook for about 5 more minutes. This is the point where the onions have the optimum texture and taste.
- If you’d like your onions to be completely reduced and jammy, cook for another 10-15 minutes, but this is optional!
Notes
Caramelized onions keep well in the refrigerator for about 5 days or so. They also can be frozen for up to 3 months. When ready to use defrost overnight.
Some of the links on this page may be affiliate links. Everyday Pie is a participant in the Amazon Associates Program. As an Amazon Associate I earn from qualifying purchases, at no extra cost to you.
Colleen
The only recipe I use for caramelized onions! Works every time, so simple and easy to follow.
Sue
What type of onion to use and recommend?
Kelli Avila
Any and all. You can caramelize any onion. I typically use yellow onions, because it's what I most commonly have on hand.
Gabe stolar
Can you double this recipe to yield 8 cups? Thanks
Kelli Avila
You can increase the amount of onions you use, but the timing might change and I'd add the vinegar and salt to taste.
Sheila
Do you cook these covered or without a lid?
Kelli Avila
Without.
Louise
I have been looking forward to making these and freezing into portions, especially since they take so long. Then I came across an article that talks about botulism (yikes) when freezing onions that have been cooked with olive oil, especially if they're vacuum-sealed. I was planning to store them that way because I wouldn't want them to get freezer burn.
Any comment on that?
Kelli Avila
Hi Louise. I've frozen caramelized onions plenty of times. I do it in mason jars. I don't find they've ever had freezer burn. I've never heard of them having botulism. If you are at all concerned, better to be safe than sorry so go with your own instinct. -Kelli
Brandon Lee
I won't go into the exact science because its very pedantic and confusing tbh, but botulism is very rare because it requires specific conditions for the bacteria to create the neurotoxin. One of those conditions is low-acidity, so the balsamic vinegar in this recipe fixes that by raising acidity. Another condition is low-salt, so if you are still worried you can heavily salt your onions. A third way to reduce the risk is use less oil and more butter - they both perform similarly in cooking, but the oil encourages the growth of botulinum more than butter will.
To answer your other question about botulism, the article mentions vacuum-sealed because all bacteria love a vacuum, its an ideal growing condition for them. This is why some cities used to outlaw Sous-Vide machines in commercial kitchens. Freezing also does not kill the bacteria that causes botulism - the only way to get rid of it once infected is to heat to about 250F for a few minutes, which denatures the neurotoxin. In the end, botulism is very rare in the US, with only about 25 cases of food-borne botulism reported each year (CDC figures). So if you wash your food/prep utensils/storage containers very well, and follow the acidity/salt recommendations you are, statistically speaking, as safe as you can be.
Sarah
Thank you for this information. I am planning on making a big batch of caramelized onions and a batch of sautéed mushrooms. Also thank you for teaching me a new word, pendatic. Well, two words since it is the act of being pendant. If you are not a science teacher or professor, you should be.😁
Betty
Thank you for your thorough explanation.
Amy
I don't know why this recipe didn't work very well for me, perhaps I cut my onions too thin? I wasn't sure how to cut them and couldn't see any instruction on this so just sliced them. They seemed to just get dryer and dryer the longer they cooked!
Kelli Avila
Hi Amy. Was your heat too high? Everybody's stove works differently, so maybe next time turn down the heat a bit! Please reference the photos for how thin to cut the onions, but about 1/4 to 1/8 of an inch should work. I'm going to update the instructions to include that info.
Kaitlin Koch
Great how-to! Easy to follow and yummy results. Used in prep for dinner tomorrow; Butternut Squash, Onion, & Feta pie!
Kelli Avila
Tis the season for that heart savory pie! Glad it was helpful and hope you LOVE the Bnut squash pie as much as I do 🙂
Sarah
I agree that this a great how to. The butternut squash, onions and feta cheese pie sounds 😋 I will have to go find the recipe now. 🤣 I have seen a recipe for tomato pie that I am wanting to try and now I am thinking of adding these onions to it.