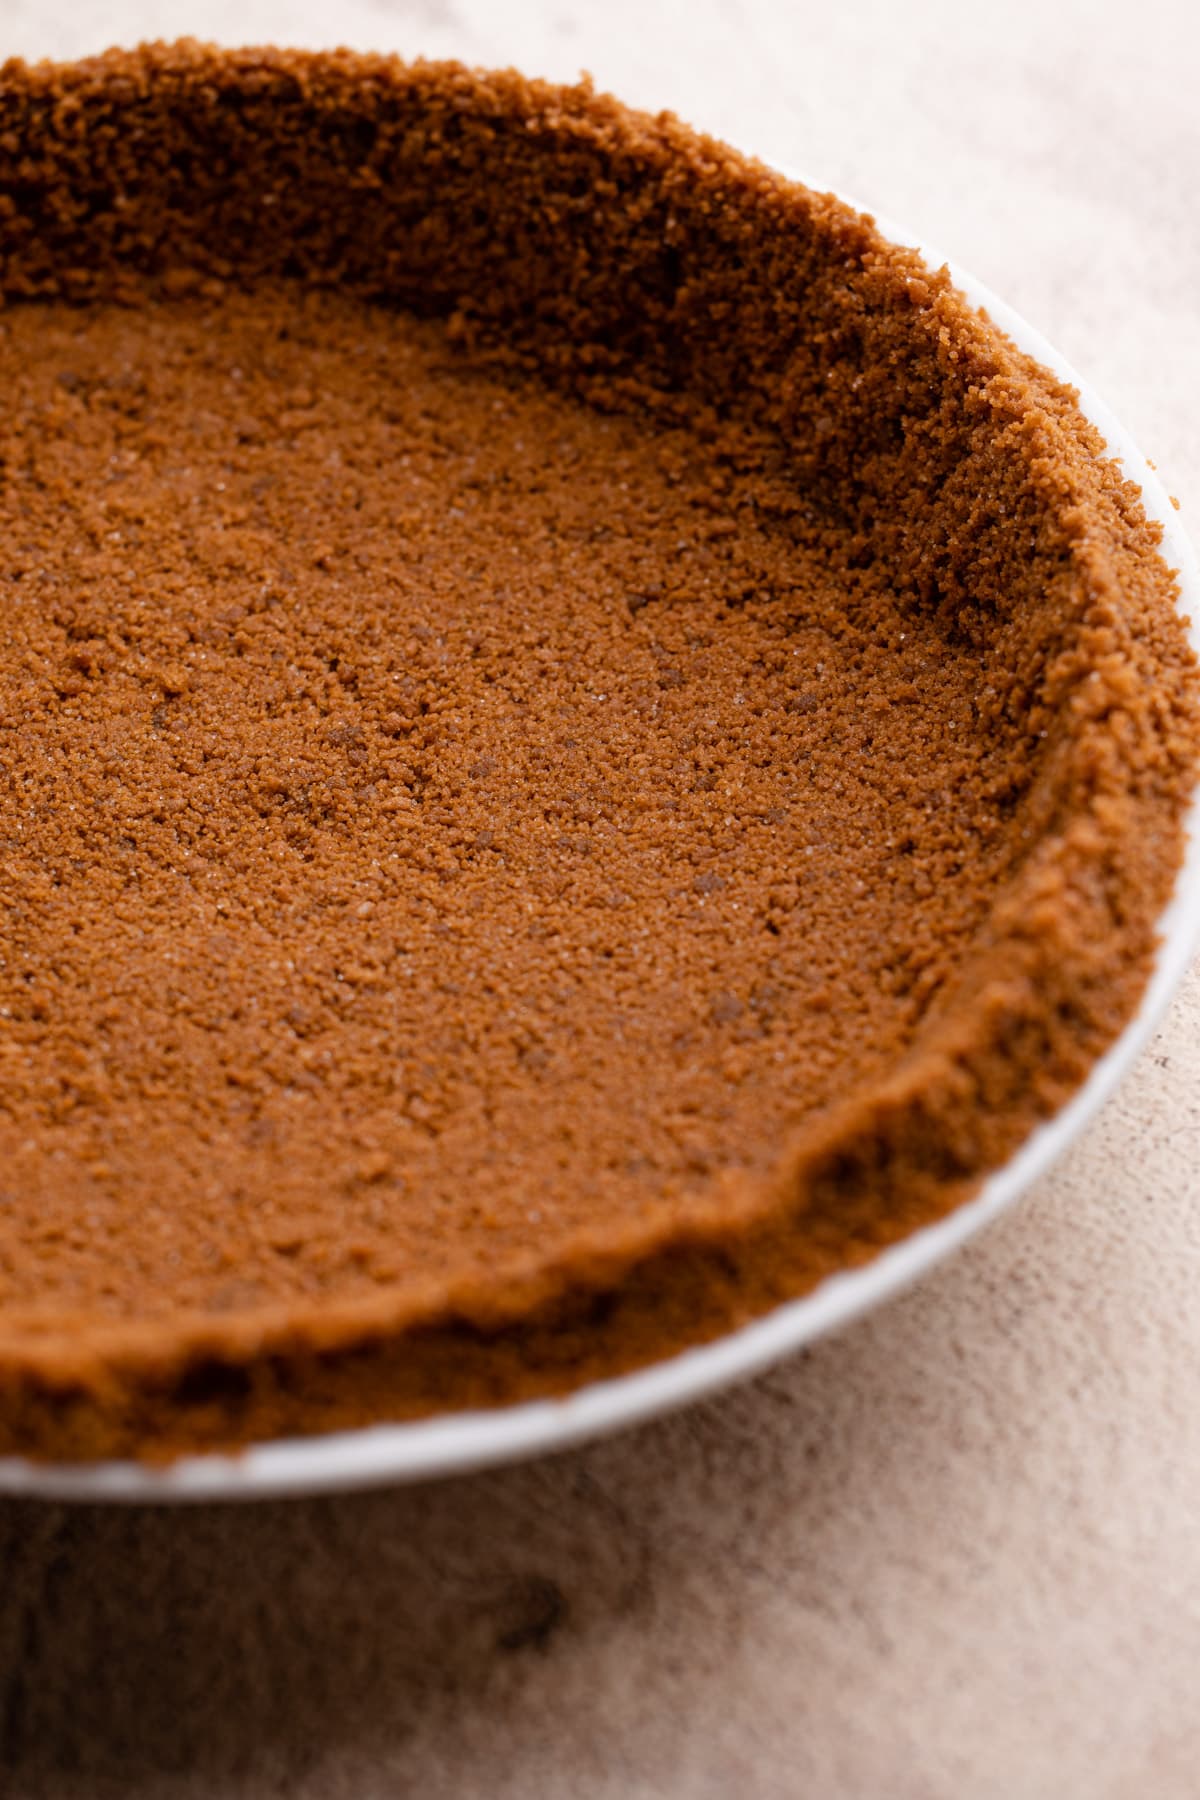
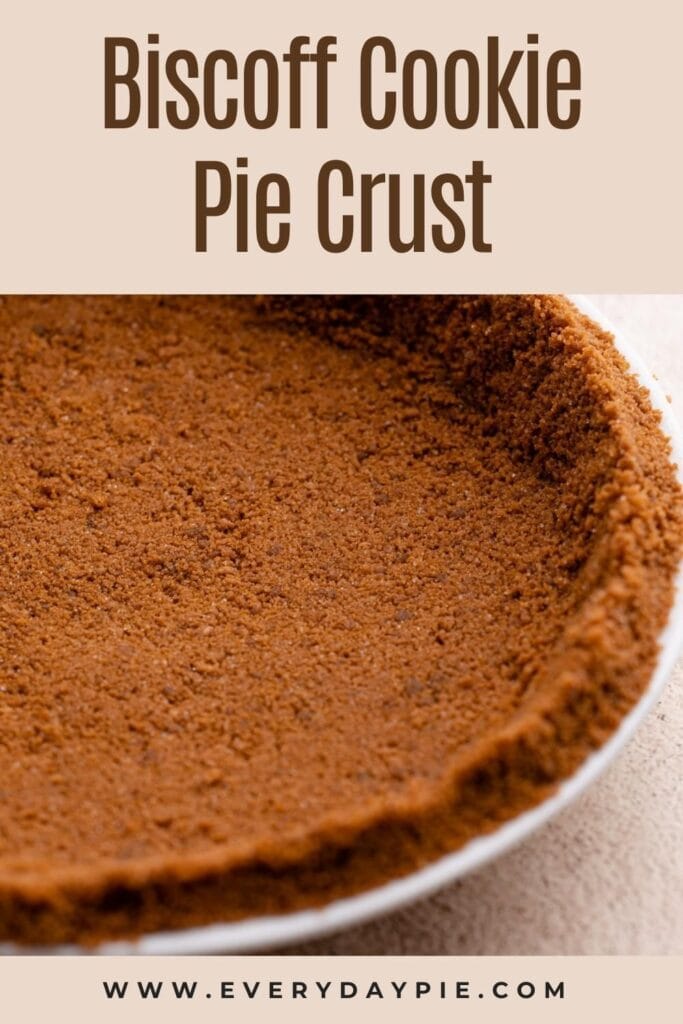
Made with just a few simple ingredients, This Biscoff Pie Crust is easy and delicious! This crunchy and sweet crust is perfect for beginners or when you need an uncomplicated or quick pie crust.
Want to save this recipe?
Enter your email & I'll send it to your inbox. Plus, get weekly updates from me!
Sometimes, you just need a super easy pie crust option and crumb crusts are usually the answer. They're simple to make and taste amazing. You can make a crumb crust out of nearly anything, but this recipe is all about the Biscoff cookies!
Biscoff cookies (aka speculoos cookies) are Belgian shortbread cookies with slight caramel and warm spice flavor. They make a great cookie to crush and turn into a pie crust, similar to a graham cracker crust or an oreo cookie crust.
This recipe uses only a handful of ingredients, and it takes less than 5 minutes to put together. You can either bake it briefly for a lovely toasted effect or freeze it for a no-bake pie option!
Ingredient Overview
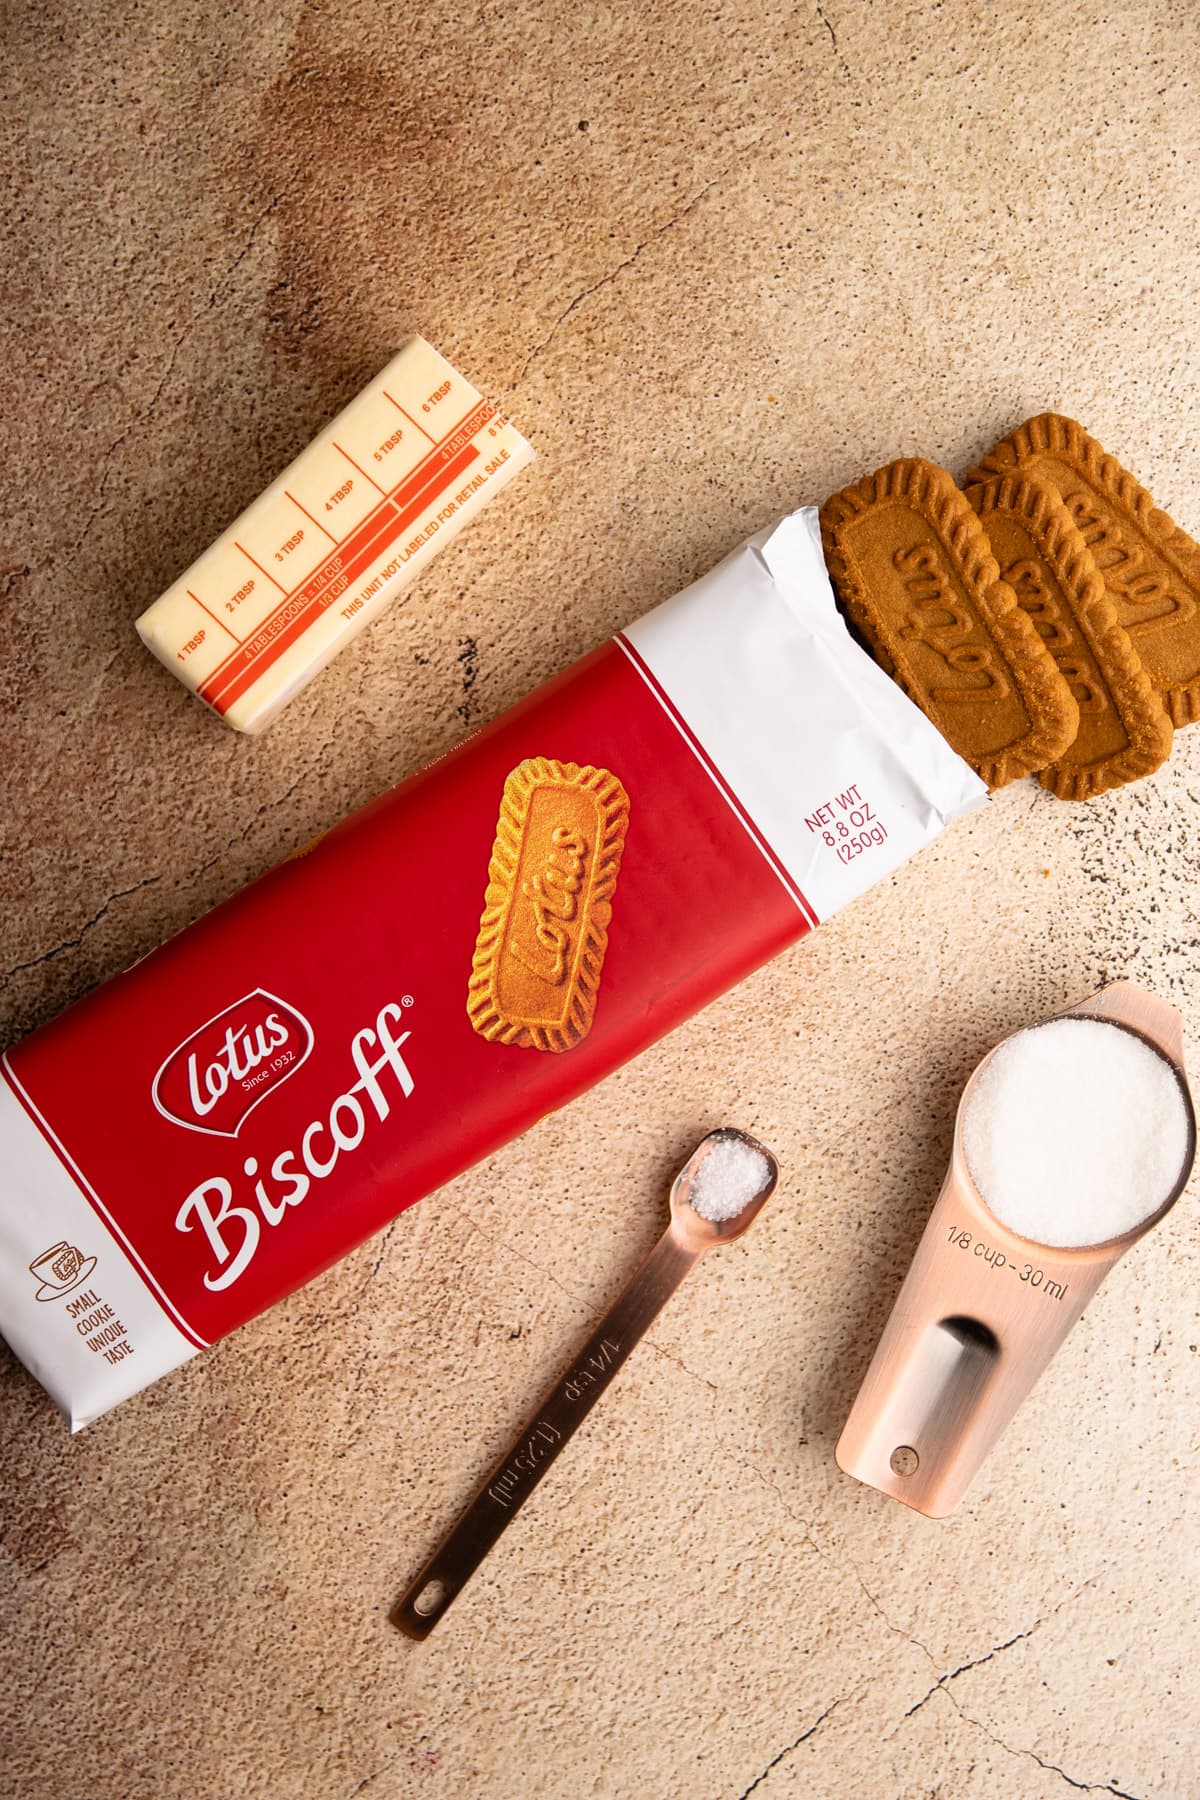
Here is an overview of the ingredients needed for this recipe. The full recipe is listed below in greater detail.
- biscoff cookies or speculoos
- butter
- sugar
- salt
Troubleshooting Tips
While this recipe is rather straightforward, there is some nuance as to how wet or dry the mixture is when you add the butter to the biscoff crumbs.
The crumb mixture should be the consistency of wet sand. If for any reason your crumb crust is extremely dry, you can add one tablespoon of melted butter–one tablespoon at a time–to the biscoff crumbs until they are evenly moistened.
Alternatively, if your mixture is too wet and it is hard to work with, add more biscoff crumbs until it is just moistened enough for the crumbs to stick together easily.
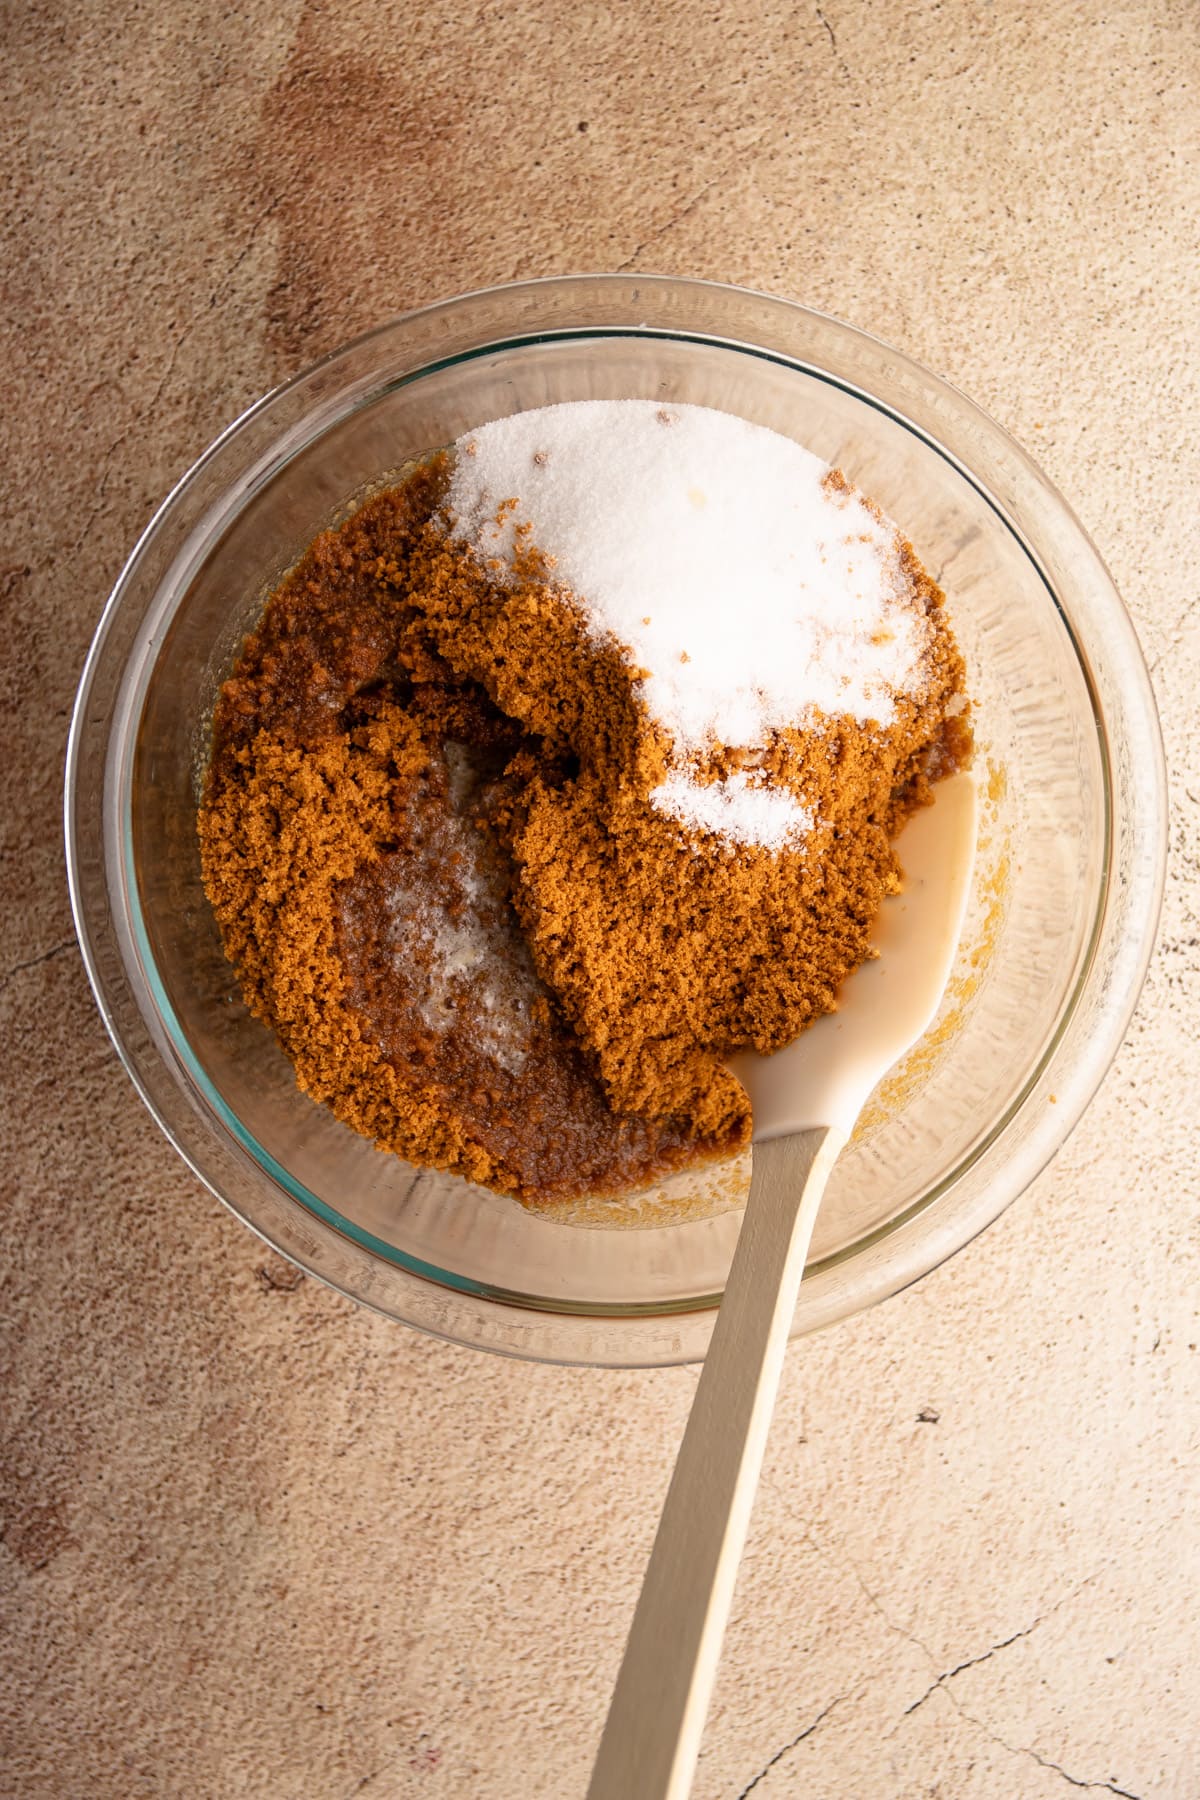
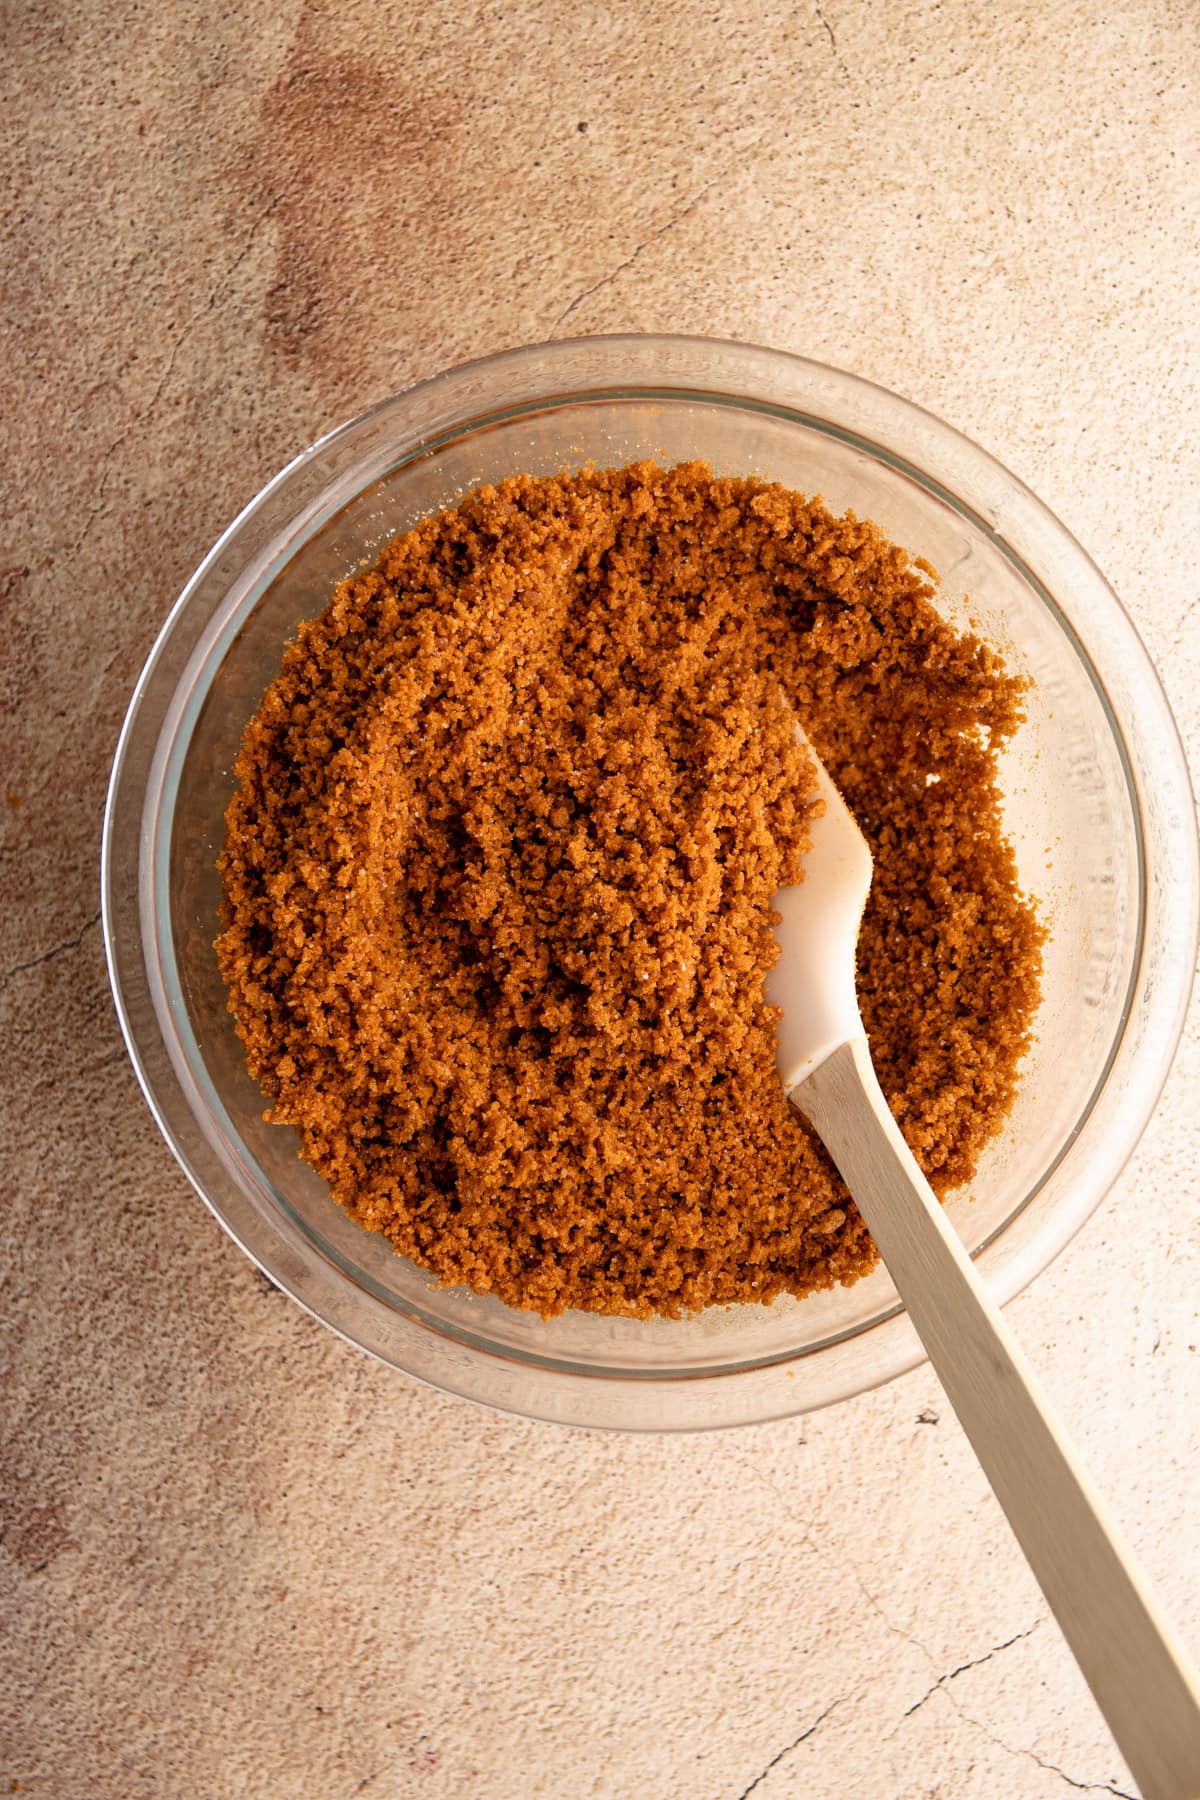
Steps to Make a Biscoff Crumb Crust
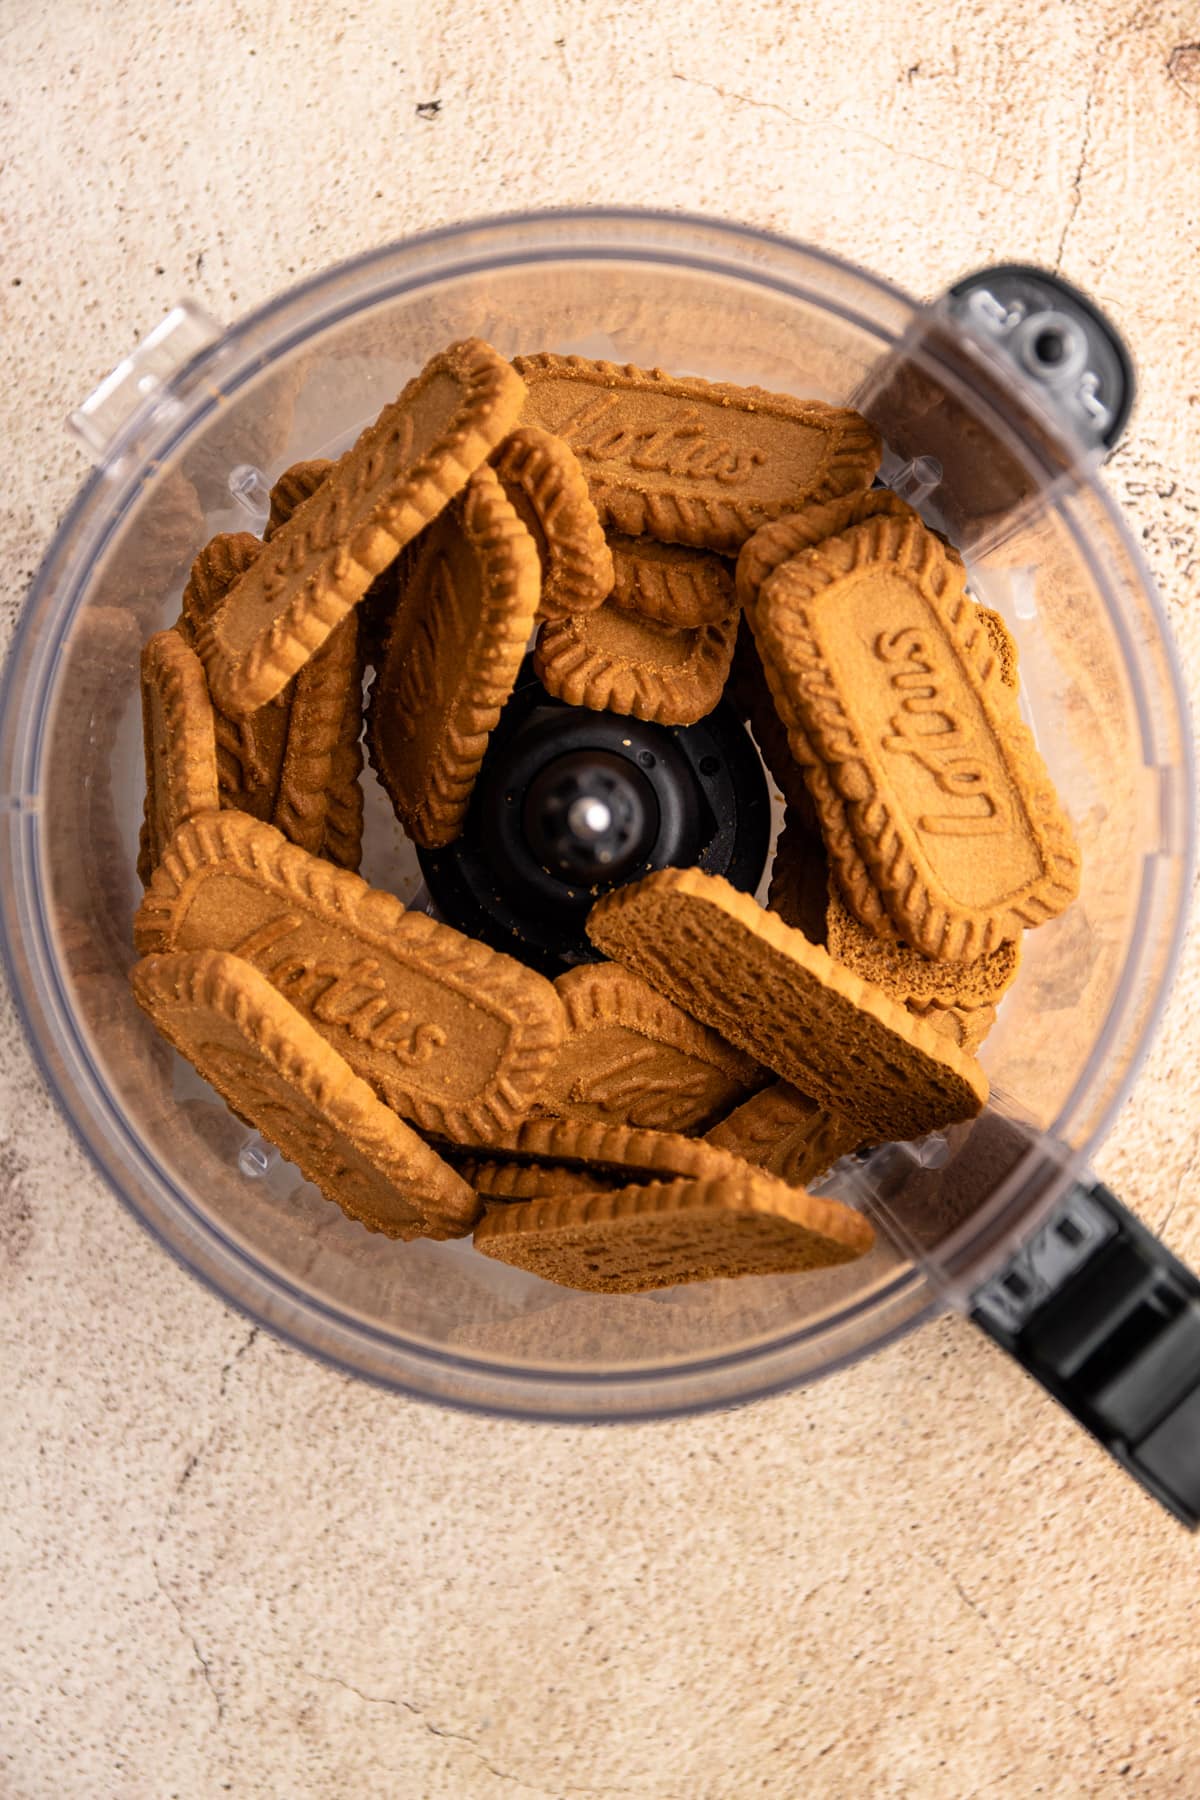
- Grind up the cookies until they are fine crumbs. Do this with a food processor. If you choose to do it by hand, make sure to get the cookies smashed into fine pieces. Big chunks of Biscoff cookies can make the crust too crumbly.
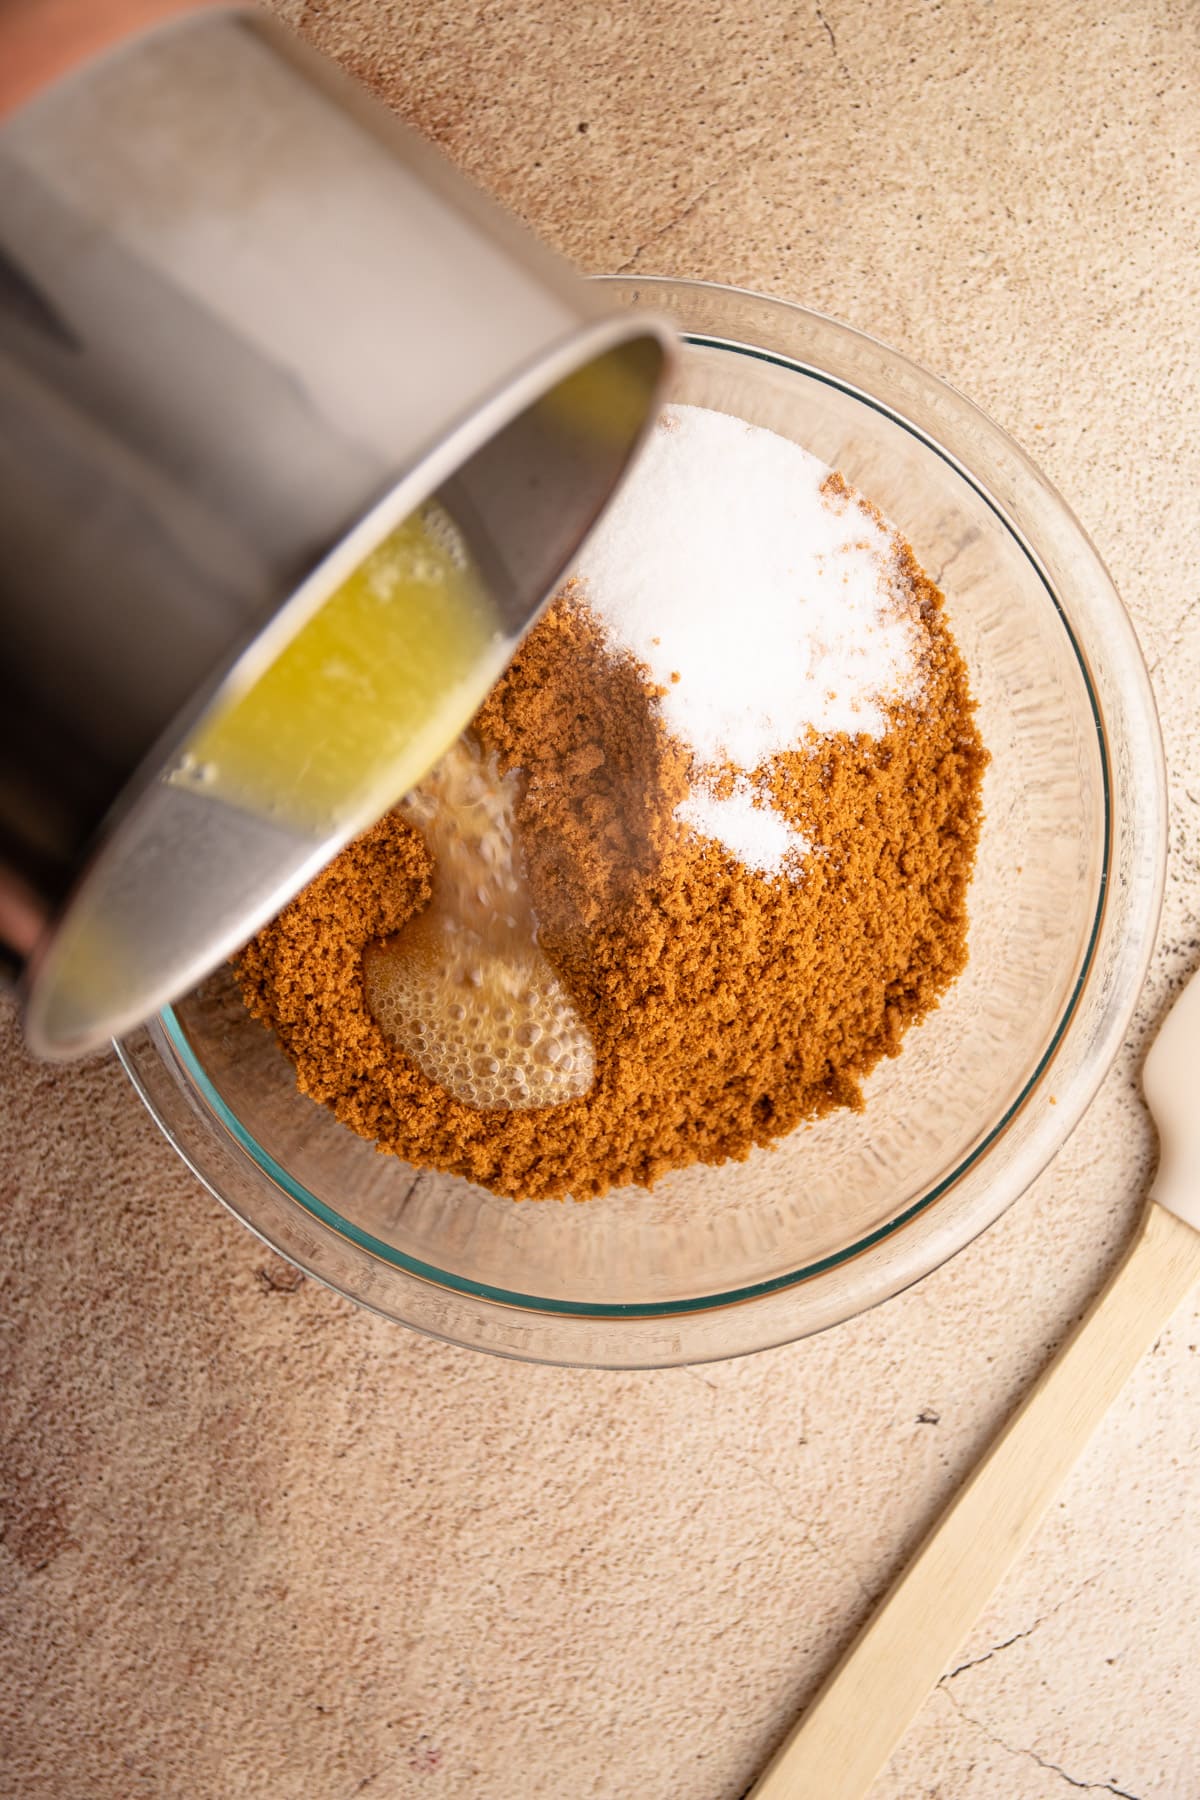
- Melt the butter on the stove in a medium pot. Shut off the heat.
- Mix together the cookie crumbs, sugar, and butter.
- Add the crumb mixture to the pie plate and form the crust.
- Now the pie can be par-baked (see more on this below) or put in the freezer to harden up.
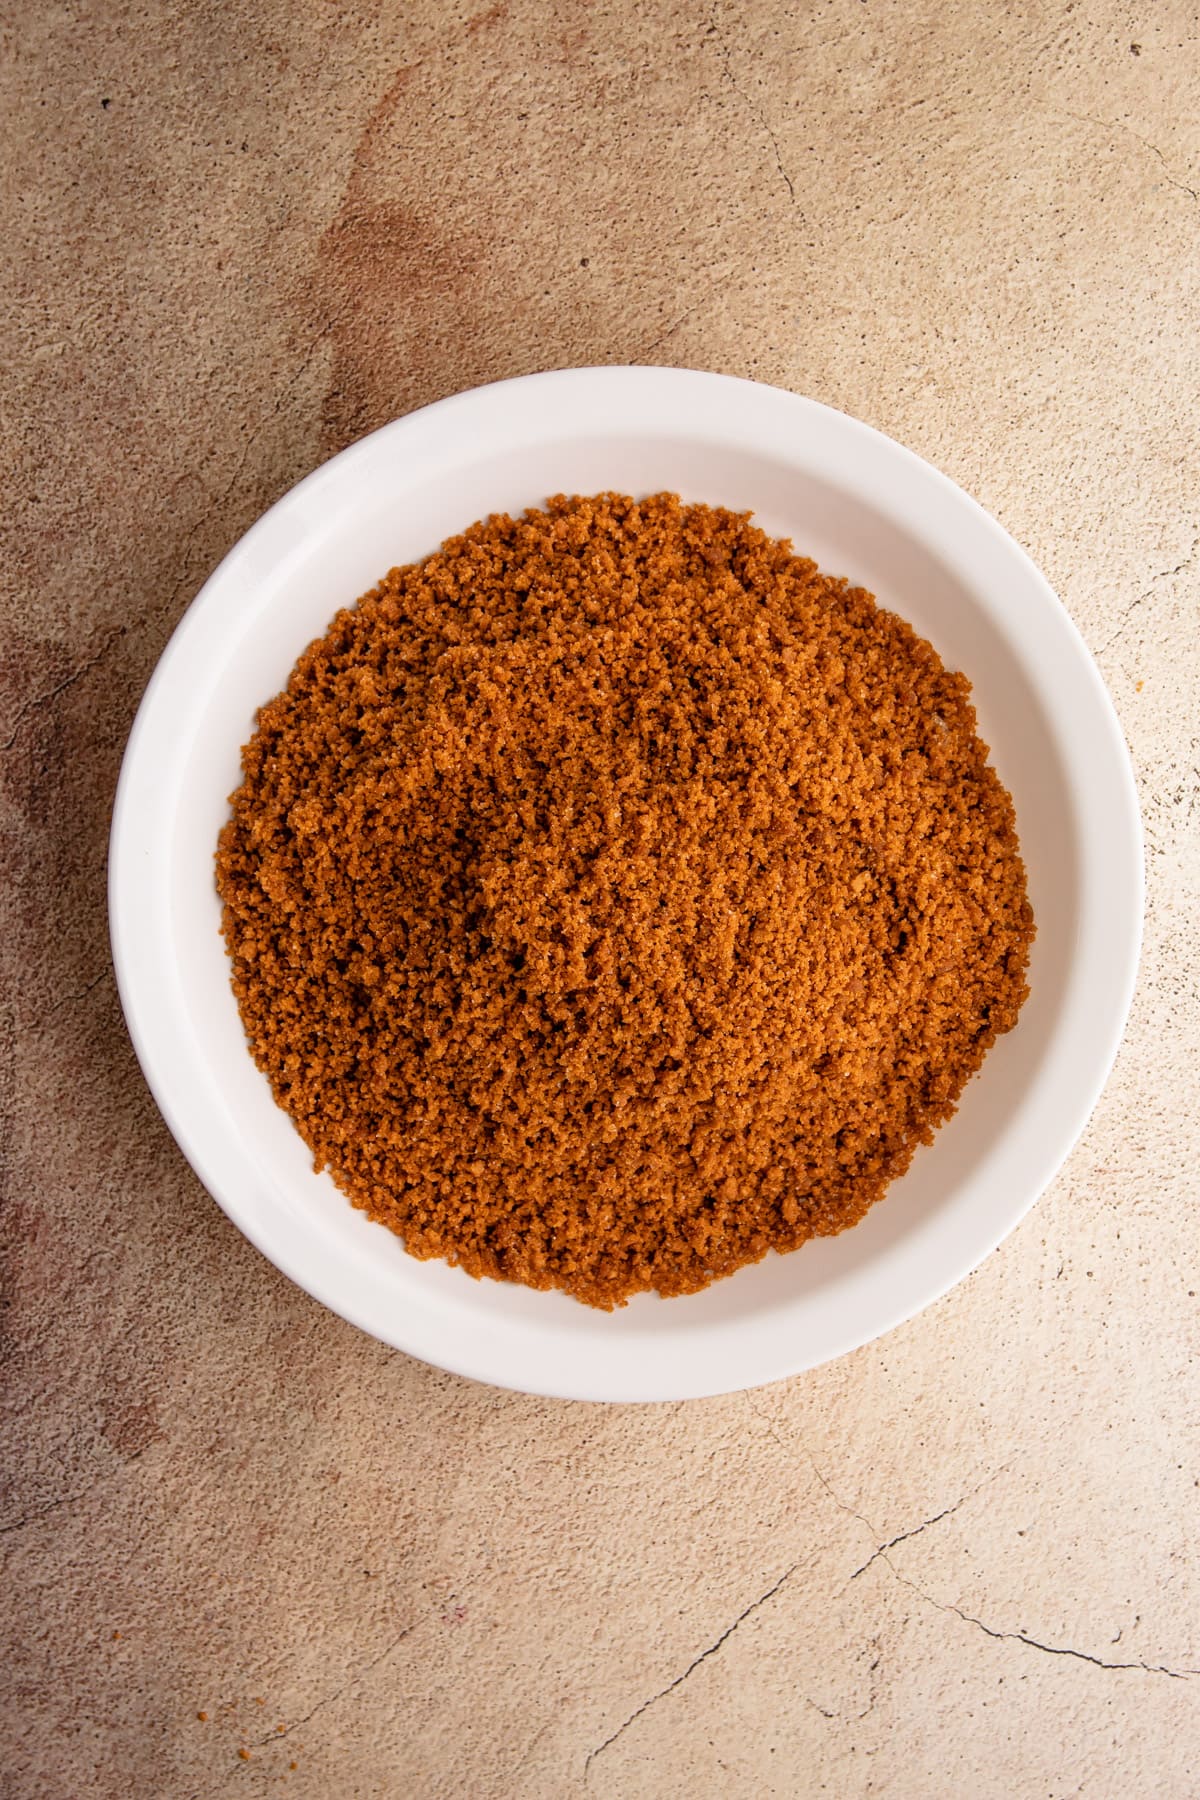
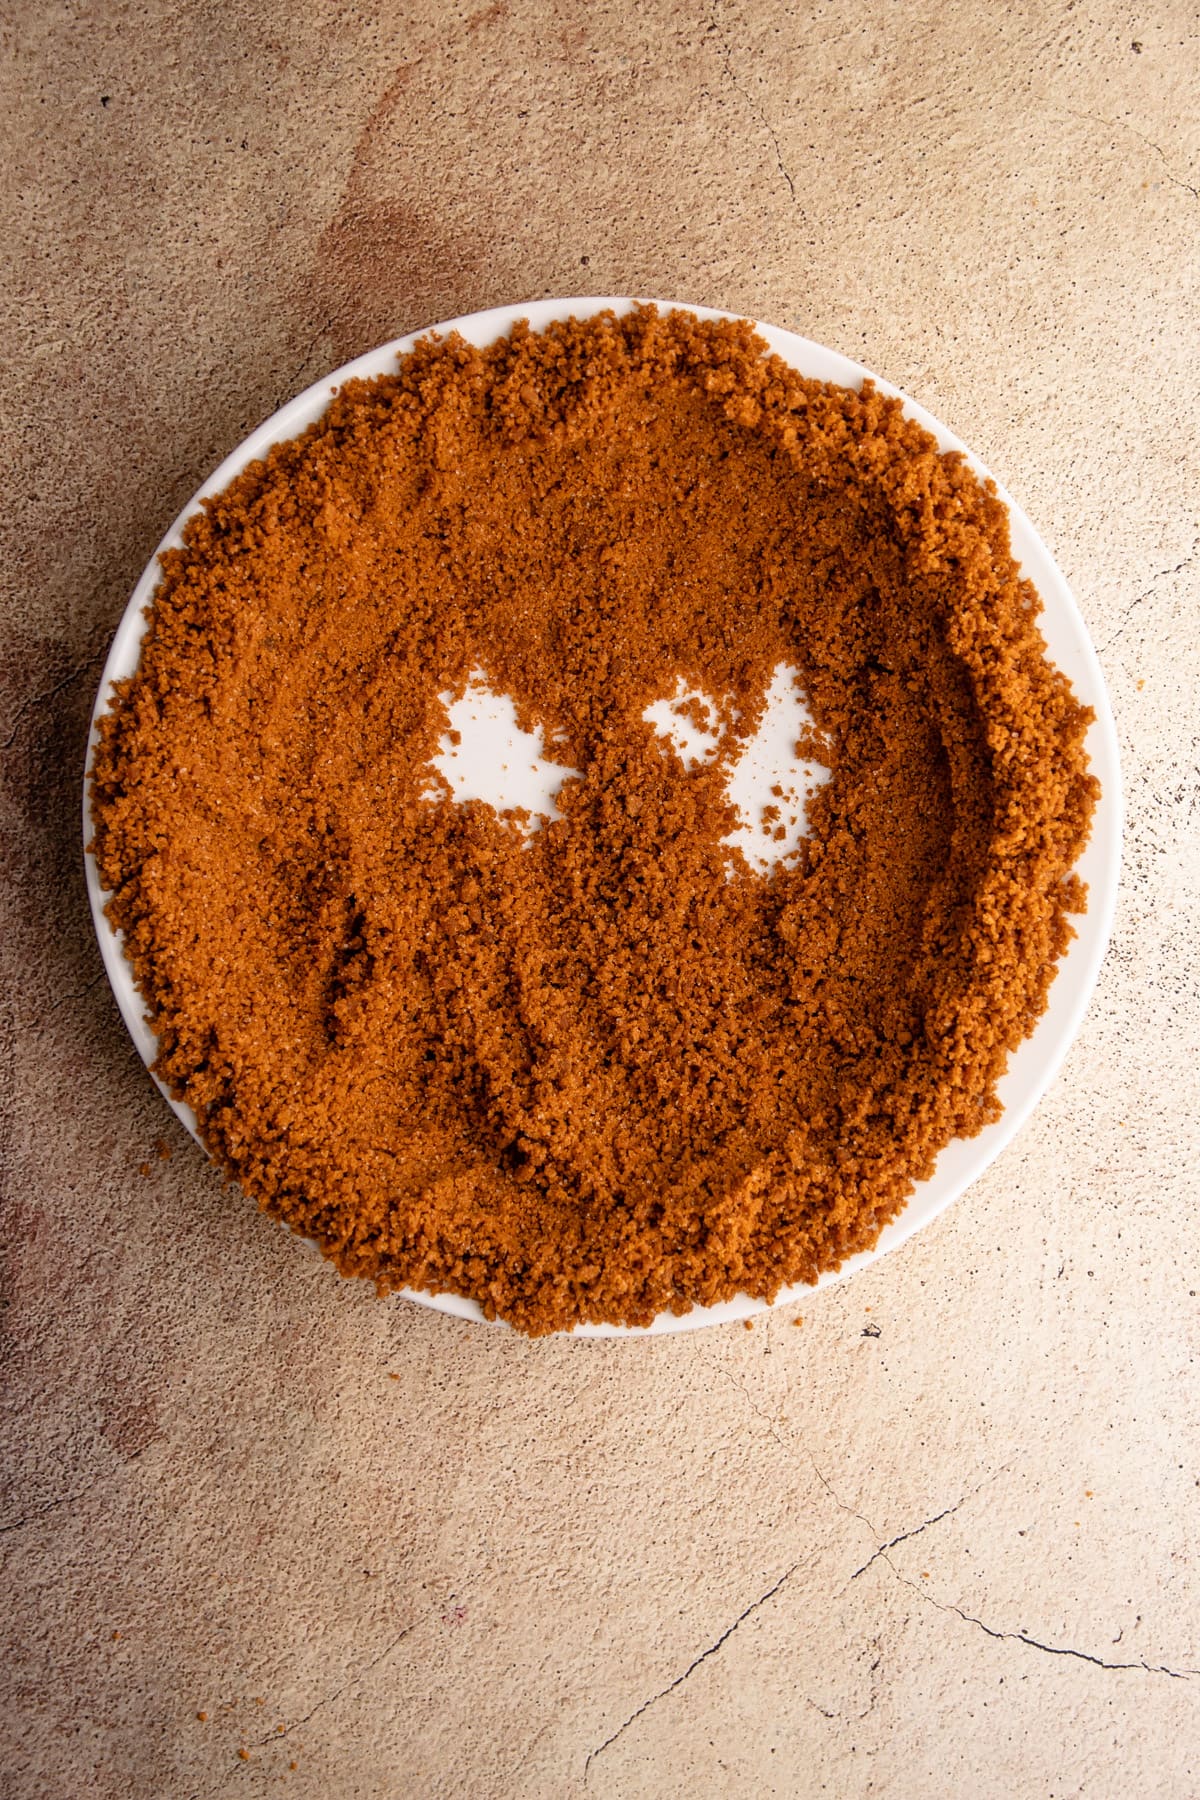
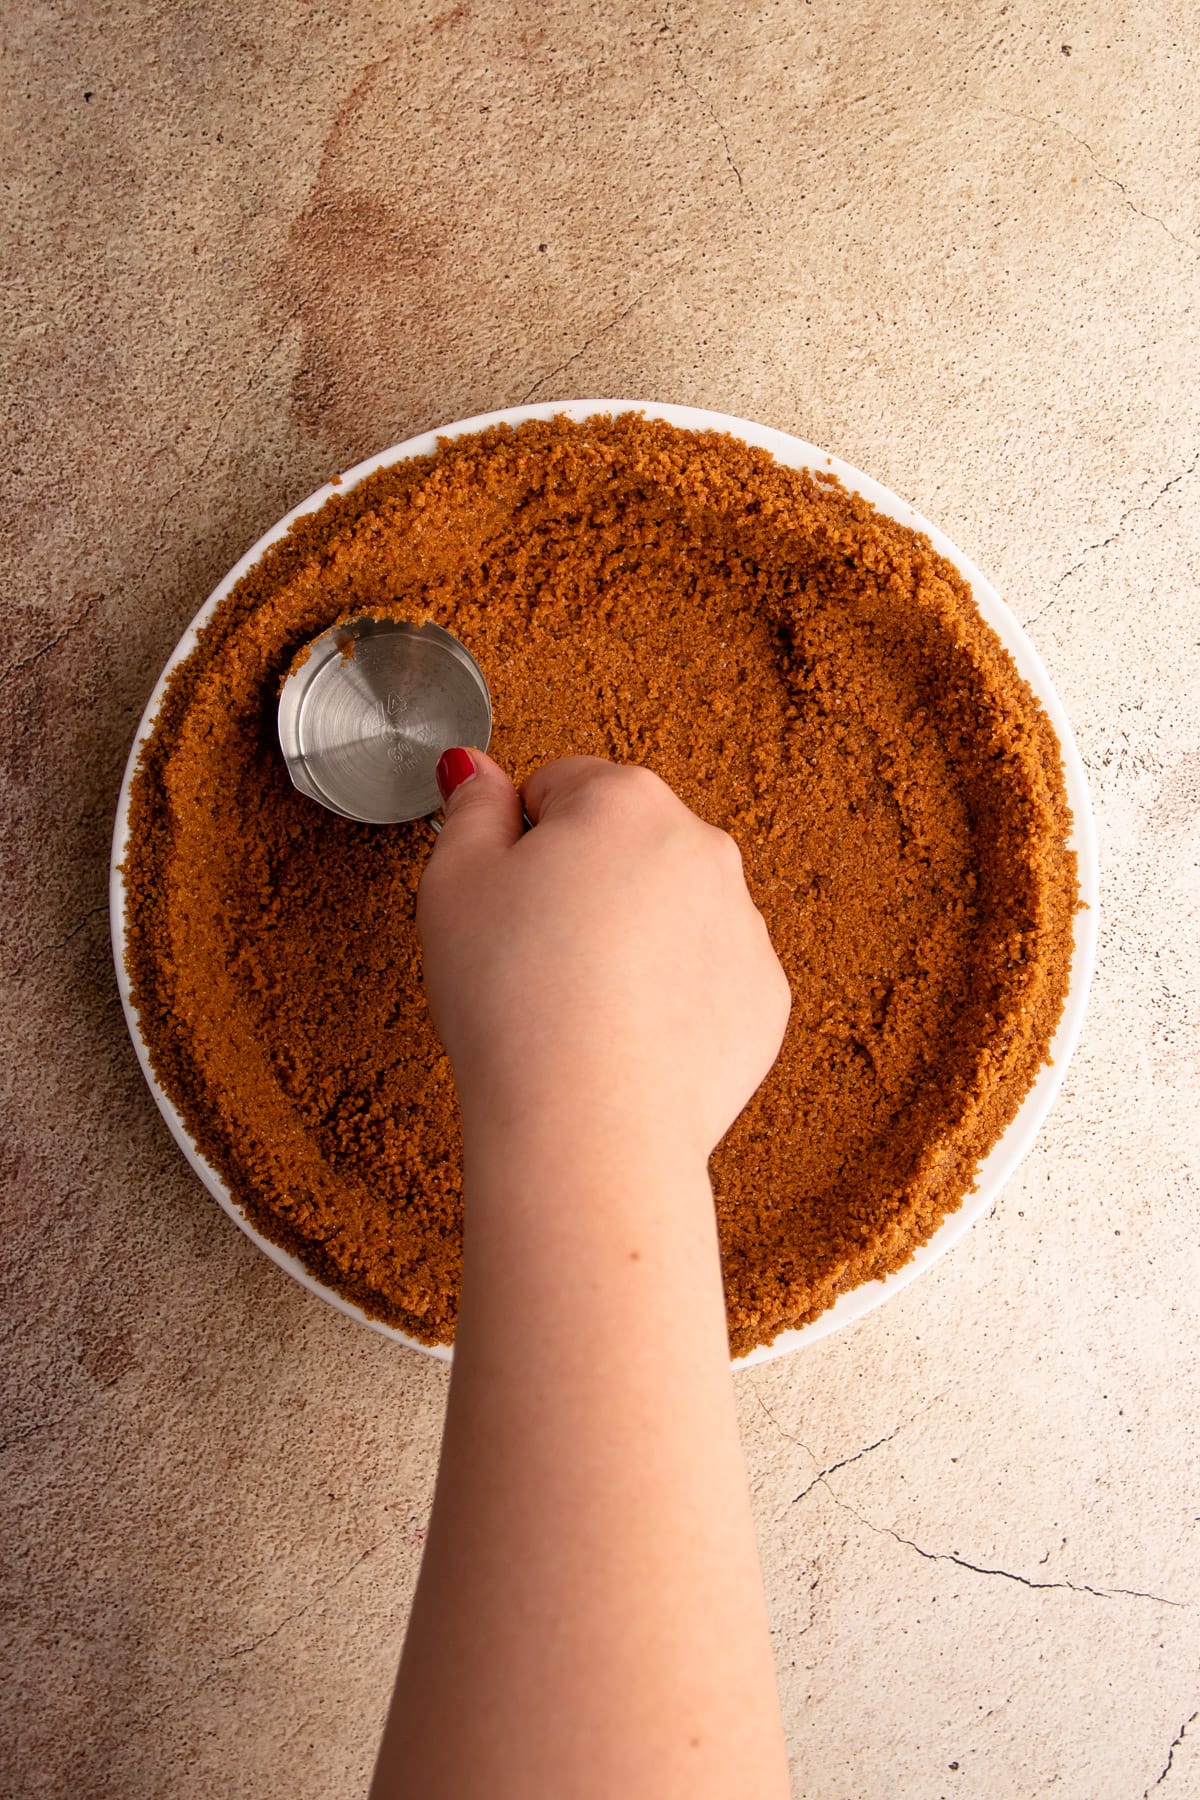
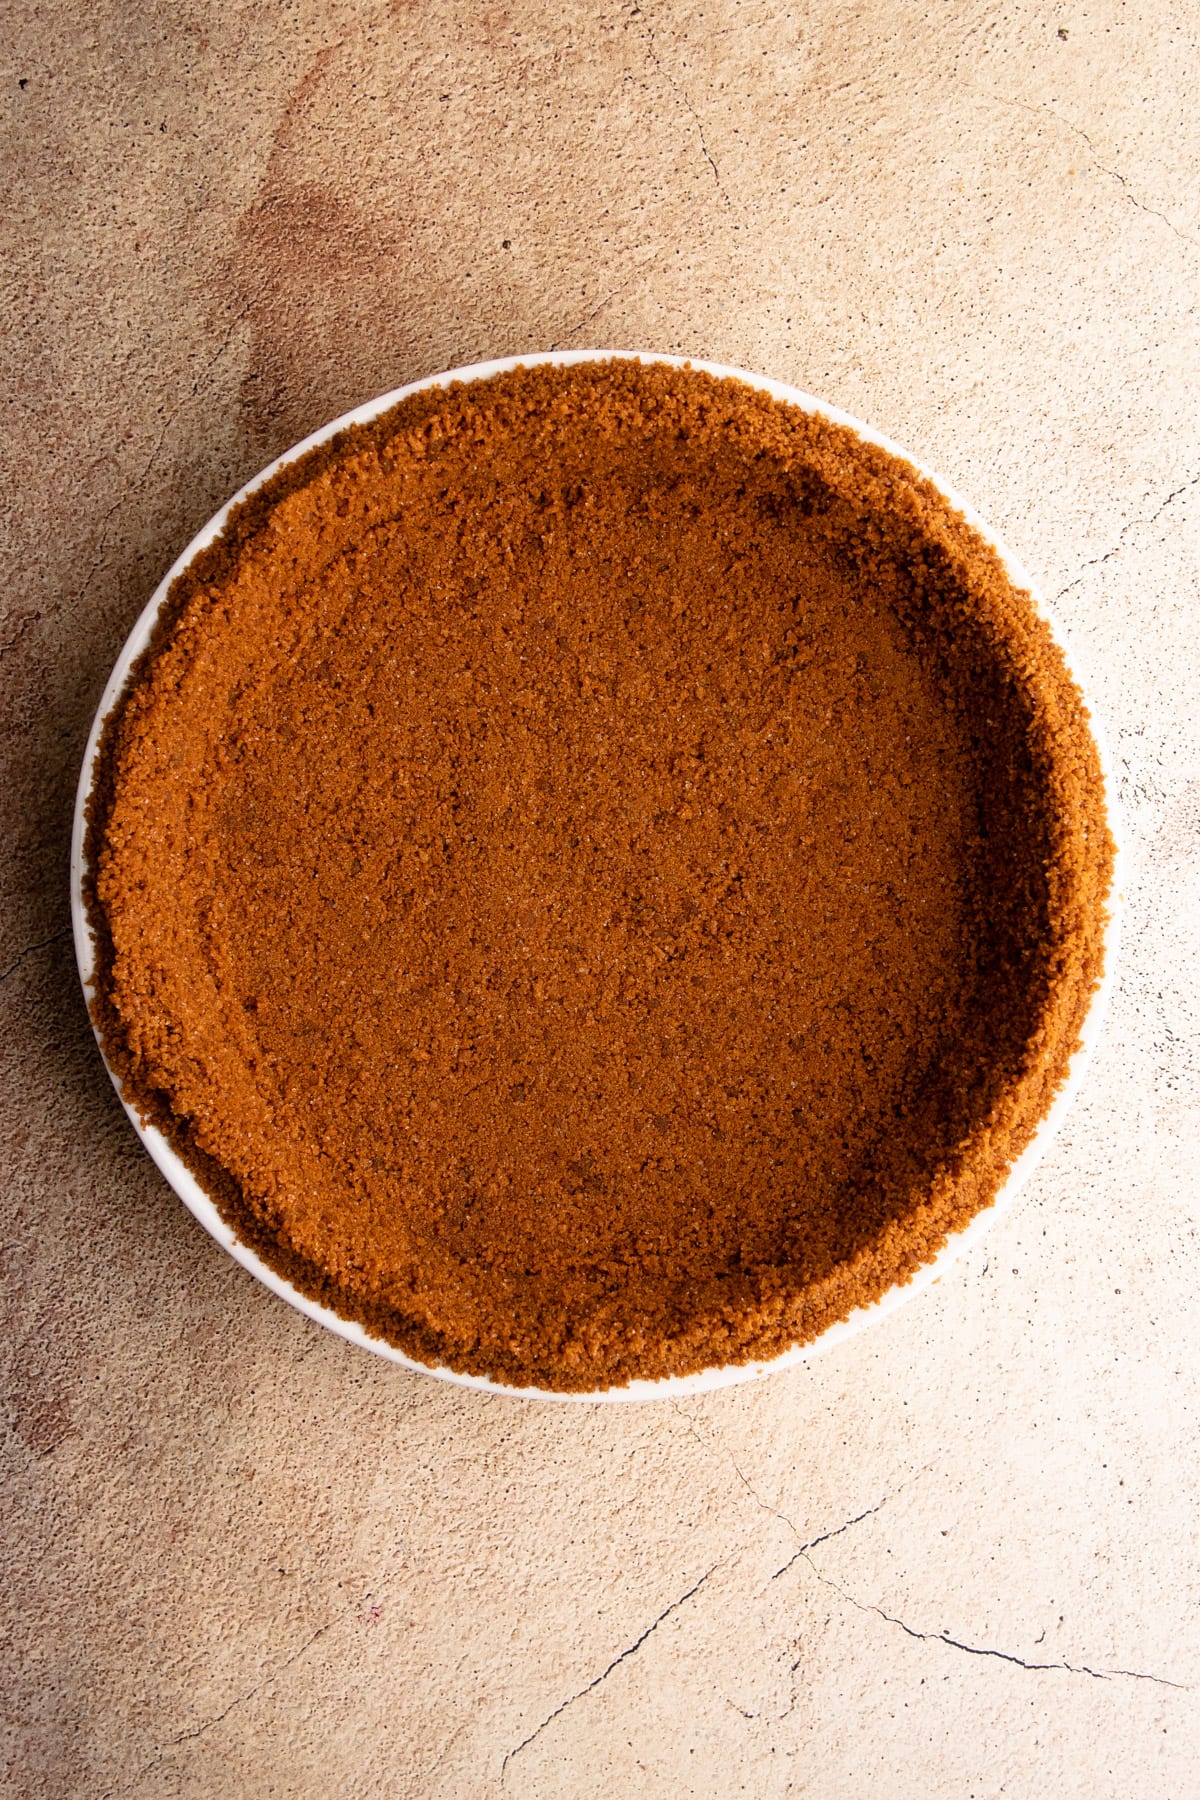
Shaping the Biscoff Crust
The easier way to form a crumb crust is to start forming the edges of the crust first, and then press the crumb mixture down into the bottom of the plate.
Here are the steps:
- Gather the crumb mixture loosely up the sides of the plate until all the edges are covered with crumbs.
- Form the top edges of the crust and neaten them up by pressing them together with two fingers. It may feel like you won’t have enough crumbs to fit the bottom of the pie at this point, but you will.
- Start packing down the sides of the crumb crust with your thumb in an even layer. As you do this, start moving the excess crumb mixture toward the center of the pie plate.
- Continue packing the crumbs from the outer edges towards the middle until you have established a single layer.
- Using the flat bottom of a measuring cup, pack down the crumbs until everything is tight and even.
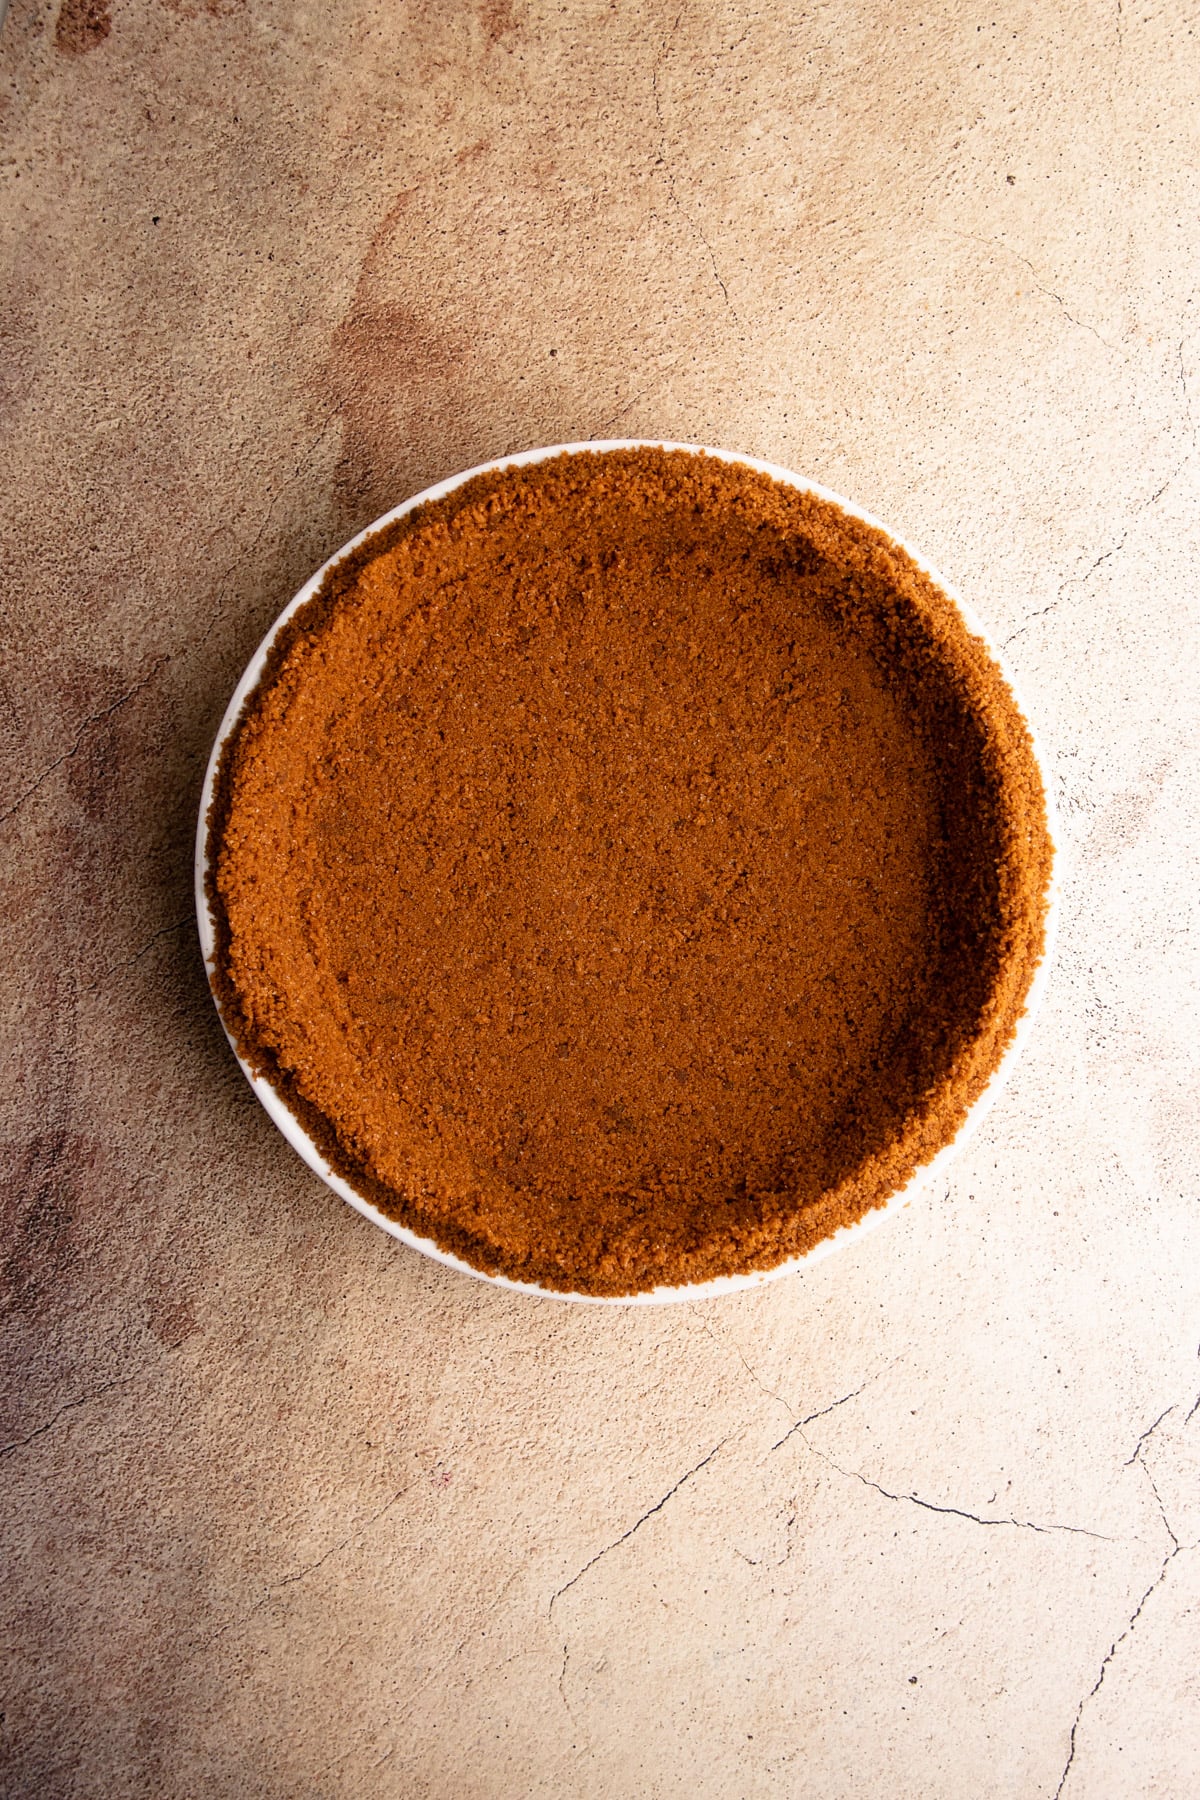
To Bake or Not to Bake
You have two options for preparing this crust. You can blind-bake it (aka briefly baking the pie with nothing in it) or freeze it.
There are pros and cons to each. But first, let’s understand that the butter and the sugar play important roles in making sure the crumb crust stays together for each of these methods. Then, you’ll know which method is best for your pie.
Freezing the crust works because the melted butter becomes solidified and bonds the crust together. The sugar might melt slightly from the warmth of the butter, but without the par-bake, the sugar doesn’t melt enough to act as a binding agent here.
While freezing the crust is certainly easier than having to preheat an oven and par-bake the crust, it is not as sturdy as the baked version. I only recommend freezing the crust if you will be serving your pie when very cold. Otherwise, you’ll just find your crumb crust to be very crumbly!
When you bake a crumb crust, you are melting the added sugar which then helps bond the crust together. Baking it results in a crispy crust. Not only that, but it also deepens the flavor of the pie by toasting up the chocolate crust.
I prefer the baking method and will always bake it if I can. If you are planning to bake a pie that will be served from the refrigerator or will be left out of the refrigerator for more than 20 minutes, I recommend you blind-bake the crust to ensure it holds together.
Types of Pies To Make with a Biscoff Crust
This crust recipe is truly versatile. Pair this Biscoff crust recipe with nearly all styles of pie such as:
- no bake cheesecake style pies
- cream pies
- ice cream pies
- chiffon pies
- chocolate pies
The only type of pie that wouldn't work well with a biscoff crust is a custard pie. Custard recipes generally have too much liquid, and sometimes, when you pour a thin filling into a cookie crust, it will cause the crumbs to break apart and rise to the top of the pie. So I don't recommend using this recipe for any sort of custard filling.
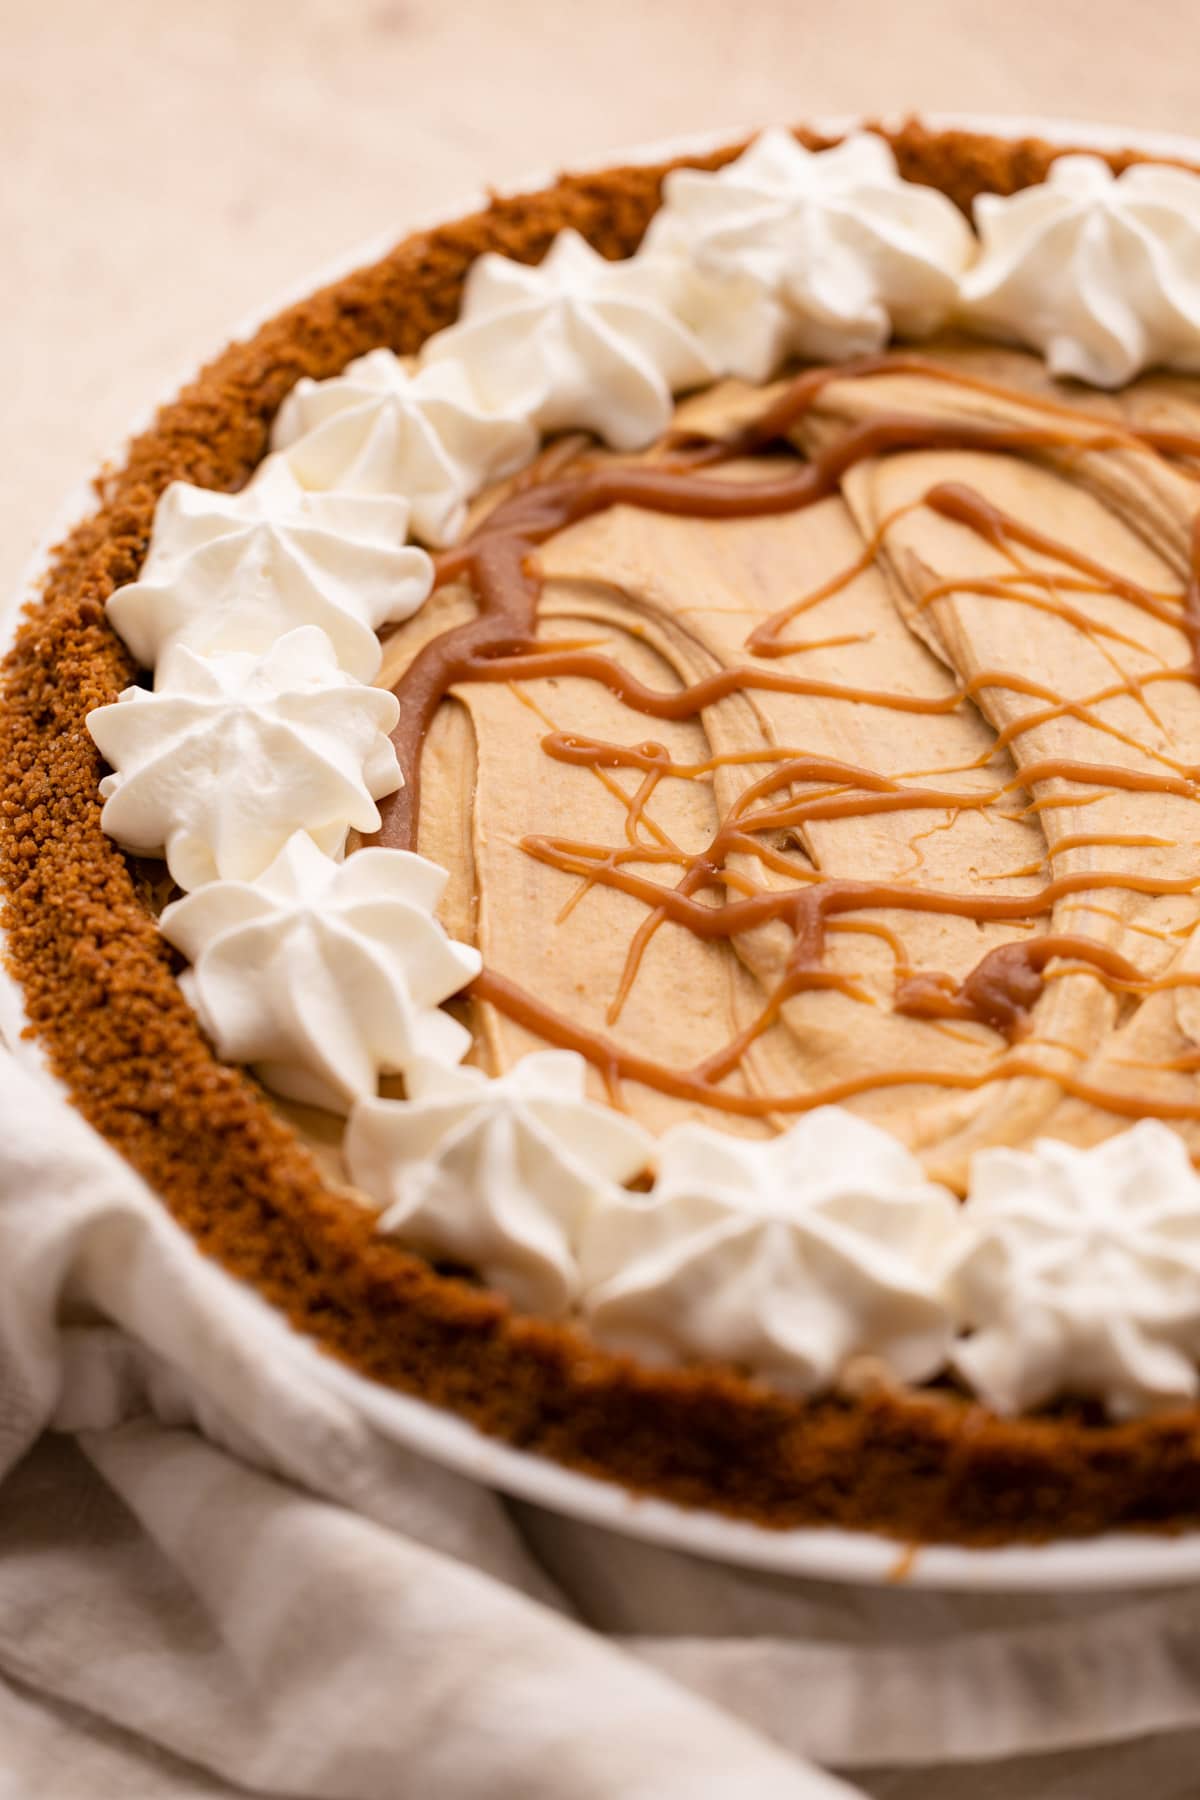
Recipes to Pair with a Biscoff Crust
- Butterscotch Cream Pie
- Malted Milk Chocolate Pie
- Caramel Macchiato Pie
- Banana Cream Pie
- No Bake Pumpkin Pie
More Crumb Crust Recipes:
I am so honored when you make a recipe from my site! If you make this Biscoff Pie Crust, please leave a comment and a star rating with your experience! If you have any questions about this recipe, feel free to comment here, too!
Full Recipe
Biscoff Pie Crust
- Prep Time: 00:05
- Cook Time: 00:10
- Total Time: 15 minutes
- Yield: (1) 9" pie crust
- Category: Pie Crust
Ingredients
- 2 cups (8 ounces / 226 grams) Biscoff cookie crumbs (about 29 cookies)
- 6 tablespoons melted butter
- 2 tablespoons granulated sugar
Instructions
- Mix together the crumbs, butter and sugar in a bowl.
- Pour the crumbs into the pie plate and start pressing them up the sides of the pie plate to form the edges first. Once the edges are formed, work the crumbs down to evenly distribute them into the bottom of the pie plate. Then pack it down into an even layer using a flat bottomed cup or measuring cup.
- If baking: Bake in a preheated 350º for 10 minutes. If freezing: freeze for 30 minutes for a no-bake pie option. See more about this in the text above.
Some of the links on this page may be affiliate links. Everyday Pie is a participant in the Amazon Associates Program. As an Amazon Associate I earn from qualifying purchases, at no extra cost to you.


Sandy
I tried to make this, and my crust is super grainy. I tried to add more biscuff cookies, but it’s still grainy . What can I do?!
Trush
Hi there! I want to make this crust for a vanilla cream pie that sets overnight. I am a little confused about the types of pie thus crust works for. The notes say to avoid a custard filling but later states it’s good for cream pies. Cream is poured in as a liquid, similar to custard, which is why I’m confused. Would this crust work for a vanilla cream pie? Thank you!!
Kelli Avila
Is it an oven custard (as in it's liquid going in the crust and then baked?) or is it a stove top custard / aka pudding? It's great for cream pies which are typically stovetop custards that are set on the stove and don't go in the oven. Such as this: Butterscotch Cream Pie
If it's a custard baked in the oven, you might have difficulty with the crumbs disintegrating.
C Garcia
Thank you for this recipe, SO delicious ! I’ve used it 3 times with a pumpkin cream pie recipe (instead of graham crackers) and it turned out great!! I made the 1st one frozen and the other 2 baked, the baked versions definitely worked better. The 1st time (frozen) I used a stoneware pie pan and it stuck to the bottom (thank goodness we could still get enough to taste awesome)! The 2nd and 3rd time (baked), I used a glass 9x13 casserole dish and I think both made it MUCH easier to serve.
Kelli Avila
I agree--baked is better but sometimes I skip it too bc it is an extra step. So glad you enjoyed it!
Rhea
This recipe was great. Thank you for explaining when to bake - I ended up baking and made banoffee pie in them; definitely better than a simple graham cracker crust would have been!
L Thoman
in the picture before the ingredient overview there is a measuring spoon and in the video looks like a pinch of something, Salt maybe?
Joe
Did this recipe in a Pyrex pie dish to make with a pumpkin pie for Halloween and it came out simply terrible.
I followed instructions perfectly (not like they’re difficult or anything) and it looked really delicious in the pie pan before baking… I was excited. I opened the oven and everything on the sides had sloughed down to the bottom and I had a 1/2” of cookie-mud with butter weeping out of it. It wasn’t even kind of firm. Way too much butter, I imagine.
Maybe it would actually turn out better doing the freeze and no bake version… ?
Kelli Avila
Hi! I'm sorry the recipe didn't turn out as it is supposed to. Something definitely went wrong. Some questions for you: What temperature was your oven? Did you grease the pie pan? How did the cookie butter mixture look? The recipe talks about troubleshooting because sometimes crumb crusts need either a little less or a little more butter. Either way, it's not normal for this to happen, and something went wrong.