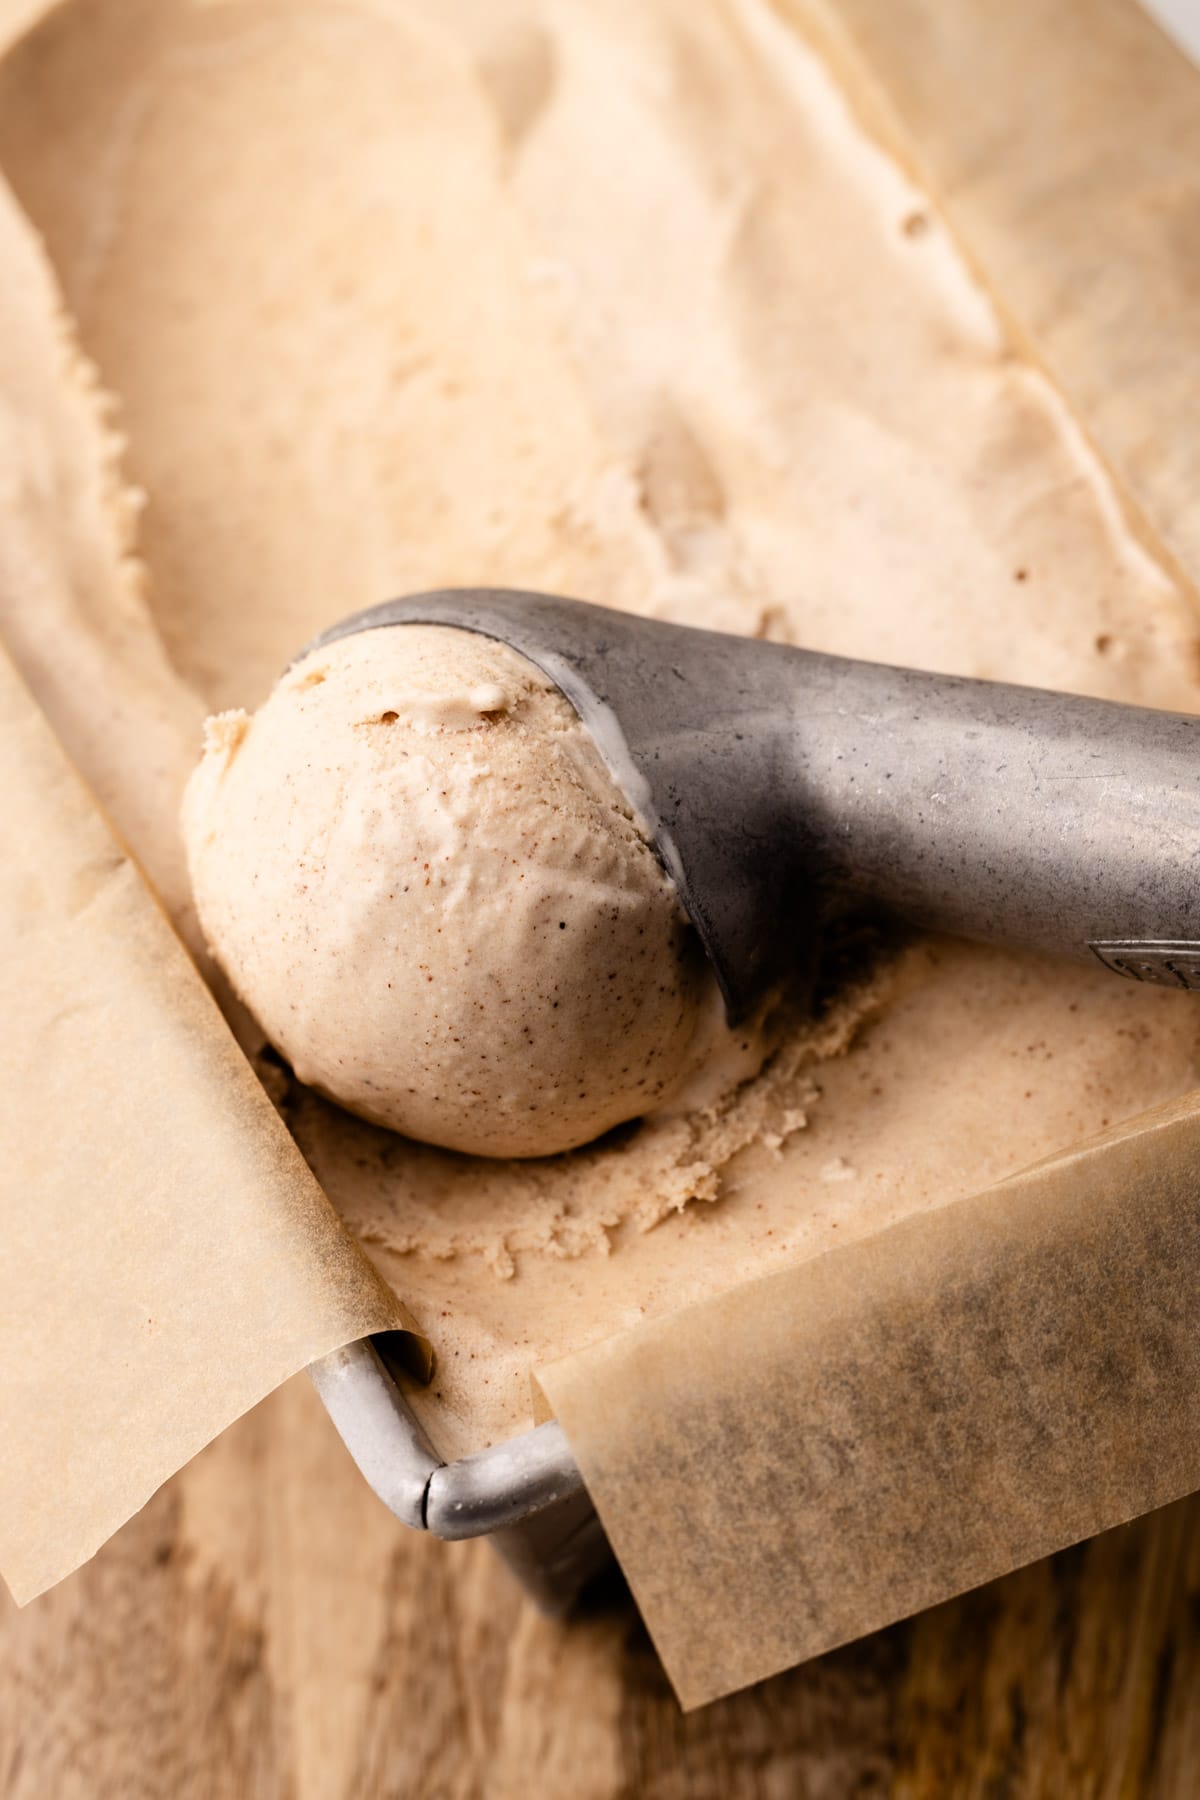
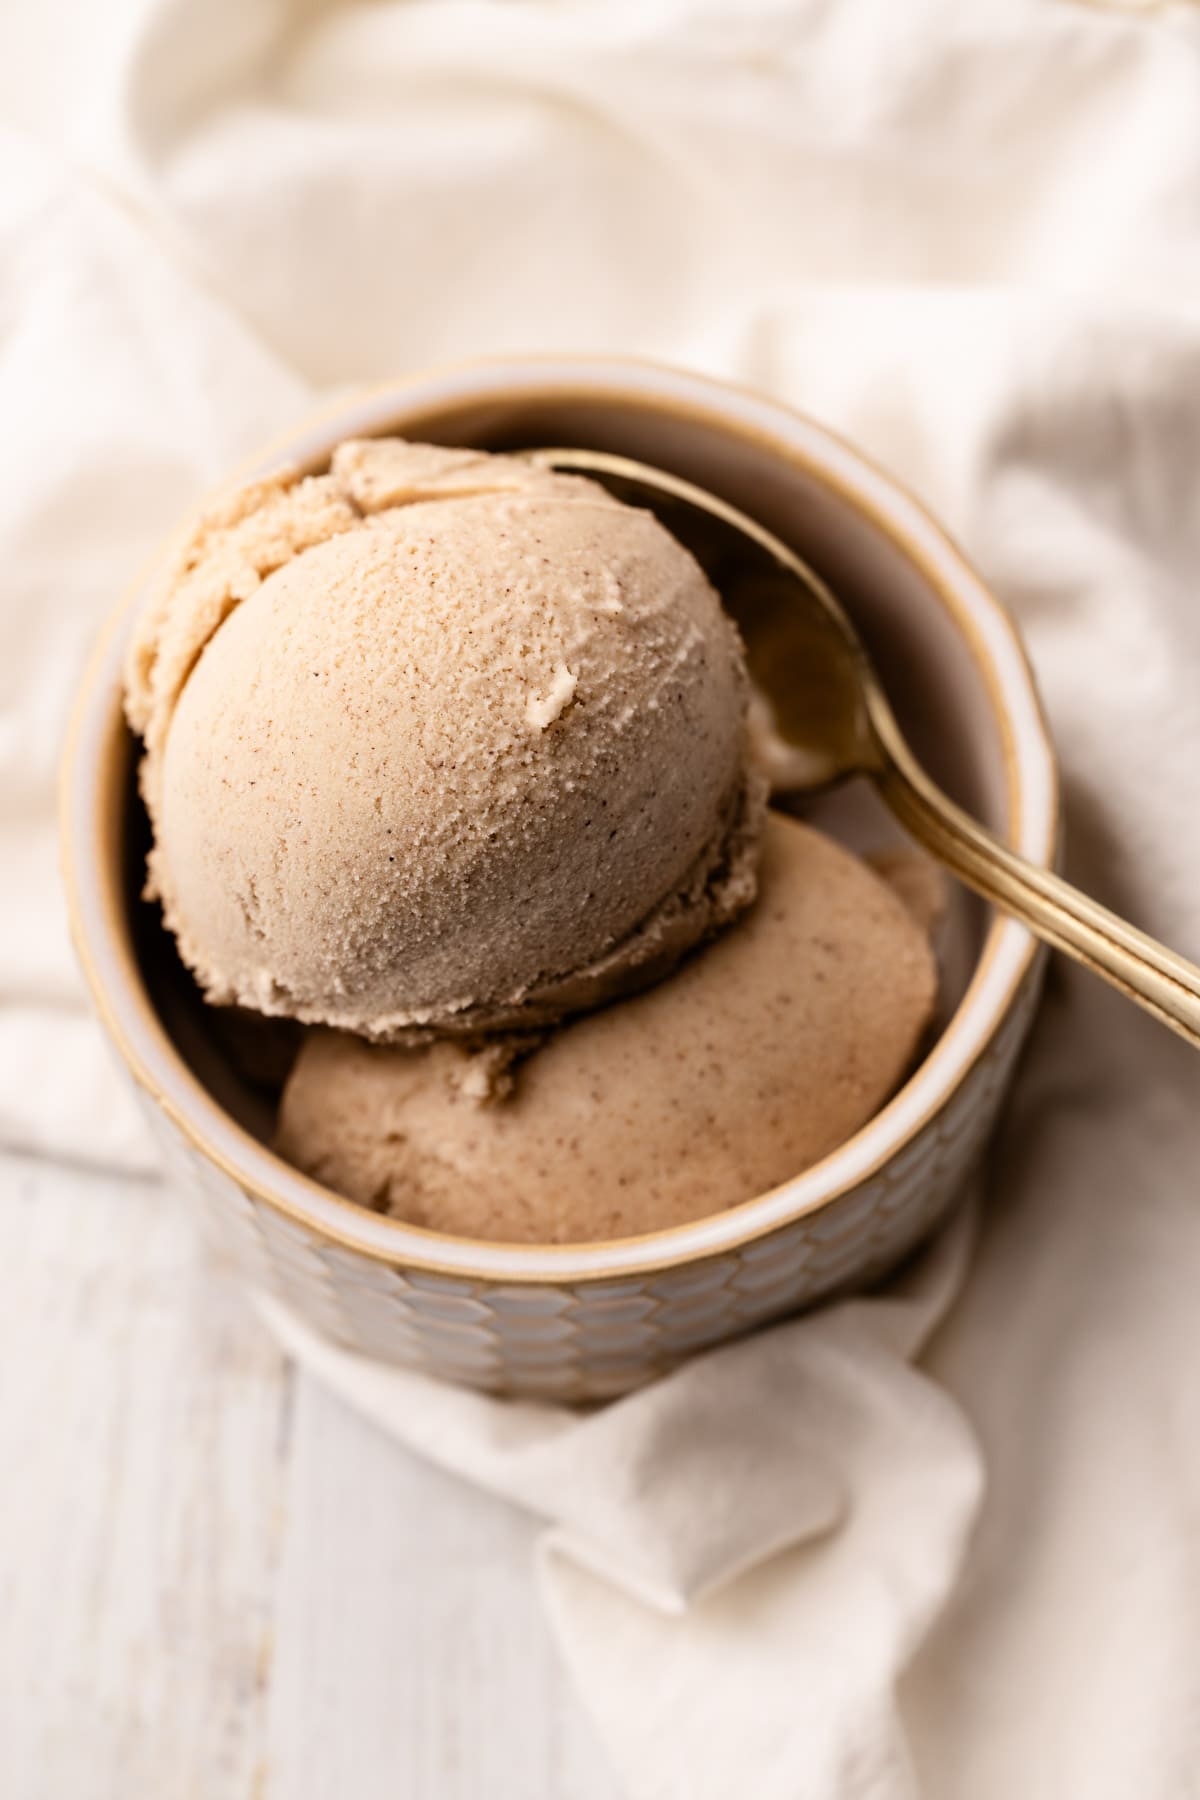
Made with just a few simple ingredients and featuring two types of cinnamon, this Cinnamon Ice Cream recipe is unlike anything you can find in a store! It's a custard-style ice cream recipe that requires an ice cream churner, which makes for a super smooth and creamy finish.
Want to save this recipe?
Enter your email & I'll send it to your inbox. Plus, get weekly updates from me!
This Cinnamon Ice Cream recipe was inspired by one of my favorite restaurants in Boston, Picco. They specialize in pizza and ice cream and they are amazing at making both. With a seasonal menu, I'm not always guaranteed the chance to order it, but anytime I'm there and they have cinnamon ice cream, it's my first choice. The first time I tried it, at the risk of sounding silly, I was changed. The flavor was so profound and unlike any ice cream I'd had before. Spicy, yet creamy and pungent. Clearly, I'm a cinnamon ice cream fan, which is why I needed to develop my own recipe for it, using my favorite ice cream techniques.
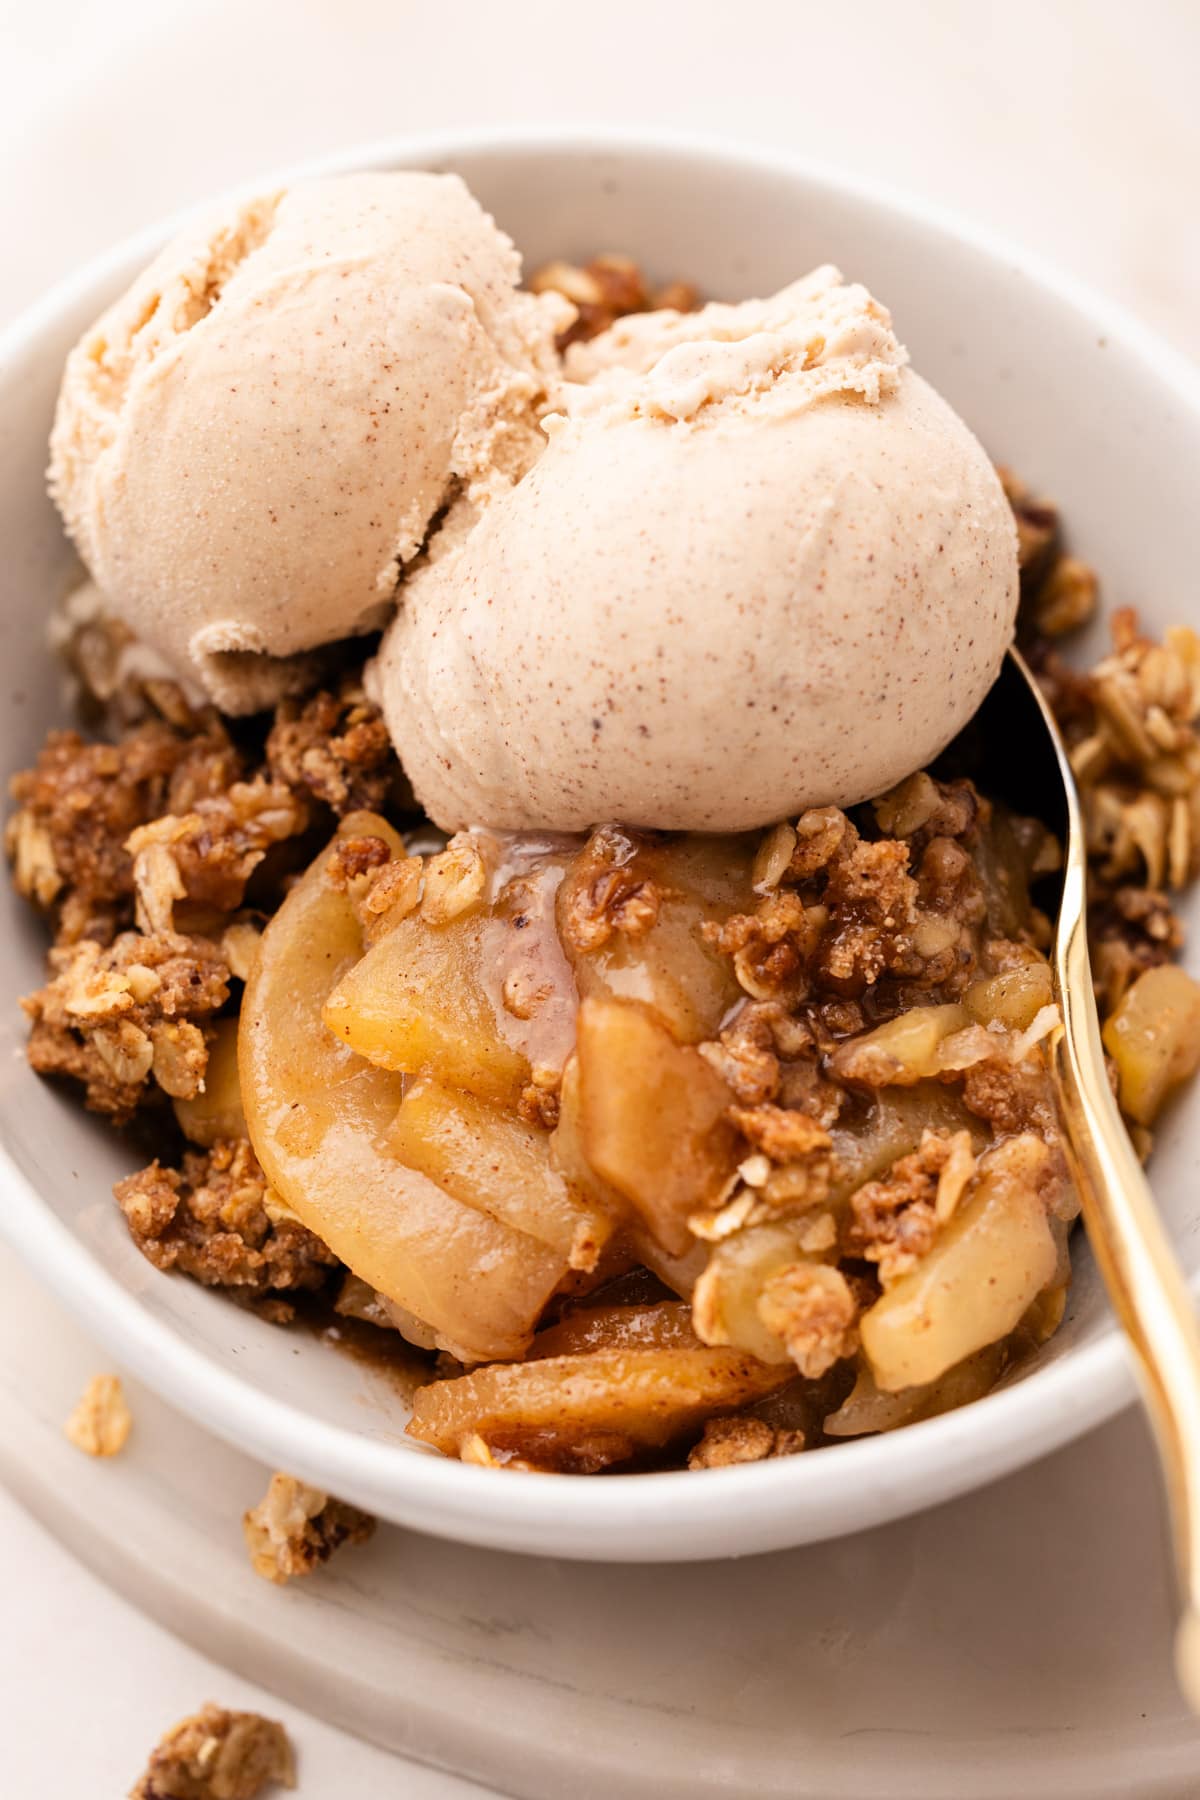
It also happens to be a flavor of ice cream that goes incredibly well with many of the best seasonal pies (like this Spiced Blackberry Pie or Apple Crumb Pie) and bakes (think Healthy Apple Crisp and Peach Cobbler).
If you’ve had handmade ice cream you already know that it is worlds away from anything you can buy commercially produced in large batches, and this Cinnamon Ice Cream recipe is no different!
So, let's get to making it, shall we? The article below is jam-packed full of useful information. You can jump around using the menu below, or skip to the end of the article for the full recipe.
Jump to:
Ingredients Needed and Substitutions
Here is a brief overview of the ingredients needed for this recipe. The full recipe with quantities is listed below this text in the recipe card. If substitutions are available for this recipe, they'll be listed here. If you don't see a substitution you are looking for, please leave a comment below.

- granulated sugar
- ground cinnamon and cinnamon sticks (see more on this below)
- eggs
- coarse kosher salt
- heavy cream
- whole milk
- vanilla extract
Let's Talk Cinnamon
This recipe is all about cinnamon, so it makes sense to delve a little deeper into this spice.
Cinnamon is a spice obtained from the bark of various trees in the Cinnamomum family. It's commonly found in two forms: as sticks/quills, and as a ground spice. (This recipe uses both!) Its use has a long and storied history in both culinary and medicinal traditions.
Often, the cinnamon found on grocery store shelves is a blend of different types. However, significant differences in fragrance and flavor exist among individual types.
There are two main types of cinnamon: Ceylon and cassia.
Ceylon cinnamon, or "true cinnamon" is considered to be the most delicate among the major species of cinnamon. Its flavor is more complex, with subtle citrusy notes and a sweet finish.
Cassia, which is the most common type found here in the US, has a strong, spicy-sweet flavor and fragrance. Its flavor can be considered bitter when compared to "true" Ceylon cinnamon.
The Different Names of Cinnamon
Within these two main categories of cinnamon, you might also come across additional names on the label, often indicating the cinnamon's place of origin.
Within the cassia cinnamon family:
- Vietnamese cinnamon is the strongest and sweetest cinnamon.
- Indonesian / Korintje cinnamon is sweet and mellow
- Chinese cinnamon is less common in the US, and it's extra sweet, spicy, and robust.
Ceylon is usually simply labeled as "Ceylon," or as Sri Lankan cinnamon.
So which should you buy?
My answer is simple: whichever kind you like! If your "go-to" cinnamon doesn't have any sort of label identifying its type, it is likely a blend of different types. And if it's what you like, then keep buying it.
For ground cinnamon, my preference is Korintje, and I go out of my way to buy it because there are some varieties of ground cinnamon I really dislike. As for whole cinnamon sticks, I prefer to buy Ceylon as they add some complexity to a dish.
If you are going for that spicy cinnamon, I recommend choosing a varietal in the cassia family.
Useful Tools to Make This Recipe
Here is a list of some of the primary tools I use in this recipe. You won't necessarily choose to use them all, but they are exactly what I used. Any links may contain affiliate links.
- medium heavy-bottomed saucepan
- one large metal bowl, one medium metal bowl
- fine-mesh strainer
- whisk and spatula
- instant-read thermometer
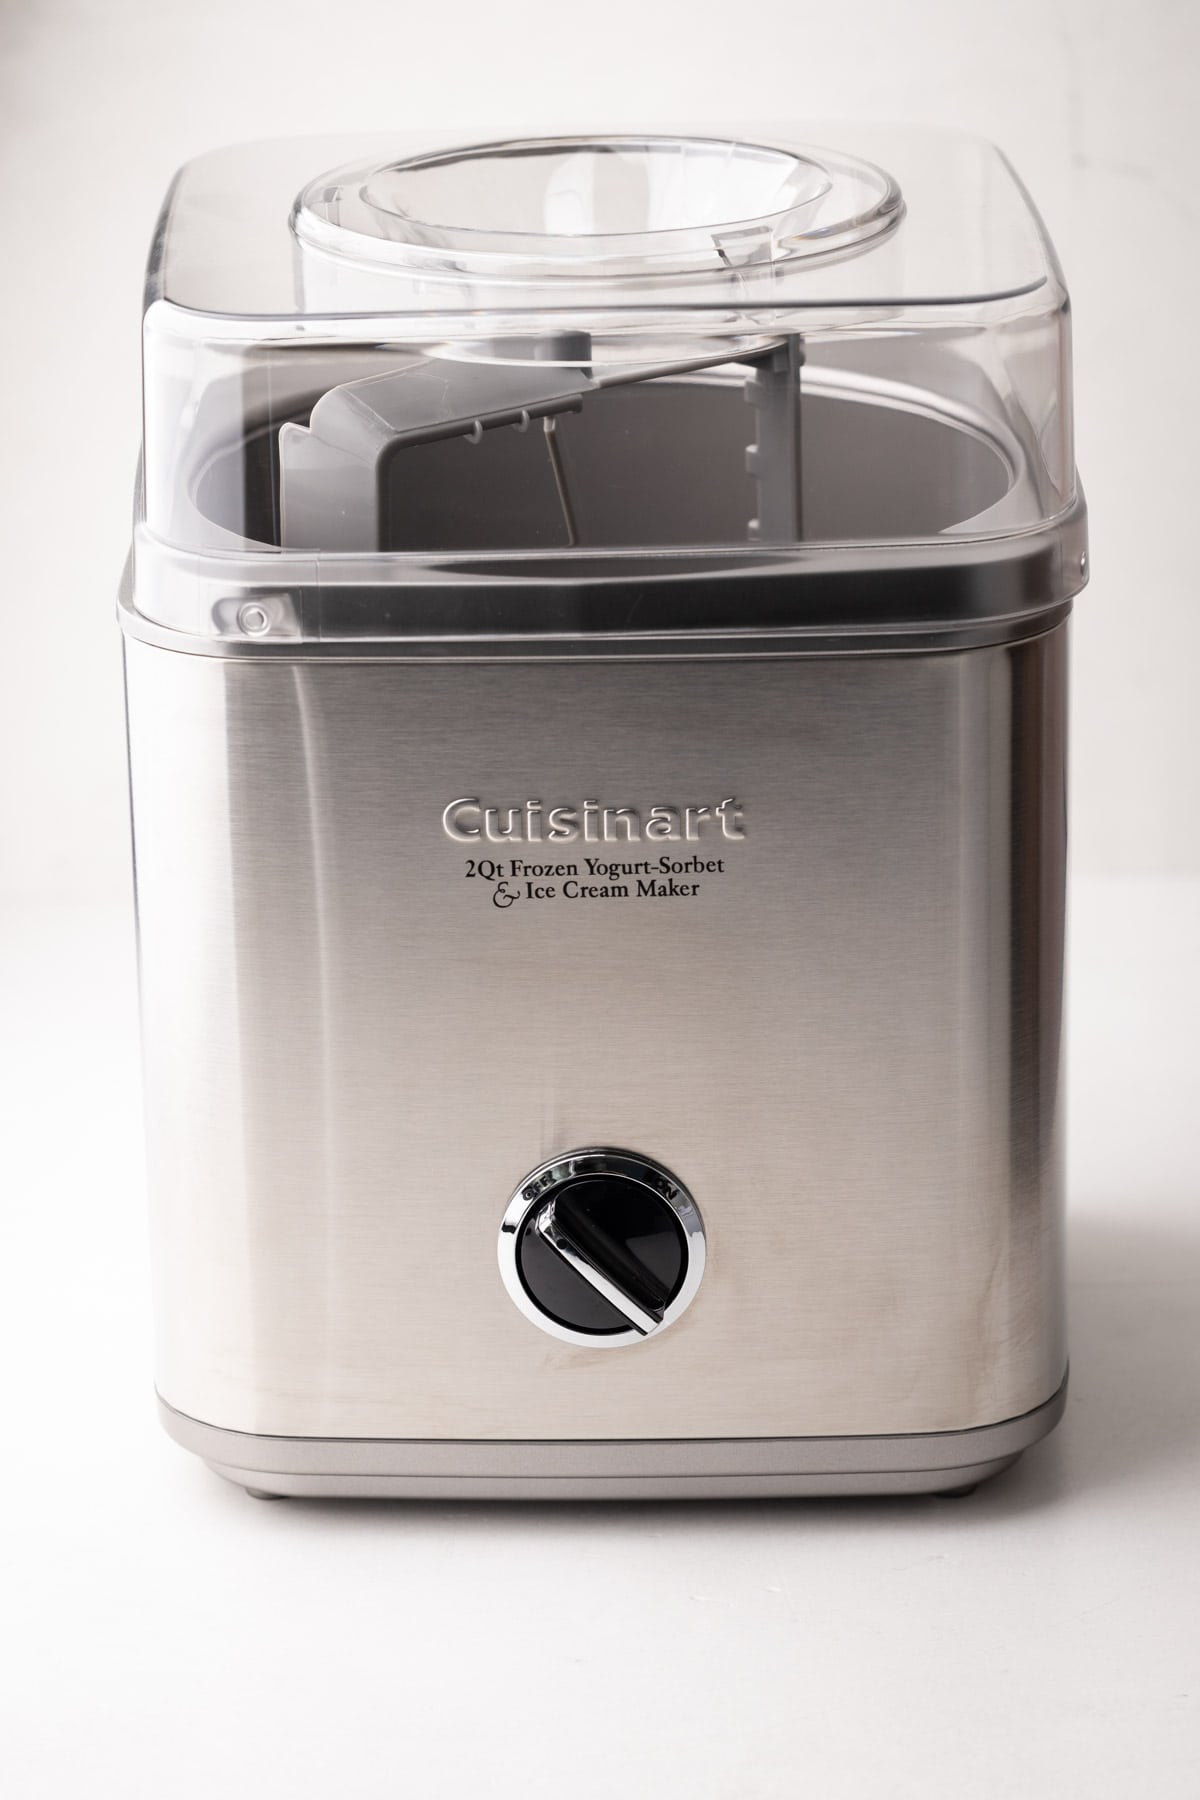
- ice cream maker
- containers to store ice cream
- kitchen essentials: measuring utensils
You'll also need access to ice, to rapidly cool down the custard (see more below).
How to Make the Custard Base
A custard-style ice cream is cooked on the stovetop with eggs. Compared to non-custard style ice creams, they are richer and have a better mouth feel. I almost always prefer custard-style (almost! but with some exceptions, such as this Chocolate Ice Cream recipe).
While many custard recipes use only egg yolks for their lecithin content, which stabilizes the emulsion and prevents large ice crystal formation, I prefer to experiment with a mix of whole eggs and yolks for different flavors. The proteins in egg whites still contribute some stabilization even without lecithin. This recipe uses both egg yolks and whole eggs.
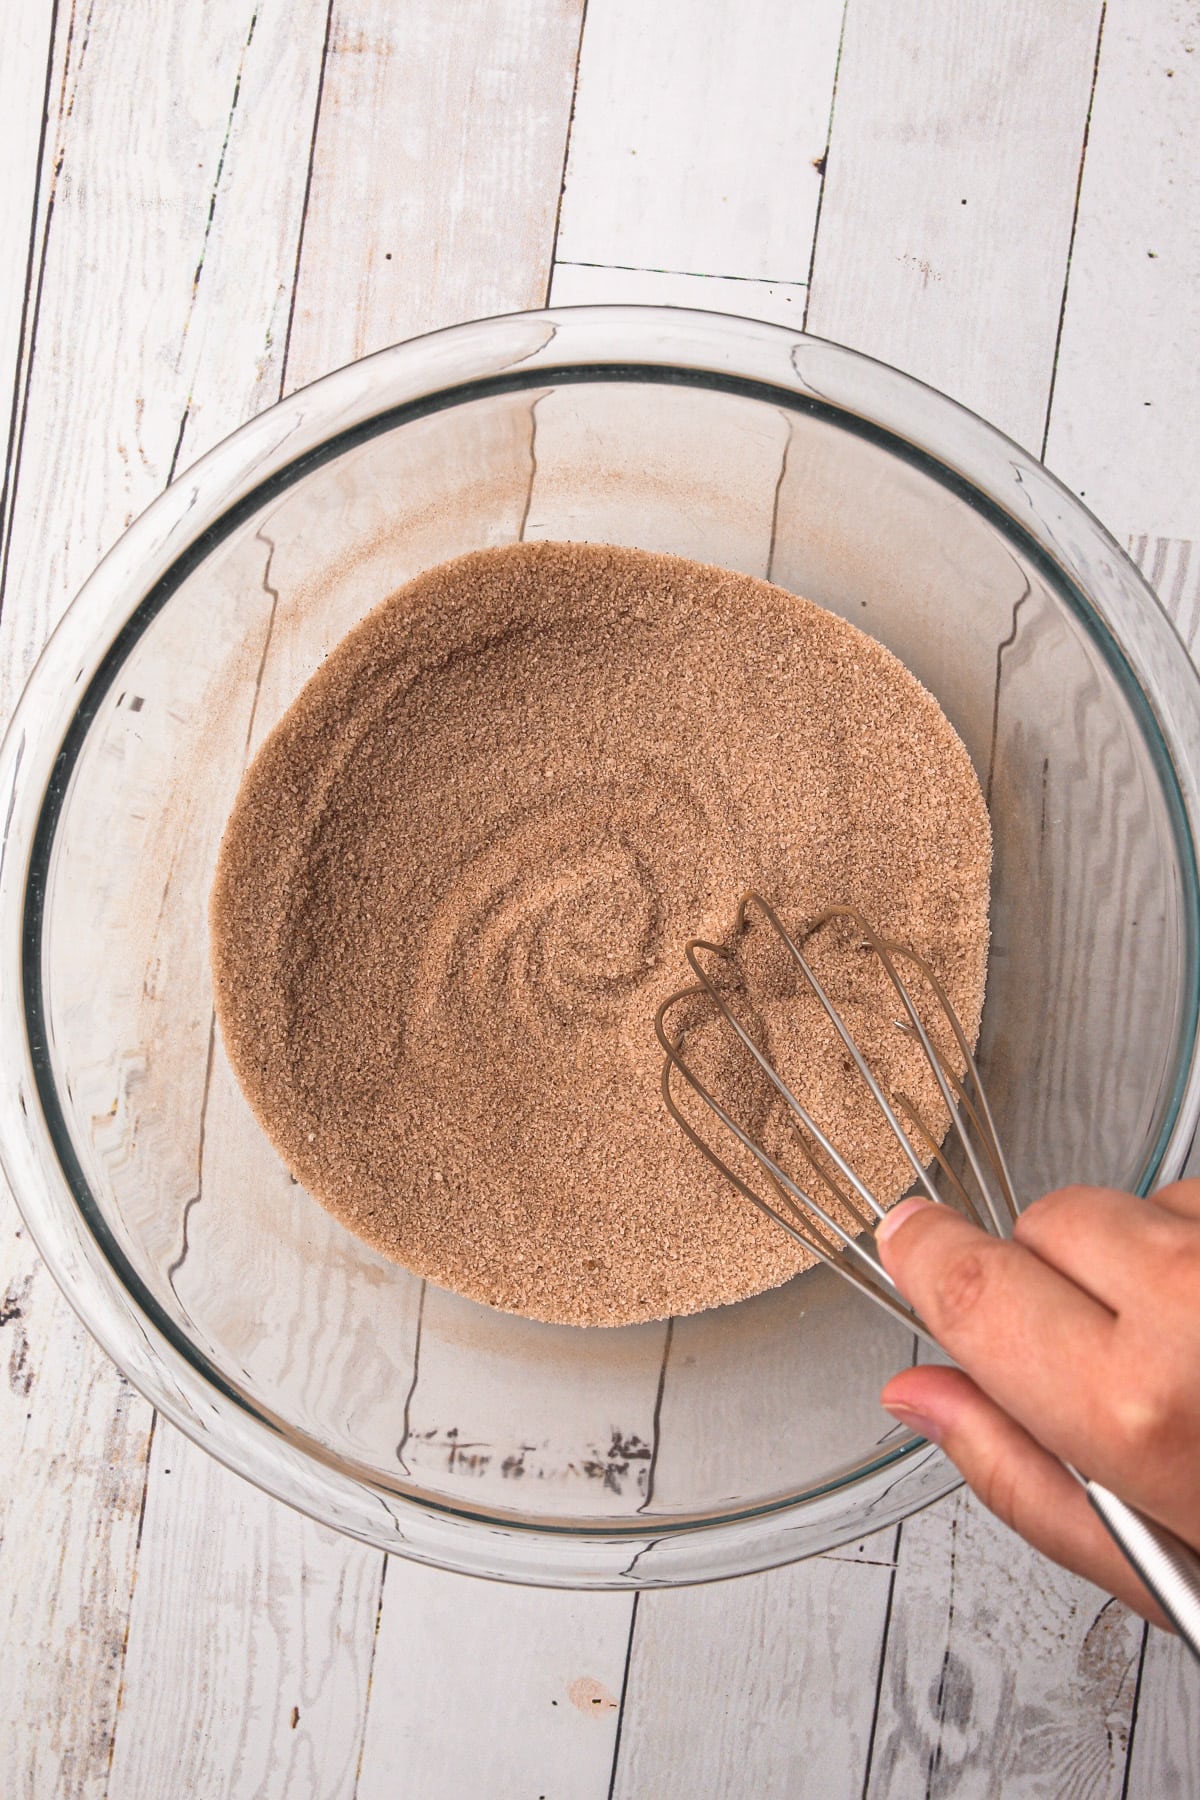
1. Whisk together the sugar, cinnamon and salt. This is important so the cinnamon doesn't clump.

2. Add in the eggs and yolks and whisk vigorously until the mixture is lightened.

3. Pour in the cream and milk.
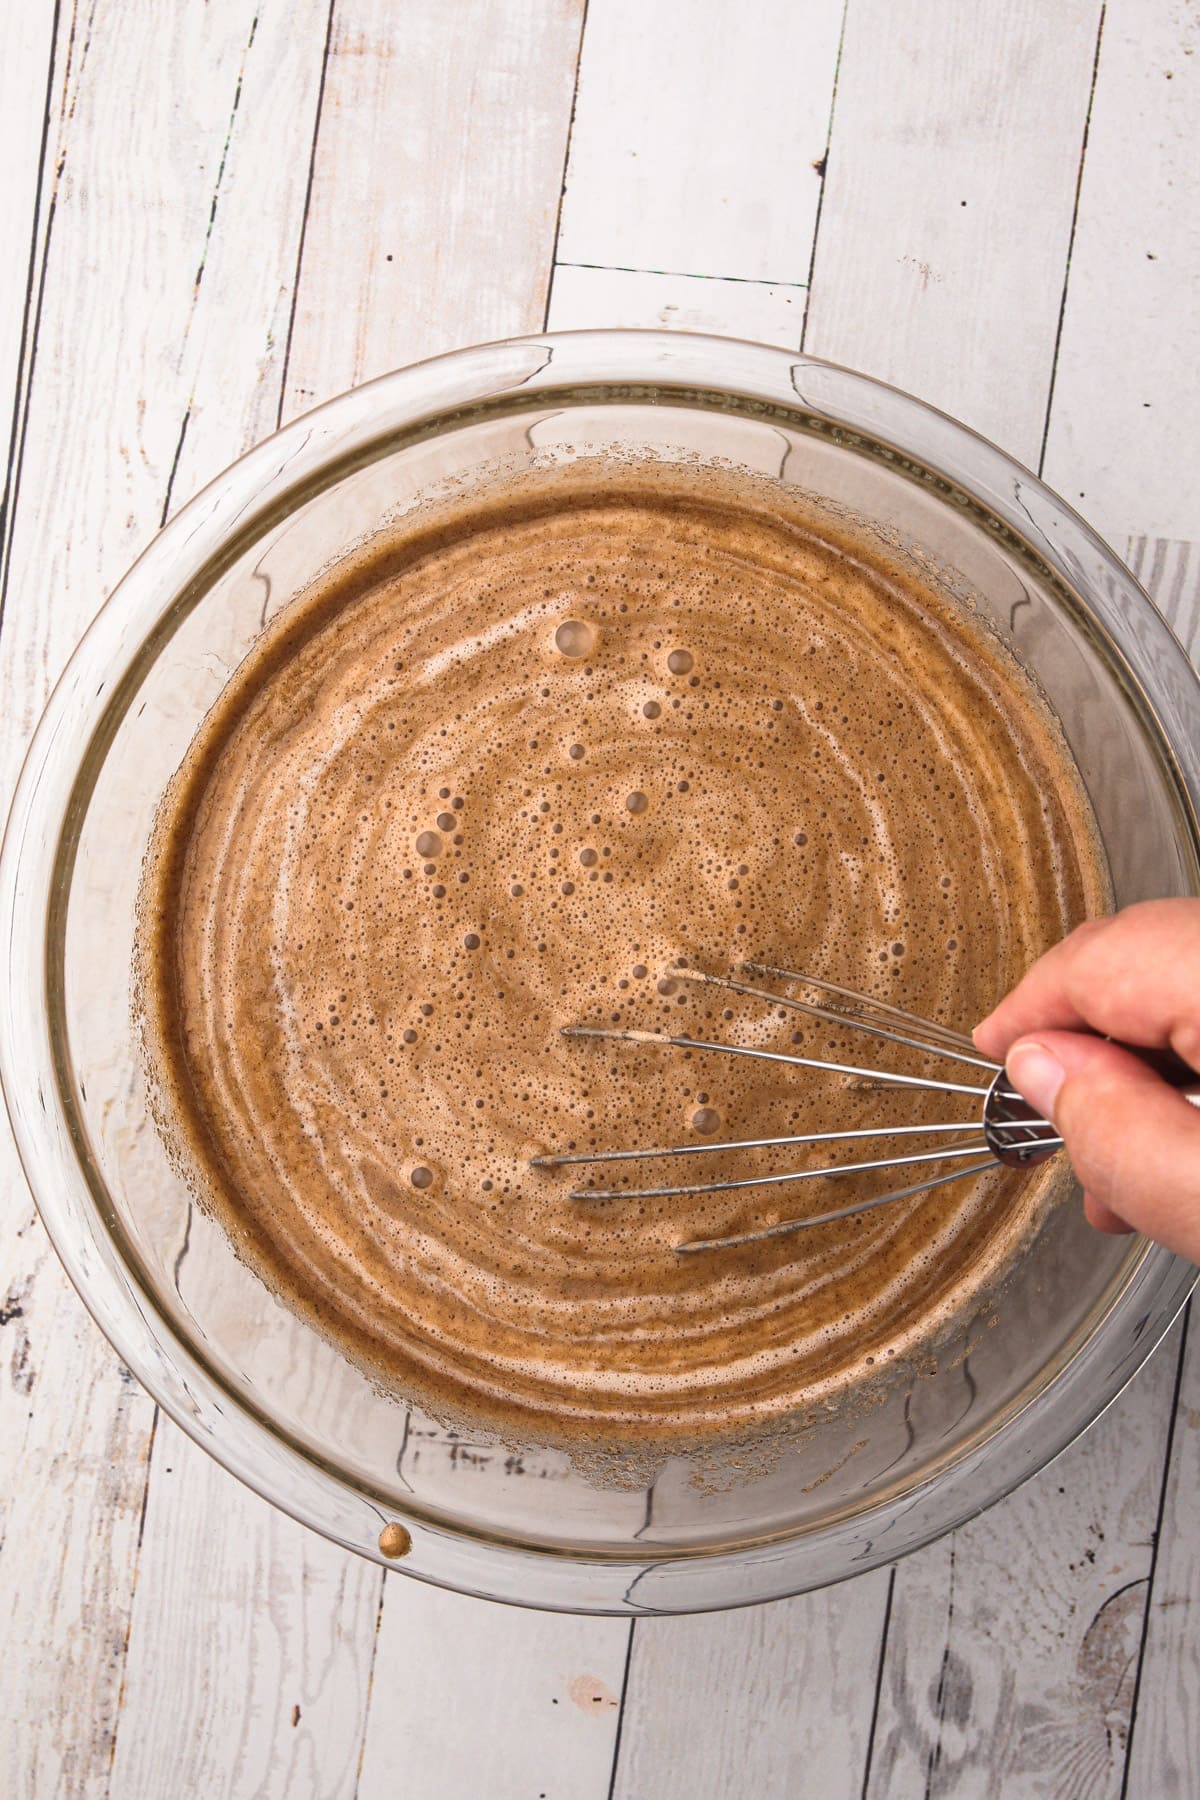
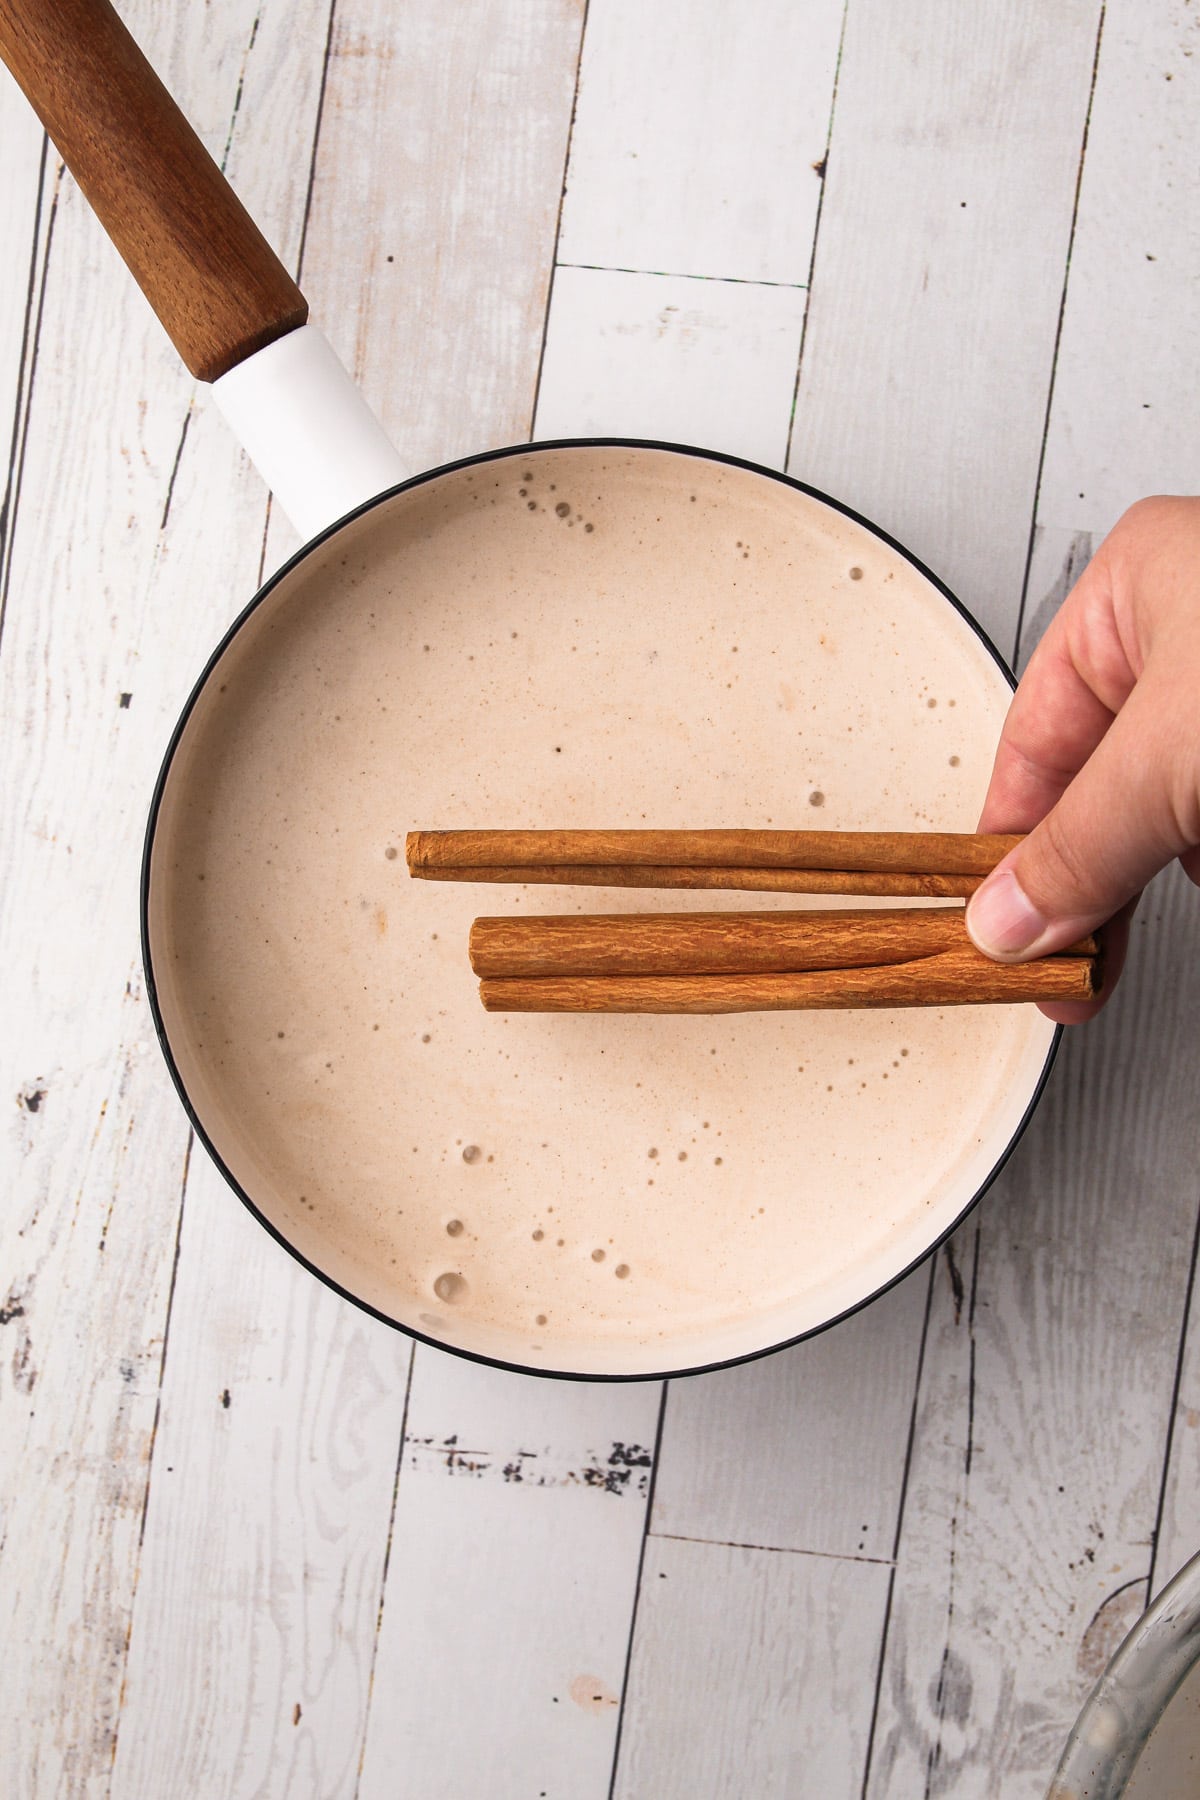
4. Whisk to combine, then transfer to a pot.
Why No Tempering Is Needed
Even though almost all recipes call for it, tempering eggs when making an ice cream custard is unnecessary. This is because the eggs will be gradually heated from the get-go, and are at no risk of scrambling. In addition, the added sugar and even distribution beforehand (aka whisking really well) helps protects the eggs from scrambling before the custard has set.
Tips for Successful Custard Making
A key component in custard is the eggs, which provide structure, richness, and stability, as well as fat molecules that create a rich mouthfeel when they are suspended in the liquid. Slowly heating the custard to 175º causes the protein in the eggs to denature, meaning that the egg proteins unravel and then eventually bond back together, resulting in a thickened texture.

As mentioned above, this recipe forgoes the typical call for tempering, because it’s truly unnecessary. However, follow these tips to ensure success with your custard:
- Whisk the eggs and sugar vigorously before cooking. The even distribution of the eggs and sugar helps keep the mixture homogenized during the cooking process.
- Use a medium heavy-bottomed saucepan which helps distribute the heat evenly and reduces the risk of scorching or burning the custard. Using too large of a pot can increase the speed at which the eggs cook due to increased surface area.
- Use medium to medium-low heat. Controlling the temperature is important to avoid curdling, or cooking the eggs too quickly.
- Stir constantly, taking care to get into the edges of the pan. A rubber spatula is best for this task.
- Don’t walk away. At most, this process takes about 10 minutes. But the custard can go from perfectly done to boiled (ie curdled) in a few seconds.
- Use a thermometer, if possible. The recipe calls for cooking the custard to 175Fº initially. Make sure that the thermometer is accurately taking the temperature from the middle of the liquid. Once it reaches 175Fº, pull it off the heat and stir for about a minute to let the custard slowly come up to 180Fº before straining into an ice bath. 180Fº is an ideal temperature of the custard, but going above it will get dangerously close to boiling the custard.
- Speaking of straining, do strain the custard. Often the chalazae from the egg white tends to get cooked, and it’s best to strain that out.
- Use an ice bath: Using an ice bath will quickly bring the custard down to room temperature, which is always a good idea.
- Keep the cinnamon sticks in the custard base at it cools, and let it cool overnight. The colder the ice cream base is when churning and freezing, the smoother the texture. And chilling it overnight with the cinnamon sticks results in a better flavor.

Freezing the Ice Cream
Now it’s time for the magic!
Before freezing, keep two things in mind: the ice cream base must be very cold (below 40ºF is a must, but the lower the better) and if your ice cream machine canister needs to be frozen, it should be in the freezer for at least 24 hours.
The freezing rate of the ice cream base during churning determines the final texture. If either the ice cream base or the machine is not sufficiently cold, the freezing process can slow down, leading to the formation of large ice crystals and resulting in gritty ice cream.

When you churn the ice cream, several important processes occur simultaneously. Churning helps achieve the goals of maintaining the emulsion, limiting ice crystallization, and incorporating air, all of which are essential for creating smooth and creamy ice cream.
To achieve optimal results, it is recommended to follow the instructions provided by the ice cream maker manufacturer and monitor the churning process closely. Generally speaking, churn until the ice cream reaches the soft serve stage. In my machine, I notice a change in the noise it makes when the ice cream is ready.

Serving and Storing
The last step in making homemade ice cream is to store it properly. After the ice cream has been churned and frozen, it needs to “harden” in the freezer for a period of time. This chilling period fully sets up the ice cream to the correct consistency.
The faster it hardens, the smaller the ice crystals, the smoother the ice cream.
You can harden the ice cream in one large container or multiple small containers. While dedicated ice cream containers are convenient for frequent ice cream making, any container available in your home can be used.
Here are some things to consider in terms of storage:
- It should be a container with a tight-fitting lid to help prevent air from entering and ice crystals from forming.
- It should be a container that is safe to freeze, of course! Some plastic or glass containers might not be freezer-safe.
- A shallow or small container is best because it allows the ice cream to freeze and harden more evenly and quickly.
Freeze promptly and thoroughly: Place the sealed container of ice cream in the coldest part of your freezer as soon as possible. Ensure that your freezer is set to the appropriate temperature for freezing ice cream, typically around -18°C (0°F) or lower. Allow enough space around the container for proper airflow and to avoid crushing or squishing the ice cream.

How Long Will Ice Cream Keep?
Homemade ice cream is best consumed within a week or two of making it. Different factors can affect this timeline, including how cold your freezer is, what container it is kept in, and if it has thawed at any point in the freezing process.
Over time, ice cream will develop freezer burn and change taste and texture, so for the best possible ice cream, consume it sooner rather than later.
More Ice Cream Recipes
More Cinnamon-y Recipes
I am so honored when you make a recipe from my site! If you make this RECIPE, please leave a star ⭐️⭐️⭐️⭐️⭐️ rating with your experience! If you have any questions about this recipe, feel free to comment here, and tag me on Instagram!
Full Recipe
Cinnamon Ice Cream
Made with just a few simple ingredients and featuring two types of cinnamon, this Cinnamon Ice Cream recipe is unlike anything you can find in a store! It's a custard-style ice cream recipe that requires an ice cream churner, which makes for a super smooth and creamy finish.
Ingredients
- ¾ cup (150 grams) granulated sugar
- 2-½ teaspoons ground cinnamon
- ¼ teaspoon coarse kosher salt
- 2 large eggs
- 2 large egg yolks
- 1-½ cups (340 grams) heavy cream
- 1-½ cups (340 grams) whole milk
- 2 to 4 cinnamon sticks (see note)
- 1 teaspoon vanilla extract
Instructions
- Set up an ice bath with two nesting metal bowls.
- In a medium bowl, whisk together the sugar, ground cinnamon and salt.
- Add in the eggs and yolks and whisk vigorously for one minute, until the mixture is lightened.
- Whisk in the cream and milk.
- Transfer the mixture to a heavy-bottomed medium pot and add the cinnamon sticks.
- Cook over medium heat, stirring and scraping constantly with a rubber spatula, especially along the edges and the bottom of the pot. Cook until it reaches 175°F on an instant-read thermometer, about 8 minutes. The mixture will be slightly thickened. To check if the custard is set without an instant-read thermometer, take a wooden spoon and coat it with custard. Draw a horizontal line on the back of the spoon with your finger. If the line “holds” then your custard is set. If the line collapses immediately, the custard needs another minute or so. Be careful not to bring the mixture to a boil; this will curdle the custard.
- Immediately shut off and remove the pot from the heat. Continue to stir the custard for 1 minute. This helps bring it all the way up to 180ºF.
- Strain the custard through a fine-mesh strainer into the inner bowl of the prepared ice bath. Take the cinnamon sticks from the strainer and place them back into the custard. Stir in the vanilla extract.
- Cool the custard in the ice bath to room temperature, stirring occasionally.
- Chill the custard thoroughly in the refrigerator until at least 40ºF, preferably overnight.
- Discard the cinnamon sticks. Freeze the custard, following the recommended manufacturer’s instructions of your ice cream maker, until the ice cream has reached a soft-serve consistency.
- Transfer the ice cream to one or more airtight containers. Place a piece of parchment on the surface to prevent any freezer burn. Freeze until firm, at least a few hours.
- Cinnamon Ice Cream is best consumed within a week, but will last for several in the freezer.
Notes
If you need to freeze your ice cream canister, make sure to do so 24 hours before you plan to spin your ice cream.
If the cinnamon sticks you are using are smaller than 3", use up to 4 of them. There are many different varietals of cinnamon available, see the section "Let's Talk Cinnamon" in the article above the recipe to learn more.
This recipe was tested using Diamond Crystal coarse kosher salt. If you use Morton's kosher salt or fine salt decrease by about half for volume, or use the same amount by weight.
Some of the links on this page may be affiliate links. Everyday Pie is a participant in the Amazon Associates Program. As an Amazon Associate I earn from qualifying purchases, at no extra cost to you.





Chris
This got rave reviews from everyone at Thanksgiving! It came out perfectly with my KitchenAid ice cream attachment. Will definitely be making again.
Ana
This recipe nails the cinnamon flavor profile. So good! Perfectly creamy and delicious!
KBC
Incredible cinnamon flavour, great texture and I love not having to temper the eggs!
Thank you for another great recipe