

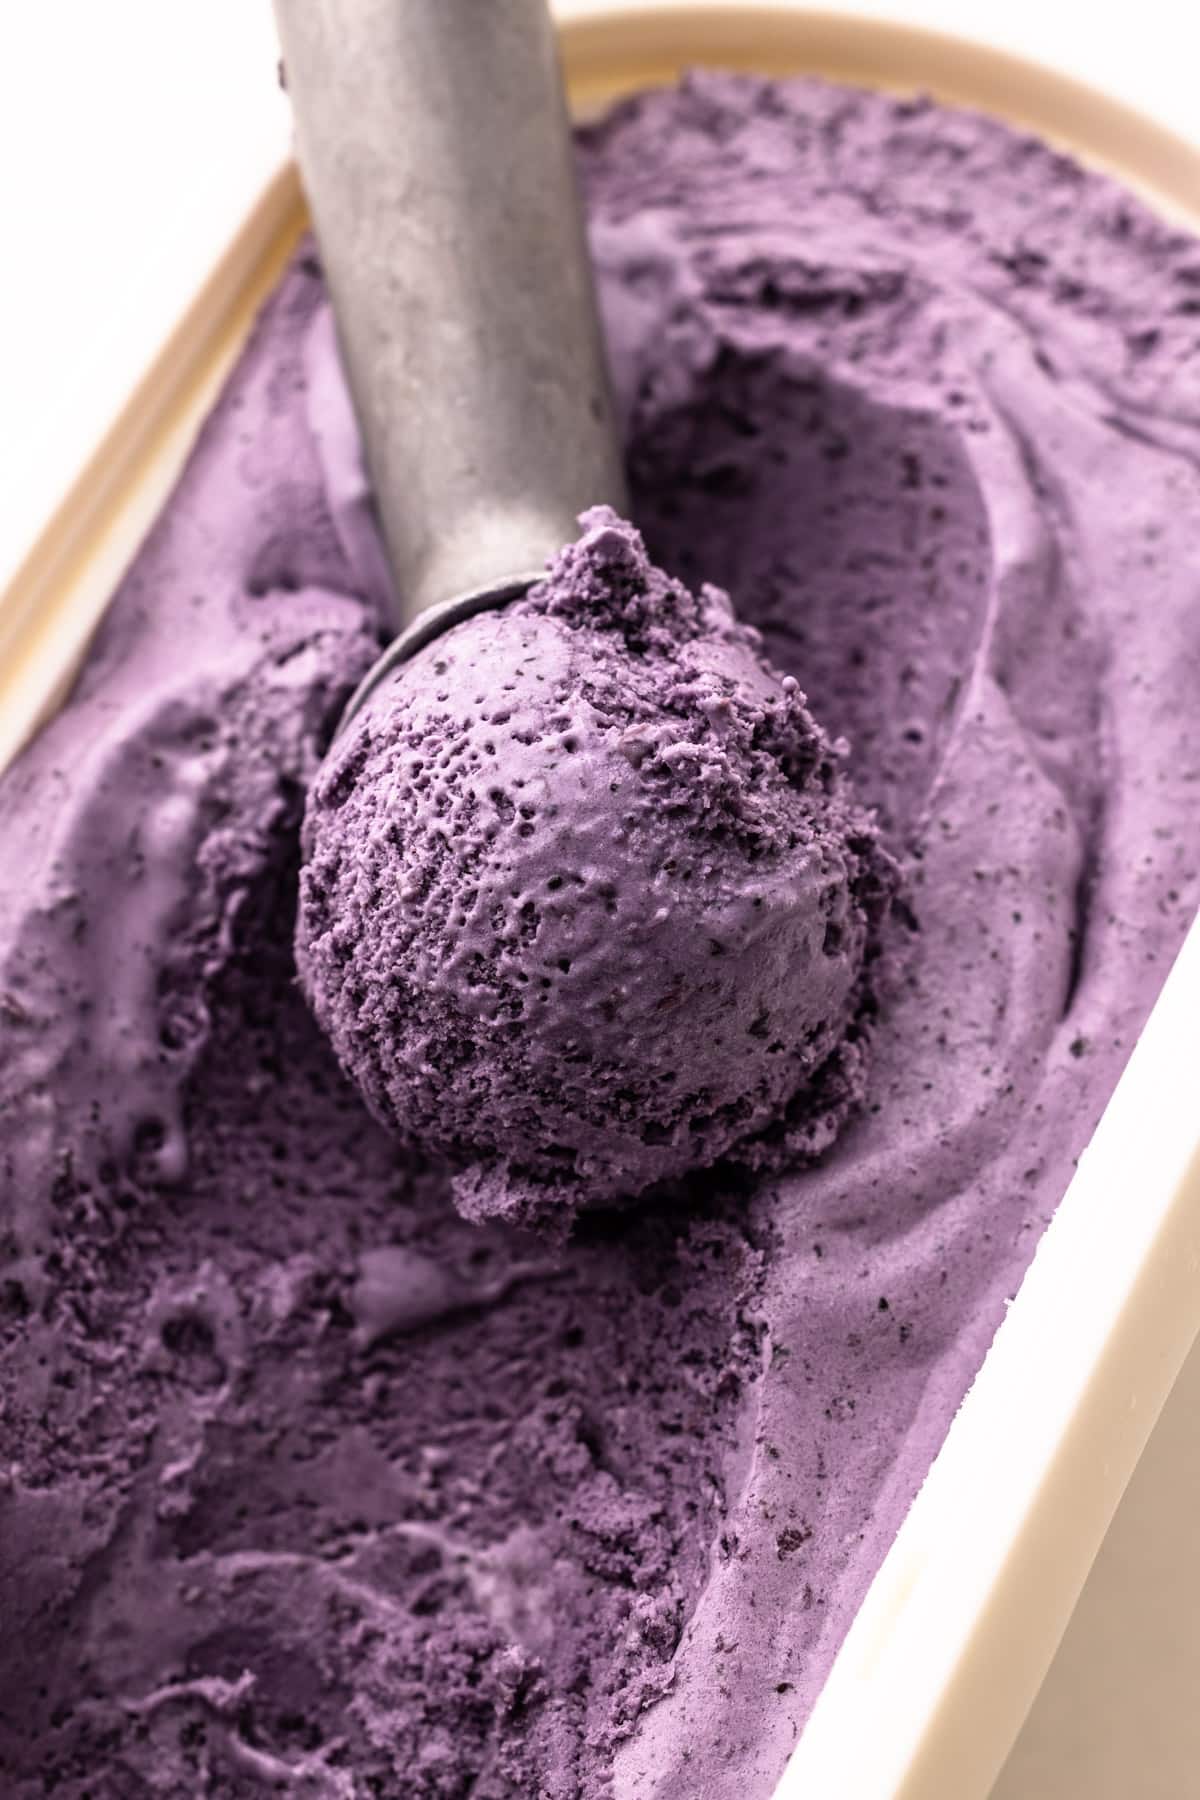
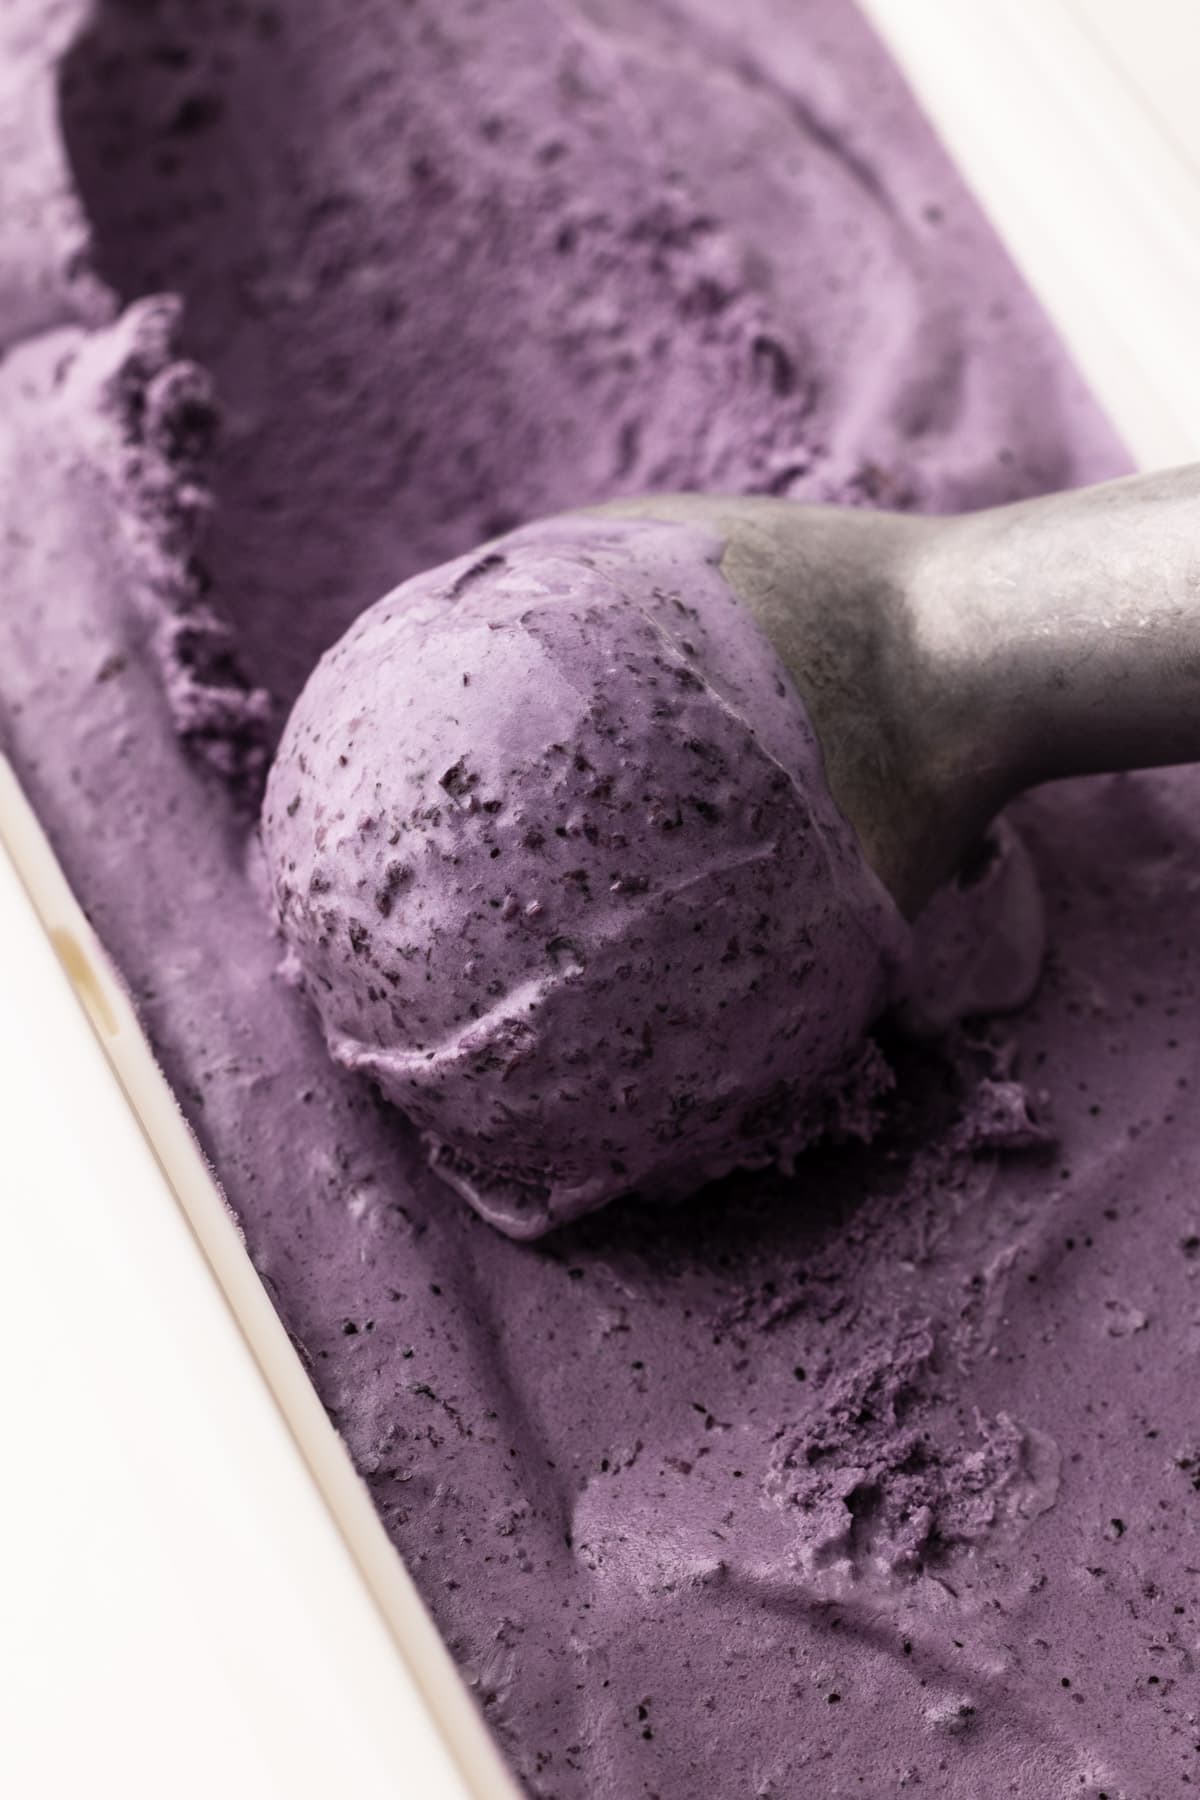
Made with simple ingredients like eggs, cream, milk, and fresh blueberries, this ultra-creamy Blueberry Ice Cream boasts an amazing natural color and deeply fruity taste. This is an old-fashioned blueberry ice cream recipe made with a custard base that requires an ice cream churner.
Want to save this recipe?
Enter your email & I'll send it to your inbox. Plus, get weekly updates from me!
Blueberry ice cream is a flavor you're less likely to find at the grocery store, or even in a homemade ice cream shop. And honestly, I'm not sure why! It's such an incredible ice cream flavor, especially when it's made well.
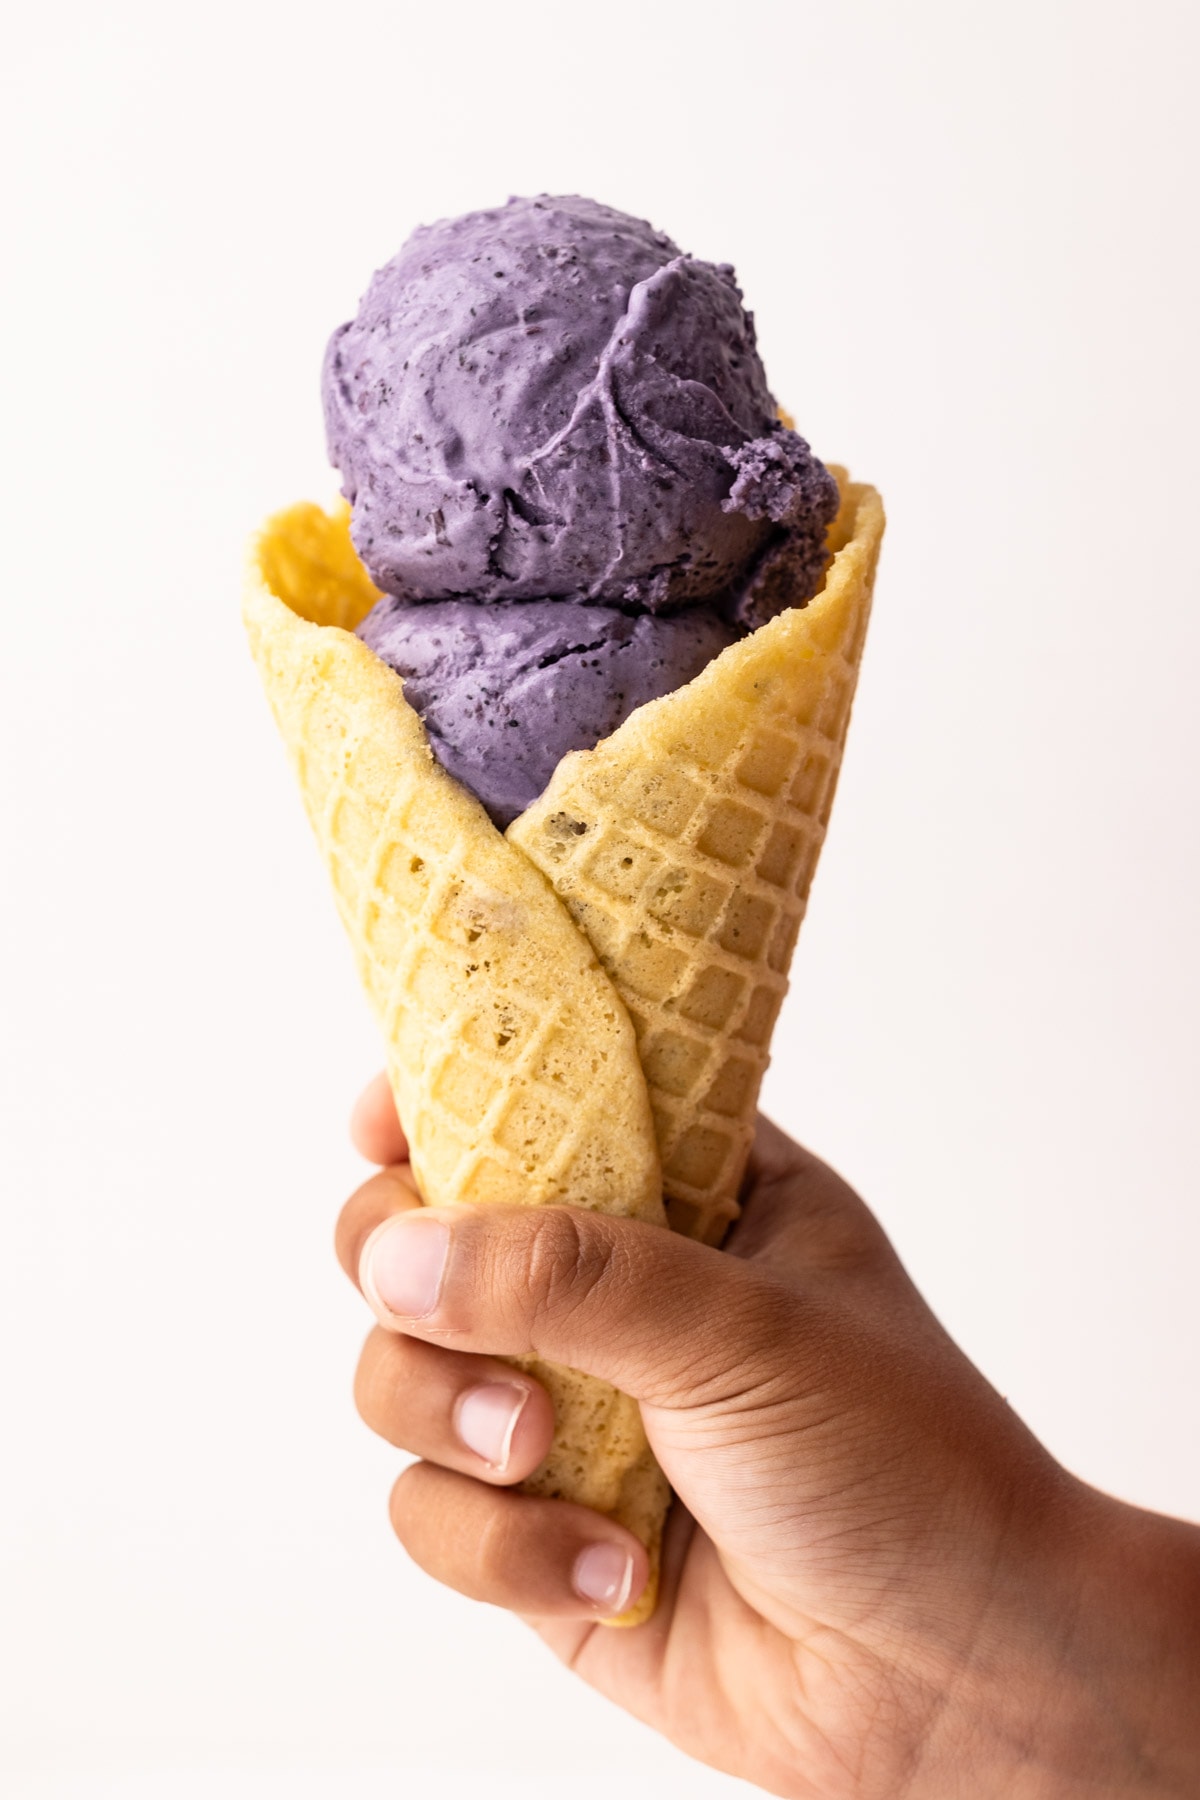
Like this Strawberry Ice Cream and Peach Ice Cream recipe, this Blueberry Ice Cream is a traditional custard-style ice cream that is cooked on the stovetop first and then churned in an ice cream maker. It took many batches to get the perfect balance, though my son, who has been a voracious blueberry eater practically since birth, was quite thrilled about all the testing it took. He's loved every single iteration I've made, but I think this final recipe is the perfect one. It has an amazing robust blueberry taste with the ideal balance between bright fruit flavor and cream. And, it's scoopable even straight from the freezer!
So, let's get to making it, shall we? The text below offers tons of tips and helpful notes, or you can scroll to the bottom to grab the recipe and get started!
Jump to:
Ingredients Needed
Here is an overview of the ingredients needed for this recipe. The full recipe is listed below in greater detail.

- fresh blueberries (you can use regular blueberries or wild ones, and either fresh or frozen is fine--there are notes for both options in the recipe)
- fresh orange juice and zest it helps round out the flavor, but doesn't overpower the blueberry with orange)
- granulated sugar
- dry milk powder (see below for more)
- eggs
- coarse kosher salt
- heavy cream
- whole milk
- cinnamon (just a small pinch, to help round out the flavor)
- whole milk
Let's Talk About Milk Powder
Milk powder, also known as powdered or dry milk, is milk that has been evaporated to remove its water content. It can be found as both nonfat and whole milk, and either type will work for this recipe.
Adding milk powder to ice cream offers two major benefits: it improves both texture and flavor. Milk powder is hygroscopic, meaning it can absorb and hold moisture, binding water. This allows the ice cream base to be filled with blueberries without becoming icy. Additionally, the concentrated milk imparts a creamy taste to the ice cream without adding excessive amounts of heavy cream, keeping it lighter.
Don't forget: Freeze the ice cream machine canister 24 hours before you plan to churn the ice cream, if your machine requires it!
How to Make Blueberry Ice Cream
This recipe requires the blueberries to be cooked separately first. This step reduces the moisture content in the fruit, which helps improve the overall texture and flavor of the ice cream.
Don't be intimidated by making the custard, especially with my recipe, as it doesn't call for any tempering of eggs. In my experience, tempering eggs when making an ice cream custard is unnecessary. This blueberry ice cream recipe uses only two whole eggs, which differs significantly from the typical ice cream recipes that can call for up to 6 egg yolks or more. Using a higher quantity of egg yolks can aid in the texture of the ice cream, but I feel like it also masks the blueberry flavor and changes the color of the ice cream, so I opted for a different approach.
Here is a visual overview of the recipe. For the full recipe, scroll down to the end of this article.
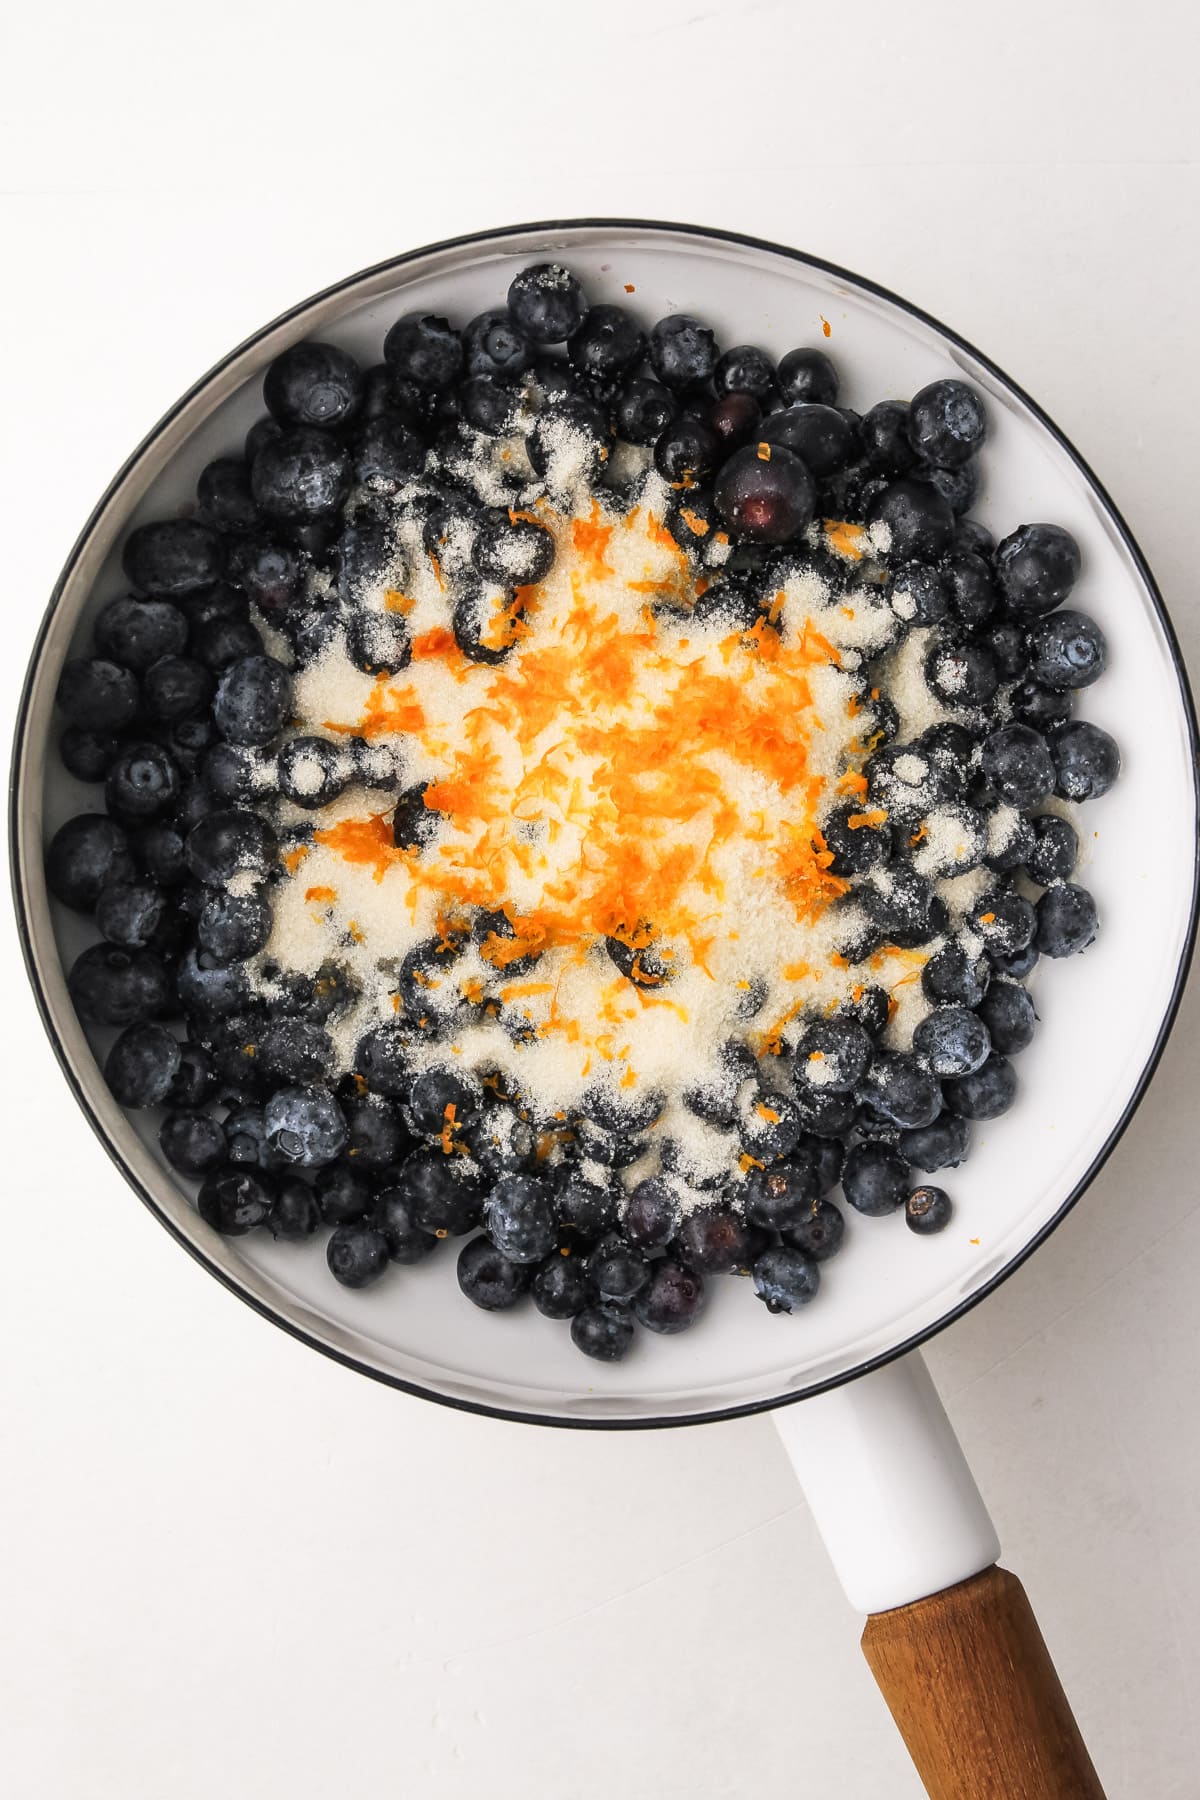
Step 1: Mix the blueberries, ½ cup sugar, and orange juice and zest in a medium pot.

Step 2: Cook over medium heat until it starts to bubble. Then, reduce the heat to medium-low and simmer for 5 minutes, stirring frequently. Set aside.
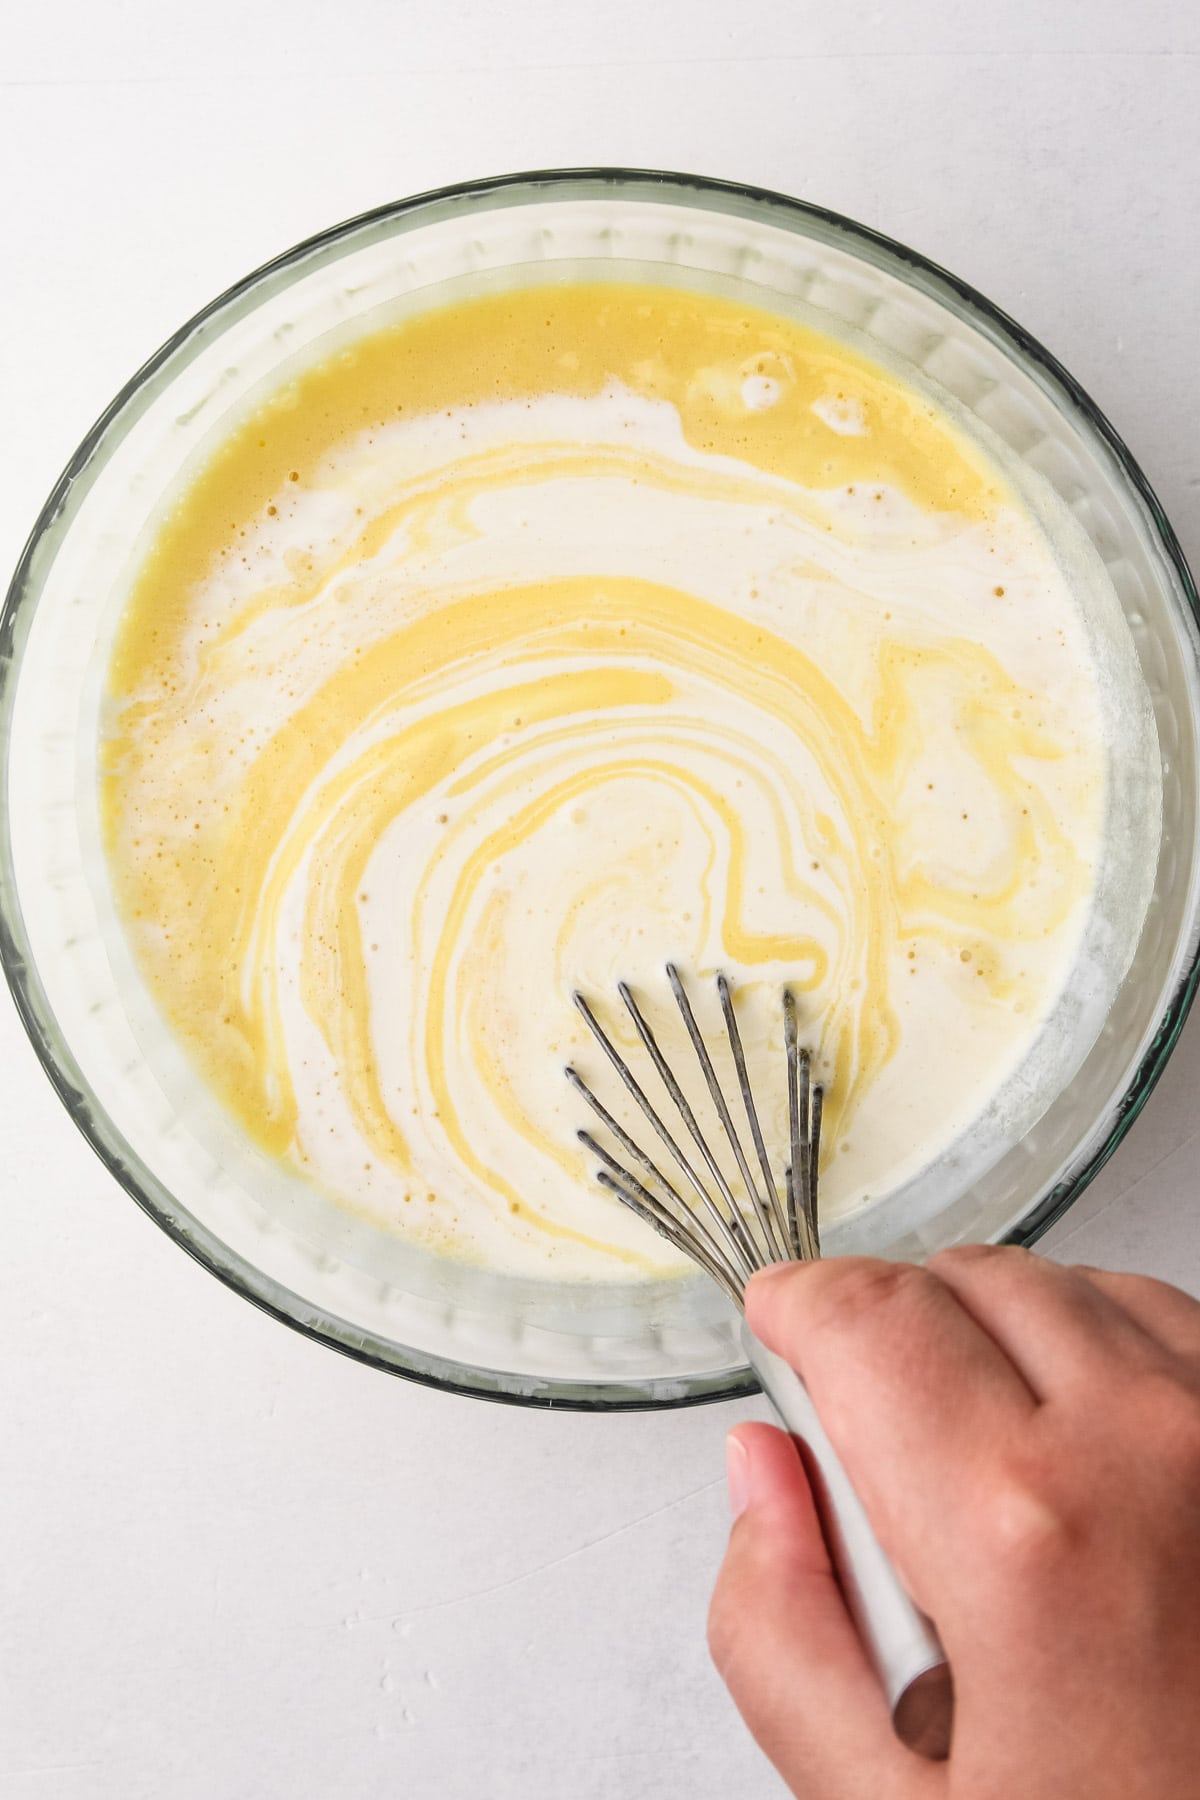
Step 3: Whisk together the sugar, milk powder, cinnamon, and salt. Then add the eggs, cream, and milk.
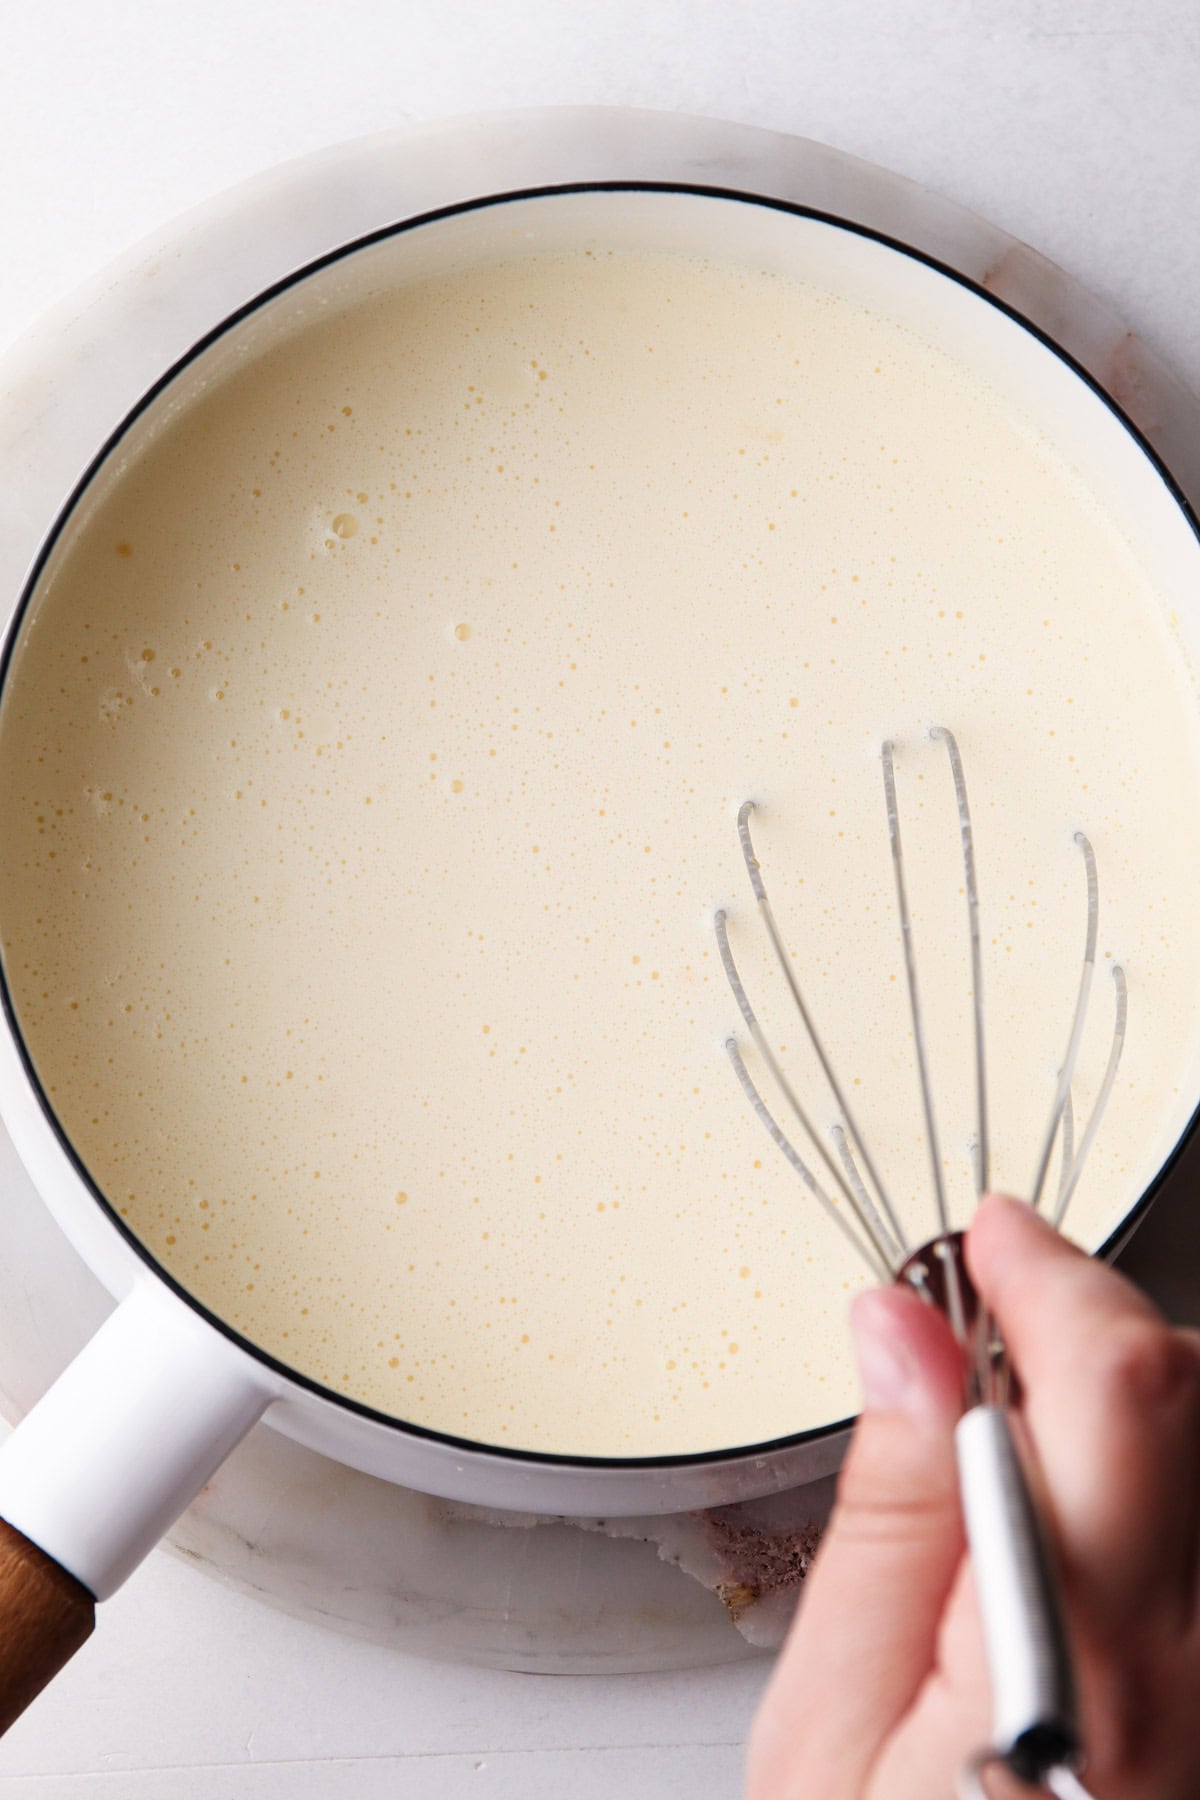
Step 4: Transfer the mixture to a clean pot and heat, stirring constantly until it reaches 175ºF.
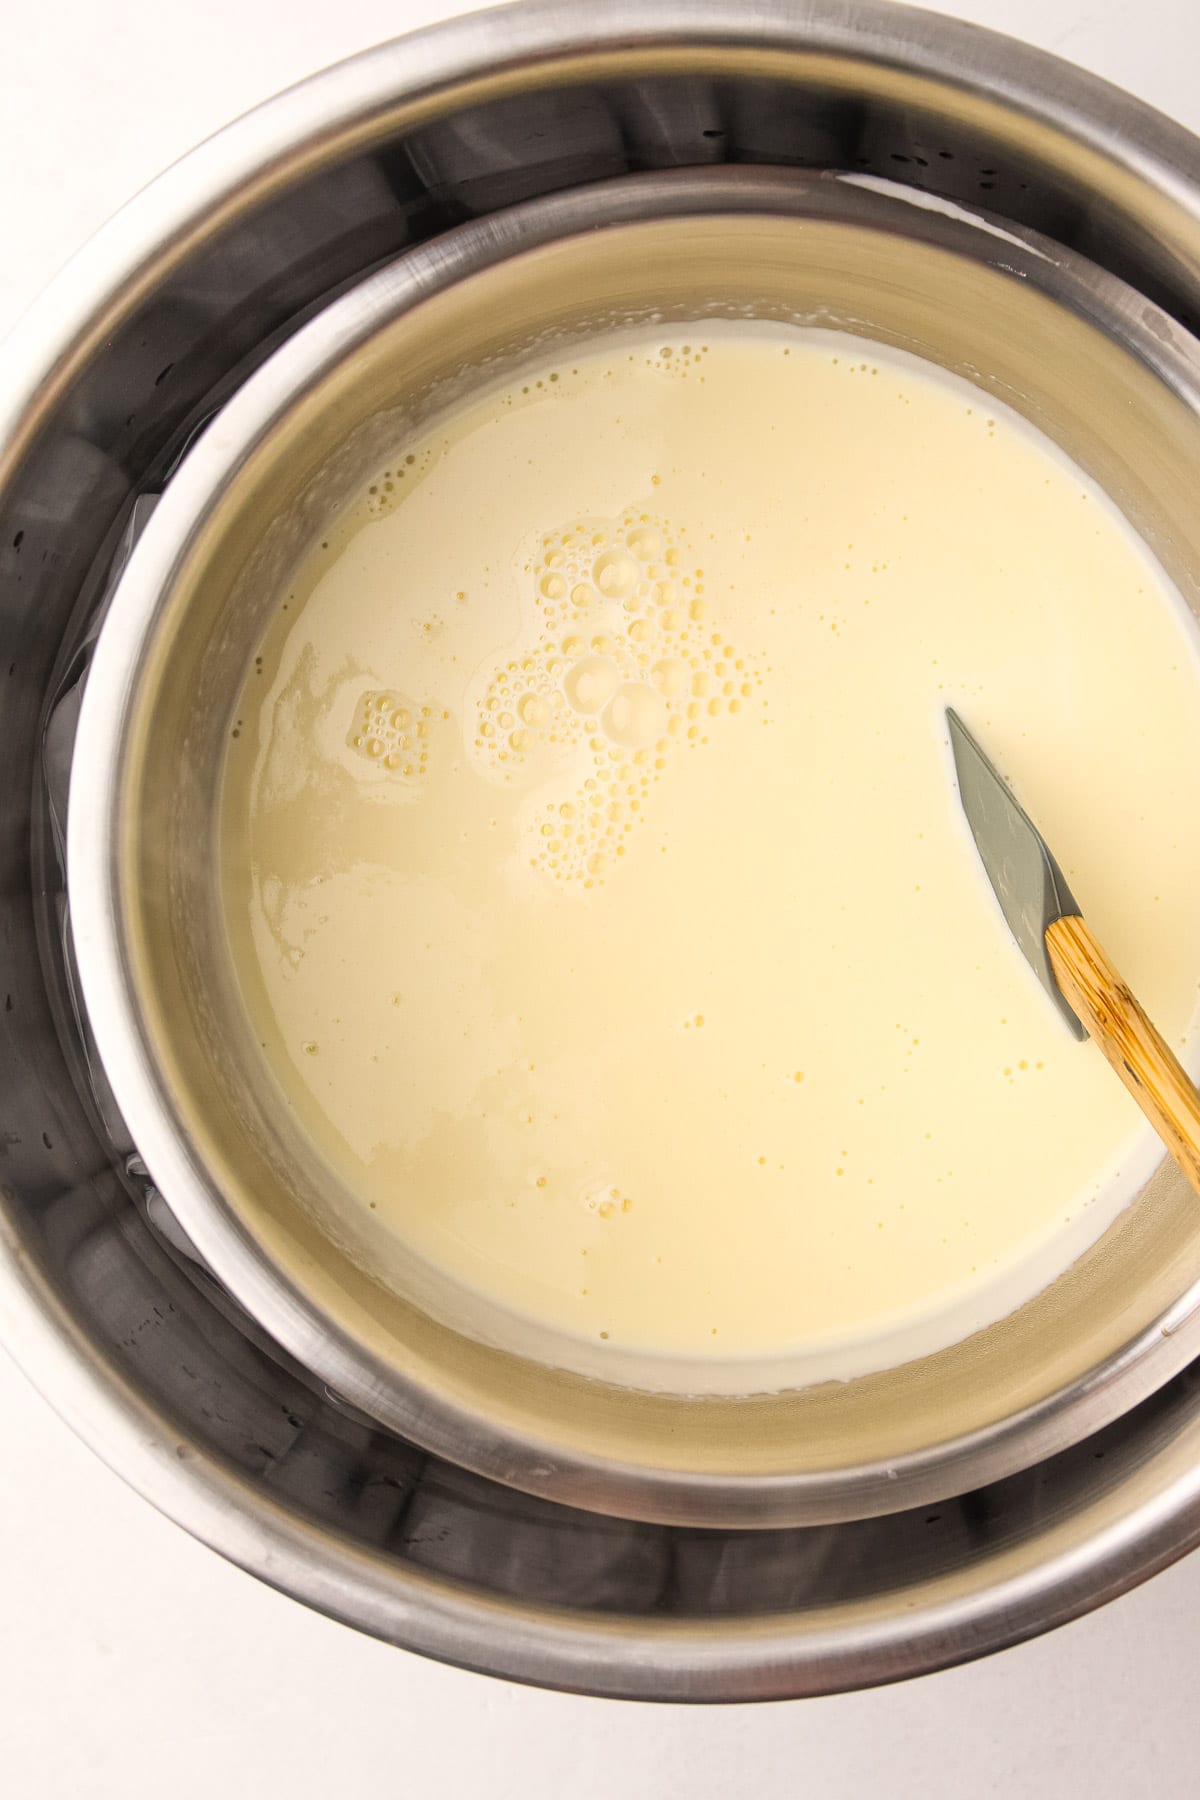
Step 5: Strain the custard through a fine-mesh strainer into a metal bowl set into an ice bath.

Step 6: Stir in the cooked blueberries. Chill the blueberry custard base overnight in the refrigerator, or in an ice bath until it reaches below 35º.
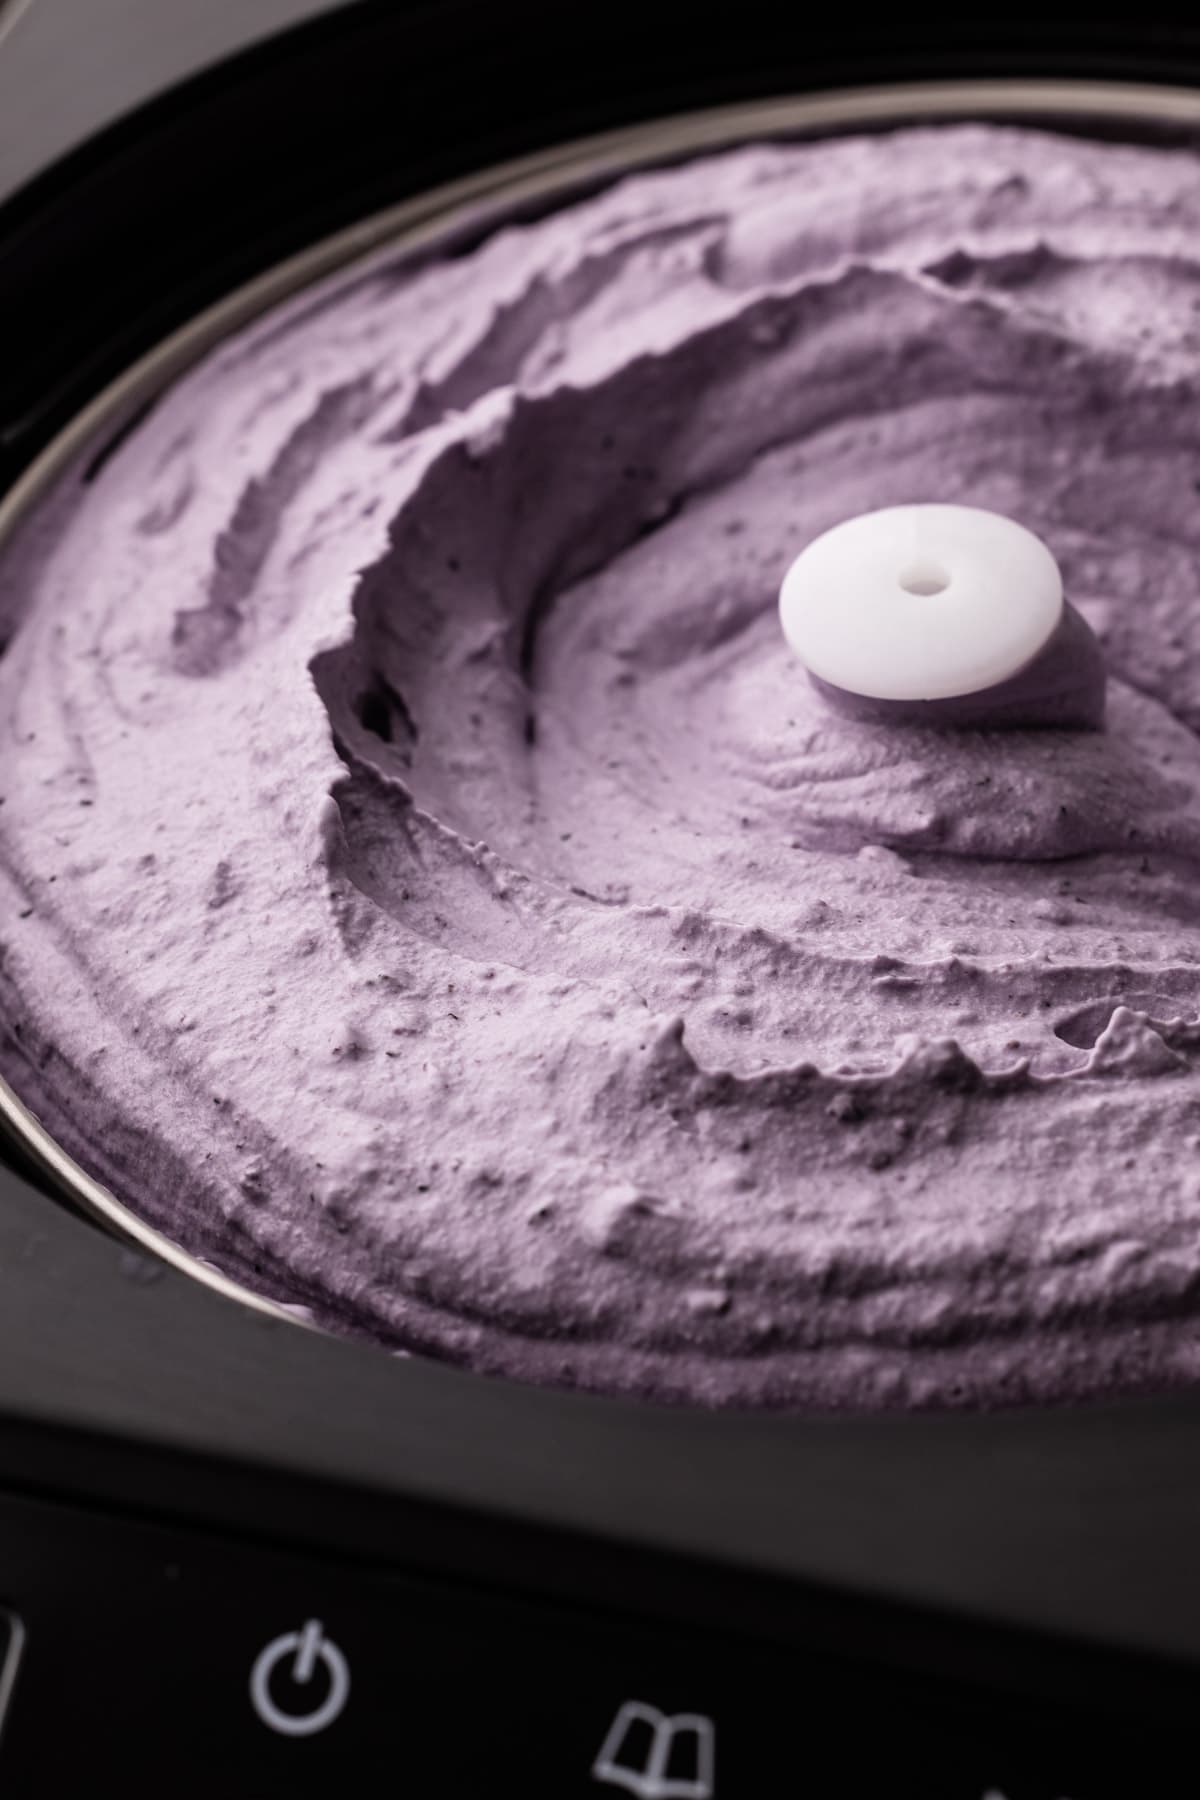
Step 7: Churn the ice cream base to a soft-serve consistency.
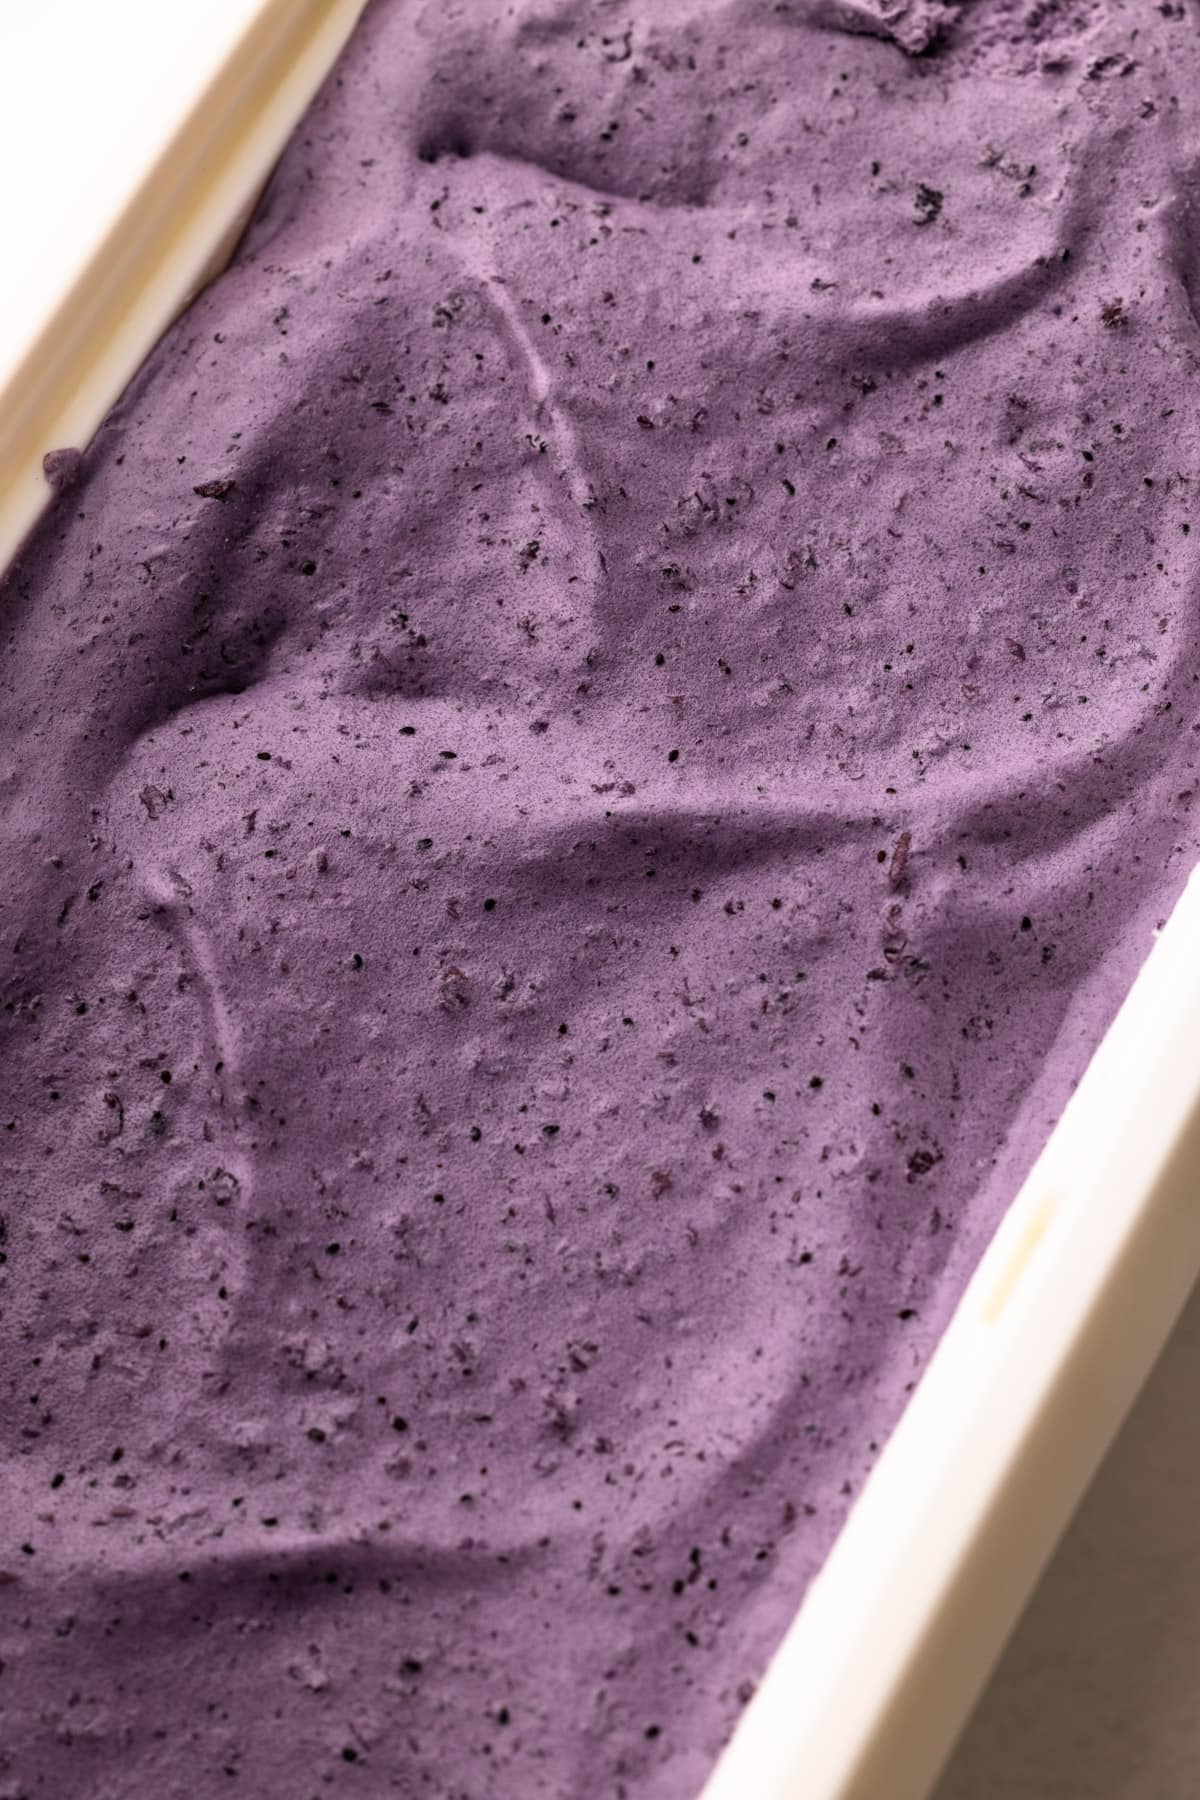
Step 8: Transfer the ice cream to a container and allow it to solidify in the freezer to your preferred consistency (usually 8 hours or more).
Kelli's Best Tips
I love how streamlined this process is (no egg tempering) and it still results in the most delicious blueberry ice cream ever. Here are some of my best tips for success with this recipe:
- Whisking the sugar and milk powder together first helps to evenly disperse the powder. Then, after adding the eggs, make sure to whisk vigorously before cooking. The even distribution of these ingredients helps keep the mixture homogenized during cooking.
- Use a medium heavy-bottomed saucepan, which helps to distribute the heat evenly and reduces the risk of scorching or burning the custard. Using too large of a pot can increase the speed at which the eggs cook due to the increased surface area, making it easier to overcook them.
- Use medium to medium-low heat. Controlling the temperature is important to avoid curdling or cooking the eggs too quickly.
- Stir constantly while the custard is cooking, taking care to get into the edges of the pan. A rubber spatula is the best tool for this job. Though I sometimes alternate with a whisk, as well.
- Don’t walk away. At most, this process takes about 10 minutes. But the custard can go from perfectly done to overcooked (i.e. curdled) in just a few seconds.
- Use a thermometer, if possible. The recipe calls for cooking the custard to 175ºF initially. Make sure that the thermometer is accurately taking the temperature from the middle of the liquid when measuring. Once it reaches 175ºF, pull the pot off the heat and stir for about a minute to let the custard slowly come up to 180ºF before straining into an ice bath. 180ºF is an ideal temperature for the custard; going over this temperature will get dangerously close to boiling it.
- Use an ice bath. This will cool the custard quickly to bring it down to temperature, which is always a good idea.
Storing Blueberry Ice Cream
After making homemade ice cream, the final step is to store it properly. Once the ice cream has been churned and frozen, it needs to "harden" in the freezer for a period of time. This chilling period allows the ice cream to reach the correct consistency.
Ice Cream Storage Guidelines:
The faster that ice cream hardens, the smaller the ice crystals and the smoother the ice cream will be.
You can store the ice cream in one large container or multiple small containers. While dedicated ice cream containers are convenient for frequent ice cream making, any container available in your home can be used. Here are some general best practices to store your ice cream properly:
- Transfer the churned ice cream immediately to an airtight container
- Press parchment paper onto the surface
- Shallow containers are best
- Avoid temperature fluctuations as they create an icy texture
- Consume within 1-2 weeks for the best texture and quality.
How Long Will Blueberry Ice Cream Last?
Homemade ice cream honestly doesn’t keep as long as you might expect, because it doesn’t have any stabilizers or preservatives added to it.
Homemade ice cream is best consumed within a week or two of making it. Different factors can affect this timeline, including how cold your freezer is, what type of ice cream it is, what container it is kept in, and if it has thawed at any point in the freezing process. It's not that the ice cream will spoil, it is just that the texture will change over time. So the sooner you enjoy it, the better!
More Blueberry Recipes
- Blue-Ribbon Blueberry Pie
- Cranberry and Blueberry Pie
- Blueberry Cream Cheese Pie
- Blueberry Icebox Cake
- Blueberry Turnovers
More Ice Cream Recipes

I am so honored when you make a recipe from my site! If you make this Blueberry Ice Cream recipe, please leave a star ⭐️⭐️⭐️⭐️⭐️ rating with your experience! If you have any questions about this recipe, feel free to comment here, and tag me on instagram!
Full Recipe
Blueberry Ice Cream

This is the best Blueberry Ice Cream recipe, made using simple ingredients like eggs, cream, and milk and fresh blueberries to make for an ultra-creamy and fruit-forward taste and consistency. This is a an old fashioned blueberry ice cream recipe made with a custard base that requires an ice cream churner.
- Prep Time: 00:20
- Churning Time: 00:30
- Total Time: 00:50 + chilling time
- Yield: About 3 pints
- Category: Ice Cream
- Method: Churn
Ingredients
- 14 ounces (about 2-½ cups) fresh blueberries, washed and dried
- 1 cup (200 grams) granulated sugar, divided
- Orange zest from half of the orange (about 2 teaspoons)
- 2 tablespoons fresh orange juice (see note)
- 2 tablespoons dry milk powder
- ¼ teaspoon coarse kosher salt
- ⅛ teaspoon ground cinnamon
- 2 large eggs
- 1-½ cups (340 grams) heavy cream
- ½ cup (115 grams) whole milk
Instructions
- In a medium pot, stir together blueberries, ½ cup of sugar, orange zest and orange juice. Cook over medium heat until bubbling. Reduce the heat to medium-low and simmer for 5 minutes, stirring frequently.
- Remove from the heat and set the reduced blueberries aside.
- Set up an ice bath with two nested metal bowls.
- In a medium bowl, whisk together the remaining ½ cup of sugar, milk powder, salt and cinnamon. Add in the eggs and whisk vigorously for one minute, until the mixture is lightened.
- Whisk in the cream and milk.
- Transfer the mixture to a medium heavy-bottomed pot. Cook over medium heat, stirring constantly, especially along the edges and the bottom of the pot. Cook until it reaches 175°F on an instant-read thermometer, about 8 minutes. The mixture will be slightly thickened. To check the custard is set without an instant-read thermometer, take a wooden spoon and coat it with custard. Draw a horizontal line on the back of the spoon with your finger. If the line “holds” then your custard is set. If the line collapses immediately, the custard needs another minute or so. Be careful not to bring the mixture to a boil; this will curdle the custard.
- Immediately shut off and remove the pot from the heat. Continue to stir the custard for 1 minute. This helps bring it all the way up to 180ºF.
- Strain the custard through a fine-mesh strainer into the prepared ice bath. Stir in the blueberry mixture.
- Cool the custard in the ice bath to room temperature, stirring occasionally.
- Chill the custard thoroughly in the refrigerator, until at least 40ºF, but preferably overnight.
- Freeze the blueberry custard, according to the recommended manufacturer’s instructions of the ice cream maker, until the ice cream has reached a soft-serve consistency.
- Transfer the blueberry ice cream to one or more airtight containers. Place a piece of parchment on the surface to prevent any freezer burn. Freeze until firm, at least a few hours.
Notes
Have a question or looking for tips? The text written above the recipe is always a great first place to start! This Blueberry Ice Cream was developed with love, and I always include loads of explanations, tips, step-by-step photos and technical advice shared before the recipe.
Be sure to zest your orange before your juice it
You can use high quality frozen blueberries. Let them defrost in the sugar and lemon juice in the pot in step 1 of the recipe. Frozen or fresh wild blueberries also work great in this recipe.
Milk powder can be found in most grocery stores in the baking aisle. It is highly recommended for this recipe, but if you absolutely cannot find it, you can skip it. It will result in less creamy ice cream, that may be harder to scoop.
Homemade ice cream is best consumed within a week or two of making it. Different factors can affect this timeline, including how cold your freezer is, what type of ice cream it is, what container it is kept in, and if it has thawed at any point in the freezing process. To help prevent freezer burn, place a piece of parchment paper on the surface of the ice cream in the storage container to minimize air exposure from the ice cream. Freeze promptly and thoroughly. Store the ice cream container in the coldest part of your freezer immediately.
Some of the links on this page may be affiliate links. Everyday Pie is a participant in the Amazon Associates Program. As an Amazon Associate I earn from qualifying purchases, at no extra cost to you.
Jess Cody
I made this recipe yesterday, but I tripled it. We love ice cream in this house!
It came out wonderfully. I just started making ice cream and this was my first custard base. I will definitely save this recipe and make this again!
Keshnee Naidoo
Hi Kelly!
I excited to try this with our blueberries in the yard. Do you think I could also do a blackberry version of this?
Kelli Avila
I think that'd be great! I'd recommend straining the blackberry mixture though.
Ellen
Hi Kelli,
Just wanted to let you know that the detailed instructions on making blueberry ice cream keep refering to peach ice cream....maybe you could edit it so there is no confusion. Looking forward to making blueberry ice cream with some fresh picked berries. Thanks for this recipe, Ellen
Kelli Avila
Hi Ellen: Thanks, I found the section and edited it! Appreciate it! Hope you enjoy the recipe.
Rene
Best ice cream recipe out there!!!! I've tried several even from ATK and this, by far, produces the creamiest ice cream!!!! I can't say enough about the quality of the ice cream this recipe and technique makes!!!