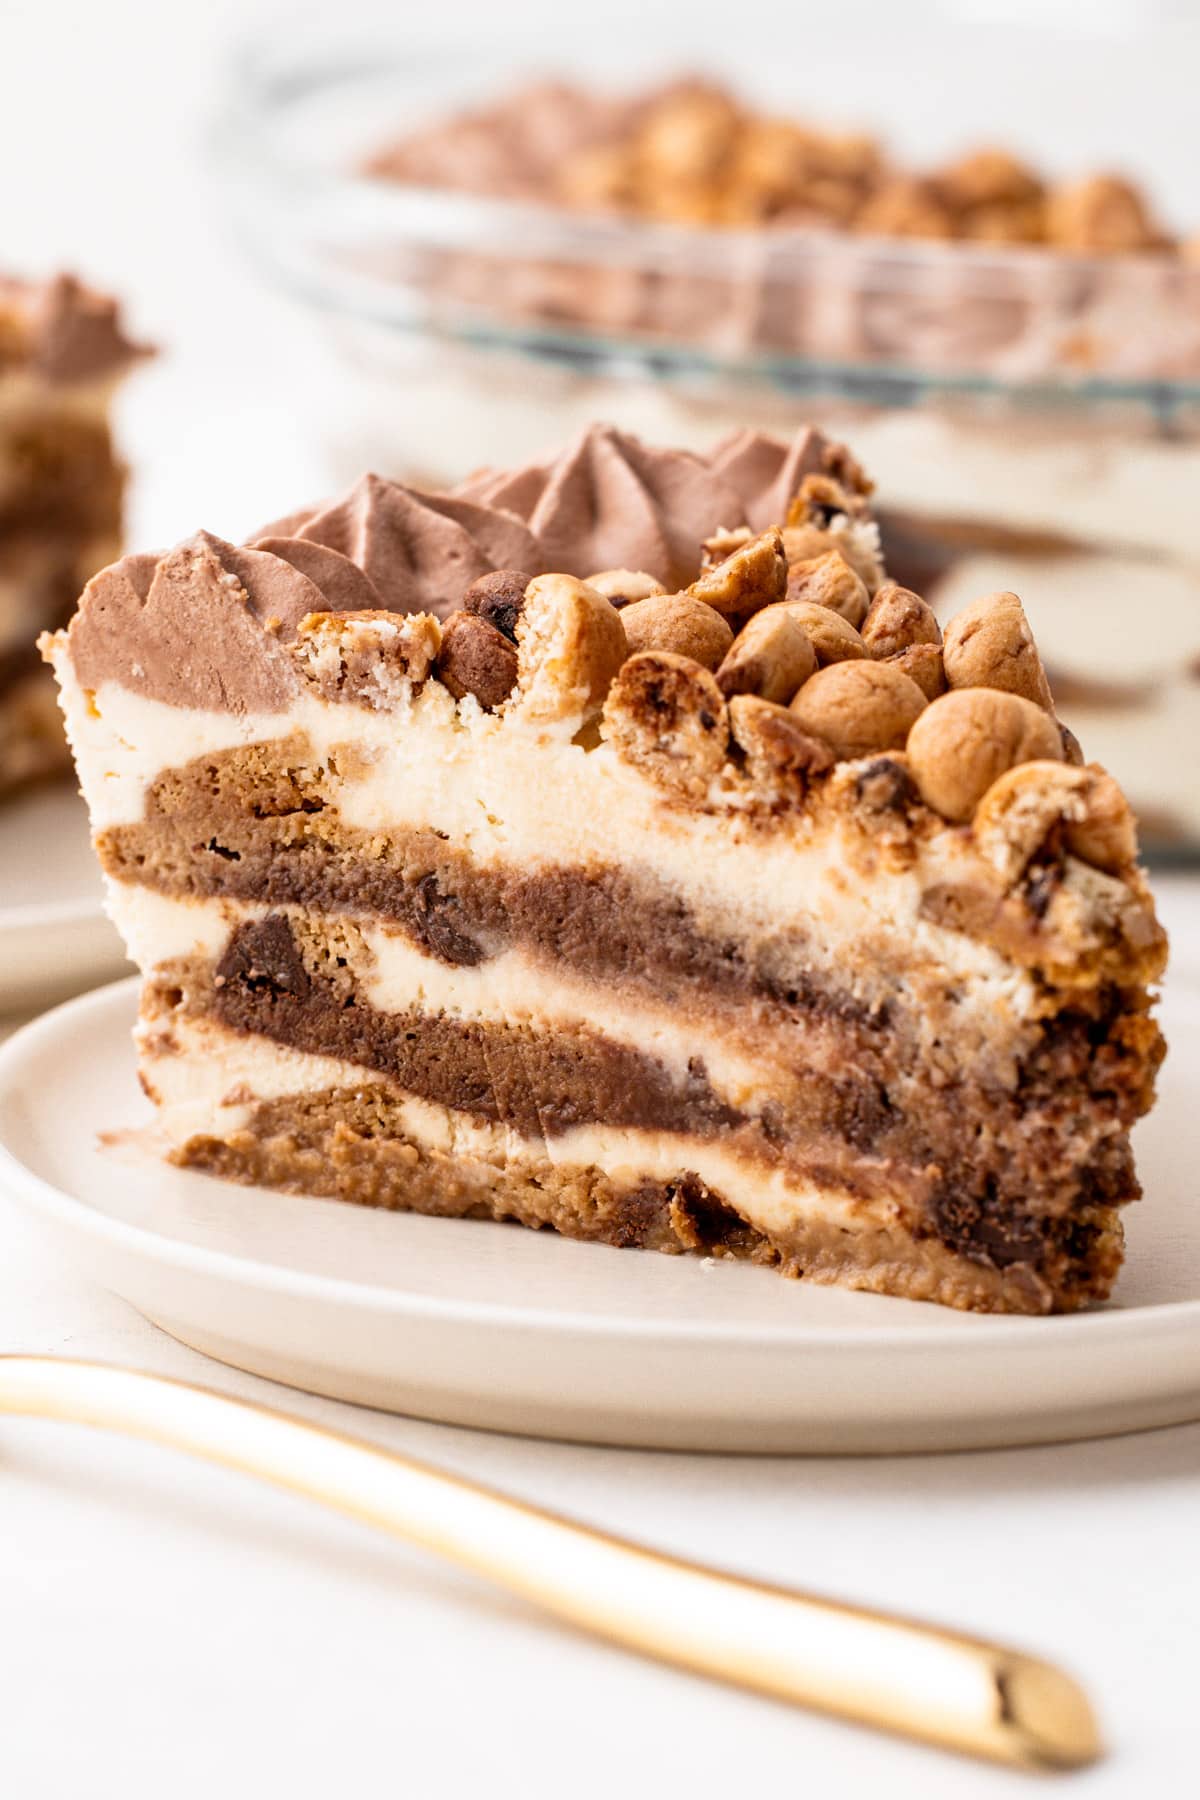
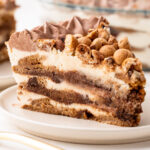
This Cookie Icebox Cake is made up of layers of brown sugar mascarpone cream, chocolate sauce, and thin chocolate chip cookies. It's a beautiful yet simple-to-make dessert that celebrates the beloved, iconic American cookie.

Want to save this recipe?
Enter your email & I'll send it to your inbox. Plus, get weekly updates from me!
Like many of us, I firmly believe there's little in this world more perfect than a chocolate chip cookie dunked into a chilled glass of milk. Okay, maybe that's a touch hyperbolic, but there's magic in that soft, creamy chocolate mess that emerges from the glass. And that magic is what makes this Milk and Cookies Icebox Cake shine. It's a layered dessert made up of brown sugar mascarpone cream, crisp and thin ccc's dunked in milk, and chocolate sauce, all assembled together and set in the "icebox" to soften and transform into a cake!
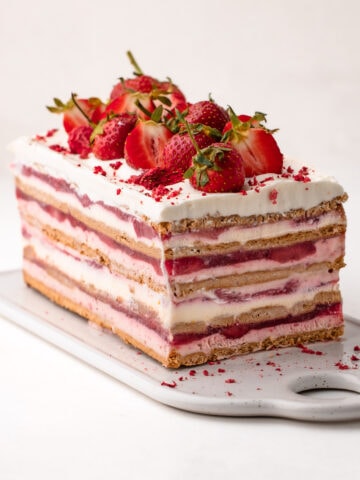
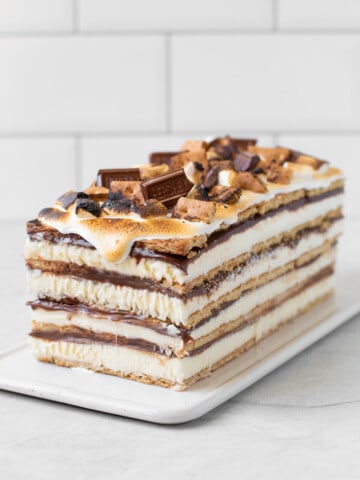
This Cookie Icebox Cake is a stunner, yet so simple to make (like this s'mores version, or this pumpkin one, or this blueberry one). This is one of those super chill recipes where there is a lot of flexibility with the ingredients you can add or omit, or how you put it together.
So, let's get to making it, shall we? The article below is jam-packed full of useful information. You can jump around using the menu below, or skip to the end of the article for the full recipe.
Jump to:
The Little Teeny Tiny Cookies that Started It
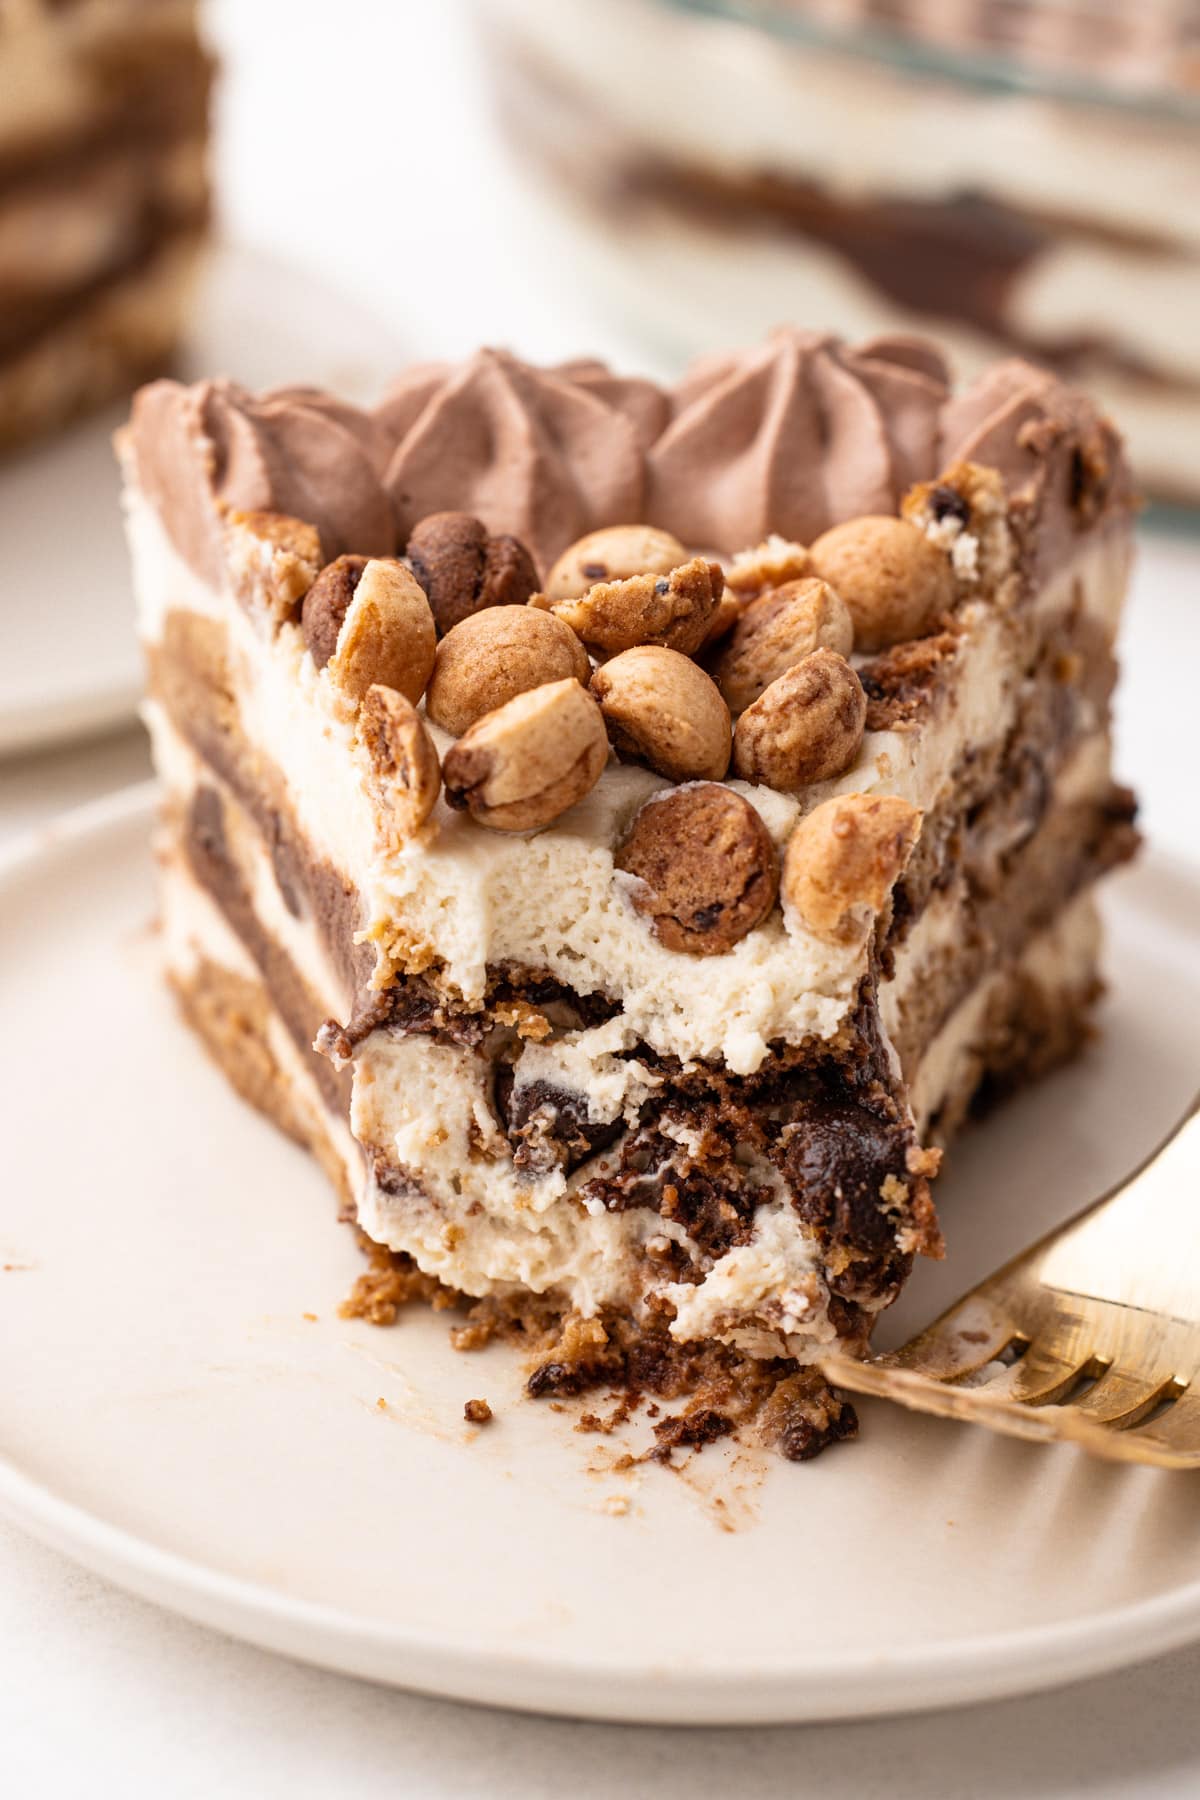
You might notice those teeny tiny chocolate chip cookies that are decorating the top of the cake. They are what inspired me to create this recipe in the first place. Trader Joe's came out with the Tiniest Chocolate Chip Cookies this season and as soon as I saw them, I knew I wanted to create a recipe around them. However, they are not at all essential to this Cookie Icebox Cake. When I was testing this recipe, instead of using this niche product, I simply crumbled up the leftover ccc's that I had on hand from assembling the cake and it was just as pretty of a presentation.
But sometimes when you are inspired, you have to go with it, and those cute little TJs cookies led the way. Use them or don't; either way the recipe is going to be beautiful and delicious.
Ingredients Needed and Substitutions
Here is a brief overview of the ingredients needed for this recipe. The full recipe with quantities is listed below this text in the recipe card. If substitutions are available for this recipe, they'll be listed here. If you don't see a substitution you are looking for, please leave a comment below.

- milk (use whole milk or two percent, or whatever milk you like)
- thin, crispy chocolate chip cookies (Tate’s is what I used, see more on this below)
- chocolate sauce (you can use a simple ganache here, or a hot fudge sauce like I did, or go ahead and grab store-bought sauce meant for ice cream!)
- mascarpone cheese (this can just as easily be swapped for cream cheese, though it will need to be slightly softened since it is firmer than mascarpone)
- brown sugar (use dark or light, it doesn't matter)
- vanilla extract
- salt
- heavy cream
Types of Cookies
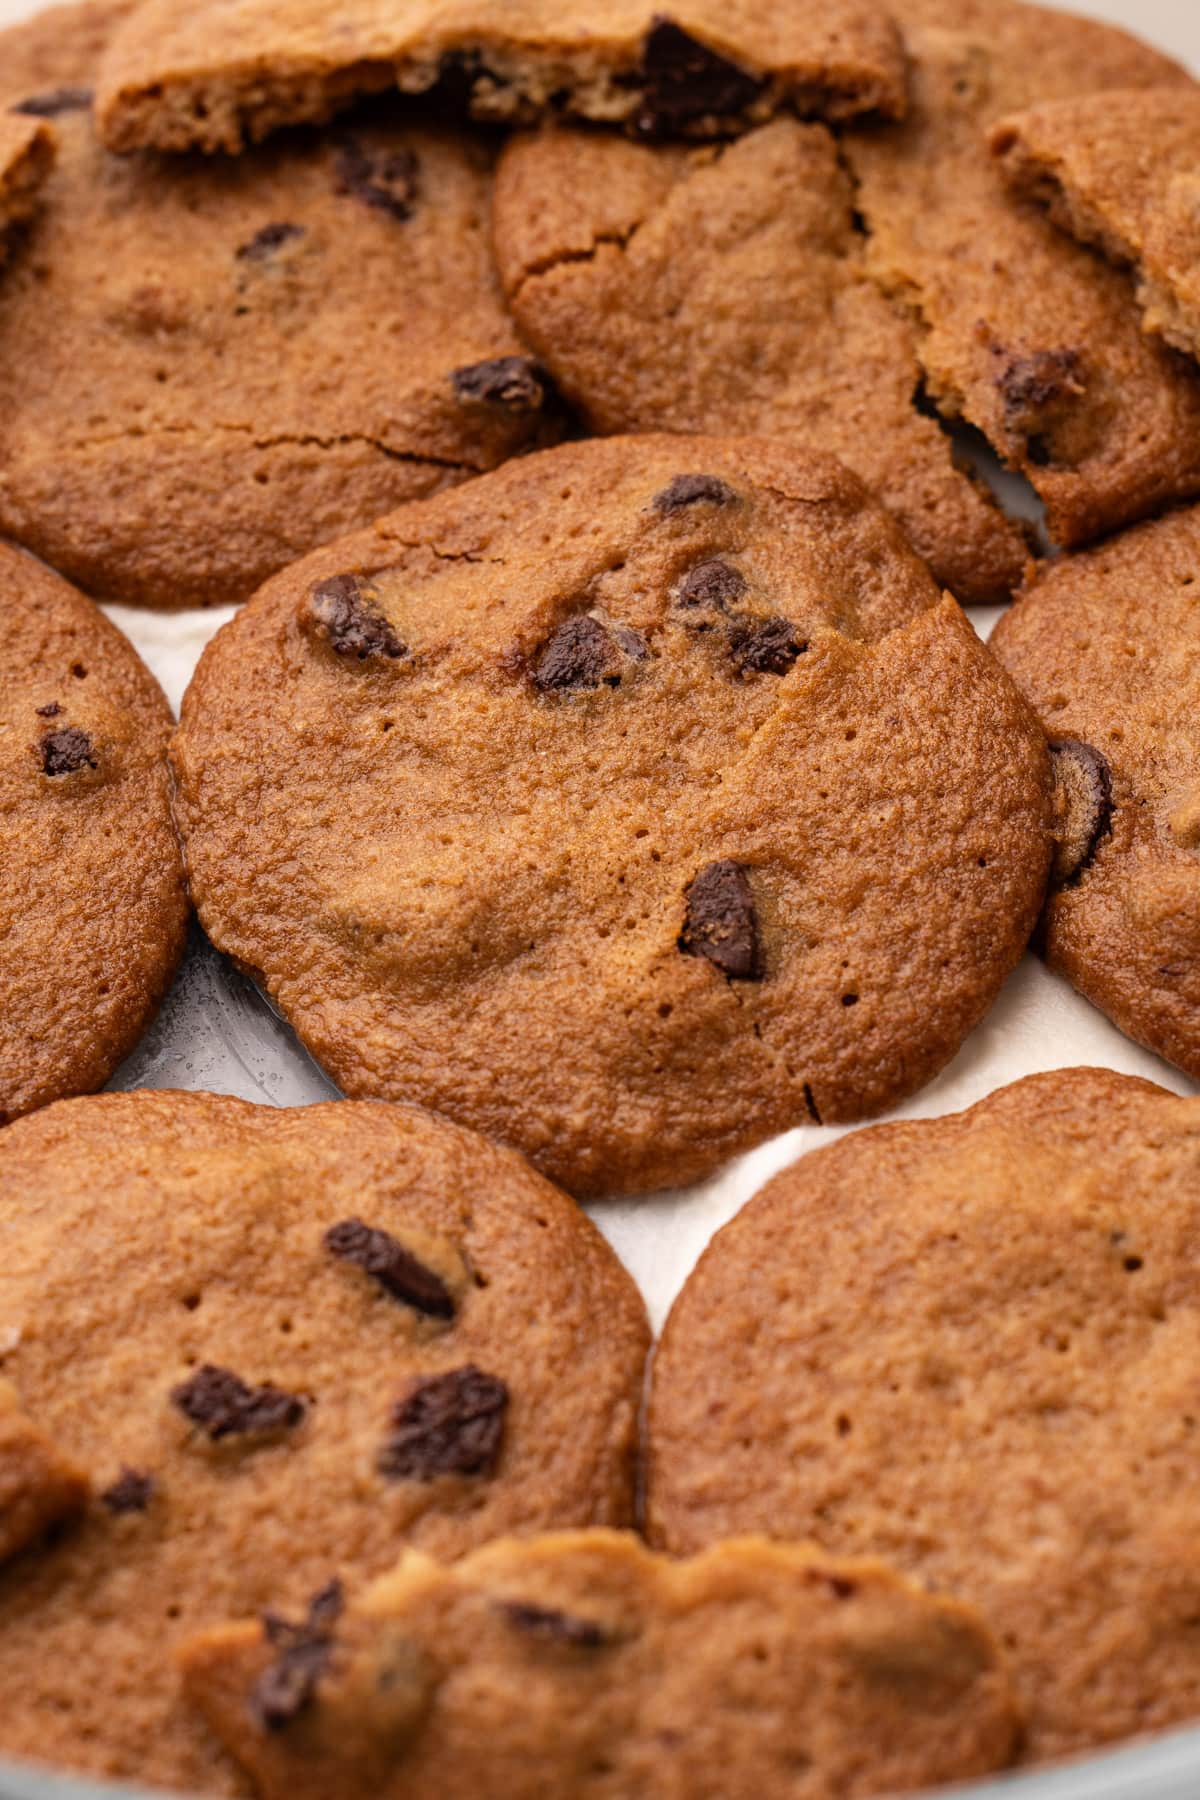
This recipe works best with crisp, thin chocolate chip cookies, as they soak up the milk and transform into a beautiful cake-like texture. I used Tate's, which is readily available in most (all?) grocery stores. I did not test this with any other type of chocolate chip cookie, though I believe the recipe should work with any, as long as they are relatively dry and therefore able to soak up the moisture of the milk and cream.
This recipe likely will not work with homemade or soft bakery chocolate chip cookies.
Type of Pan Needed
An icebox cake doesn't need to have any special shape, so there are several ways to make this. With other icebox cake recipes (like this strawberry version) I've made them long and tall, but given the shape of the cookies, a circular pan works well in this recipe.
I used a 9.5-inch deep dish pie baking dish from Pyrex (the larger one in this set), but a 9-inch cake pan or a springform pan would also work!
Similarly, you could also make this in a square baking dish, or even a large loaf pan. I've also seen people assemble icebox cakes without a dish, though it is a lot easier to handle it when it is made in something.
Just don't spend too much time thinking about what vessel you'll assemble the cake in; use what you have.
The Mise En Place
As with any recipe, but especially with this one, it's important to get all your mise en place ready before you start assembling. Here are the stand alone components you need to make and set up before assembly:
- cookies (open the package and get a knife ready because you'll need to cut some of them in half)
- milk (pour it into a container so you can dip the cookies in it)
- chocolate sauce (if you are making it, have it cooled and ready to go)
Making the Cream
The only real preparation required is to whip together the mascarpone and heavy cream. To make it:
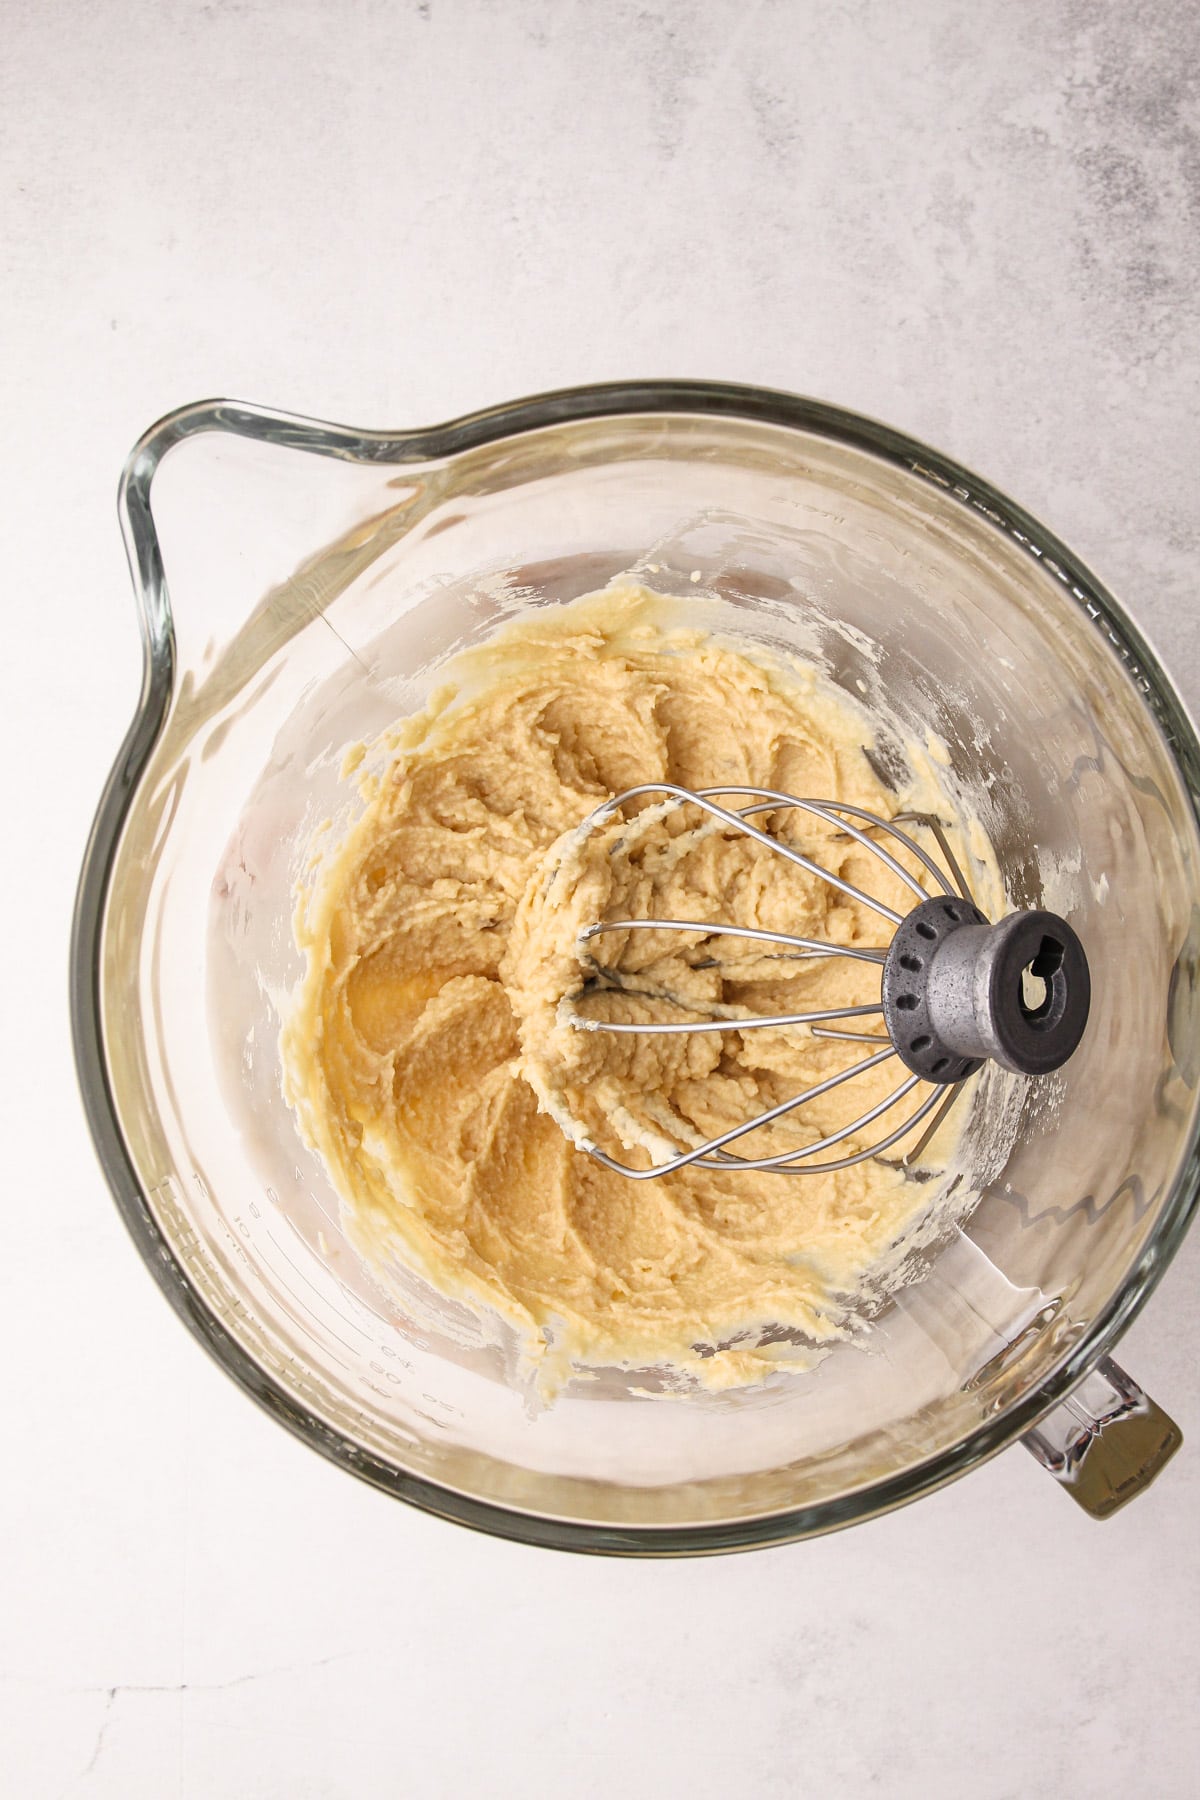
Whip the mascarpone, brown sugar, vanilla, and salt just until combined. Do not over mix.
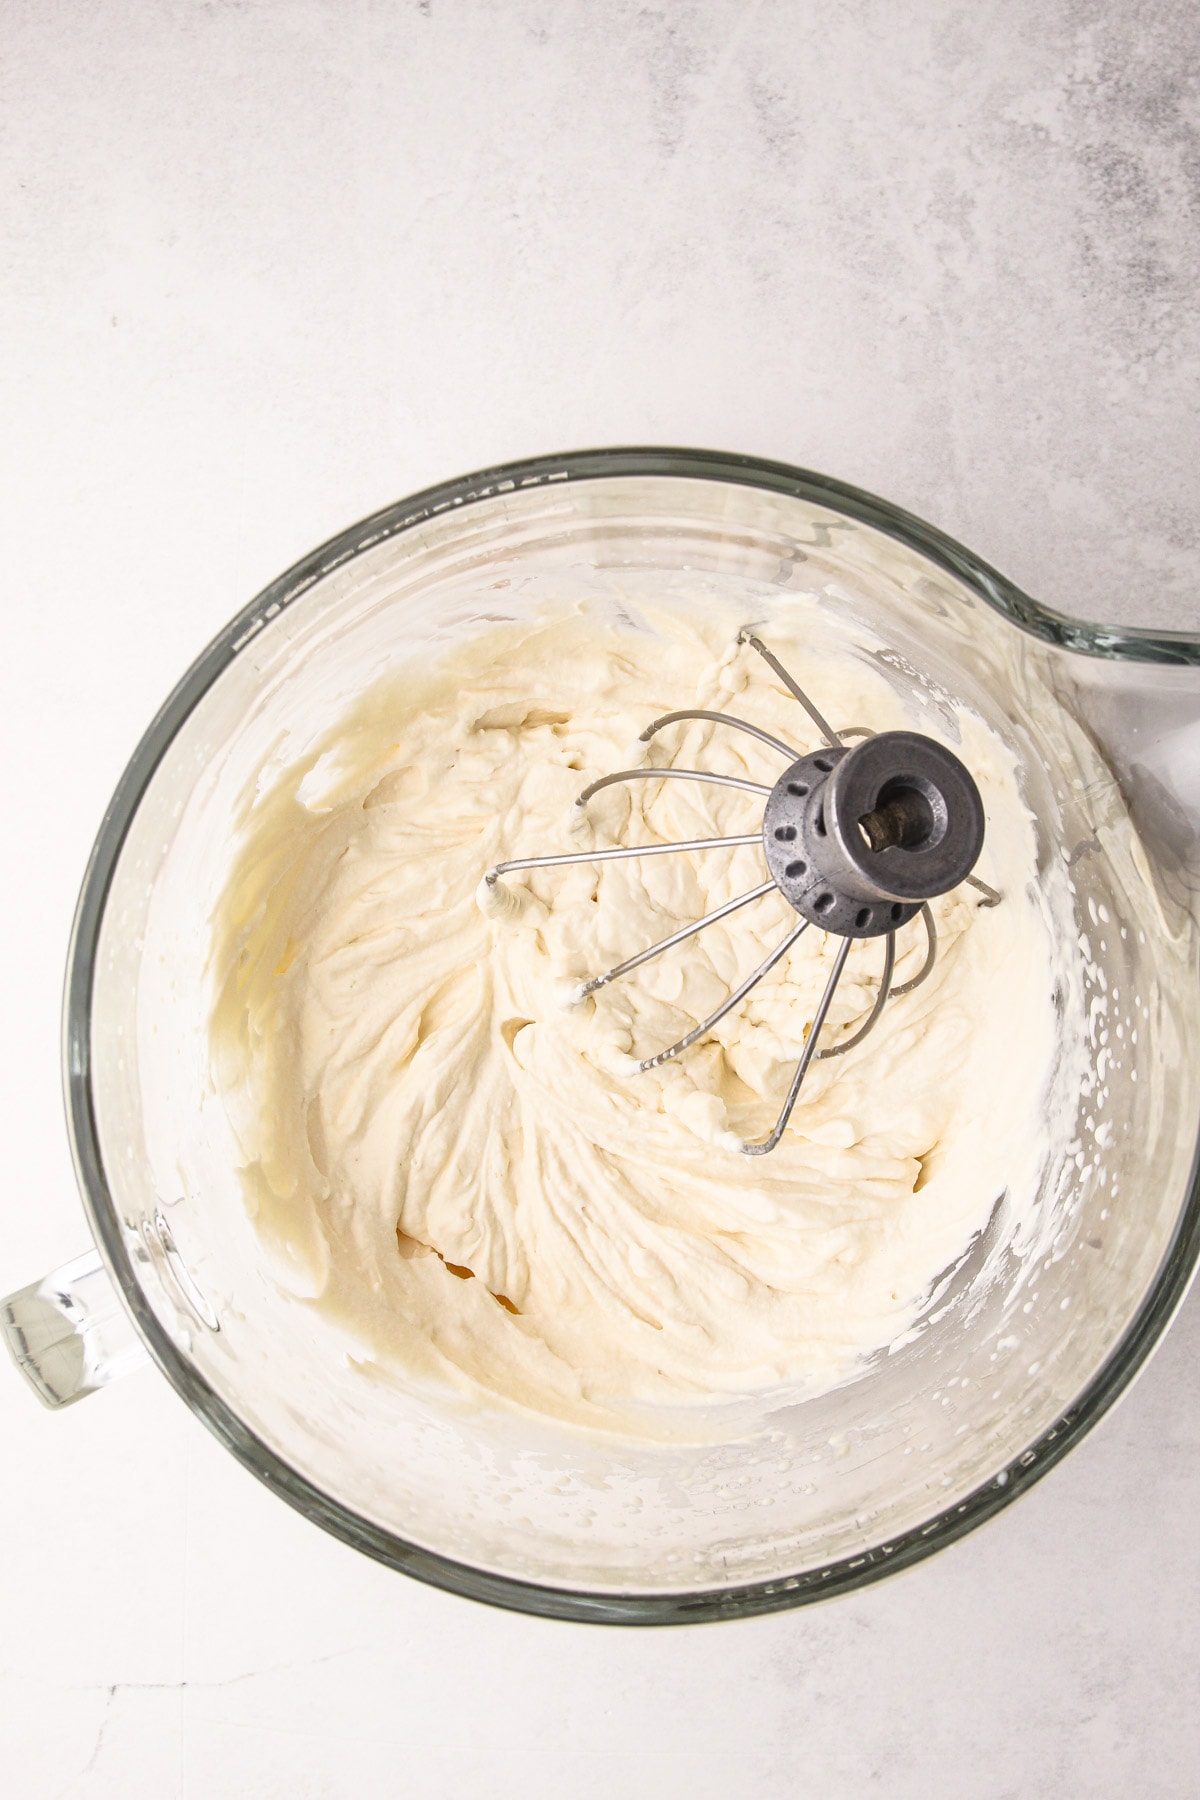
Add in the heavy cream and continue to whip until it has thickened to medium stiff peaks.
How to Assemble the Icebox Cake
After getting all of the mise en place ready, it's time to layer the cake together. Your cake might look different than this if you are using a different-shaped container. As mentioned above, the steps for assembly are more of a strong suggestion than an absolute must-follow approach. This cake needn't be fussy!

Step 1: Put a thin layer of the mascarpone filling in the bottom of the dish to start so the cookies don't slide around.
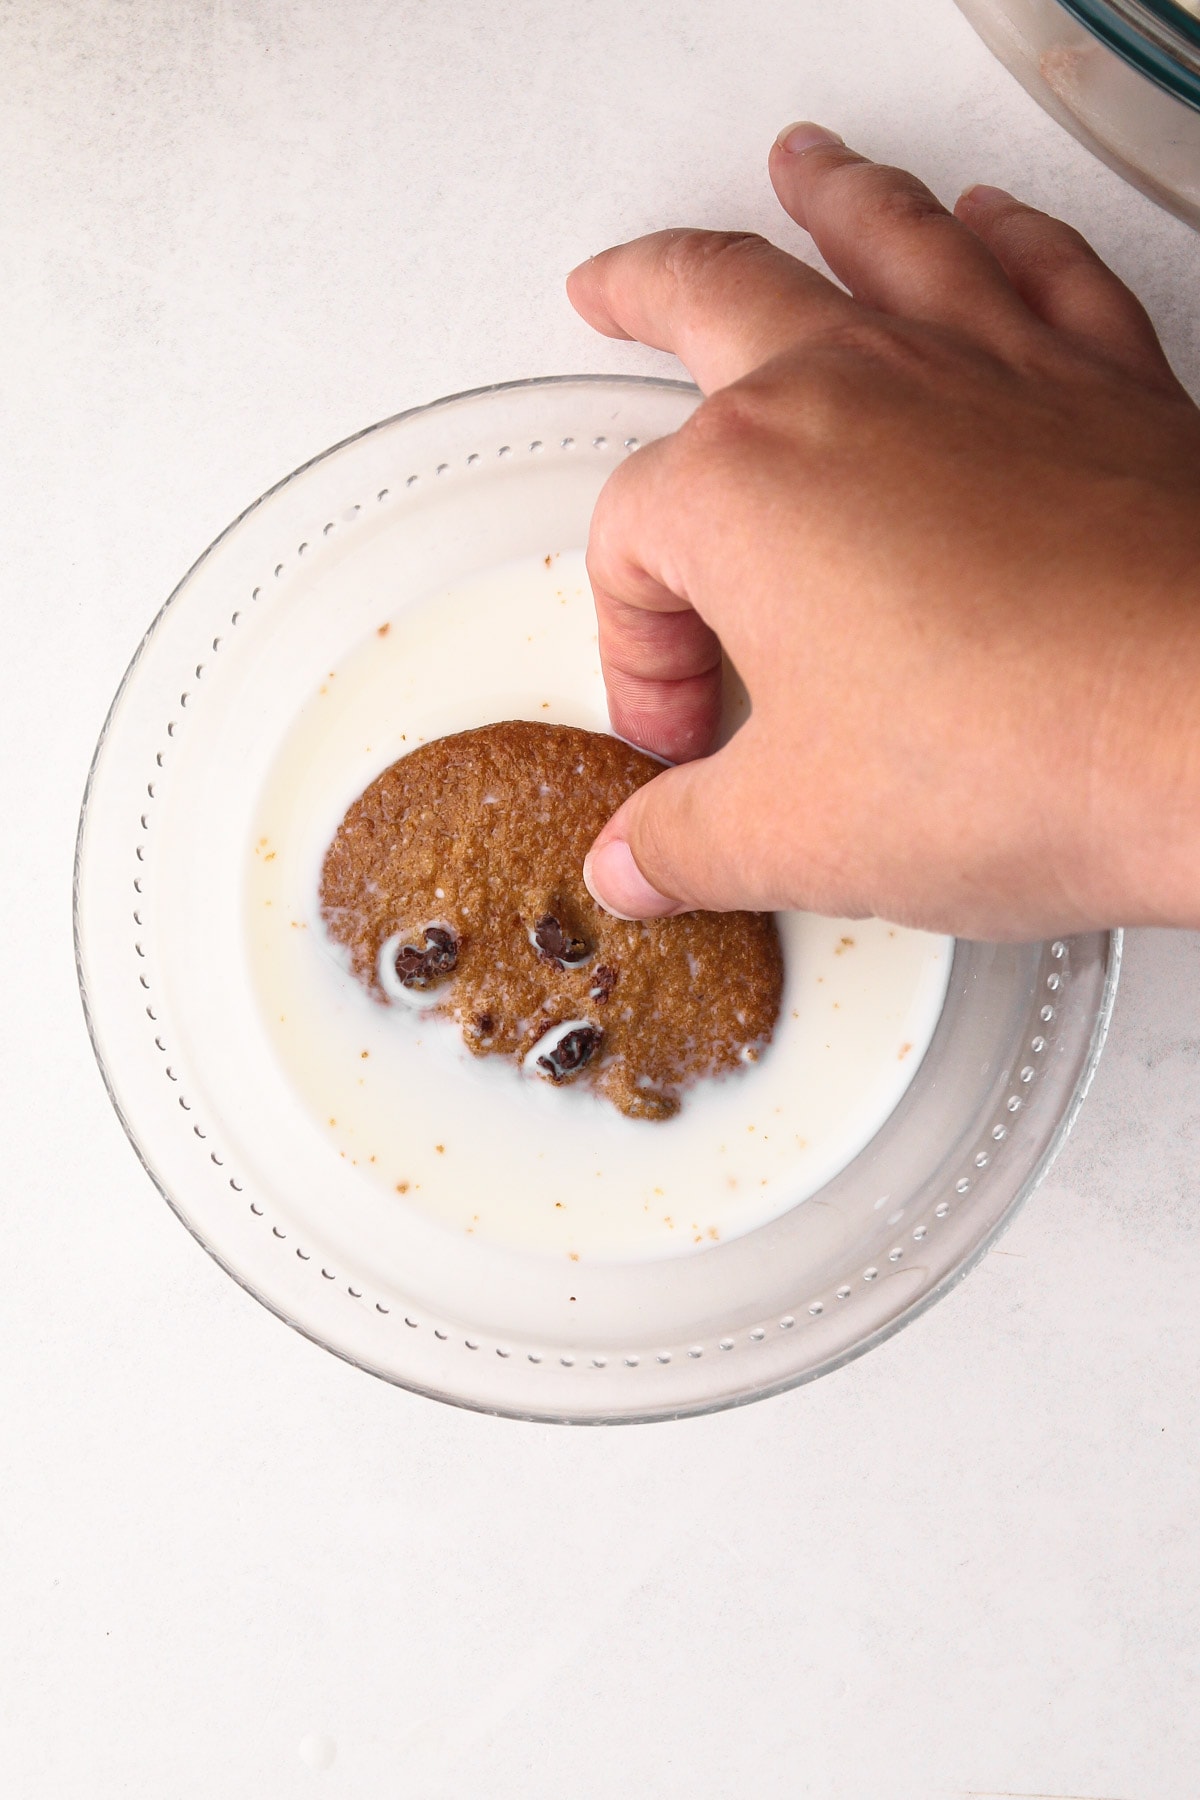
Step 2: Dip a chocolate chip cookie in the milk, but do so rapidly. The cookies absorb liquid quickly, so give them a quick dip and then straight to the dish before they soften.
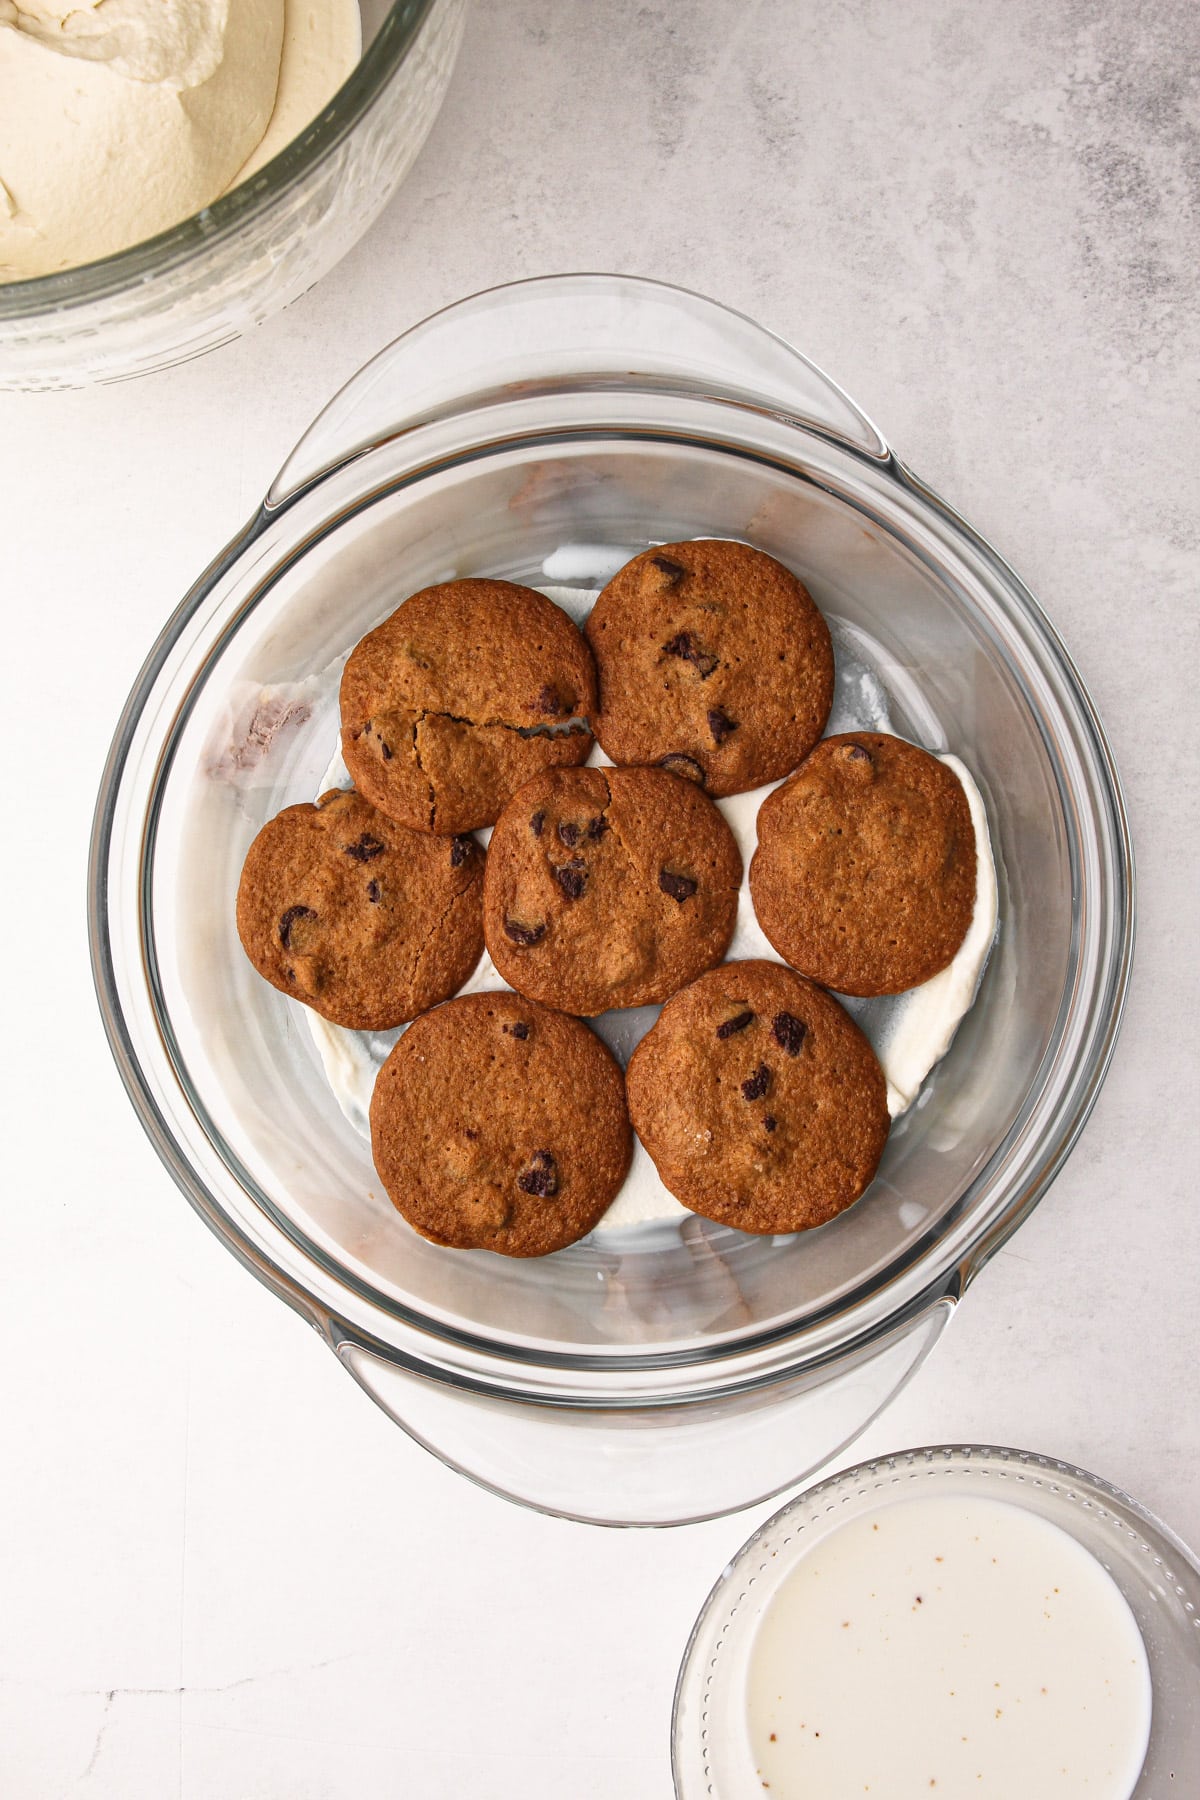
Step 3: Put the first layer of cookies down.

Step 4: Break about 4 cookies in half, dip in milk as before, and fill in the empty spaces. It's okay that they won't be flat.

Step 3: Add ⅓ of the mascarpone cream on top of the cookies.
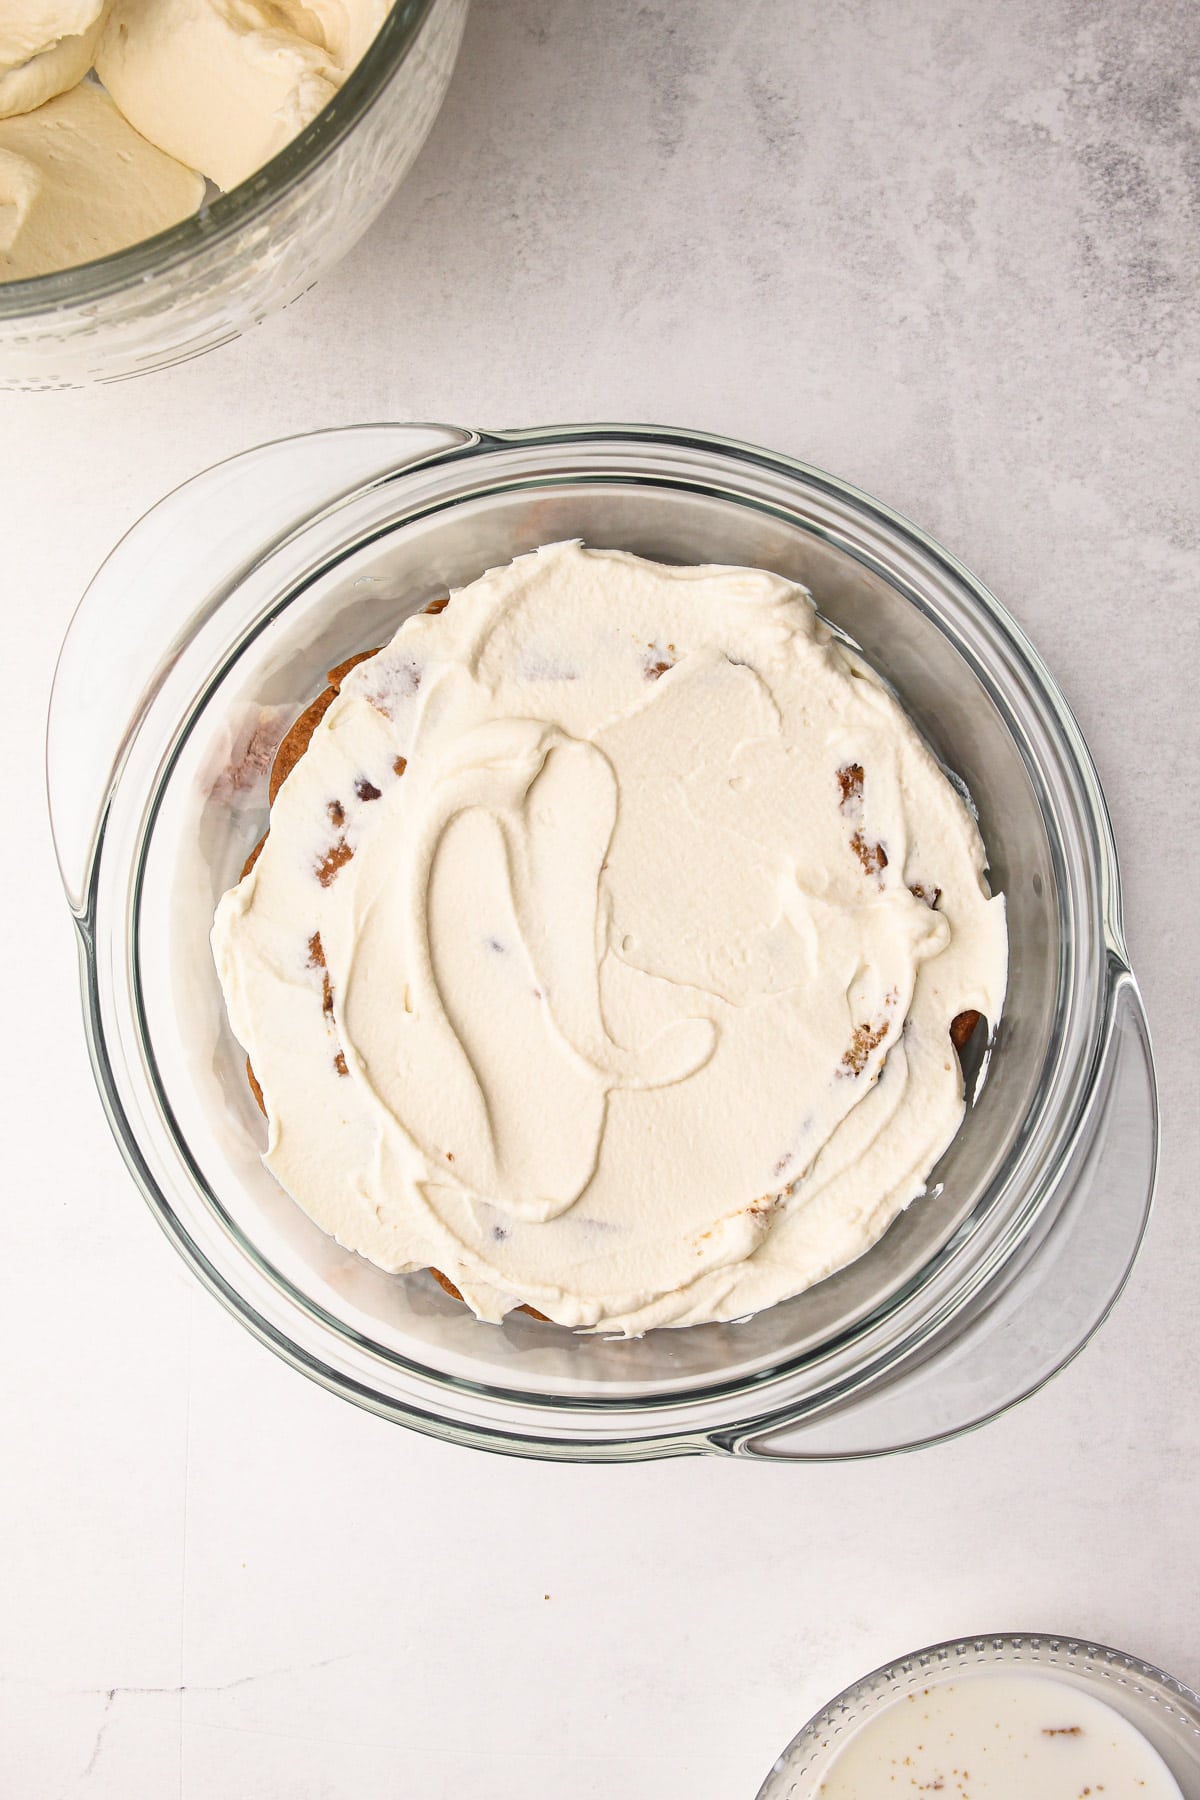
Step 4: Spread the cream into a roughly even layer.
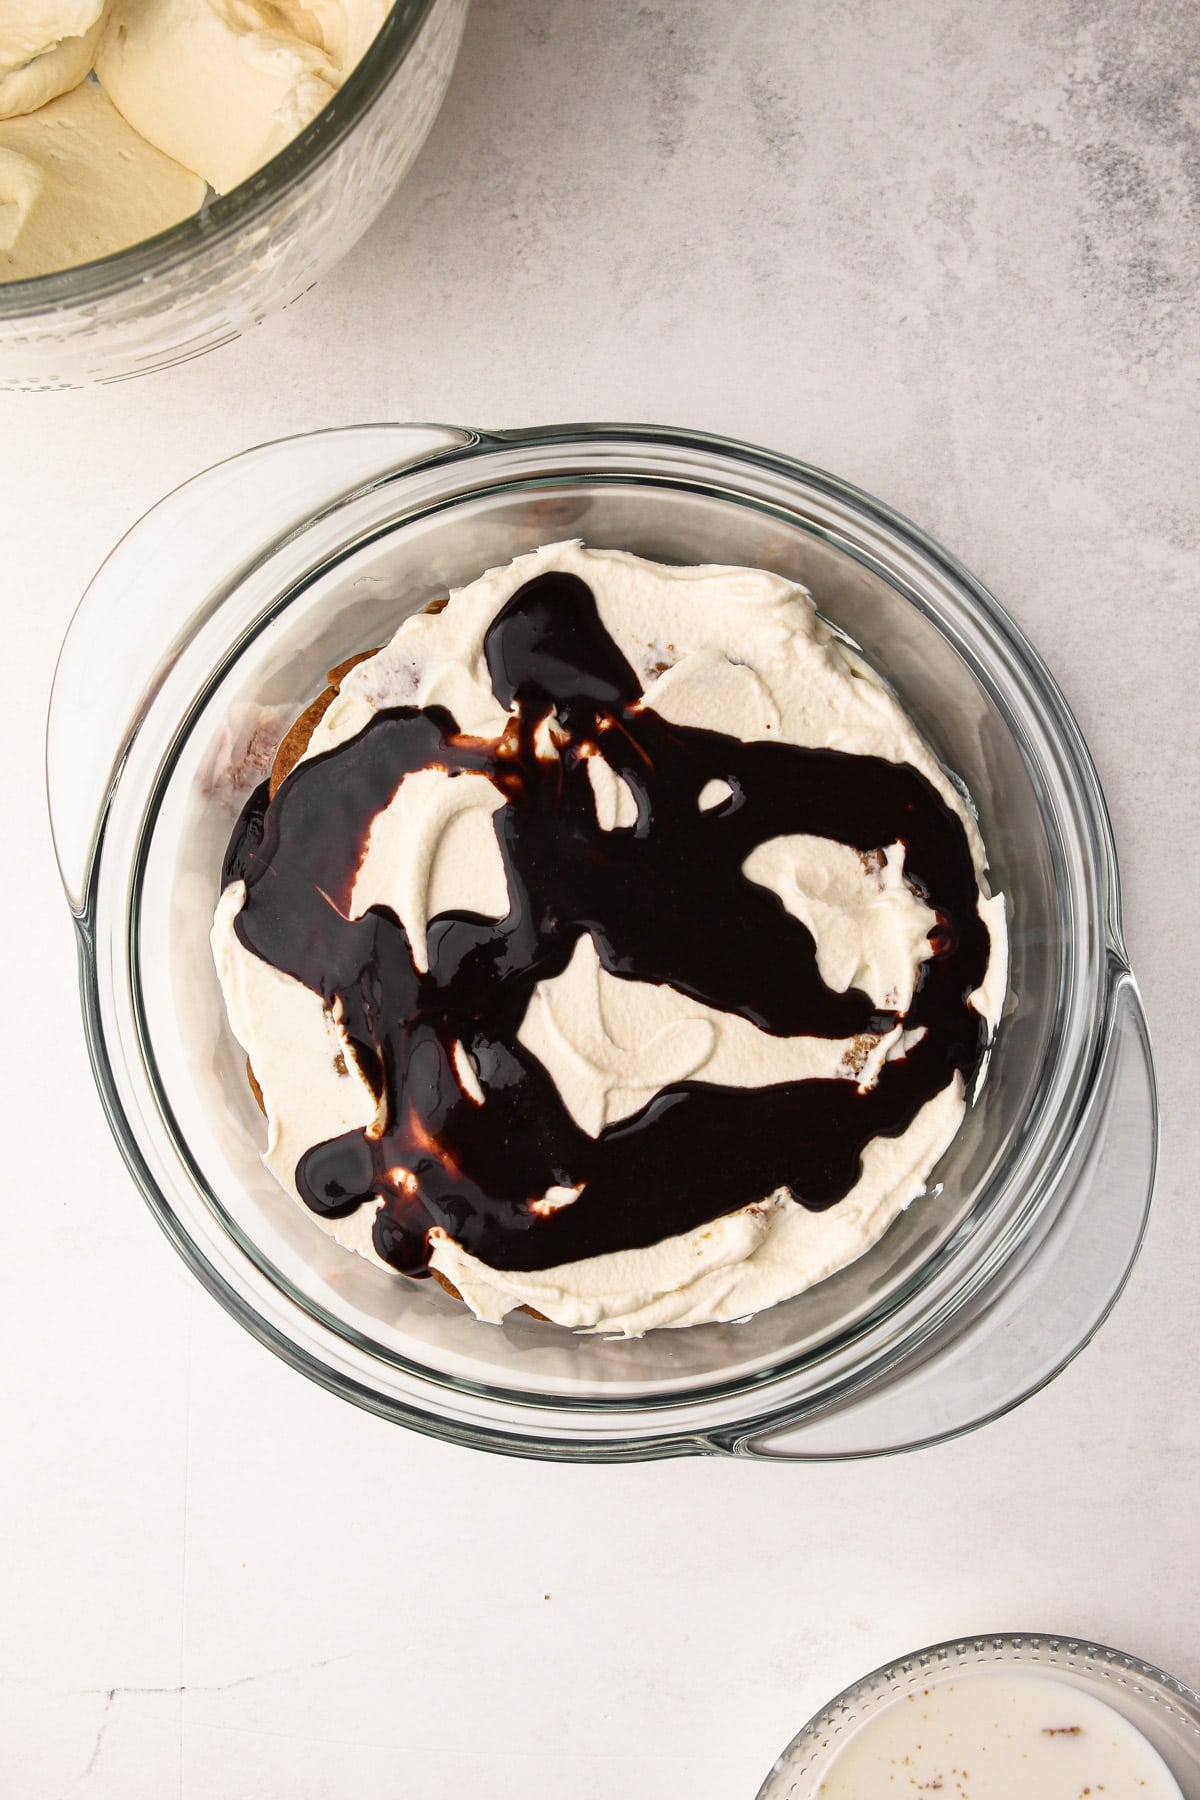
Step 3: Drizzle ⅓ of the chocolate sauce on the mascarpone.
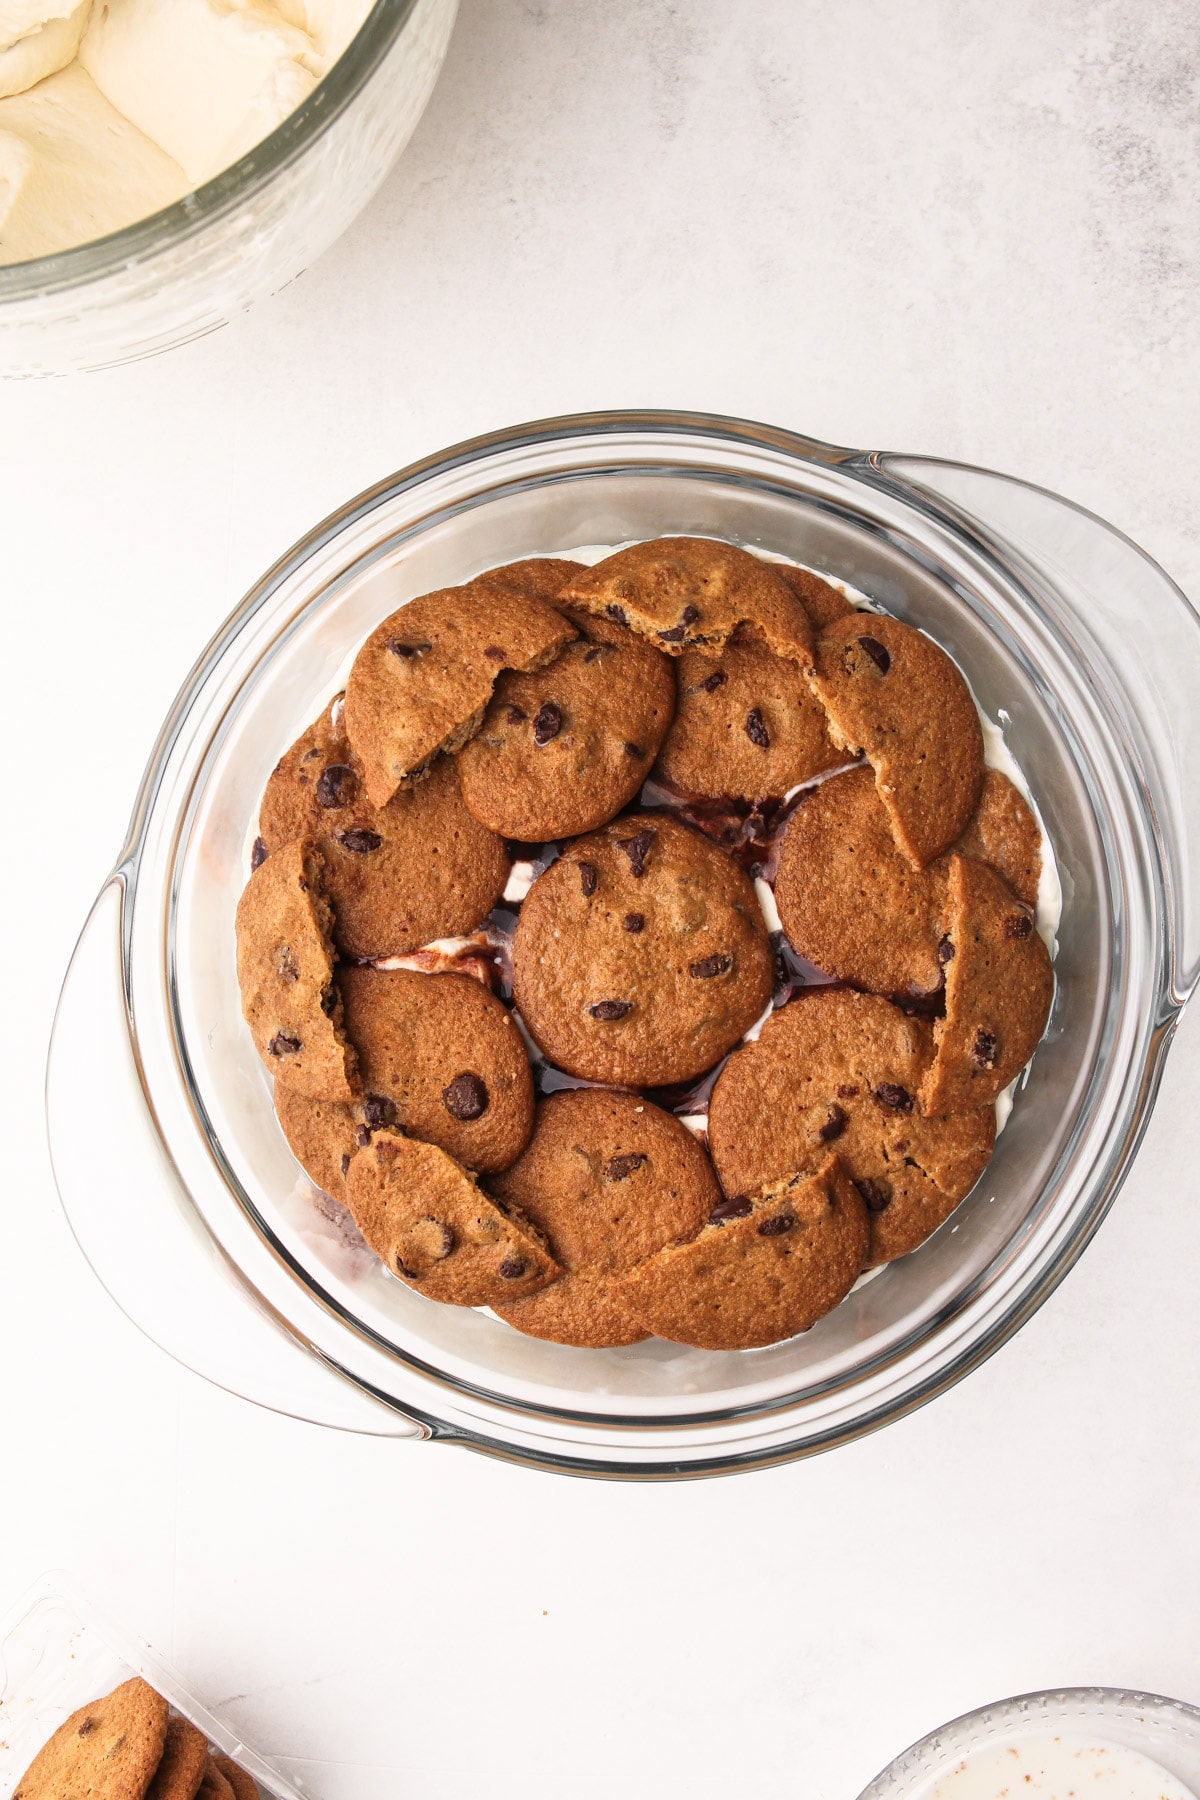
Step 4: Repeat with another cookie layer, as before.
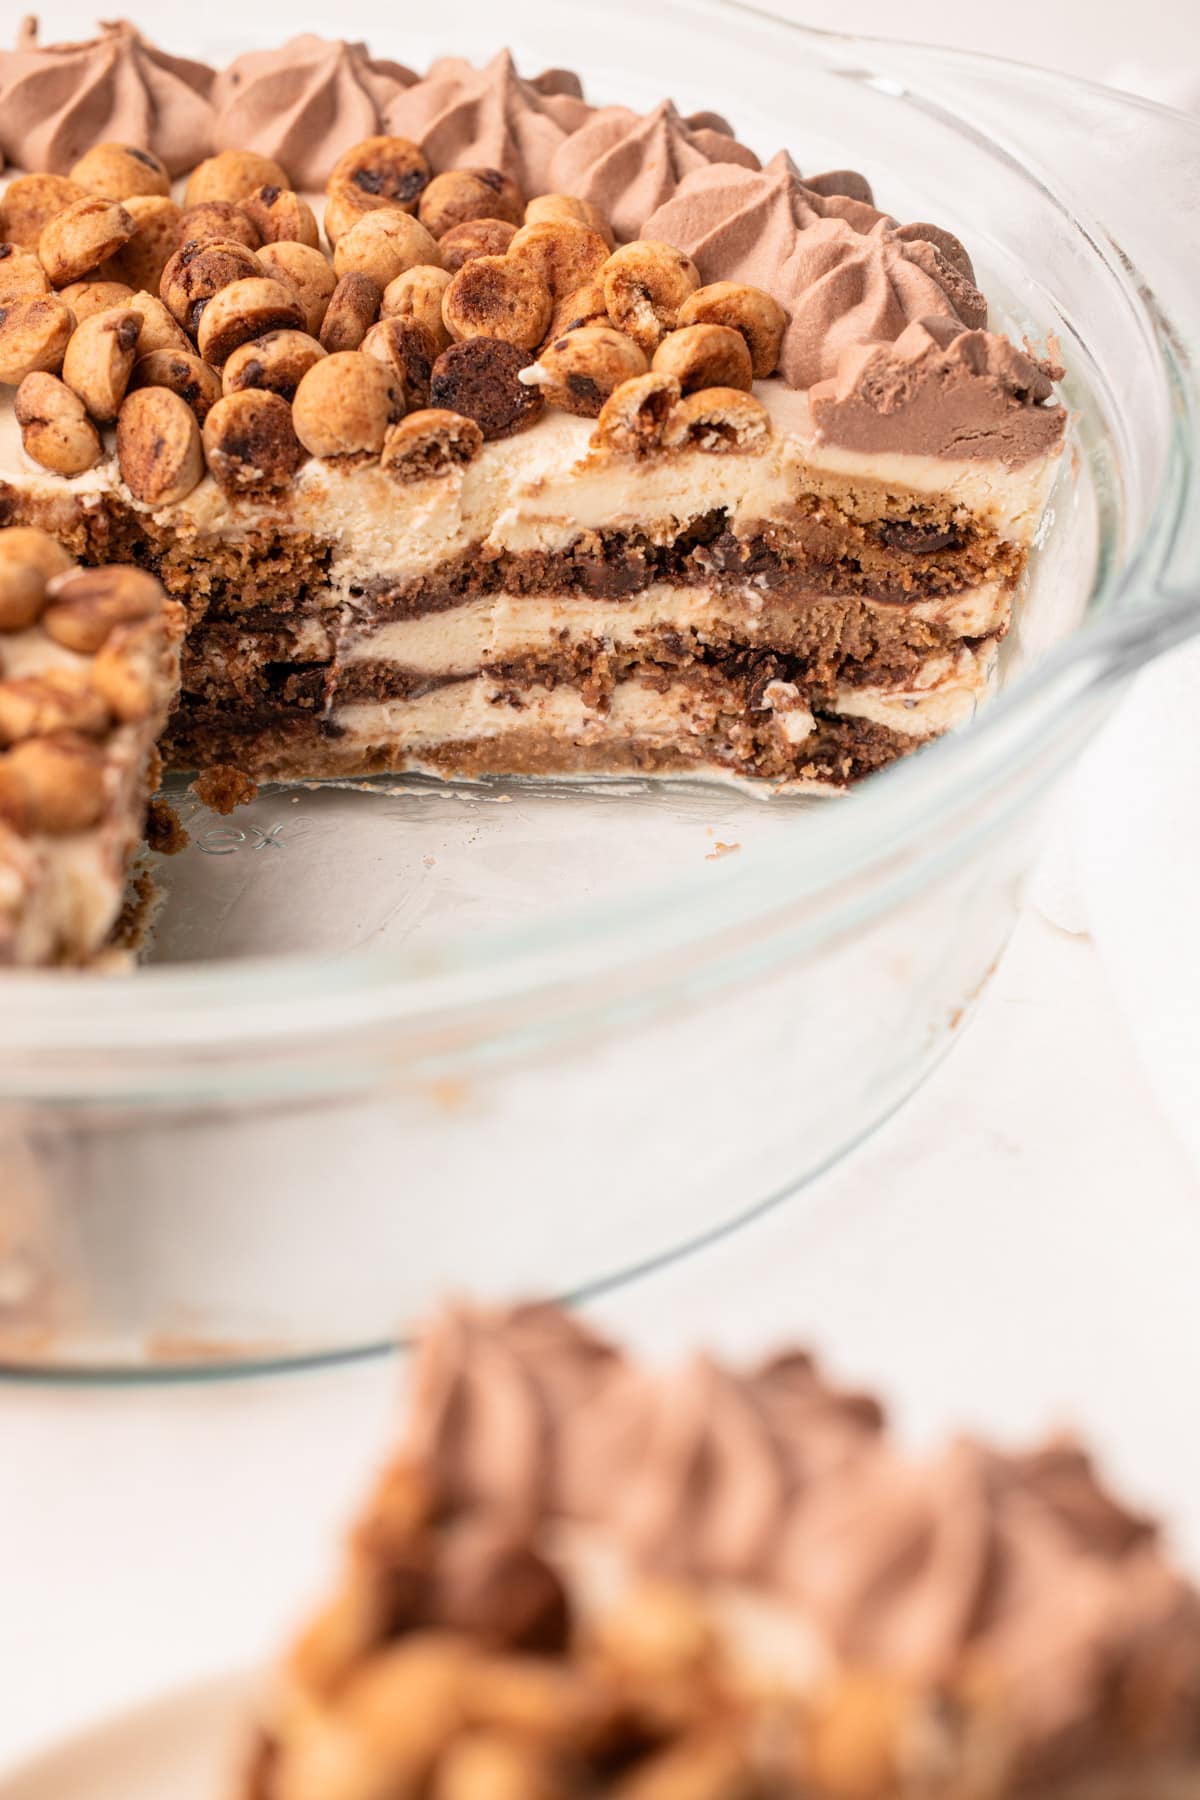
This process continues for a total of three layers of cookies, three layers of mascarpone, and two layers of chocolate sauce.
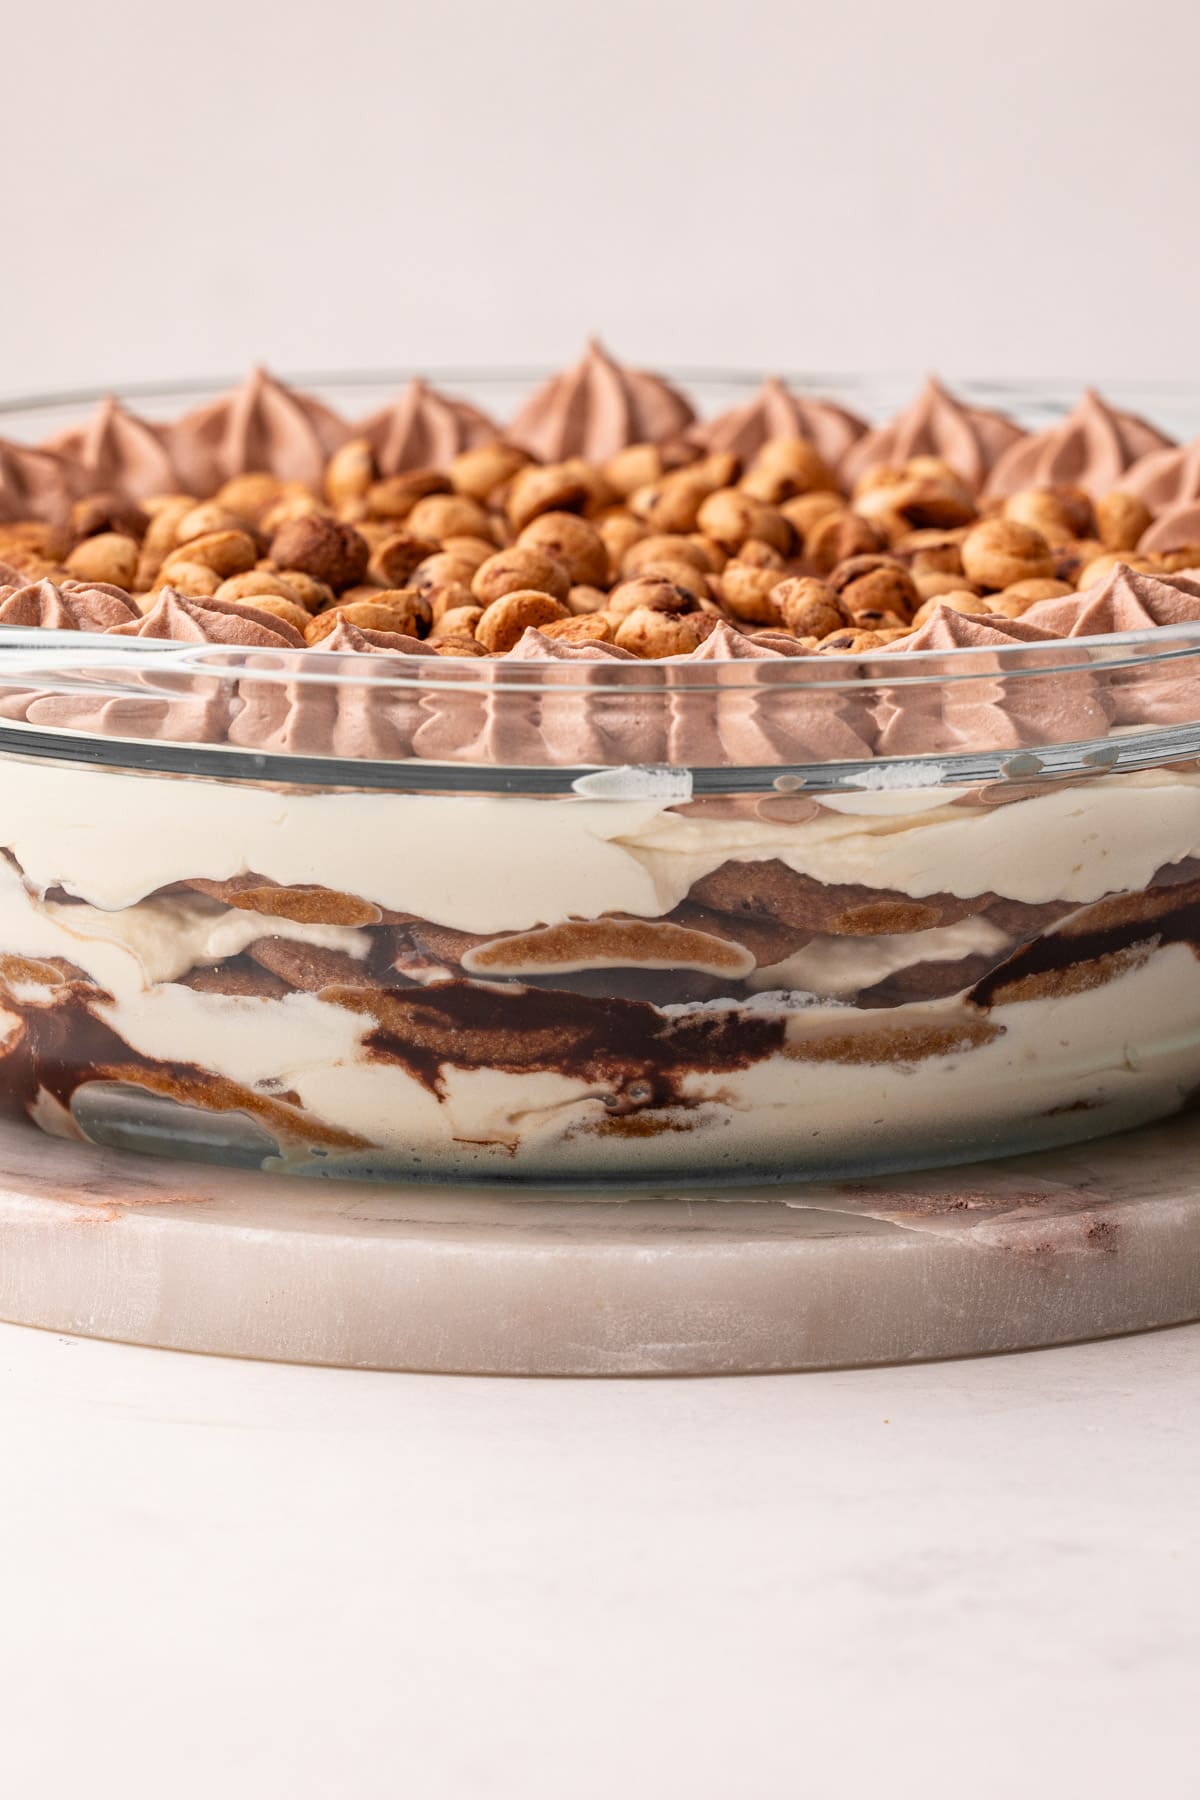
How to Garnish It
There will be a small amount of mascarpone cream and chocolate sauce left. They will be combined to make for a chocolate cream that can be piped on the top of the cake for a pretty presentation. If you don't want to pipe it, that's fine too. Just spread it on top.
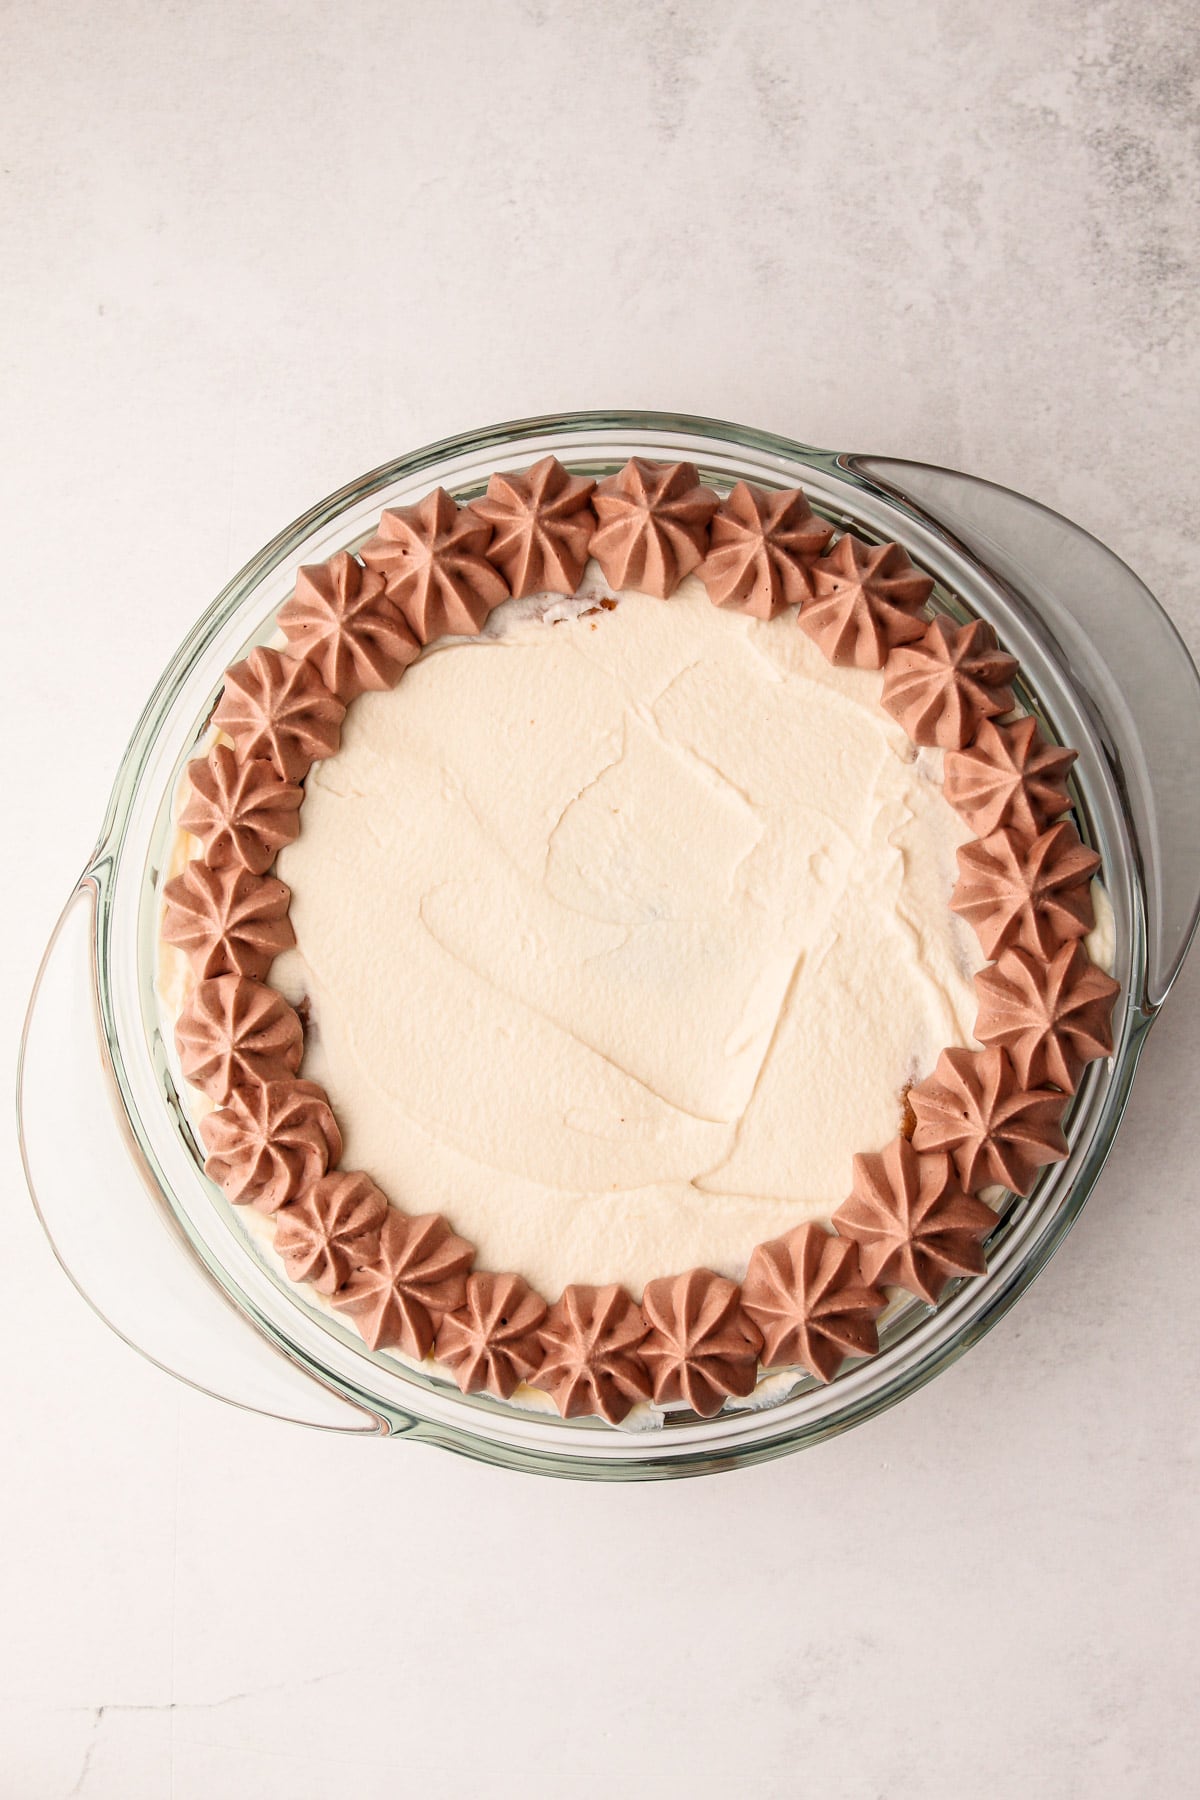
Step 1: Pipe the chocolate cream using a large star tip around the edge of the cake.
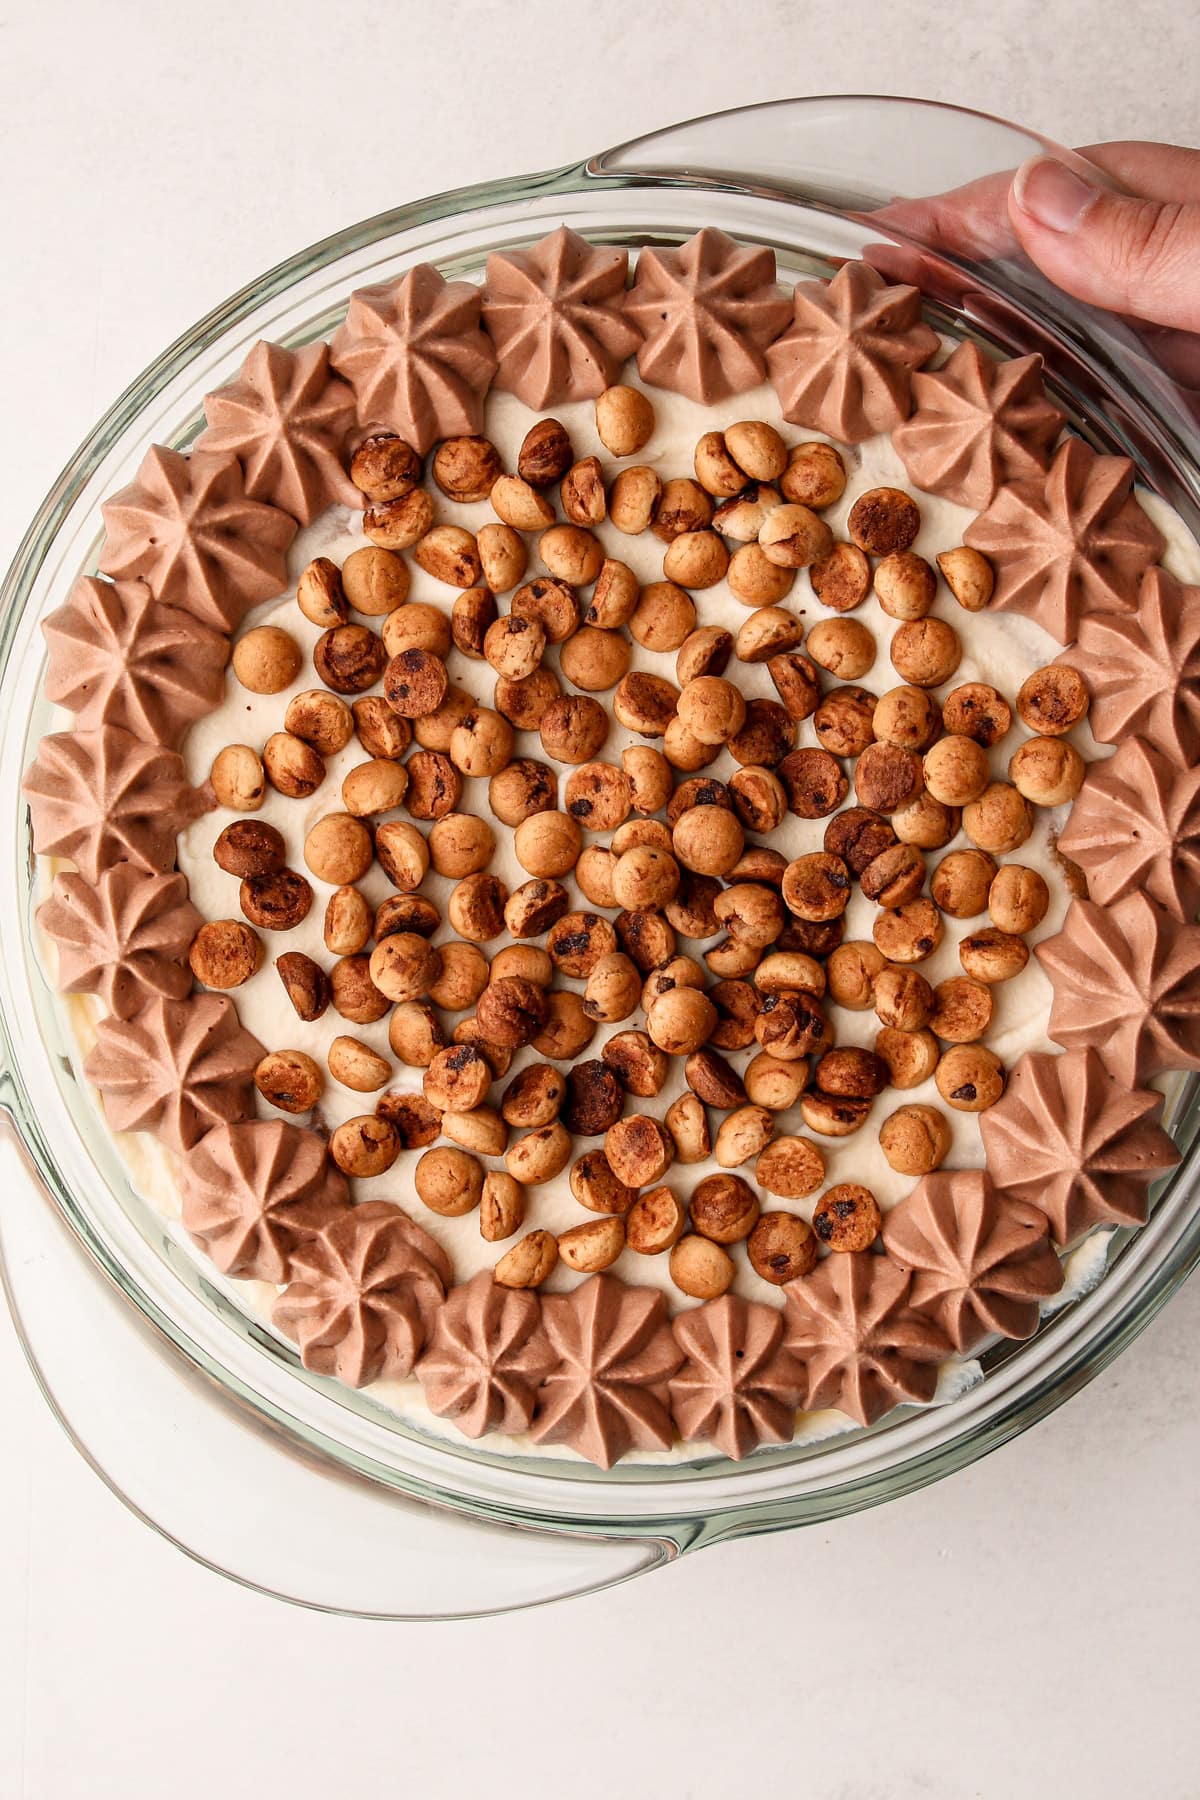
Step 2: Scatter leftover cookie pieces in the center, or get fancy and use itty-bitty chocolate chip cookies.
Kelli's Best Tips
This cake is fuss-free, but here are my best tips after making many, many, many icebox cakes!
- Don't overwhip or underwhip the cream! You want the cream to be just right: stiff enough that it's going to lighten the mascarpone mixture, but not so stiff that it starts to curdle. You'll still be able to notice that slightly curdled cream in the final dish, so pay attention while whipping the cream. Want more guidance? Check out this post all about Whipping Cream.
- Remember, the cookies are a crucial component of this recipe for that cake-like texture, so don't skimp on them. Do not worry if they break when layering them in. In fact, you can even push them down to fill any gaps and create a more uniform layer of cookies.
- Don't skip the chilling time! Chilling the cake in the refrigerator overnight is what transforms this dish into an icebox cake!
- Put the cake in the freezer an hour before serving. Slightly freezing this cake directly before cutting into it makes it easier to slice and serve.
How to Serve It
Once the icebox cake has softened overnight, it is best served within 1-2 days. Simply slice, serve, and enjoy.
This cake freezes exceptionally well, and it is perfect to make ahead of time. Once it has softened, you can freeze this entire cake or freeze it in slices in an airtight container for up to 1 month. To defrost, leave at room temperature for about 30 minutes, or let it sit overnight in the refrigerator.

More Icebox Recipes
Looking for other recipes like this? Try these:
More Recipes with Chocolate Chips
I am so honored when you make a recipe from my site! If you make this Cookie Icebox Cake, please leave a star ⭐️ rating with your experience! If you have any questions about this recipe, feel free to comment here, and tag me on instagram!
PrintFull Recipe
Cookie Icebox Cake
This Cookie Icebox Cake is made up of layers of brown sugar mascarpone cream, chocolate sauce, and thin chocolate chip cookies. It's a beautiful yet simple-to-make dessert that celebrates the beloved, iconic American cookie.
- Prep Time: 00:20
- Chilling Time: 06:00
- Total Time: 6 hours 20 minutes
- Yield: Serves 8-10
- Category: Cakes
- Method: No-Bake
- Cuisine: American
Ingredients
- 1 cup milk (more if needed)
- 8 ounces (226 grams) mascarpone (see note)
- ¼ cup (50 grams) brown sugar
- 2 teaspoons vanilla extract
- Pinch of salt
- 1-½ cups (340 grams) heavy cream
- 4 (7-ounce) bags thin, crispy chocolate chip cookies (Tate’s is what I used)
- ¾ cup chocolate sauce (store-bought or homemade)
Instructions
- Set aside a 9” deep dish cake or pie pan (see notes for alternatives).
- Add the milk to a small bowl and set aside.
- Whip the mascarpone, brown sugar, vanilla extract, and salt with an electric mixer (using the whisk attachment) until completely smooth (about 1 minute). Add in the heavy cream and whip until medium-stiff peaks form, about 3 minutes, scraping down the bowl halfway through.
- Using a small offset spatula, spread a thin layer of the mascarpone mixture onto the bottom of the pan.
- Working quickly, dip a cookie in the milk, immediately shake off the excess, and place in the bottom of the pan. Repeat with more cookies until there is one layer that covers the pan.
- Cut (or break) 4 cookies in half, dipping them in the milk as before, and fill in the empty spaces around the edge of the pan. It’s okay that the layer won’t be totally even, it’s more important to fill in the space.
- Spread ⅓ of the mascarpone mixture in an even layer on top of the cookies.
- Drizzle ¼ cup of chocolate sauce on top of the mascarpone.
- Repeat with another layer of the cookies and milk, mascarpone, and chocolate sauce as before.
- Add a final layer of cookies, as before.
- Spread ½ of the remaining mascarpone on top of the cookies.
- Add the remaining ¼ cup chocolate sauce in the bowl to the last of the mascarpone and mix together to make a chocolate cream.
- Pipe the chocolate cream around the edge of the pie, as desired.
- Garnish the top of the pie with any leftover cookies, crushed up (or use mini chocolate chip cookies as I did).
- Cover the assembled cake and let it set up in the refrigerator for at least 6 hours, or overnight.
- An hour before you are ready to serve, transfer the cake to the freezer to chill. This is optional, but it makes it easier to slice.
- Once ready to serve, remove from the freezer.
- Slice and serve the cake while still chilled.
pin
Some of the links on this page may be affiliate links. Everyday Pie is a participant in the Amazon Associates Program. As an Amazon Associate I earn from qualifying purchases, at no extra cost to you.


Michelle Ross
This dessert looks impressive, is beautiful sliced and tastes delicious! But it was so quick and easy to make. We don’t have a deep dish pie pan so we used a springform pan and it worked great. Thanks for a delicious recipe!