This Super Easy Pie Crust is made with melted butter and a no-fuss mix-and-press method. It creates a light, crumbly single crust without the need for chilling or rolling. Just mix the dough, press it into your pan, and bake!
Want to save this recipe?
Enter your email & I'll send it to your inbox. Plus, get weekly updates from me!
Last fall, a reporter reached out to me with a tight deadline, asking if I could answer some questions about pie. The topic? Store-bought pie crusts. I had the time and said yes, not giving much thought to what the questions might be. When they came in, they were all about my favorite store-bought butter pie crust. I have to admit, I felt a little silly for not anticipating that.
Still, I gave her a thorough response—though one she likely found frustrating, as it meant she’d need to find a new source. My answer to the question of my favorite store-bought pie crust was clear: none. I simply can’t recommend them. They usually have a terrible taste, unnecessary ingredients, and, ironically, but most damning in my mind: they make pie-making more difficult than it needs to be.
That said, I understand why many people feel intimidated by making pie crust from scratch and believe that buying one is the easier option. I would never want to shame anyone for taking a shortcut that helps them feel confident enough to bake a pie. But I also wanted to offer an alternative. That’s why I created this recipe—a simple, foolproof solution that removes the fear from making homemade pie crust.
This Super Easy Pie Crust recipe keeps things as simple as possible. Made with melted butter, the dough is mixed and pressed directly into the pie pan—no rolling, chilling, or weights needed for blind baking. It's perfect as a single crust for sweet pies like pumpkin or pecan pie. While it’s not a direct substitute for a classic flaky pie crust, it’s a great starting point for anyone looking to build confidence in making homemade pie crusts.
Ingredients Needed
While a typical butter pie crust needs only a minimum of three ingredients (flour, butter and water), there are a few extra ingredients in this recipe, to give it the best taste and texture while still keeping it simple.
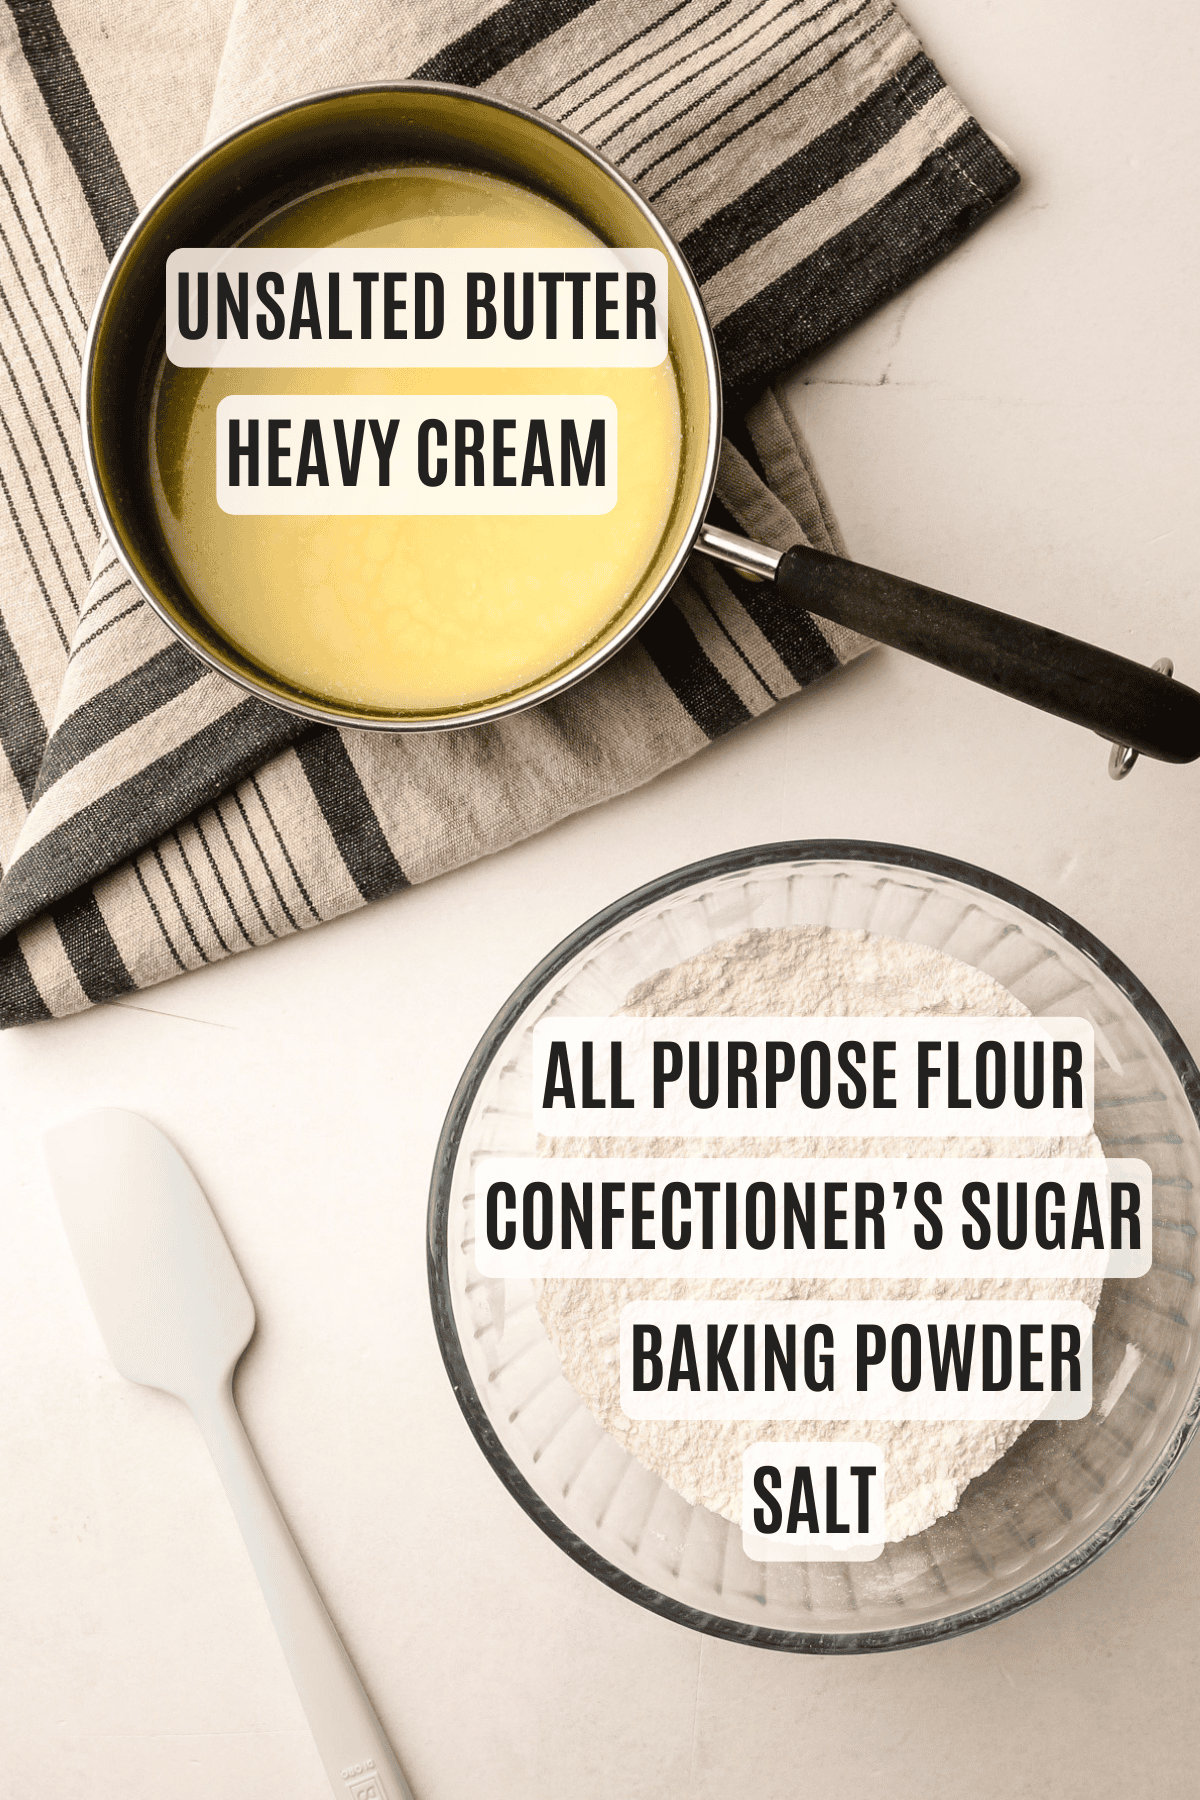
- all purpose flour: I want to continue in the tradition of saying this is no-fuss, but I also want to suggest you either weigh your flour with a kitchen scale, or use the method of spooning the flour into the cup, and then sweeping it off. It's just always best practice.
- unsalted butter: any butter will work here, though if you use salted, skip the additional added salt.
- salt: This recipe was tested using Diamond Crystal coarse kosher salt. If you use Morton's kosher salt or fine salt decrease by about half for volume, or use the same amount by weight.
- powdered sugar: This added ingredient helps keep the trust tender (both by introducing sugar and also a teensy bit of cornstarch or tapioca starch that is typically an ingredient in powdered sugar) and crumbly and just barely sweet. Don't skip this.
- baking powder: This small amount of leavener aids in the texture of the crust, making it just a bit lighter and crisp
- heavy cream: This additional fat in the cream helps improve the texture of the final crust, making it tender and cohesive.
How to Make It
Here is a visual overview of how this easy pie crust is mixed together and put in the pan, for the full recipe with full detail, keep scrolling.
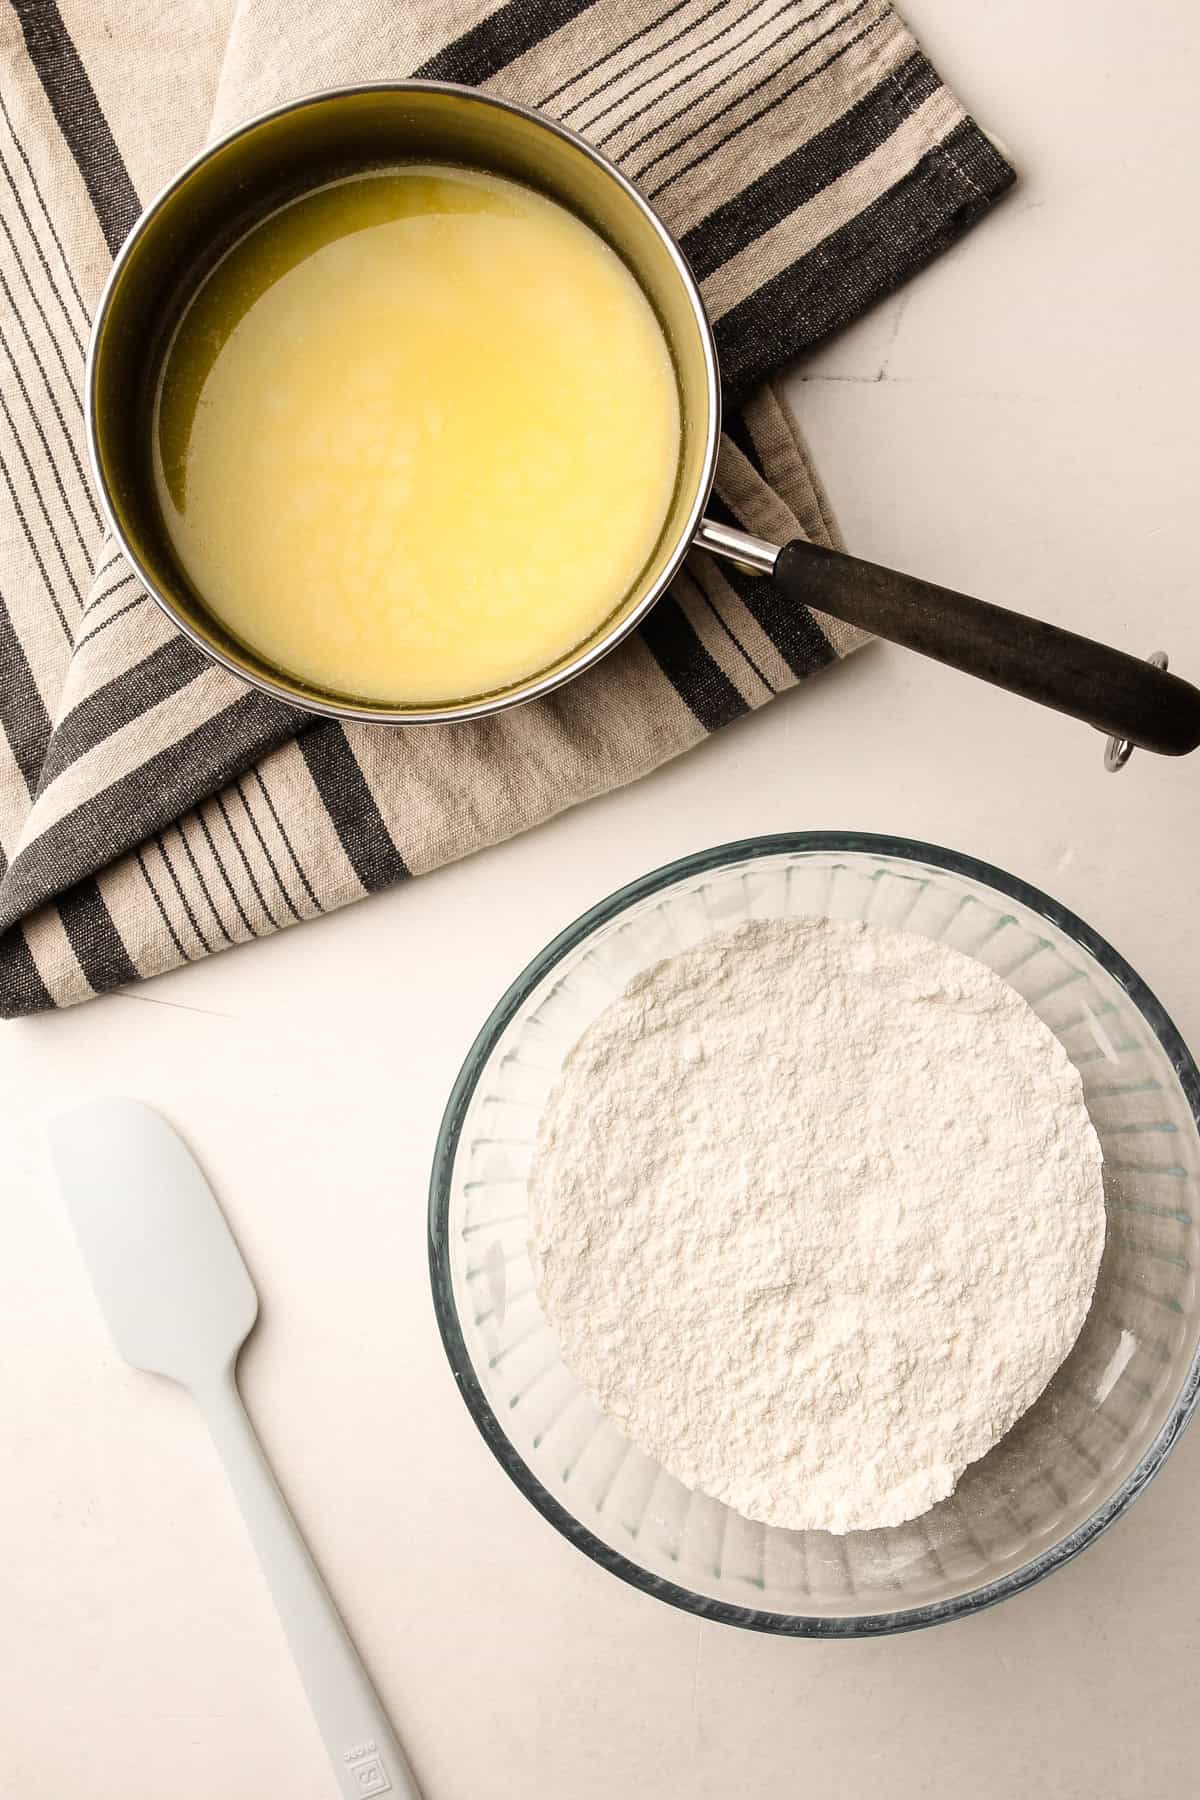
Step 1: Whisk together the dry ingredients. Melt the butter on low heat, then whisk in the heavy cream off heat until fully emulsified.
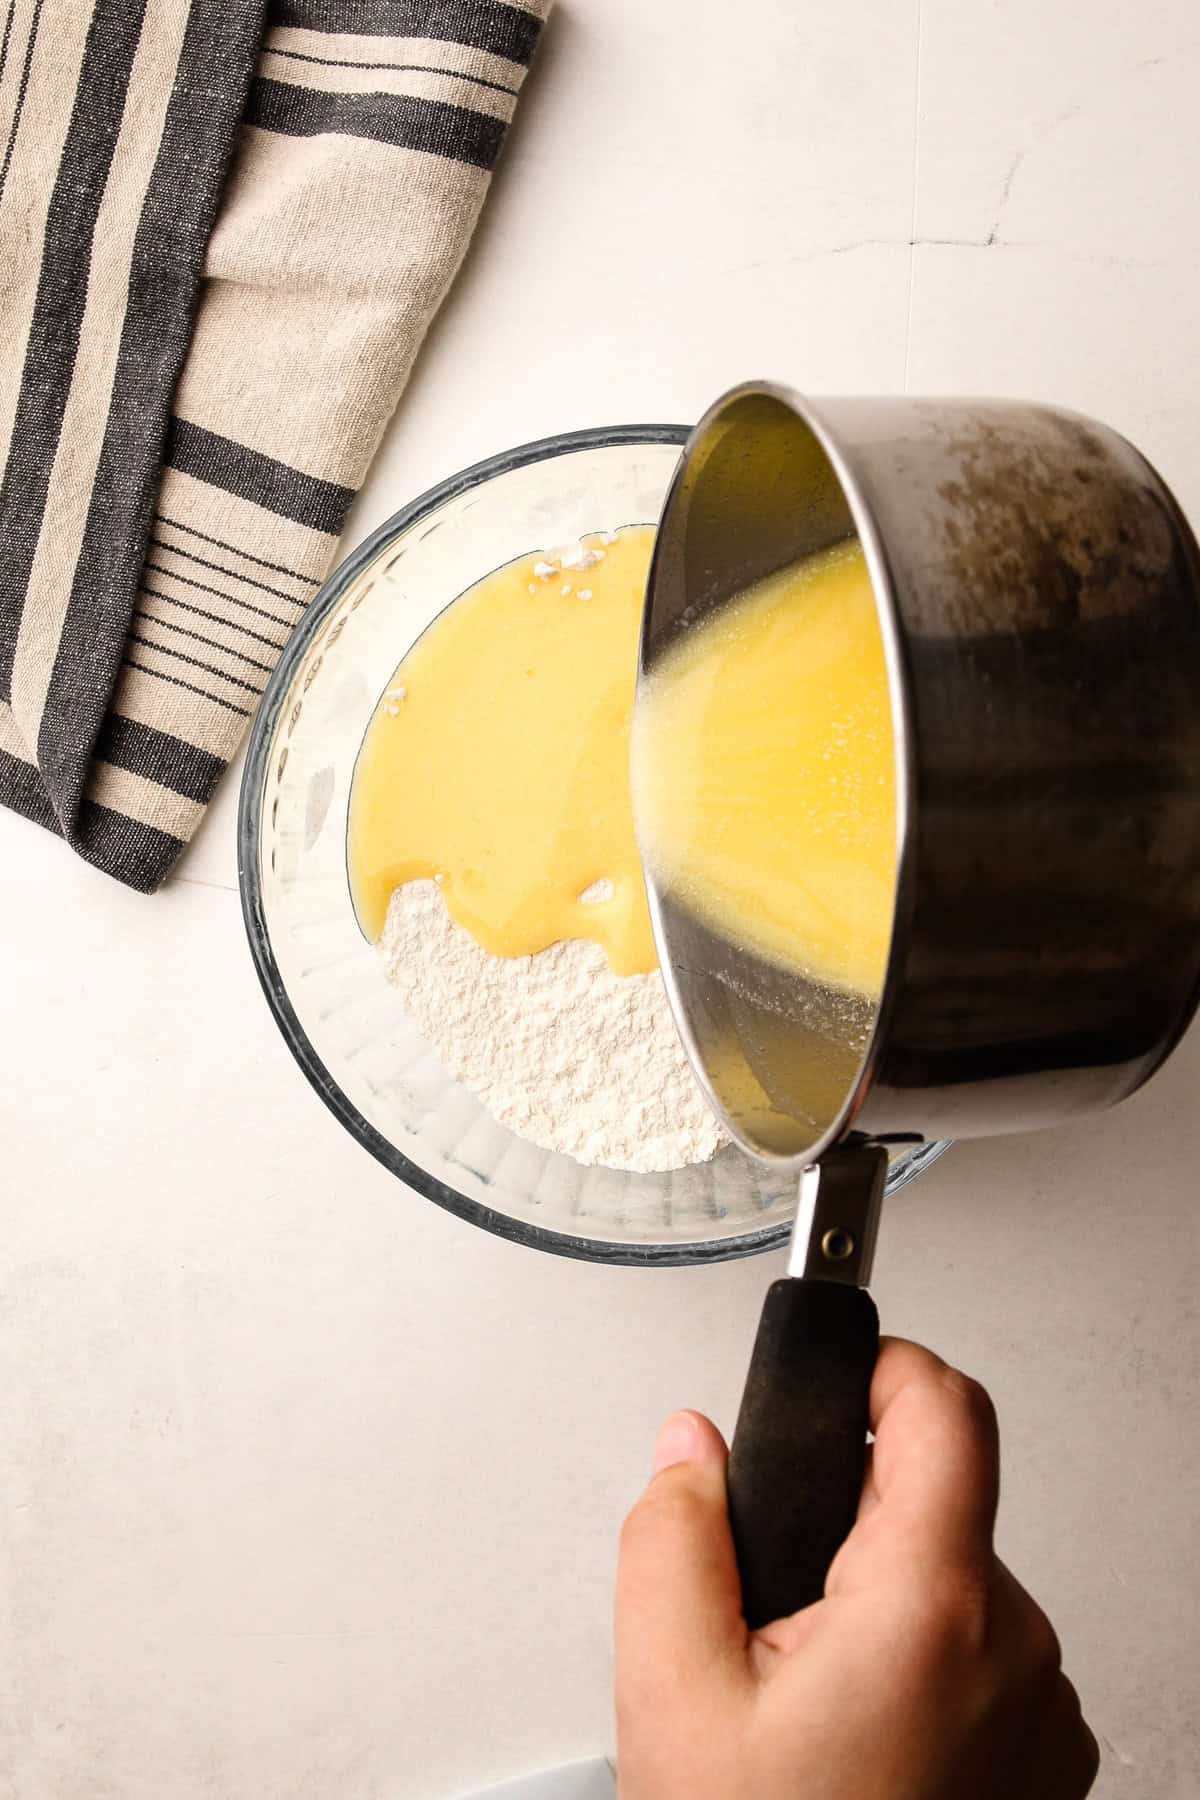
Step 2: Pour the butter mixture into the flour mixture while stirring with a rubber spatula.
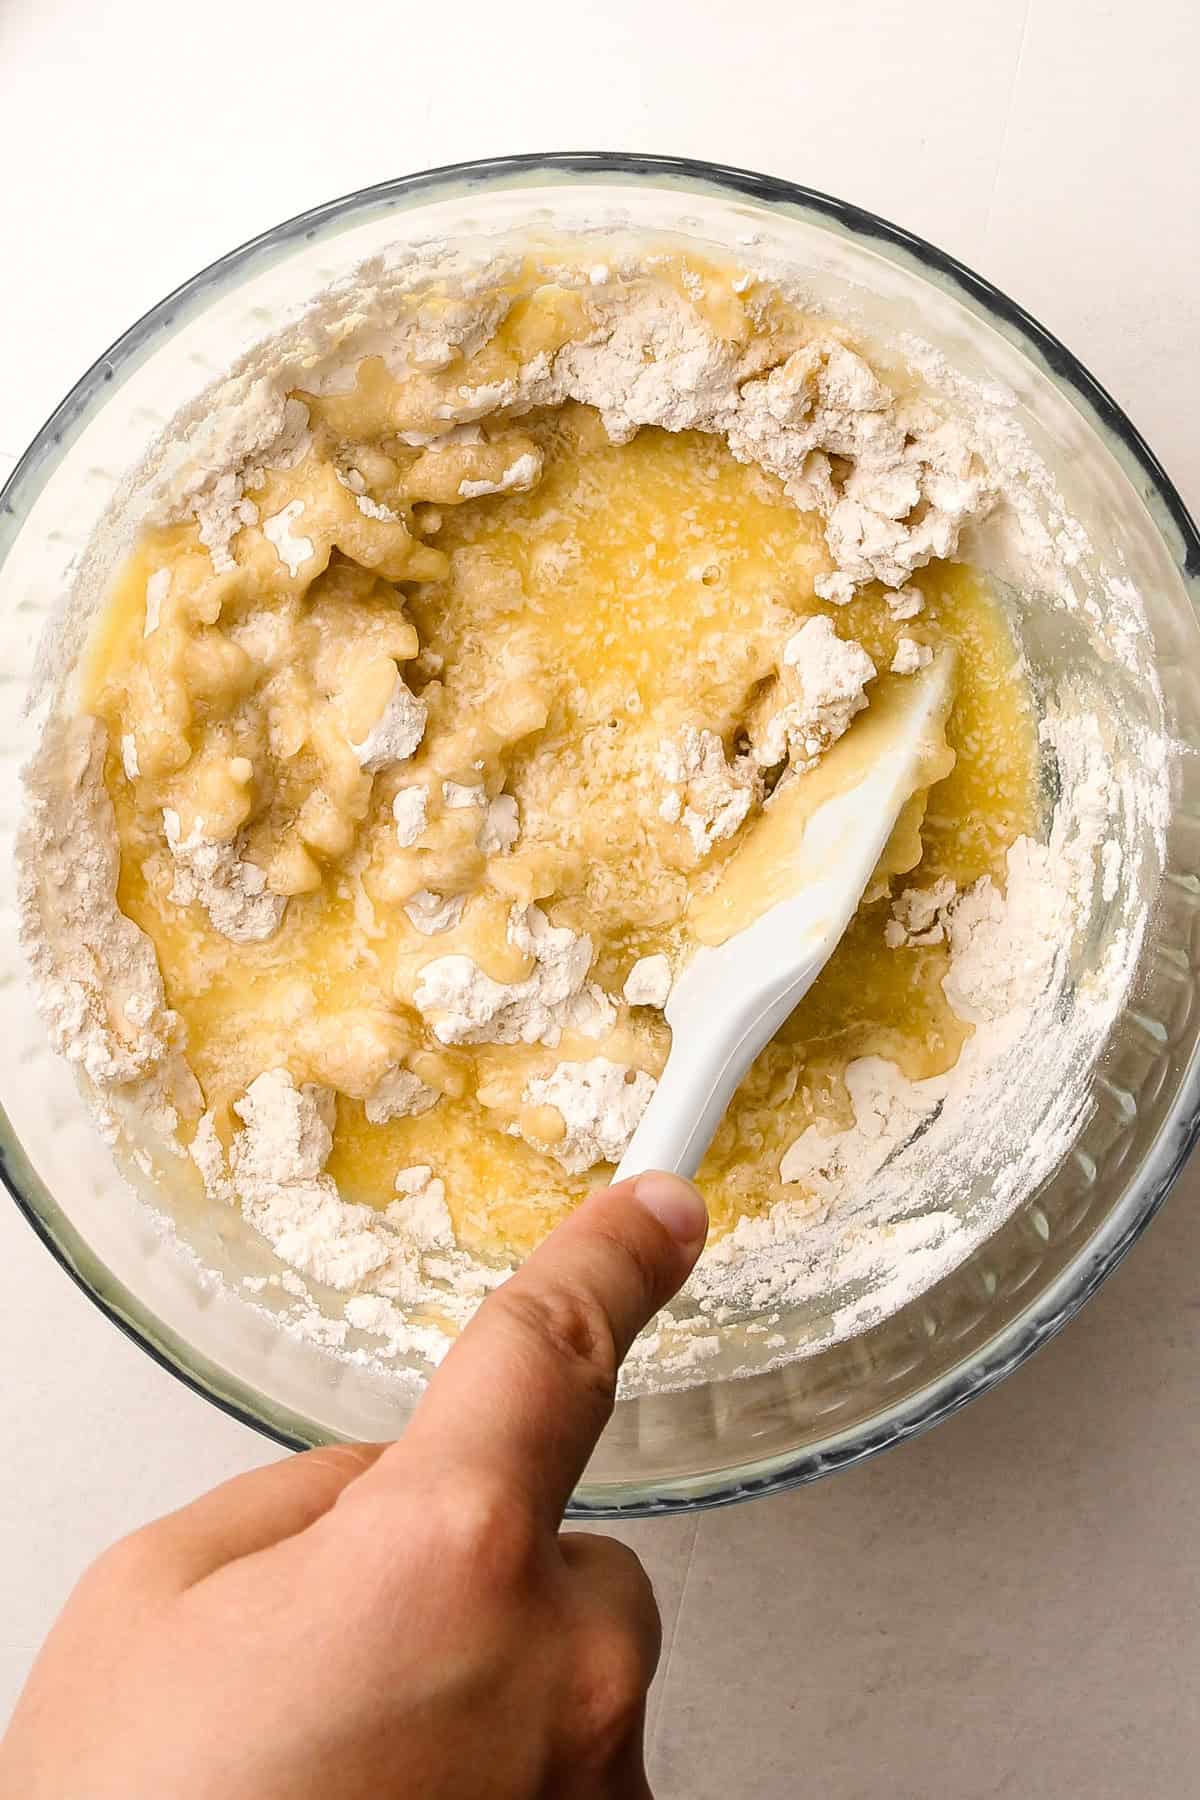
Step 3: Take the time to make sure it is fully combined and no dry flour remains.
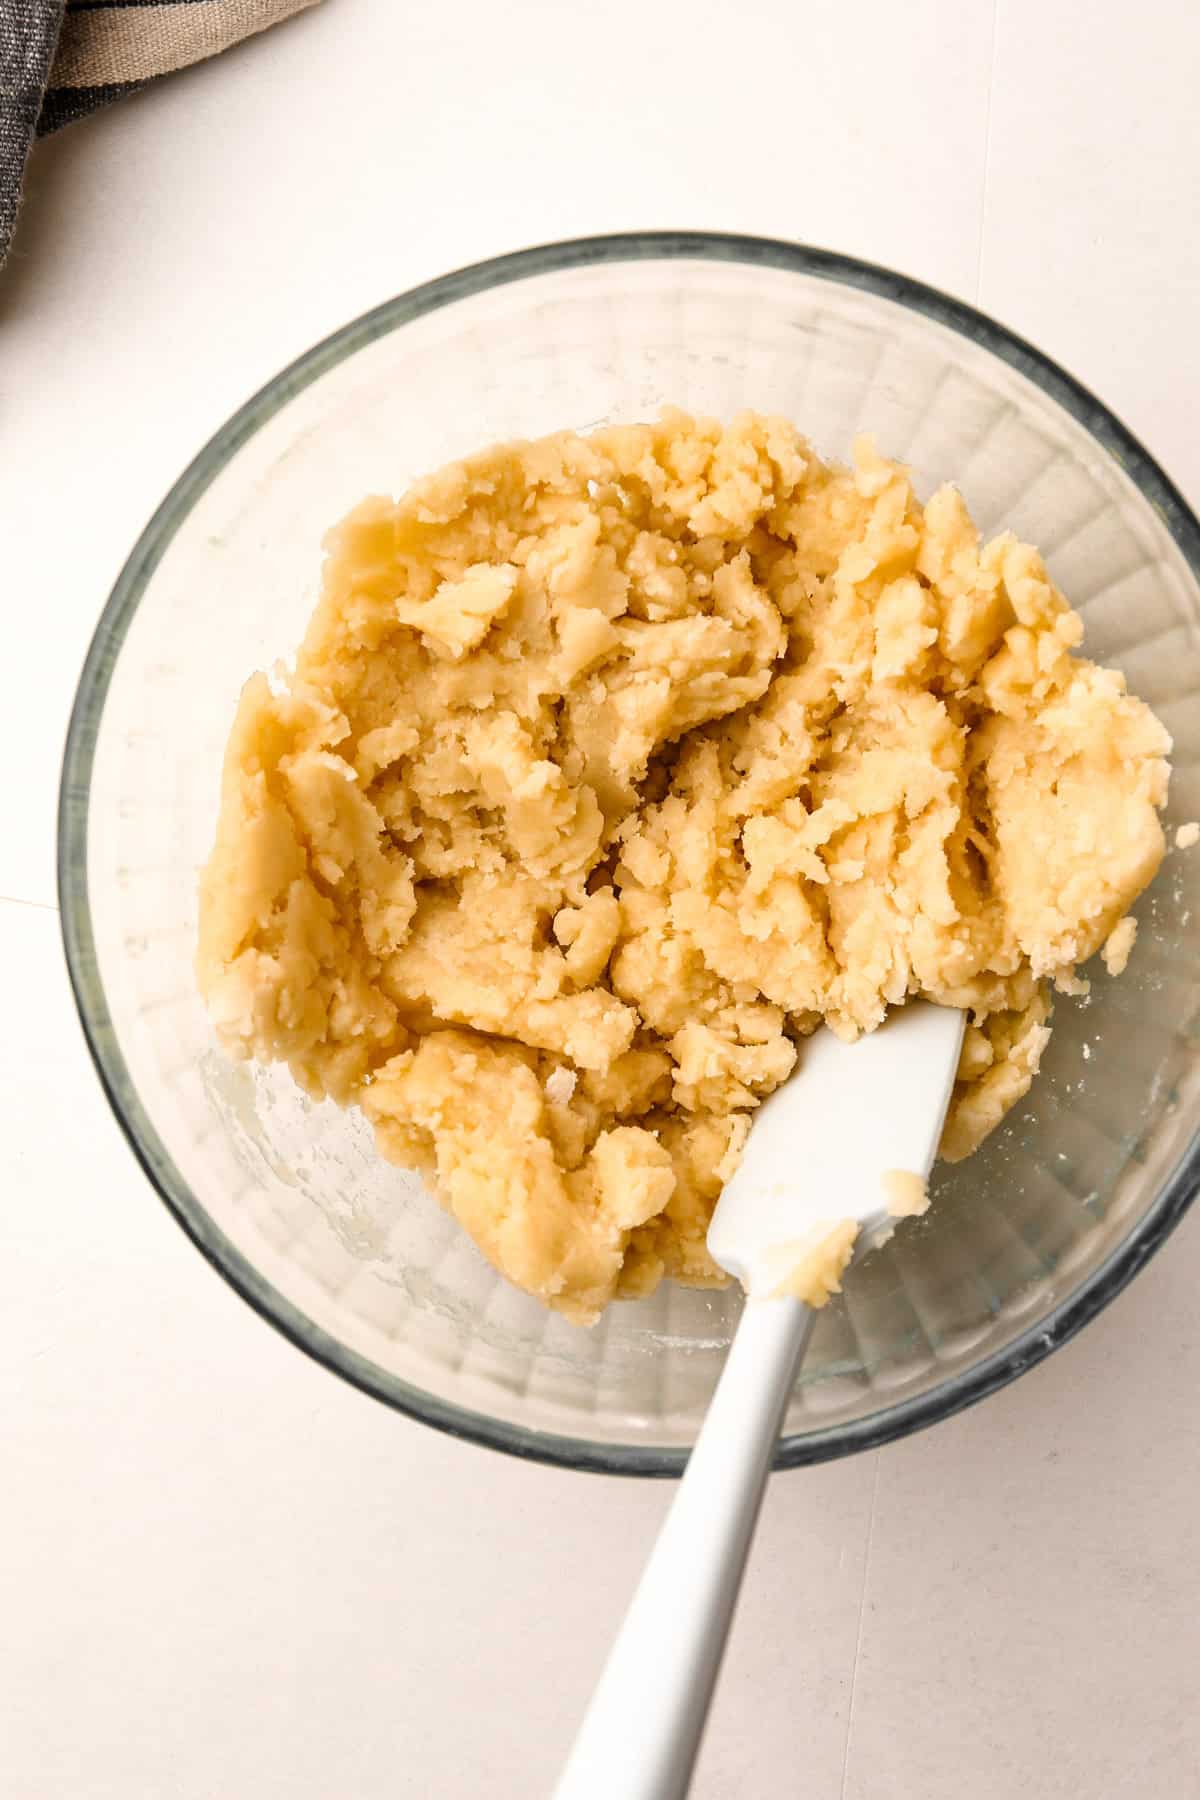
Step 4: Let it sit for about 5 minutes, to let the flour hydrate.
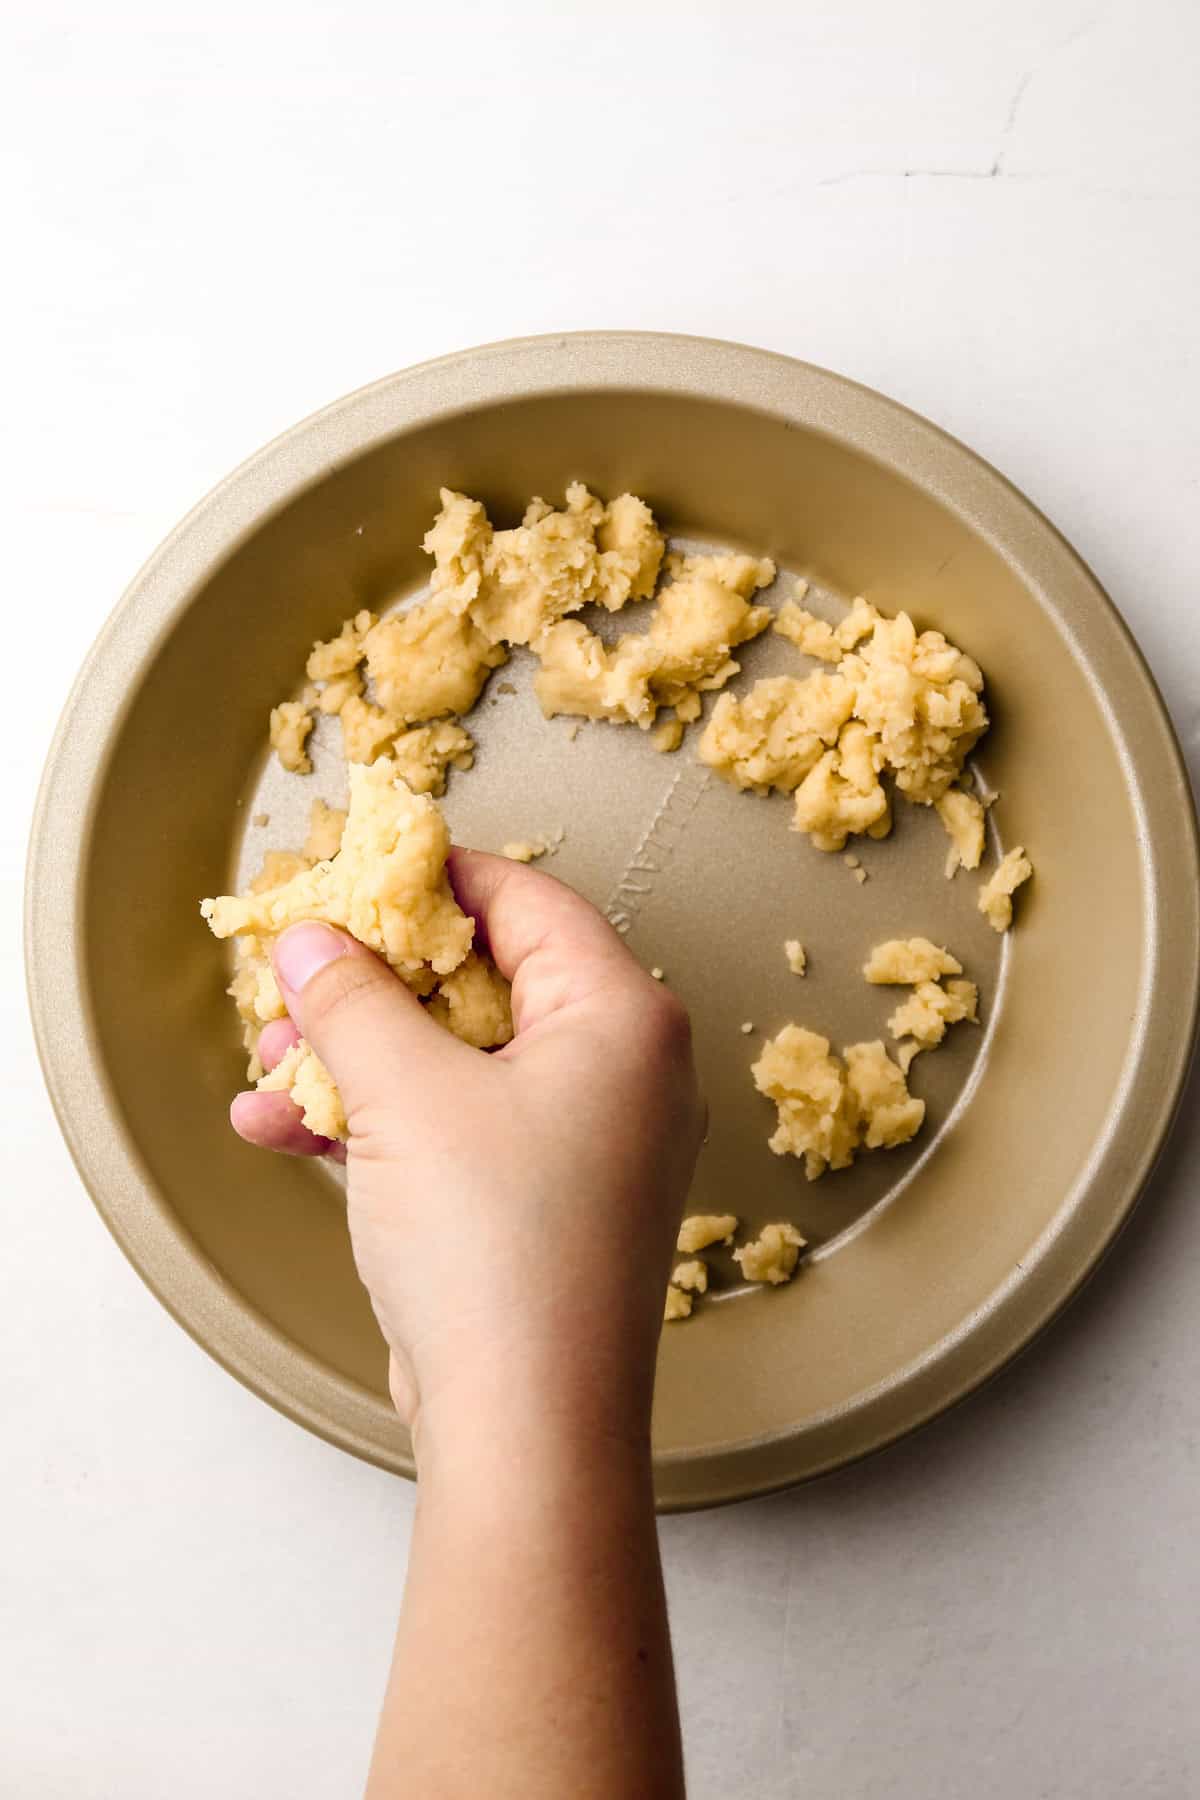
Step 5: Sprinkle the clumpy mixture on the bottom of a 9-inch pie plate.
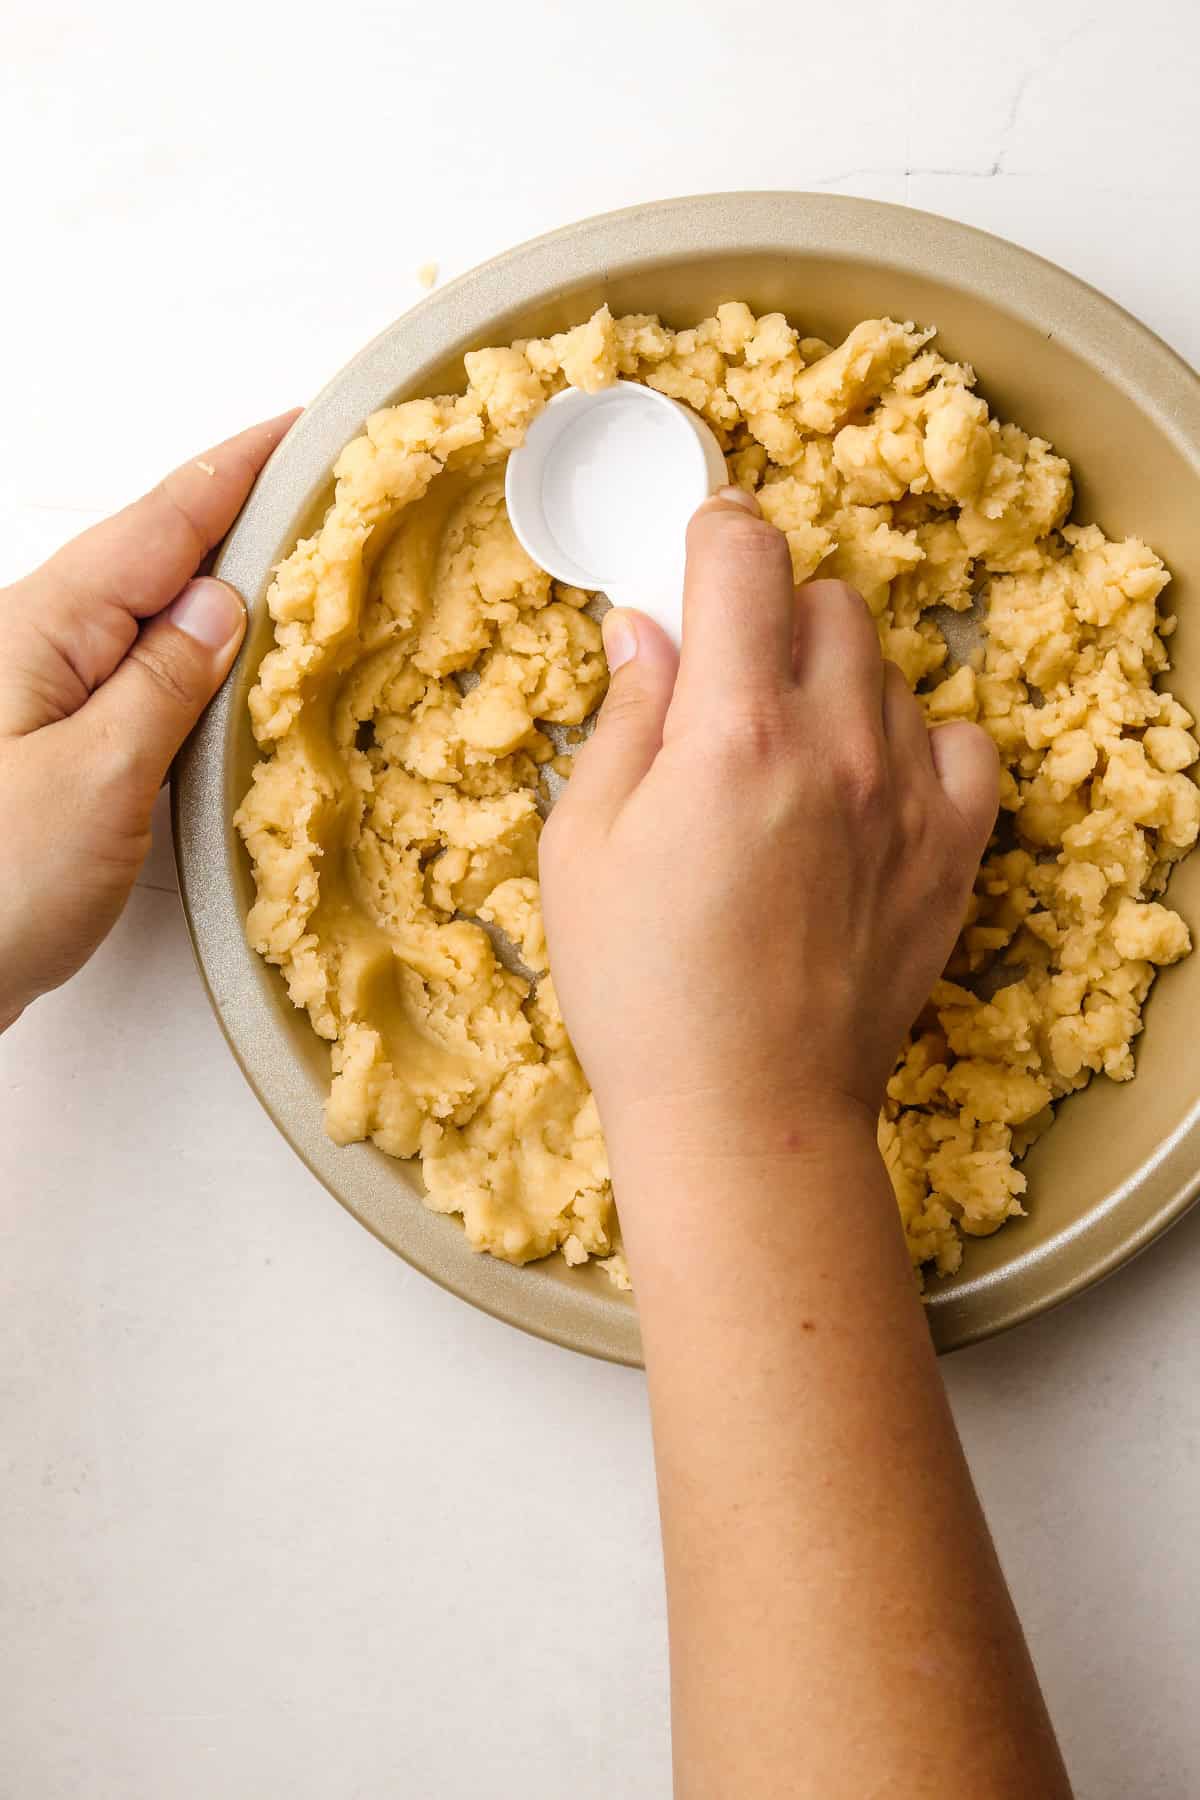
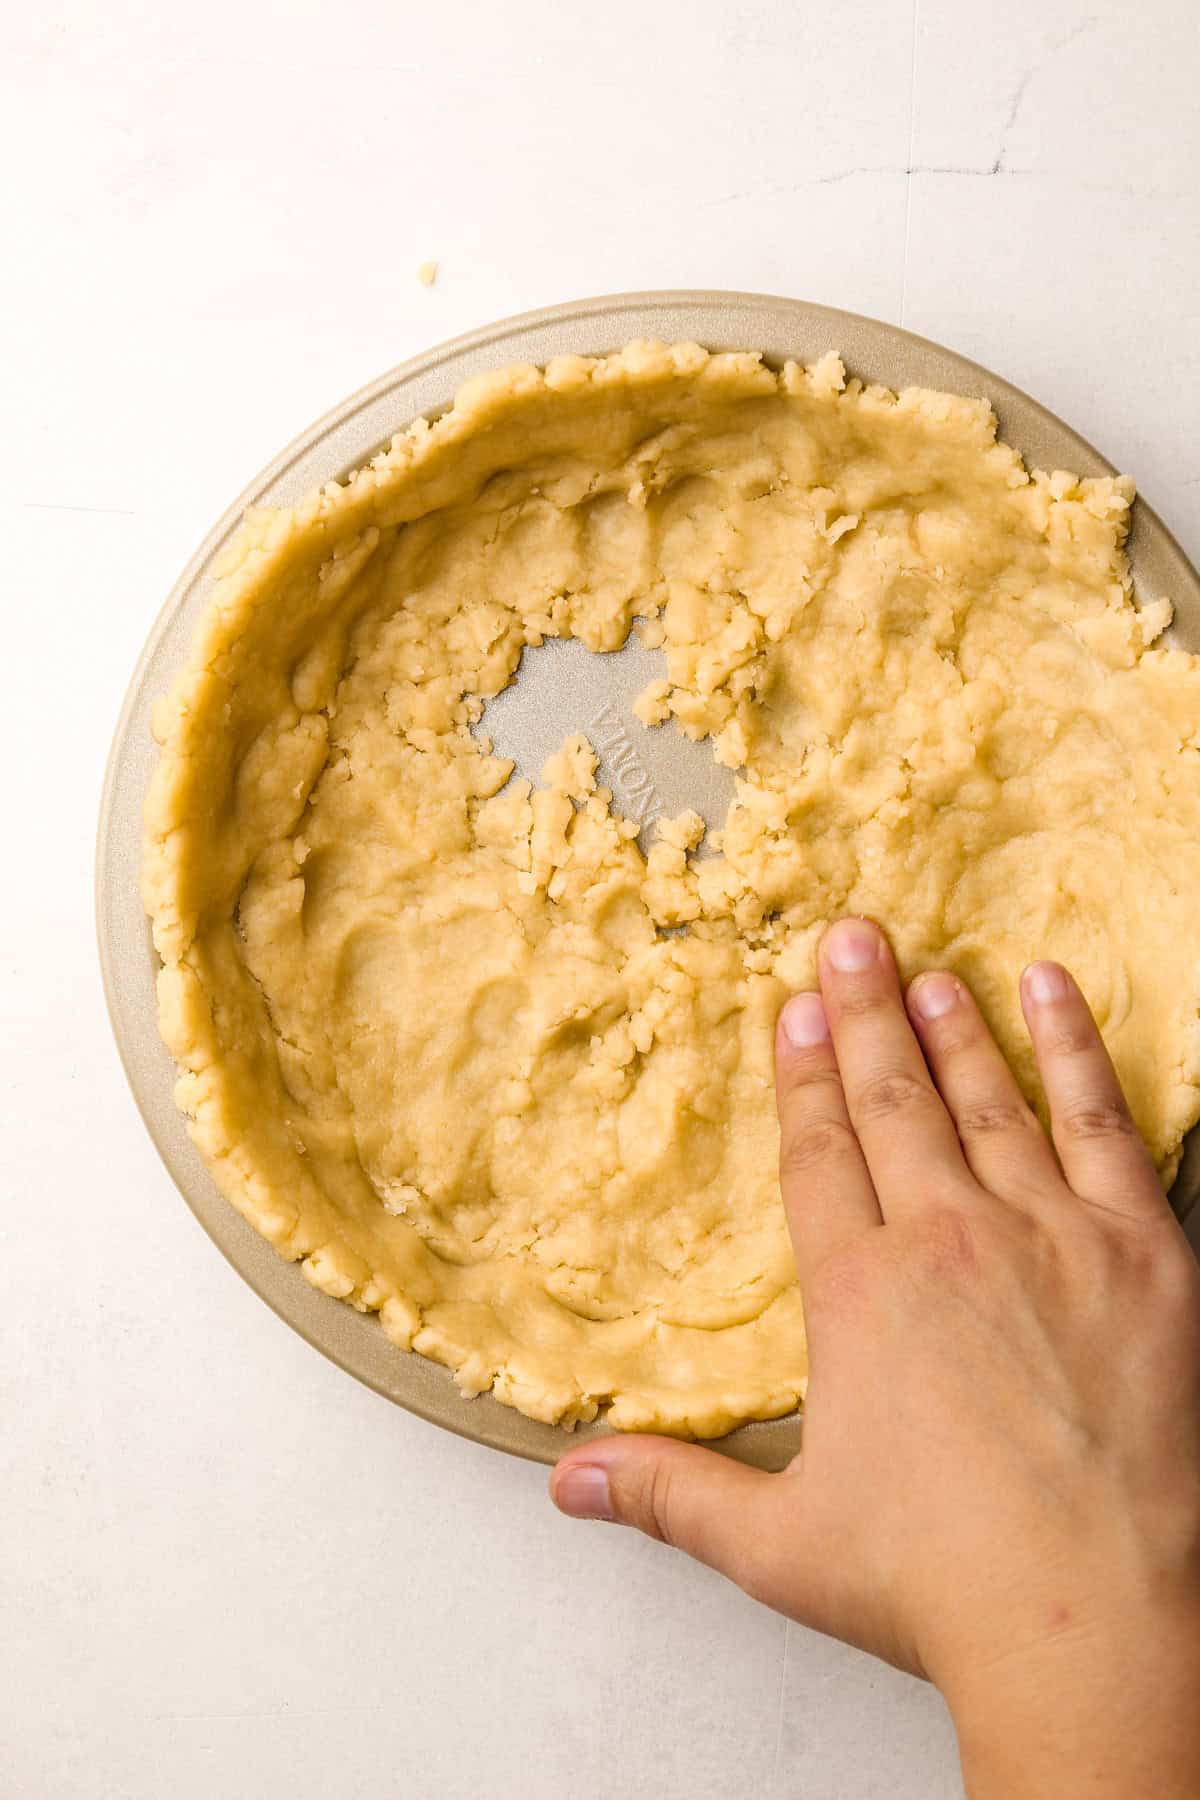
Step 6: Using your hands or a measuring cup, start pressing the mixture into the sides.
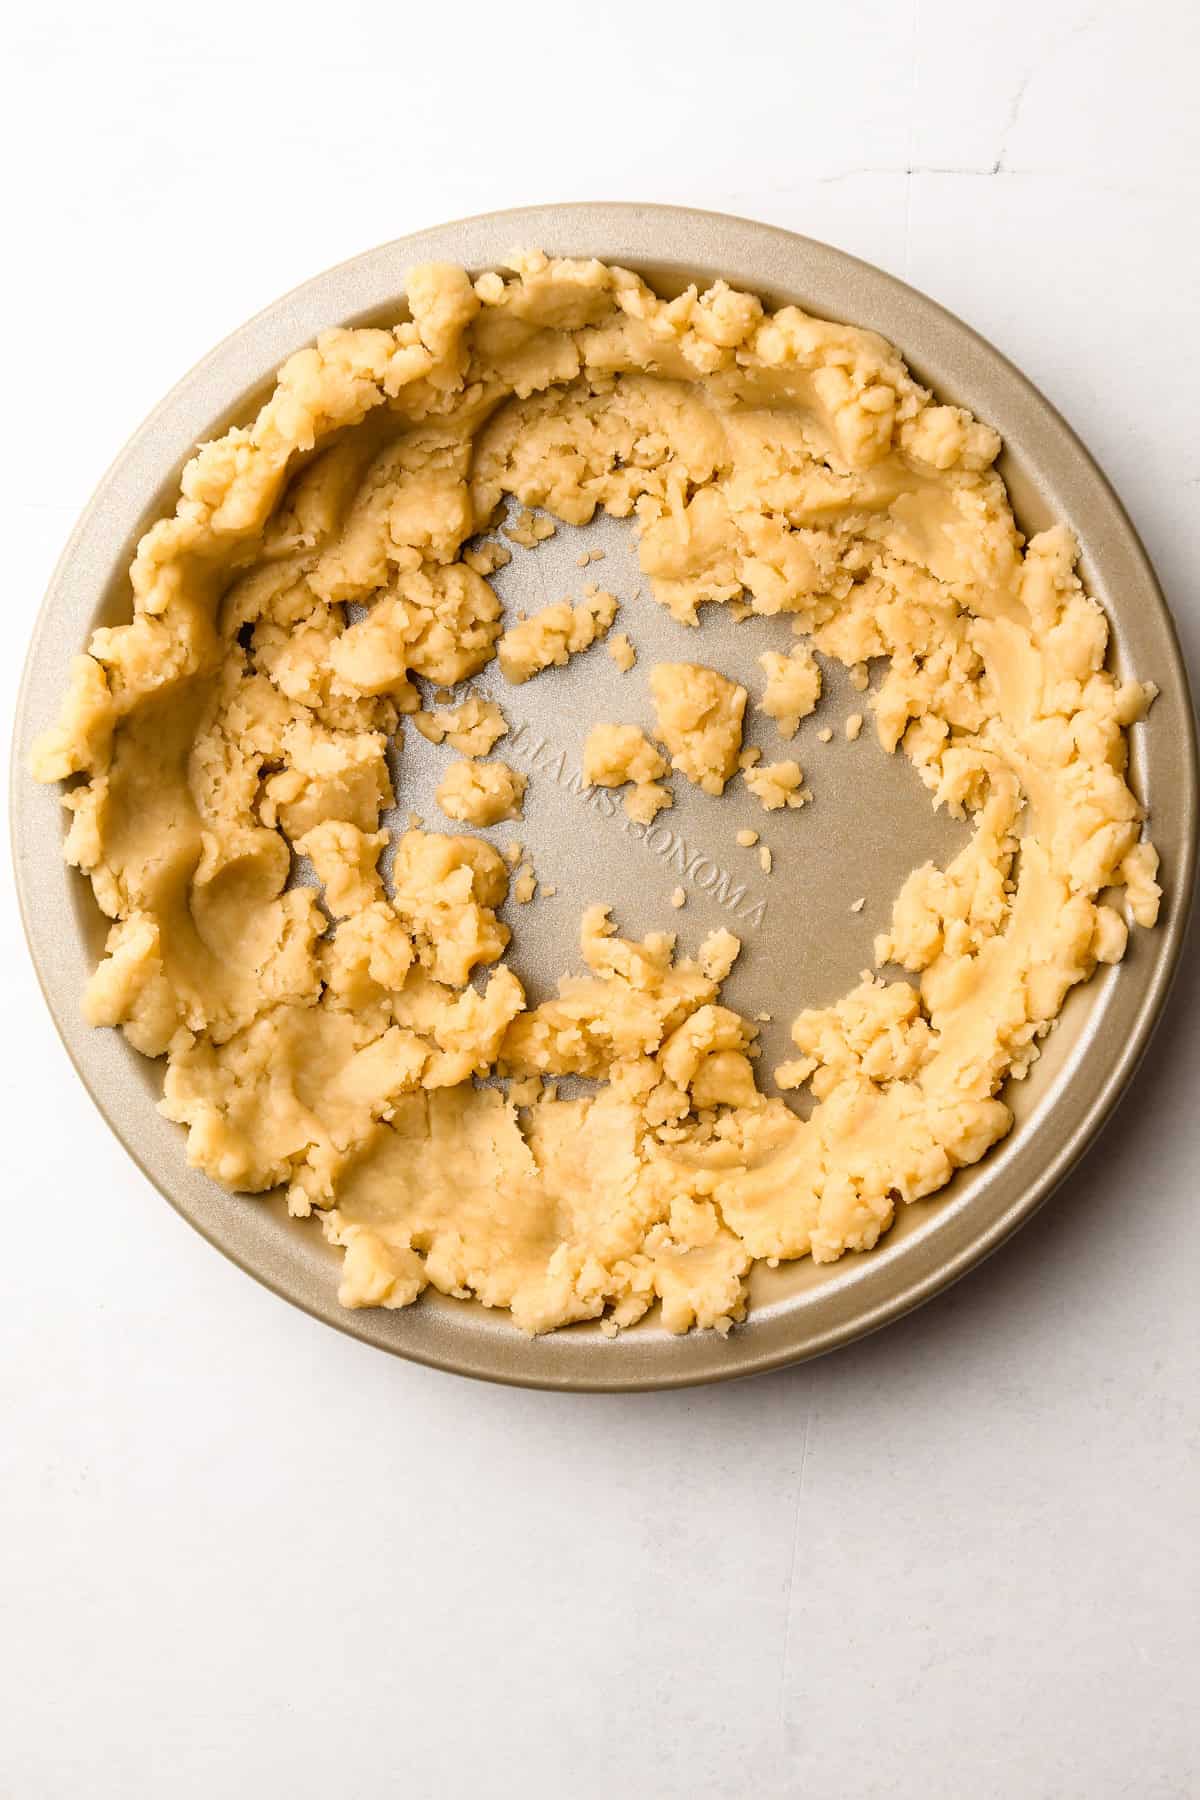
Step 7: Once the edges are formed, work the mixture down to evenly distribute into the bottom of the pie plate.
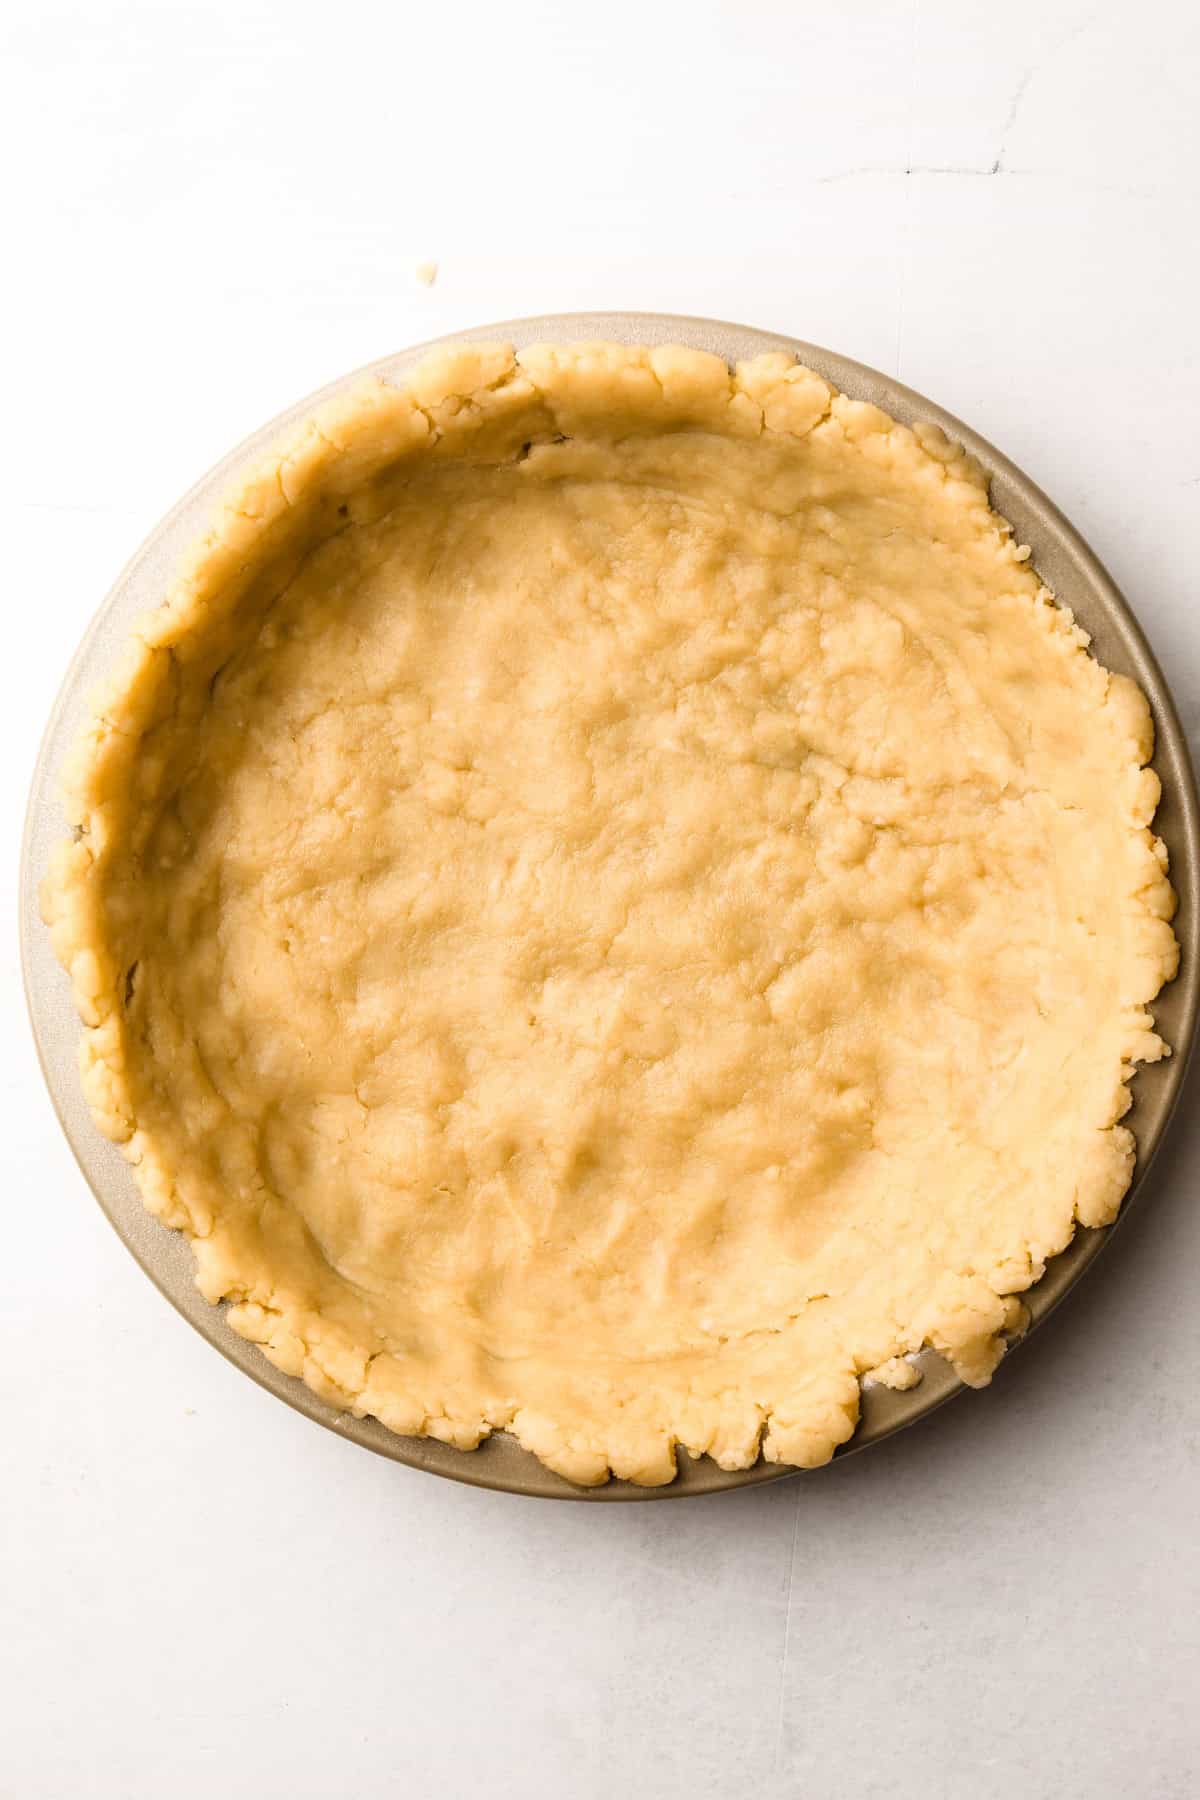
Step 8: Continue to press the dough down until it forms an even layer.
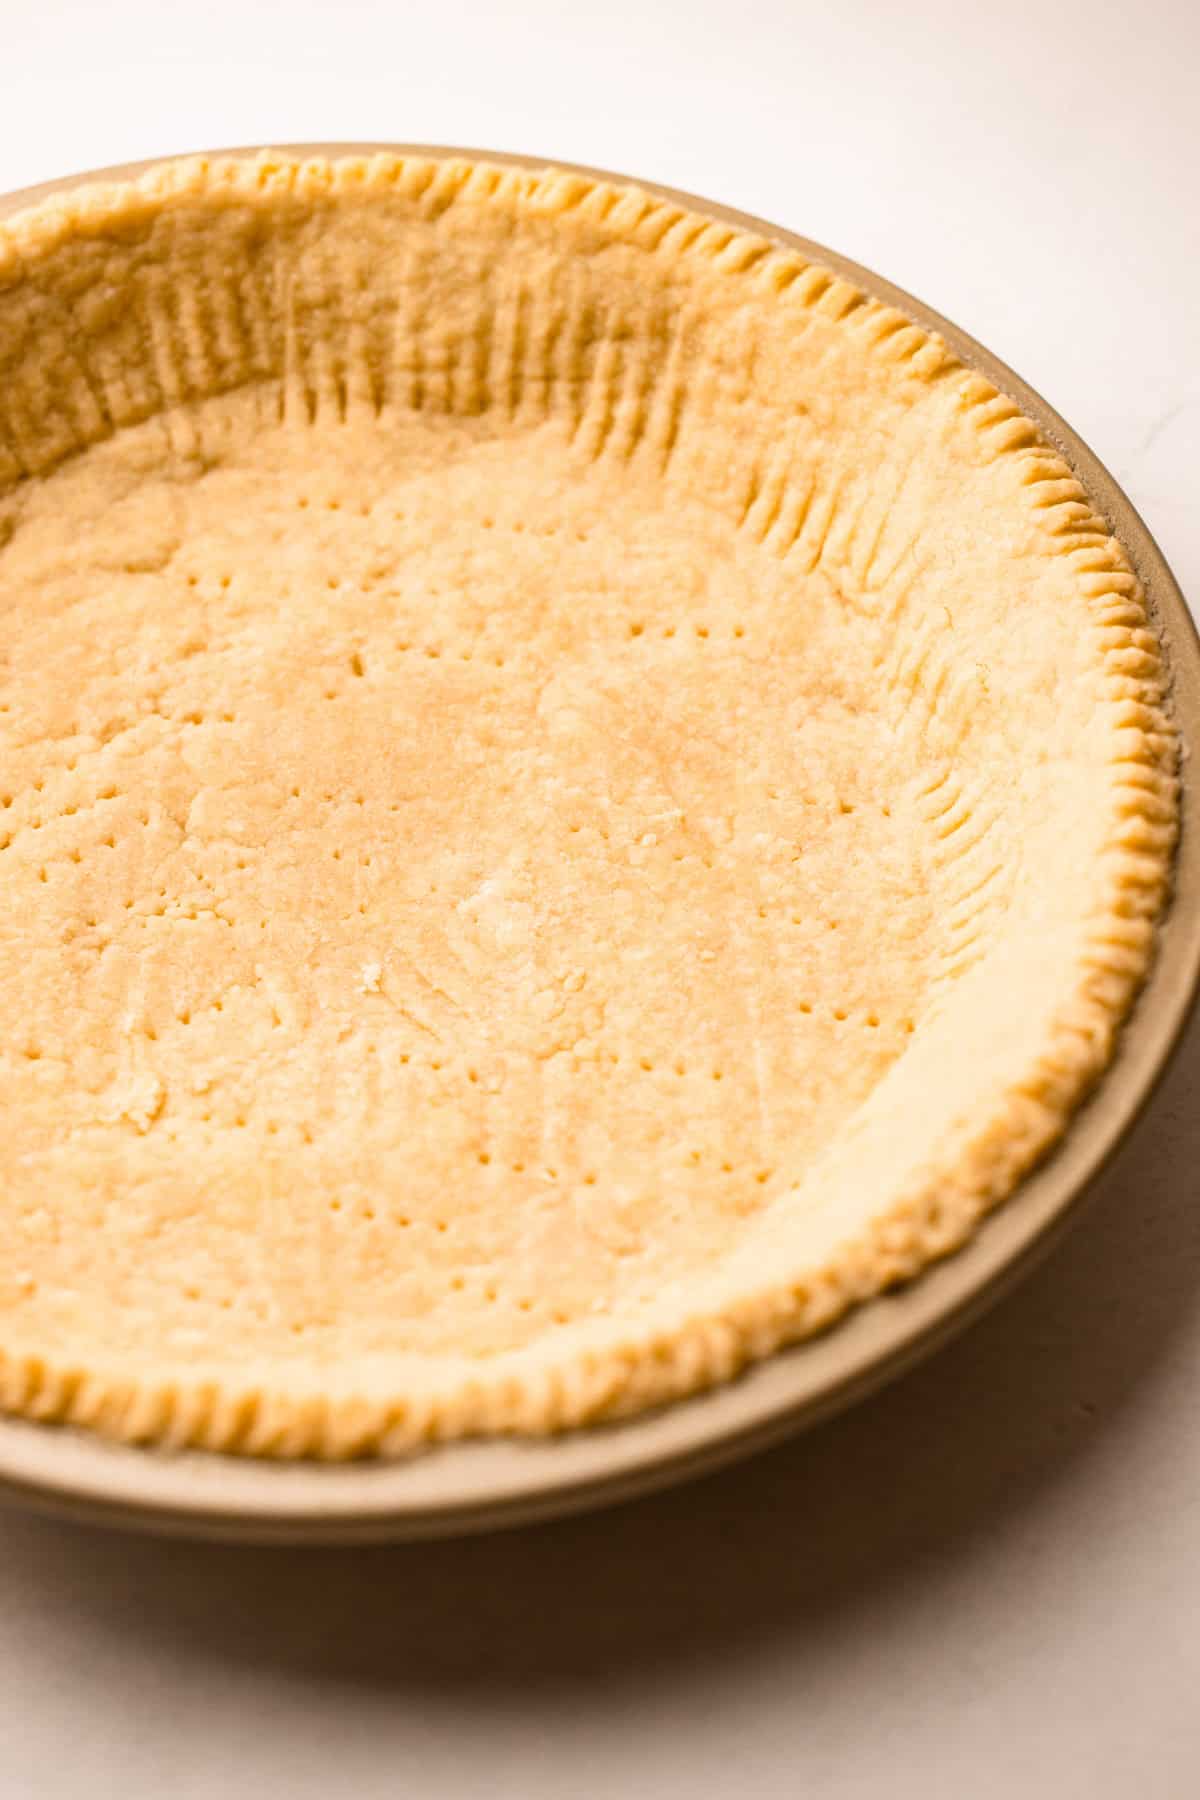
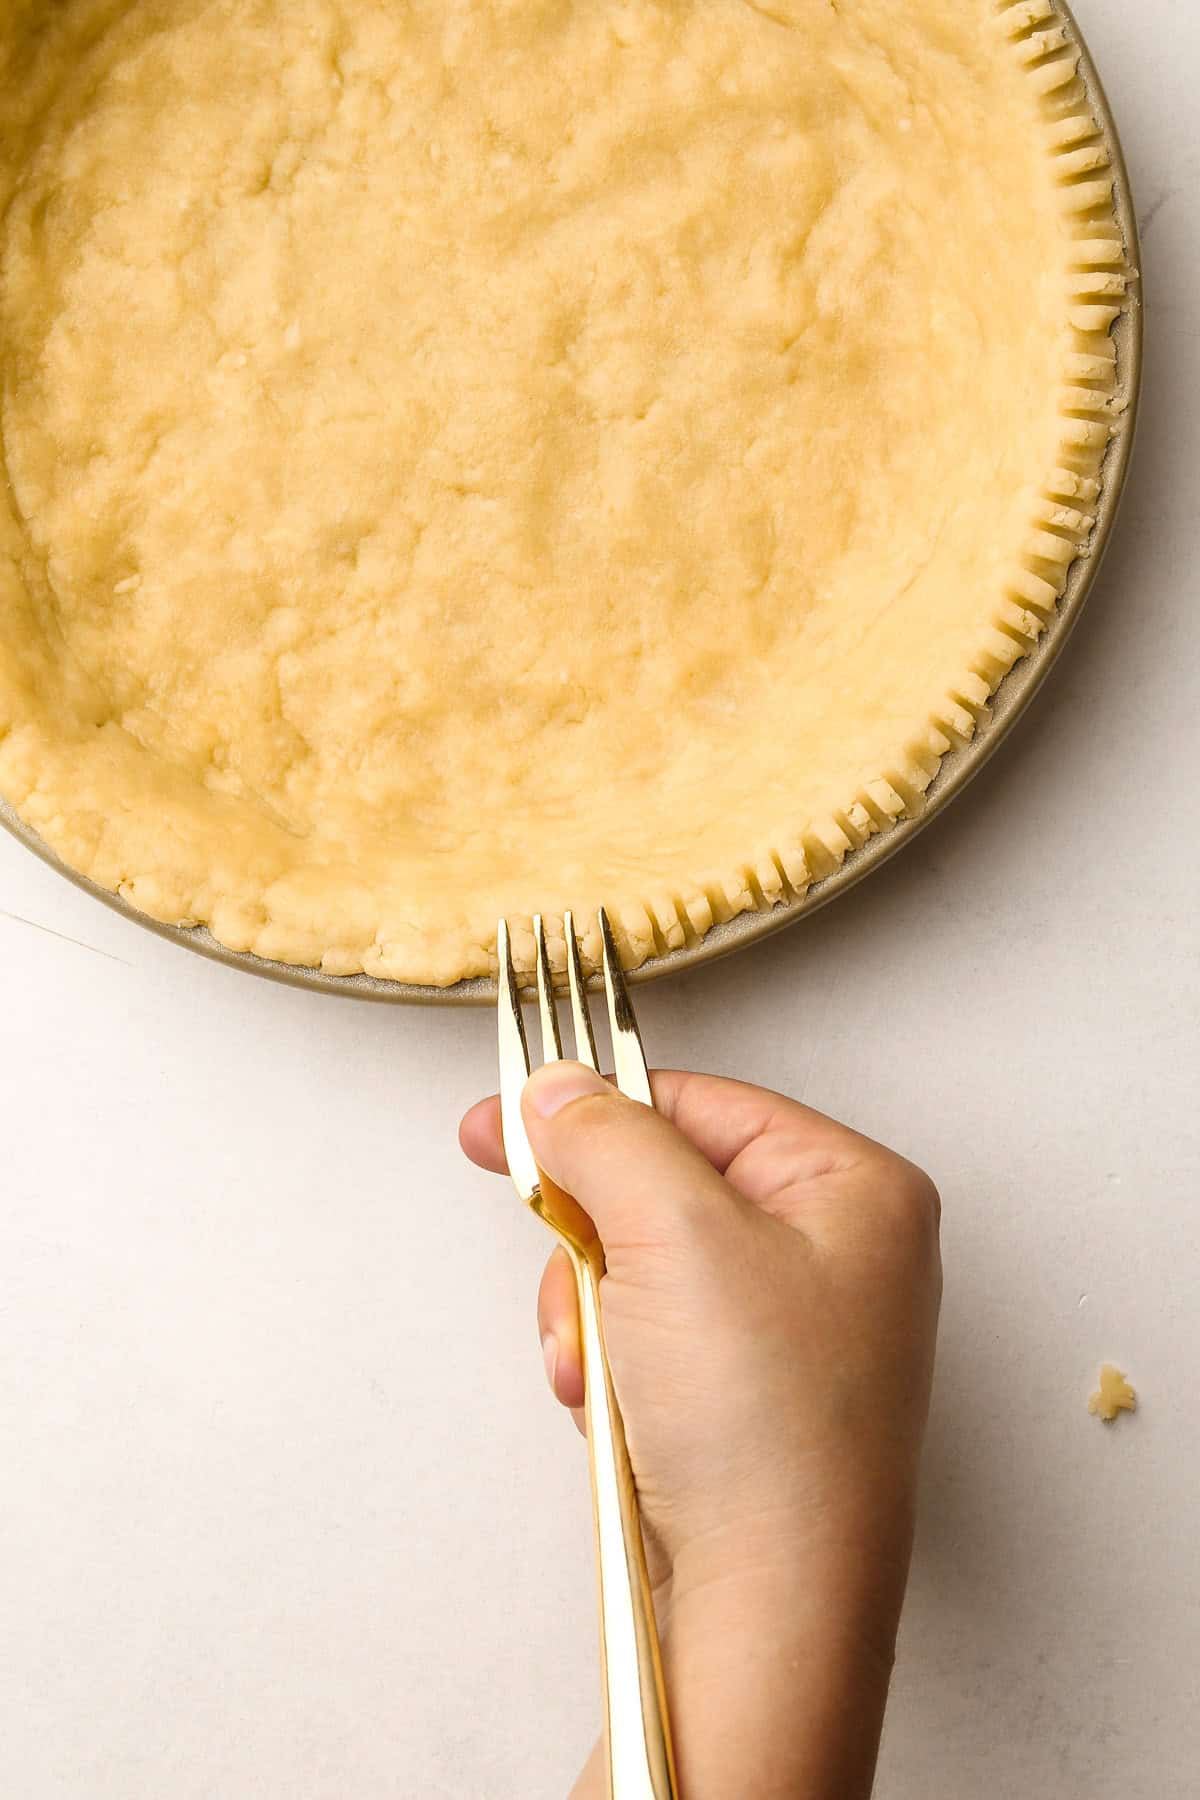
After it is press into the pan in an even layer, you can either tighten up the edges of the pie crust with a fork, of even a crimp, or leave it as is. It can take some time to neaten the edges (about 10 minutes), so you can decide if it's worth it for you.
Baking Instructions
One of the best things about this recipe is that it doesn’t need to be chilled or weighed down before blind baking—you can simply bake it as is.
Not sure if you need to blind bake? Check out this Guide to Blind Baking for more details, but in short, if your pie filling will bake for less than 50 minutes or at less than 375ºF, you should blind bake the crust.
To blind bake, place the crust on the bottom rack of a preheated 375ºF oven and bake for 15–20 minutes. If the crust starts to puff up, gently place a flat, oven-safe bowl in the center to weigh it down. Avoid doing this if the crust is nearly done, as it may crack.
Kelli's Best Tips
- Use this pie crust immediately, or press it into the pan if making it ahead. It can be stored in the refrigerator for up to a day or fully baked and kept at room temperature for 1 day.
- If the crust cracks and you're worried about filling leakage, you can melt chocolate or white chocolate and brush a thin layer over the crack to seal it, depending on the filling.
- When pressing the dough into the pan, it may feel like there isn’t enough for a standard 9-inch pie, but have faith, there is! Be sure to create a thin, even layer, especially on the bottom. The crust will puff up slightly as it bakes, and a thinner layer ensures better results.
- My favorite type of pie pan for this crust is metal. It’s the best conductor of heat, allowing the crust to cook more evenly and quickly compared to glass or ceramic pans.
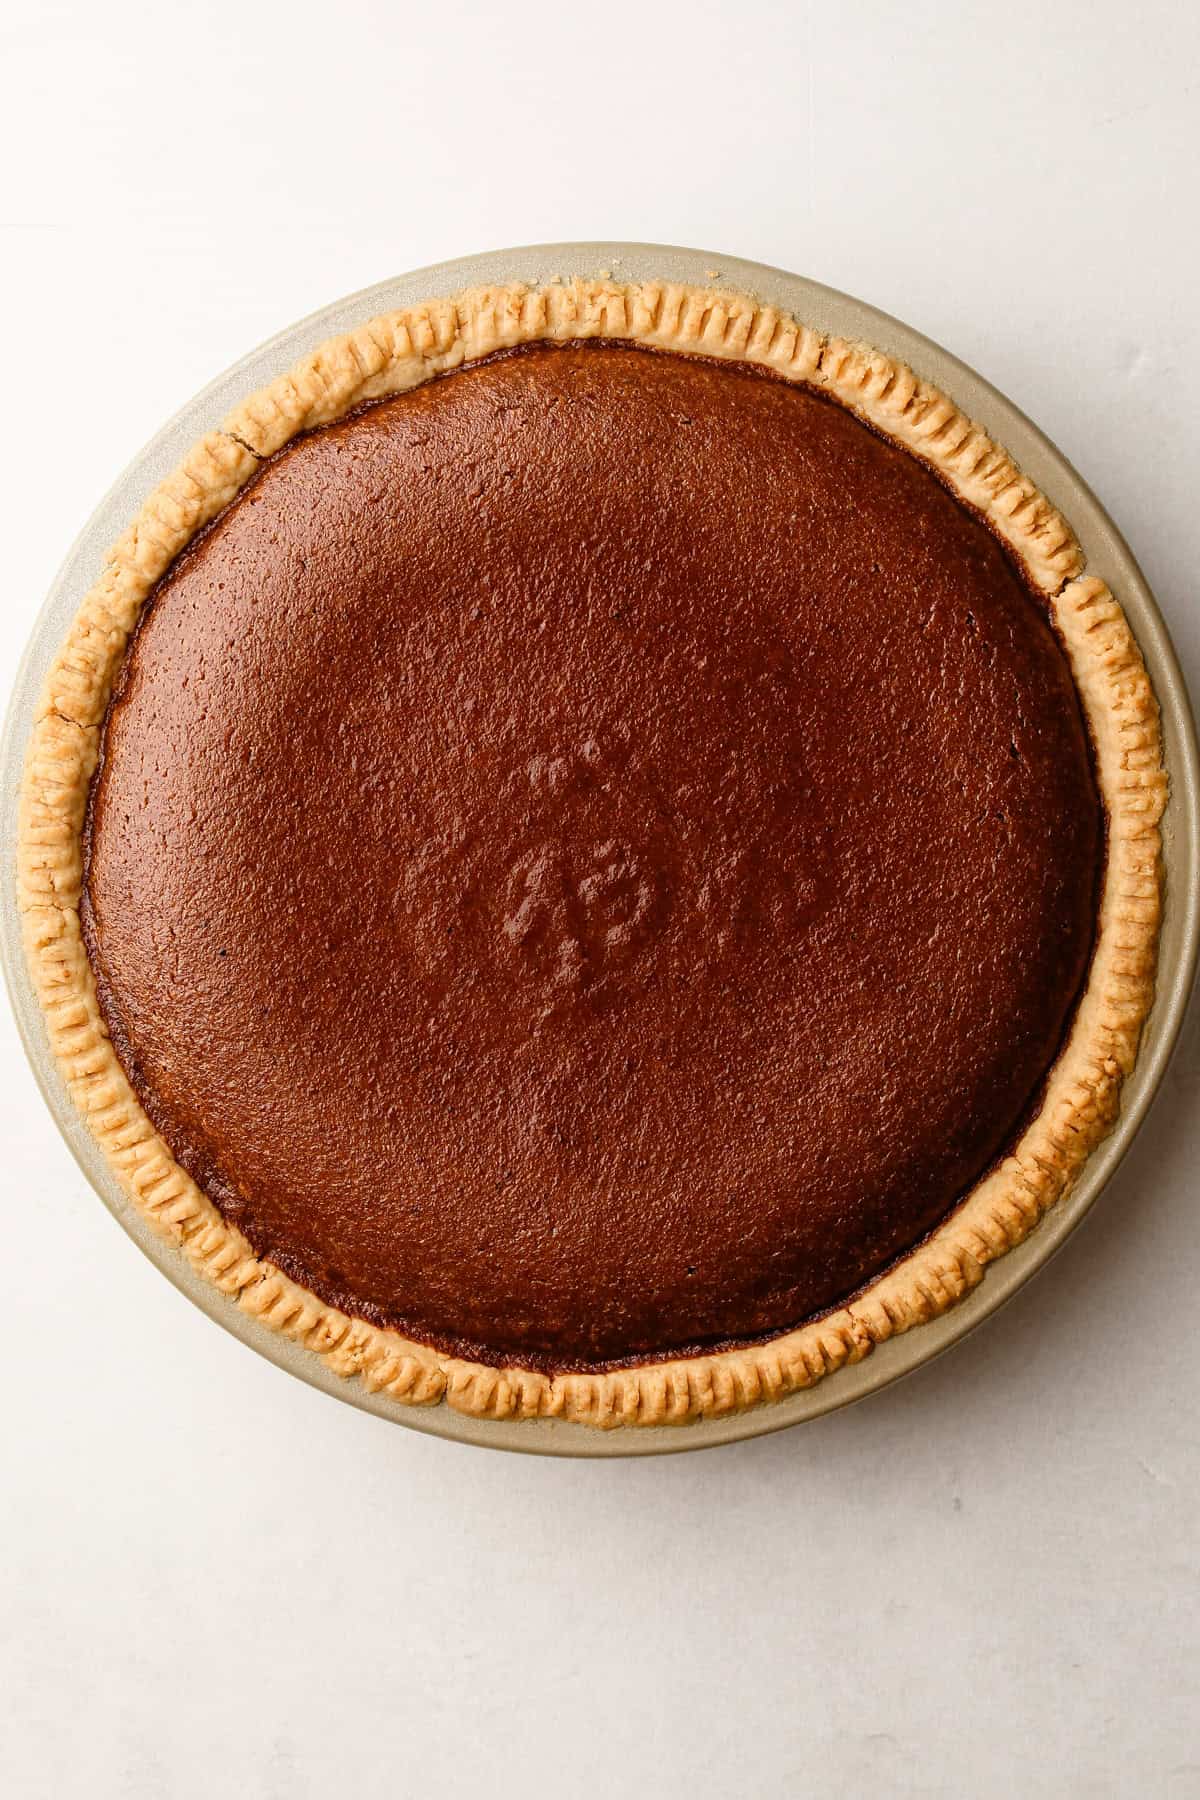
More Pie Resources for Beginners
If you are a beginner pie maker, you are in the right place! Welcome! Here are some resources you should check out first:
I am so honored when you make a recipe from my site! If you make this Easy Press-in Pie Crust recipe, please leave a star ⭐️⭐️⭐️⭐️⭐️ rating with your experience! If you have any questions about this recipe, feel free to comment here, and tag me on Instagram!
Full Recipe
Super Easy No-Fuss Pie Crust
This Super Easy Pie Crust is made with melted butter and a no-fuss mix-and-press method. It creates a light, crumbly single crust without the need for chilling or rolling. Just mix the dough, press it into your pan, and bake!
- Prep Time: 00:10
- Cook Time: 00:15
- Total Time: 25 minutes
- Yield: 1 (9-inch) pie crust
- Category: Pie Crust
Ingredients
- 1–¾ cups (210 grams) all-purpose flour
- 2 tablespoons powdered sugar
- ½ teaspoon baking powder
- ¼ teaspoon coarse kosher salt
- 8 tablespoons butter
- ¼ cup heavy cream
Instructions
In a medium bowl, whisk together the flour, powdered sugar, baking powder, and salt.
In a small pot, heat the butter on low until it is just barely melted. Off heat, whisk in the heavy cream until it’s fully emulsified; this may take a minute.
Pour the butter mixture into the flour mixture while stirring with a rubber spatula. Take the time to make sure it is fully combined and no dry flour remains.
Let the mixture sit for 5 minutes to fully hydrate.
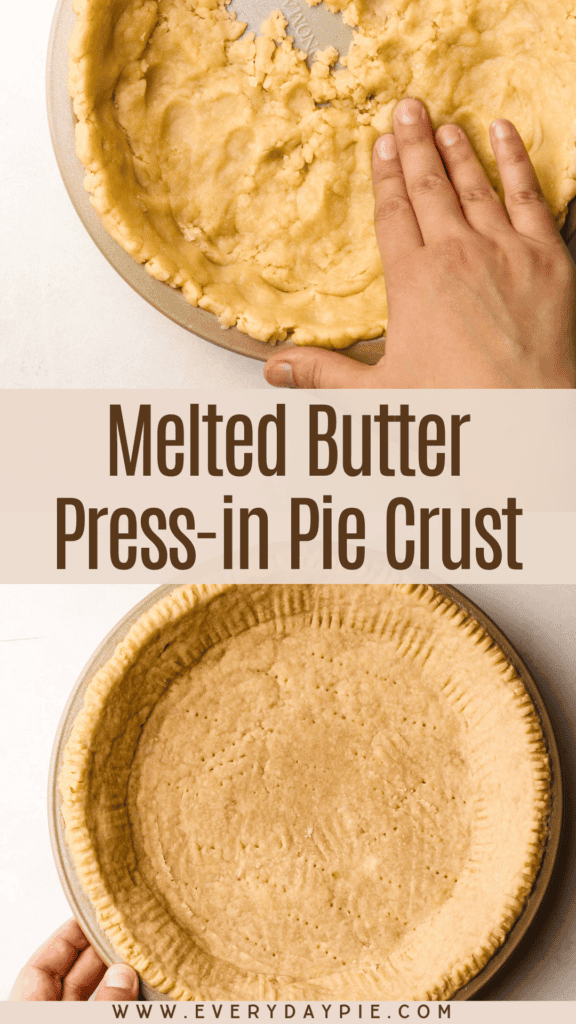
Pour the mixture into a 9-inch pie plate. With your hands or the flat bottom of a dry measuring cup, press the crumbly mixture into the sides to form the edges first. Once the edges are formed, work the mixture down to evenly distribute into the bottom of the pie plate. It might seem like you do not have enough of the mixture, but the crust will puff up in the oven and it should be in a thin, even layer.
Once formed, the crust can be set aside for use in a recipe or blind-baked. To blind-bake, preheat an oven to 375ºF. Bake the crust on the lowest rack for 15-20 minutes, or until the crust is fully matte and baked through.
Equipment
 Buy Now →
 Notes
This recipe was tested using Diamond Crystal coarse kosher salt. If you use Morton's kosher salt or fine salt, decrease the volume by half.
Do not excessively melt the butter to the point that it separates and is extremely hot. The butter should be just barely melted, that way when you add in the cold cream, it won’t break it. When you do add the cream, you are adding a mixture of water and fat into a mixture of water and fat, so you’ll need to whisk it very well to get it mostly emulsified.’
If possible, use a metal pie plate, as it conducts heat efficiently and bakes the crust evenly. If you only have a glass pie plate, be prepared to extend the baking time to ensure the crust is fully baked.
Some of the links on this page may be affiliate links. Everyday Pie is a participant in the Amazon Associates Program. As an Amazon Associate I earn from qualifying purchases, at no extra cost to you.


frances
This recipe turned out a lovely crust, though the crust was a little thicker than optimum. I think it would easily make a 10 inch crust and be lighter because of being thinner. The taste, however, was good and it wasn't tough at all.