


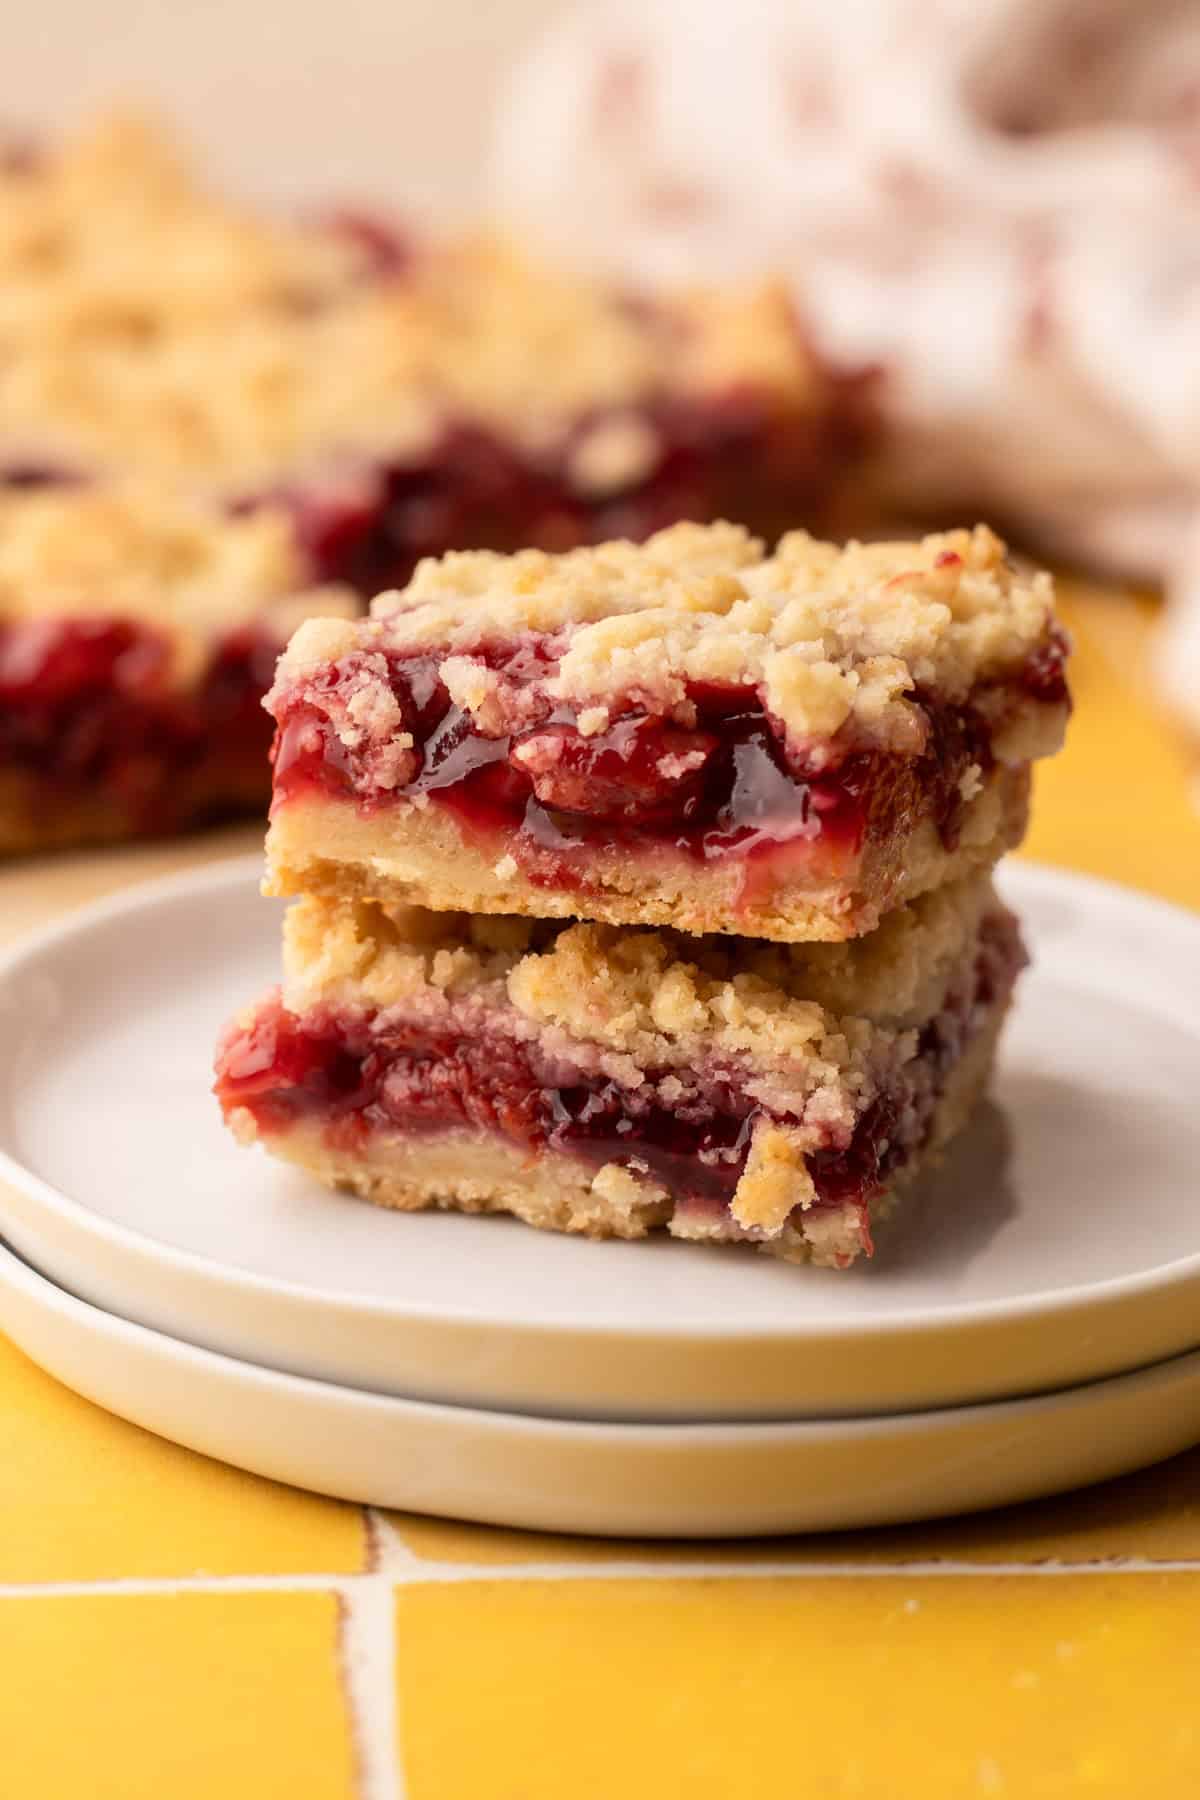
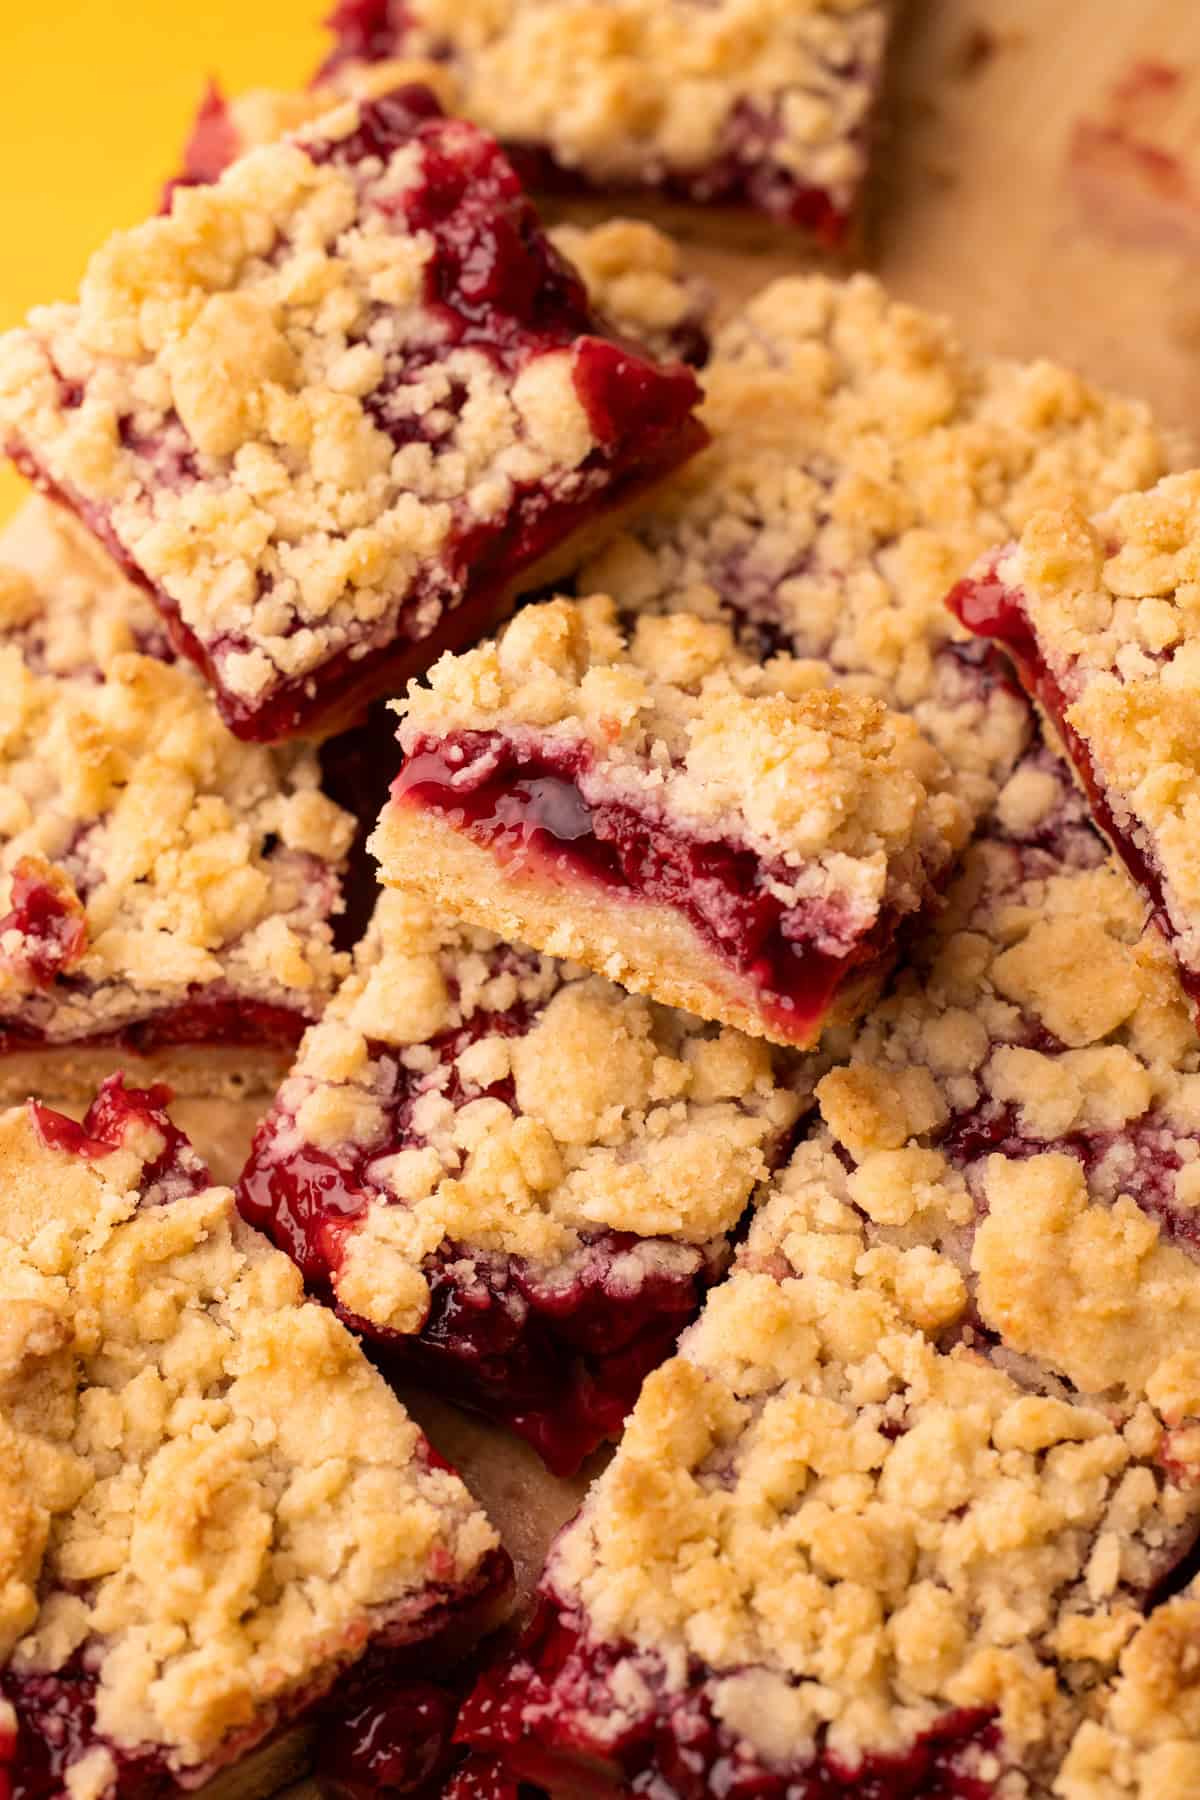
These Cherry Pie Bars, made with a buttery crust, crumble topping, and a tart cherry filling, are the perfect handheld dessert, easy to slice and share.
Want to save this recipe?
Enter your email & I'll send it to your inbox. Plus, get weekly updates from me!
Sour cherries have a short season and can be tricky to find, but they're worth seeking out when you can. These Cherry Pie Bars let the juicy tartness take center stage just like a pie, but without asking you to roll out any dough or lattice any pie crust. One buttery shortbread dough does double duty as both the crust and the crumble topping. The filling comes together fast on the stovetop, just cherries, sugar, a little lemon juice and extract, plus tapioca starch to help it hold its shape once sliced. Once everything's baked and cooled, the bars cut into clean squares, sturdy enough to pack for a picnic or stack on a plate for dessert.
What Kind of Cherries To Use
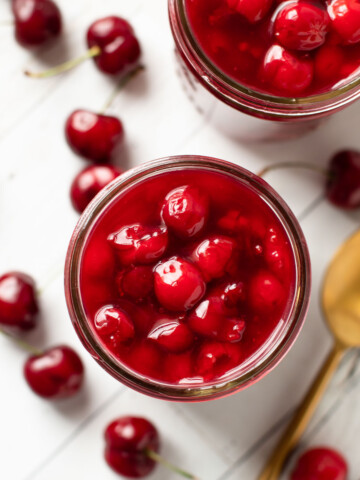
Most cherries fall into one of two categories: sweet or sour. Sweet cherries (used in this Sweet Cherry Pie recipe) are more widely available, but this recipe calls for sour cherries (like in this Sour Cherry Pie Filling or Sour Cherry Hand Pies). This matters because the amount of sugar needed to balance the filling changes depending on the type of cherry.
You can use fresh or frozen sour cherries here. I pretty much always use frozen tart cherries, since they're available year-round at my grocer, they're good quality, and I don't have to pit them myself. Montmorency and Morello are both good varieties if you're shopping for a specific type, but fresh works just as well if that's what you have.
However, you can use sweet cherries for this recipe, too. Just reduce the sugar to ⅓ cup to account for their natural sweetness.
How to Make It
The crumb mixture is designed to serve two jobs: pressed into the pan, it becomes the crust; sprinkled on top, it becomes the topping, so you only make one dough for both. The filling relies on tapioca starch rather than cornstarch, which sets up with a clearer, glossier finish and lets the cherries hold their color. A little lemon juice brightens the cherries, and there is an option to use almond extract to emphasize the natural almond note sour cherries already have from their pits.
Here is a quick visual overview of the steps needed to make this recipe. If you are looking for the full recipe, keep scrolling!
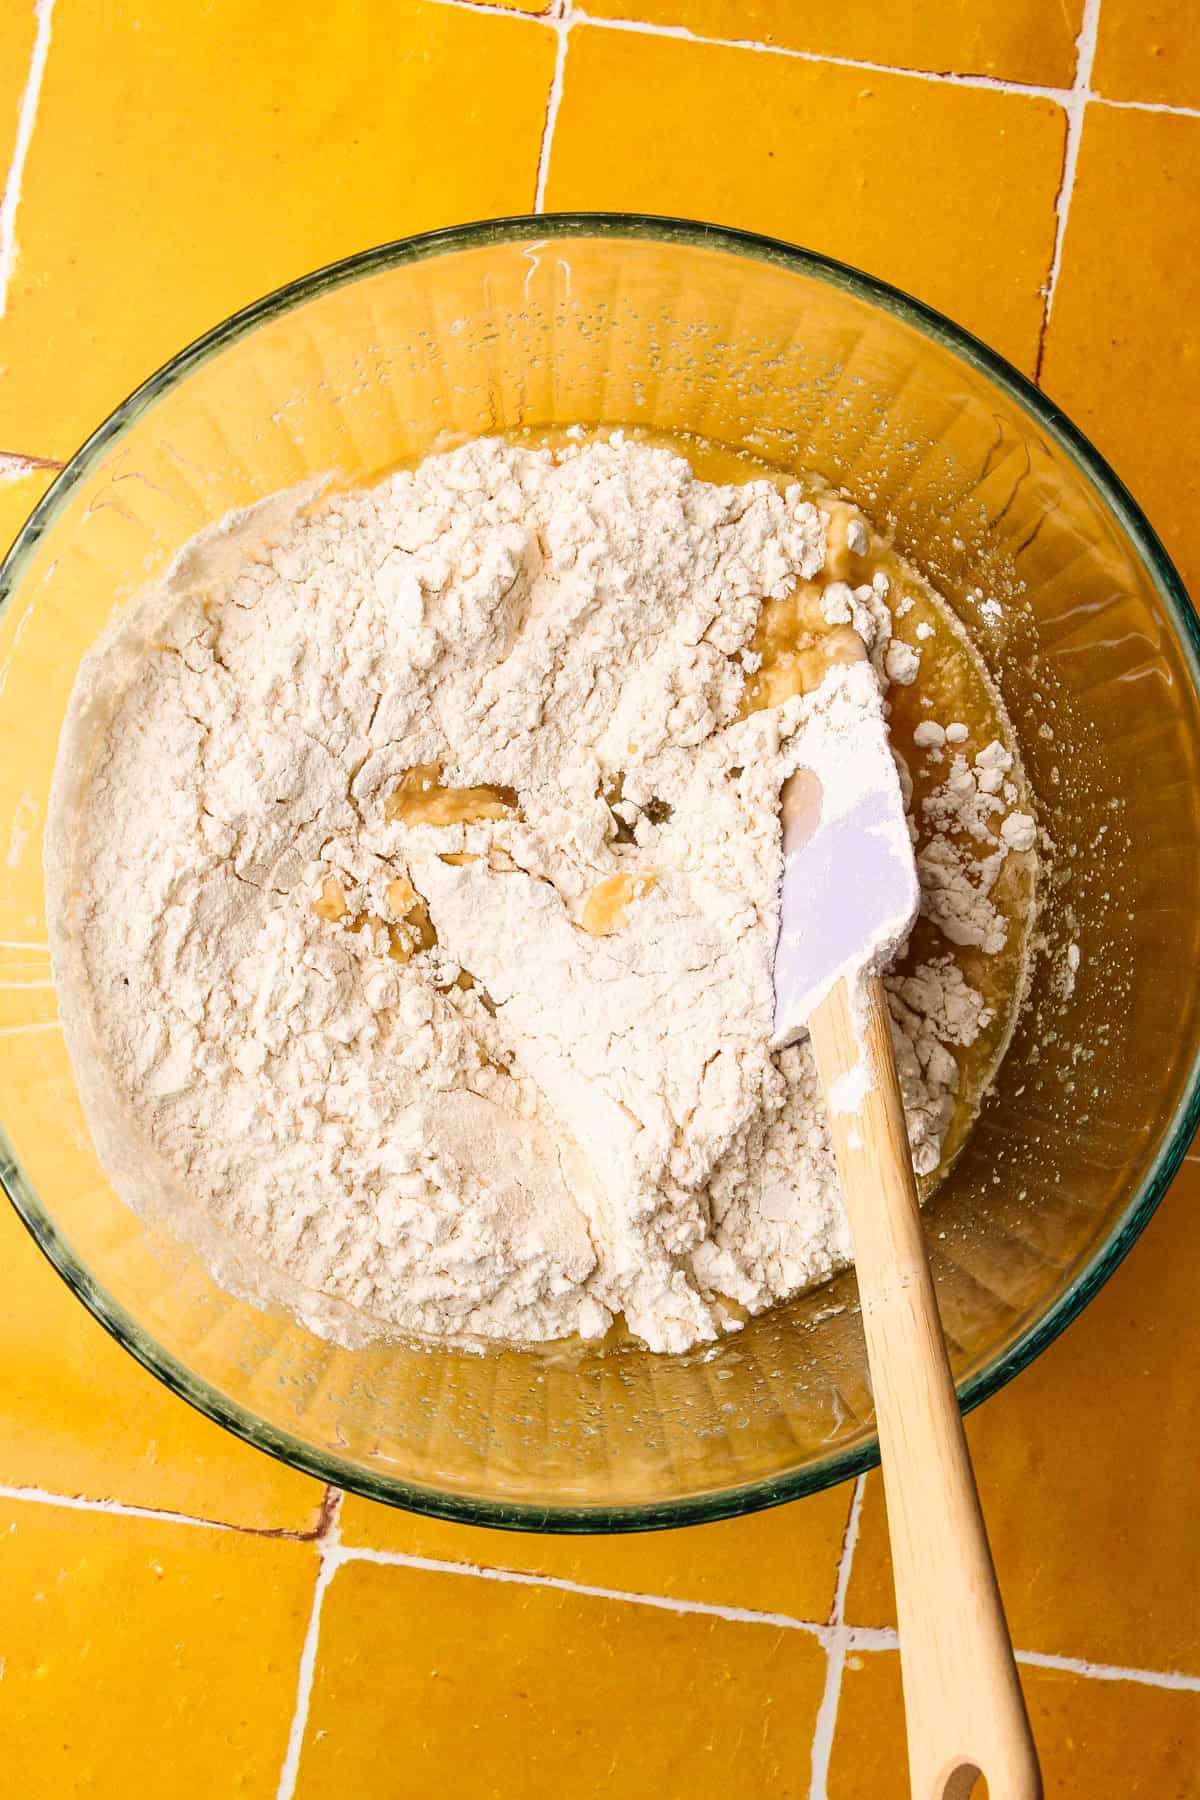
Step 1: In a medium bowl, whisk together the melted butter, granulated sugar, baking powder, vanilla, and salt. Then add in the flour.
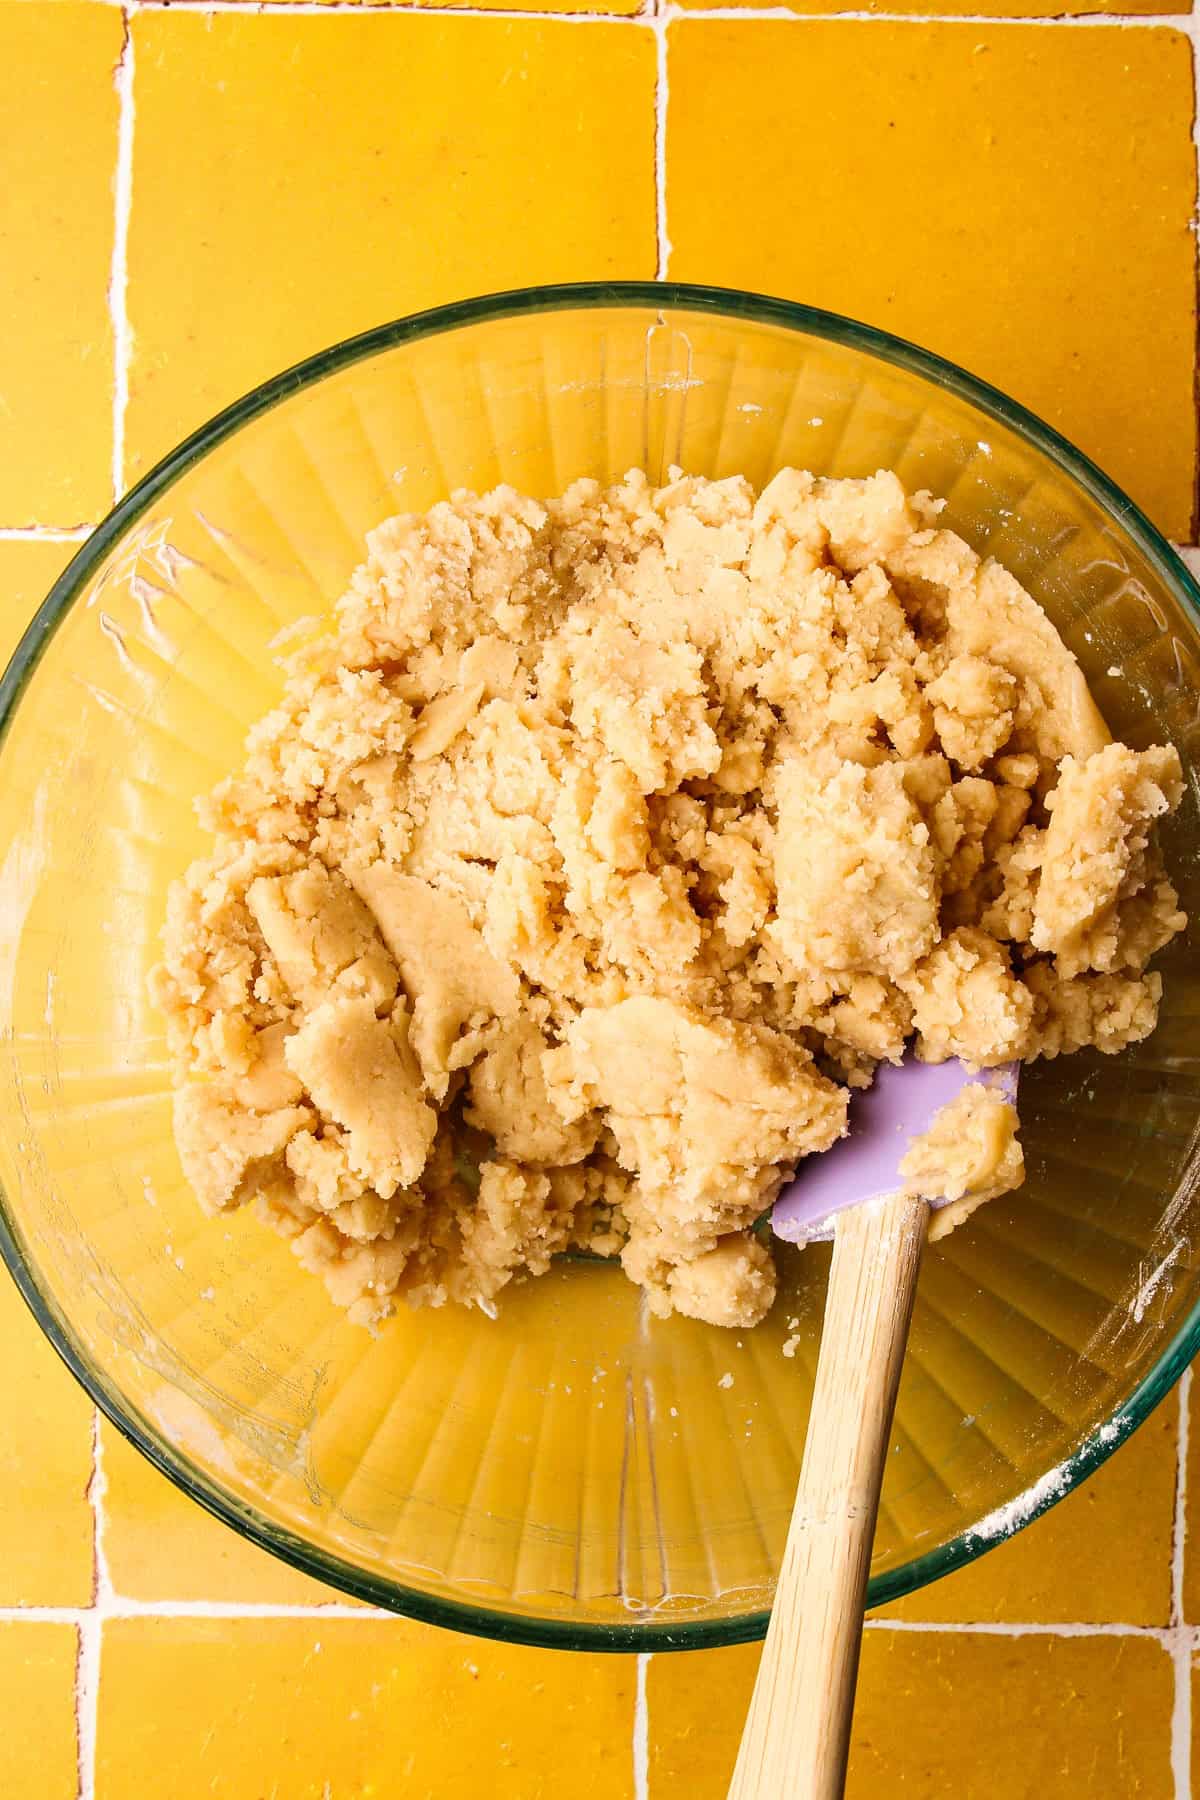
Step 2: Stir to combine. The mixture may seem too wet at first, but after a few minutes, the flour will hydrate, and the shortbread dough will be crumbly.
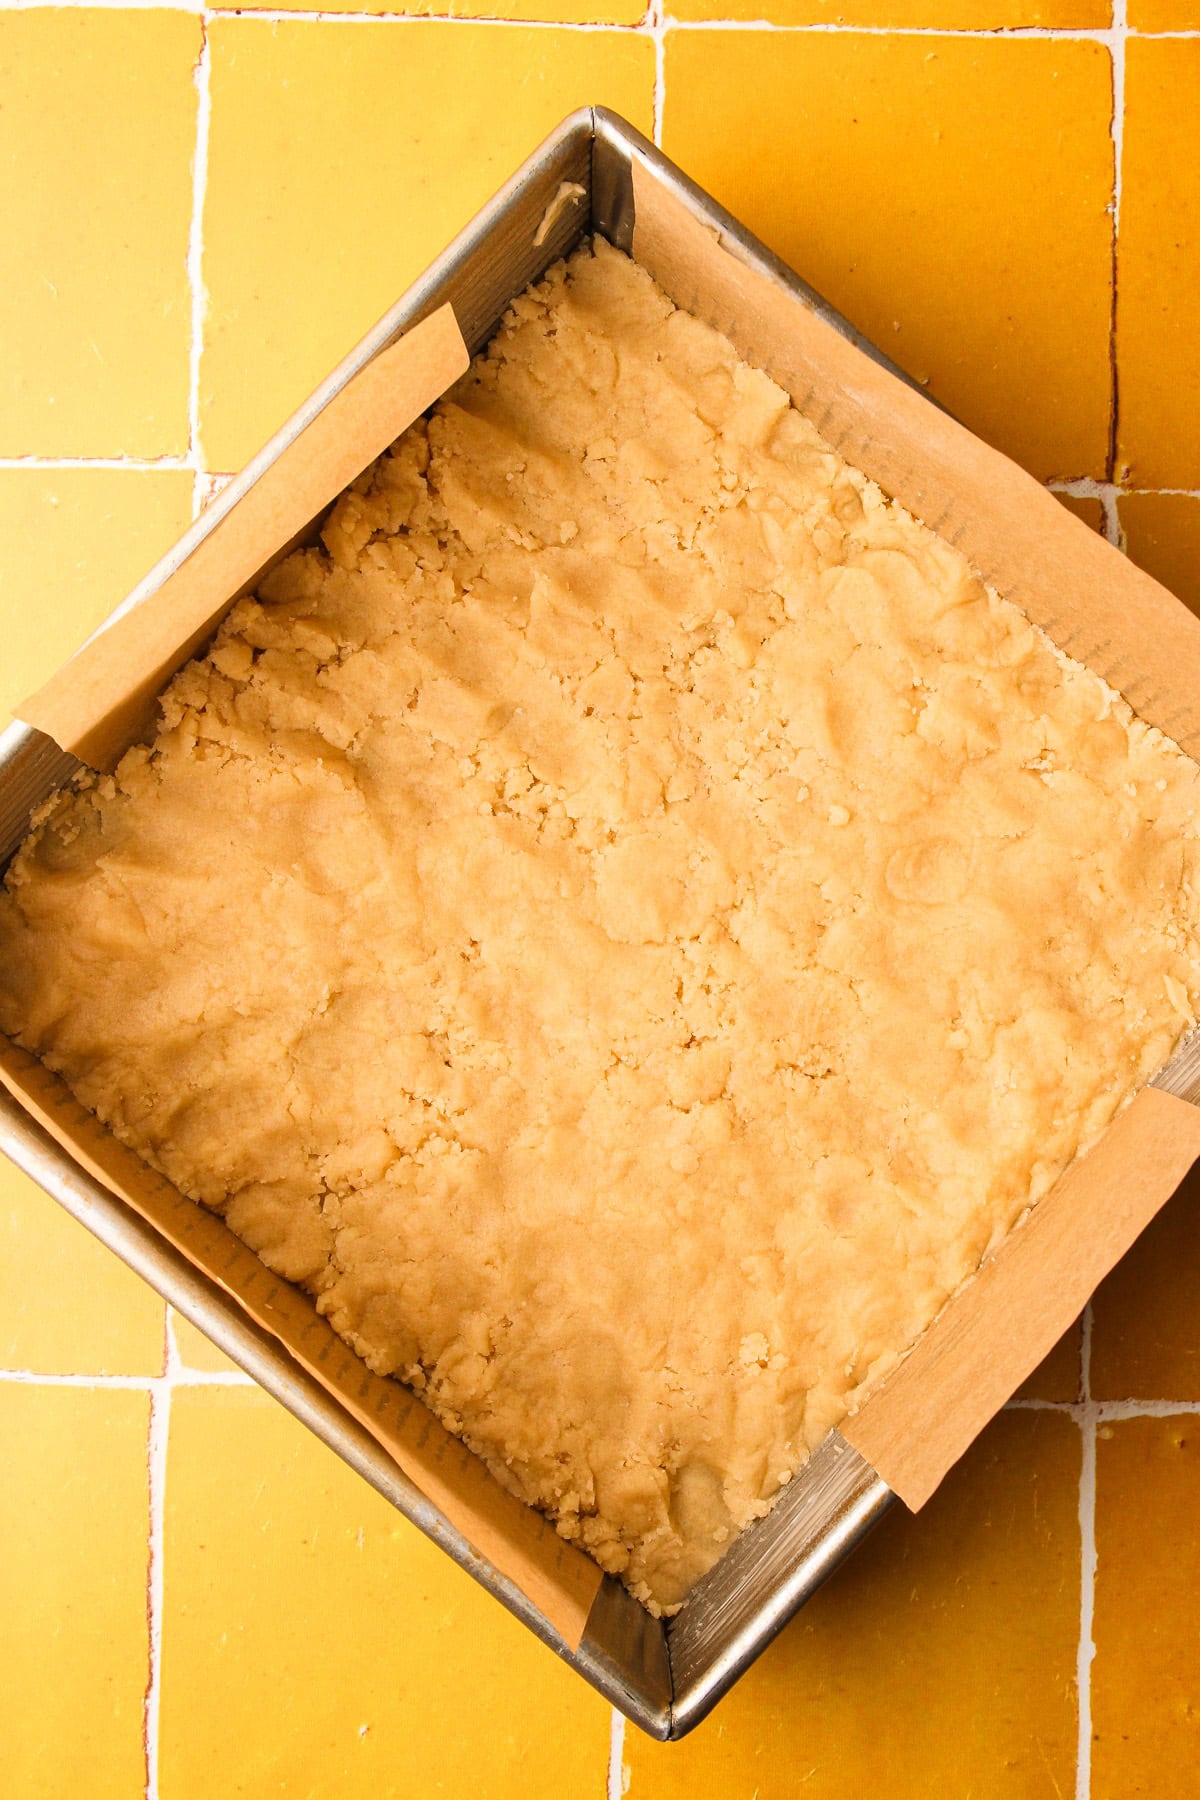
Step 3: Press ⅔ of the crumb mixture into an even layer in the prepared 8-inch pan using a flat-bottomed measuring cup or your hands.
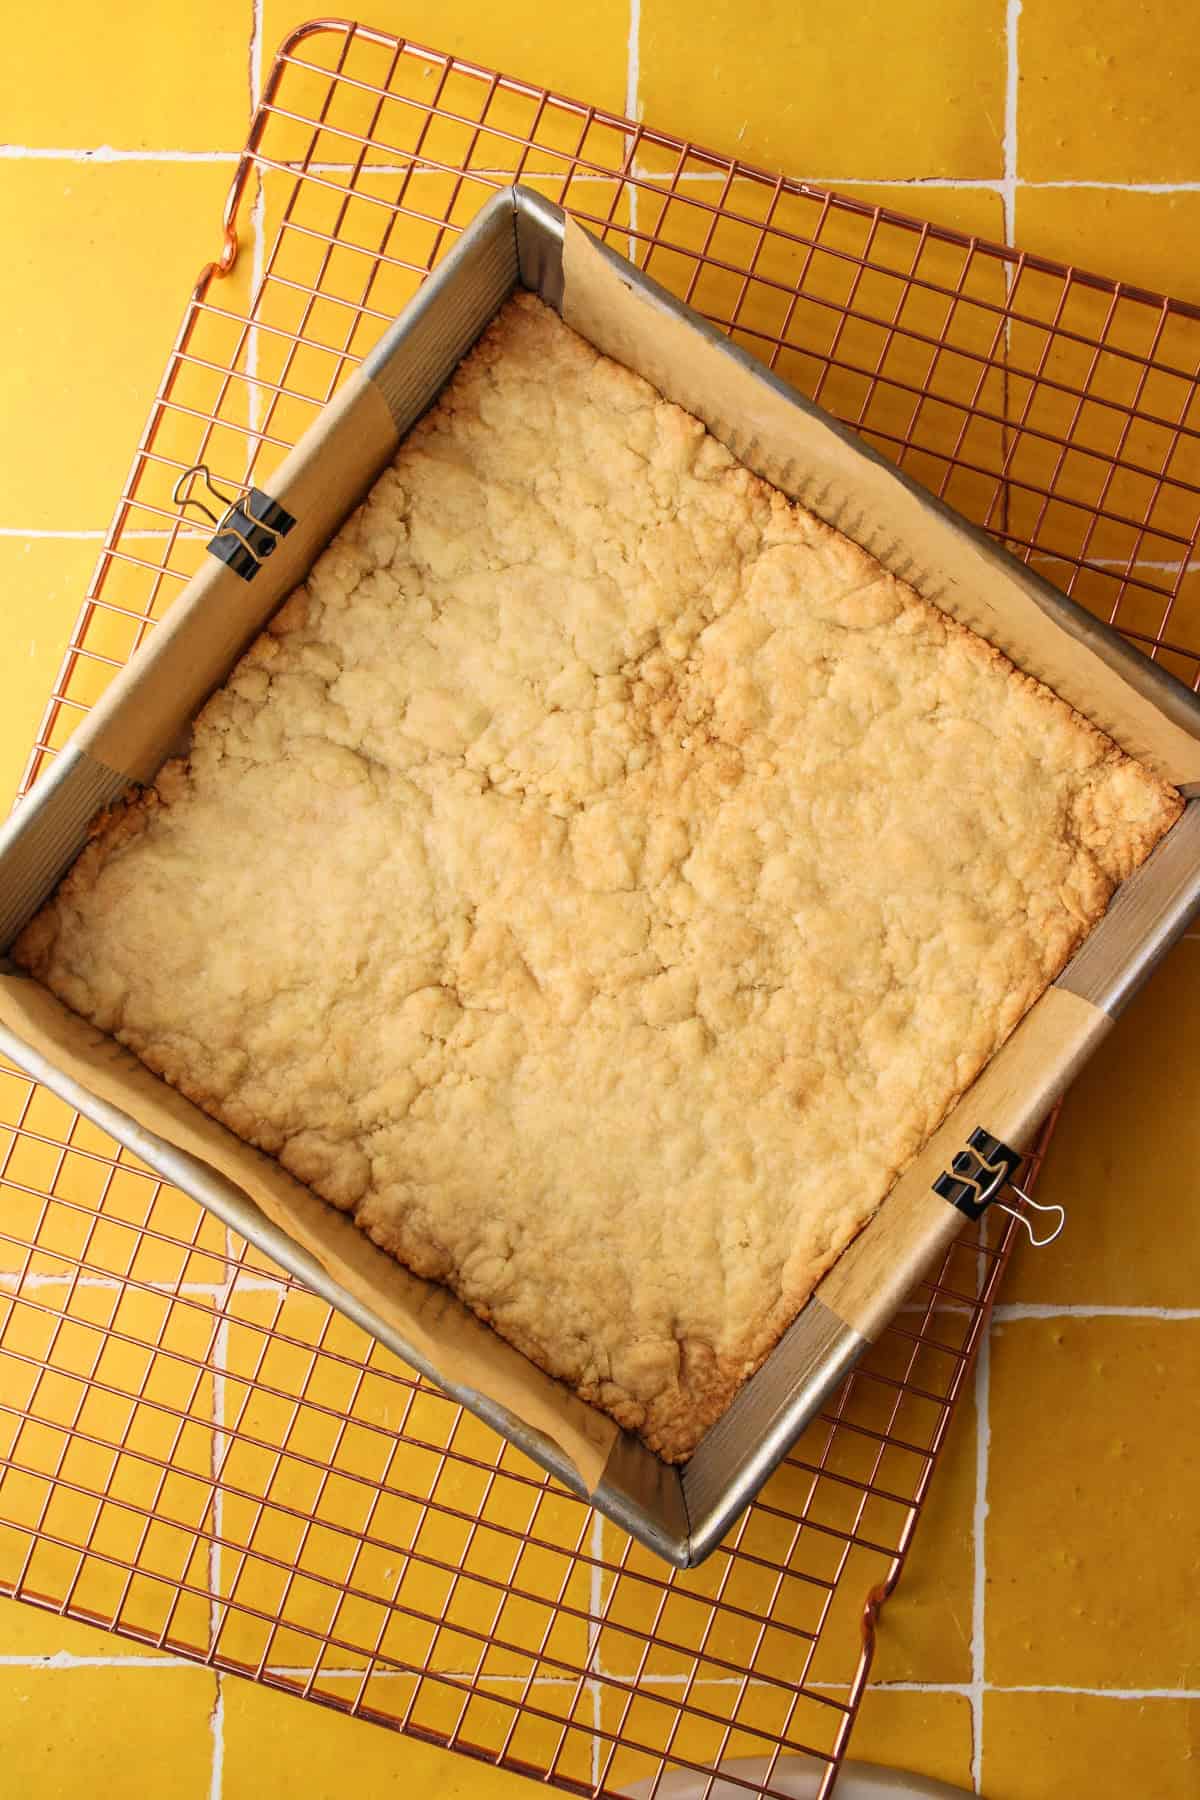
Step 4: Bake the shortbread crust until it’s lightly golden on the edges and matte in the middle.
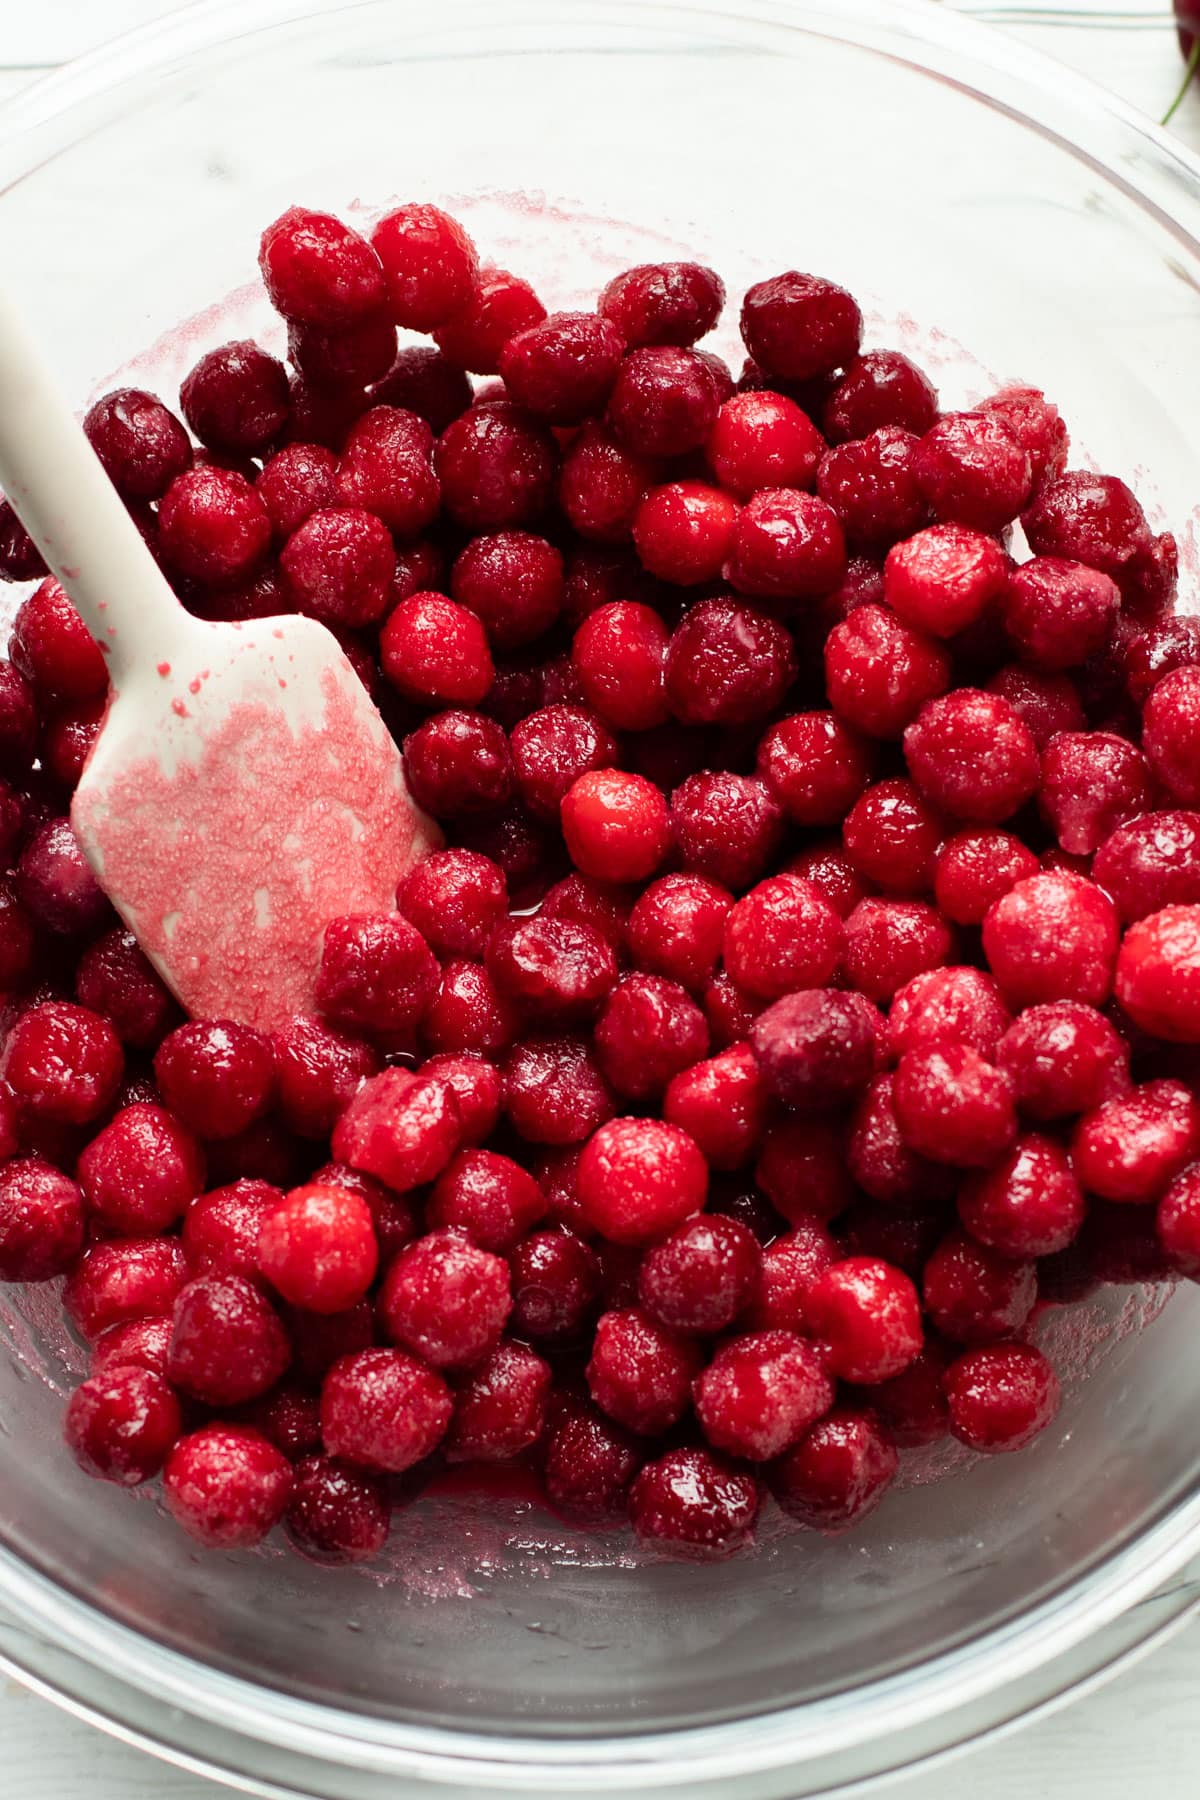
Step 5: Stir together the granulated sugar, tapioca starch, and salt, then mix in the cherries, lemon juice, and almond extract.
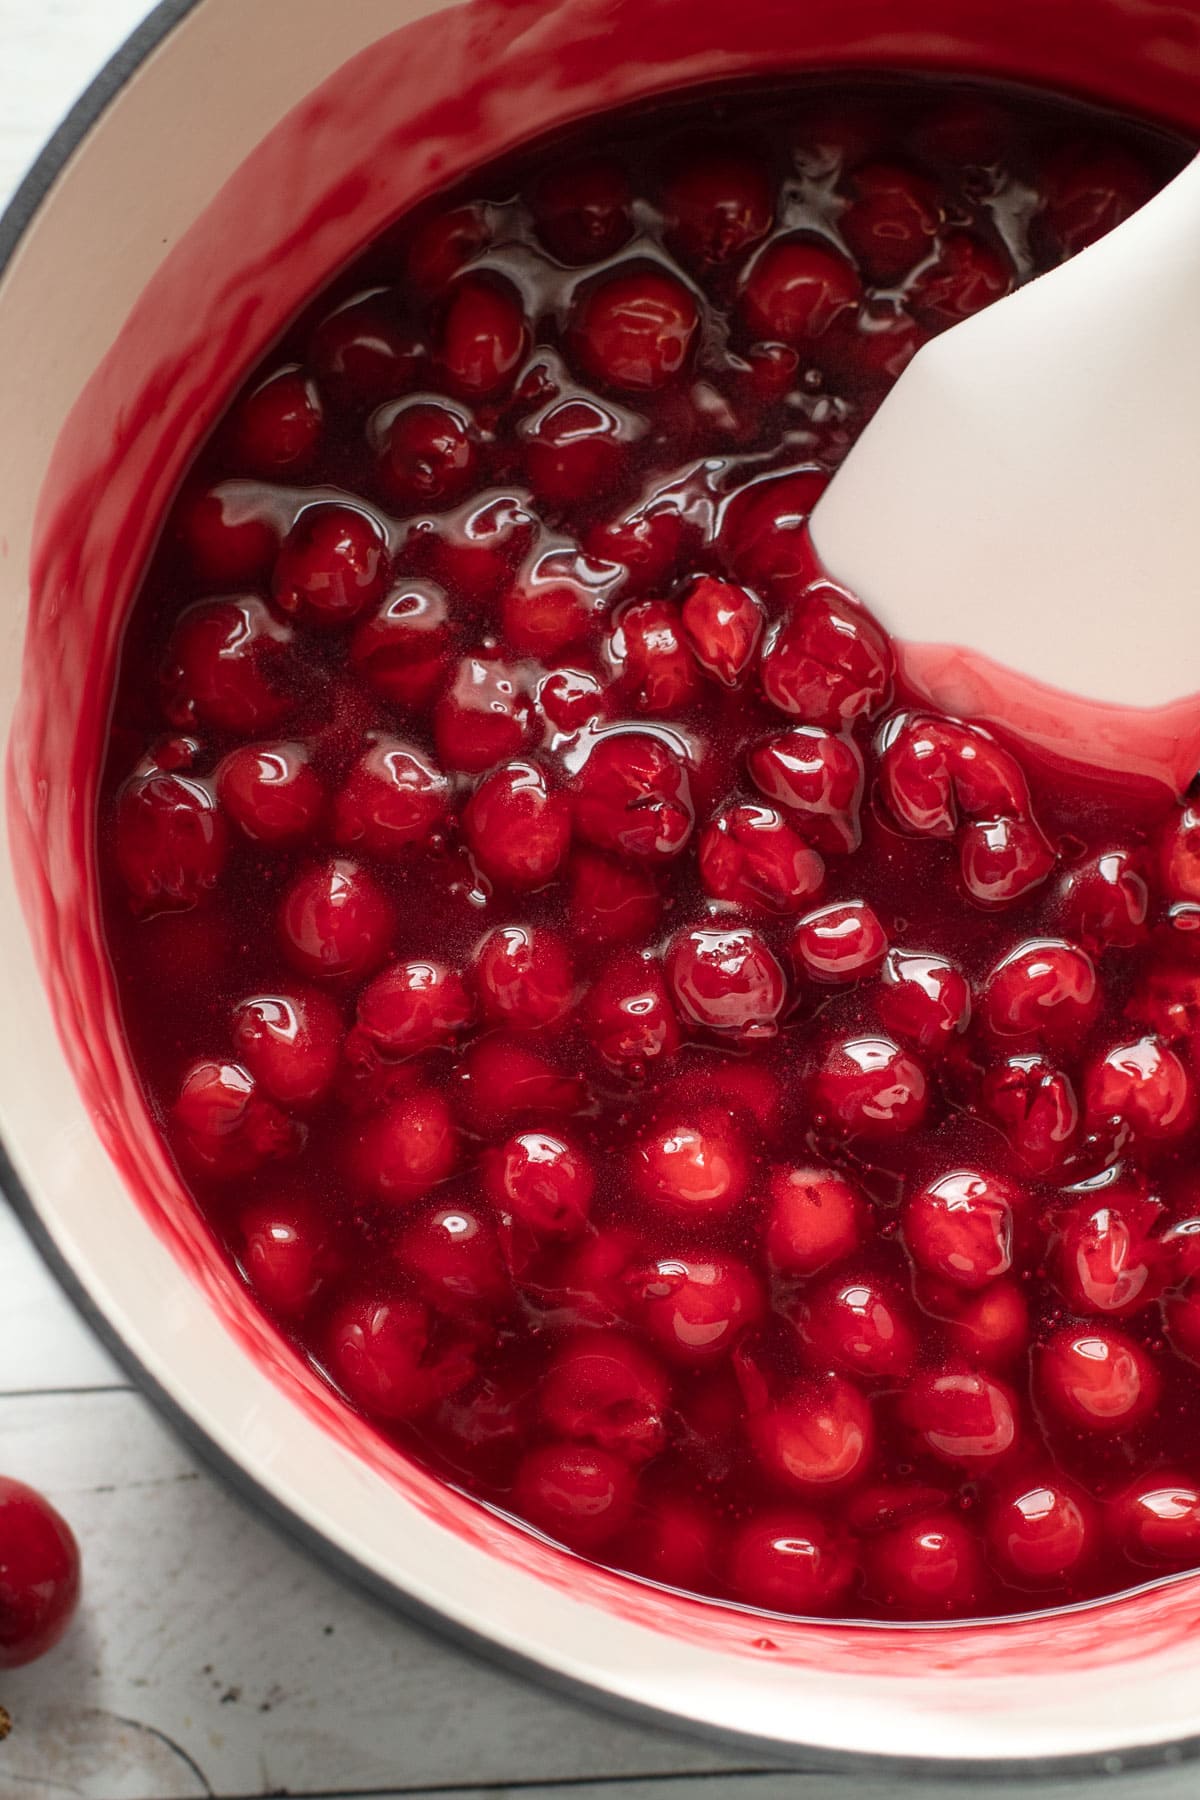
Step 6: Cook the filling over medium heat, stirring frequently, until the mixture is bubbling throughout, about 5 minutes. Let cool for 10 minutes.
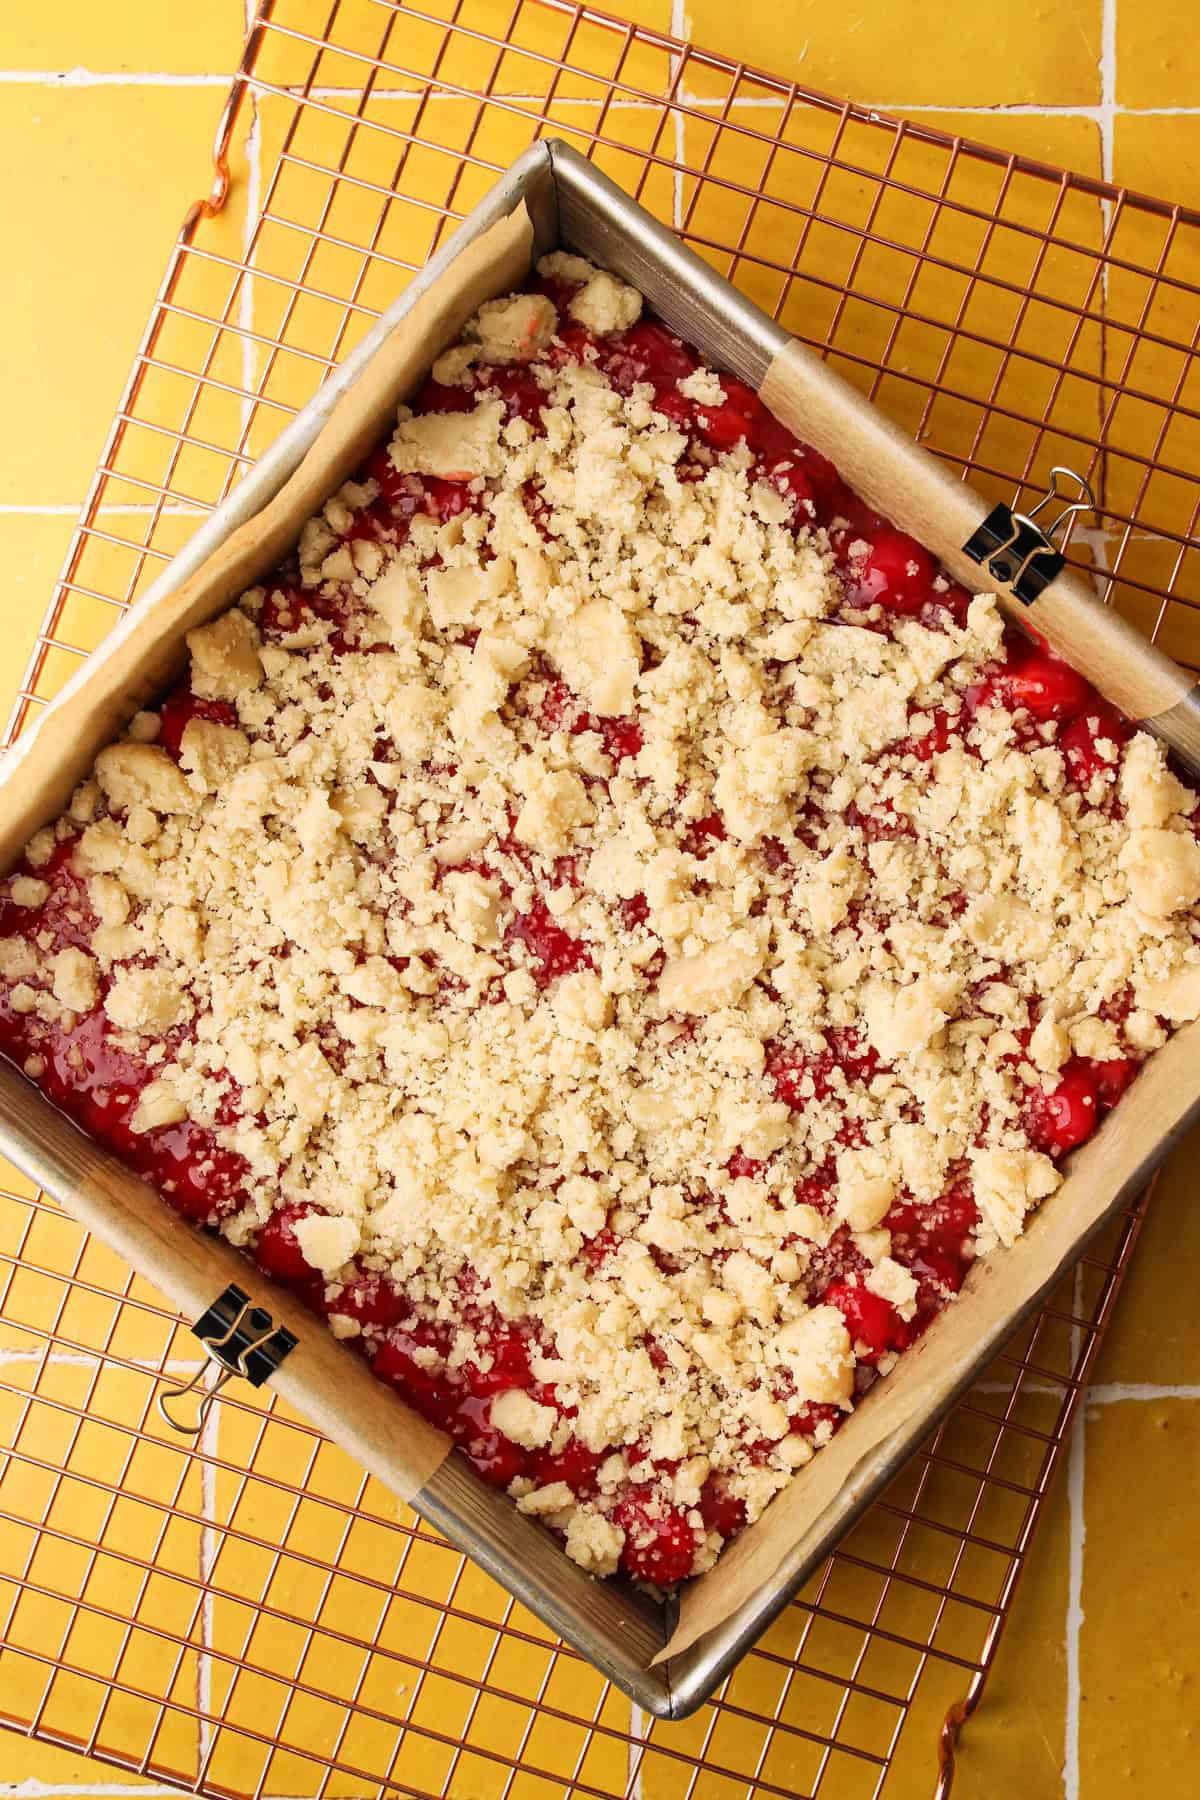
Step 7: Spread the slightly cooled cherry filling in an even layer over the baked crust, then sprinkle the remaining crumb mixture evenly on top.
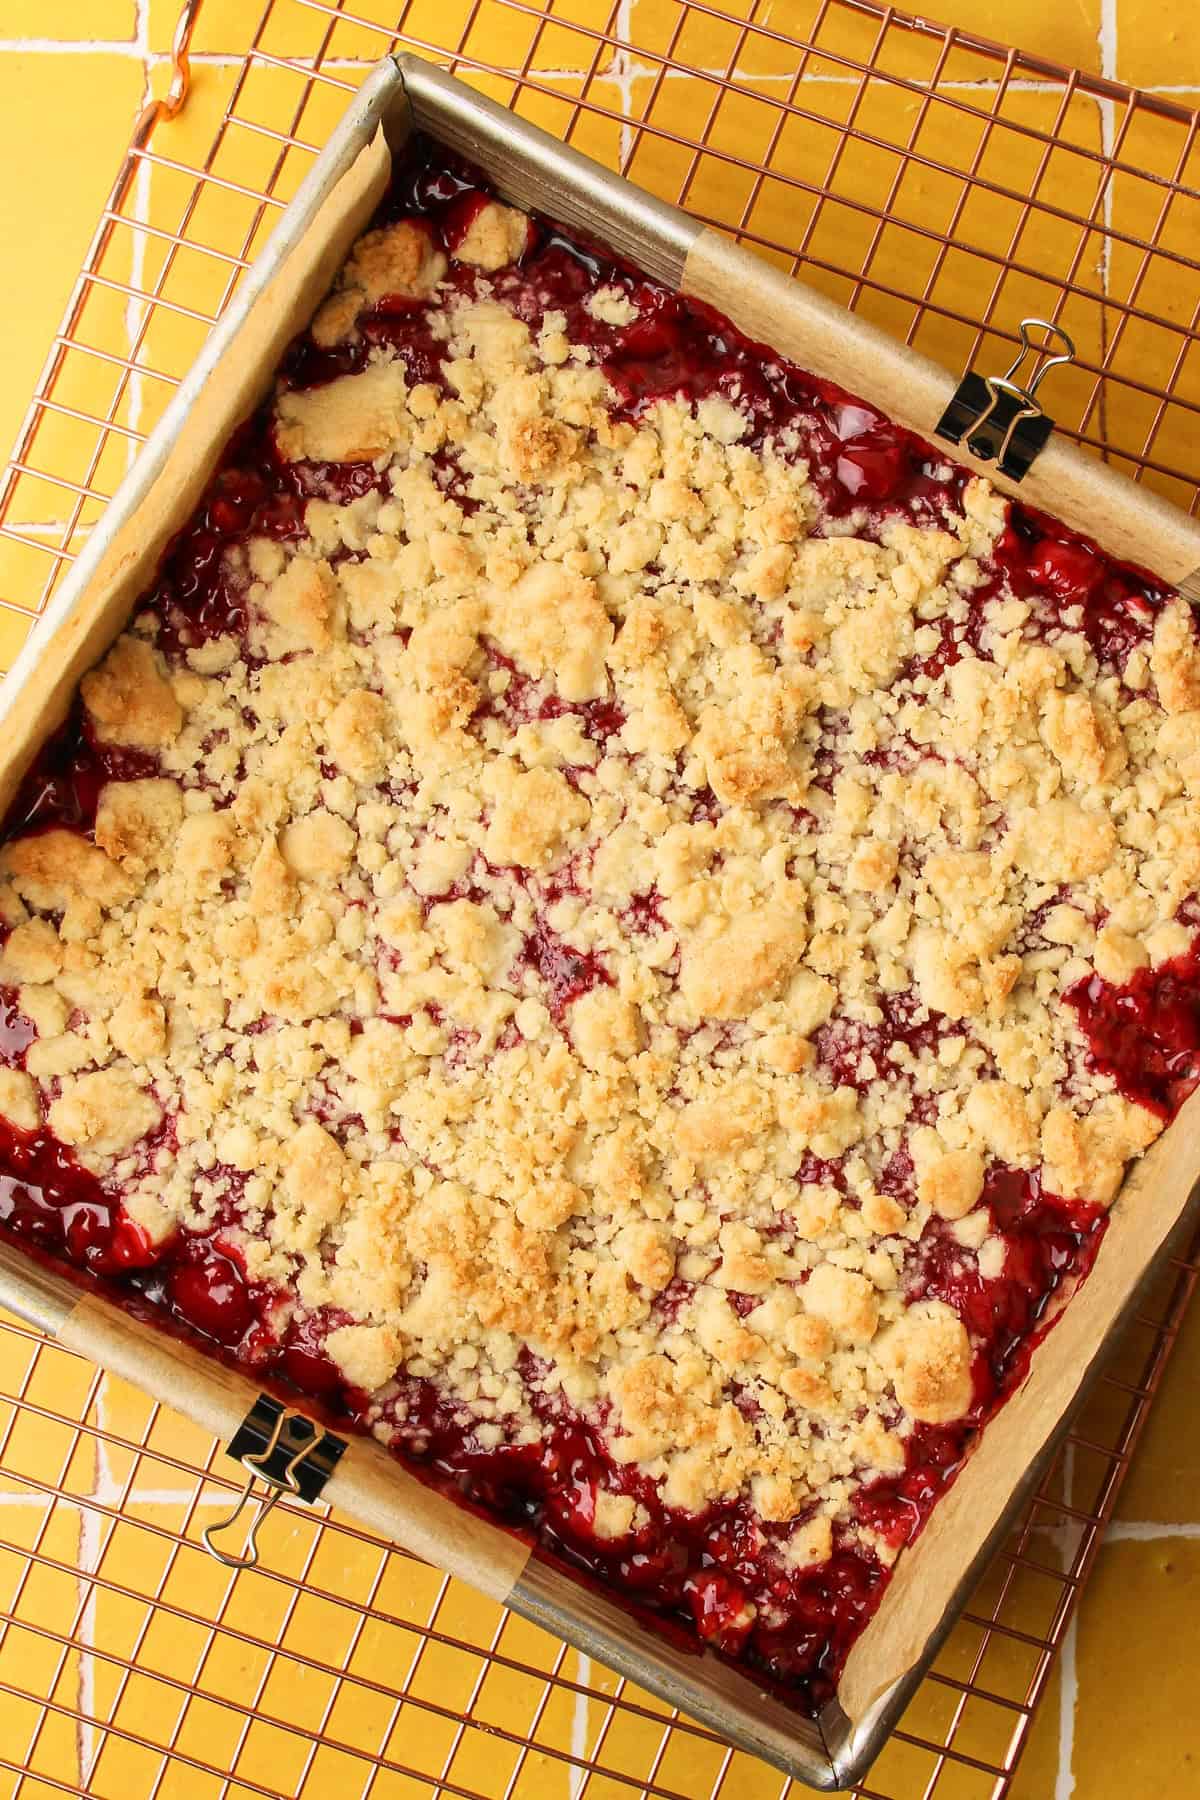
Step 8: Bake on the middle rack until the cherry filling is slightly puffed up and the crumb mixture is a light golden color.
Serving + Storing
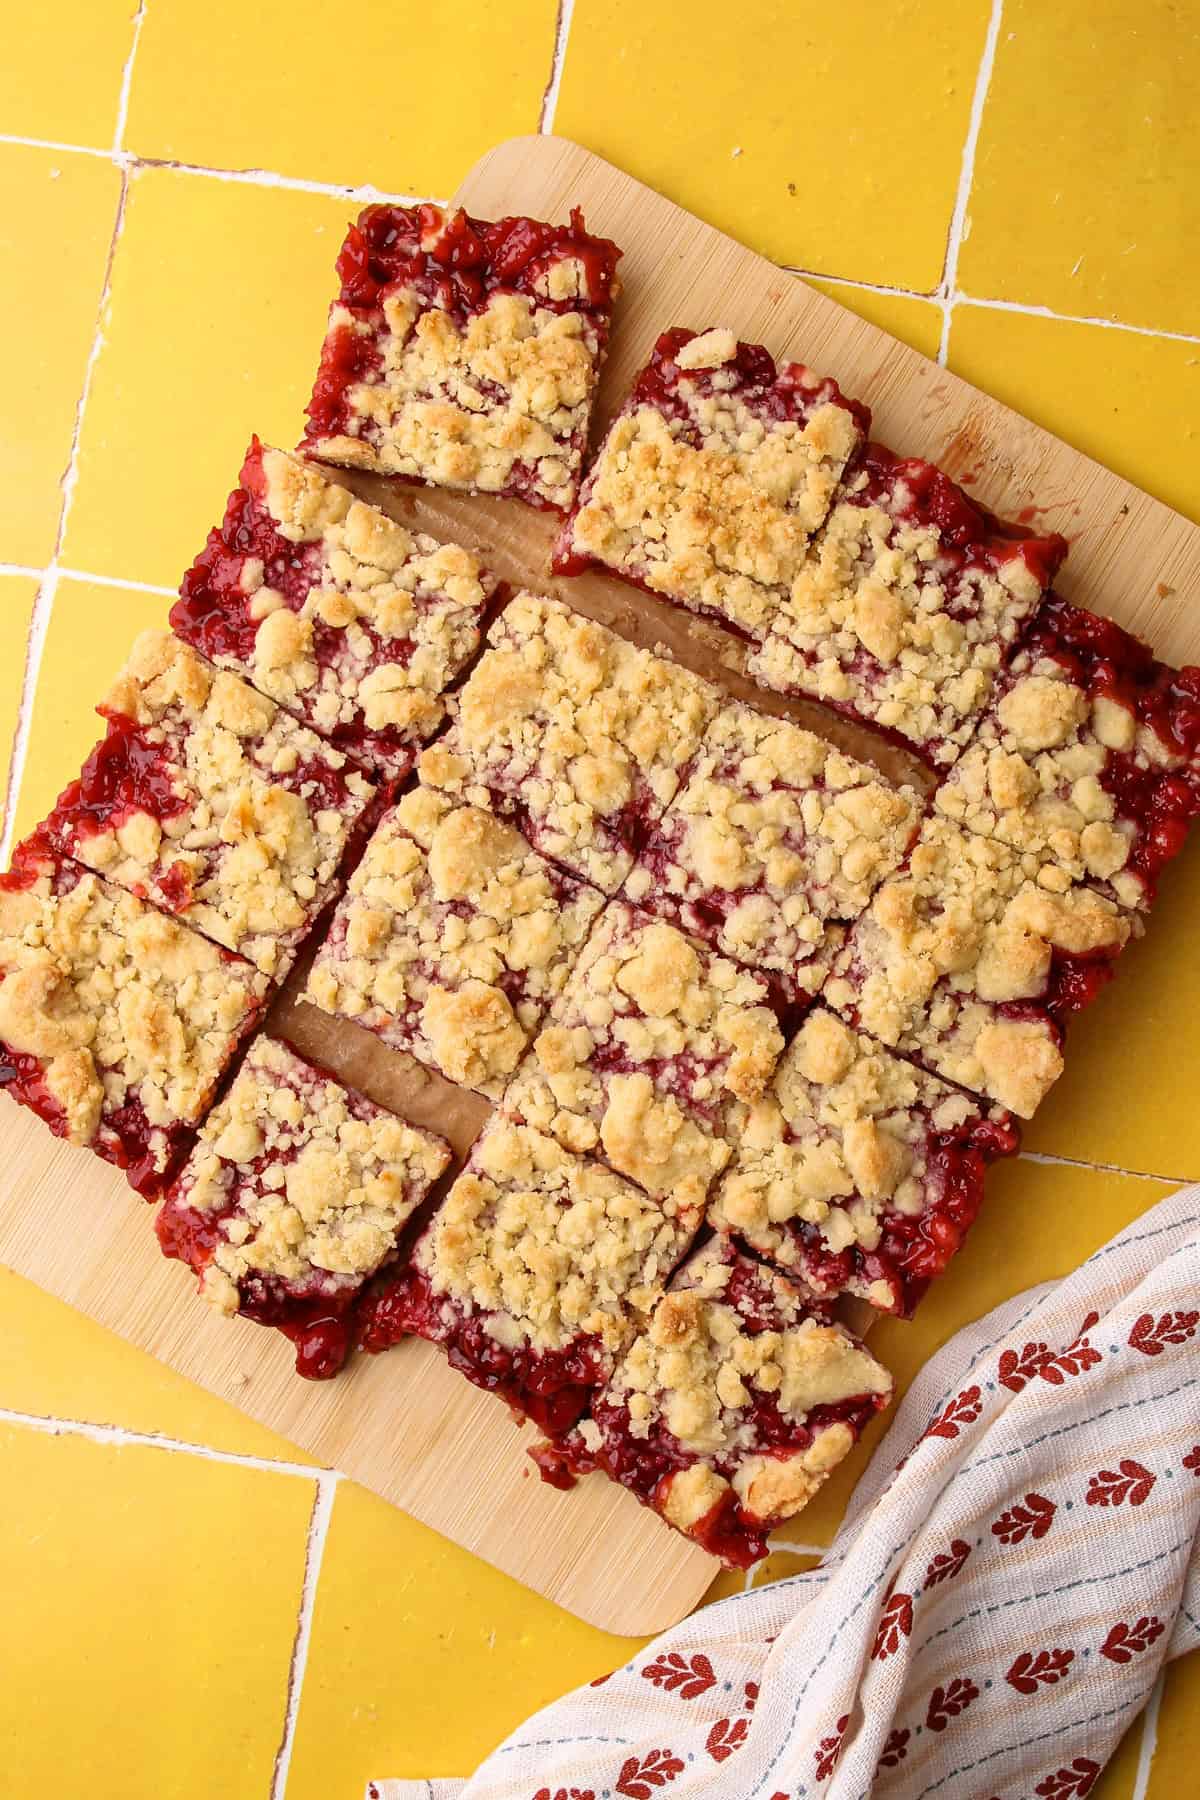
Let the bars cool completely before slicing, because they are quite soft when hot. Serve them as is, or with a scoop of ice cream.
Cherry Pie Bars are best consumed the day they're made, when the crumb crust and topping are at their crispest. Like most crumb bars, they soften as they sit, so don't expect that same texture on day two.
Store at room temperature in a covered container for up to 1 day, or in the refrigerator for up to 2 to 3 days. They also freeze really well. Freeze for up to 3 months in an airtight container, then let them defrost at room temperature.
More Cherry Recipes

have you made this?
I'm honored when you make a recipe from Everyday Pie! If you make these Cherry Pie Bars, leave a star ⭐️⭐️⭐️⭐️⭐️ rating below. Questions outside what's covered in the article? Leave a comment and I'll respond as soon as I can.
Full Recipe

Cherry Pie Bars
These Cherry Pie Bars take everything good about pie and make it easier to serve to guests and eat outside or on-the-go. A buttery, lightly sweet crumb does double duty as both crust and topping, sandwiching a tart cherry filling thickened with tapioca starch (though cornstarch can be used instead) The recipe calls for tart cherries, but sweet cherries can be substituted with an adjusted sugar quantity. They bake in a square pan, so there's no dough to roll or crimp, just press, fill, and bake.
- Total Time1 hour
- Yield16 cherry pie bars
Ingredients
For the Crumb Crust and Topping
- ¾ cup (170 grams) unsalted butter, melted, plus more for greasing pan
- ¾ cup (150 grams) granulated sugar
- 1 teaspoon baking powder
- 2 teaspoons vanilla extract
- ½ teaspoon coarse kosher salt (see note)
- 2¼ cups (270 grams) all-purpose flour
For the Cherry Pie Filling
- ½ cup (100 grams) granulated sugar
- 2 tablespoons (20 grams) tapioca starch (see note)
- Pinch coarse kosher salt
- 3 cups (400 grams) pitted sour cherries, packed tightly
- 1 tablespoon lemon juice
- ½ teaspoon almond extract (optional)
Instructions
Prepare the Crumb Crust and Topping:
- Preheat the oven to 375ºF and place oven racks in the lowest and middle parts of the oven. Butter or oil an 8-inch square (or similar size) baking dish. Cut a strip of parchment to fit inside the dish with ends long enough to hang over the edges. Line the baking dish with the parchment and set aside.
- In a medium bowl, whisk together the melted butter, granulated sugar, baking powder, vanilla, and salt. Stir in the flour until just combined.
- Sprinkle ⅔ of the crumb mixture into the prepared baking dish as evenly as possible. Using a flat-bottomed measuring cup or your hands, press the mixture into an even layer. Bake the crust on the lowest rack until it's lightly golden on the edges with a matte appearance in the middle, about 12 minutes. Remove and set aside until ready to use.
Make the Cherry Pie Filling:
- Meanwhile, in a medium pot, stir together the granulated sugar, tapioca starch, and salt. Add the cherries, lemon juice, and almond extract and cook over medium heat, stirring frequently, until the mixture is bubbling throughout, about 5 minutes. Remove from the heat and let cool for at least 10 minutes.
- Transfer the cherry pie filling onto the par-baked crust and spread into an even layer. Sprinkle the remaining crumb mixture evenly on top.
- Bake on the middle rack until the filling is slightly puffed and the crumb mixture is light golden, 30 to 35 minutes.
- Transfer to a wire rack and let cool completely.
- Cut into 16 pieces and serve. Store at room temperature in a covered container for up to 1 day, or in the refrigerator for up to 2 to 3 days.
Notes
This recipe was tested using Diamond Crystal coarse kosher salt. If you use Morton's kosher salt or fine salt, decrease the volume by half.
This recipe is written for sour cherries, fresh or frozen. If using sweet cherries, reduce the sugar to ⅓ cup.
Tapioca starch can be found in the baking aisle, usually near the cornstarch. It's a thickening agent that works similarly to cornstarch but leaves the cherry filling more clear. Cornstarch can be used in its place in the same quantity, if needed.
Weighing your flour is the most accurate way to measure. If you aren't going to weigh it, make sure to spoon it into the measuring cup, then level it off. If you scoop the flour out with the measuring cup and then level, it could change the outcome of the final product.
- Prep Time: 00:20
- Cook Time: 00:40
- Category: Dessert
- Method: Baking
Behind-the-Scenes
Recipes on Everyday Pie take real time to develop, and I love sharing that process, from the first idea through testing and adjustments. It's a look into my real kitchen, so you know an actual person is testing and troubleshooting before a recipe reaches yours.
I knew going into developing this recipe that it wouldn't be too tricky, since I already had a Strawberry Crumb Bar recipe I developed over on my other website Everyday Family Eats. The crust and streusel layer for that recipe took a very long time to develop, so I knew I wasn't going to change much with that base. For the filling, I turned to my Cherry Pie Filling recipe, which is one of my most popular, and adapted it from there. The main difference here is that I use tapioca starch instead of cornstarch. Tapioca starch keeps a filling bright and clear, which matters when you're working with a color as beautiful as the filling from the cherries. But it's also easy to overuse, and when that happens, the filling turns gluey and stiff instead of soft and jammy, which is a texture I can't stand in a pie or bar. Used correctly, in the right amount, tapioca starch does something cornstarch can't: it thickens the filling without clouding it, so the cherries stay glossy and vivid.
After a few rounds of testing to get the ratio of filling to crumb right, I felt confident this one was going to be a favorite, and hope your family likes it as much as mine did.
Some of the links on this page may be affiliate links. Everyday Pie is a participant in the Amazon Associates Program. As an Amazon Associate I earn from qualifying purchases, at no extra cost to you.
Leave a Reply