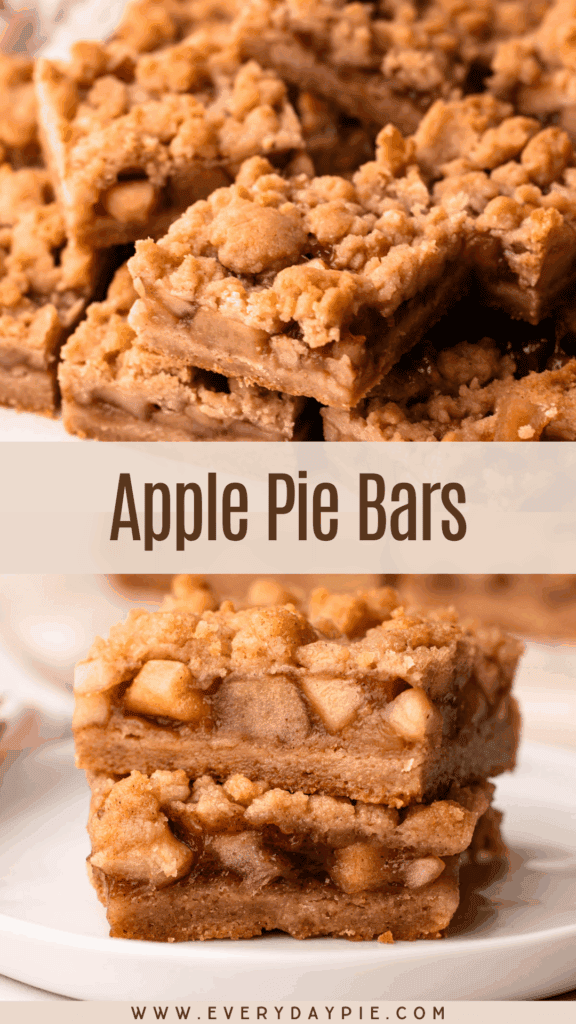
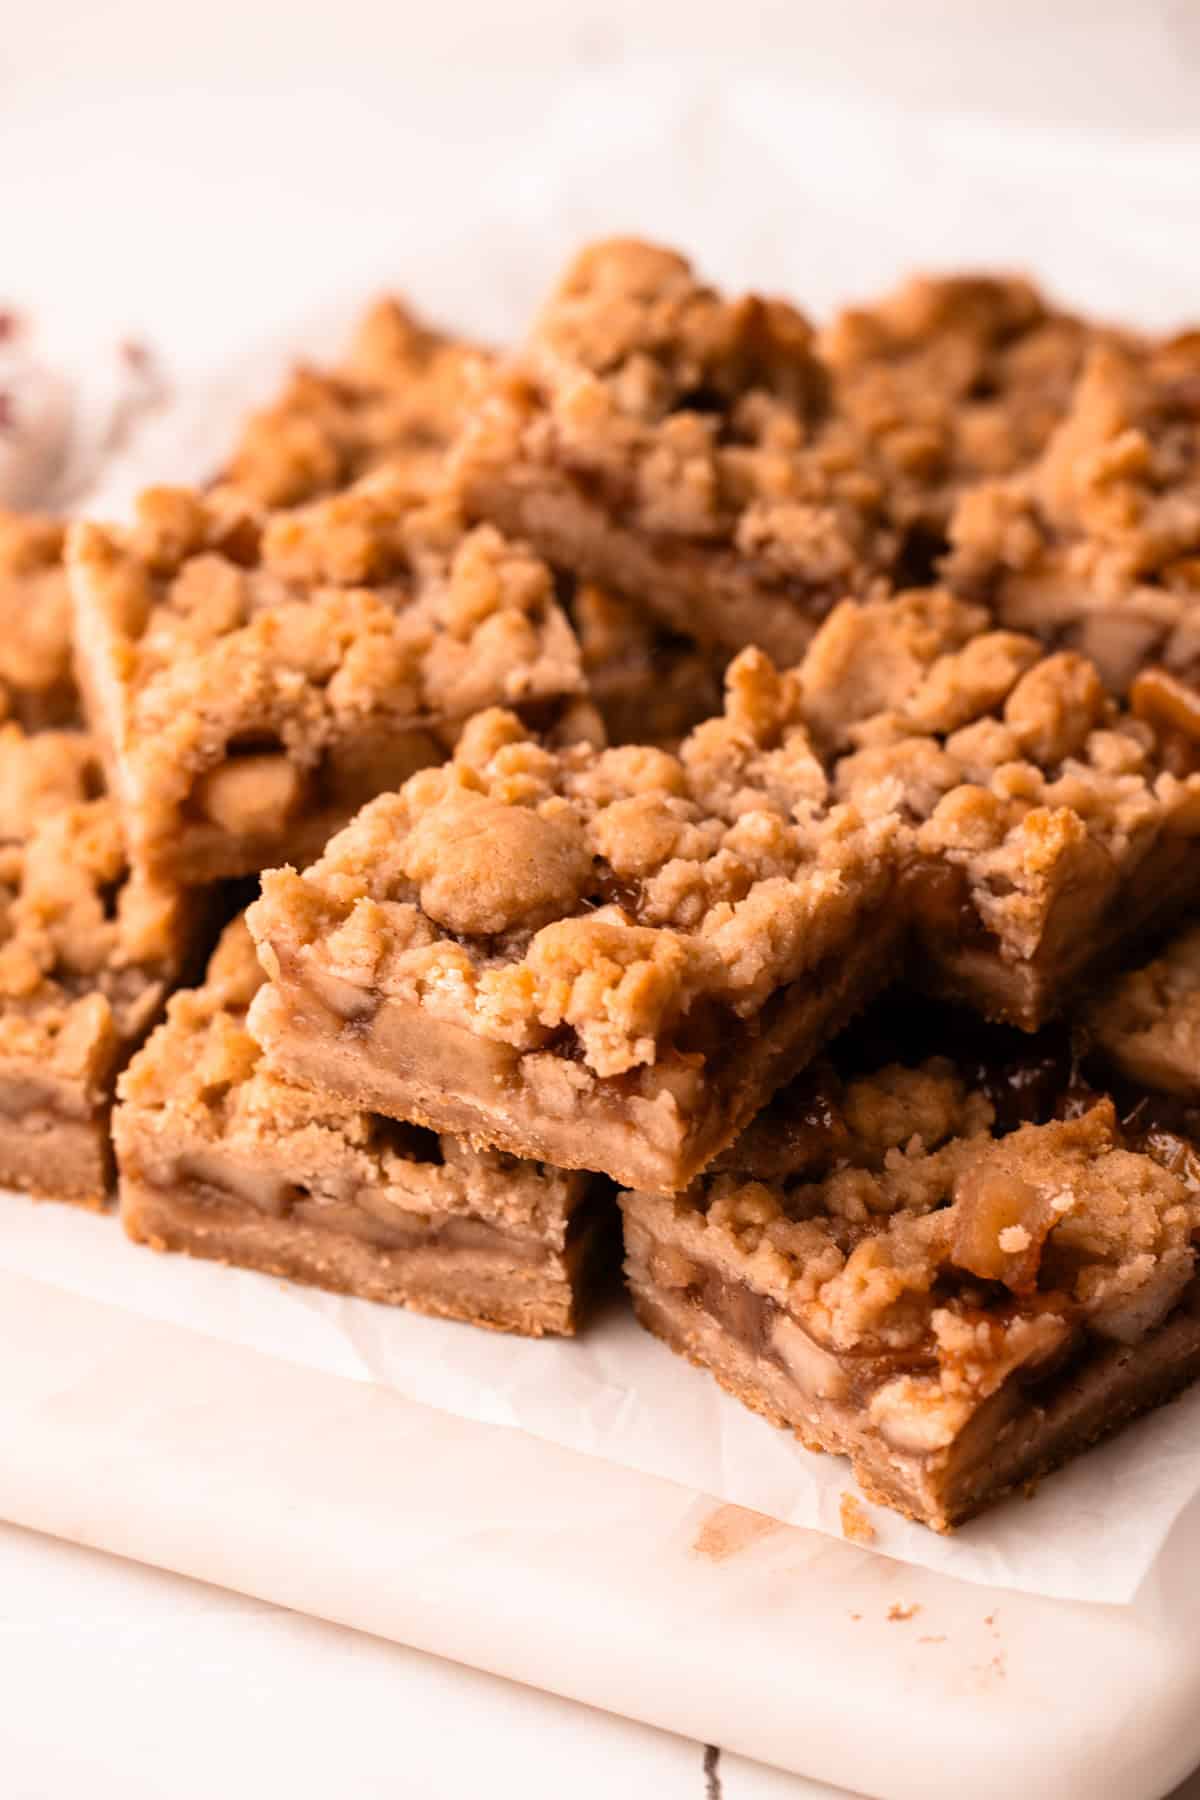
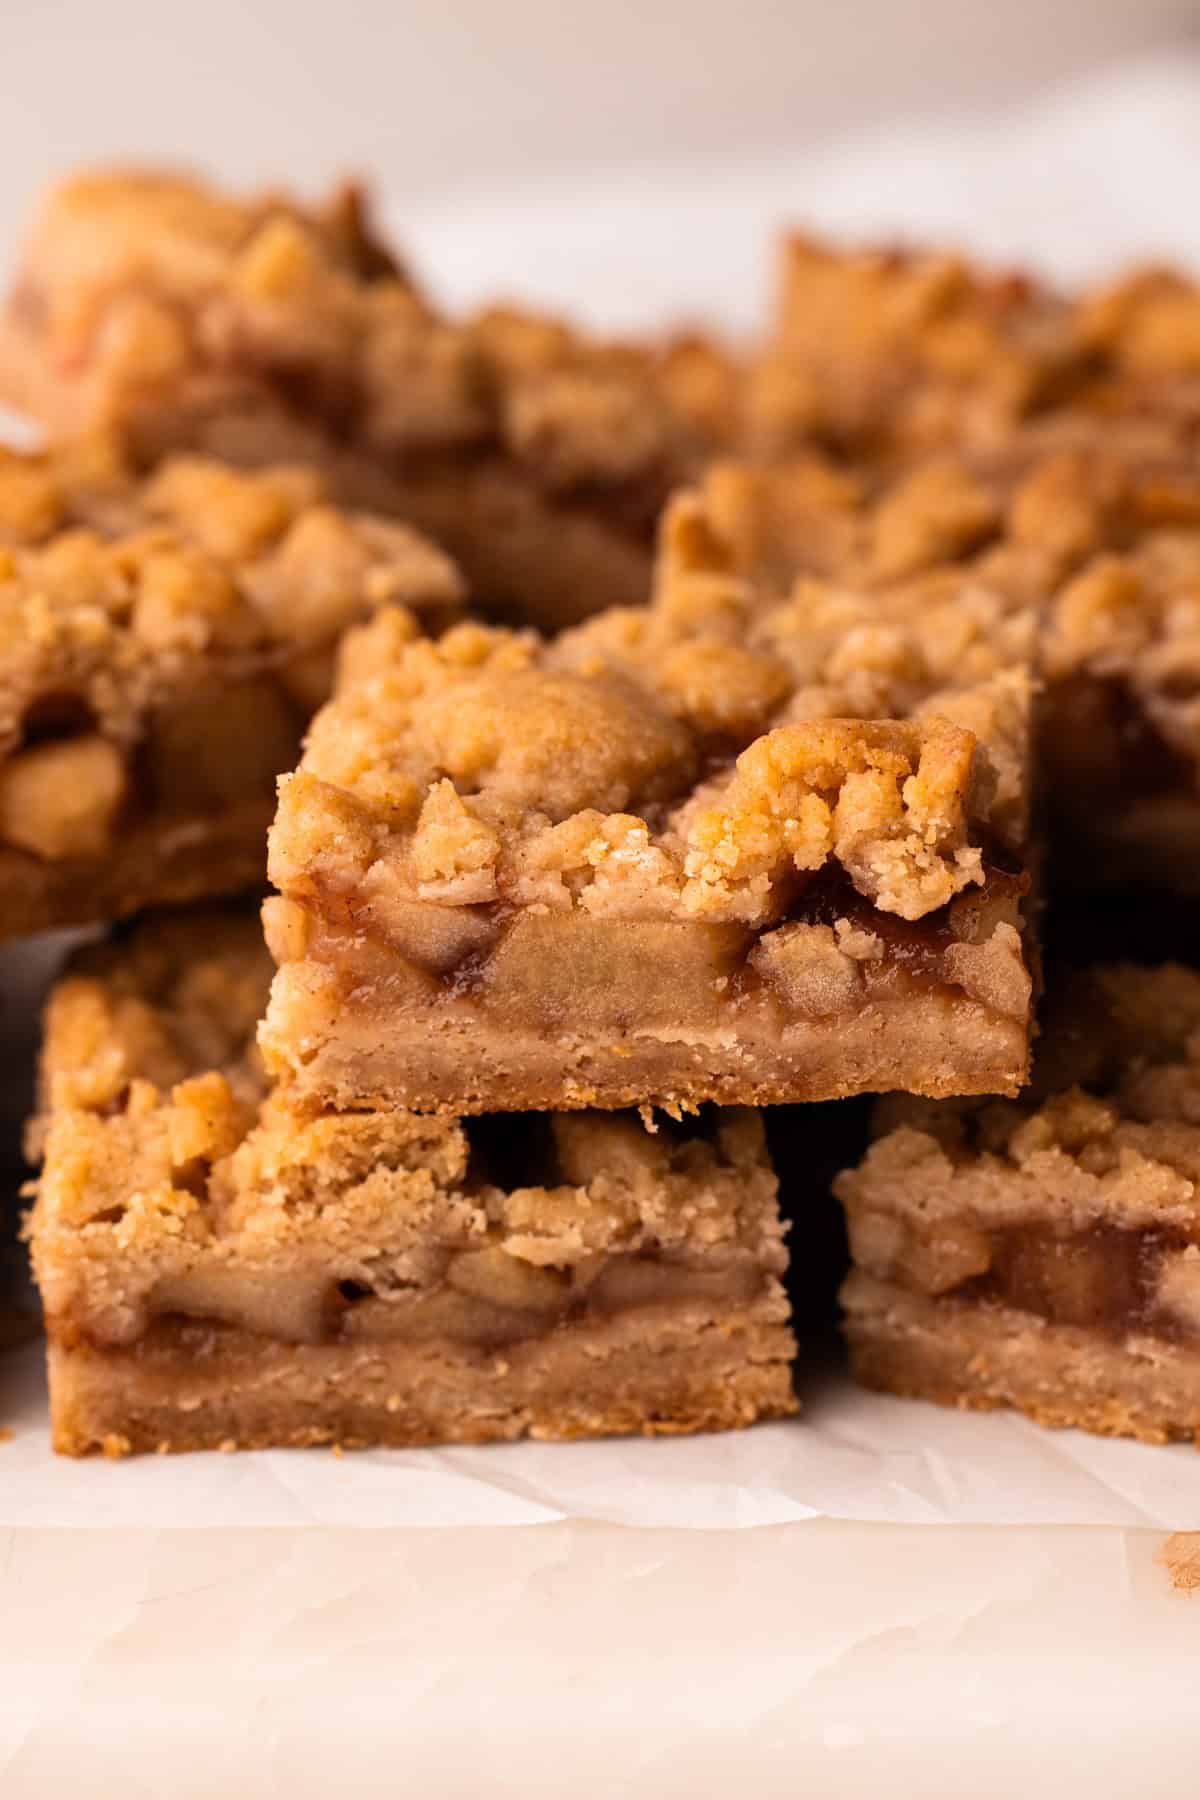
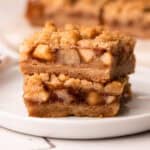
These Apple Pie Bars bring together cinnamon shortbread, spiced apple filling, and buttery crumble for an easy dessert that tastes just like classic pie.
Want to save this recipe?
Enter your email & I'll send it to your inbox. Plus, get weekly updates from me!
Craving apple pie but don’t want the fuss of making one from scratch? These Apple Pie Bars are like an easier version of apple pie and a more portable version of a crisp. Plus, if you love crumble topping, you get twice as much with an abundant layer on both the top and bottom
The base is a tender cinnamon-spiked shortbread crust that also doubles as the topping. The apple layer is adapted from my apple pie filling recipe, cooked on the stovetop with just enough sugar, spices, and cider to create a filling that tastes just like classic apple pie. The crust is parbaked, then finished in the oven with the apple filling and crumble on top. Once cooled, the bars slice neatly into handheld squares for portable easy fall dessert.
How to Make It
Here is a quick visual overview of the steps needed to make this recipe. If you are looking for the full recipe, keep scrolling!
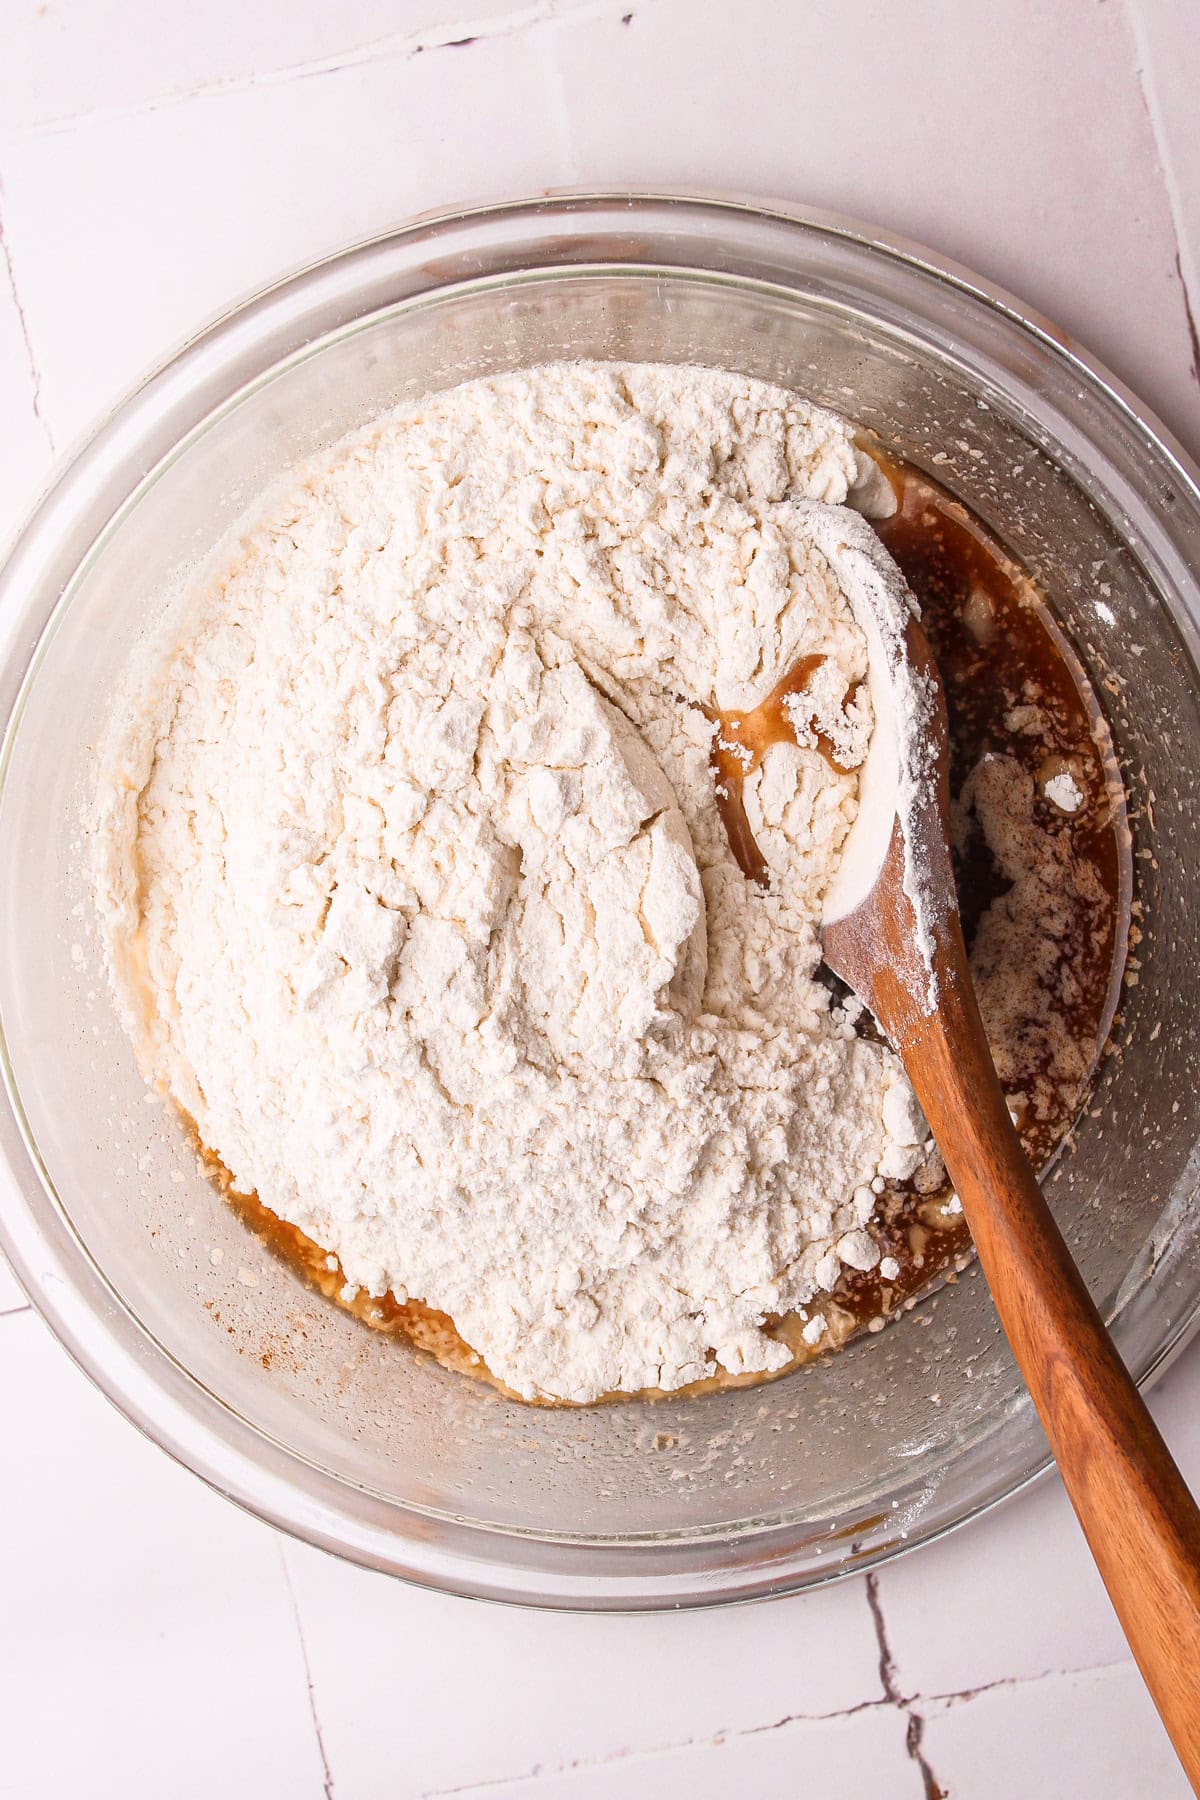
Step 1: Combine the butter, granulated sugar, brown sugar, baking powder, vanilla, cinnamon and salt , then stir in the flour until just combined.
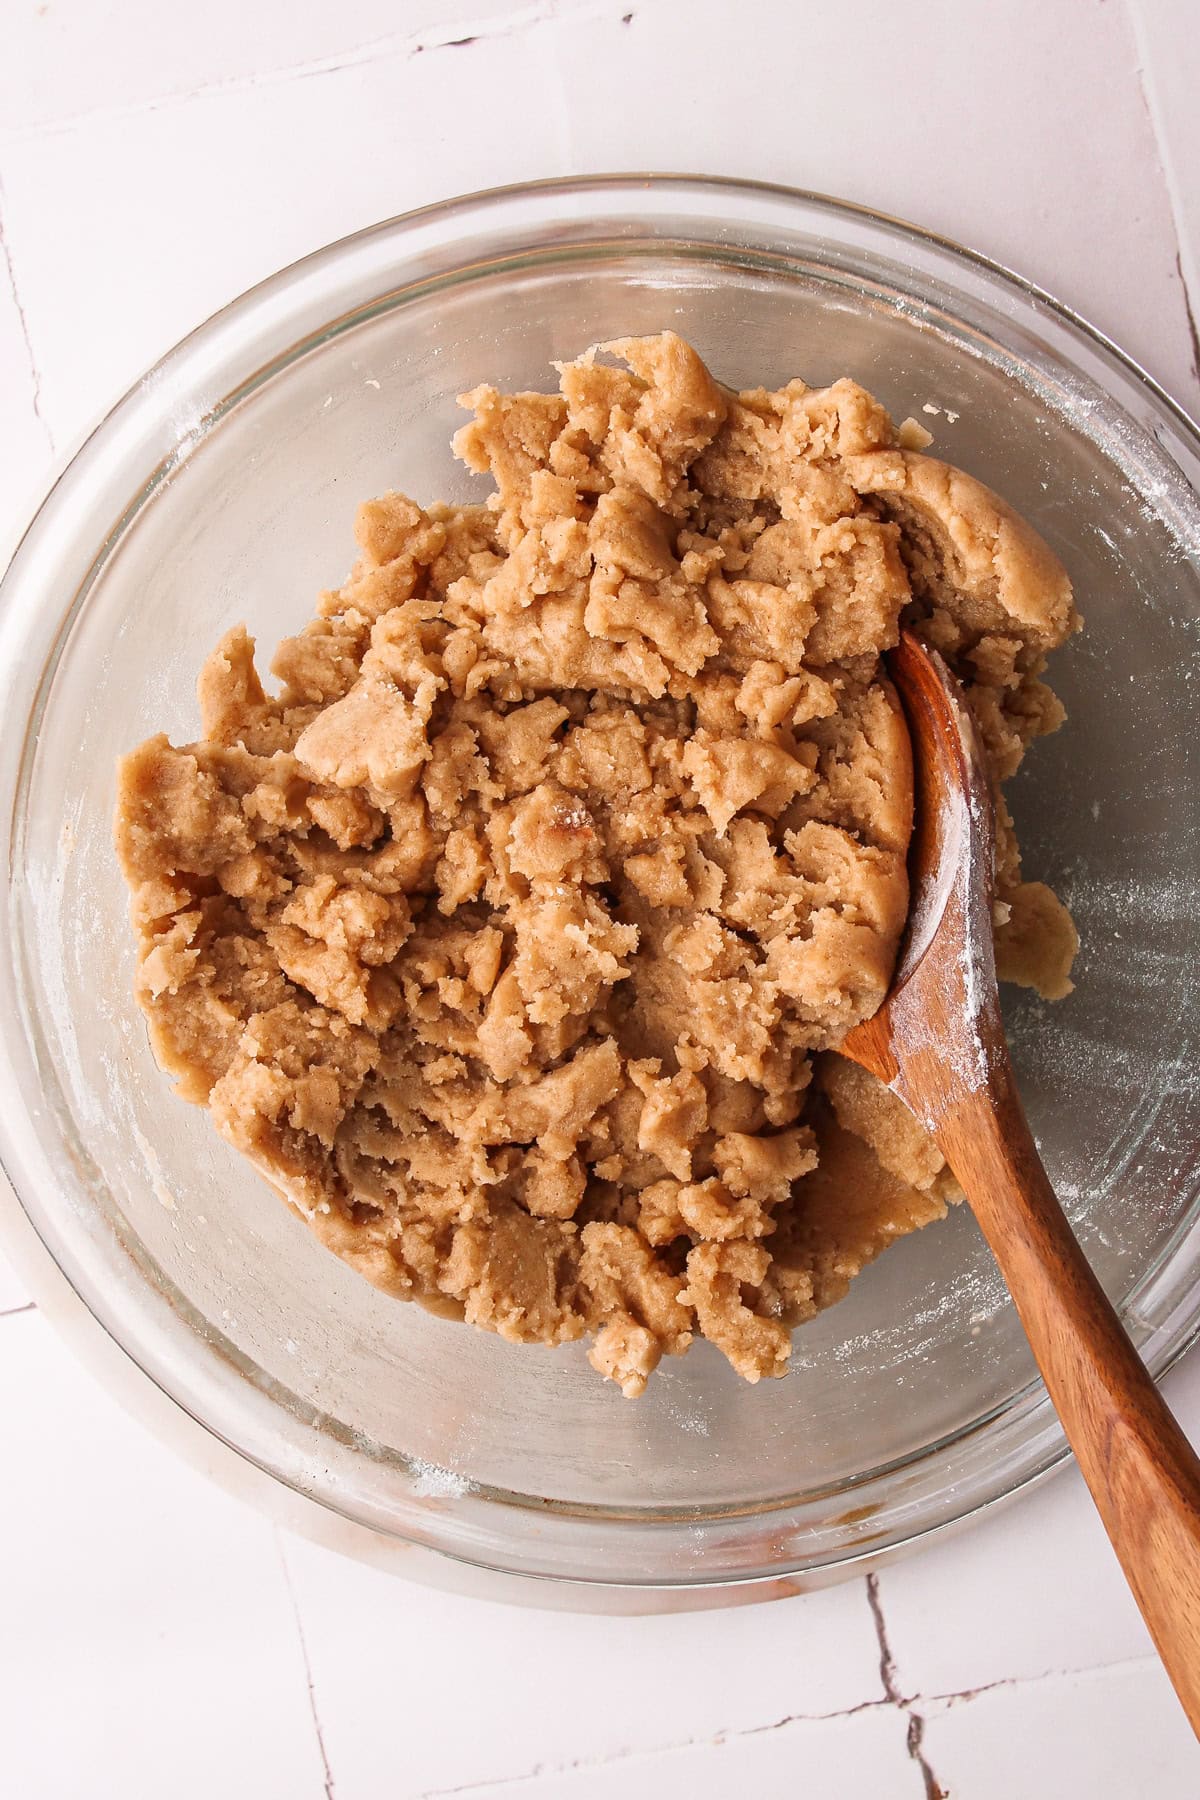
Step 2: It may seem too wet at first, but after a few minutes, the flour will hydrate and the shortbread will be crumbly.
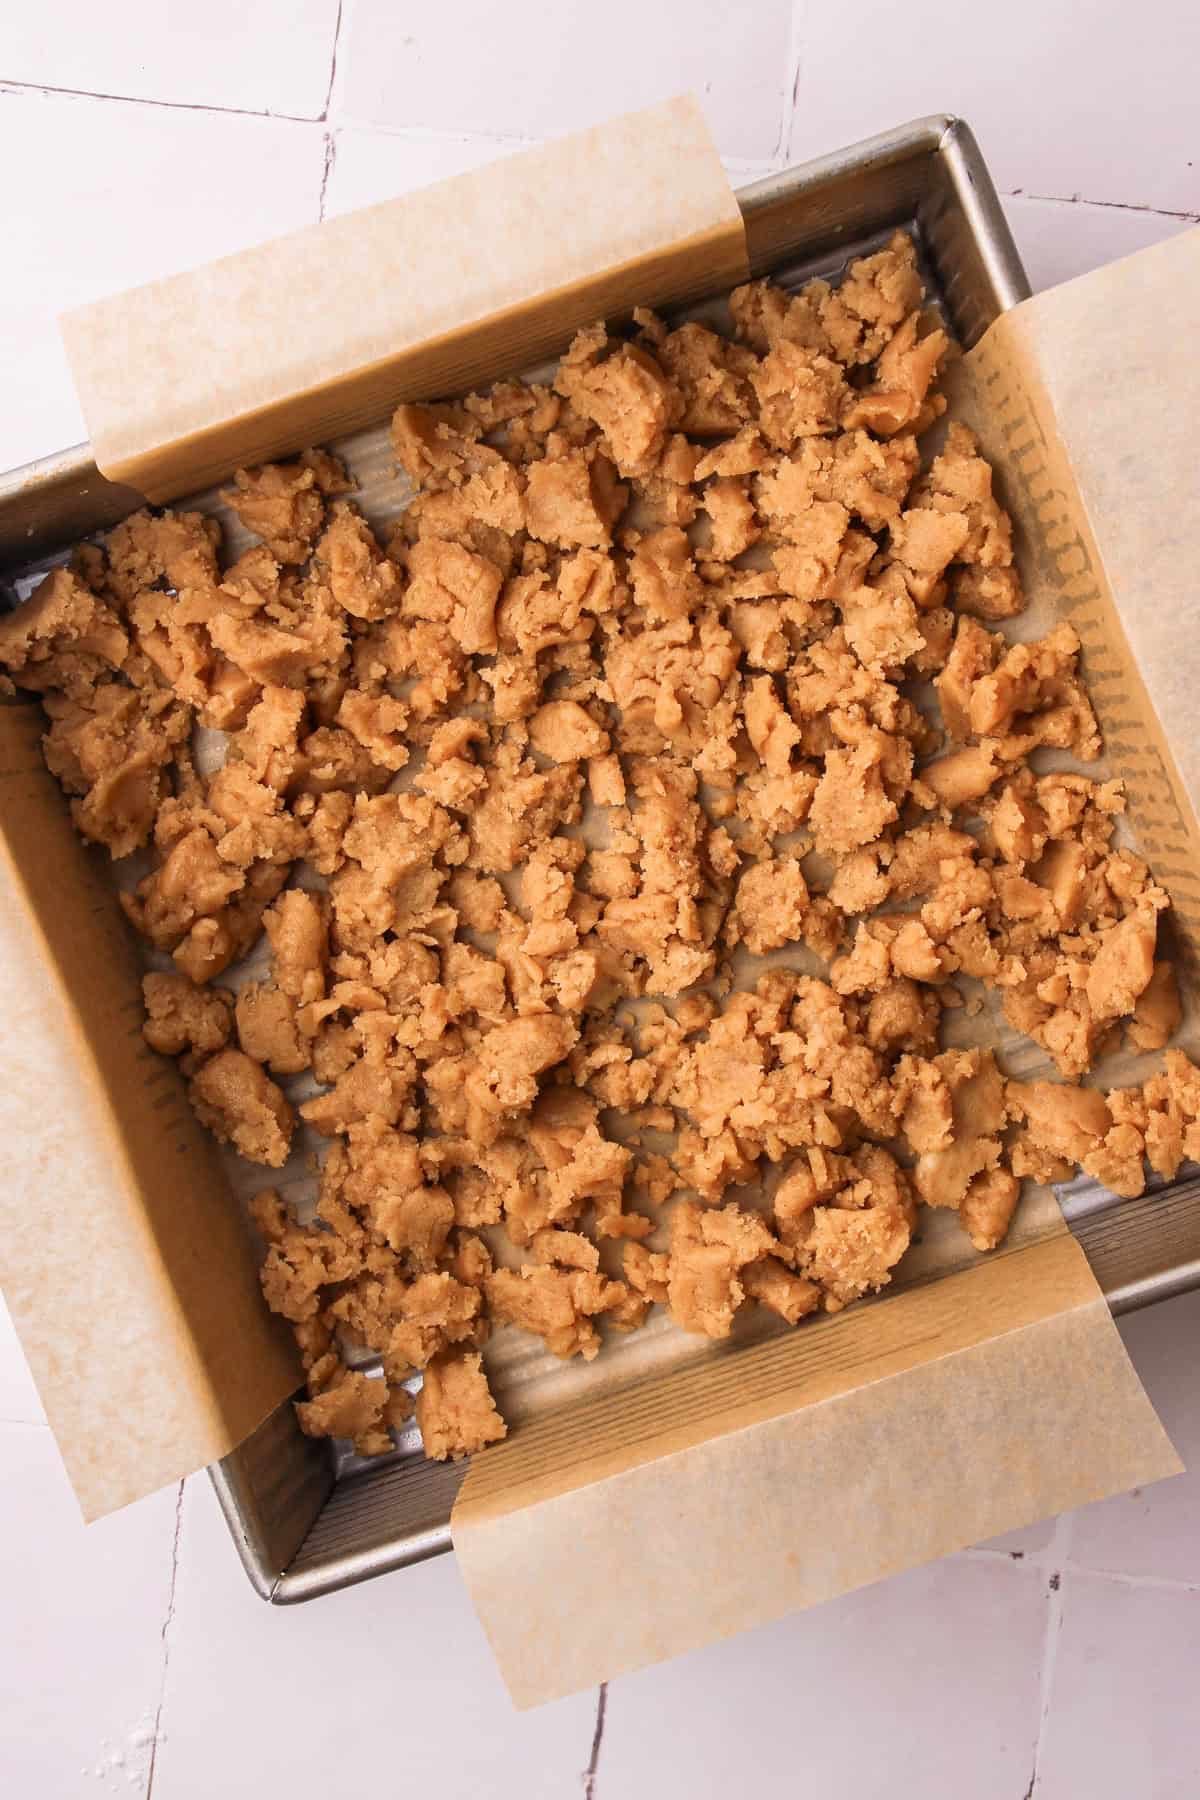
Step 3: Sprinkle ⅔ of the crumb mixture in an even layer.
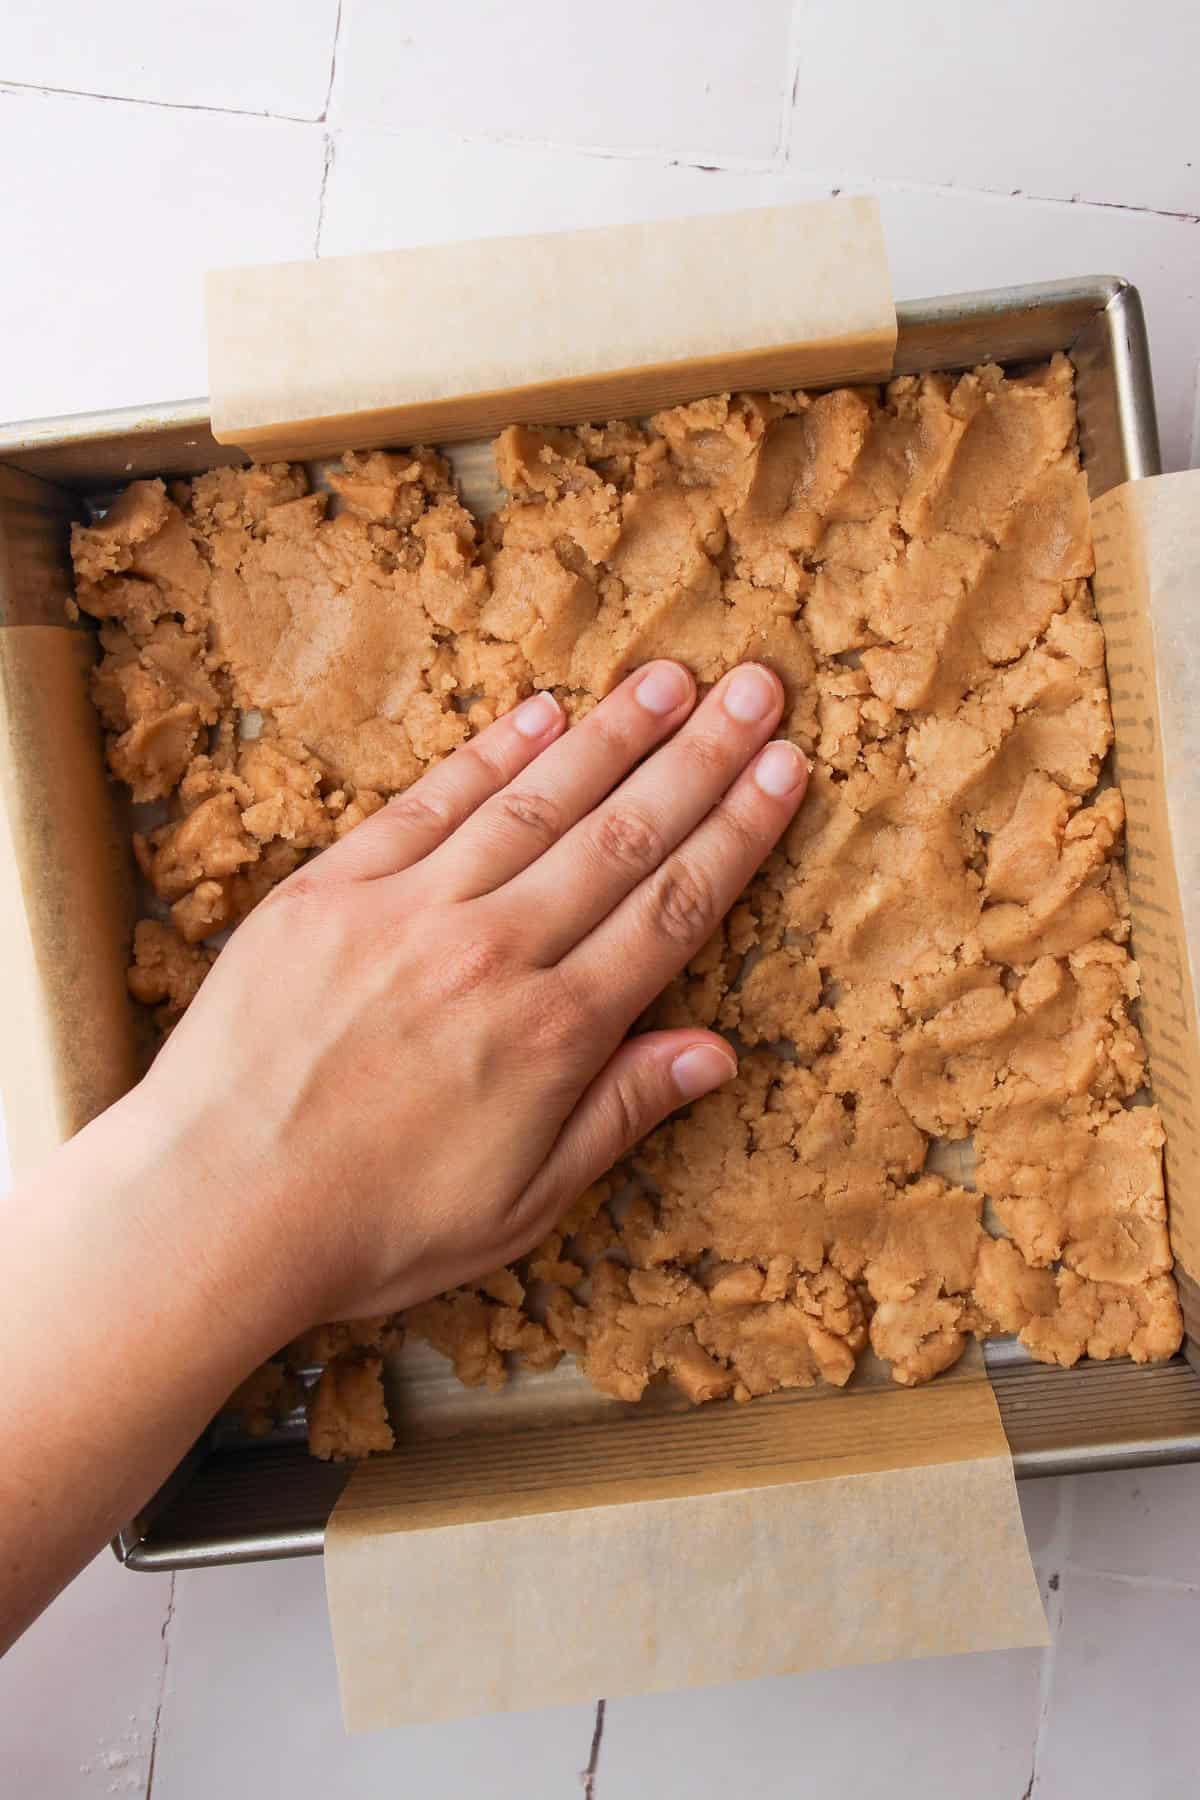
Step 4: Using a flat-bottomed measuring cup or your hands, press it flat.
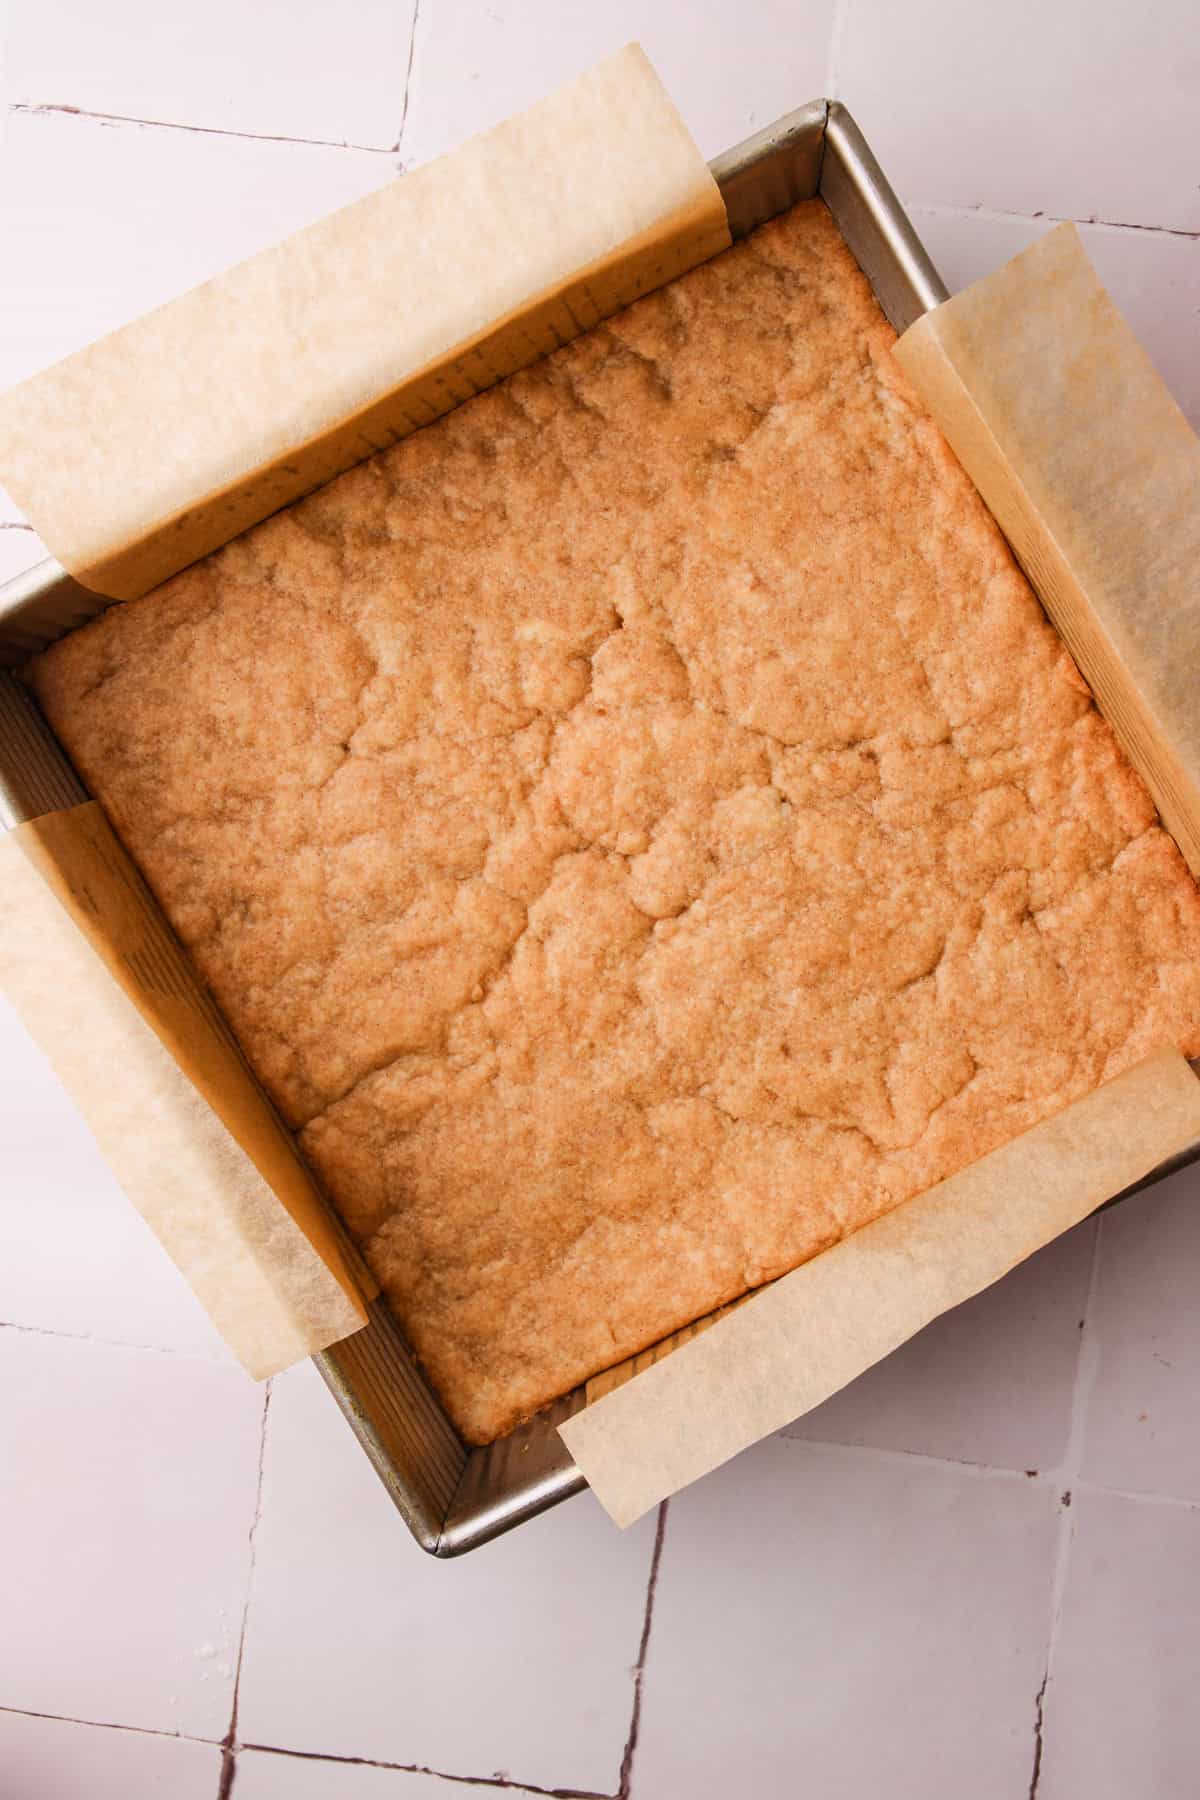
Step 5: Bake the crust until it’s lightly golden on the edges with a matte appearance in the middle.
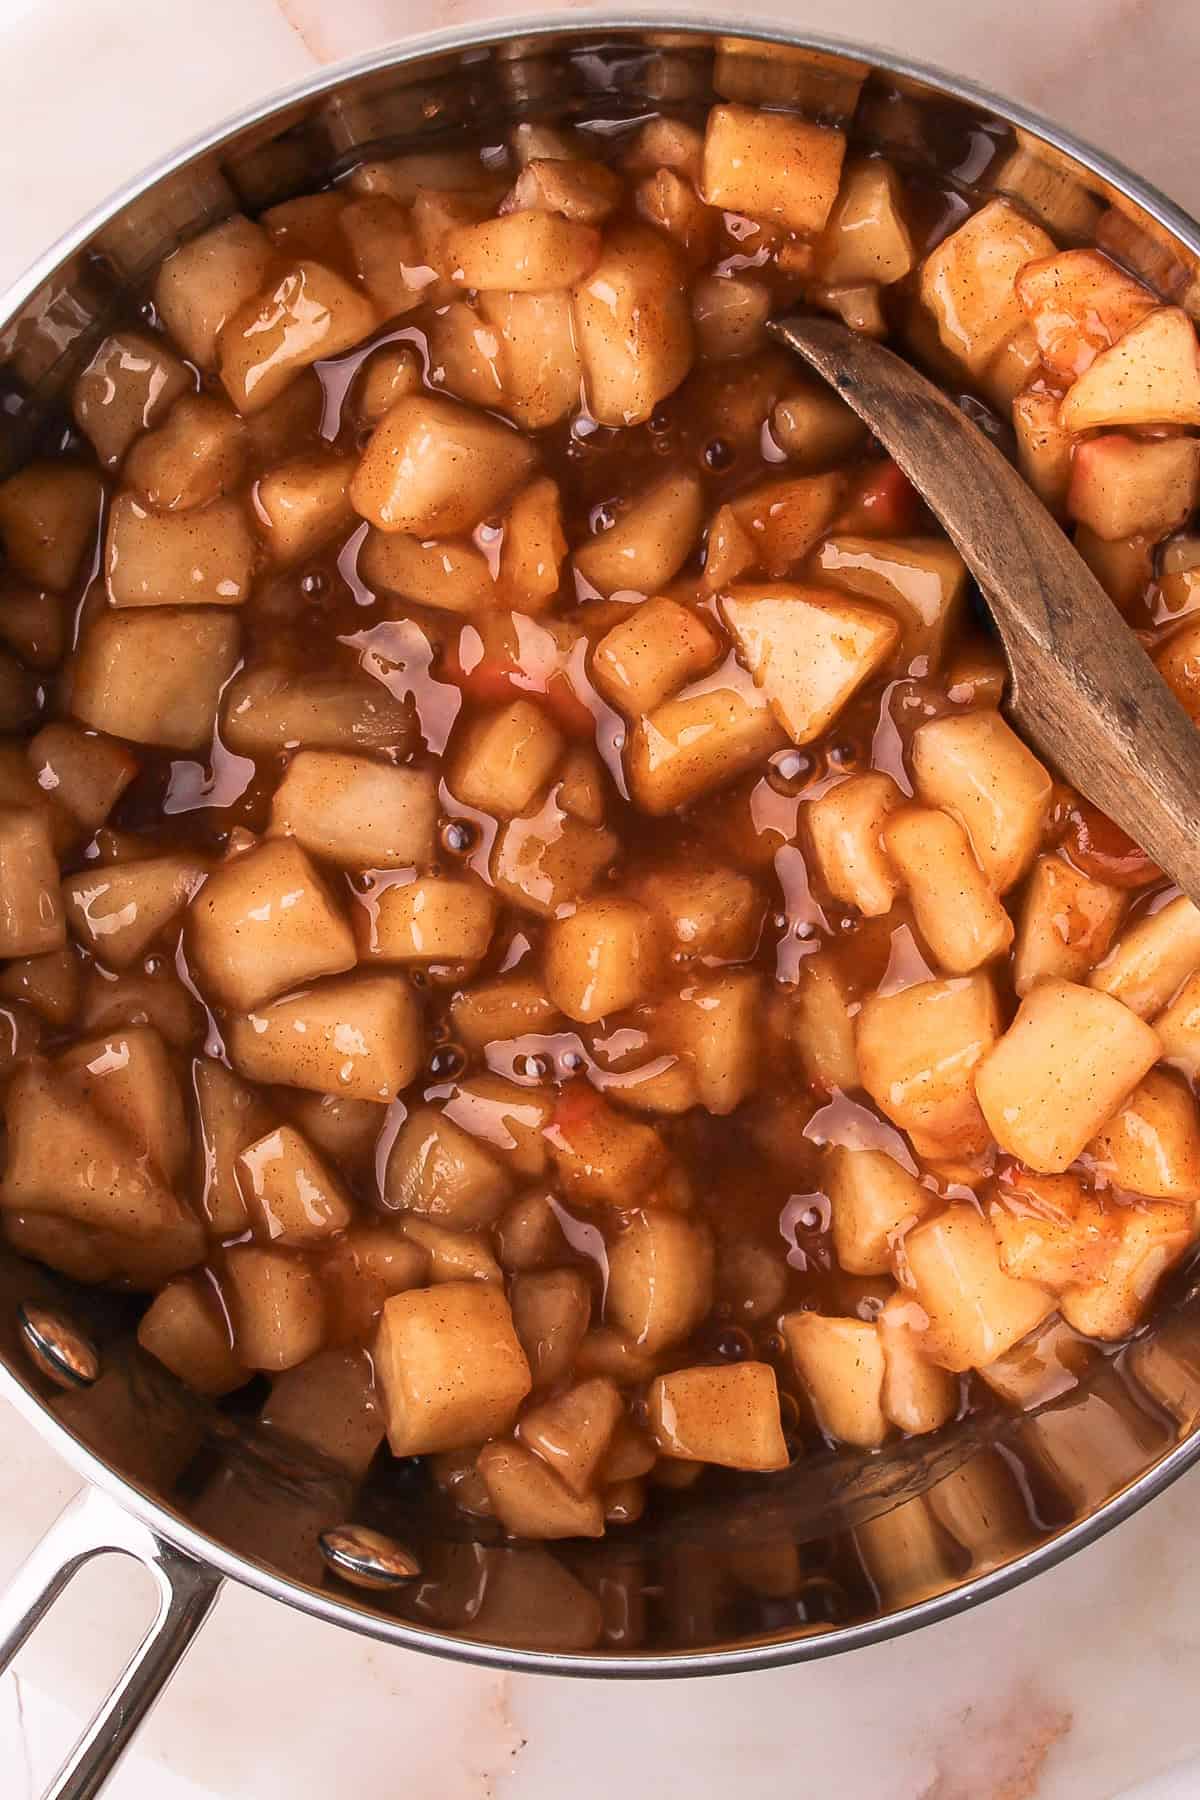
Step 6: Prepare and cook the apple pie filling.
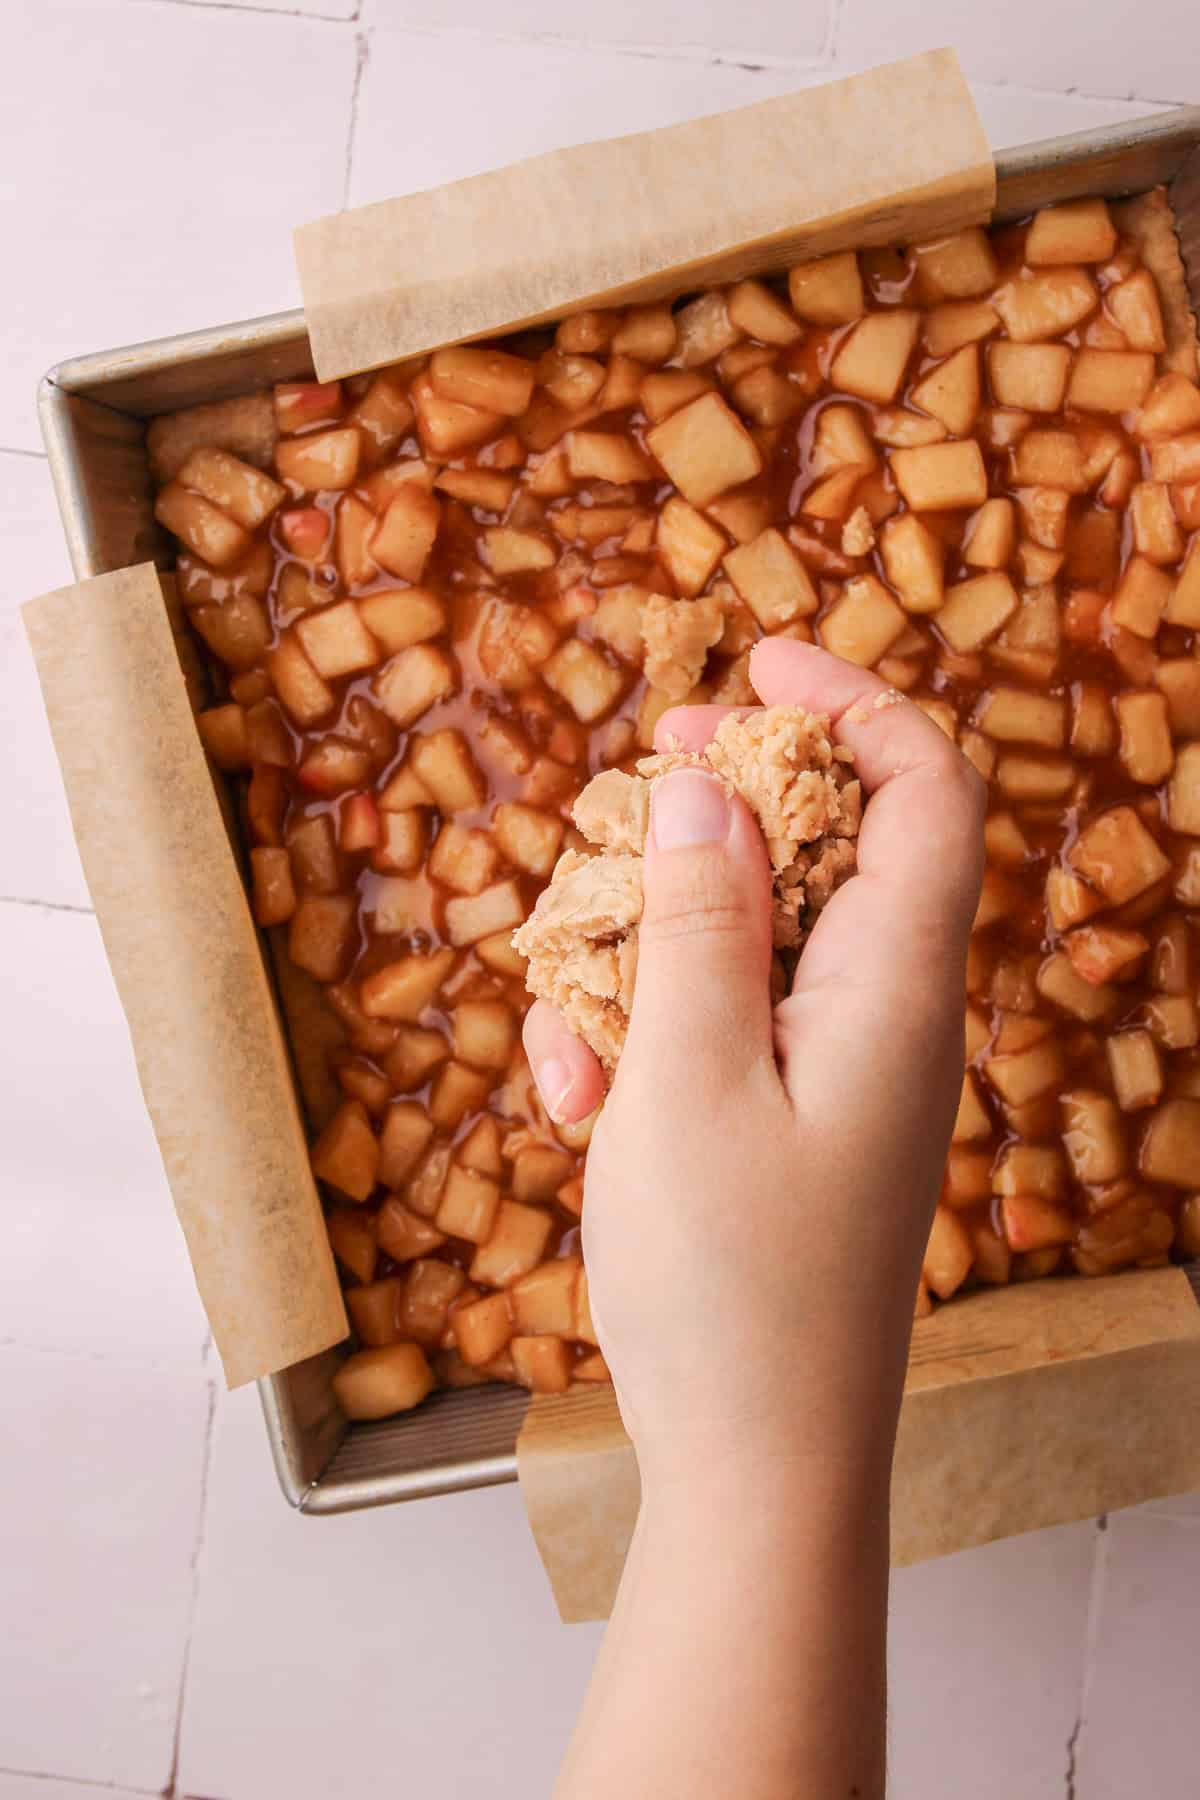
Step 7: Transfer the apple filling onto the par-baked crust and spread into an even layer, then sprinkle the reamining shortbread in an even layer on top.
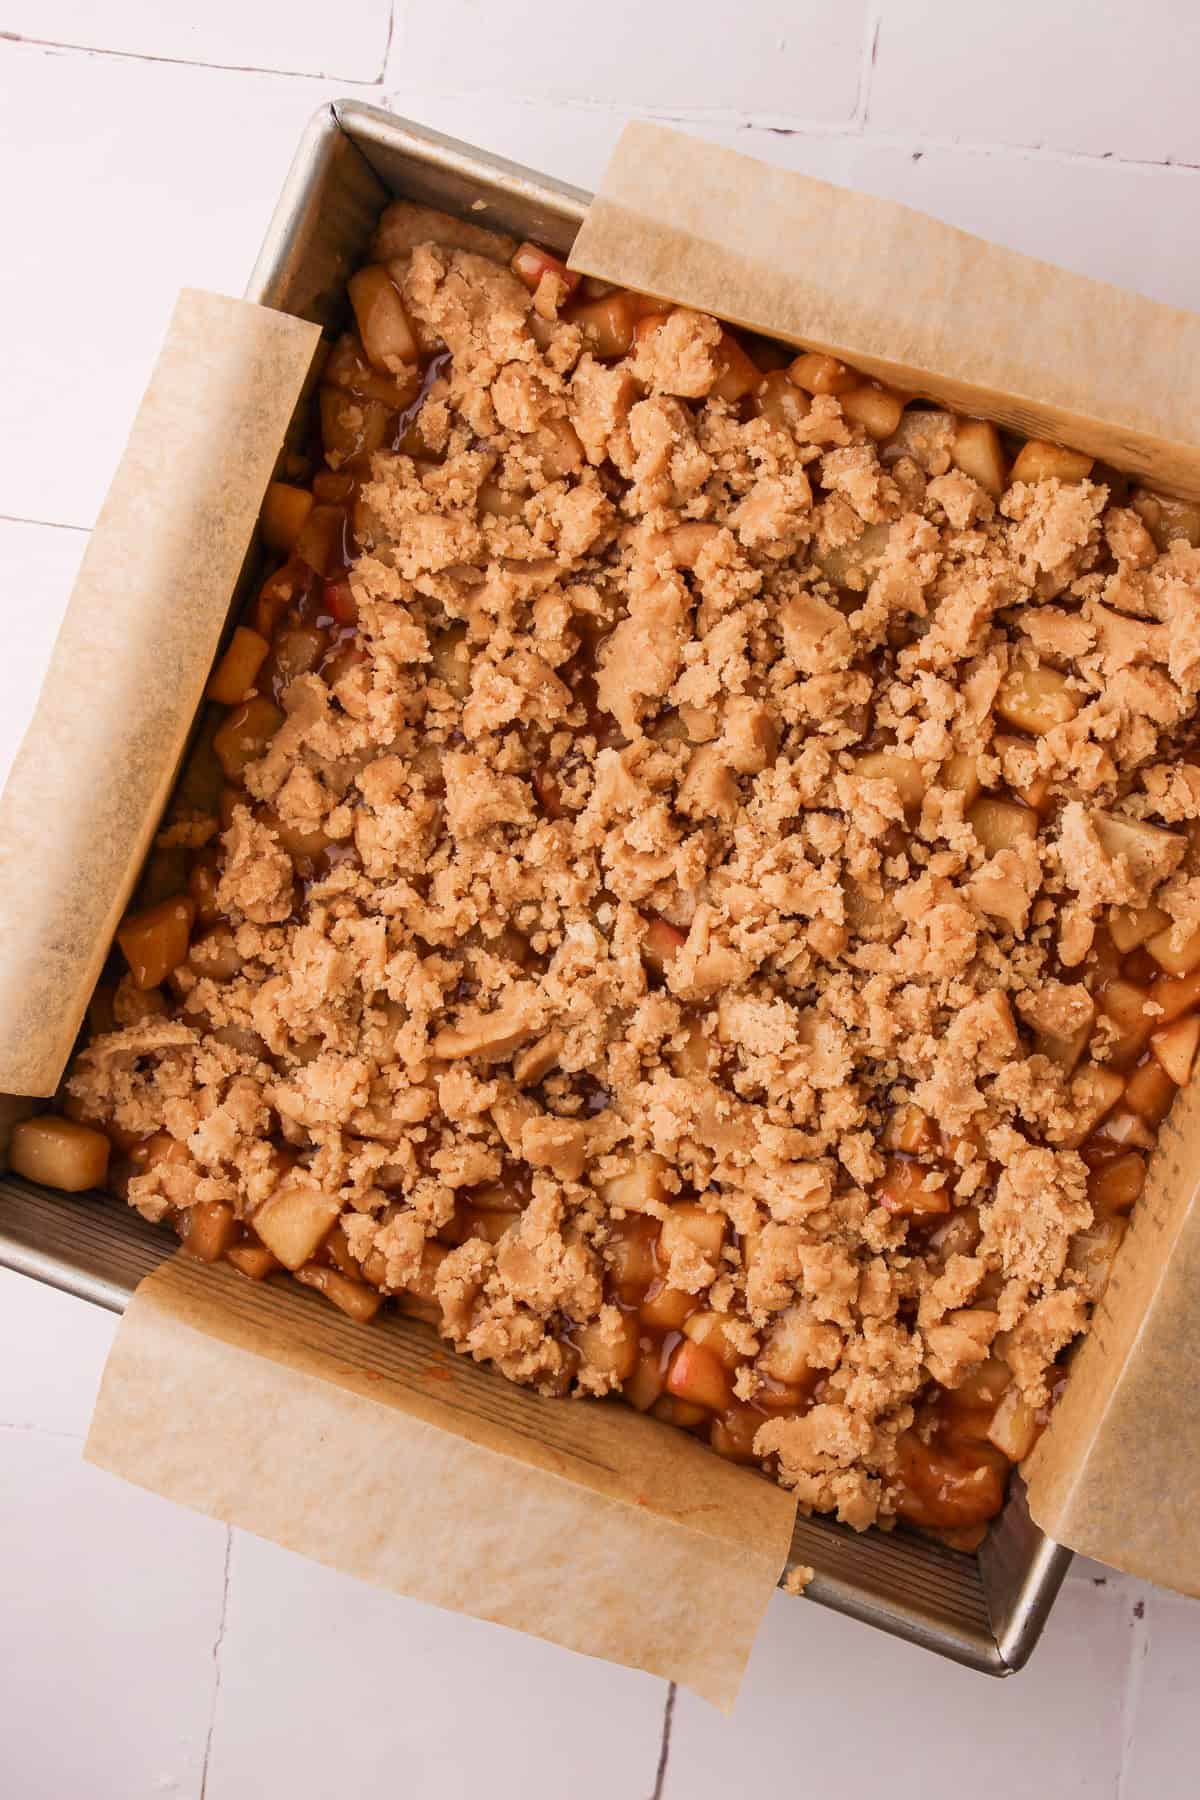
Step 8: Bake on the middle rack until the filling is slightly puffed up and the crumb mixture is a light golden color.
Serving + Storing
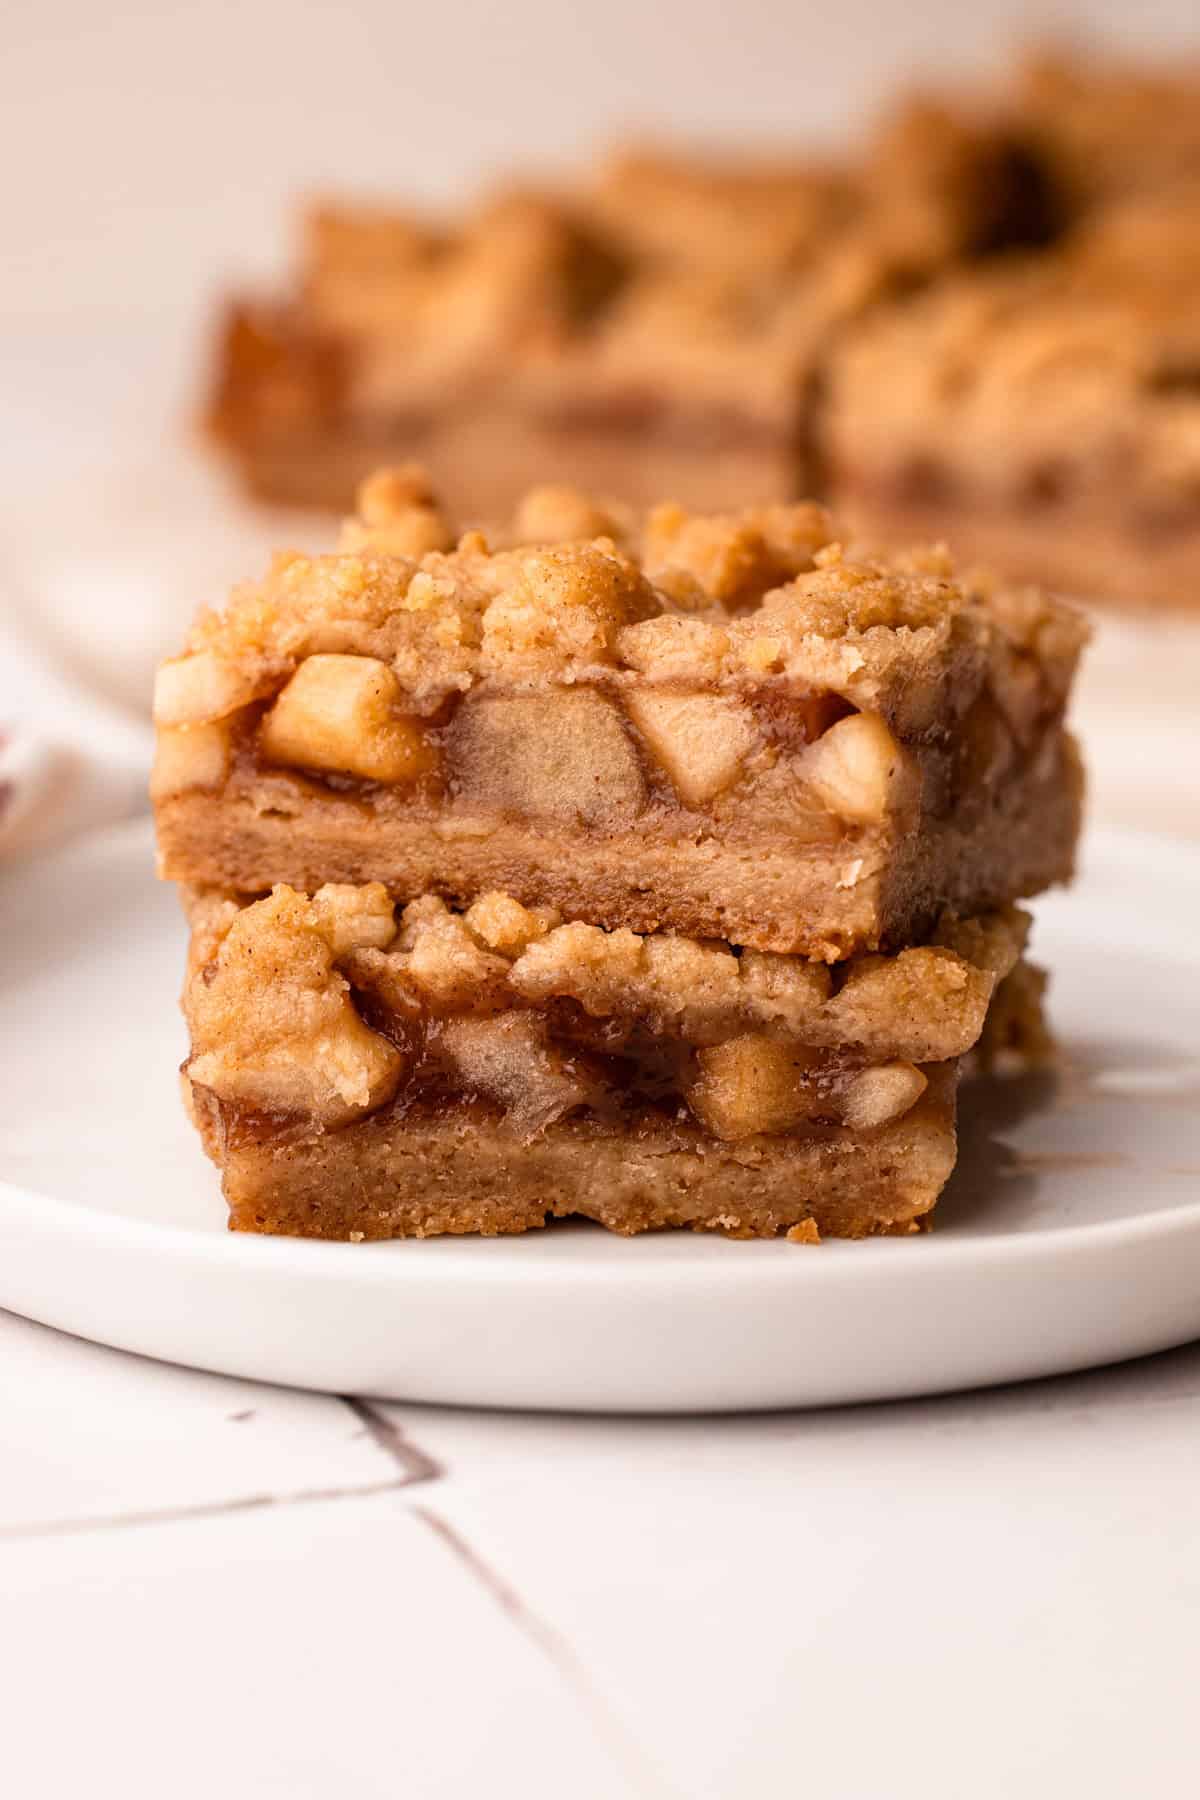
Let the bars cool completely before slicing, as they’ll be quite soft straight from the oven. Serve as is, or if you like, with a scoop of ice cream, which is how my husband loves to eat these!
Apple crumb bars are at their absolute best the day they are made, with a perfectly crisp yet tender shortbread base. Like most crumb bars, they get softer as they sit. They can be kept at room temperature for up to 1 day. Beyond that, store them in the refrigerator for up to 3 days.
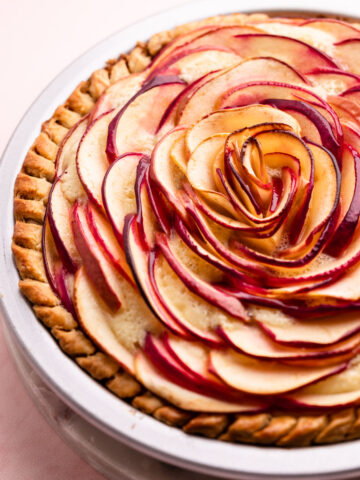
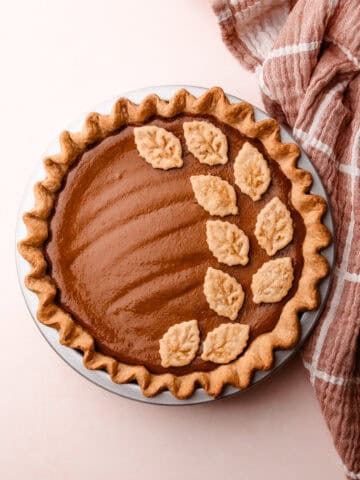
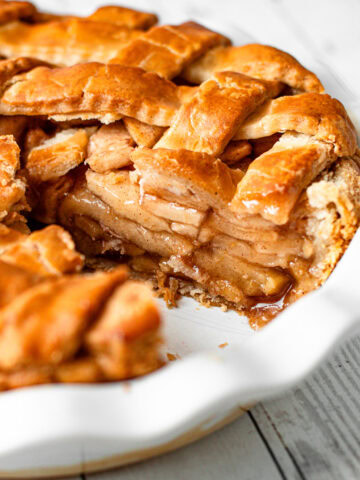
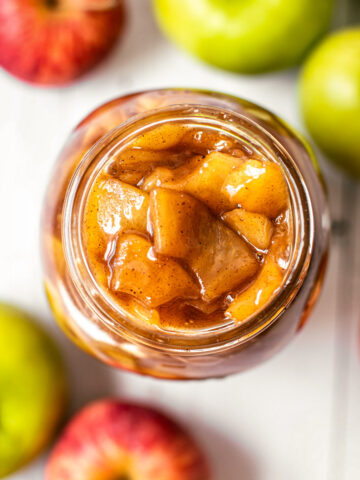
More Apple Recipes
I am so honored when you make a recipe from my site! If you make these Apple Pie Bars, please leave a star ⭐️⭐️⭐️⭐️⭐️ rating with your experience! If you have any questions about this recipe outside of what is covered in the article, please comment below and I'll respond as soon as I'm able.
Full Recipe
Apple Pie Bars draft
These Apple Pie Bars bring together cinnamon shortbread, spiced apple filling, and buttery crumble for an easy dessert that tastes just like classic pie.
- Prep Time: 00:25
- Cook Time: 00:45
- Total Time: 1 hour 10 minutes
- Yield: 16 servings
- Category: Dessert
Ingredients
For Crumb Crust and Topping
- ¾ cup (170 grams) unsalted butter, melted, plus more for greasing pan
- ¼ cup (50 grams) granulated sugar
- ½ cup (100 grams) light brown sugar
- 1 teaspoon baking powder
- 1 teaspoon vanilla extract
- ½ teaspoon ground cinnamon
- ¼ teaspoon coarse kosher salt (see note)
- 2-¼ cups (270 grams) flour
For Apple Filling
- 4-½ cups (575 grams) peeled and diced apples (from about 1-½ pounds, or 4 large apples)
- ½ cup (100 grams) granulated sugar
- ½ teaspoon ground cinnamon
- Pinch of nutmeg
- Pinch ground clove
- Pinch coarse kosher salt
- ¼ cup apple cider, plus 1 tablespoon, divided
- 1 teaspoon vanilla extract
- 1 tablespoon (10 grams) cornstarch (see note)
Instructions
Prepare the shortbread and topping:
- Preheat the oven to 375ºF and place oven racks in the lowest and middle parts of the oven. Butter or oil an 8-inch square (or similar size) baking dish. Cut a strip of parchment to fit inside the dish with ends long enough to hang over the edges. Line the baking dish with the parchment and set aside.
- In a medium bowl, whisk together the melted butter, granulated sugar, brown sugar, baking powder, vanilla, cinnamon and salt . Stir in the flour until just combined.
- Sprinkle ⅔ of the crumb mixture into the prepared baking dish as evenly as possible. Using a flat-bottomed measuring cup or your hands, press the mixture into an even layer. Bake the crust in the preheated oven on the lowest rack until it’s lightly golden on the edges with a matte appearance in the middle, about 12 minutes. Remove and set aside until ready to use.
- Meanwhile, make the filling: In a large pot, combine the apples, granulated sugar, cinnamon, nutmeg, clove, salt, ¼ cup cider and vanilla.
- Turn the heat to medium and begin to cook the apples. Stir occasionally to make sure the apples cook evenly. Cook until the apples have softened, about 6 minutes, making sure not to cook off all of the liquid. If the liquid does cook off quickly, add a splash more apple cider to the pot.
- In a small bowl, create a slurry by whisking together the cornstarch and the remaining 1 tablespoon of apple cider.
- Pour the cornstarch slurry into the apples and stir together until dissolved. Continue cooking until the mixture is thickened, about 1-2 minutes.
- Transfer the apple filling onto the par-baked crust and spread into an even layer. Sprinkle the remaining crumb mixture evenly on the top.
- Bake on the middle rack until the filling is slightly puffed up and the crumb mixture is a light golden color, 30 to 35 minutes.
- Transfer to a wire rack and let cool completely.
- Cut into 16 pieces and serve. Store at room temperature in a covered container for up to 1 day or in the refrigerator for up to 2 to 3 days.
Notes
This recipe was tested using Diamond Crystal coarse kosher salt. If you use Morton's kosher salt or fine salt, decrease the volume by half.
Store at room temperature in a covered container for up to 1 day or in the refrigerator for up to 2 to 3 days
Some of the links on this page may be affiliate links. Everyday Pie is a participant in the Amazon Associates Program. As an Amazon Associate I earn from qualifying purchases, at no extra cost to you.
Lorelei
Very good. Will make again!