Using a pastry blender is a simple and reliable method for making pie dough by hand. This guide will walk you through the process of How to Make Pie Crust with a Pastry Blender, along with key tips and a video to demonstrate the technique.
Want to save this recipe?
Enter your email & I'll send it to your inbox. Plus, get weekly updates from me!
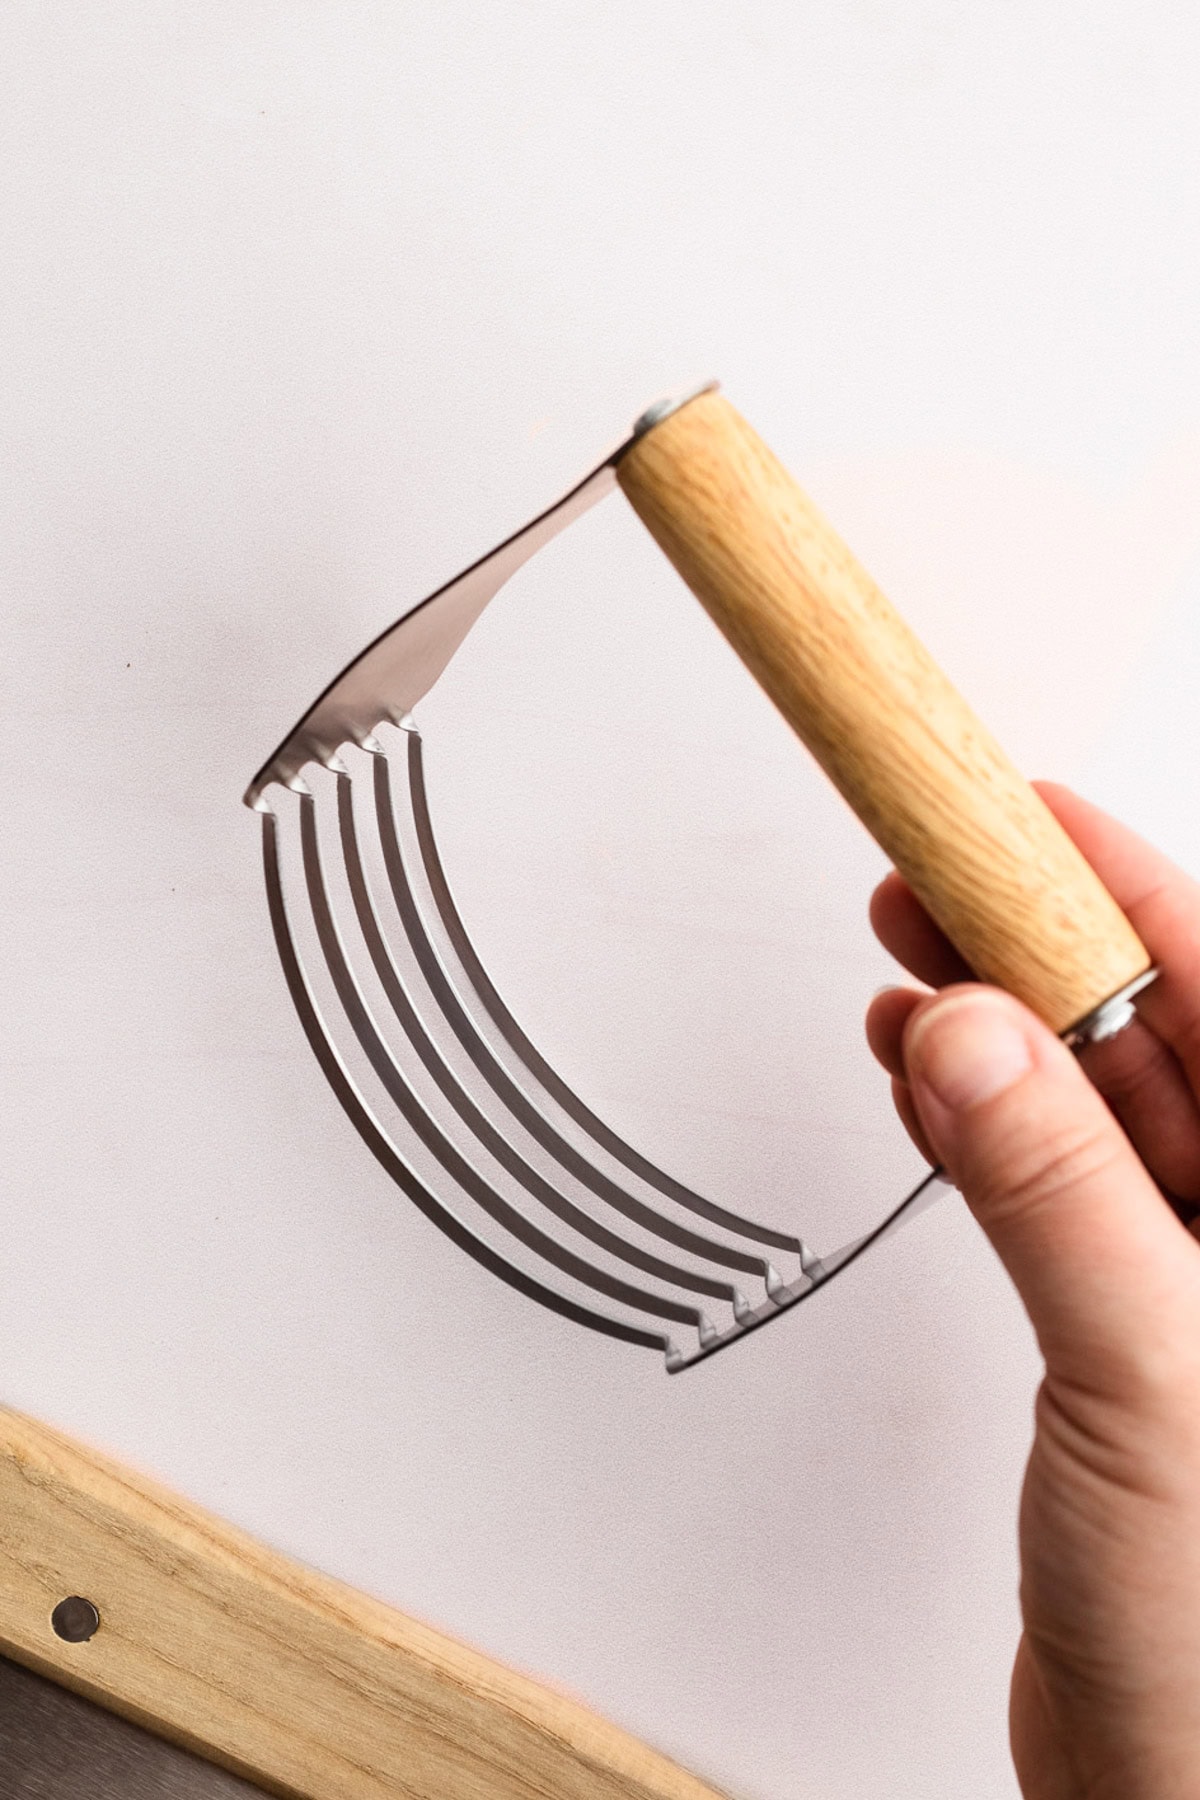
A pastry blender, also known as a pastry cutter or dough blender, is a handheld tool with 4-6 thin dull metal blades attached to a handle, used to cut solid fats into flour to form dough. It can be used for making biscuits, crumble toppings and shortbread, but it's most commonly used for making pie crust.
There are many ways to make pie crust, and you’ll find tutorials for nearly all of them on this website, from the bulkiest options, like a food processor or stand mixer, or use the most accessible tool—by hand! Depending on the type of pie crust you're making, each tool has its own role. Using a pastry blender sits comfortably between these approaches.
Using a pastry blender, like any tool, has its pros and cons. It's a step up from using only your hands to make pie crust, as it cuts butter into flour with less mess. It's easy to use, requires minimal cleanup, and doesn’t need electricity. Since your hands don’t touch the butter, it’s less likely to melt, which is especially helpful when working with softer, high-fat European-style butter (like for this Flaky Pie Crust or Sour Cream Pie Crust recipe). However, it does take more time and effort than a food processor or stand mixer, and may not blend the fat as finely or evenly.
How to Use a Pastry Blender
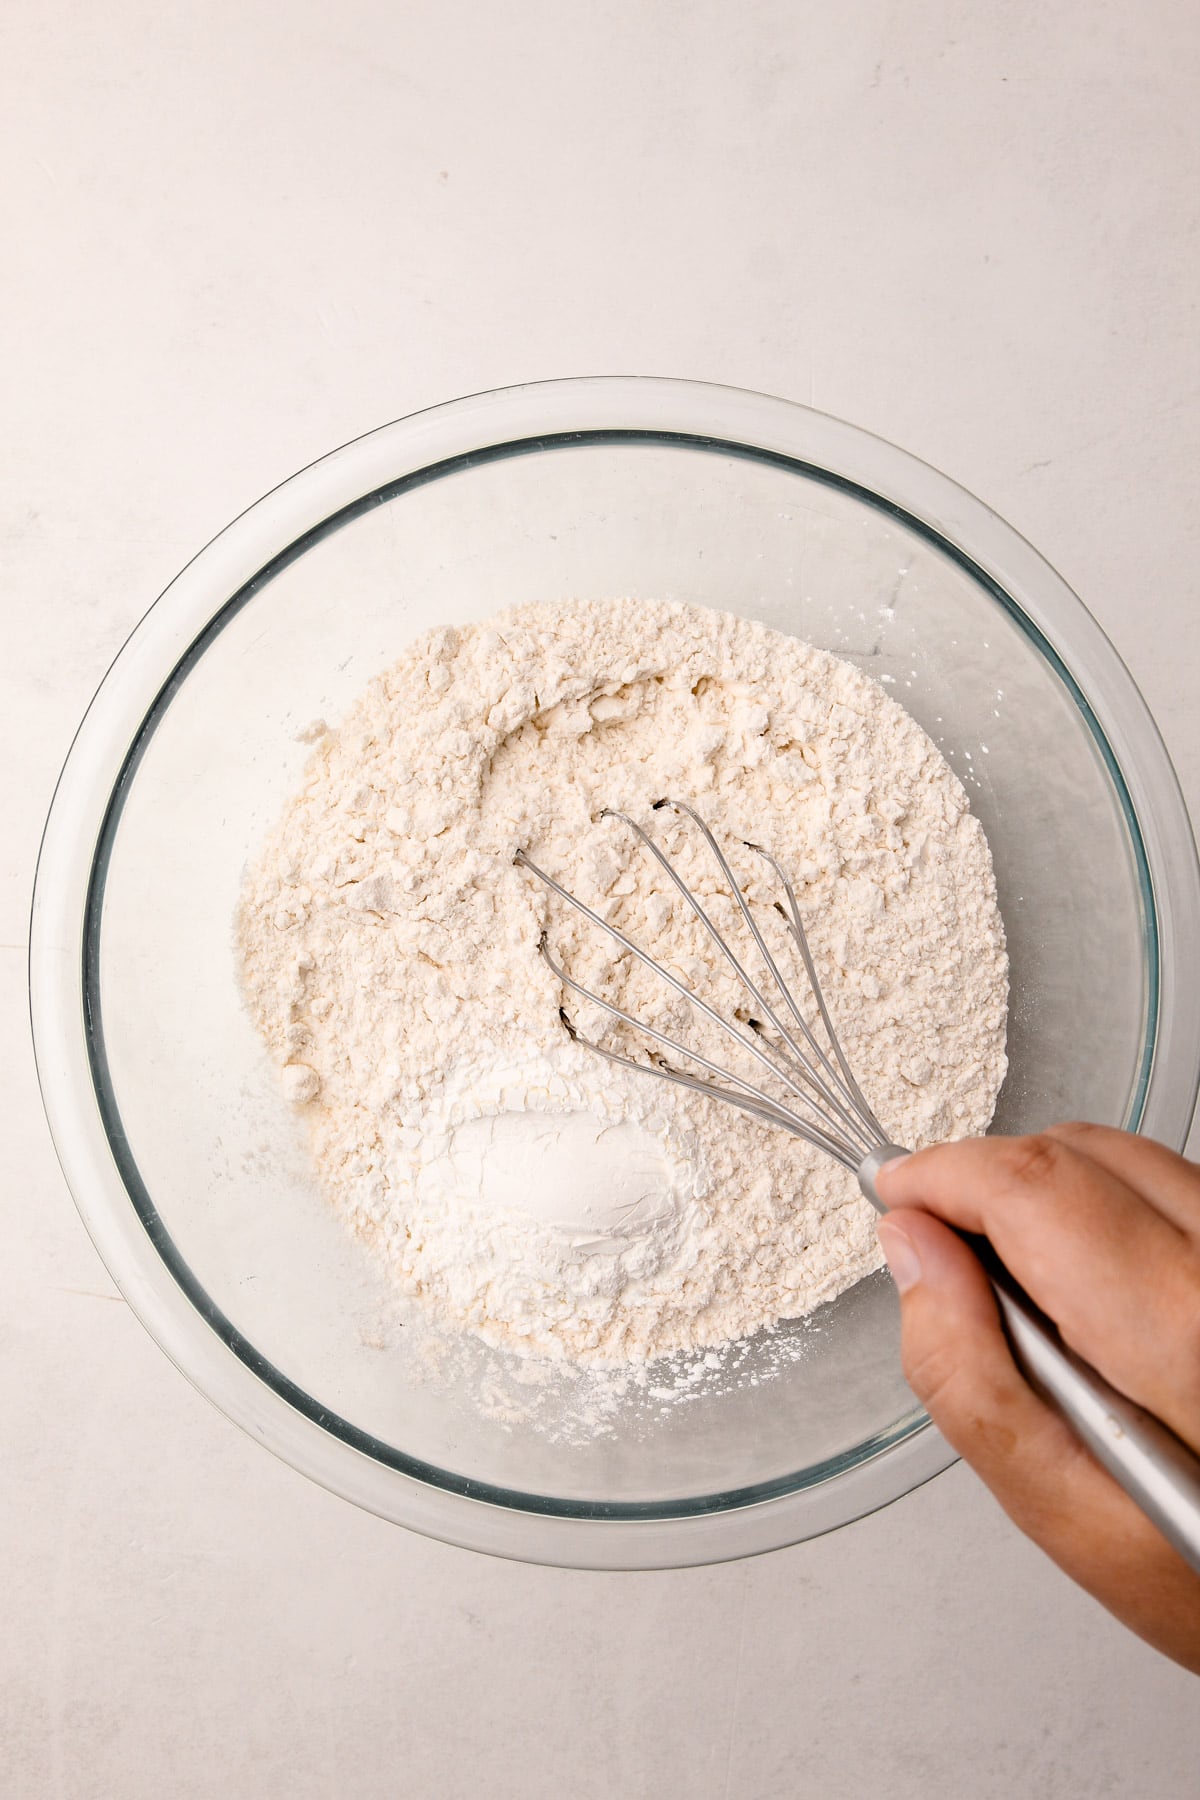
Step 1: Whisk together the salt and flour.
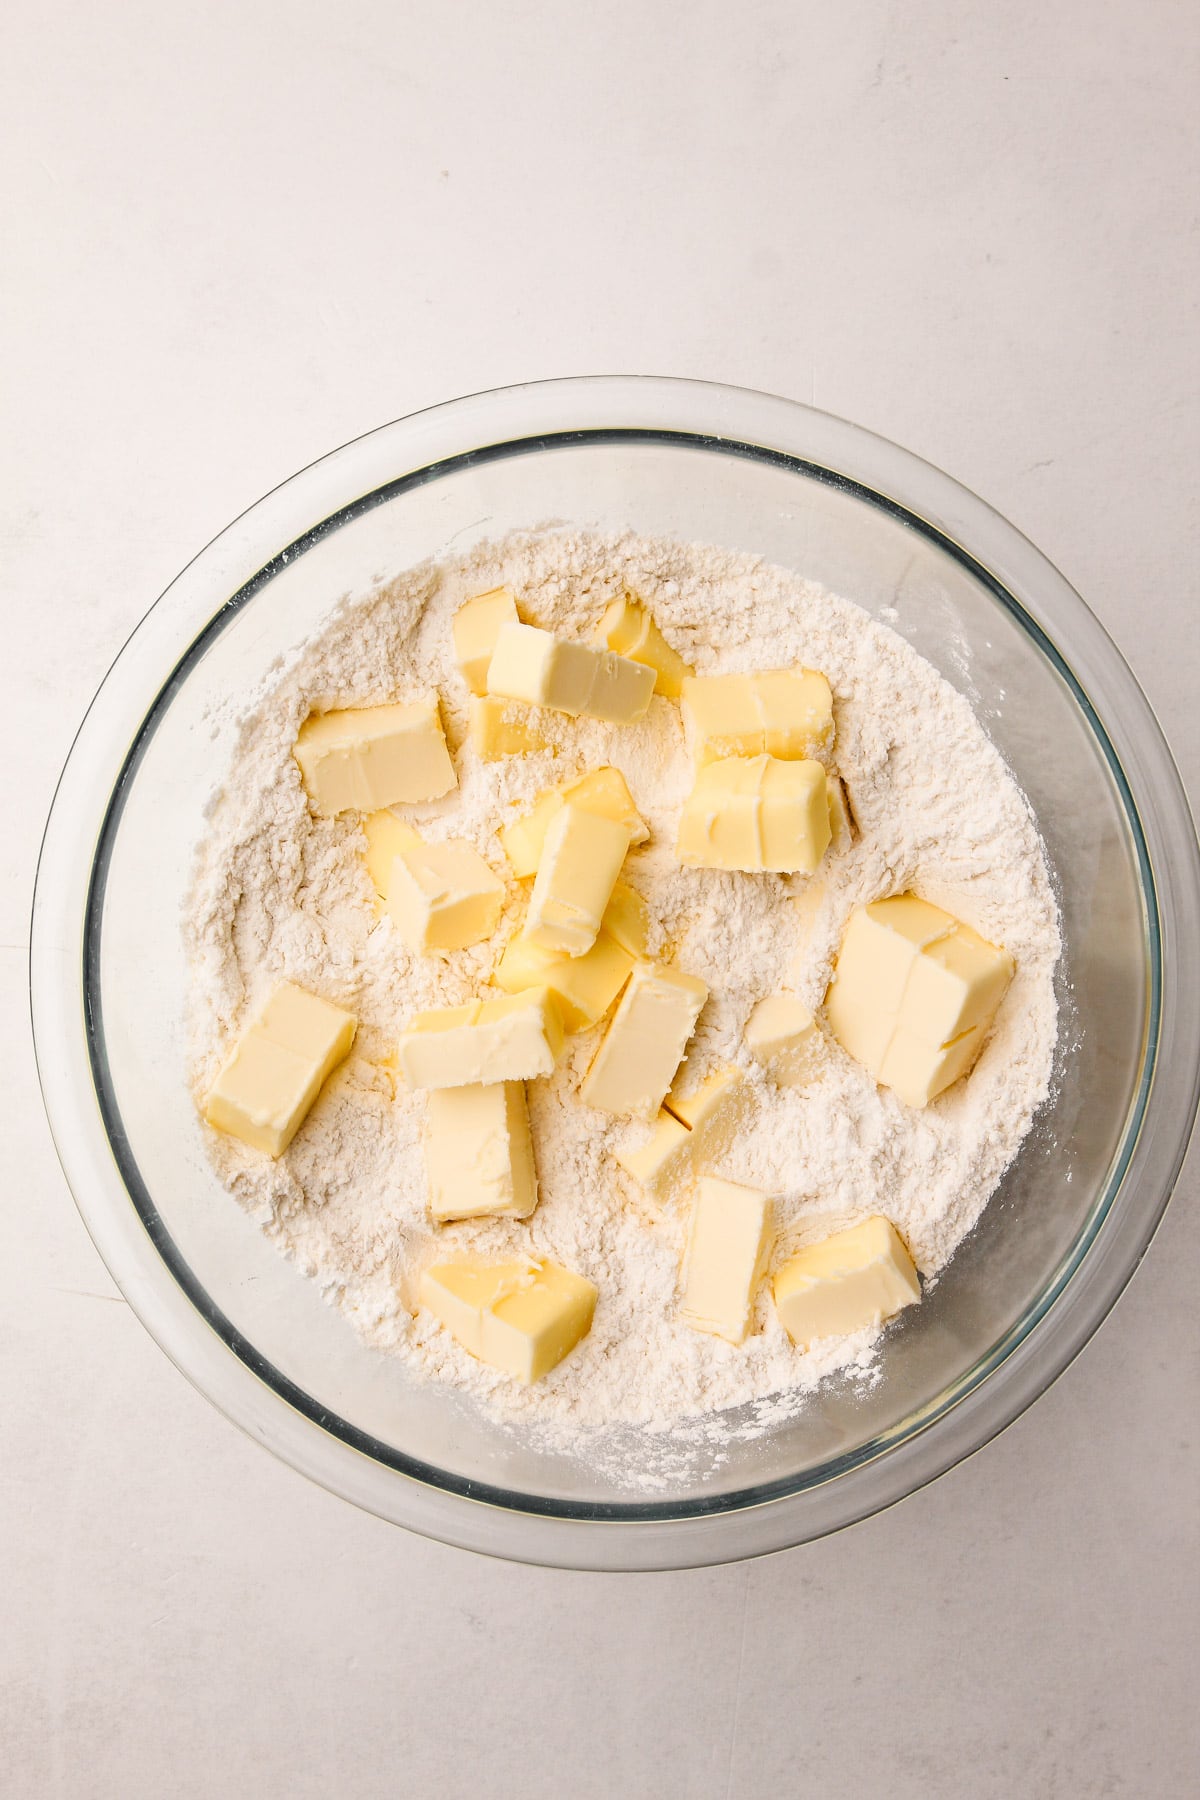
Step 2: Combine the flour and diced butter, then use a pastry blender to mix and coat the butter with flour.
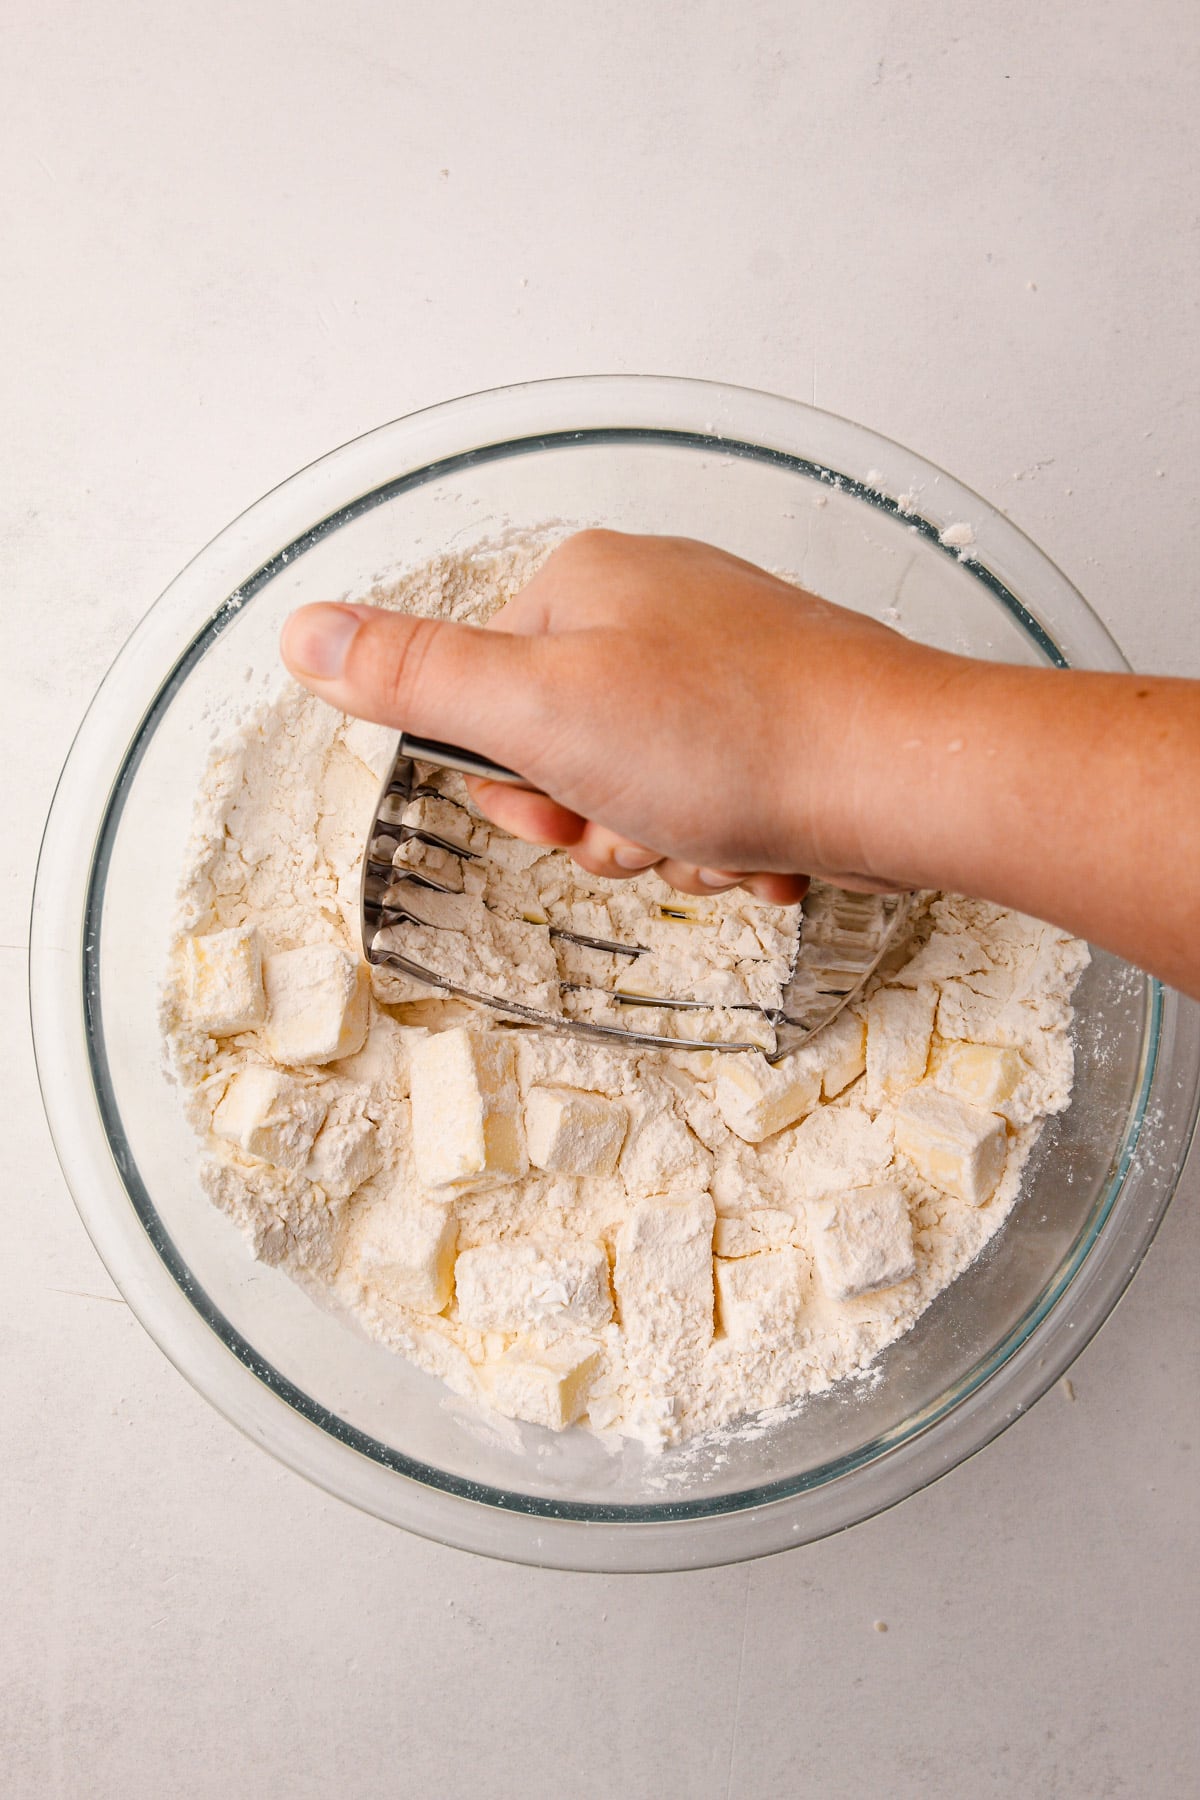
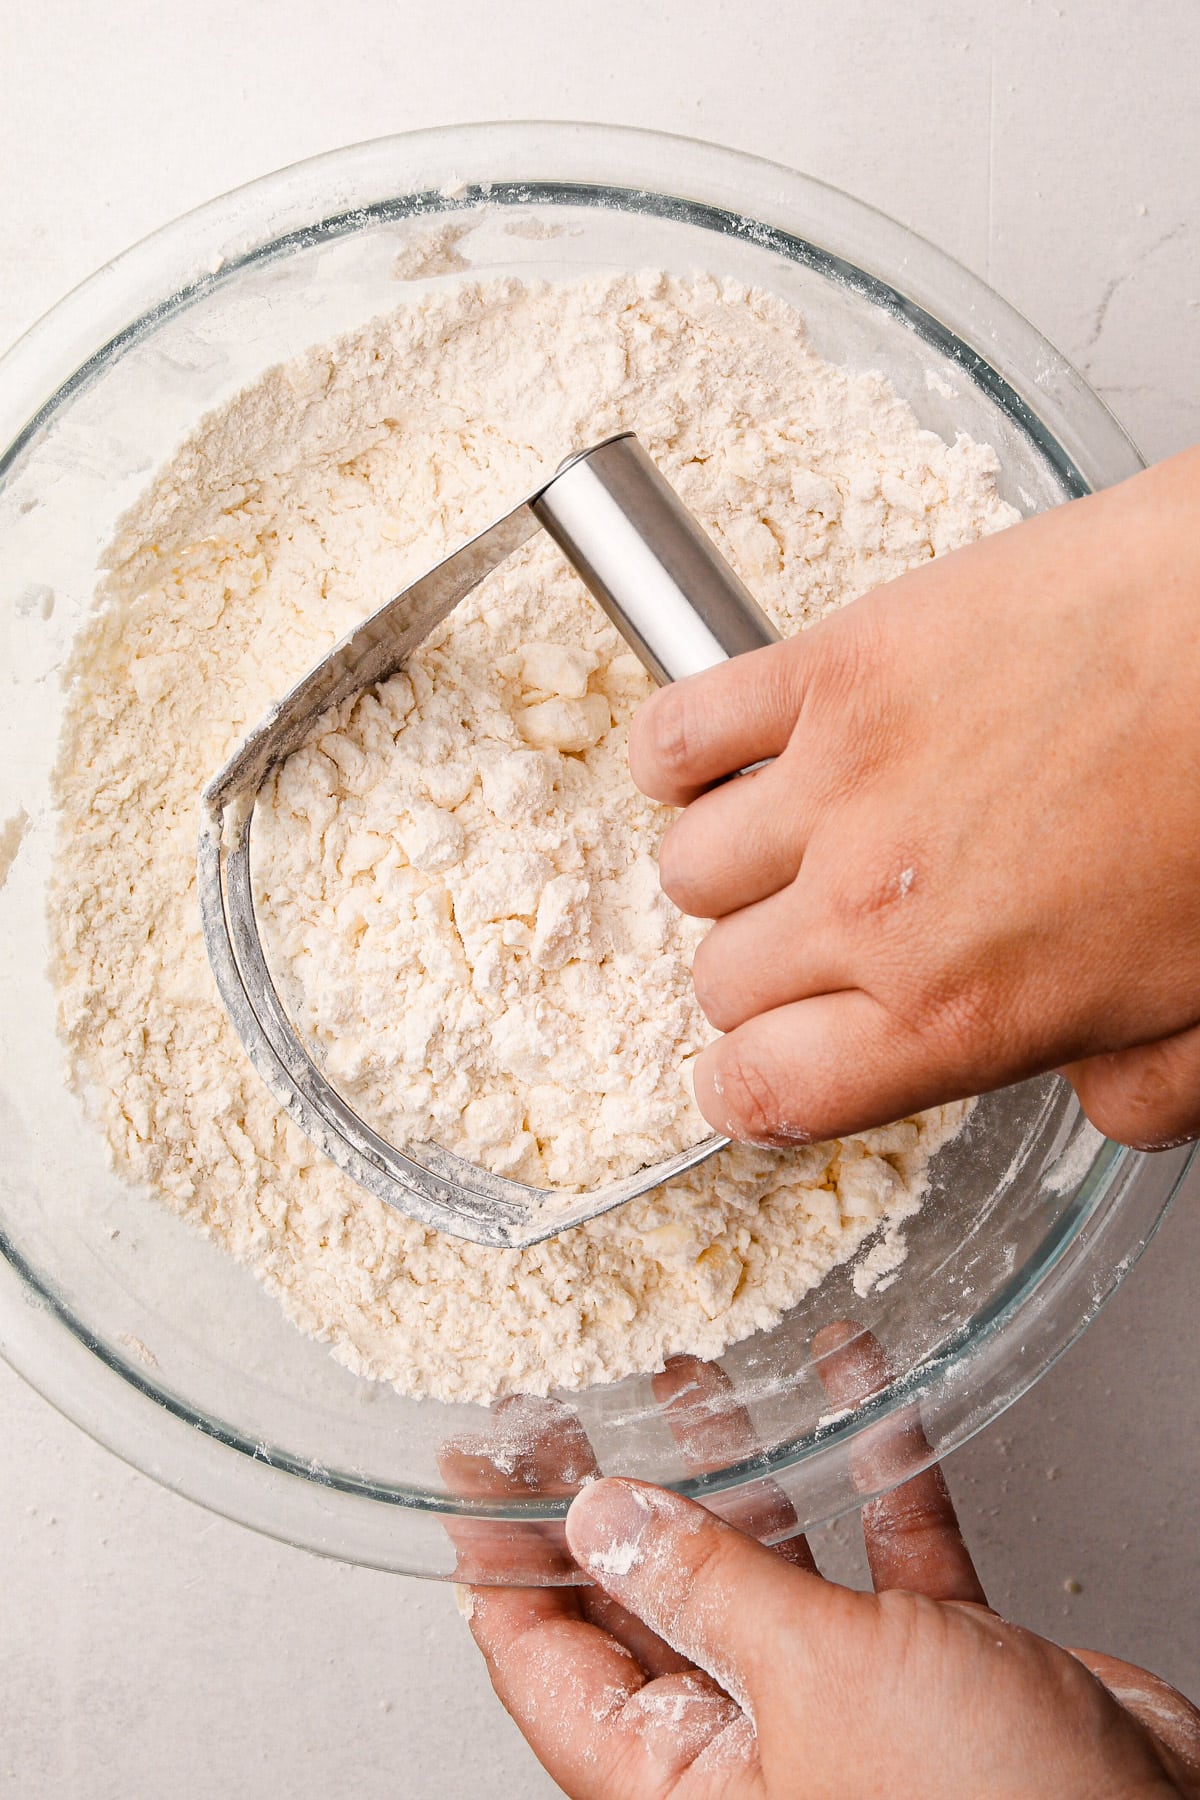
Step 3: Hold the pastry blender firmly by the handle and press the blades down into the butter.

Step 4: Continue this process while rotating the bowl to evenly cut the butter into the flour.
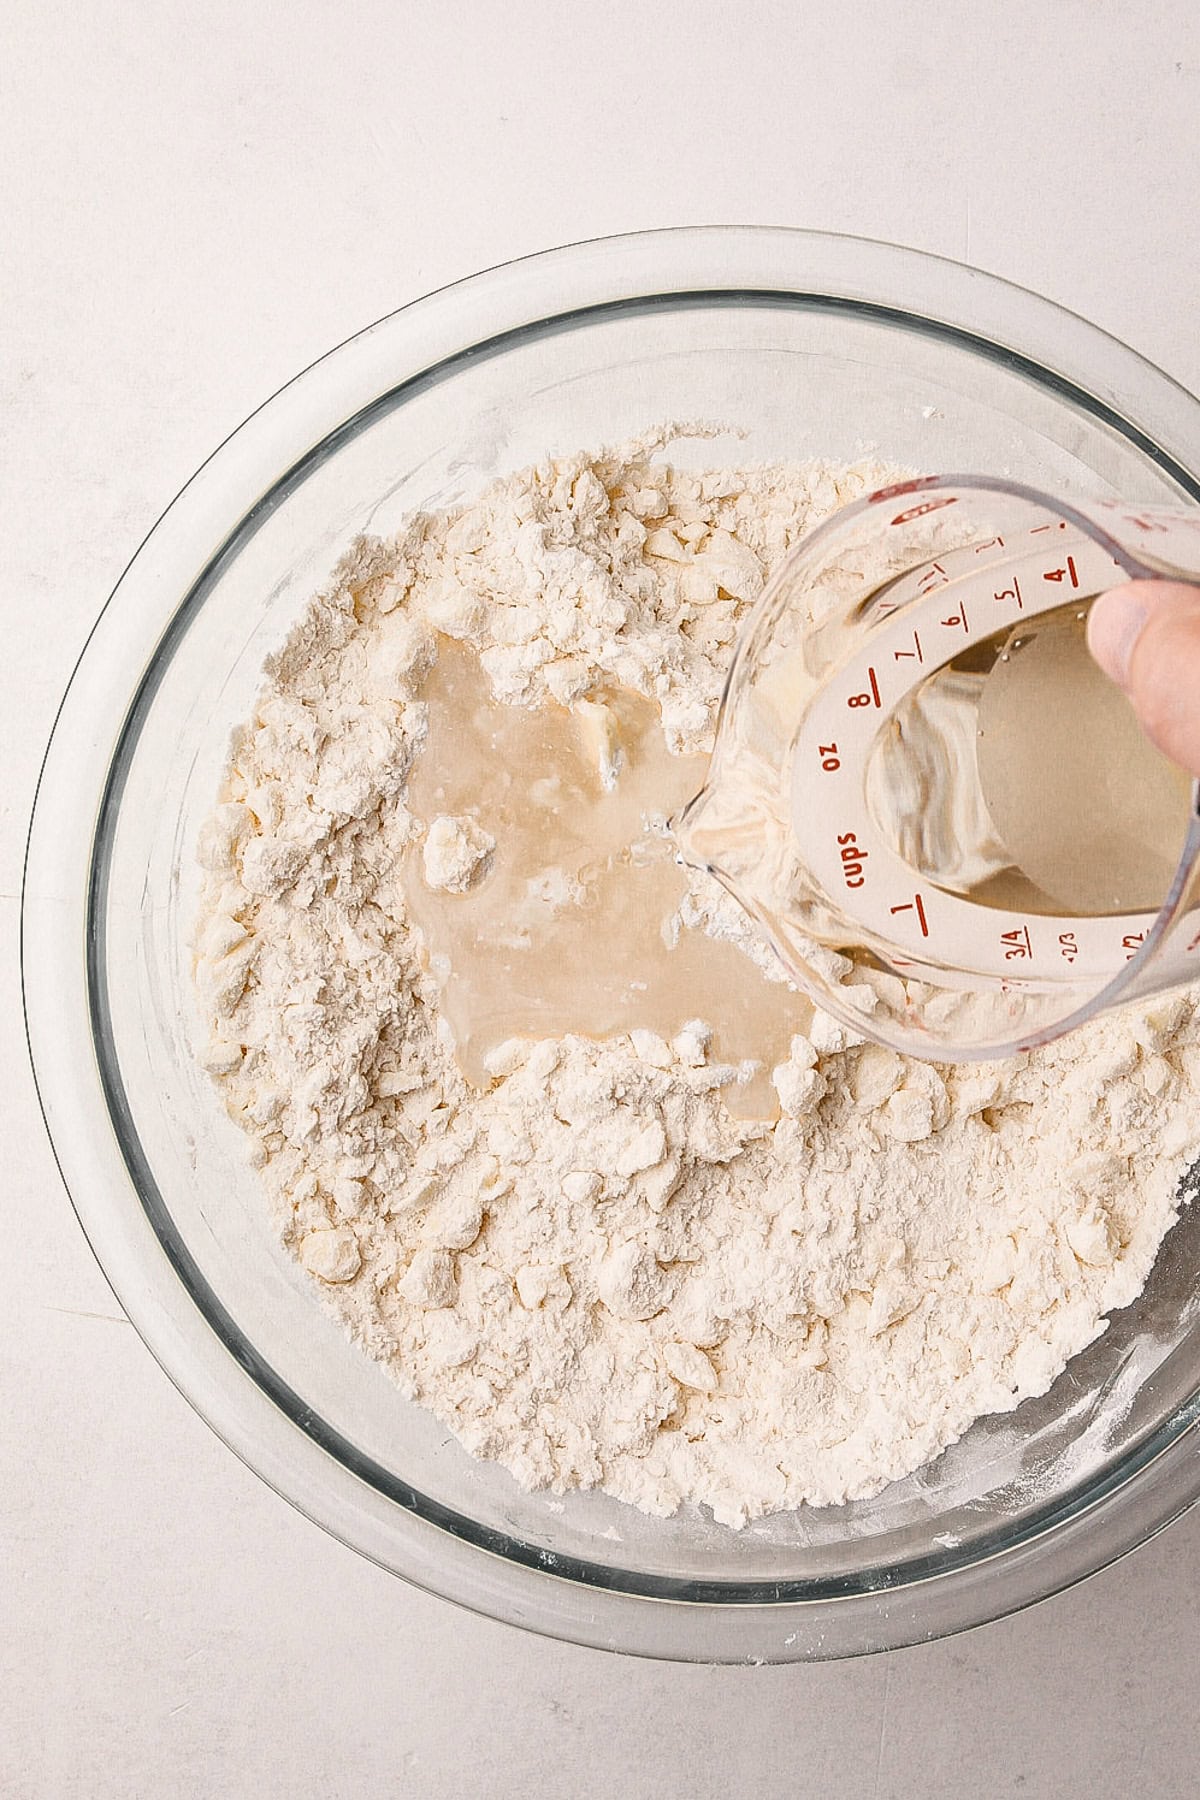
Step 5: Pour in ¾ of the water.
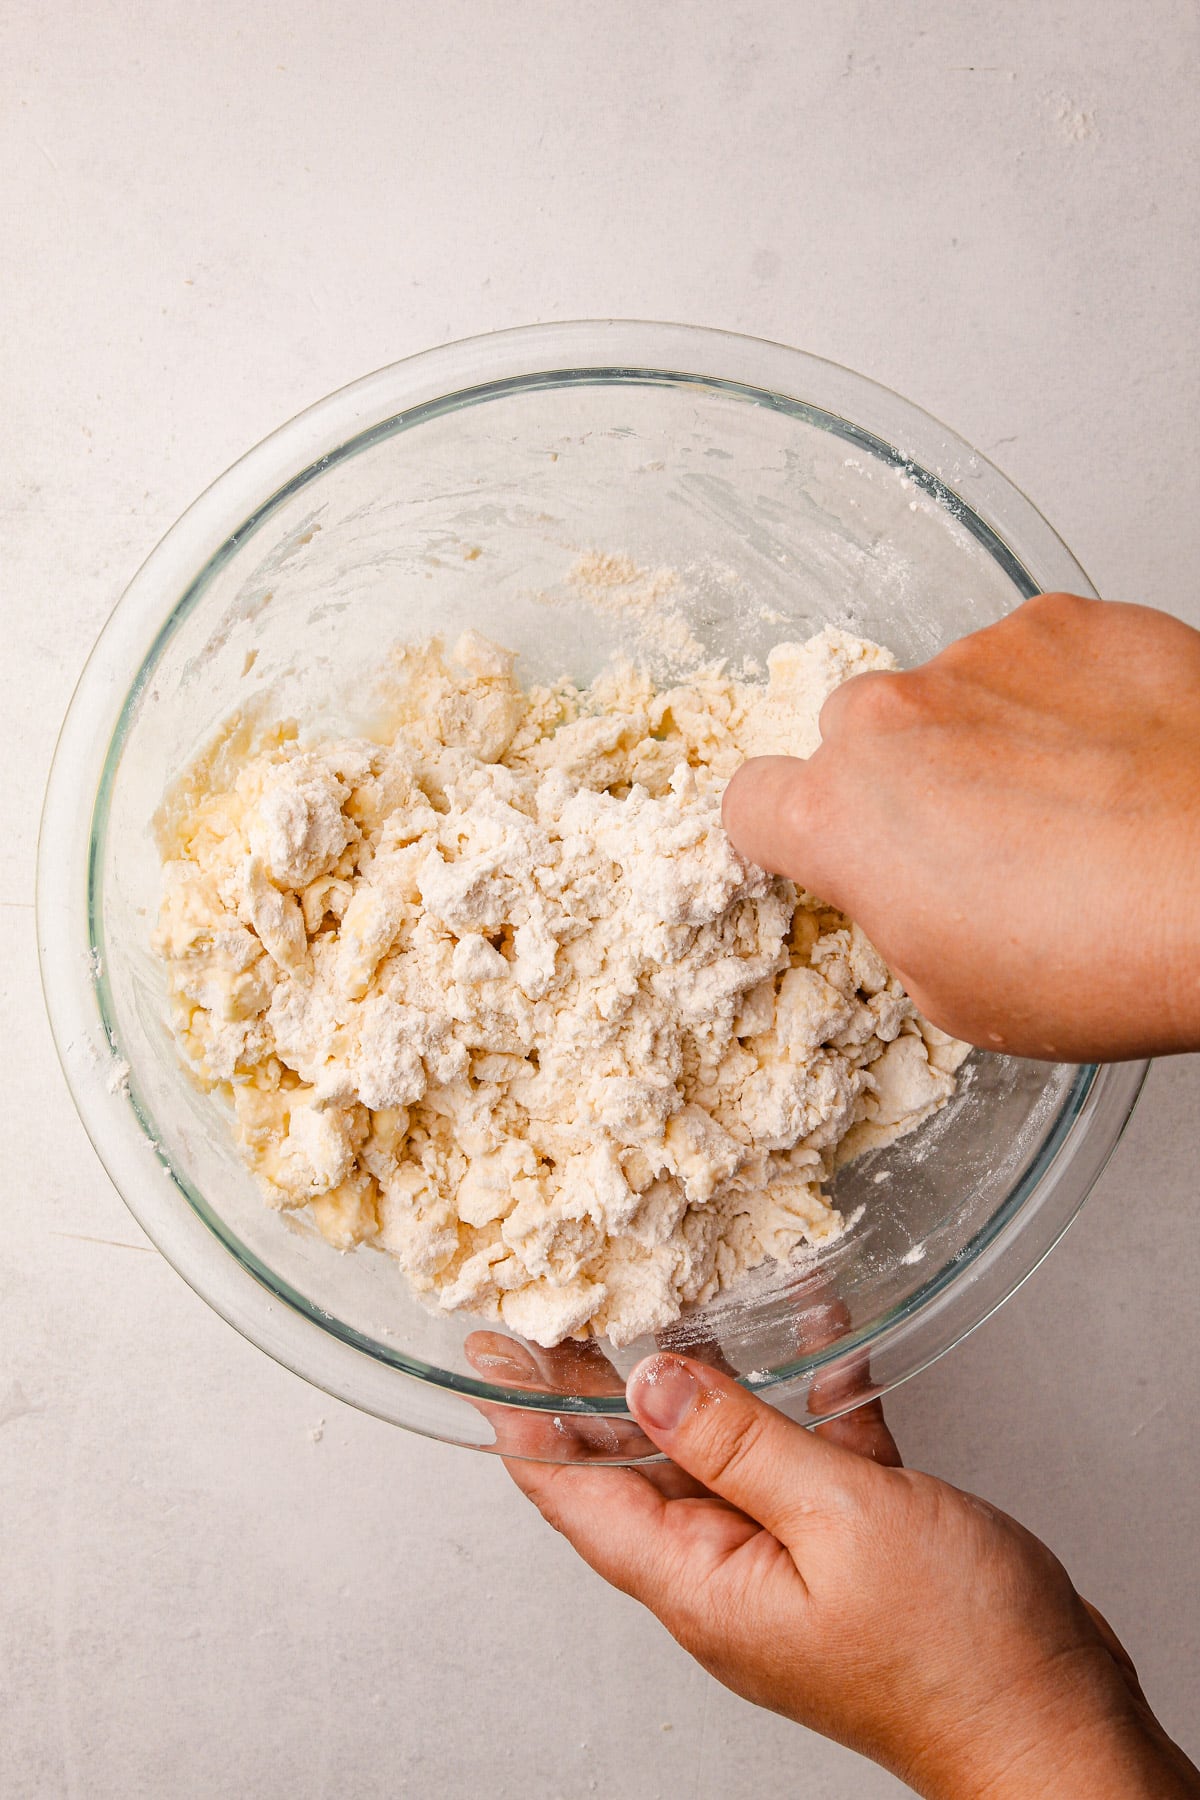
Step 6: Mix the water in until it's evenly hydrated.
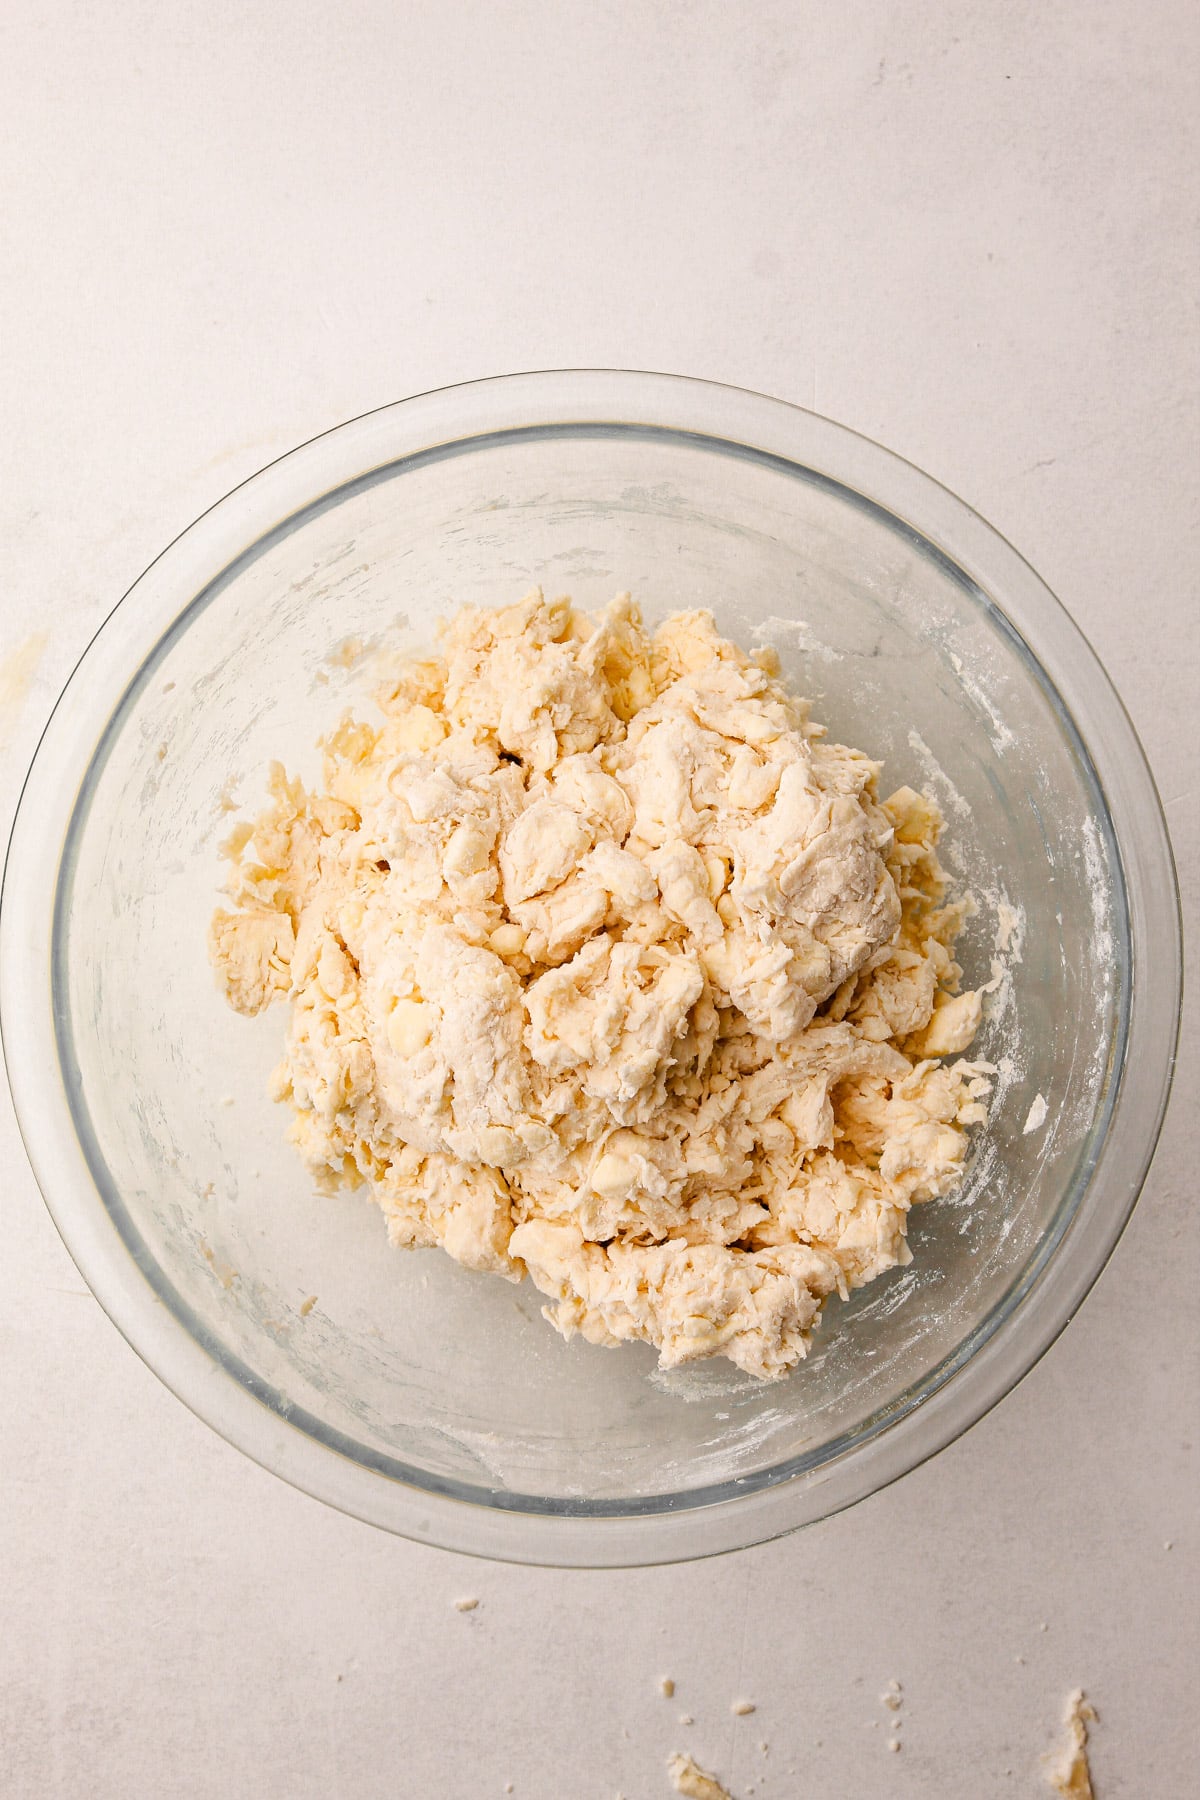
Step 5: Add additional water to any powdery spots.
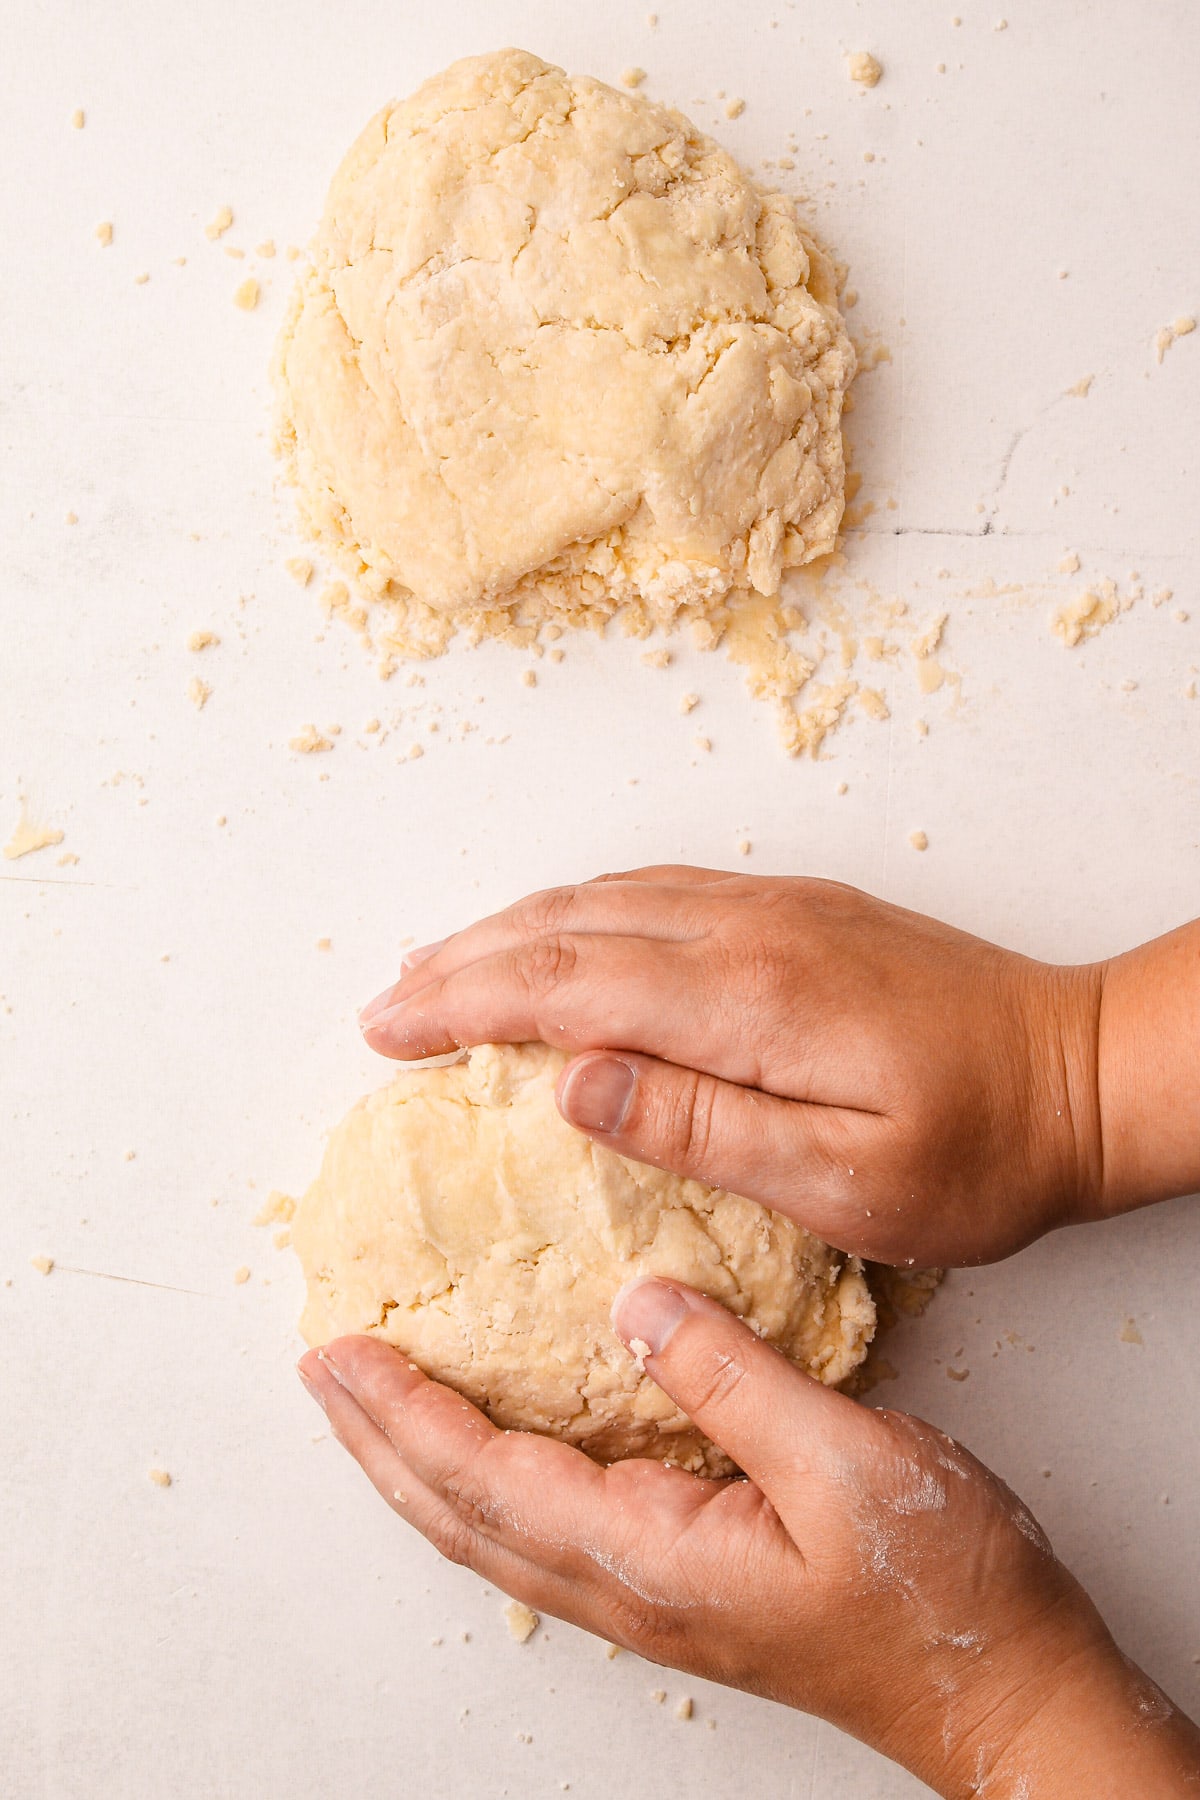
Step 6: Gather the dough together and then divide in half.
Once the pie dough is made, wrap it as tightly as possible in plastic wrap, then use a rolling pin to gently flatten the disk, filling in any gaps to create an airtight seal. This helps prevent oxidation and keeps the dough from turning a dull gray color.
You can refrigerate the dough for 2-4 days or freeze it for up to 3 months. If storing it for a longer time, wrap the dough twice for added protection!
Video
More Resources
- All Butter Pie Crust (this is my ultimate pie crust recipe and can be made using a pastry blender)
- How to Blind Bake Pie Crust
- How to Make a Lattice Pie Crust
- How to Make (and Use) an Egg Wash
- How to Bake a Double Crust Pie
- 9 Essential Pie Baking Tools
- 11 Baking Tips for Perfect Pies
I am so honored when you make a recipe from my site! If you use this tutorial, please leave a star ⭐️⭐️⭐️⭐️⭐️ rating with your experience! If you have any questions about this recipe, feel free to comment here, and tag me on instagram!
Full Recipe
How to Use a Pastry Blender to Make Pie Crust
Using a pastry blender is a simple and reliable method for making pie dough by hand.
- Prep Time: 00:10
- Total Time: 10 minutes
- Yield: (2) 9" pie crust
- Category: Pie Crust
Ingredients
- 3 cups (360 grams) all-purpose flour
- 1 teaspoon (4 grams) Diamond Crystal kosher salt (see note for other)
- 16 tablespoons (227 grams) unsalted butter, chilled and cut into 1" pieces
- ½ cup (115 grams) ice water, more as needed
Instructions
- In a large bowl, combine the flour and diced butter. Use the pastry blender to sweep through the bowl, mixing the butter to coat with flour.
- Firmly hold the pastry blender by the handle, and press the blades down through the butter. With a rocking motion, continue this process while rotating the bowl to evenly cut the butter into the flour. Aim for mostly pea-sized pieces of butter, with some larger marble-sized chunks for added flakiness.
- Slowly drip in ¾ of the ice water over the dough, tossing the mixture with the pastry blender or a rubber spatula. Add in the remaining water as needed. When enough water is added, the dough should easily squeeze together in your hands.
- Transfer the dough to a work surface and hydrate any dry spots as needed, either by dripping it in or using a kitchen-safe spray bottle. Add just enough water to bring the dough together without overworking it.
- Using your hands, gently bring the dough together into one large ball.
- Divide it into two equal pieces, about 12 ounces each. Shape each piece into a rough disk.
- Place each disk in a piece of plastic wrap and wrap tightly.
- Using a rolling pin, roll the wrapped dough out until it stretches to the edges of the plastic wrap to ensure an airtight seal.
- Refrigerate for at least 2 hours, but preferably overnight.
Notes
This pie crust recipe is a very streamlined in terms of ingredients. Check out my essential Butter Pie Crust recipe for a more comprehensive guide to making pie crust.
Weighing your flour is the most accurate way to measure. If you aren't going to weigh it, make sure to spoon it into the measuring cup and then level it off. If you scoop the flour out with the measuring cup and then level it, it could change the outcome of the final product.
This recipe was tested using Diamond Crystal coarse kosher salt. If you use Morton's kosher salt or fine salt, decrease the volume by half.
You can store this pie dough in the refrigerator for 2 days or the freezer for up to 3 months. If you plan to store it for an extended period of time, wrap it in a double layer of plastic wrap.
This recipe makes enough pastry to make one double-crust pie or two single-crust pies. You can halve the recipe if you only want to make one single-crust pie.
Some of the links on this page may be affiliate links. Everyday Pie is a participant in the Amazon Associates Program. As an Amazon Associate I earn from qualifying purchases, at no extra cost to you.





Cambron Teupe
Thank you so much for the instructions. They don't usually use pastry blenders in Germany, but I have found one -- without instructions! I love to make pie (gluten free!) and this should make things so much easier!