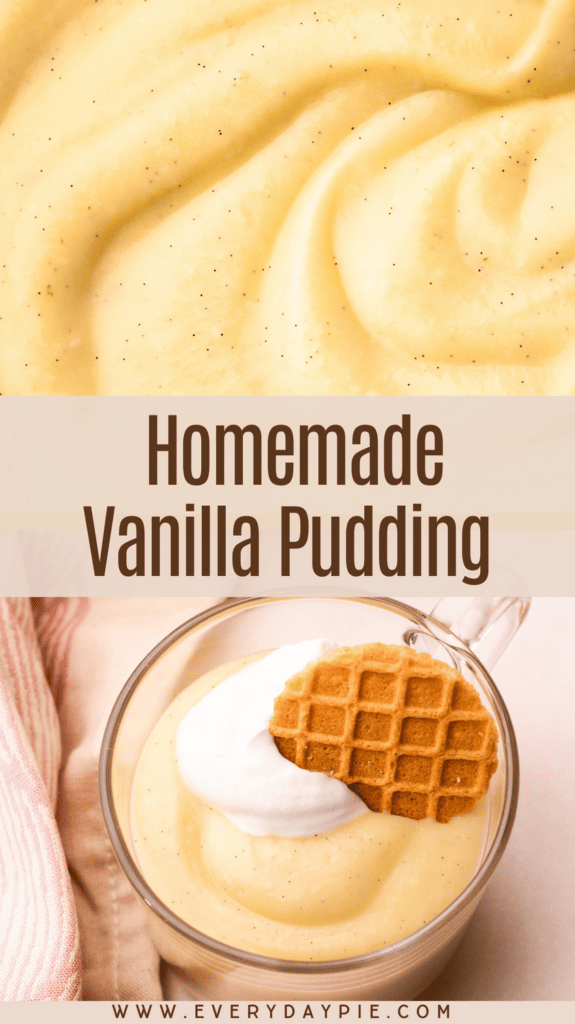
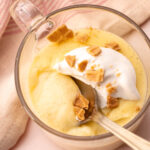
Pudding is a dessert that is often underestimated, but this Homemade Vanilla Pudding recipe will change that. It is easy to make in only 15 minutes with common kitchen ingredients. The resulting pudding is incredibly smooth, creamy, and delicious.

Want to save this recipe?
Enter your email & I'll send it to your inbox. Plus, get weekly updates from me!
Okay, it's time to just come out and say it: I'm a pudding devotee. If you couldn't tell from my Dark Chocolate Pudding, Butterscotch Pudding, and Pistachio Pudding recipes, I really love this dessert. And what's not to love? This Homemade Vanilla Pudding has a luxurious, creamy texture and a comforting nostalgic feel to it. It is an extremely versatile recipe that can be relished on its own as an uncomplicated dessert, or incorporated into other recipes in a variety of ways.
Plus, this recipe uses a straightforward technique (no egg tempering required!) and uses common pantry staples. While I do dive a little deeper into the best type of vanilla to use below, at its heart, this is a simple recipe with a simply delicious outcome.
So, let's get to making it, shall we? The article below details all the information you need to know to make this successfully, concluding with the recipe at the end. You can jump around using the menu below, or skip to the end of the article for the full recipe.
Jump to:
Ingredients Needed and Substitutions
Here is a brief overview of the ingredients needed. The recipe card lists the full recipe with quantities and detailed instructions (located below this article).
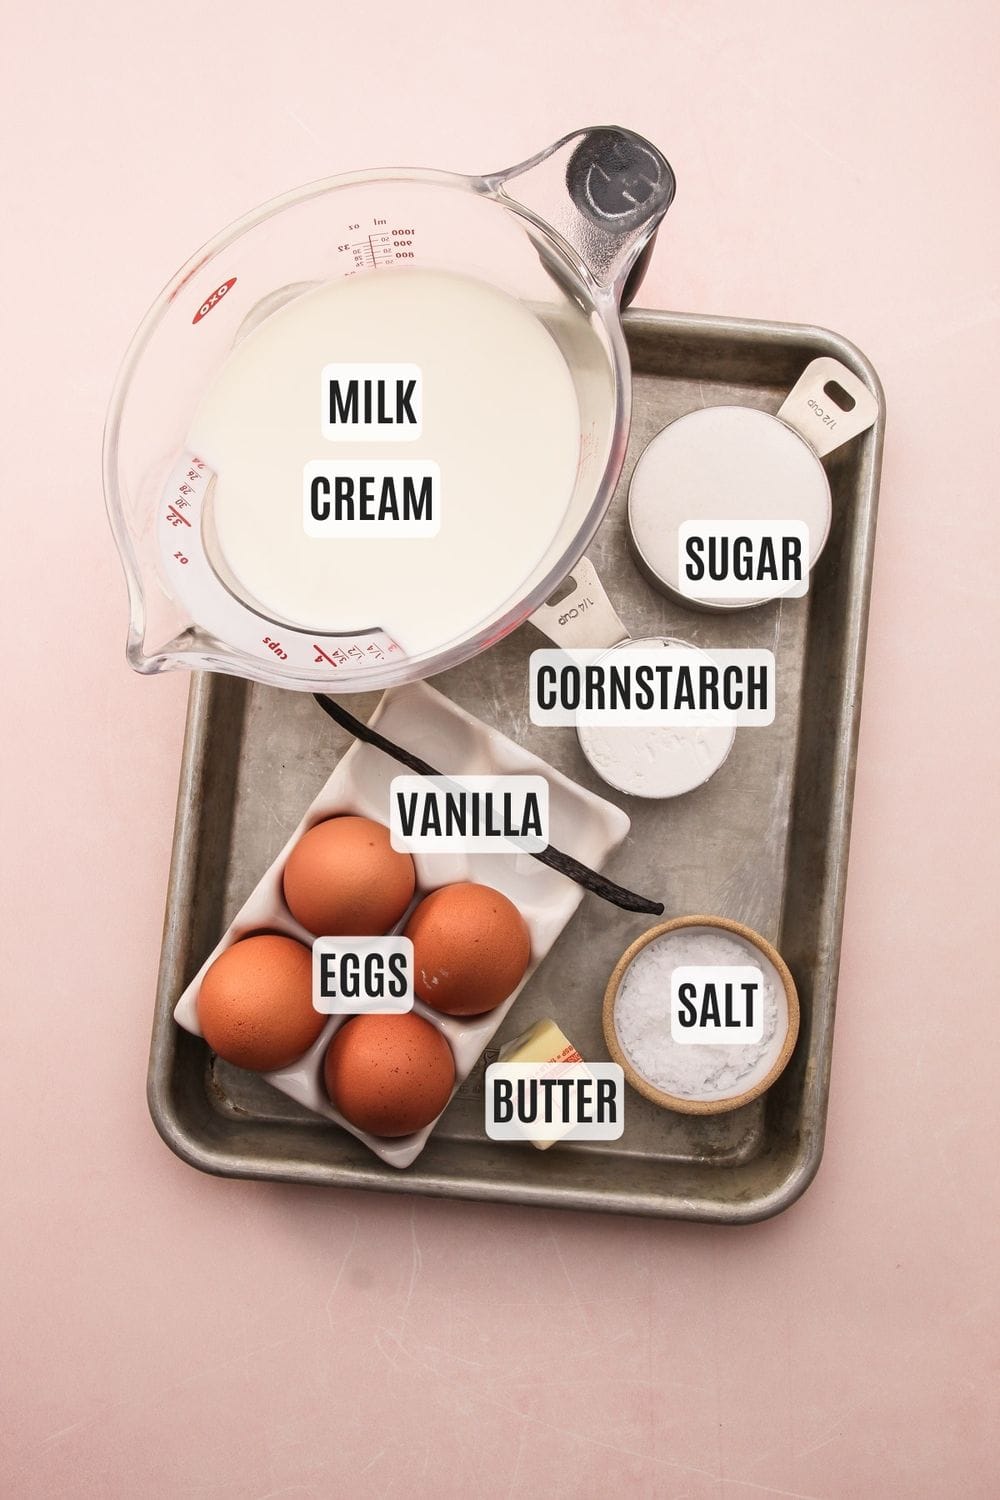
- whole milk + heavy cream (a mixture of both ensures the pudding has the perfect texture and mouthfeel without being overly rich)
- vanilla extract or fresh vanilla bean (see more on this below)
- granulated sugar
- cornstarch (this has just enough cornstarch to thicken the pudding, but not so much that it's going to set firm, so if you want to use this for a pie, you'll have to adjust the recipe to make the filling firmer)
- eggs + egg yolks
- unsalted butter
- coarse kosher salt
Let's Talk About Vanilla!
This recipe calls for either a fresh vanilla bean or vanilla extract. Either option will result in a lovely vanilla pudding, but if you can spring for the vanilla bean, you won't be disappointed. Or, if you're feeling extra, you can add both, as I often do.
If you are going use a vanilla bean, you will need a Grade A bean (one that is fresh and plump) for this recipe. Vanilla is a precious and therefore expensive commodity. Buying vanilla beans online instead of buying them at the grocery the store is much more cost-effective. And if possible, buy them in bulk to lower the cost even further. My favorite brand to buy for Grade A beans is Slo Food Group. I store my vanilla beans in the refrigerator in a super airtight container to prolong their life.

How to Make It
This pudding is made in a single pot without the need for fussy tempering of the eggs--yay!
Here is a quick visual overview of the steps needed to make this recipe. This is not the actual recipe, which is located at the end of this article and has much greater detail to ensure success.
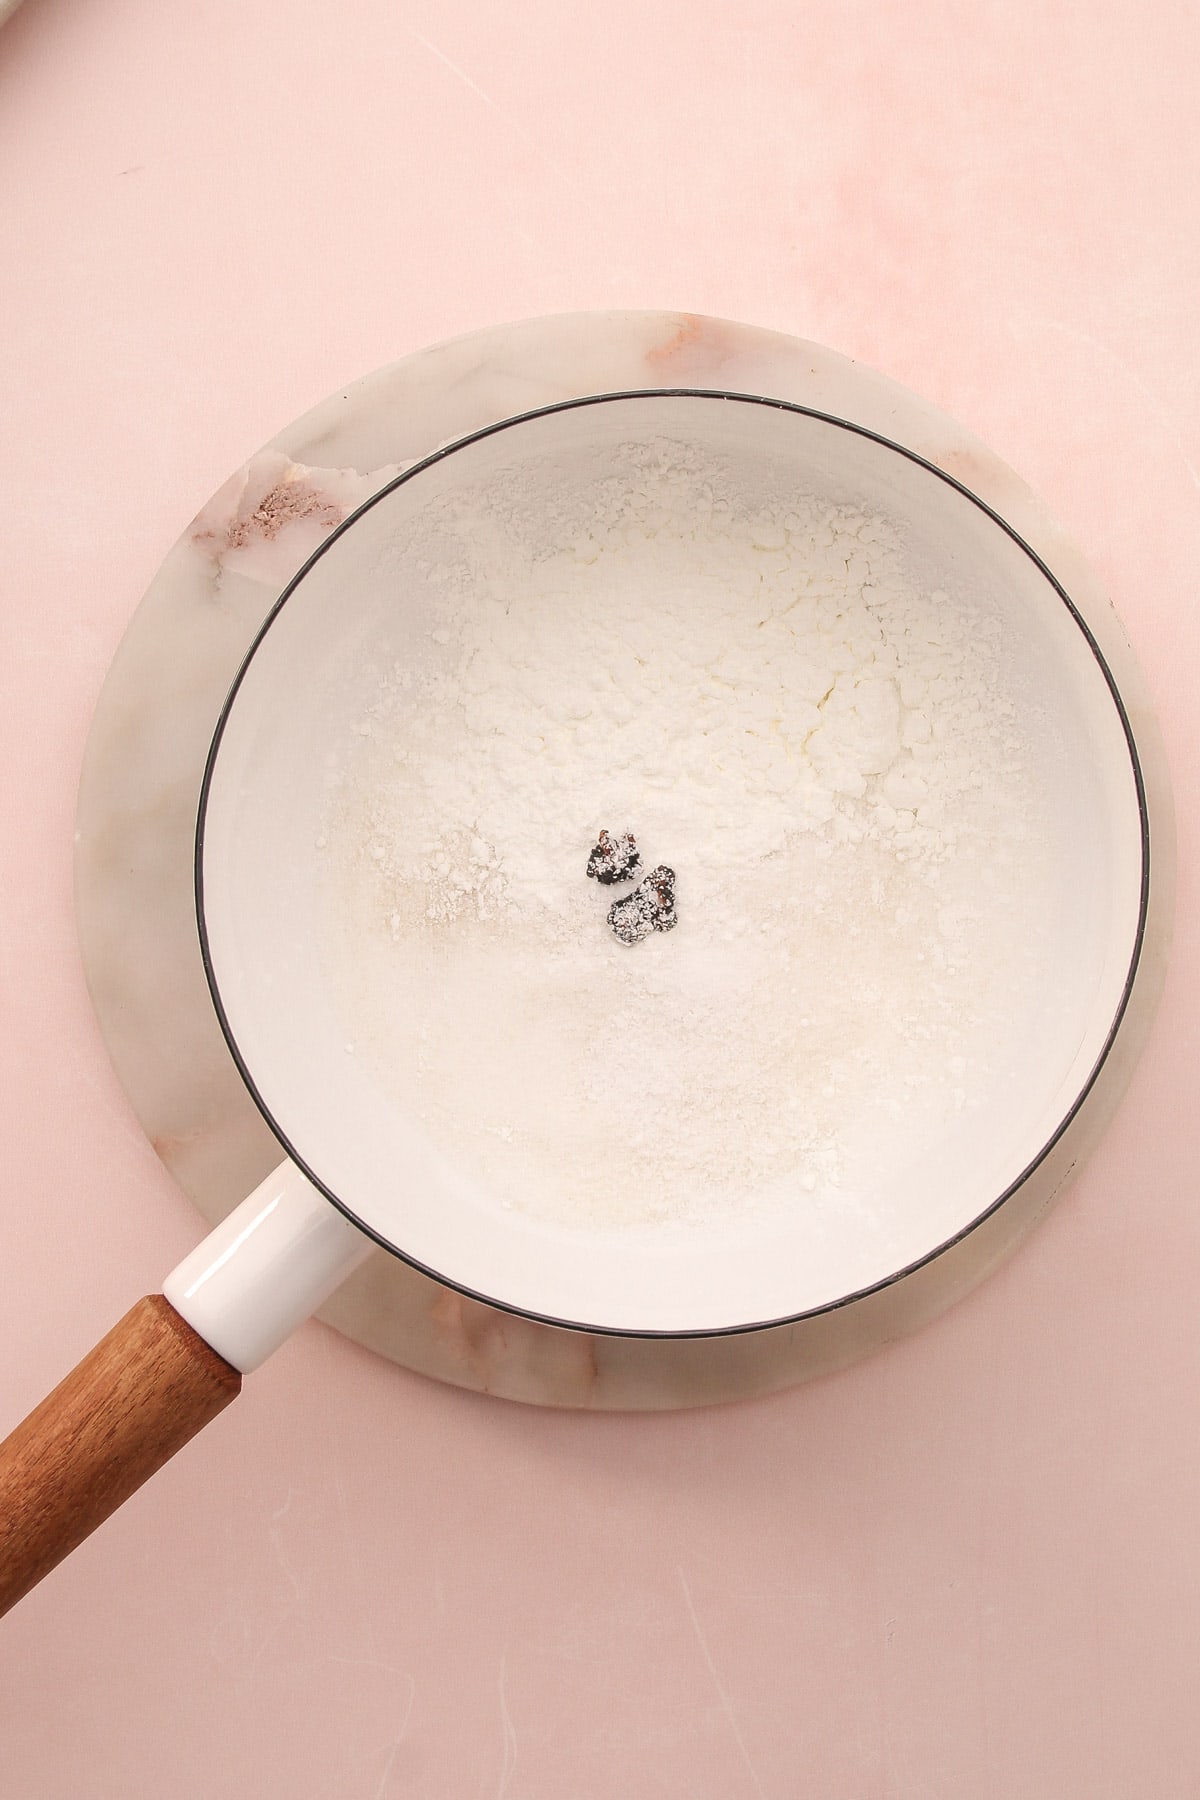
Step 1: If using a vanilla bean, cut it in half lengthwise and scrape out the caviar. Combine the caviar with sugar in a medium pot and rub together to break up any clumps.
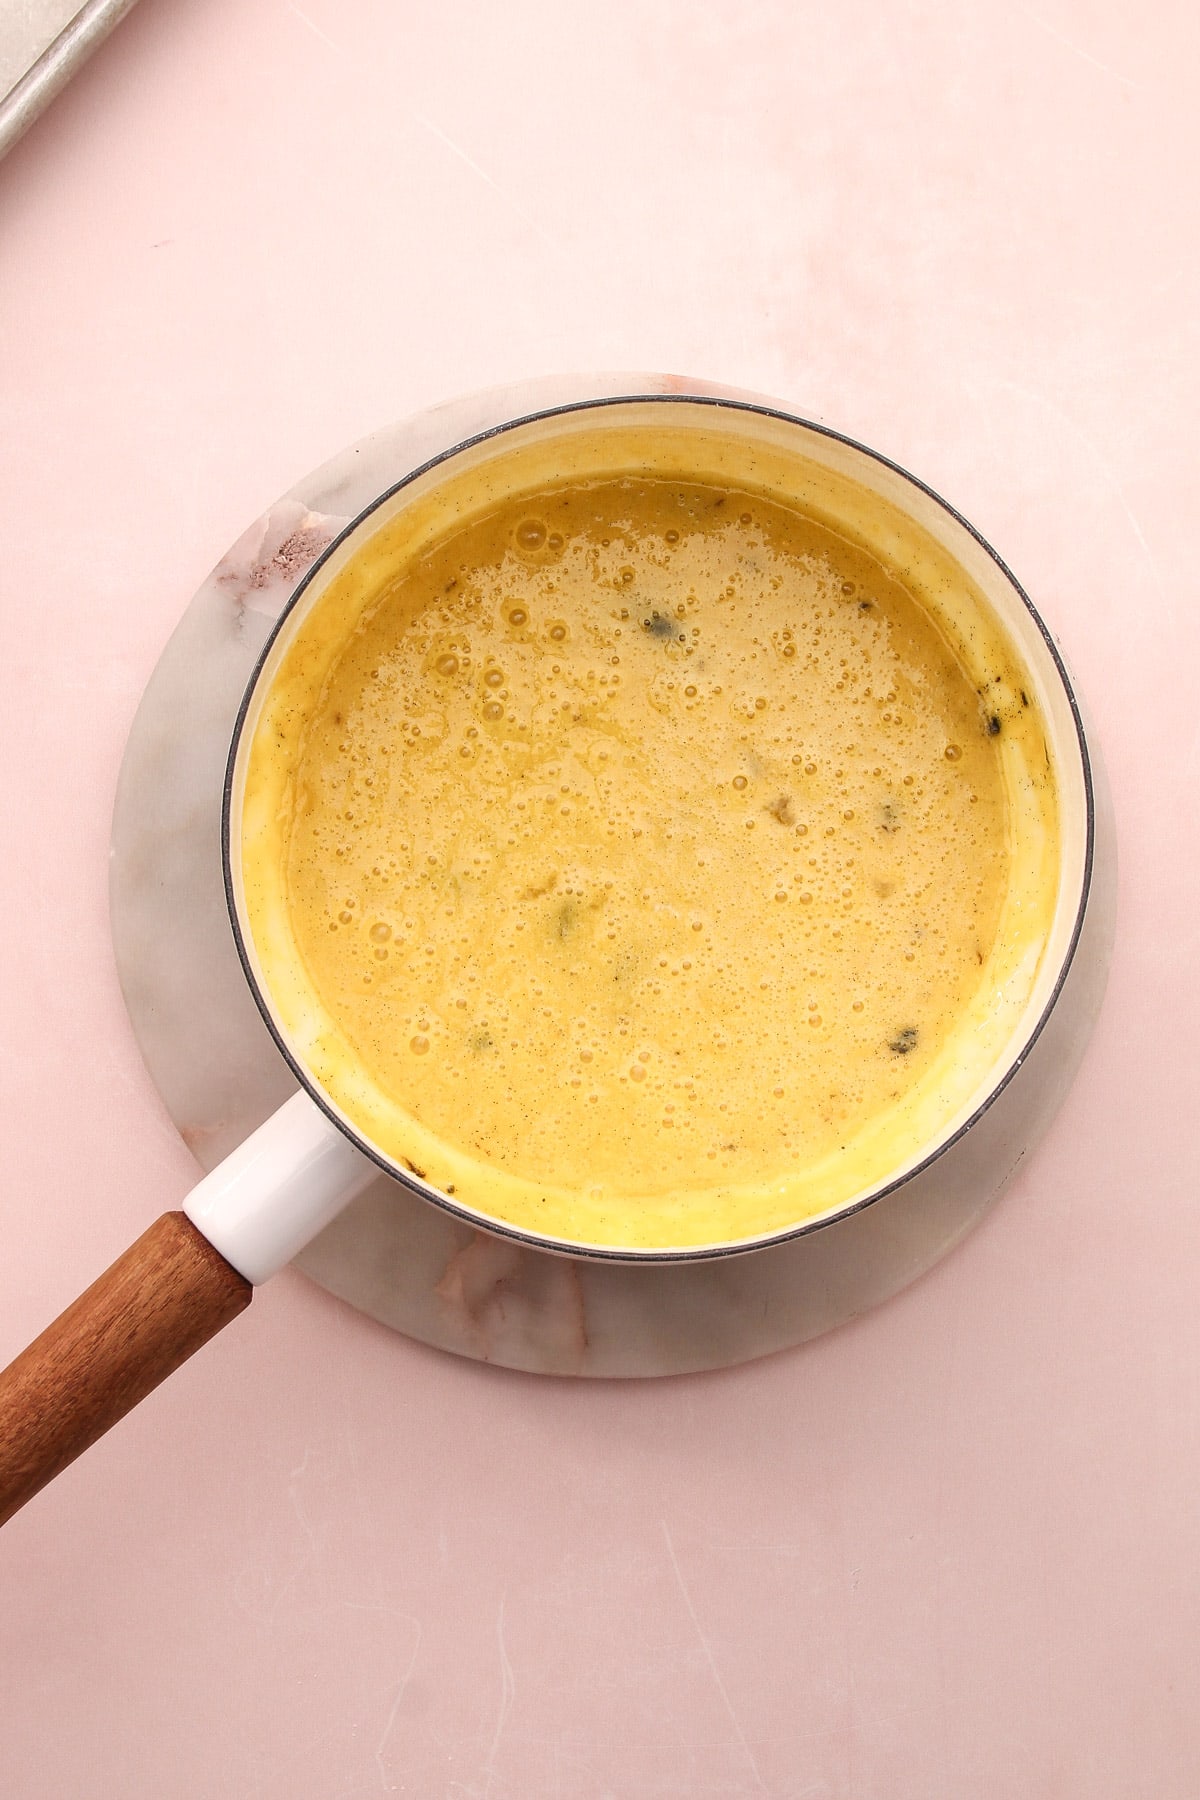
Step 2: Whisk in the eggs, yolks and the cream until smooth.

Step 3: Add in the milk and vanilla pod.
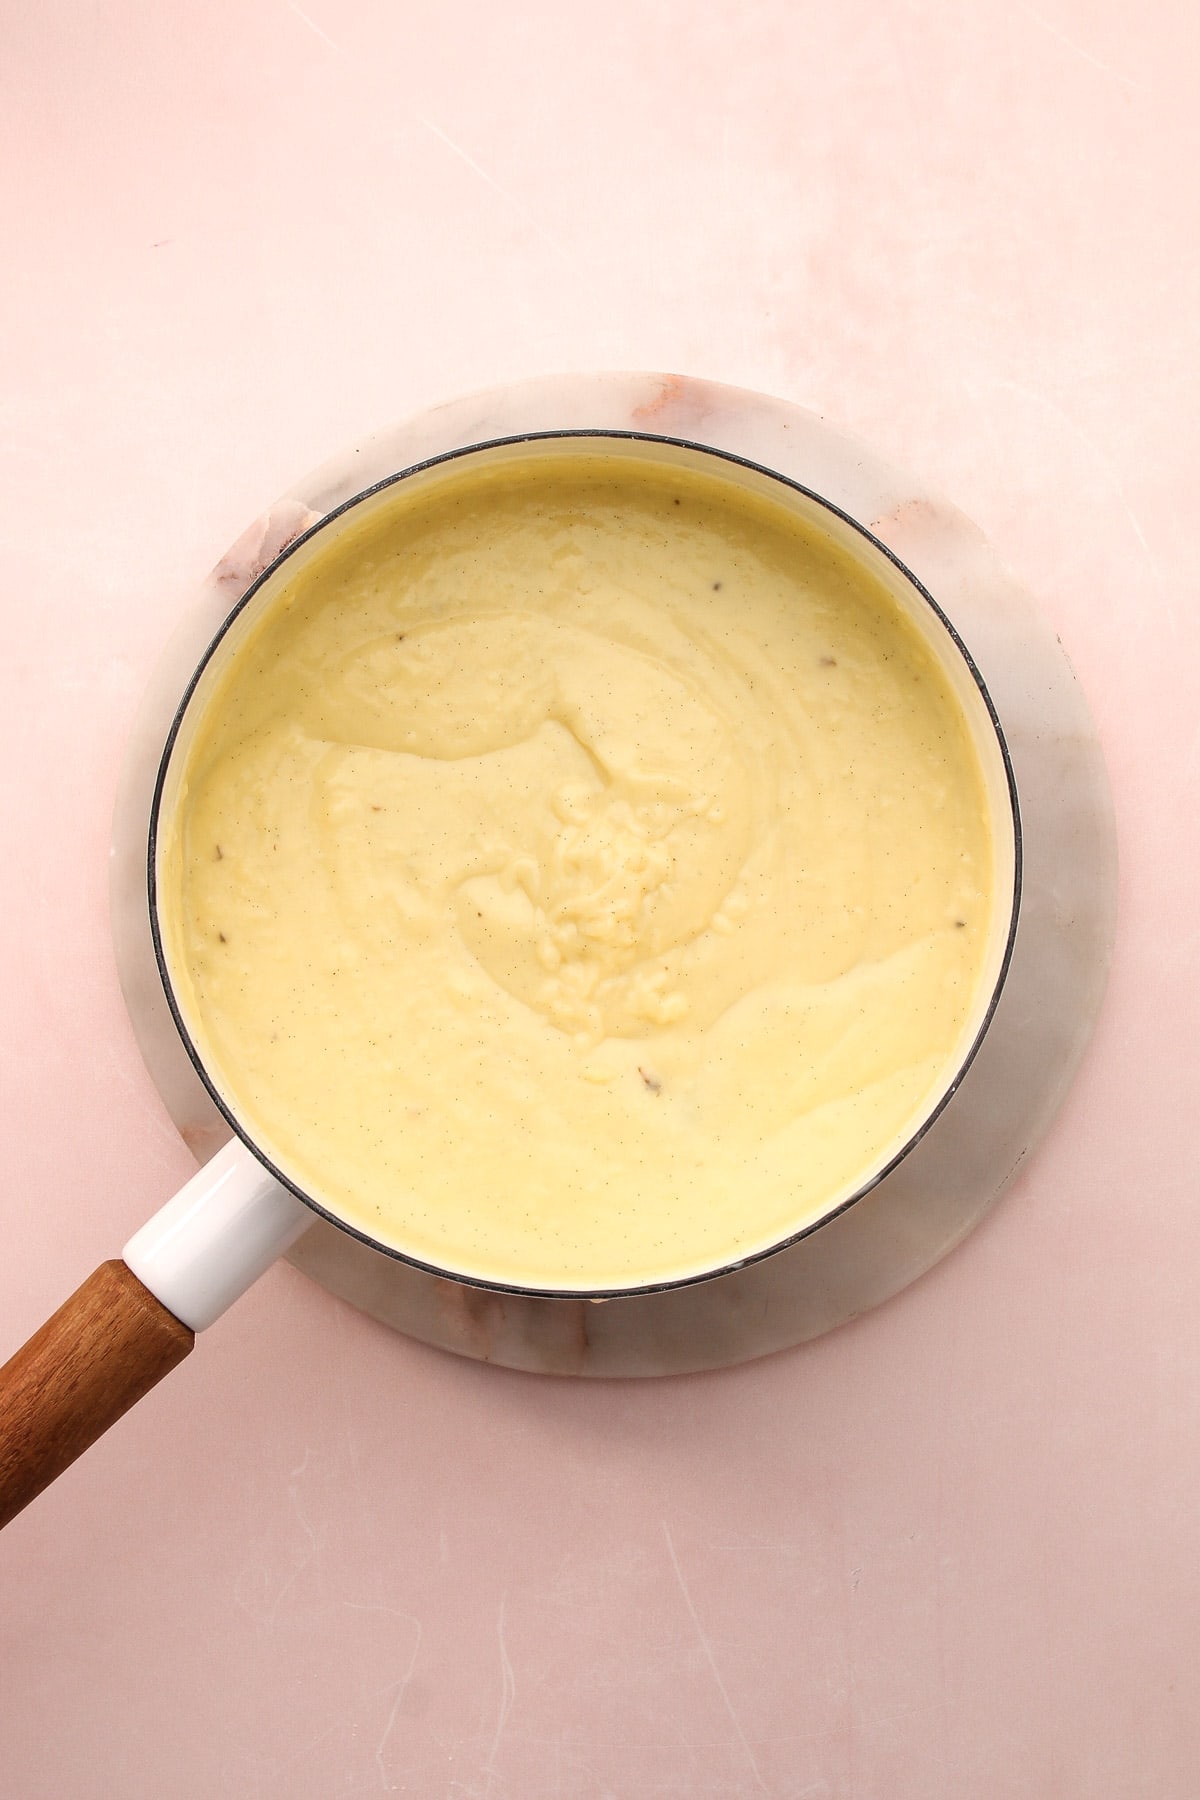
Step 4: Cook the pudding until it thickens and bubbles throughout.

Step 5: Strain it through a fine-mesh strainer and pluck out the vanilla bean.

Step 6: Stir in the butter and vanilla extract.
Tips for Success
- When using fresh and plump vanilla pods for cooking, the caviar (the tiny seeds inside the pod) can clump together when added to liquid. To avoid this, first rub the vanilla bean into the sugar until it is evenly distributed.
- Take your time to whisk the eggs, egg yolks, and cream into the dry ingredients before adding in the milk. Pouring in all of the milk at once directly into the dry ingredients can lead to clumps, which can be hard to get rid of.
- Make sure to have both a rubber spatula and a whisk handy. I swap between using them while I’m cooking the pudding to make sure I’m getting all the mixture out of the crevices of the pot while also whisking to ensure an even cook.
- Don't rush the process. The recipe calls for medium heat, and it shouldn't be increased to make the pudding cook faster. A slower coagulation of the eggs creates a smoother and creamier pudding.
- Don’t walk away from the pudding while it's cooking. It takes at most 10 minutes to cook. Also, it’s especially important to stir almost constantly in the beginning to ensure a smooth texture.

After the Pudding is Made
After cooking, the pudding needs about 3 hours to chill and finish setting up. Though, if you want to eat it warm, go for it! Do note: the pudding will taste sweeter when served warm vs. chilled.
To prevent a skin from forming on top of the pudding, cover its surface with plastic wrap while it's still warm. Or don't. Some people like that textural element on top of the pudding (and that some people is me).
Serving Vanilla Pudding
After the pudding has fully chilled, it may take on a jiggly consistency. For a creamier texture, gently whisk the chilled pudding to aerate it and achieve your desired creaminess.
Pudding is best eaten within 1-2 days of being made, but it will last up to 3 days. As the days go on, the pudding might release some moisture. This is fine to consume, just stir it back into the pudding before serving.
Go ahead and put a big dollop of whipped cream onto this pudding!
Want to use this in a pie? Know that this pudding is on the thinner side. If you want to use it as a pie filling, add an additional tablespoon of cornstarch to the recipe.
More Dessert Recipes
I am so honored when you make a recipe from my site! If you make this Homemade Vanilla Pudding, please leave a star ⭐️⭐️⭐️⭐️⭐️ rating with your experience! If you have any questions about this recipe, feel free to comment here, and tag me on Instagram!
Full Recipe
Homemade Vanilla Pudding
Homemade Vanilla Pudding is pure comfort food. It’s made using common kitchen ingredients, takes only about 15 minutes to put together, and is ridiculously good.
- Prep Time: 00:05
- Cook Time: 00:10
- Total Time: 15 minutes
- Yield: 6 servings
- Category: Dessert
- Method: Stovetop
- Cuisine: American
Ingredients
- 1 fresh vanilla bean or 2 teaspoons vanilla extract
- ⅔ cup (135 grams) granulated sugar
- 3 tablespoons (21 grams) cornstarch
- Pinch coarse kosher salt
- 2 large eggs
- 2 egg yolks
- ½ cup (115 grams) heavy cream
- 2-½ cups (510 grams) whole milk
- 4 tablespoons (30 grams) butter
Instructions
- If using a vanilla bean, use a sharp knife to cut it in half lengthwise. Scrape out the vanilla caviar from inside.
- In a heavy-bottomed medium pot, combine the sugar and vanilla caviar. Rub the vanilla together with the sugar to break up the clumps.
- Add in the cornstarch and salt and whisk together to combine. Whisk in the eggs and yolks and about the cream until smooth. Whisk in the milk and then add the vanilla bean into the pot.
- Turn on the heat to medium. Cook the mixture, whisking constantly and occasionally using a rubber spatula to scrape up any thickened pudding in the edges of the pan, until the pudding has fully thickened and large bubbles are forming and popping, about 8 minutes.
- Remove from the heat and immediately pour the pudding through a fine-mesh strainer into a bowl, using the spatula to push all the pudding through the strainer and leaving the vanilla bean behind. Whisk the butter into the pudding until fully combined. If you are using vanilla extract, add that here.
- Leave the pudding in the bowl or transfer it into individual serving containers and smooth over the top. Place a piece of plastic wrap on the surface of the pudding to prevent a "skin" from forming. Let cool to room temperature before chilling in the refrigerator for at least 3 hours or overnight.
Notes
If you are using the fresh vanilla bean and want to go the extra mile to make this pudding outstanding, the night before you plan to make the pudding, make the vanilla sugar using steps 1-2. Store the vanilla sugar in a glass airtight container until ready to make the pudding.
Want to use this in a pie? Know that this pudding is on the thinner side. If you want to use it as a pie filling, add an additional tablespoon of cornstarch to the recipe.
Some of the links on this page may be affiliate links. Everyday Pie is a participant in the Amazon Associates Program. As an Amazon Associate I earn from qualifying purchases, at no extra cost to you.



Briana Villarrubia
I want to make a bit more pudding. Wondering if you have done 1.5 the amount of ingredients or doubled it and if it turns out fine. Also using good quality vanilla. So a tablespoon to make this receipt? Thanks for any thoughts.
Kelli Avila
Yes, you can increase the recipe to 1.5 with no problem! Vanilla to taste 🙂
Karen Williams
Great can't wait to make my pie
Tina
Yummy!
Easy to make, with no clumping. Love your instructions to whisk sugar with cornstarch and then remaining ingredients. I’ve made this often. It’s my husband’s favorite.