This tutorial will show you How to Glaze Fruit for a simple yet effective way to elevate the look (and prolong the freshness) of homemade fruit tarts and other fruit desserts.
Want to save this recipe?
Enter your email & I'll send it to your inbox. Plus, get weekly updates from me!
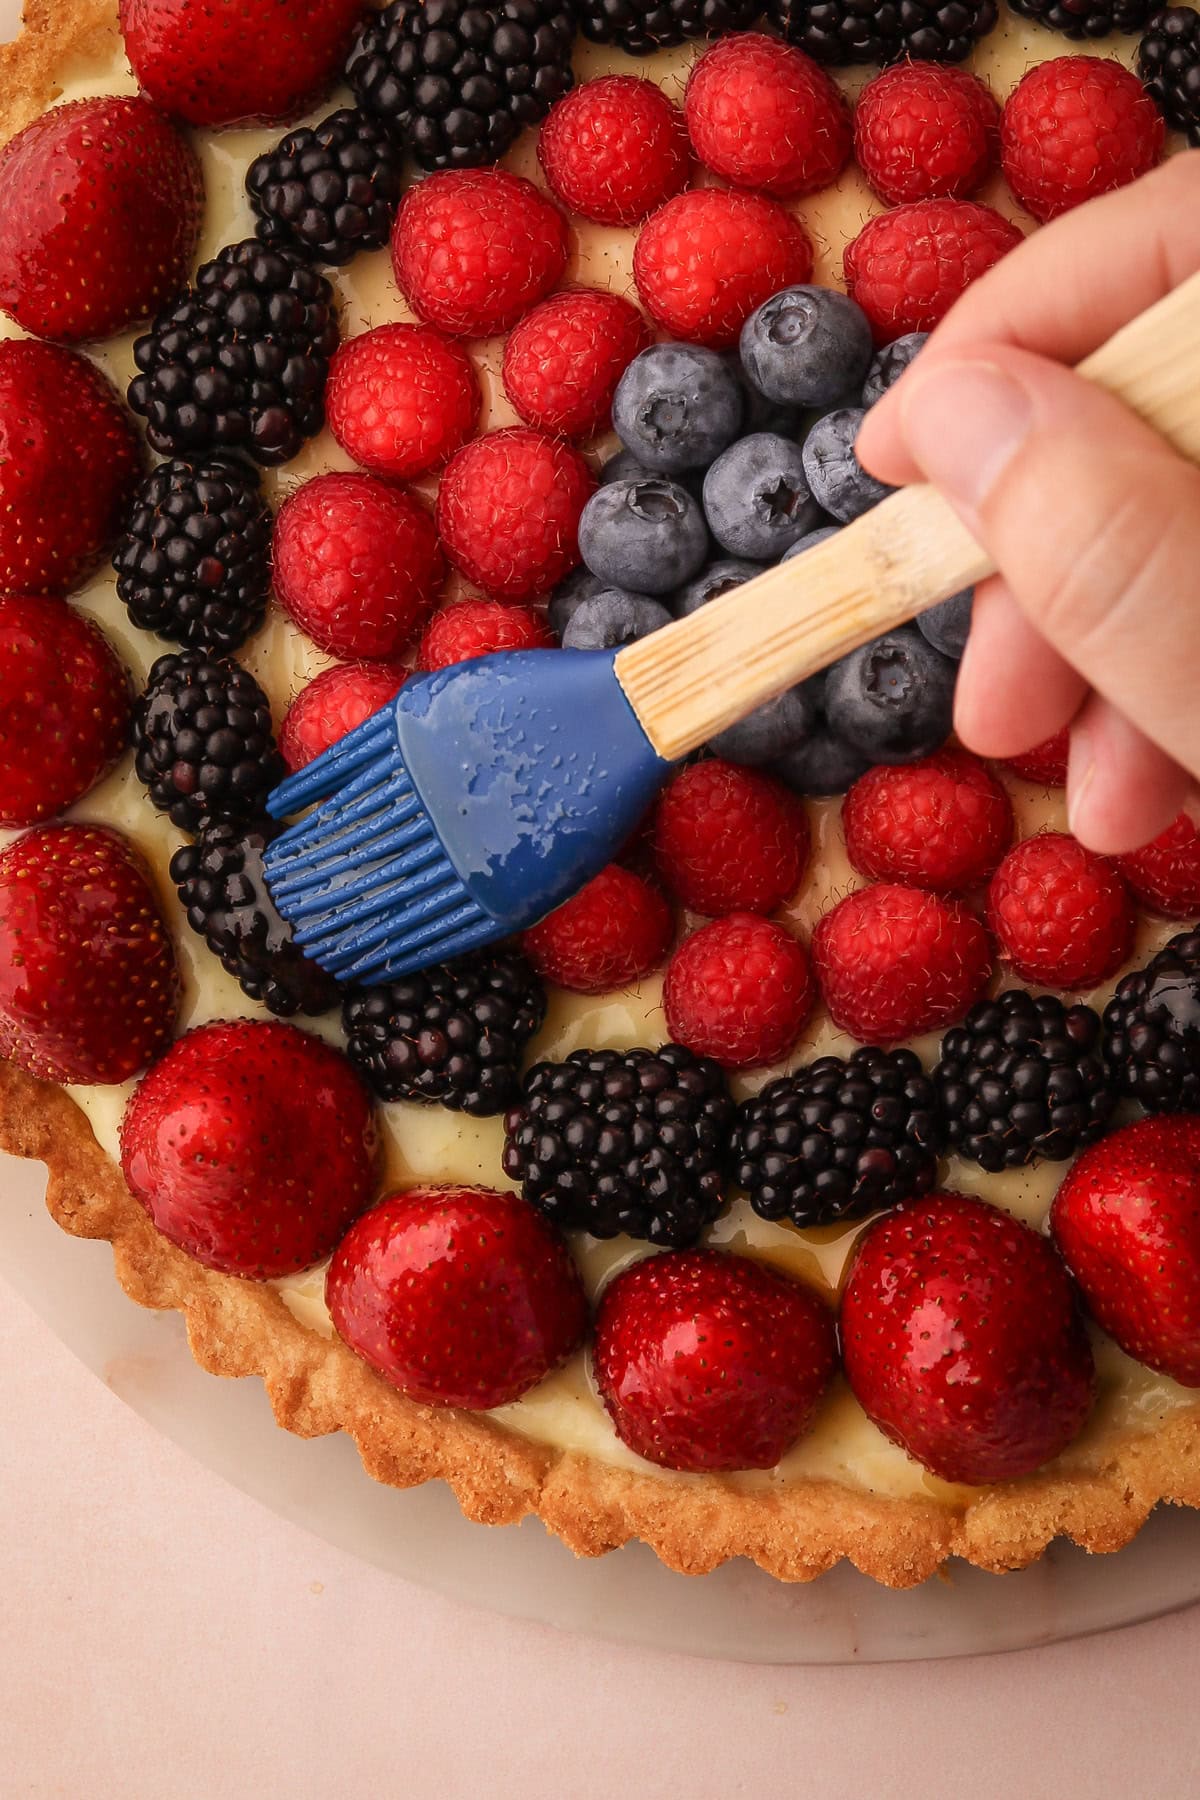
If you've ever walked past a bakery case full of fresh fruit desserts, you know they often have a beautiful sheen that makes them look irresistibly delicious. You might think achieving that look at home is difficult, but it's actually quite simple. Making a fruit glaze is easy—all you need is a bit of jam or preserves. This tutorial will guide you through the step-by-step process and share essential tips to help you successfully glaze your fruit tarts and other desserts on your first try.
Benefits of Using a Fruit Glaze
There are a few benefits to glazing fresh fruit on a dessert:
- Appearance: A well-applied glaze gives fresh fruit a glossy, attractive finish, making desserts look more visually appealing and professional.
- Freshness: The glaze creates a barrier that locks in the fruit's moisture, preventing it from drying out and extending its shelf life.
- Taste: The added sweetness from the glaze can enhance the fruit's flavor, especially when using complementary jams or preserves.
- Stability: A glaze helps to keep the fruit in place on the tart, which can be useful for intricate designs or when transporting the dessert.
And Why Some People Don't Like a Fruit Glaze
While glazing a tart can enhance its appearance and longevity, it can also be used to mask imperfections or disguise the fact that a dessert is not fresh. Many bakeries and shops rely on glazes to extend the shelf life of fresh fruit desserts (I know this from experience; one of my bi-weekly tasks at a previous job was to assemble and glaze dozens of tarts, which my employer hoped would last 2-3 days in the pastry case). However, when making a fresh fruit dessert at home, you might not need those benefits. After all, if you’re putting in the effort to make the dessert, you likely want to serve it at its peak freshness.
One downside is that a glaze can add sweetness that may mask the subtle flavors of exceptional, in-season fruit. Therefore, it's perfectly fine to skip the glazing step if you want to highlight the natural freshness and beauty of your fruit, I often do!
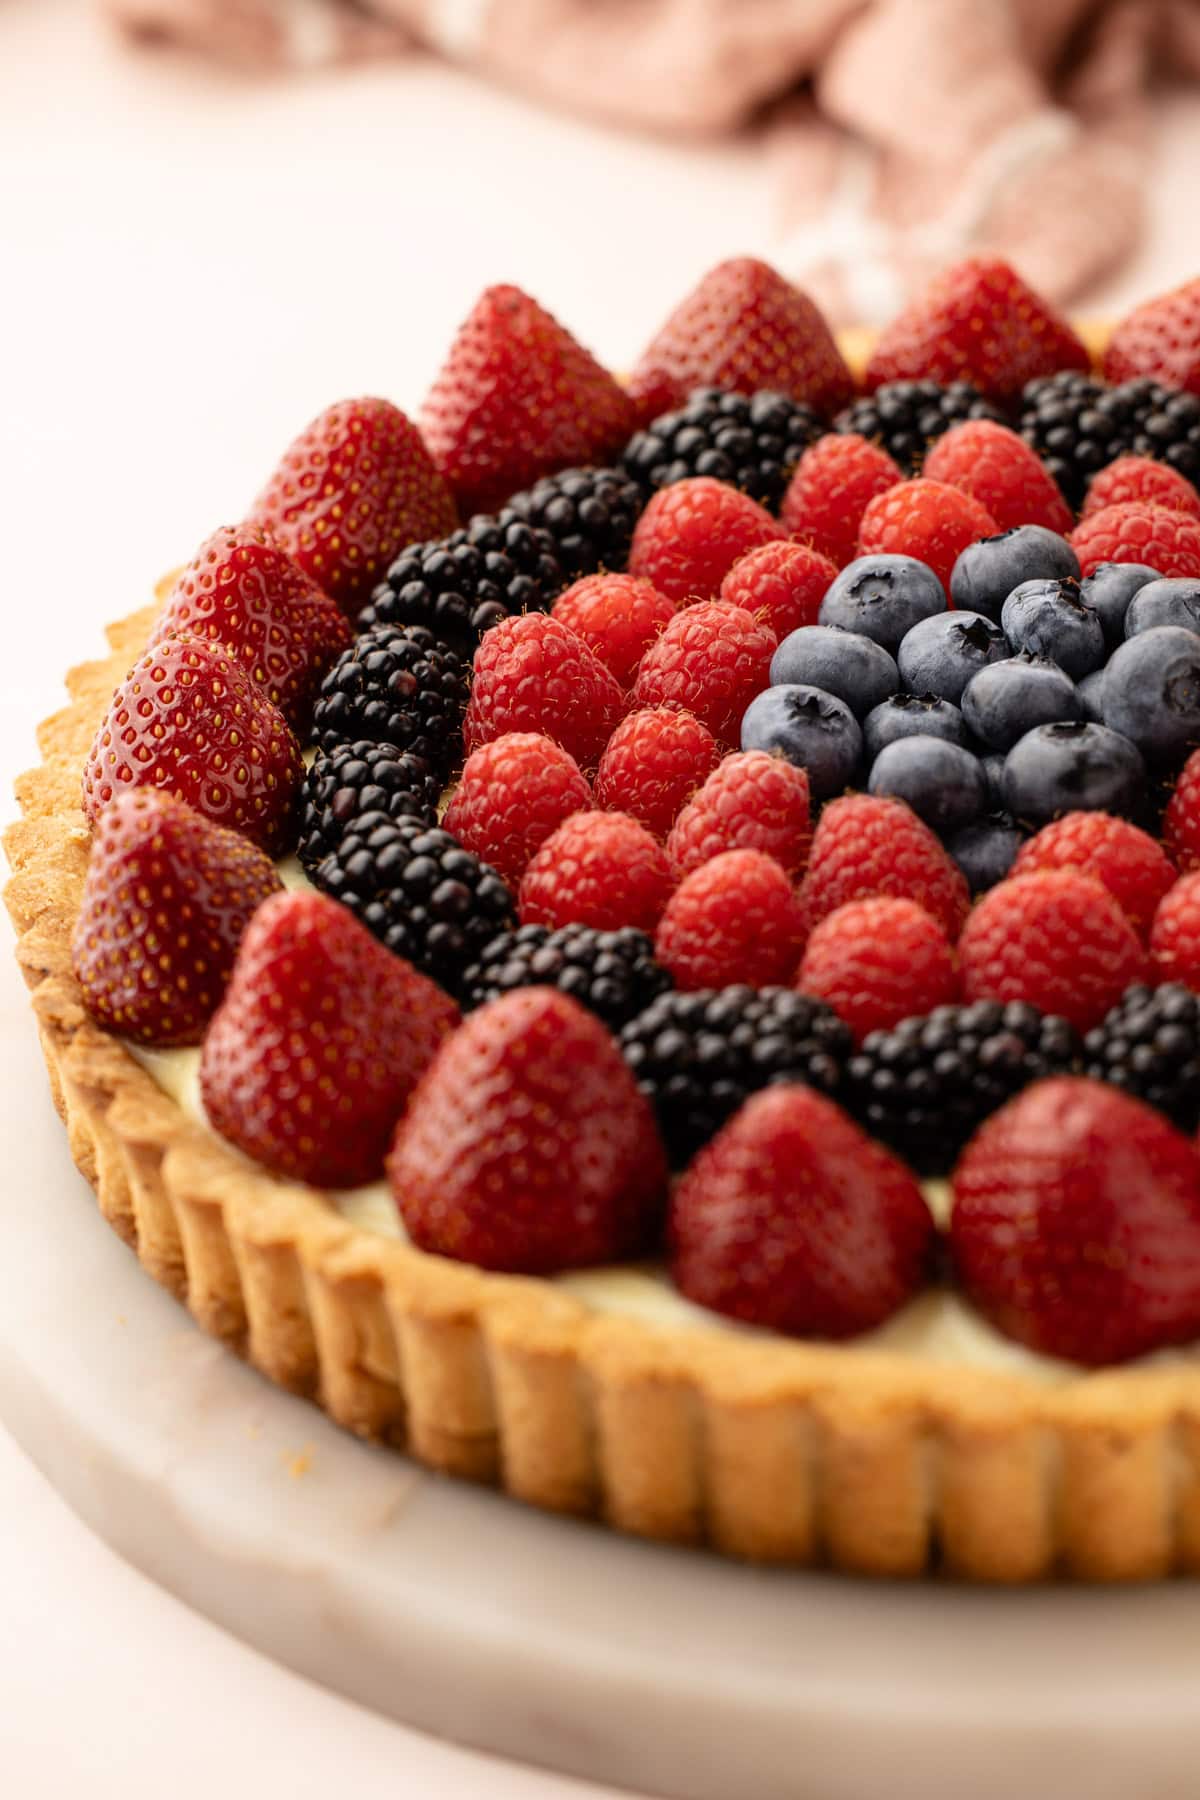
A freshly made fruit tart without a fruit glaze.
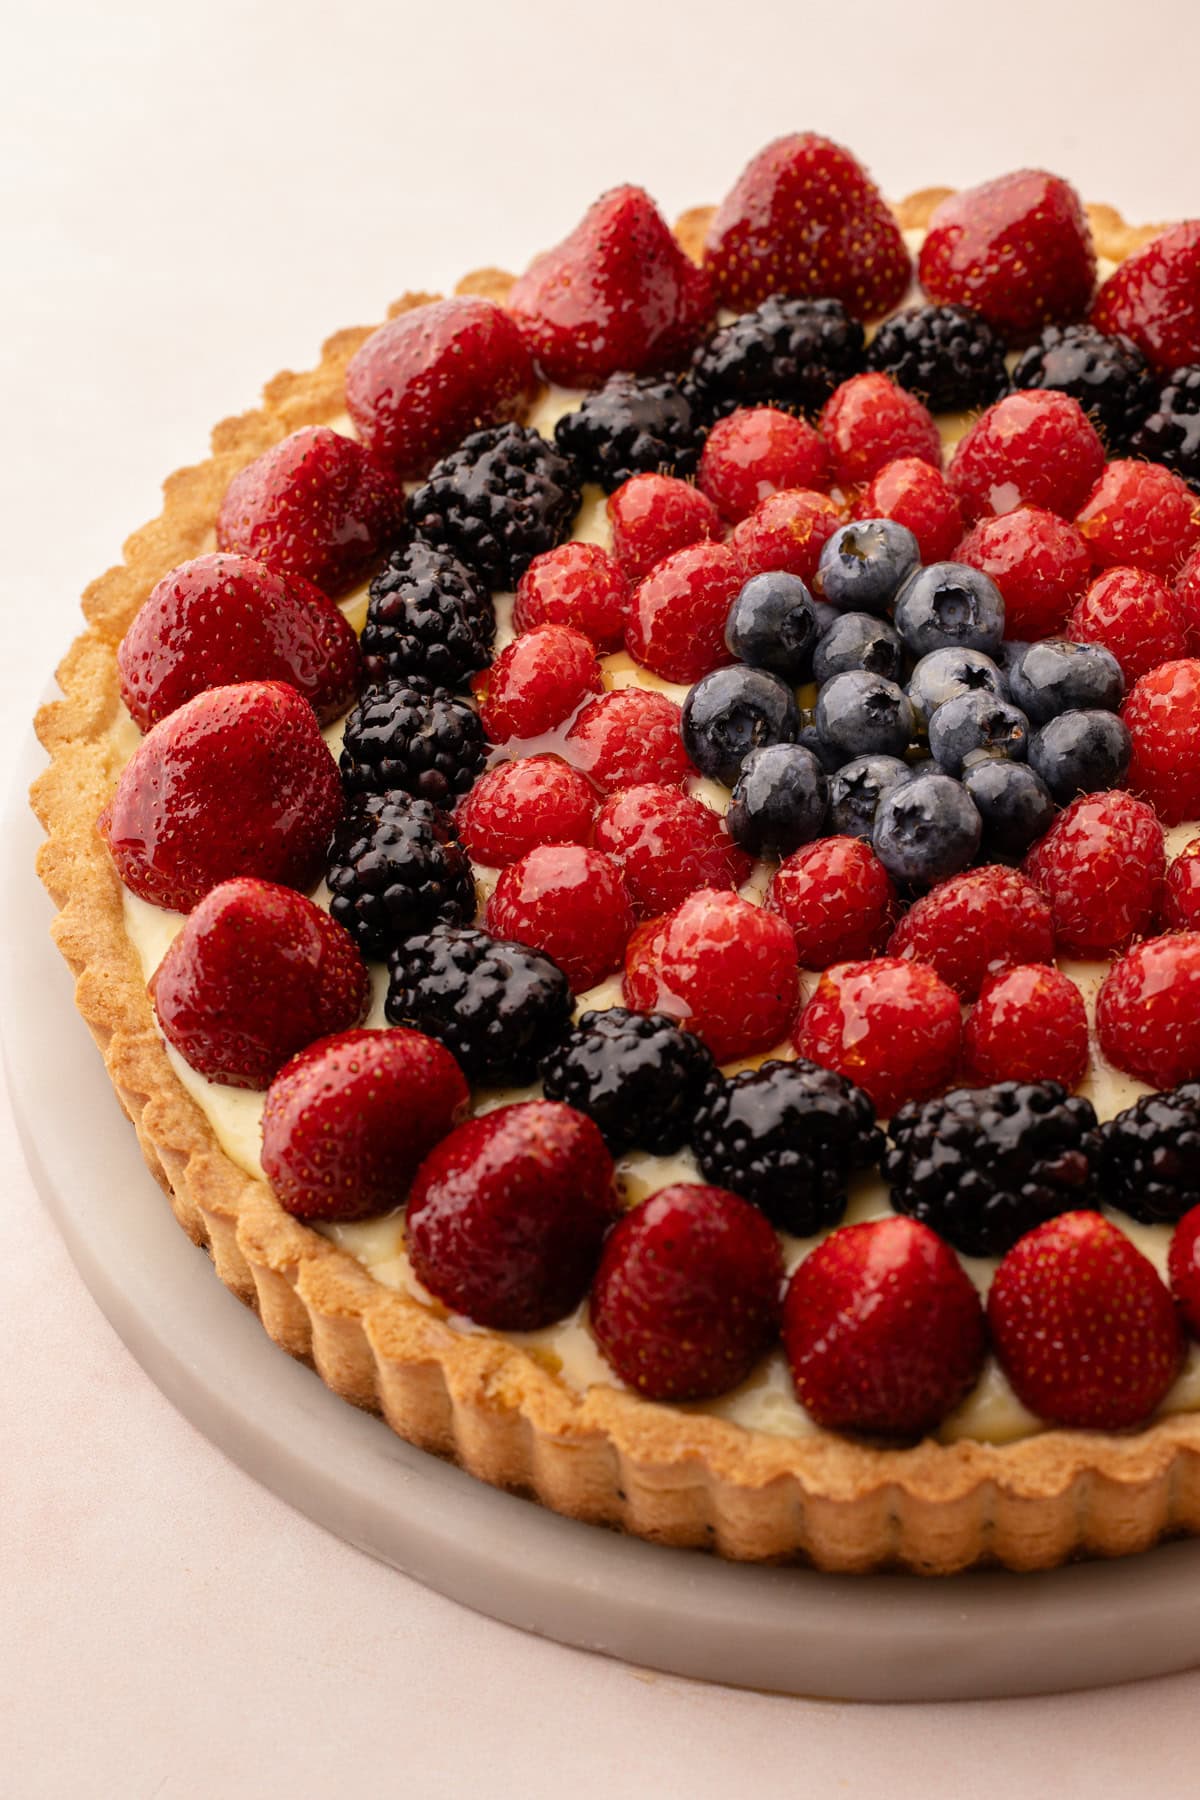
A fruit tart with an apricot fruit glaze.
Choosing the Right Jam or Preserve
The only requirement is to choose what type of jam, fruit preserves, or jelly you want to use. The brand and flavor are entirely up to you. Apricot preserves is what is most commonly used, especially in professional settings, due to their neutral flavor and clear finish.
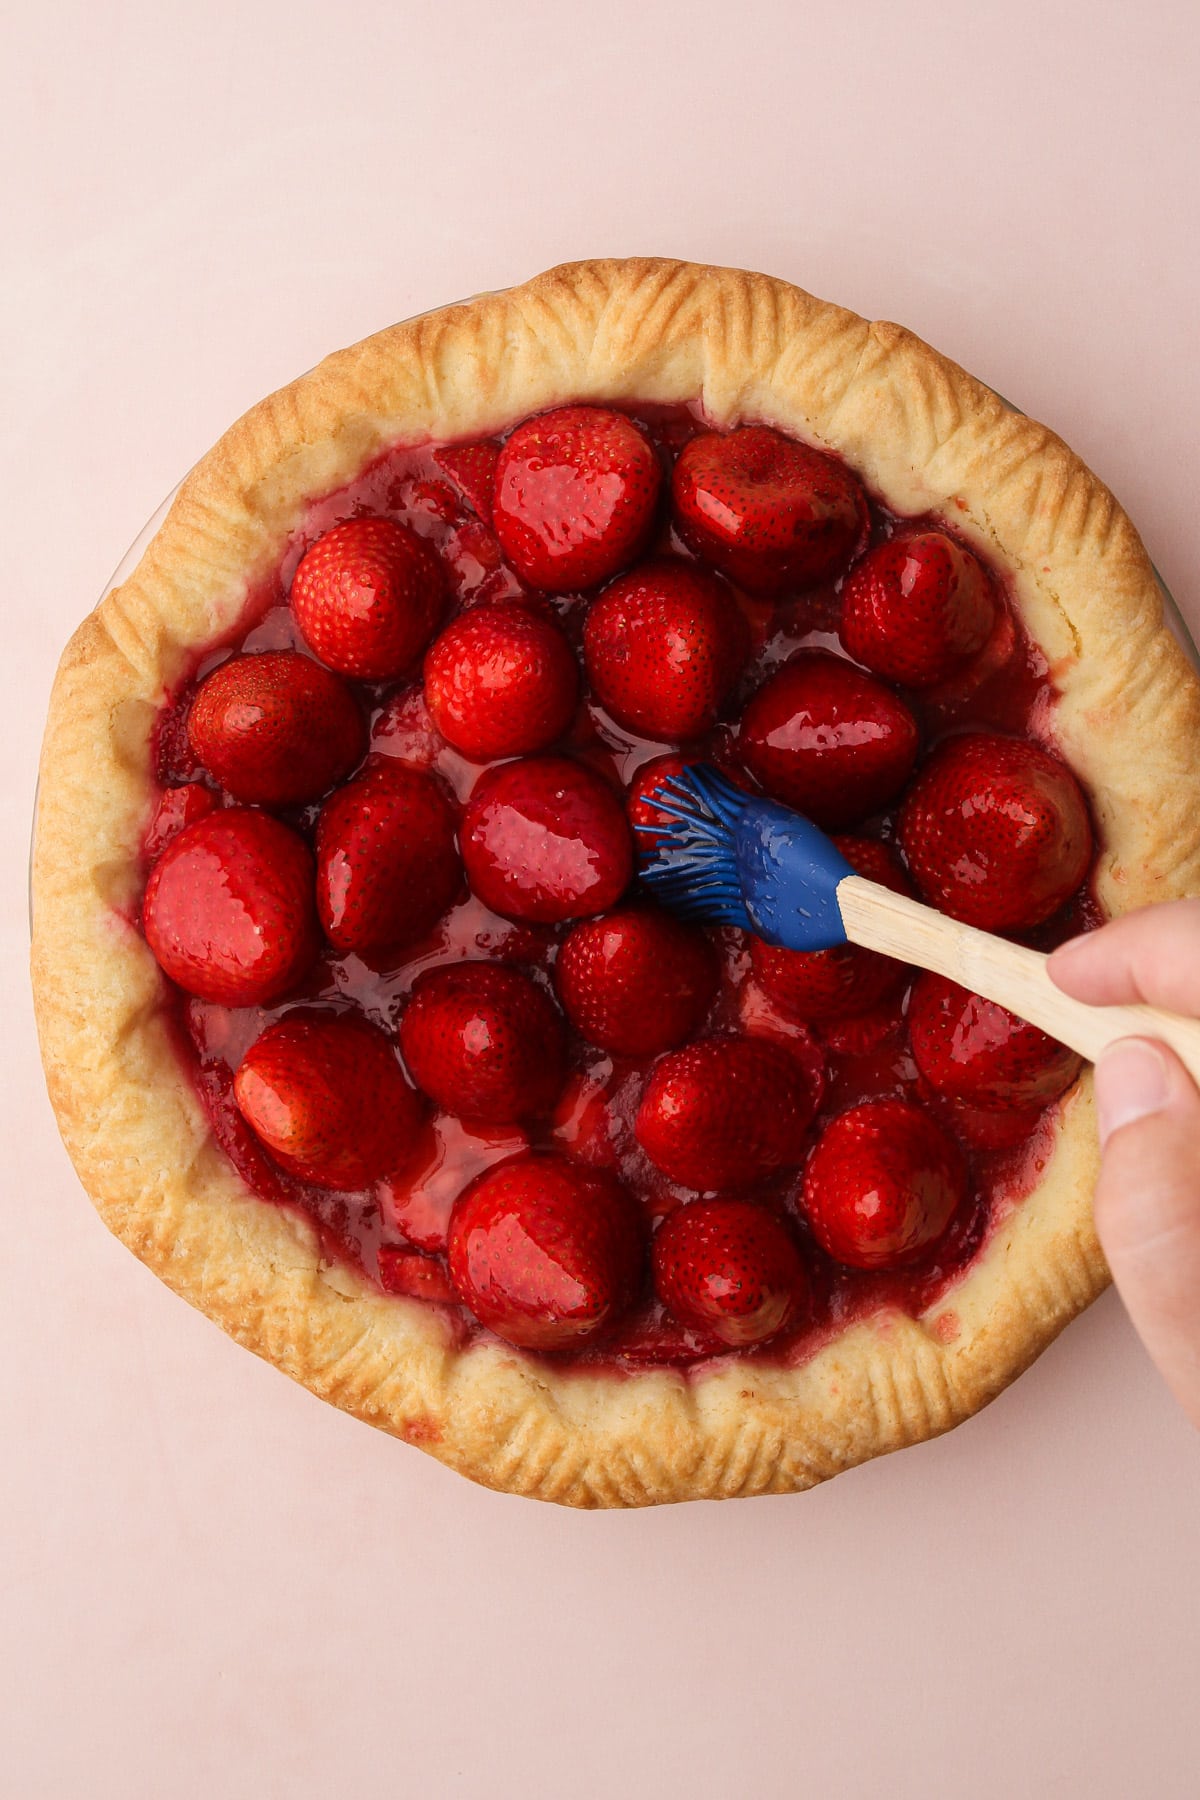
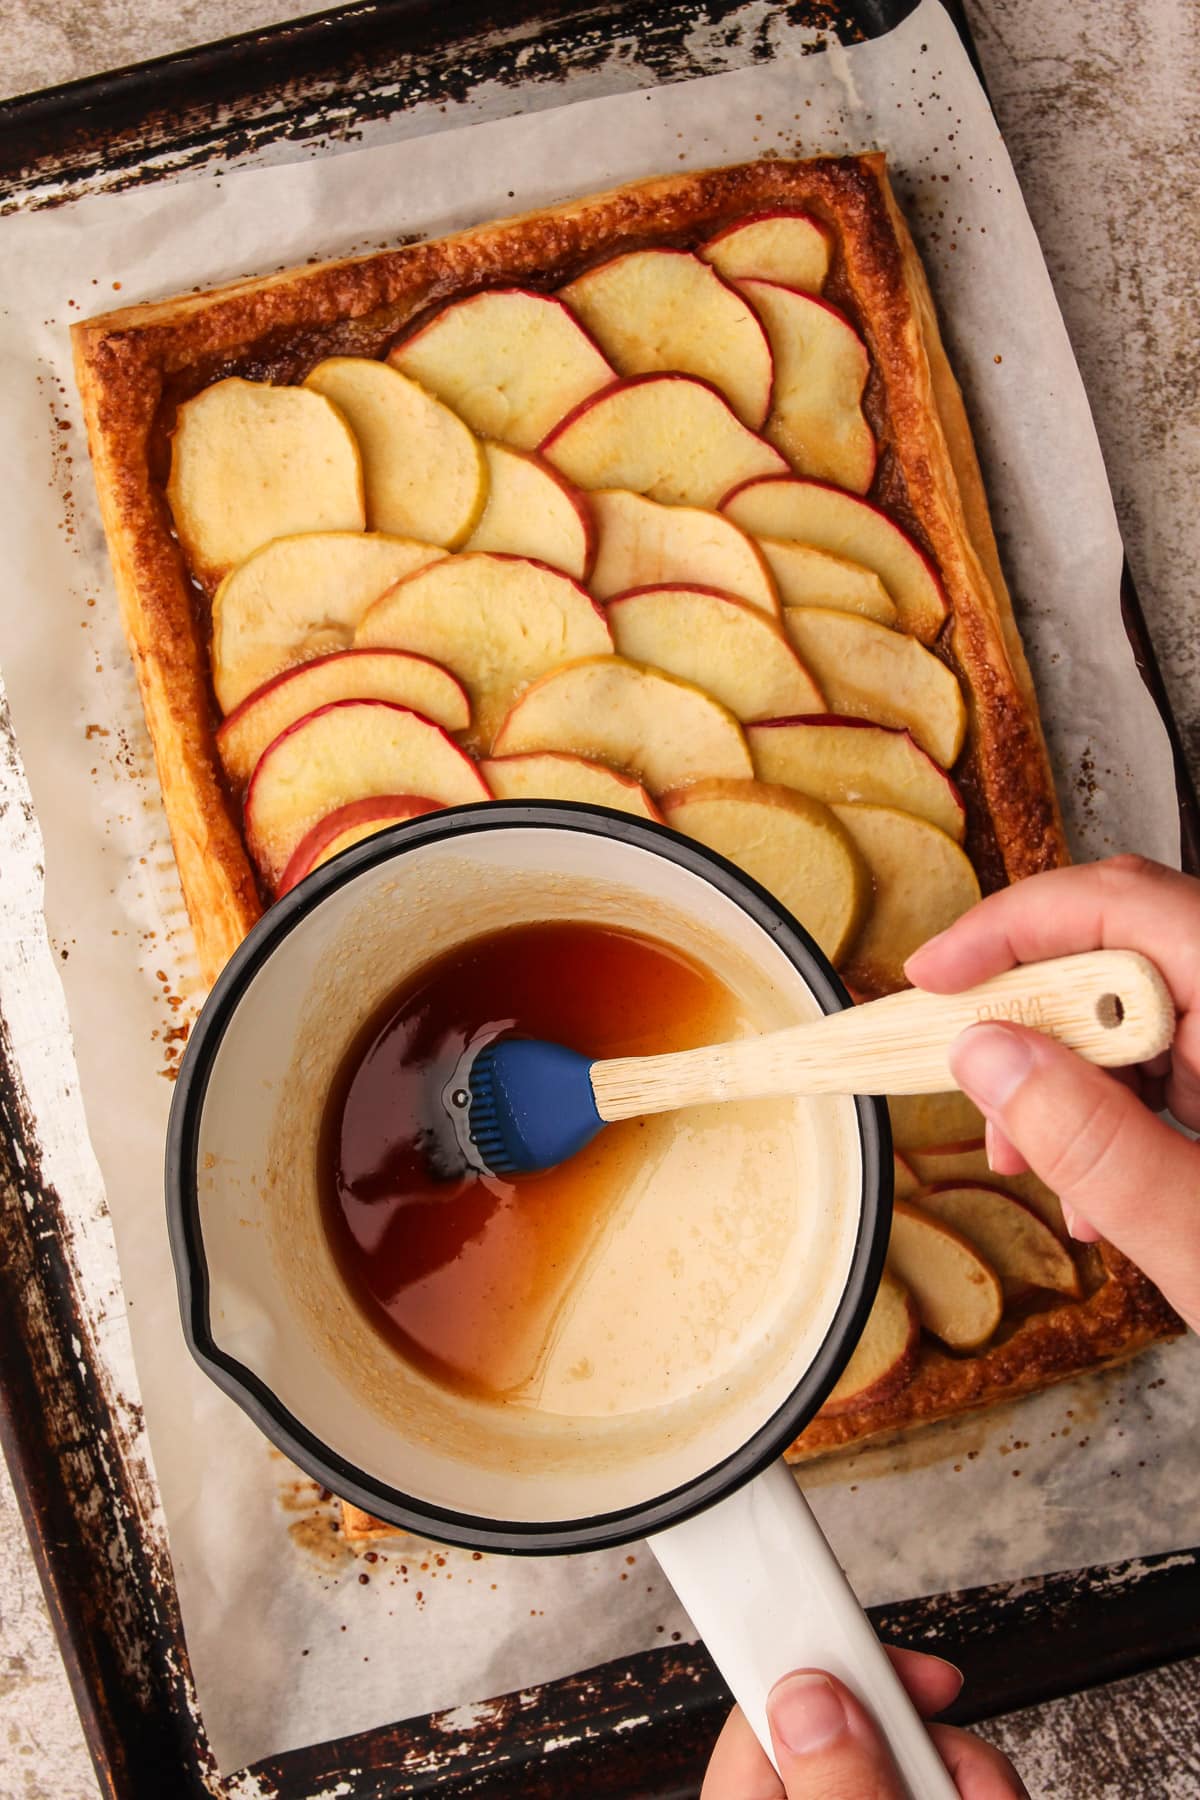
However, you can use other types of jelly or preserves to achieve the desired flavor profile. For instance, you might use strawberry jam to glaze a Fresh Strawberry Pie, adding an extra layer of flavor. For my Apple Tart, I glaze the apples with apple cider jelly.
Also, consider the impact the color of the jam will have on the fruit. Will it complement the fruit? For instance, red currant jelly adds a vibrant red hue. And grape jelly will add a darker hue.
Step-by-Step Tutorial
The jam, which is thick with a naturally high pectin content, must be thinned, heated, and strained before use as a fruit glaze. The final consistency after it is heated and strained should be similar to heavy cream.
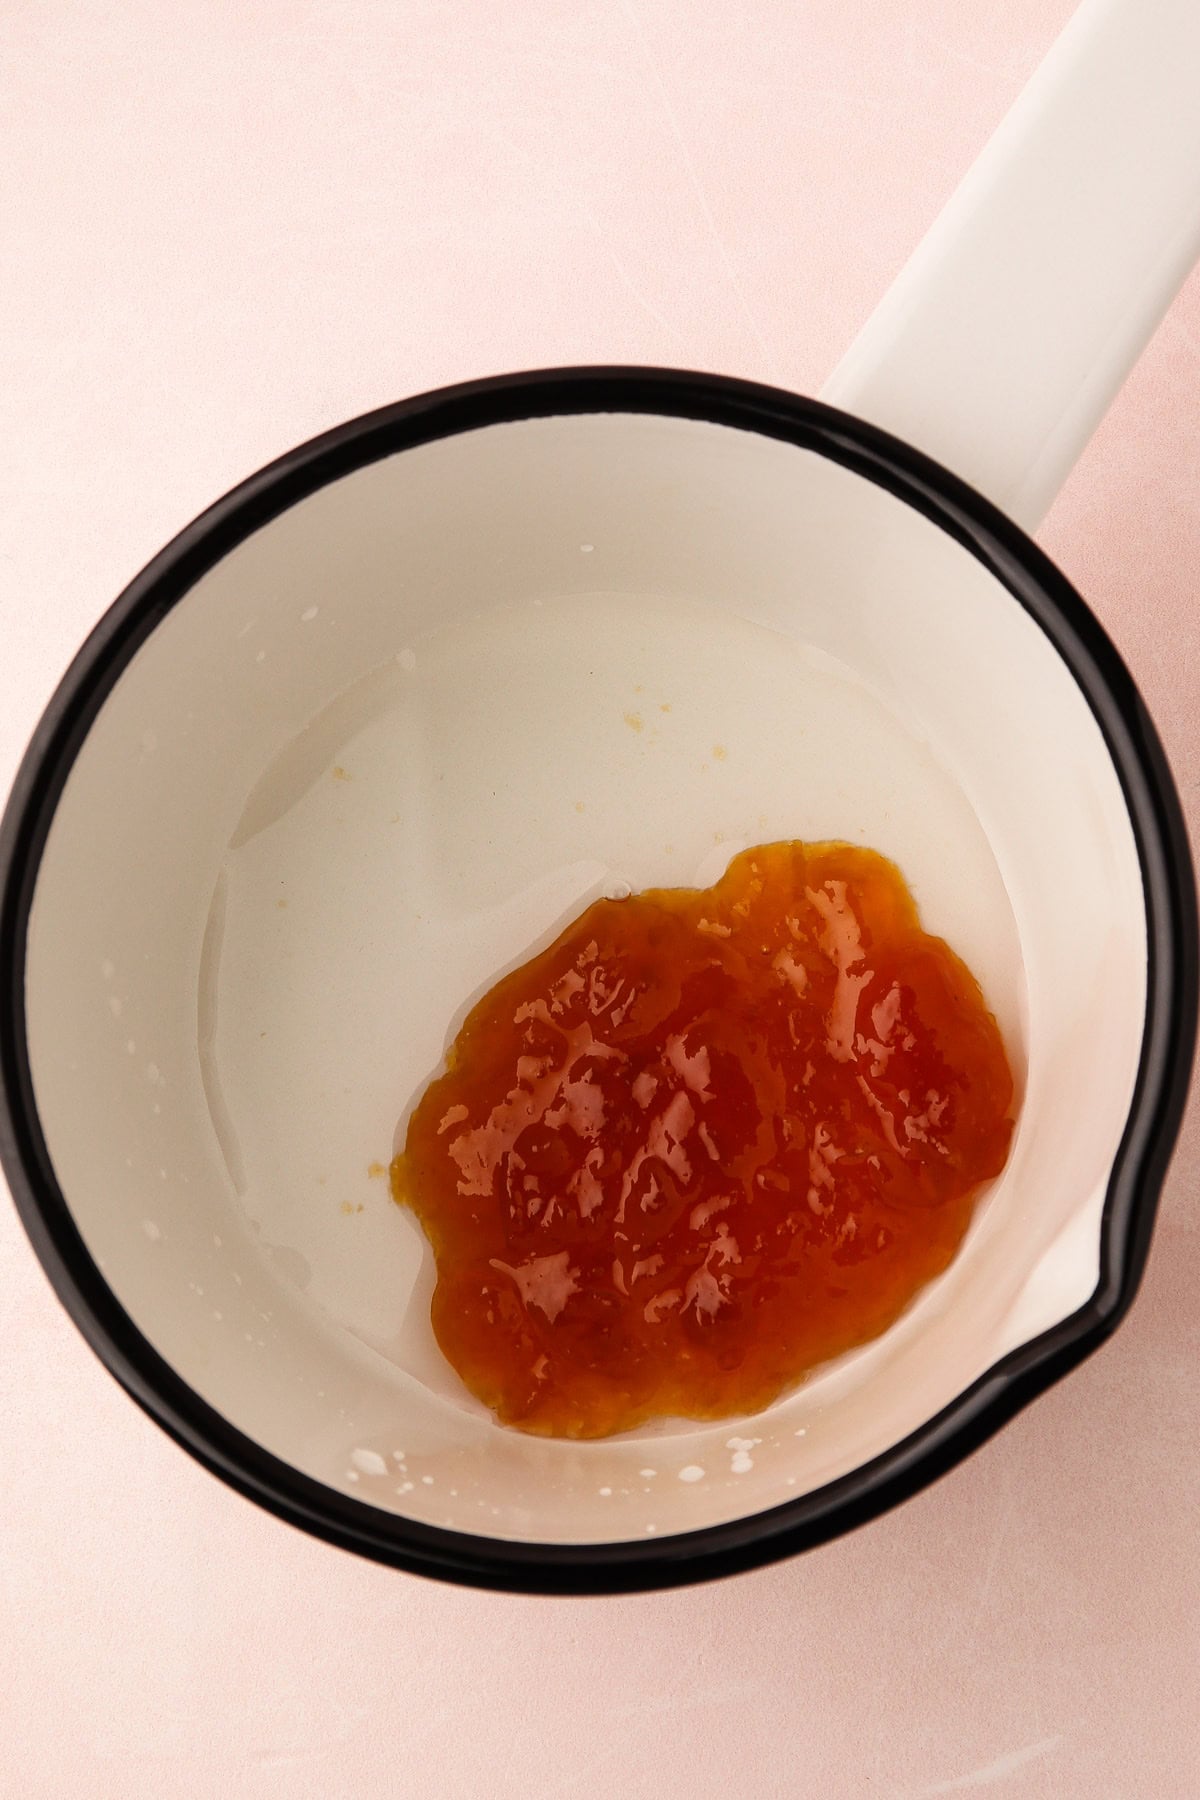
Step 1: Combine the preserves and water.
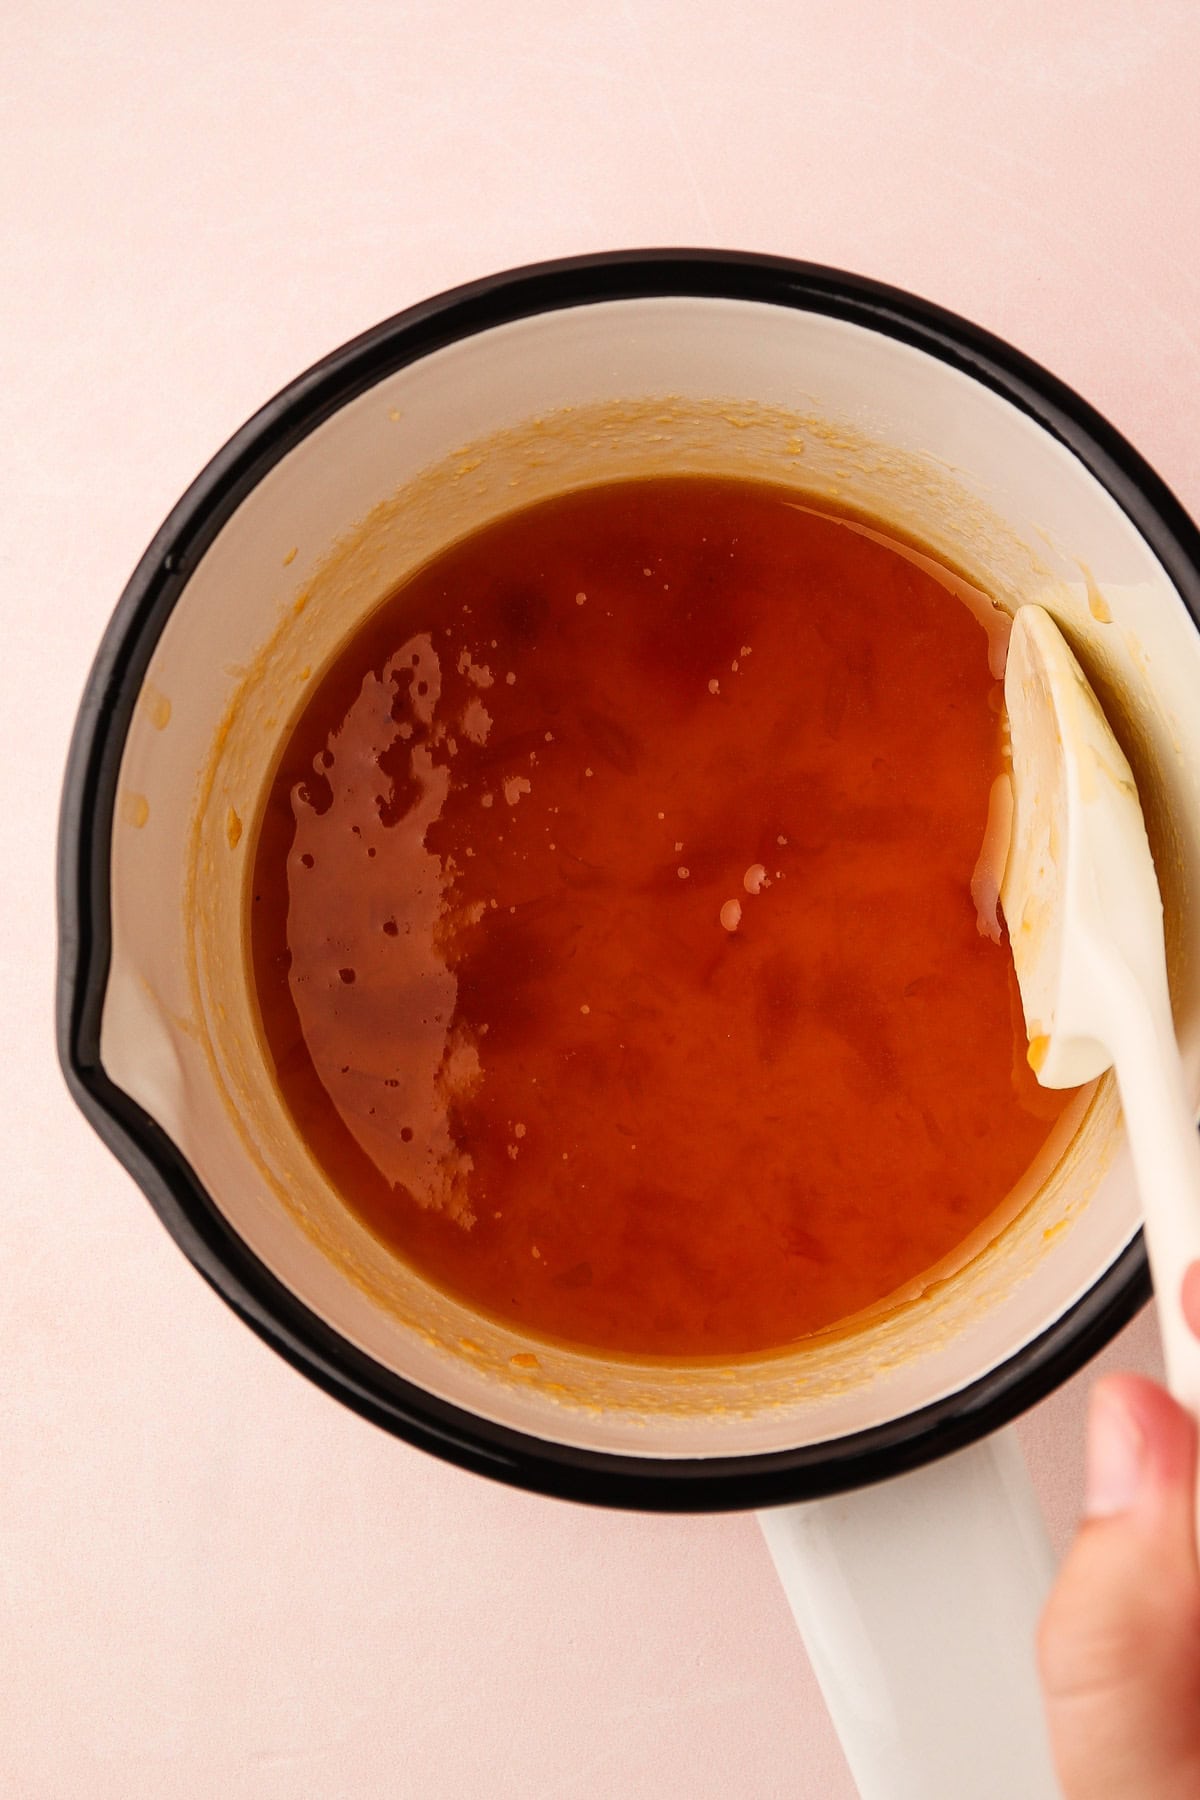
Step 2: Cook over low heat until the preserves have melted and it is starting to simmer.
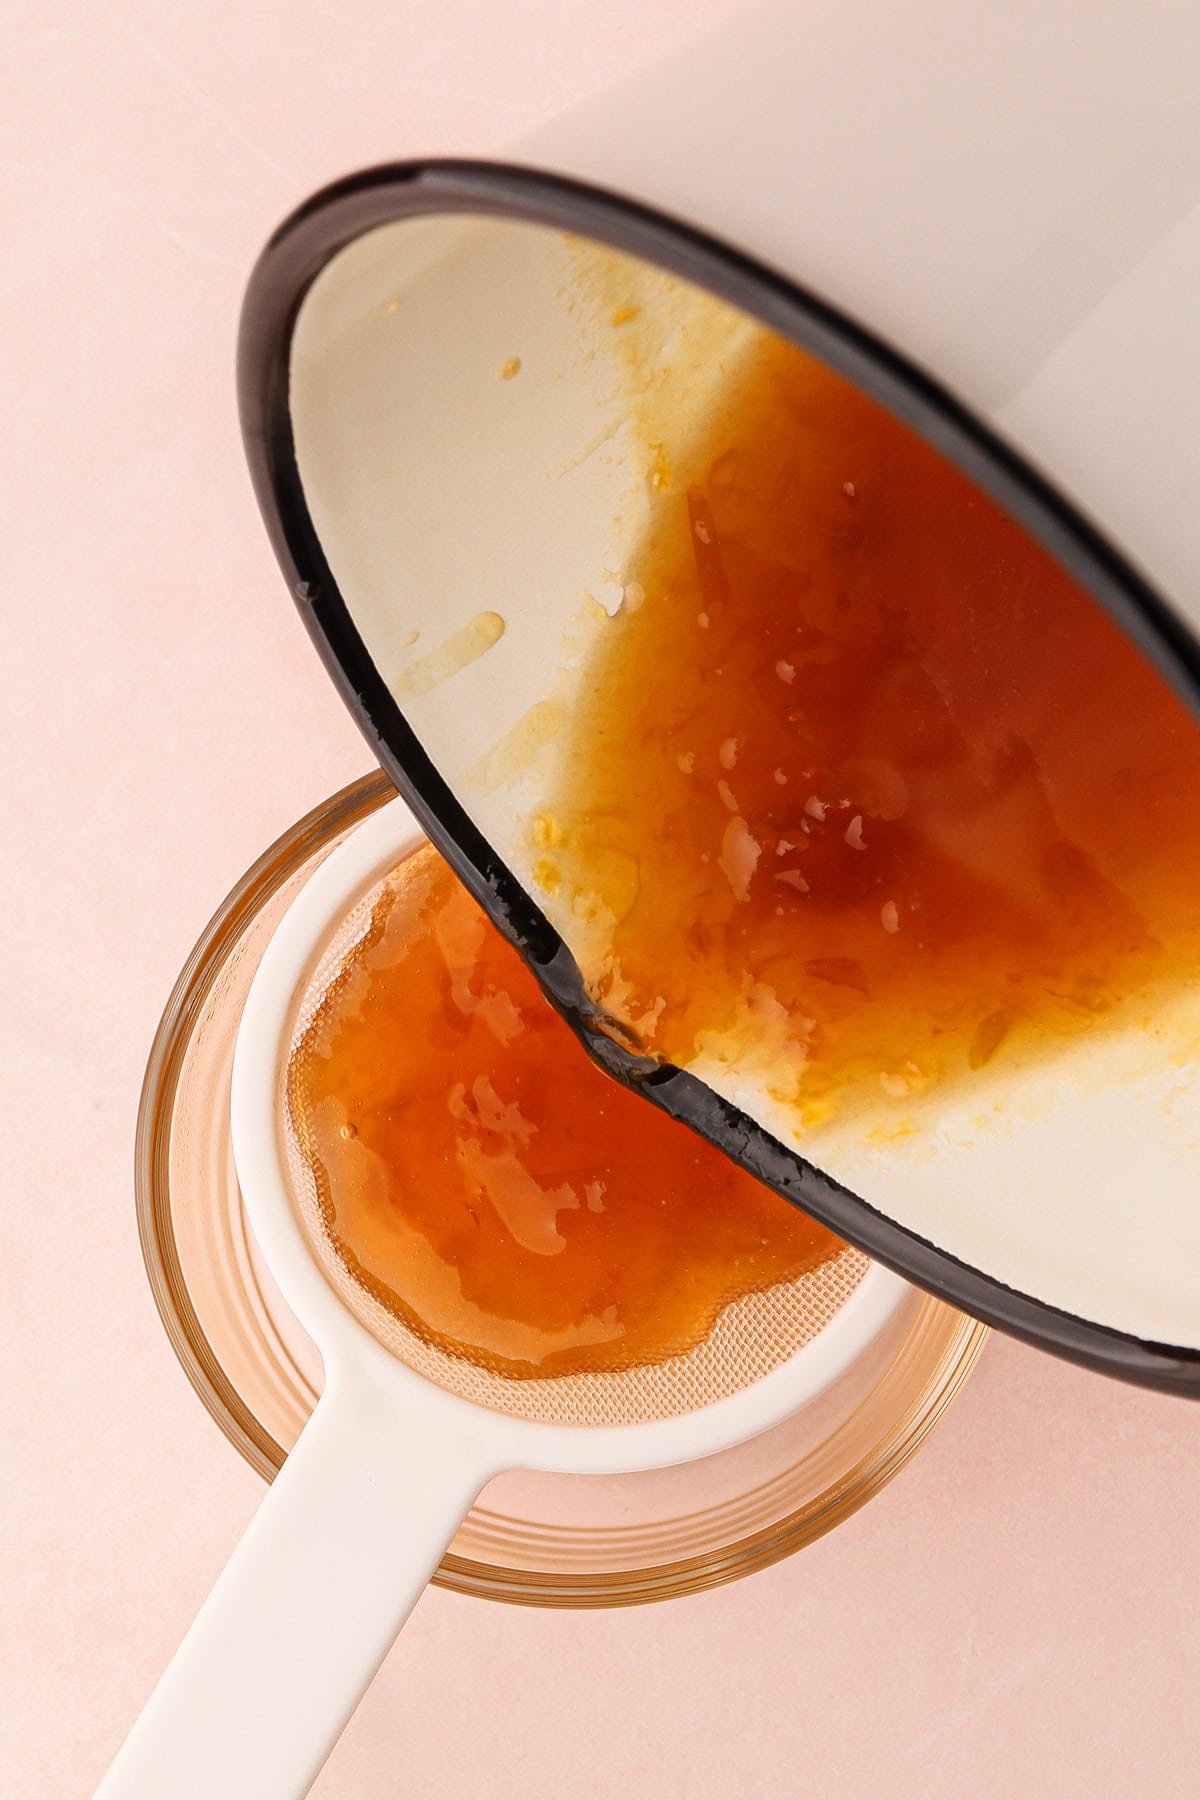
Step 3: Strain the mixture through a fine mesh strainer into a small container. Any preserves left in the strainer can be returned to the original jar.
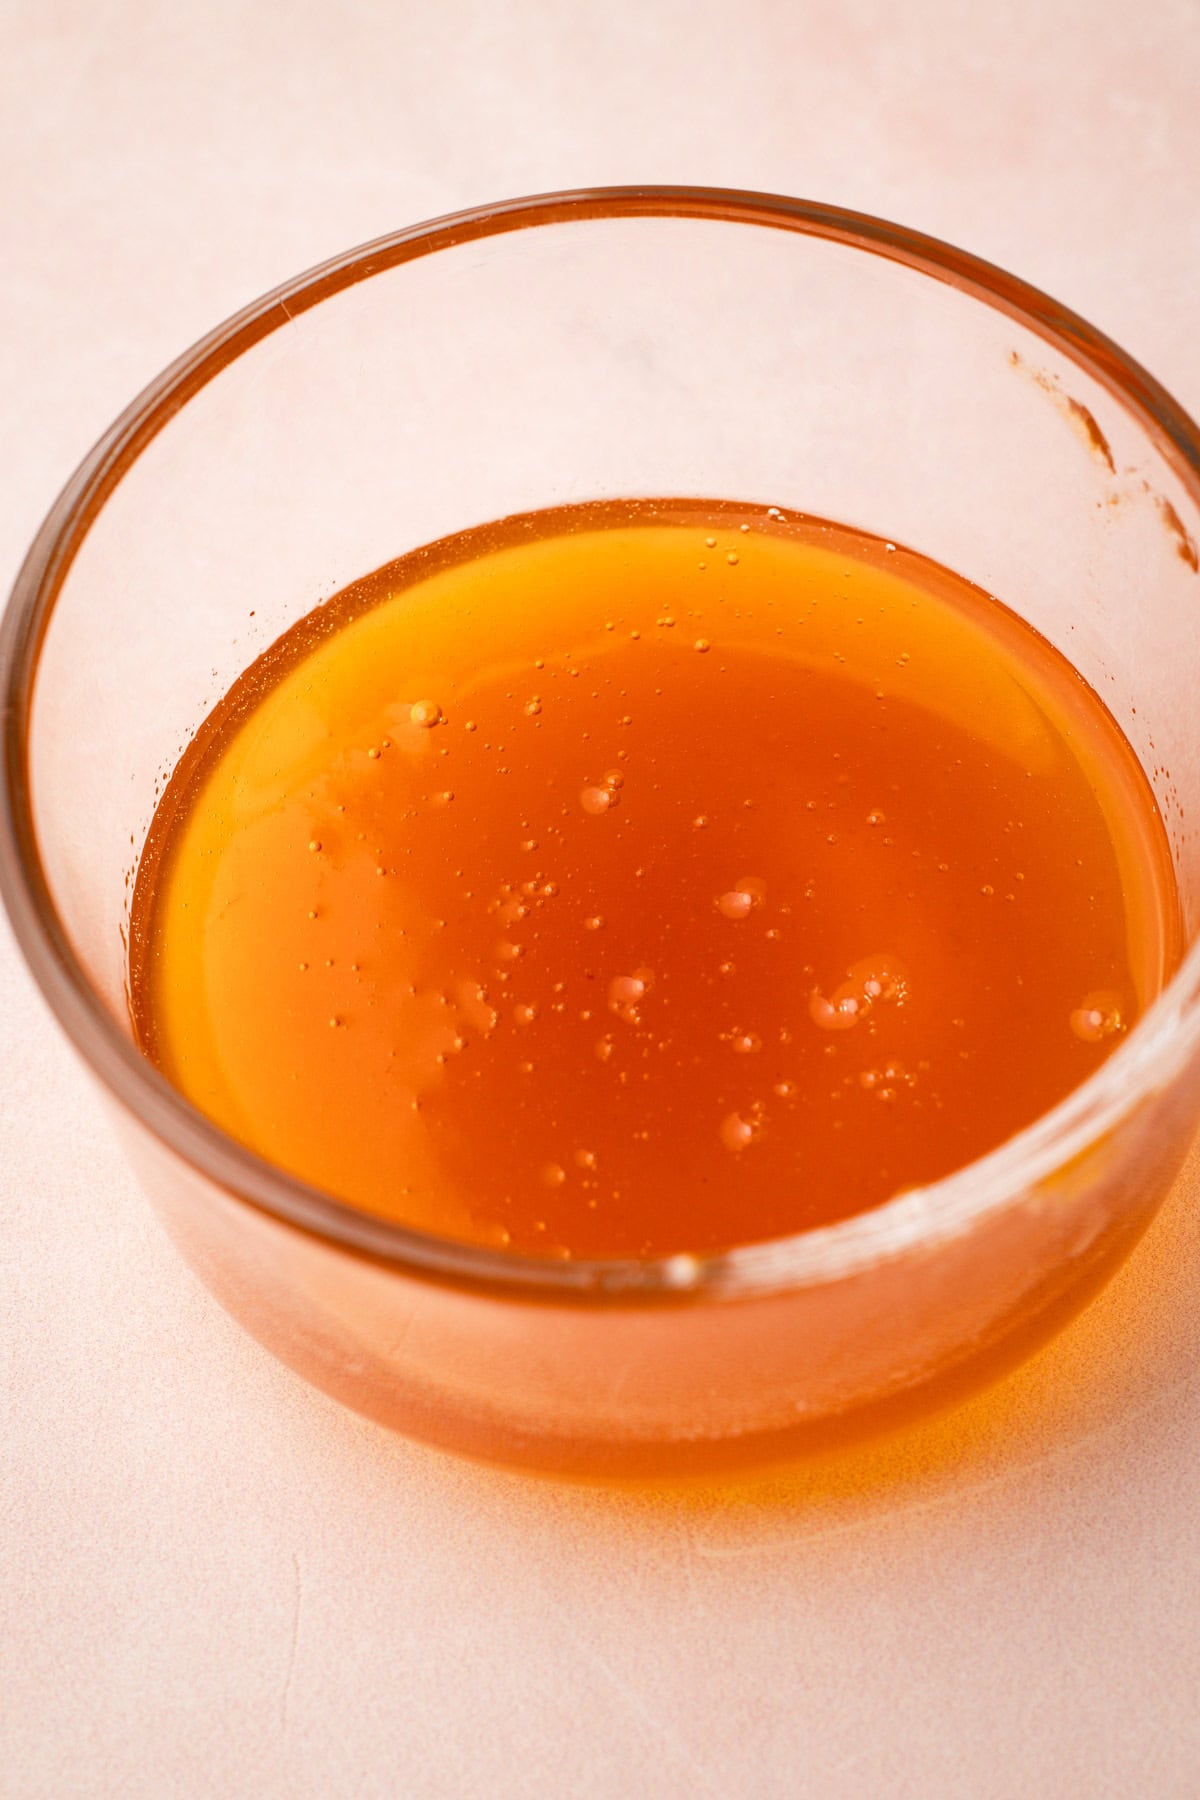
Step 4: Allow the glaze to cool for a few minutes, but not too long as it can start to set. If it's too hot, it can "cook" the fruit, which will make the fruit change shape and possibly shrink.
Kelli's Best Tips
There are a few tips to keep in mind when making and applying a fruit glaze.
- Ensure any fruit being glazed is completely dry before applying the glaze. If the fruit is cut, use a paper towel to absorb any excess moisture.
- A silicone pastry brush is ideal for this task because excess glaze drips off easily, and it's more effective for applying wet ingredients.
- Take the Goldilocks approach with the temperature—the glaze should be warm, but not hot. If it's too hot, it will cook the fruit; if too cold, it will be gloopy and won't adhere well.
- Don't double glaze. Apply just one coat, as it sets up quickly once it cools and will become too thick with multiple layers.
More Kitchen Tutorials
- How to Make (and Use) an Egg Wash
- How to Peel Peaches
- How to Use a Kitchen Scale
- How to Read a Recipe
More Fresh Fruit Recipes
If you use this Fruit Glaze tutorial, please leave a star ⭐️⭐️⭐️⭐️⭐️ rating with your experience! If you have any questions about this recipe, feel free to comment here, and tag me on Instagram!
PrintFull Recipe
How to Glaze Fruit
This tutorial will show you How to Glaze Fruit for a simple yet effective way to elevate the look (and prolong the freshness) of homemade fruit tarts and other desserts.
- Prep Time: 00:02
- Cook Time: 00:03
- Total Time: 5 minutes
- Yield: ¼ cup fruit glaze
- Category: Tutorial
Ingredients
- ¼ cup fruit preserves or jam or preserves
- 1-2 tablespoons water
Instructions
- In a small saucepan, combine the preserves and water. Cook over low heat until the preserves have melted and the mixture is smooth, about 2-3 minutes.
- Remove the saucepan from heat and strain the mixture through a fine mesh strainer into a small container.
- Allow the glaze to cool for a few minutes, but not too long as it can start to set.
- Using a silicone pastry brush, lightly and evenly apply the barely warm glaze to the fruit. If the glaze thickens, gently reheat it with a bit of additional water as needed.
Notes
To ensure the perfect fruit glaze consistency, test it by glazing just one piece of fruit first. It's a delicate balance between adding enough glaze to cover the fruit without making it gummy. If the glaze is too thick, reheat and add a bit more water. If it's too thin, reduce the glaze on the stove until it reaches the desired consistency.
Leftover glaze can be stored in an airtight container in the refrigerator and reheat before using again.
Some of the links on this page may be affiliate links. Everyday Pie is a participant in the Amazon Associates Program. As an Amazon Associate I earn from qualifying purchases, at no extra cost to you.






Leave a Reply