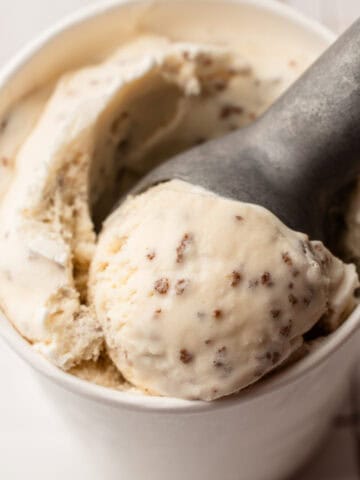
This Buttermilk Ice Cream is a tangy, refreshing perfectly balanced dessert. The egg-free base is simple to make, and does require an ice cream machine to freeze it.

Want to save this recipe?
Enter your email & I'll send it to your inbox. Plus, get weekly updates from me!
You’ve probably never had buttermilk ice cream before, and honestly, I hadn’t either until I made it at home for the first time this past spring. It’s a little unexpected at first (kind of like this Maple Buttermilk Pie), but once you taste it, it all makes sense. Like any great dessert, it’s about balance, and buttermilk brings just the right amount of tang to cut through the sweetness of the sugar and richness of the cream.
This is a Philadelphia-style ice cream, meaning it is made without eggs. Because it doesn't have the stability of a custard, a few uncommon ingredients are needed for the ice cream base (it's milk powder and a bit of cream cheese). They help keep it smooth and scoopable straight from the freezer. While you do need an ice cream maker to churn it, the base comes together very easily.
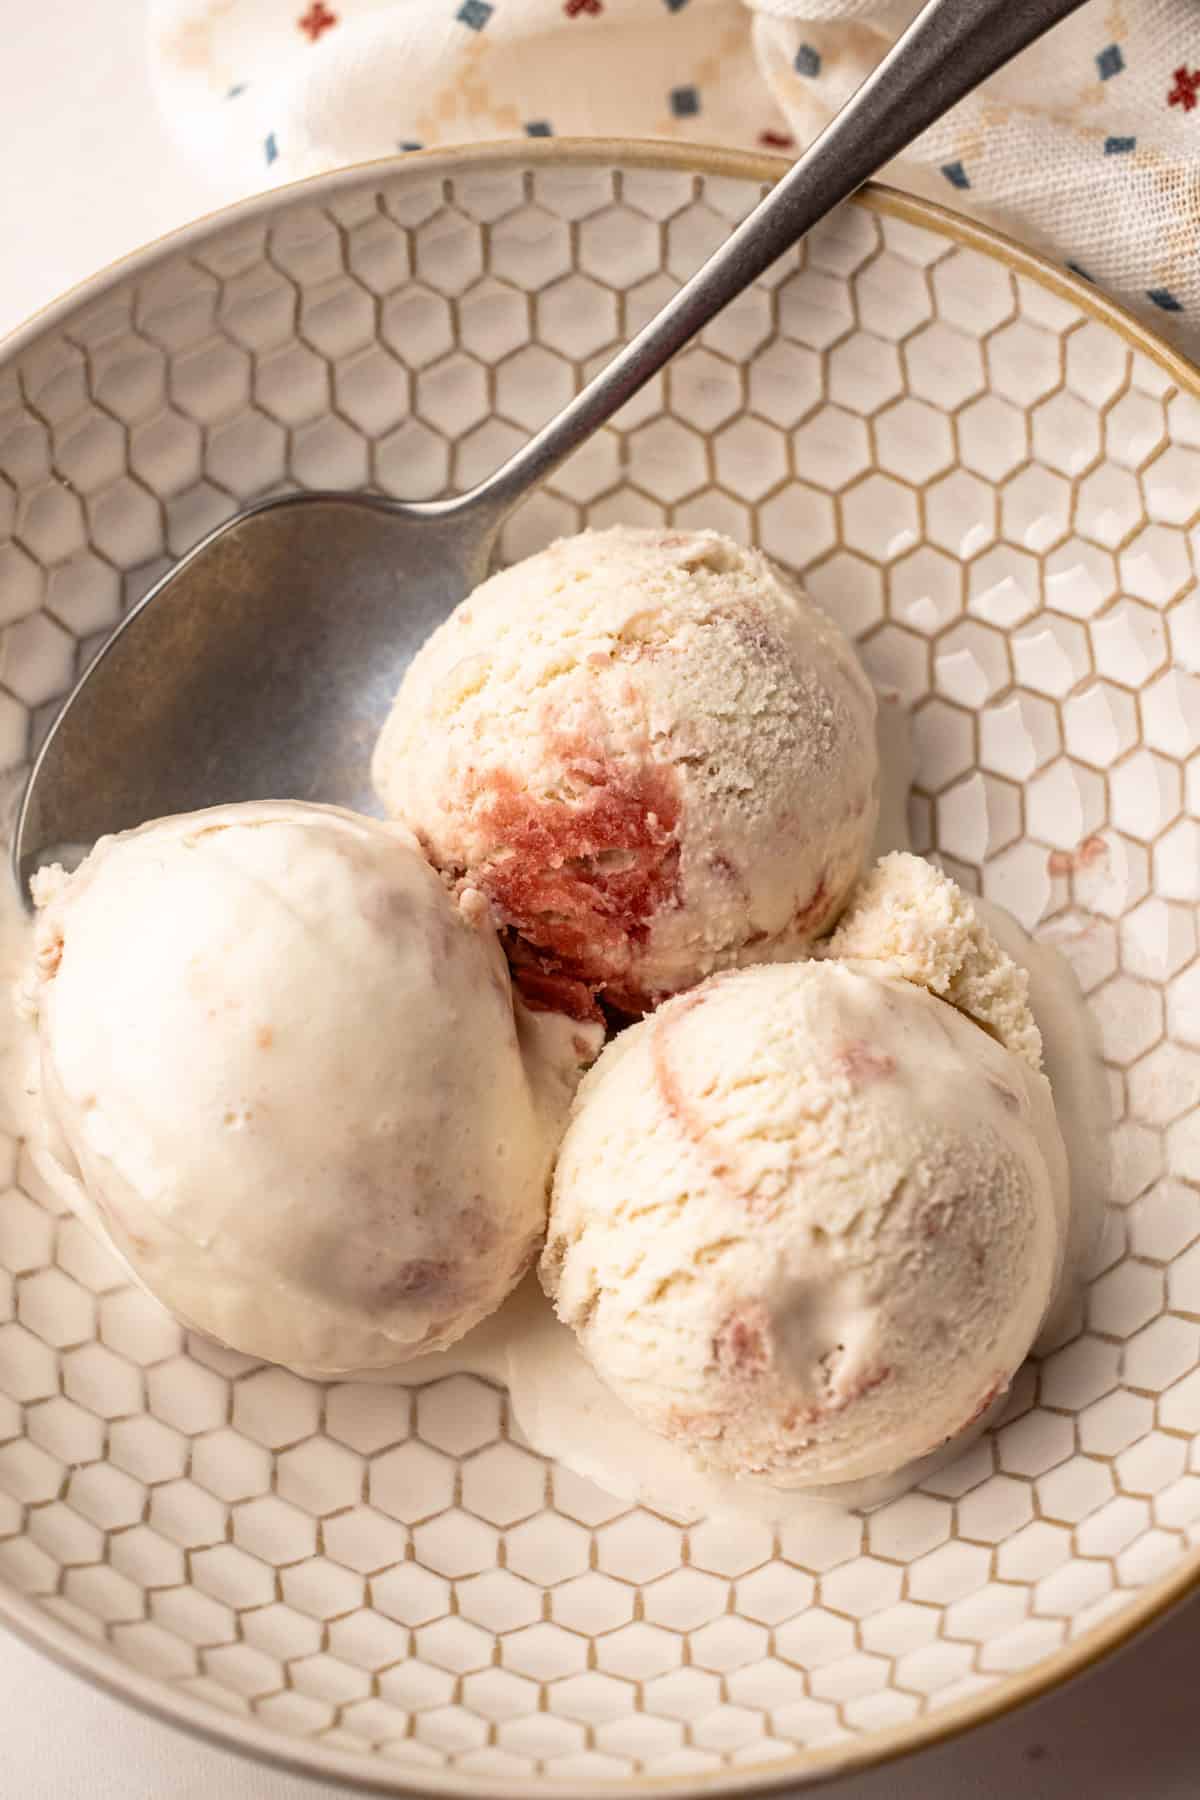
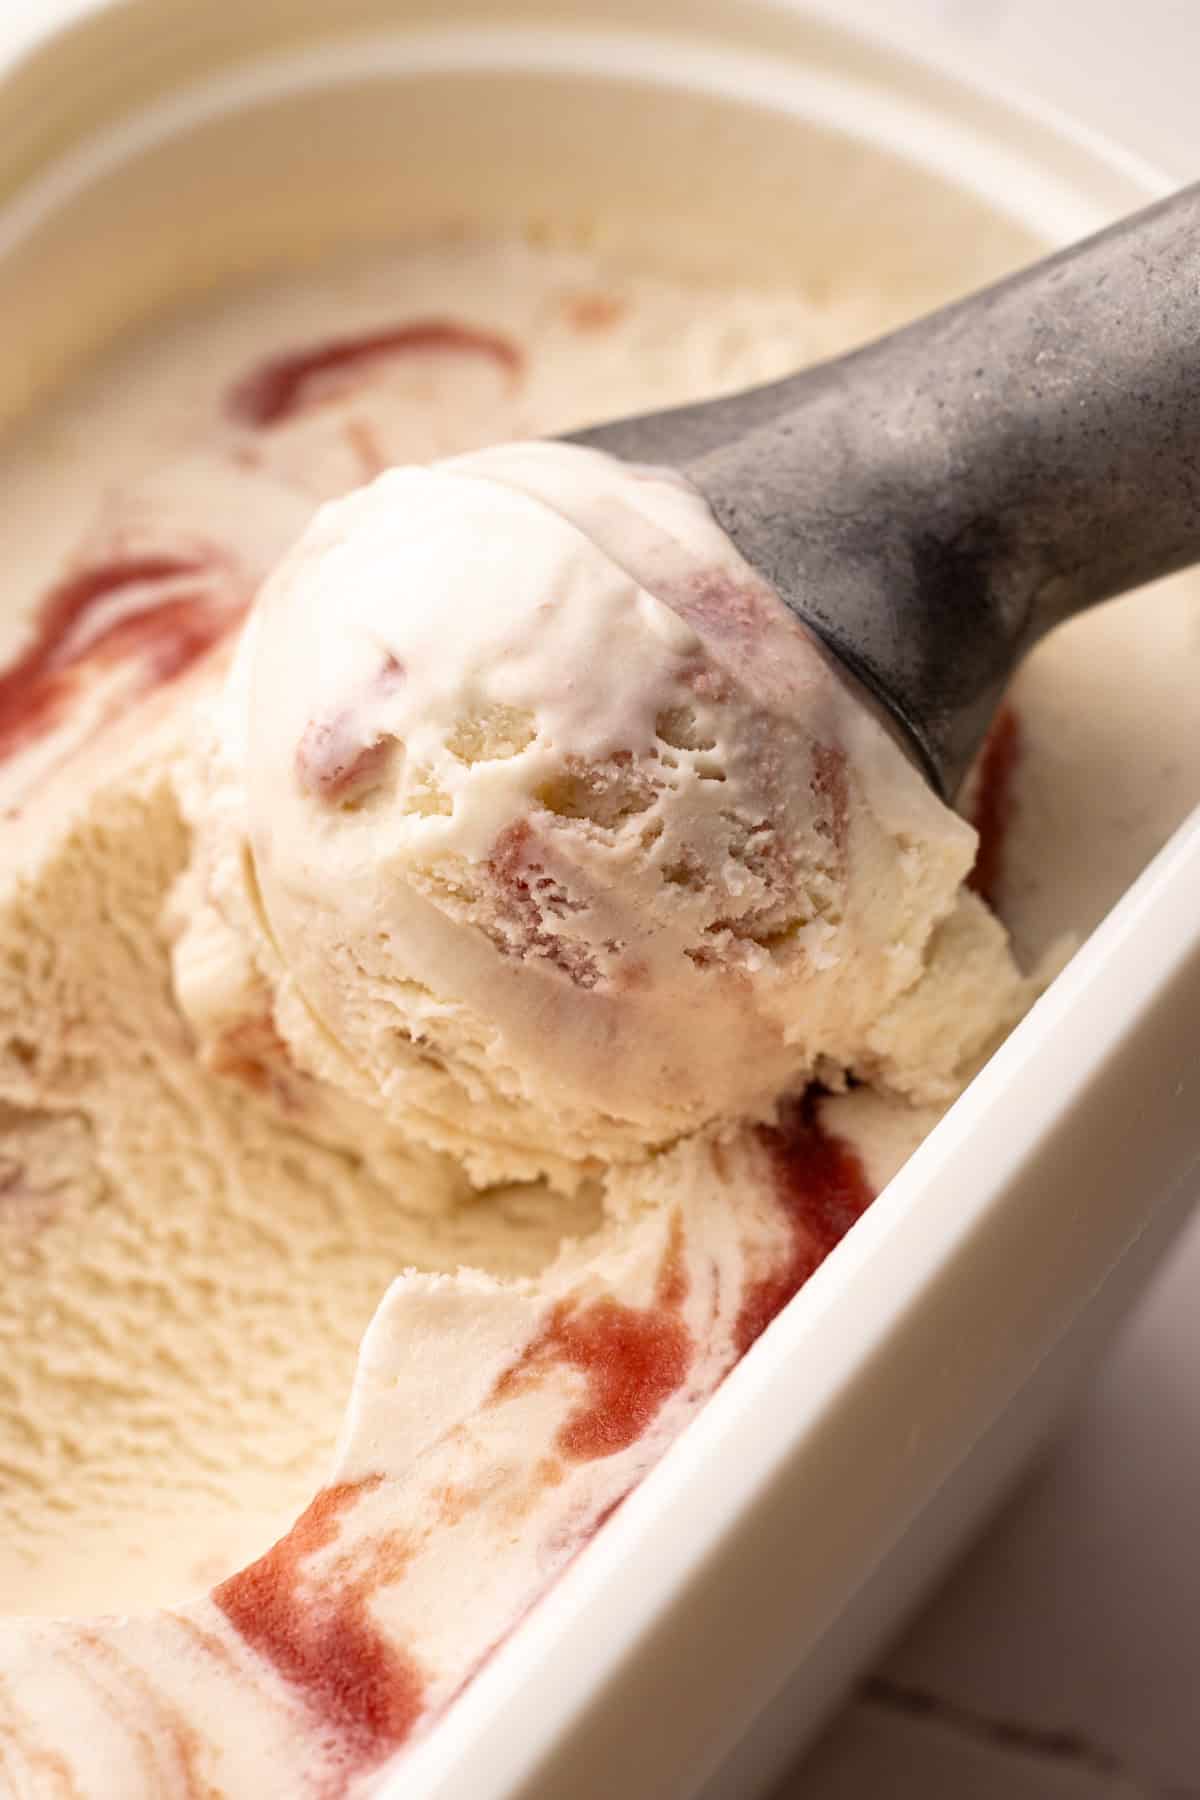
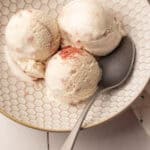
The result is a smooth, slightly tangy, refreshingly light ice cream that’s just as good on its own as it is spooned over something fruity, like Strawberry Cobbler or Blueberry Pie. I've also been making it and adding in a swirl, like homemade lemon curd (with a tablespoon of light corn syrup mixed into it to help keep it from getting icy) or this Rhubarb Coulis. The possibilities are endless.
Ingredients Needed
Here is an overview of the ingredients needed for this recipe. It’s a bit of an unusual list, since this is not your typical ice cream. Each ingredient is carefully chosen with the science of ice cream in mind to help create a creamy, scoopable mixture straight from the freezer. Because this is an egg-free, non-custard recipe, I needed to think about natural stabilizers that could help keep the mixture smooth and cohesive without making it too heavy. I turned to two of my favorite emulsifiers easily found in the grocery store: milk powder and cream cheese. Both also add flavor, which is always a bonus. Milk powder helps absorb excess water, and cream cheese stabilizes the base so the buttermilk doesn’t curdle.
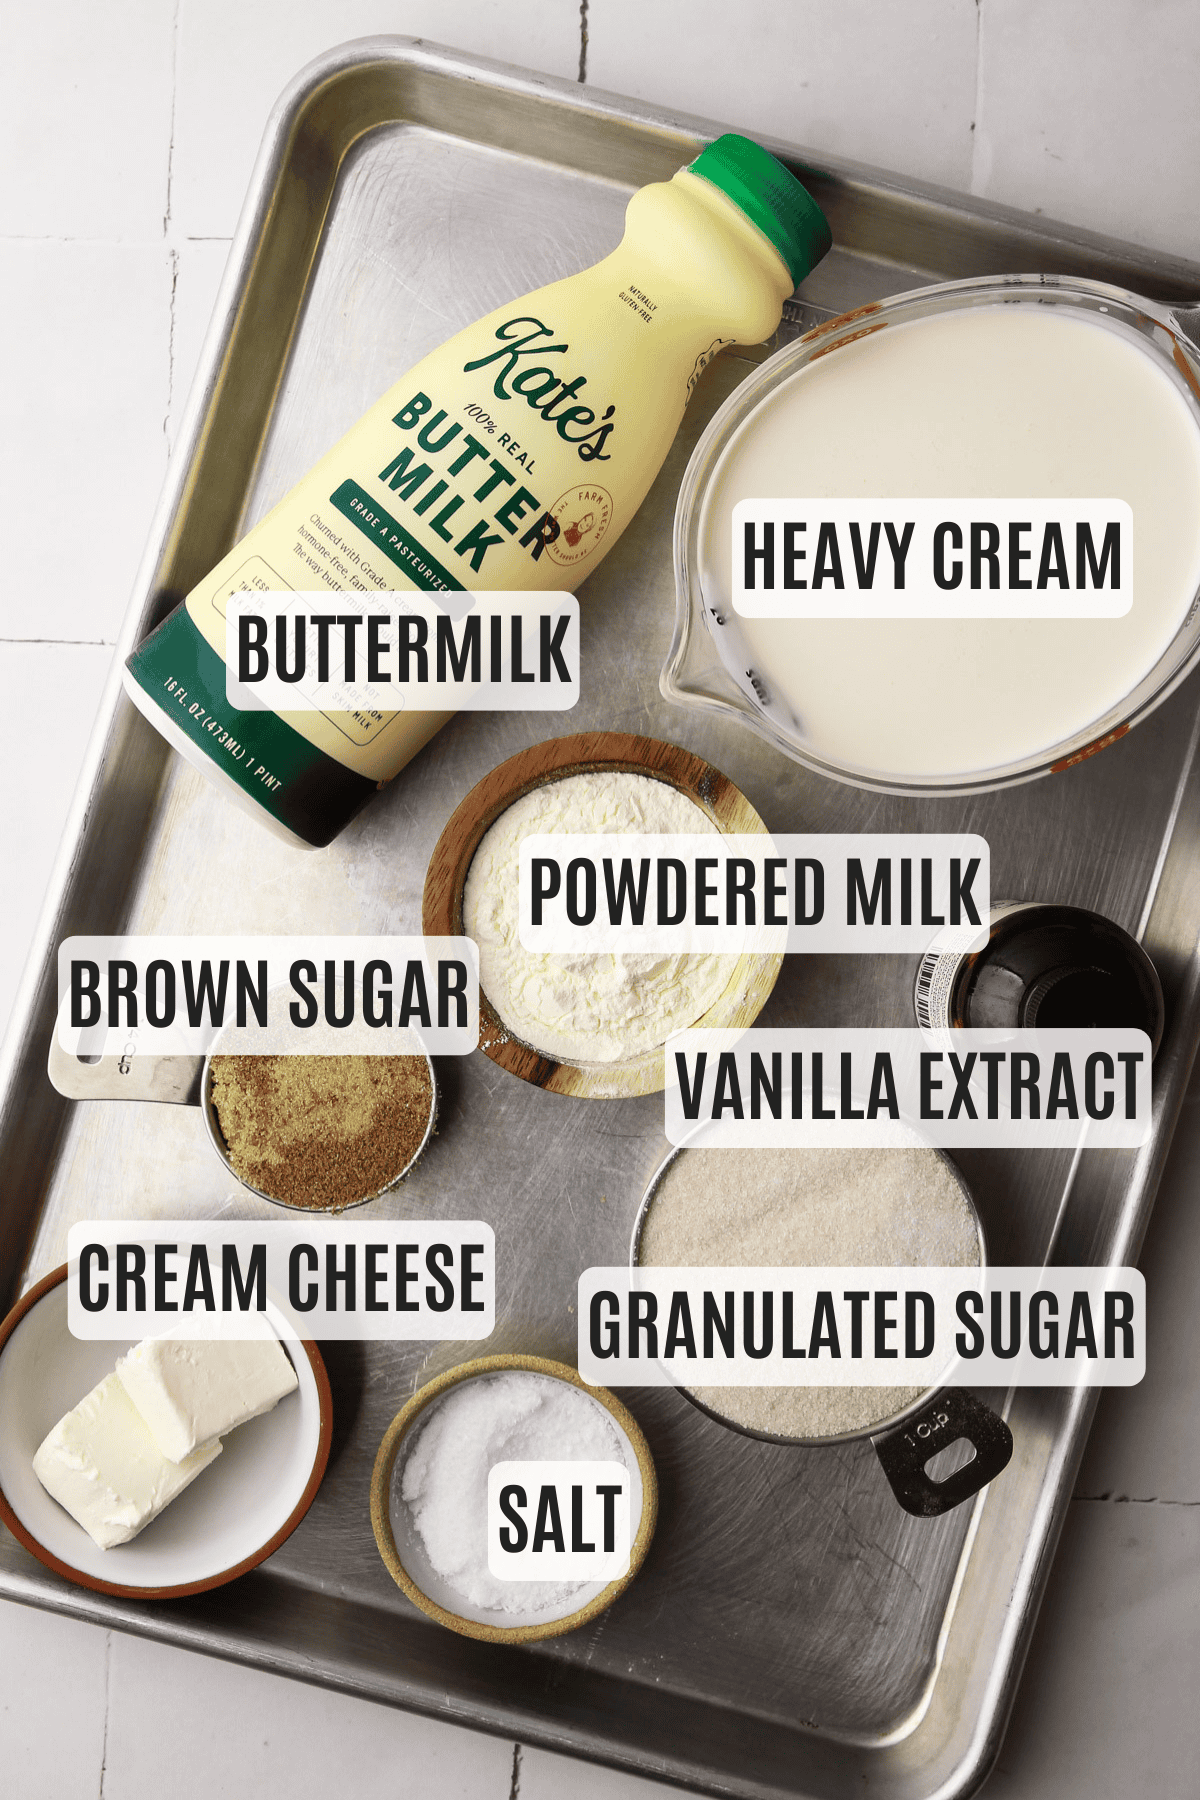
- buttermilk (choose a high-quality, full-fat buttermilk, sourced locally if possible, only because it's the main flavor in this ice cream and a good buttermilk makes all the difference)
- granulated sugar + brown sugar (the mix of sugars adds just the right amount of sweetness with a hint of depth that makes the buttermilk shine)
- dry milk powder (also known as powdered or dry milk, is milk that has been evaporated to remove its water content. It can be found as both nonfat and whole milk, and either type will work for this recipe and can be found in the baking aisle or online)
- cream cheese
- vanilla extract
- coarse kosher salt
- heavy cream
- salt
How to Make It
While there are no eggs in this recipe, the mixture still needs to be heated to dissolve the sugar and help the ingredients fully come together. It’s not essential, which is why it’s not included in the recipe, but I like to use an immersion blender to blend Philadelphia-style ice cream bases. If you choose to do this, blend the mixture before straining. The buttermilk is added in at the very end, when the mixture is no longer hot. This is crucial to prevent the buttermilk from curdling the whole mixture.
Here’s a quick visual overview of how to make the buttermilk ice cream base:
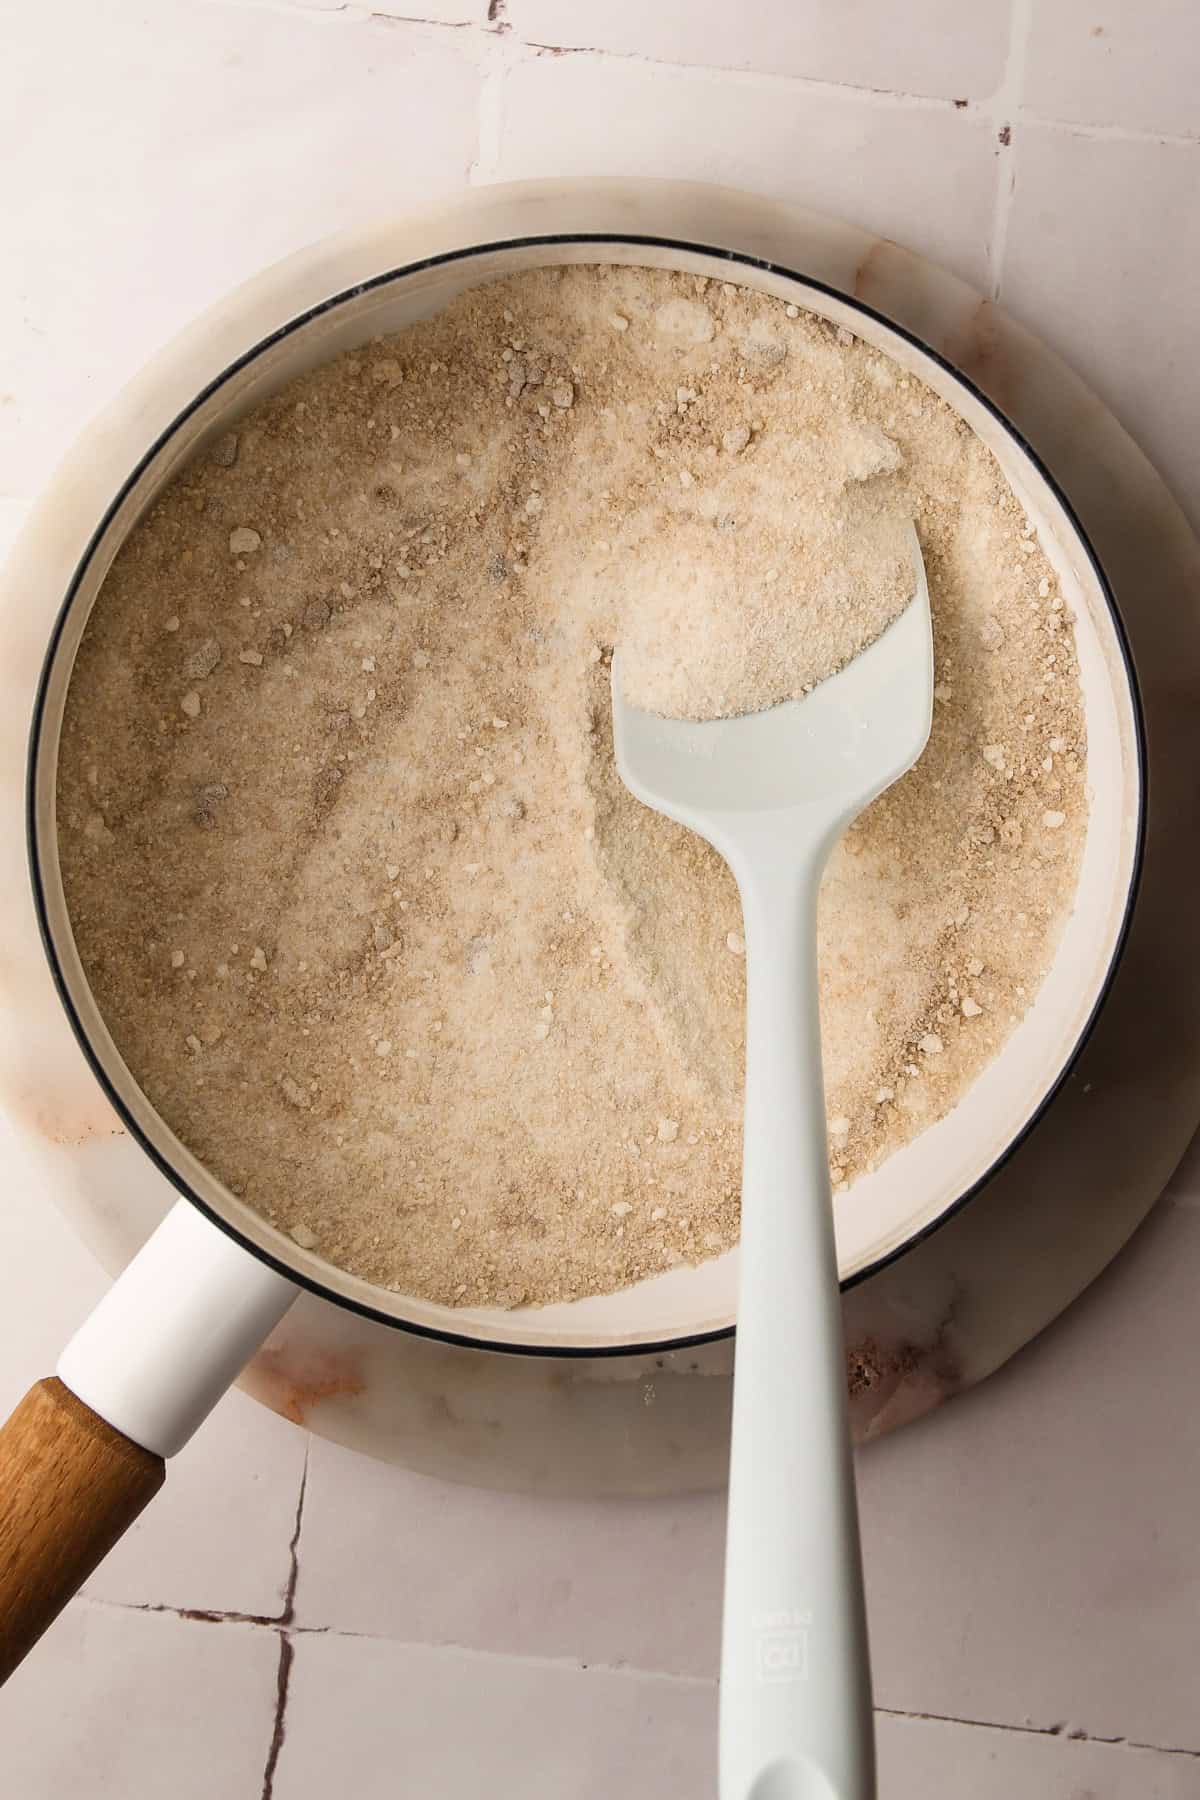
Step 1: In a pot, whisk together the granulated sugar, brown sugar, milk powder, and salt.
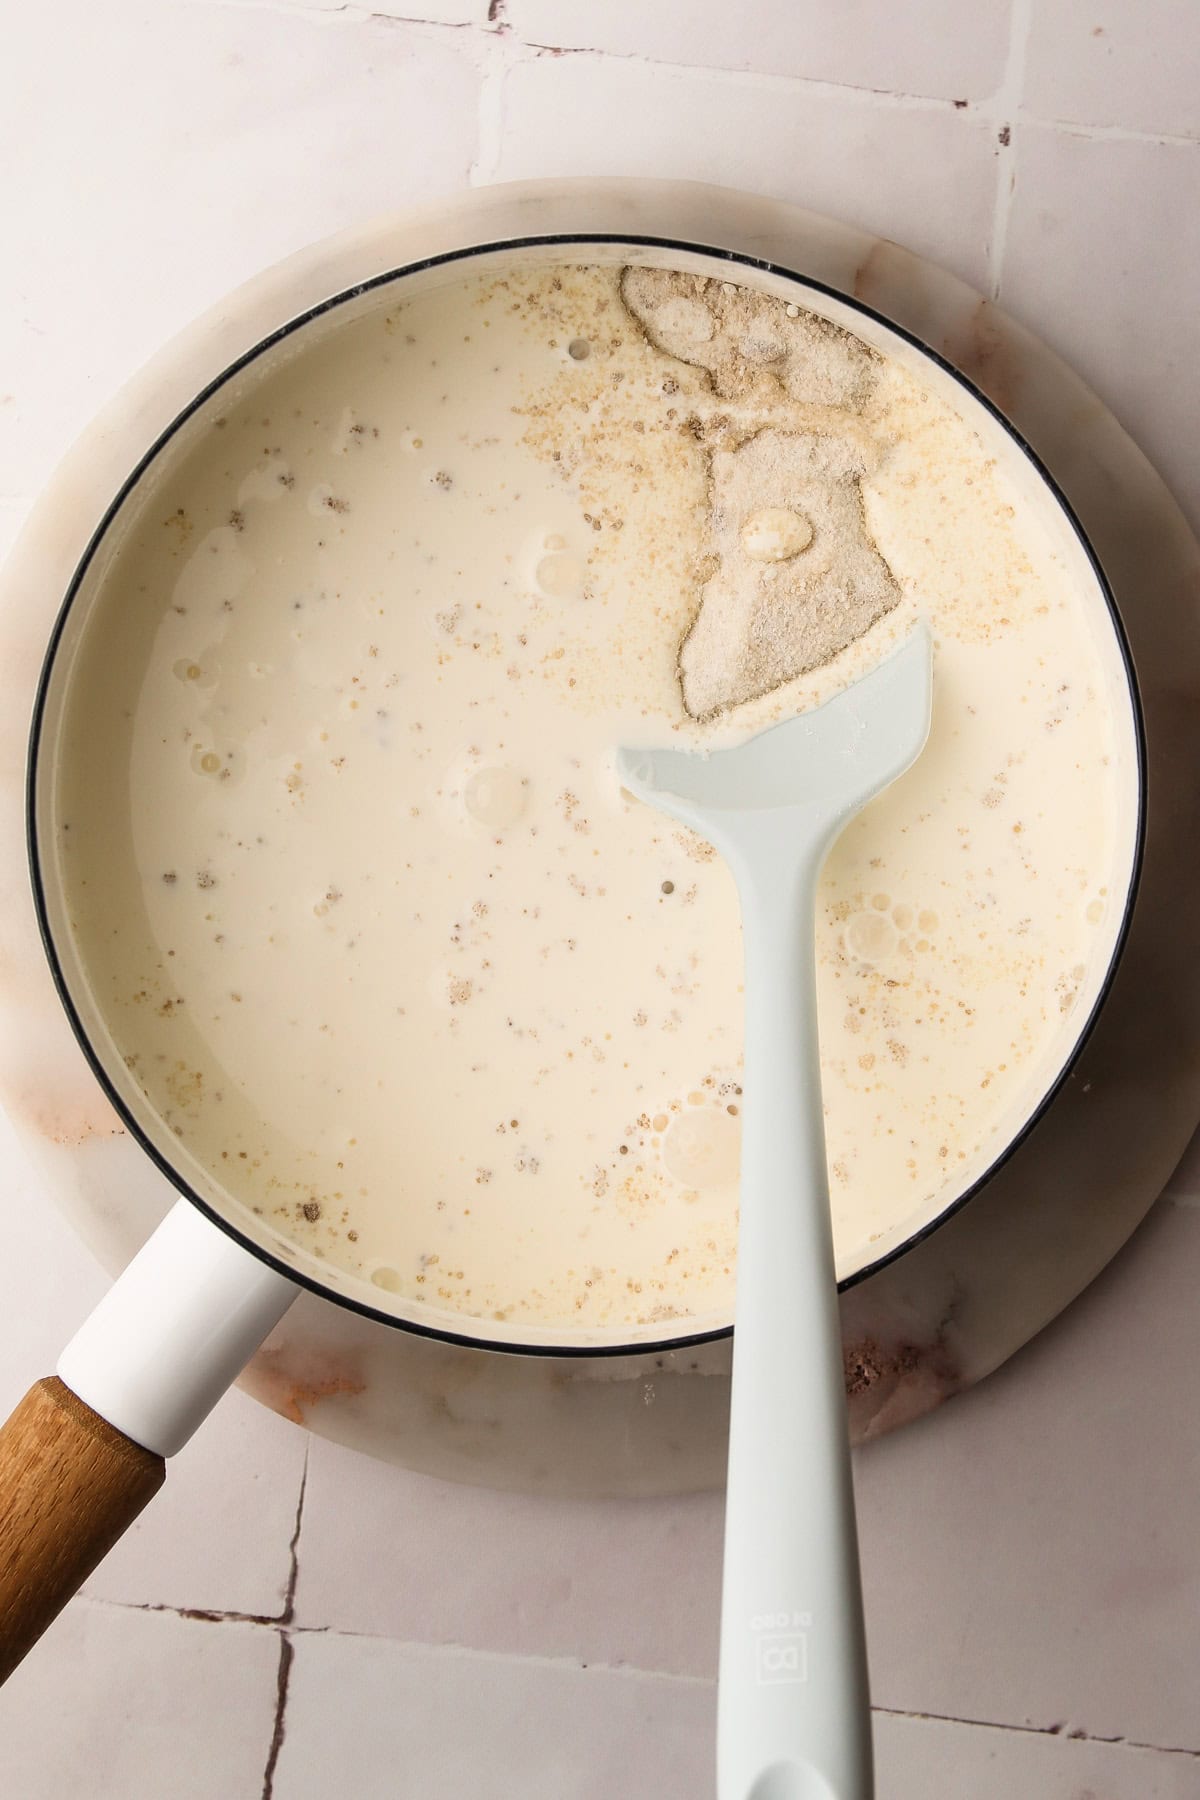
Step 2: Stir in the cream. Cook until the sugar is dissolved (the cream will be steaming and the mixture will be about 180ºF).
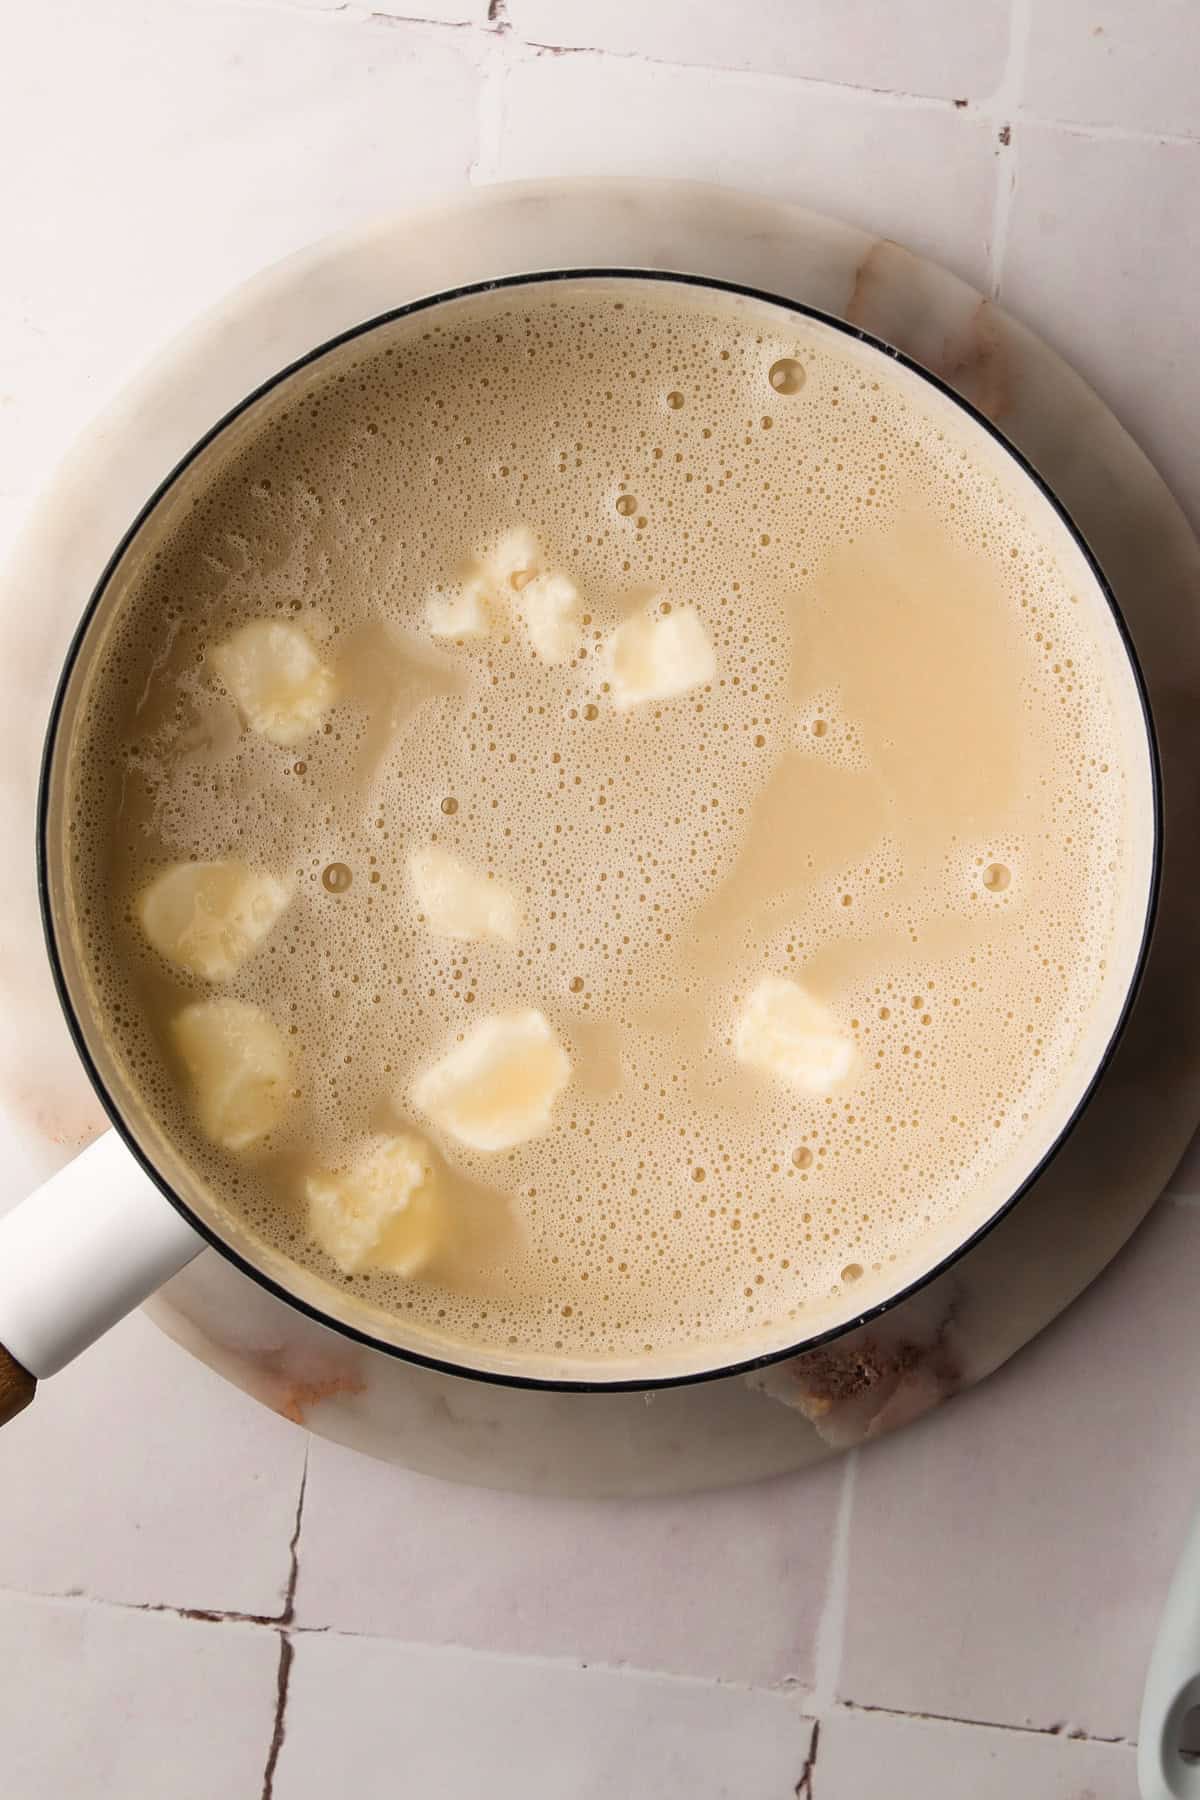
Step 3: Turn off the heat, add in the softened cream cheese, and let sit, undisturbed for 3 to 5 minutes.
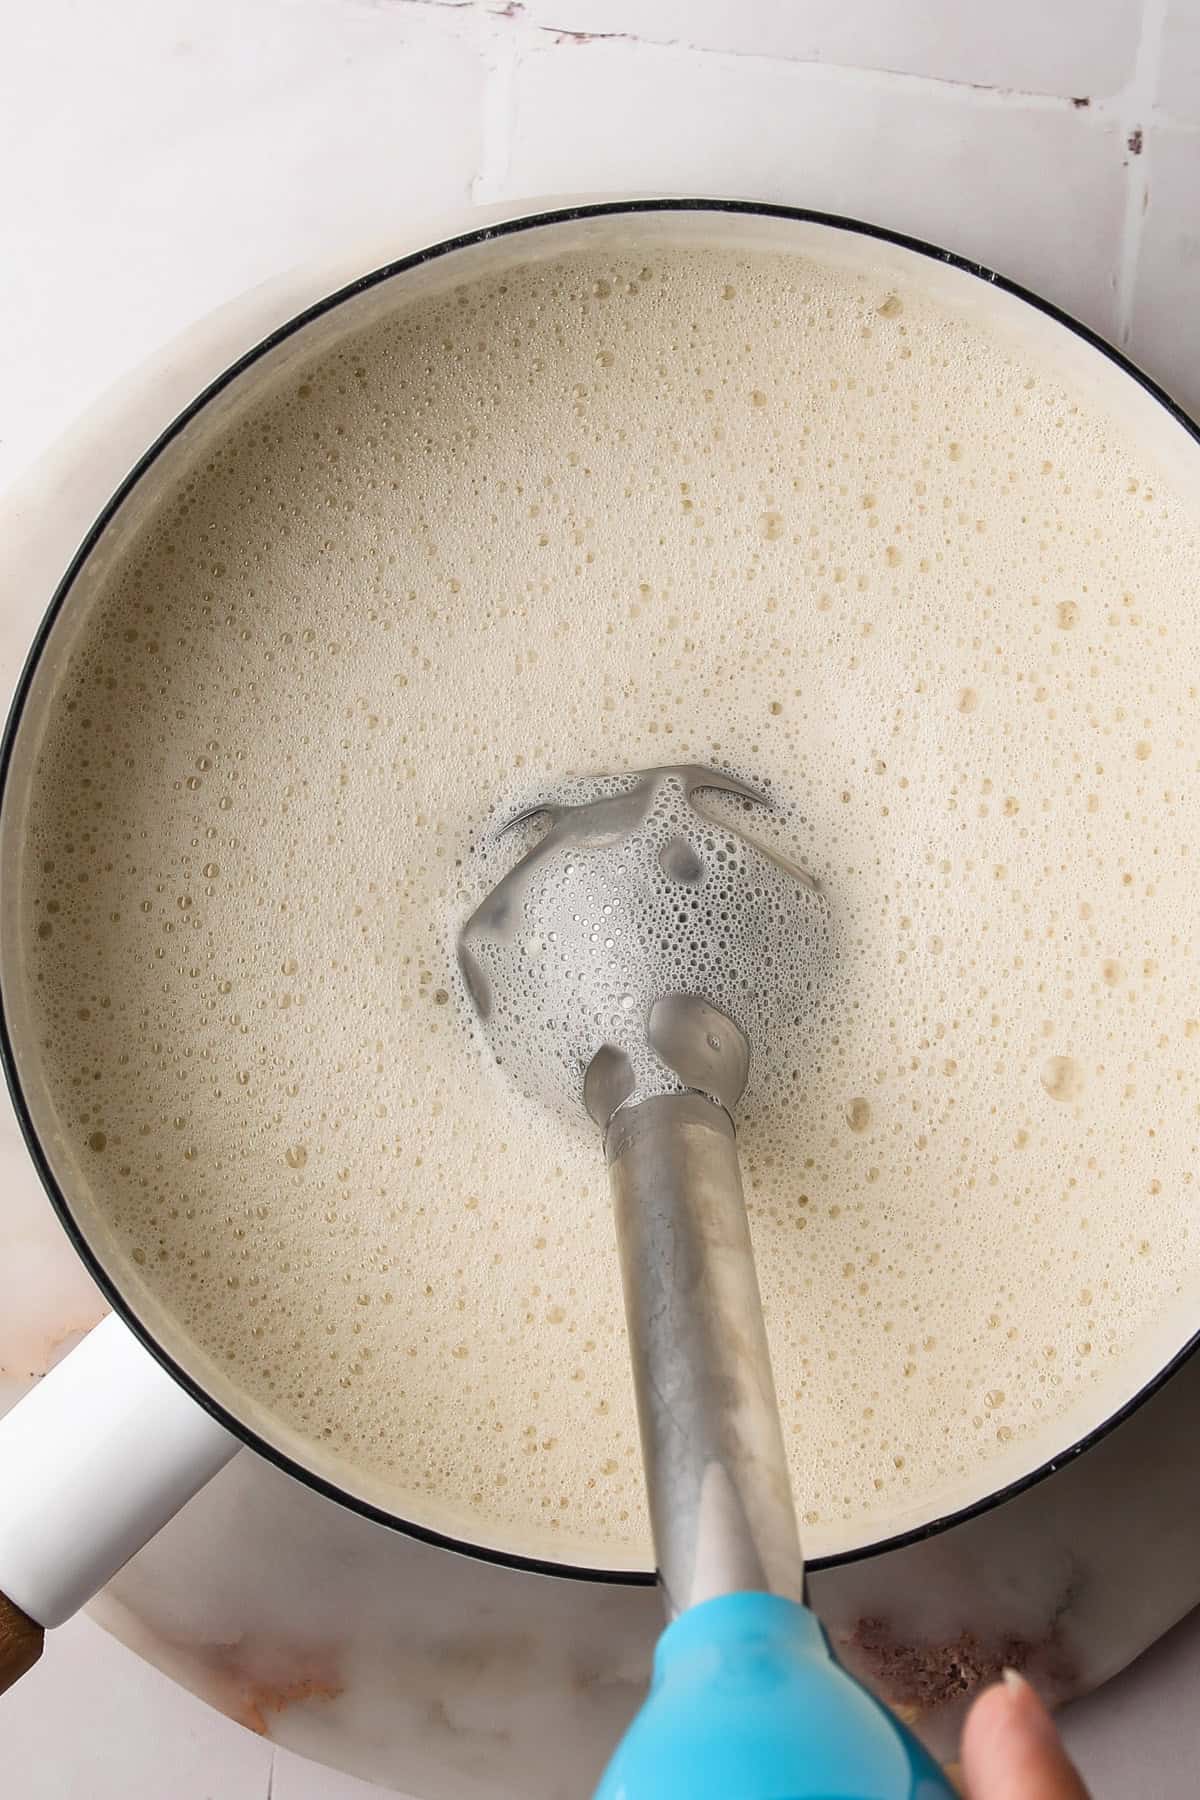
Step 4: Whisk in the cream cheese until smooth or use an immersion blender.
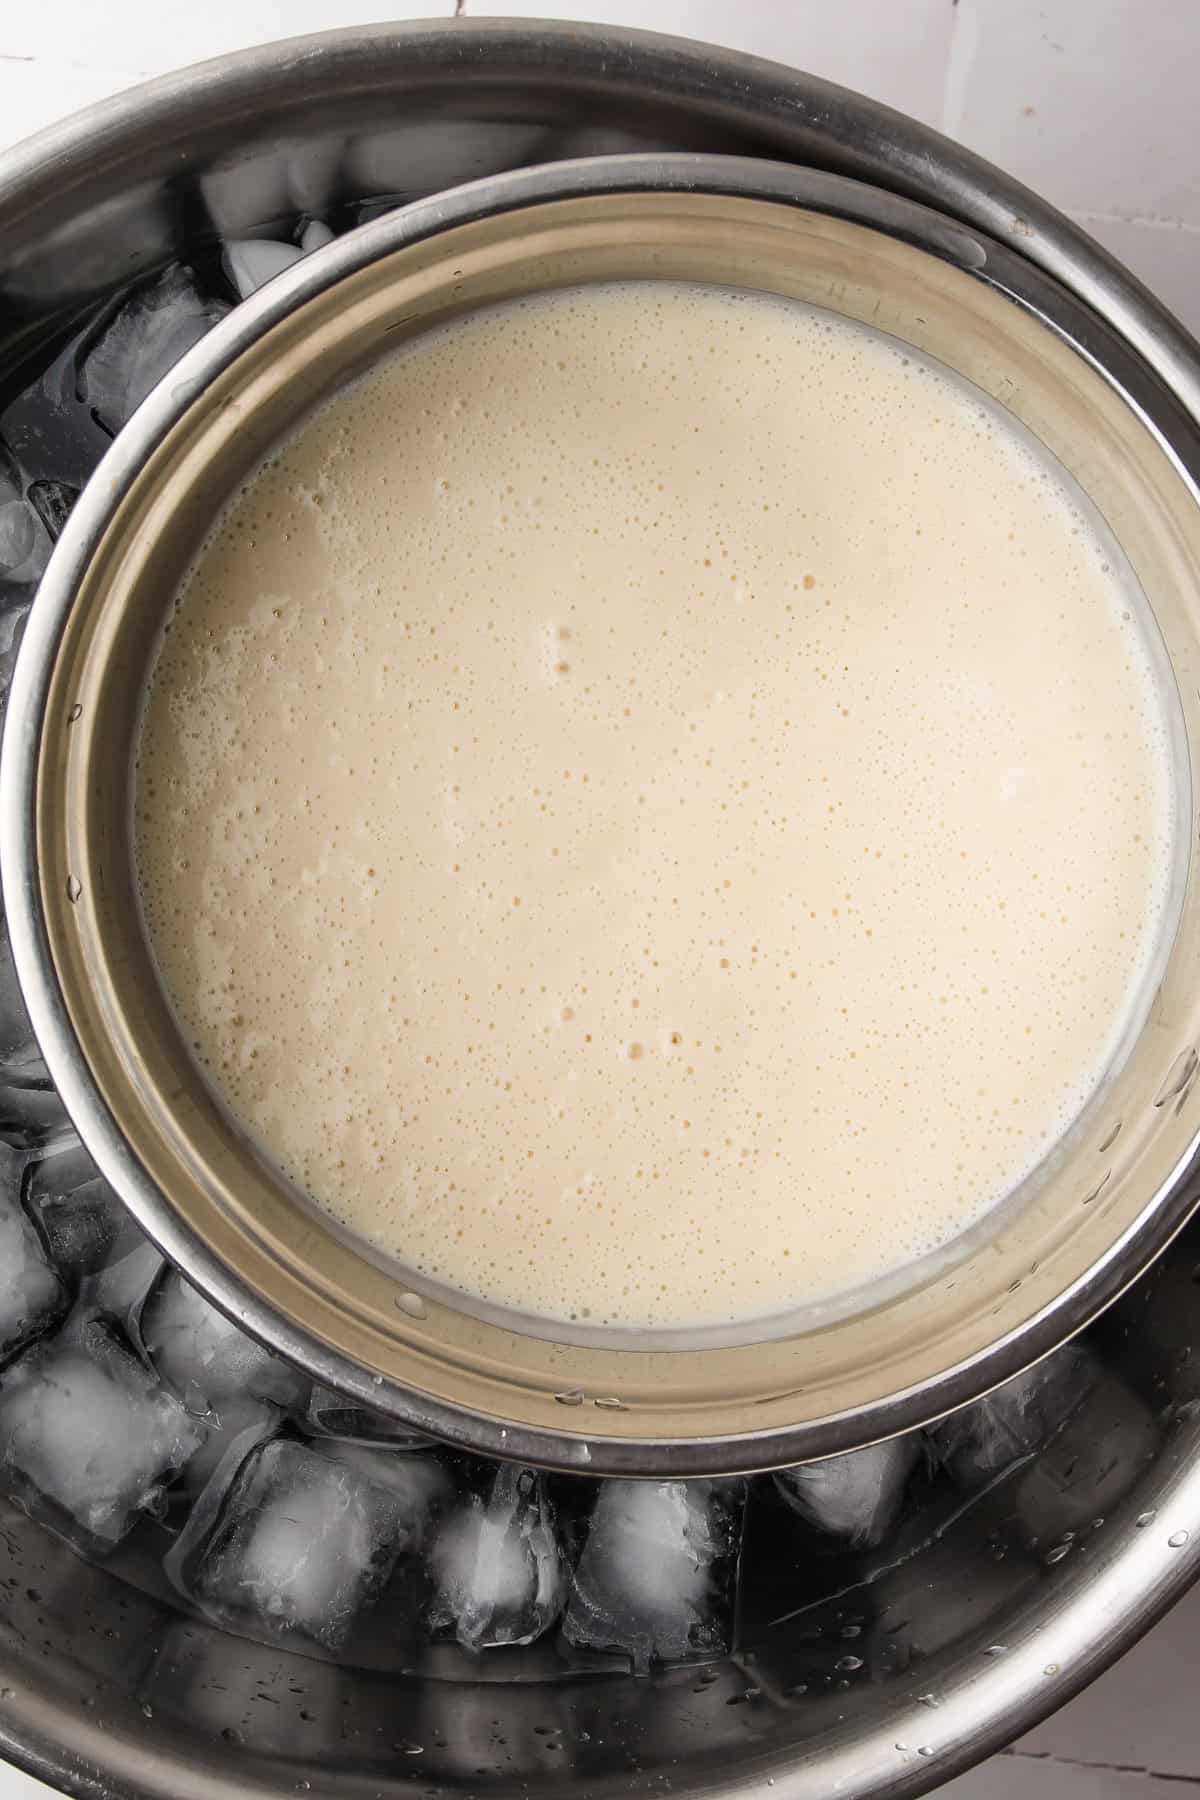
Step 5: Strain the mixture through a fine-mesh strainer into a metal bowl, let it cool to room temperature, then whisk in the buttermilk.
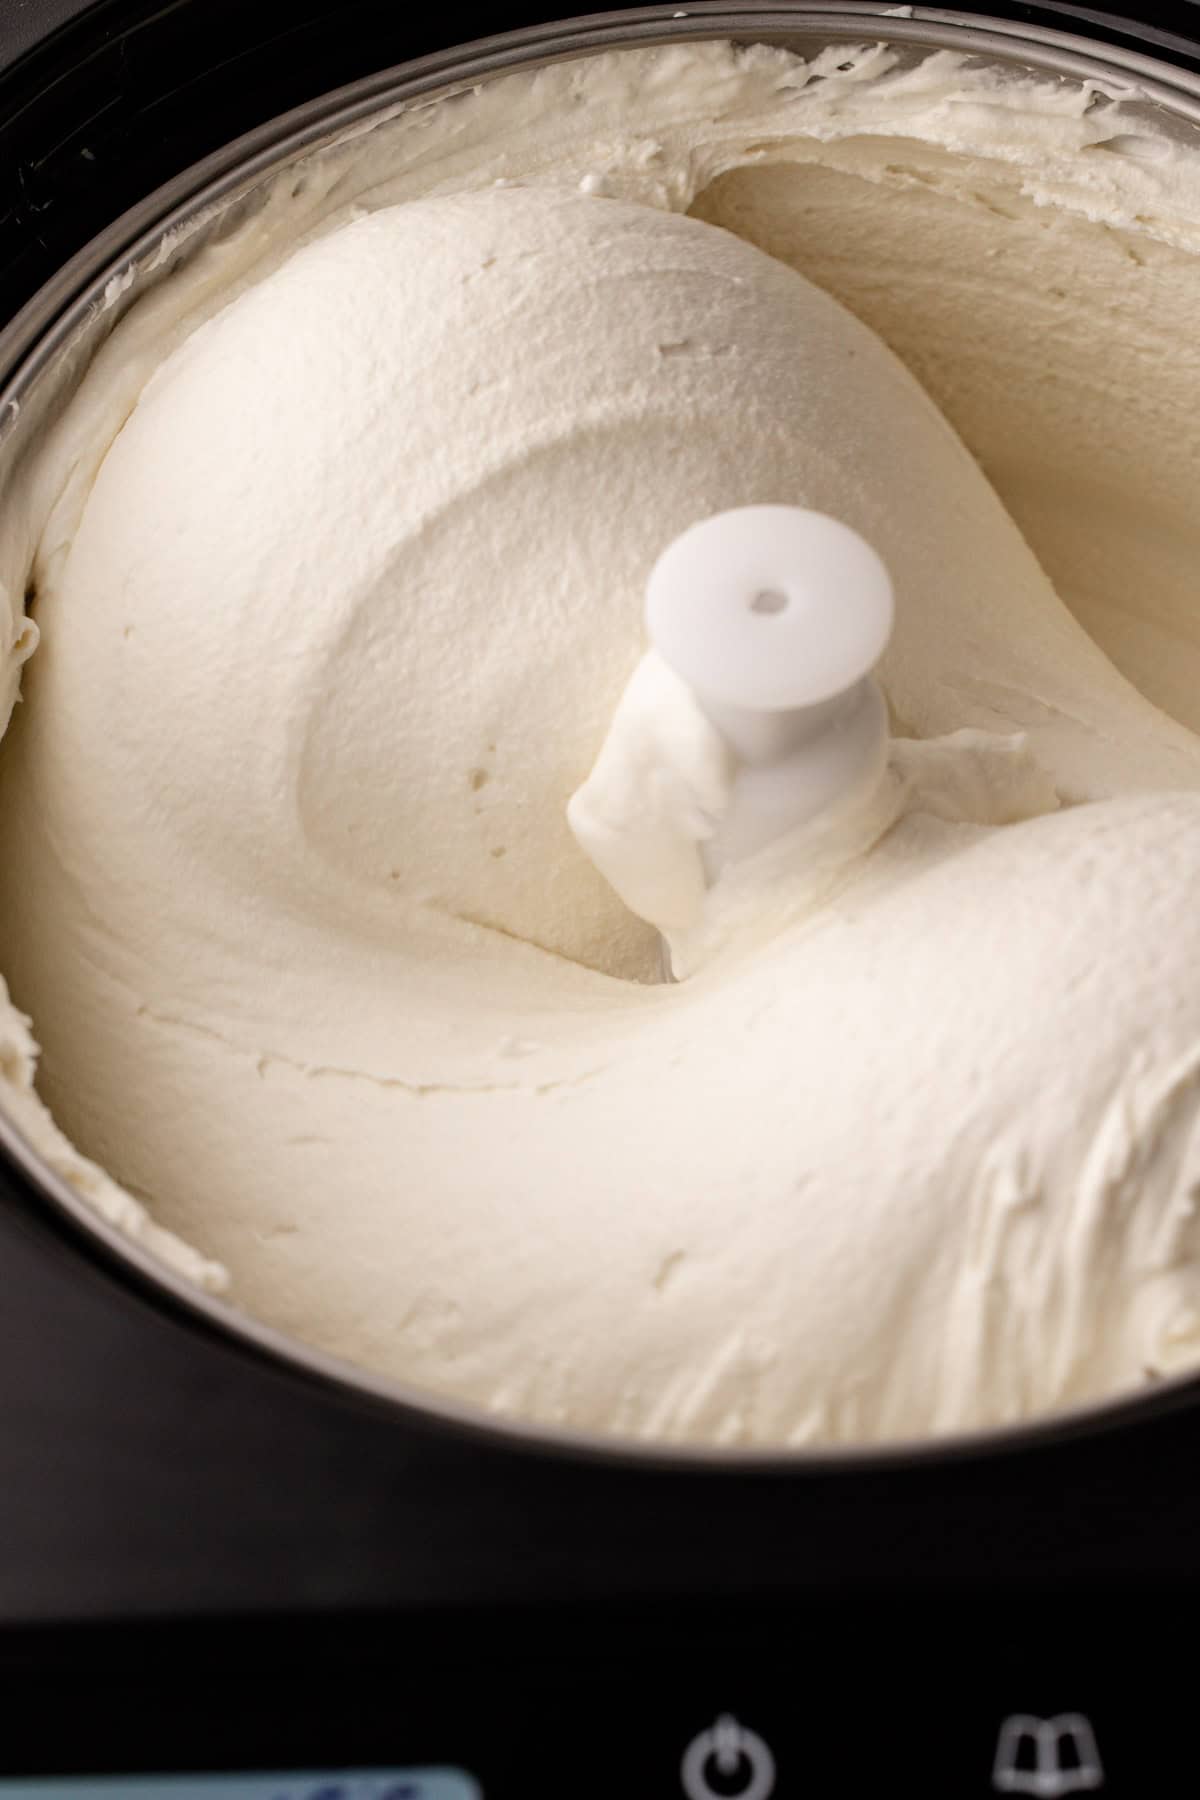
Step 6: Chill the buttermilk base until fully cold, then freeze the base in an ice cream machine until it reaches a soft-serve consistency.
Churning the Ice Cream Base
Churning the ice cream is very important. It's what makes "ice cream" what is is. Before freezing, keep two things in mind: the ice cream base must be very cold (below 40ºF is a must, but the lower the better) and if your ice cream machine needs to be frozen, it should be in the freezer for at least 24 hours before use.
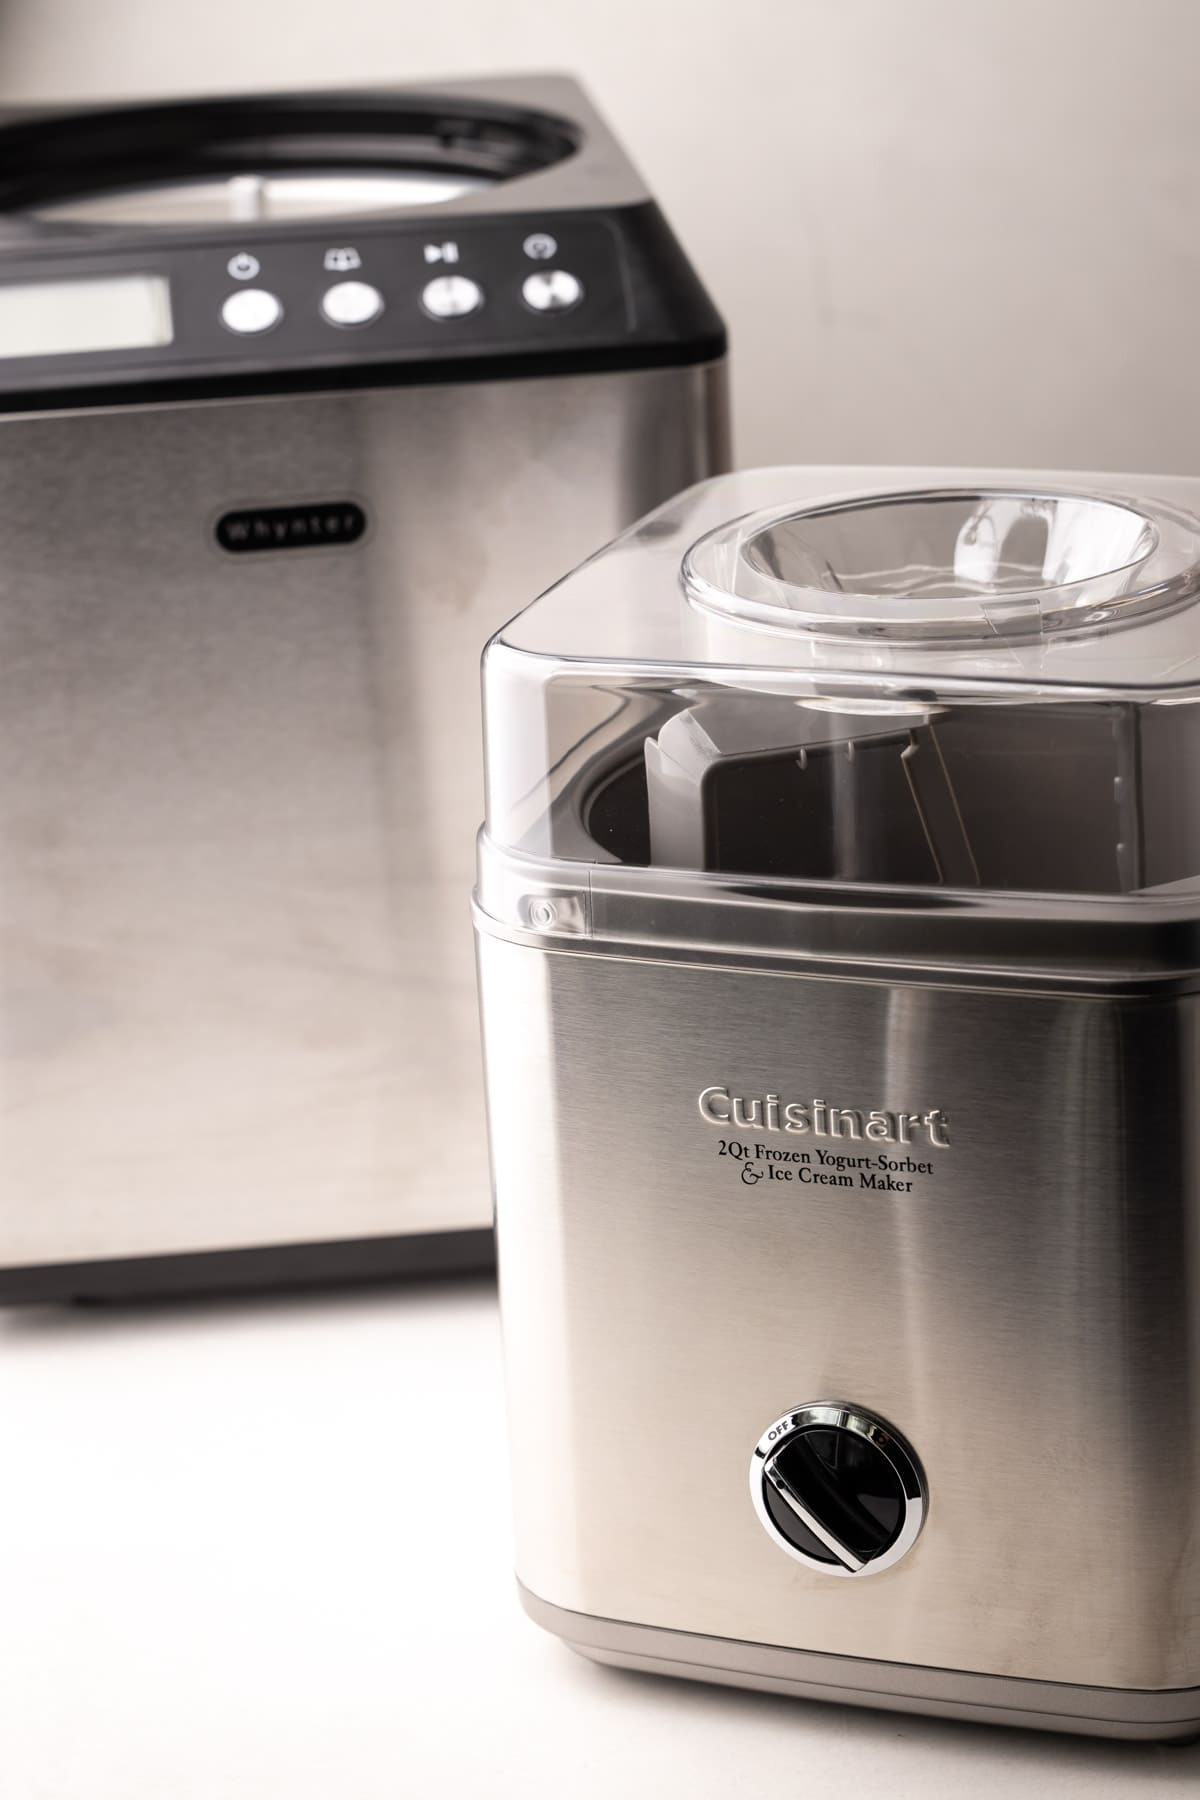
Each ice cream maker is going to work different, so follow the instructions for your ice cream maker. See this article for my favorite ice cream tool recommendations. But generally speaking, churn the custard until it reaches the soft serve stage. In my machine, I notice a change in the noise it makes when the ice cream is ready, which is usually about 30 minutes.
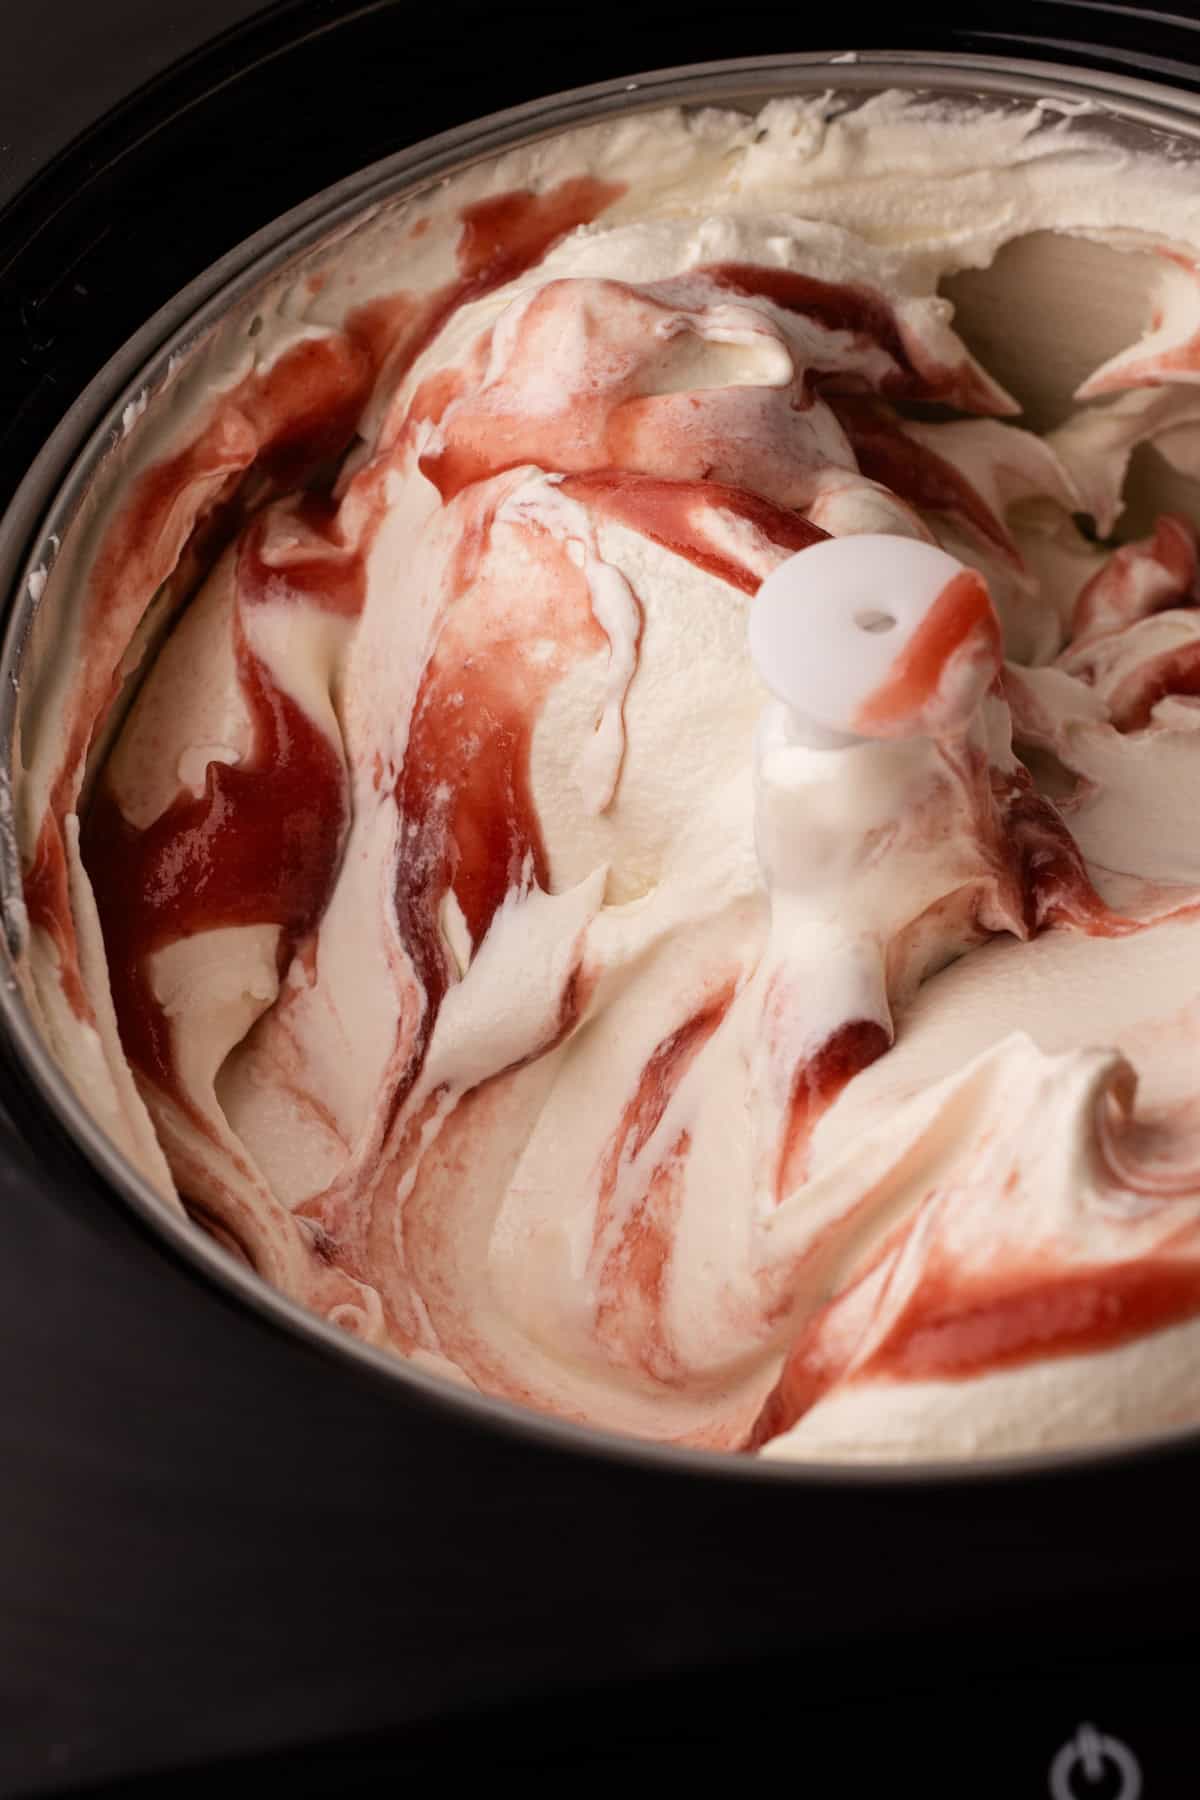
Adding in a Flavor Swirl
I’ve also been making this ice cream with a swirl mixed in, which adds another layer of flavor. My family has been loving it with this Rhubarb Coulis. Homemade lemon curd also works really well because the bright, tart citrus complements the tangy buttermilk base. I like to stir in a tablespoon of light corn syrup to both the the curd and the coulis before adding it to the ice cream to help keep it from turning icy once frozen. Once the base is churned, add in some spoonfuls to get that beautiful swirled effect.
Storing It
After the ice cream has been churned and frozen, it needs to “harden” in the freezer for a period of time. This chilling period fully sets up the ice cream to the correct consistency. You can harden the ice cream in one large container or multiple small containers. While dedicated ice cream containers are convenient for frequent ice cream making, any container available in your home can be used. See this article for my favorite ice cream storage containers.
Buttermilk ice cream is is best consumed within a week or two of making it. Beyond that, and it typically starts to develop ice crystals, so consume promptly!
More Ice Cream Recipes
I am so honored when you make a recipe from my site! If you make this Buttermilk Ice Cream recipe, please leave a star ⭐️⭐️⭐️⭐️⭐️ rating with your experience! If you have any questions about this recipe, feel free to comment here, and tag me on Instagram!
Full Recipe
Buttermilk Ice Cream
This Buttermilk Ice Cream is a tangy, refreshing, and perfectly balanced dessert. The egg-free base is simple to make and requires an ice cream machine to churn. Enjoy it on its own, swirled with something bright like rhubarb or lemon, or spooned over your favorite dessert for a unique, light, and creamy finish.
- Prep Time: 00:10
- Freezing Time: 12:00
- Cook Time: 00:10
- Total Time: 12 hours 20 minutes
- Yield: about 3 pints
- Category: Ice Cream
- Method: Traditional Churned Ice Cream
Ingredients
- 1 cup (200 grams) granulated sugar
- ¼ cup (55 grams) brown sugar
- ¼ cup dry milk powder (see note)
- ¼ teaspoon coarse kosher salt (see note)
- 2 cups heavy cream
- 2 tablespoons cream cheese, softened
- 1-½ cups buttermilk
- 2 teaspoons vanilla extract
Instructions
- In a medium pot, whisk together the granulated sugar, brown sugar, milk powder, and salt. Stir in the cream. Cook over medium heat, stirring occasionally, until the sugar is dissolved, the cream is steaming, and the mixture registers about 180ºF on an instant-read thermometer. Turn off the heat, stir in the softened cream cheese, and let sit, undisturbed for 3 to 5 minutes. Whisk in the cream cheese until smooth.
- Strain the mixture through a fine-mesh strainer into a metal bowl. Let it cool to room temperature, stirring occasionally.
- Once cooled, whisk in the buttermilk.
- Chill the buttermilk base thoroughly in the refrigerator until at least 40ºF, preferably overnight.
- In an ice cream machine, then freeze the buttermilk base, following the recommended manufacturer’s instructions of your ice cream maker, until the ice cream has reached a soft-serve consistency.
- Transfer the ice cream to one or more airtight containers. Freeze until firm, at least a few hours.


Notes
Since this is an egg-free, non-custard recipe, I turned to two natural stabilizers that keep the mixture smooth without weighing it down: milk powder and cream cheese. Both add flavor too. The milk powder absorbs excess water, and the cream cheese helps prevent the buttermilk from curdling. Milk powder can be purchased online, or you can find it in the baking aisle.
Choose a high-quality, full-fat buttermilk, (from a local farm if you can!) because it's the main flavor in this ice cream and a good buttermilk makes all the difference.
This recipe was tested using Diamond Crystal coarse kosher salt. If you use Morton's kosher salt or fine salt, decrease the volume by half.
It’s not essential, which is why it’s not included in the recipe, but I like to use an immersion blender to blend Philadelphia-style ice cream bases. If you choose to do this, blend the mixture before straining.
Place a piece of parchment on the surface of the ice cream to prevent any freezer burn.
Homemade ice cream is best consumed within a week, but will last for several in the freezer.
See my Toolkit for Making Ice Cream for equipment suggestions.
Some of the links on this page may be affiliate links. Everyday Pie is a participant in the Amazon Associates Program. As an Amazon Associate I earn from qualifying purchases, at no extra cost to you.
Leave a Reply