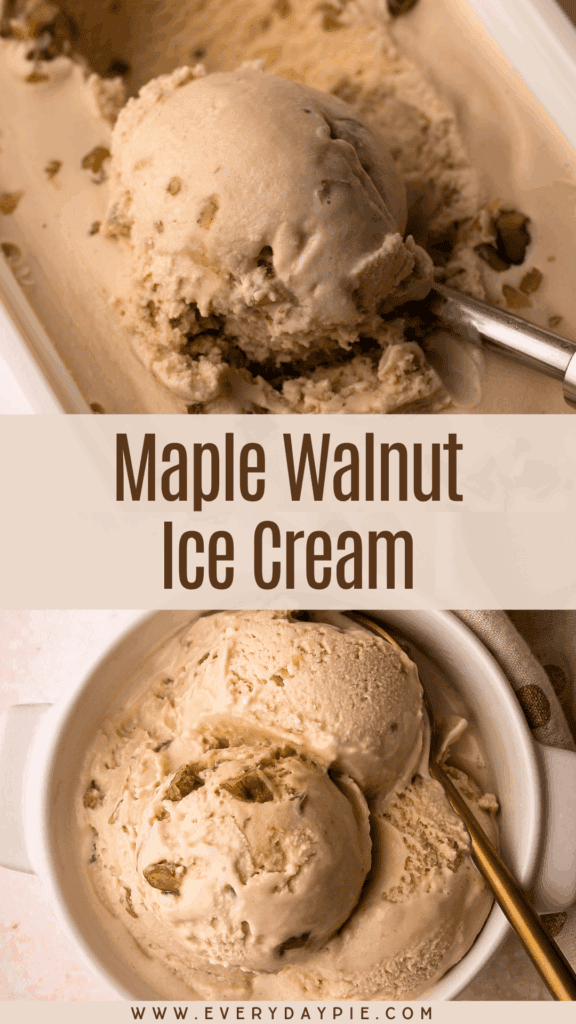
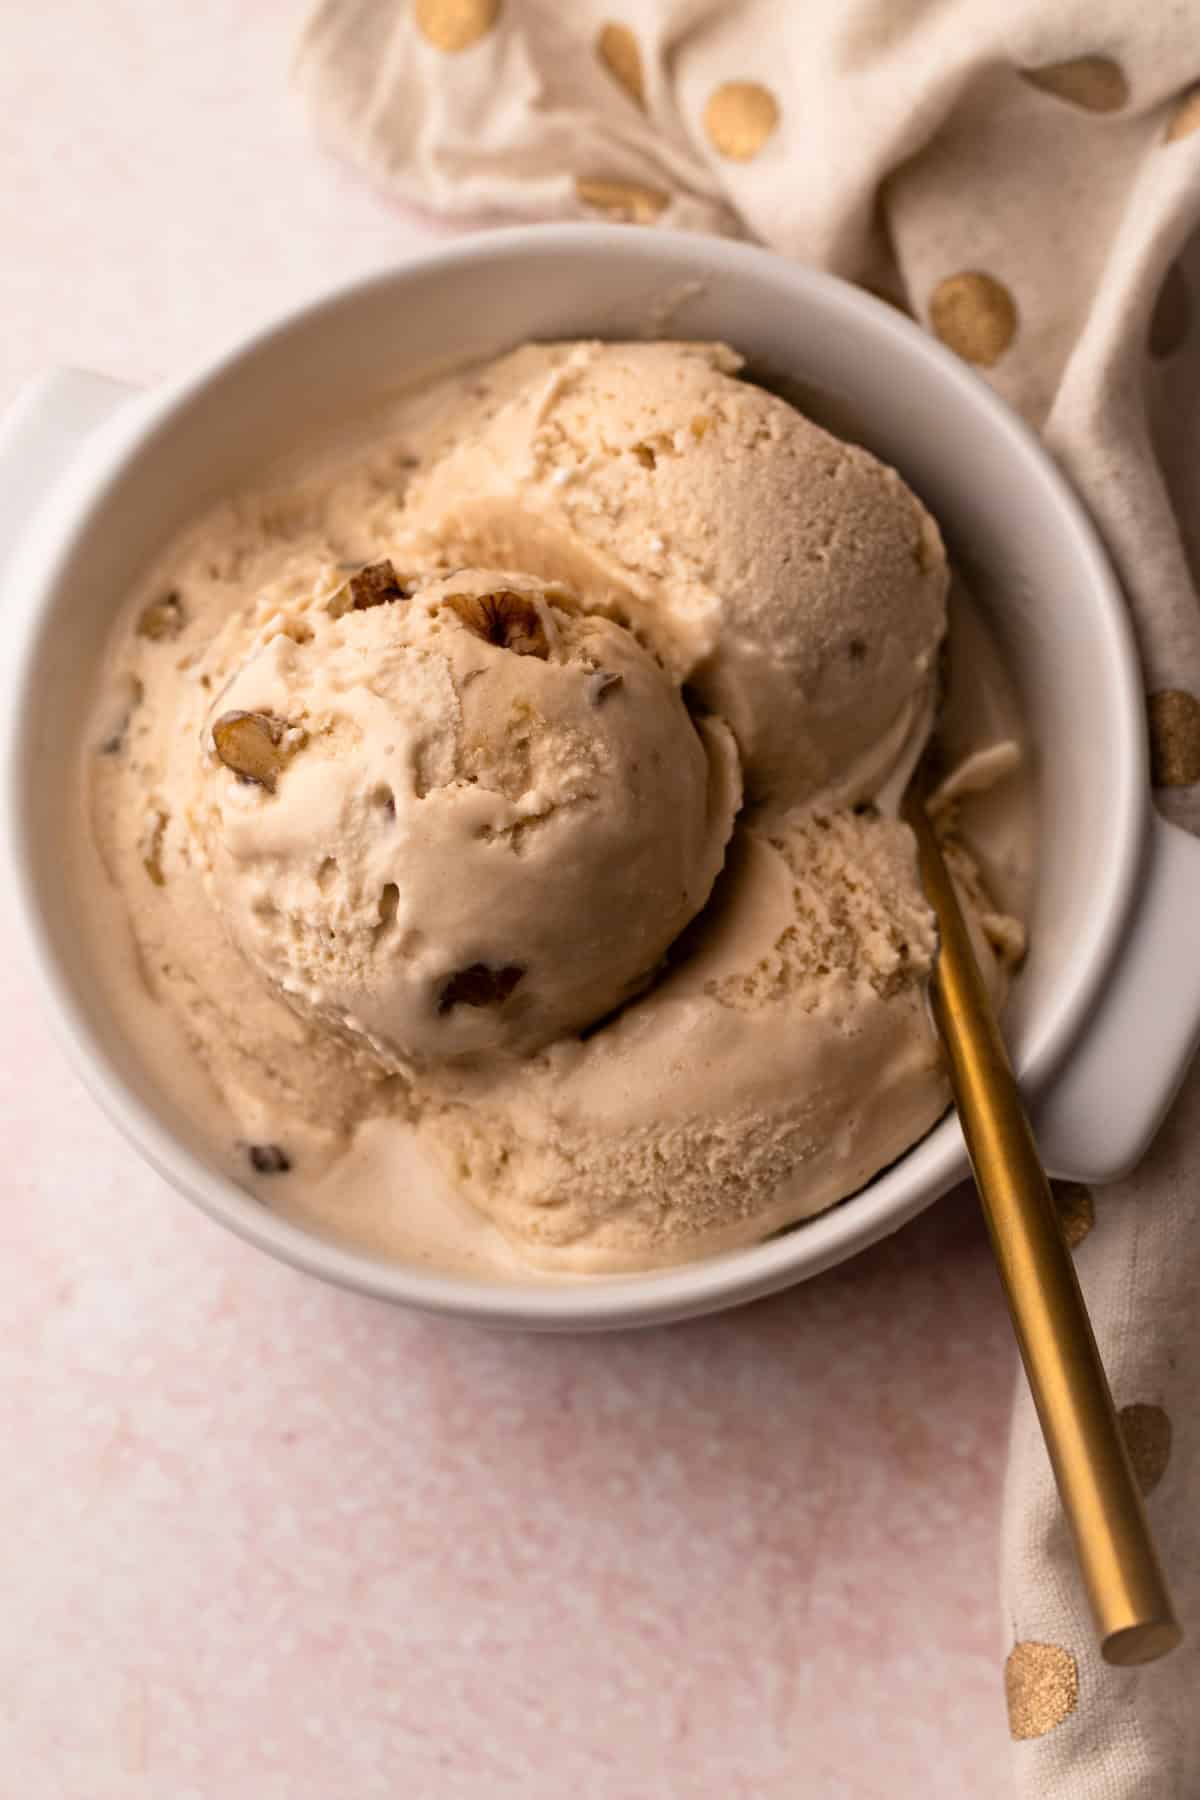
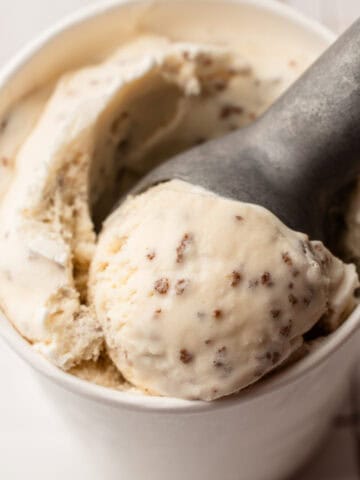
This Maple Walnut Ice Cream is a rich, creamy custard-style ice cream with a distinct maple flavor and candied walnuts that add just the right amount of textural contrast.
Want to save this recipe?
Enter your email & I'll send it to your inbox. Plus, get weekly updates from me!
Growing up in New England, maple walnut was one of those classic ice cream flavors that could be found at nearly every ice cream shop or in the freezer aisle, right alongside other local flavors (like Grape Nut Custard). But despite how common it is in my region, I had never felt like I had a really great version of it.
My complaint was that most versions of it were only vaguely maple flavored, if at all, with pieces of walnuts simply mixed in at the end. For my version, I wanted to create a truly maple forward ice cream where the walnuts weren’t just an afterthought. They needed to be part of the flavor from the very beginning.
This recipe starts by cooking the walnuts directly in maple syrup. As they boil together, the walnuts flavor the syrup that later becomes part of the custard, while the walnuts themselves become the candied pieces mixed in after churning. Cooking the maple syrup also reduces some of the water content, concentrating the maple flavor and improving the texture of the finished ice cream.
The custard base itself is made with cream, milk, eggs, maple syrup, and just enough (optional) maple extract to bring the flavor forward since maple can become more subtle once frozen. Like most of my ice cream recipes, this is a traditional custard-style base cooked on the stovetop, cooled, and then churned in an ice cream maker. After the base is churned, the maple candied walnuts are added back in for a maple walnut ice cream that tastes like both ingredients in every bite.
Ingredients Needed
Here is an overview of the ingredients needed for this recipe. The full recipe is listed below in greater detail.
- maple syrup (the darker the color, the more flavor the maple syrup has...try to buy grade B or "robust" if it's available)
- unsalted walnuts (either toasted or raw are fine, I didn’t notice a difference between the two in the final ice cream)
- natural maple extract/flavor (if you can find this extract, grab it! Just make sure if you use it, it's the natural kind, and not the imitation)
- heavy cream + whole milk
- eggs (both whole eggs and yolks are used)
- granulated sugar
- coarse kosher salt (This recipe was tested using Diamond Crystal coarse kosher salt. If using Morton’s kosher salt or fine salt, you’ll need less by volume, so start with half and adjust to taste.
How to Make It
As mentioned, this is a custard-style ice cream, which means the dairy, eggs, and sugar are slowly cooked together on the stove until thickened, reaching about 180ºF. If you’re familiar with custard recipes, you might notice this one is a bit different: the eggs are not tempered first. Instead, all of the custard ingredients are whisked together from the beginning, then the slightly cooled maple syrup is added before cooking.
Because the maple syrup has been cooked down, it may firm up when it hits the cooler ingredients. This is completely normal and it will melt back into the custard as it warms. Just make sure to stir constantly and scrape along the edges and bottom of the pot as the custard cooks to fully incorporate the maple syrup.
Here is a shortened visual overview of the recipe. For the full recipe, scroll down to the end of this article.
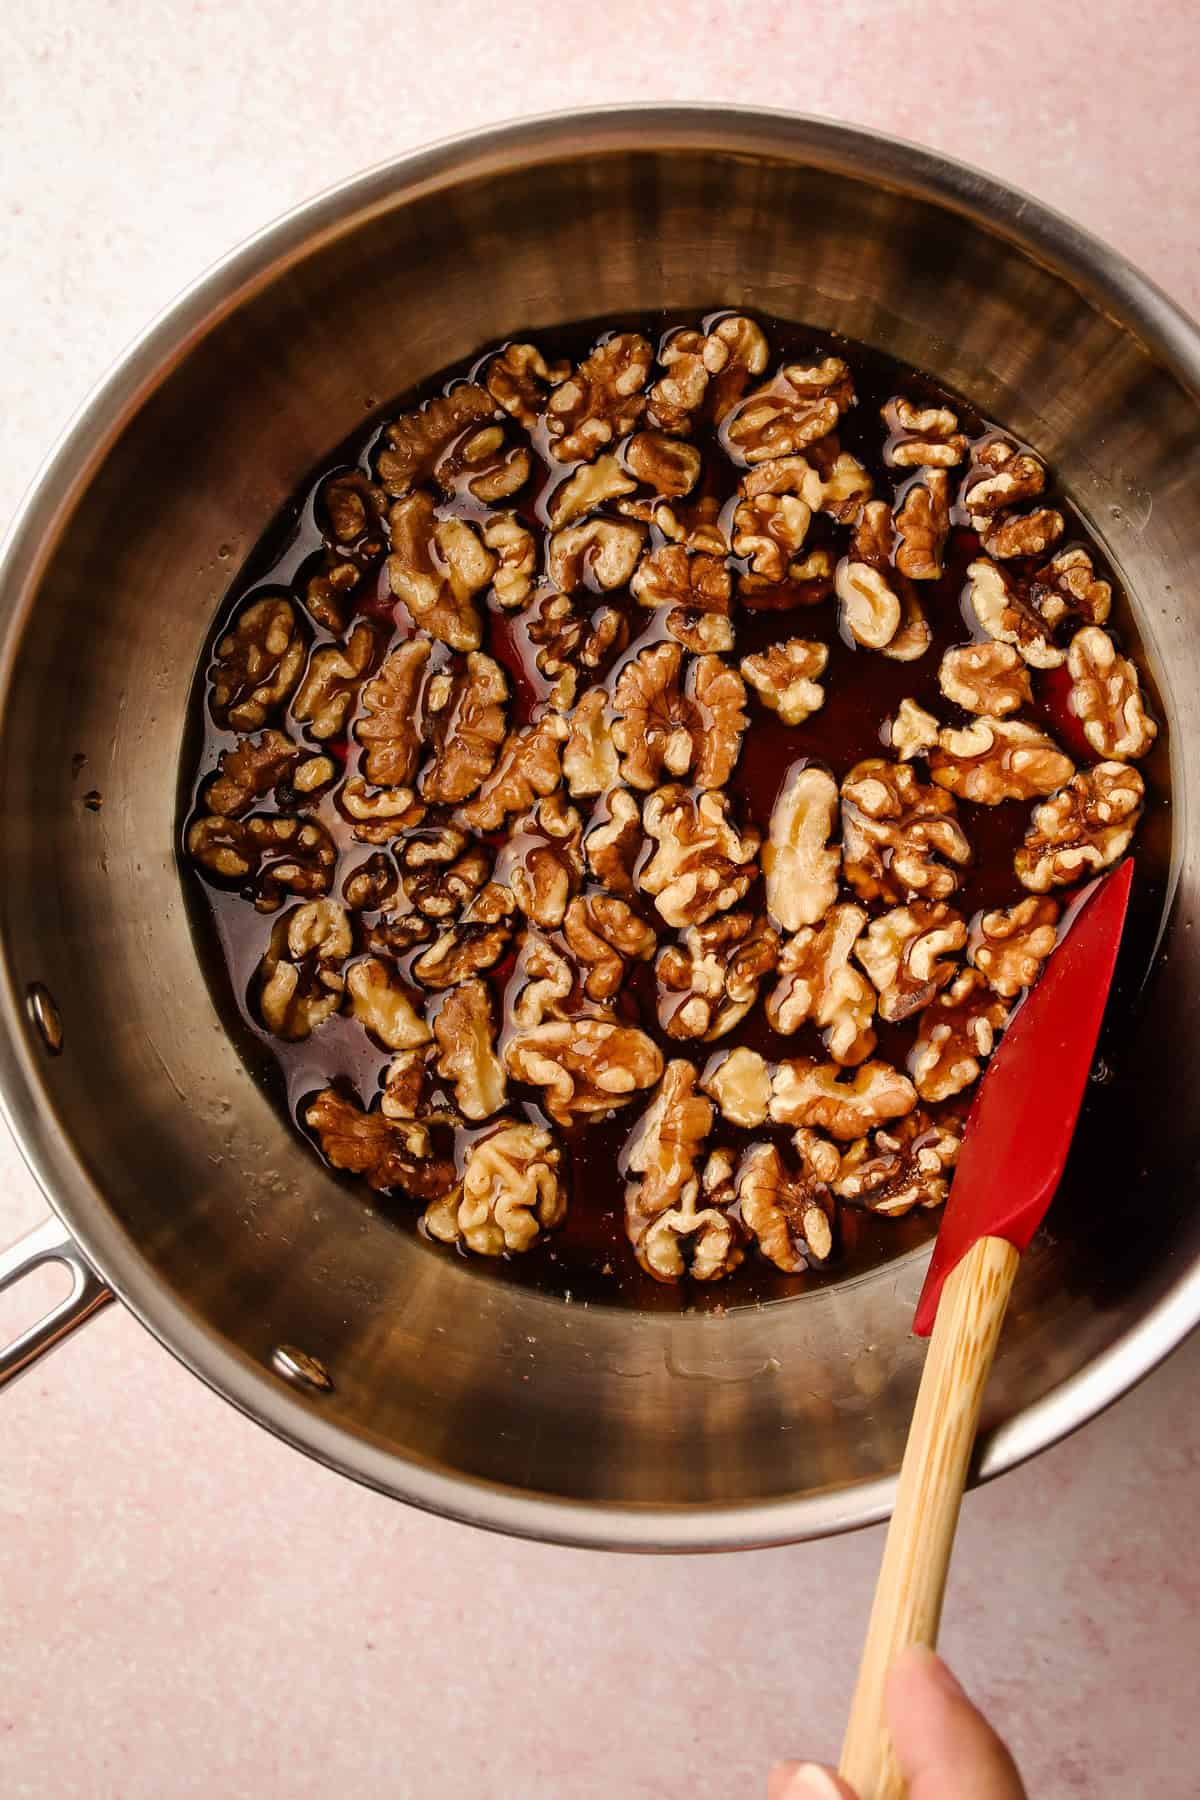
Step 1: Boil the maple syrup and walnuts for 2 minutes. Remove from the heat and let cool slightly.
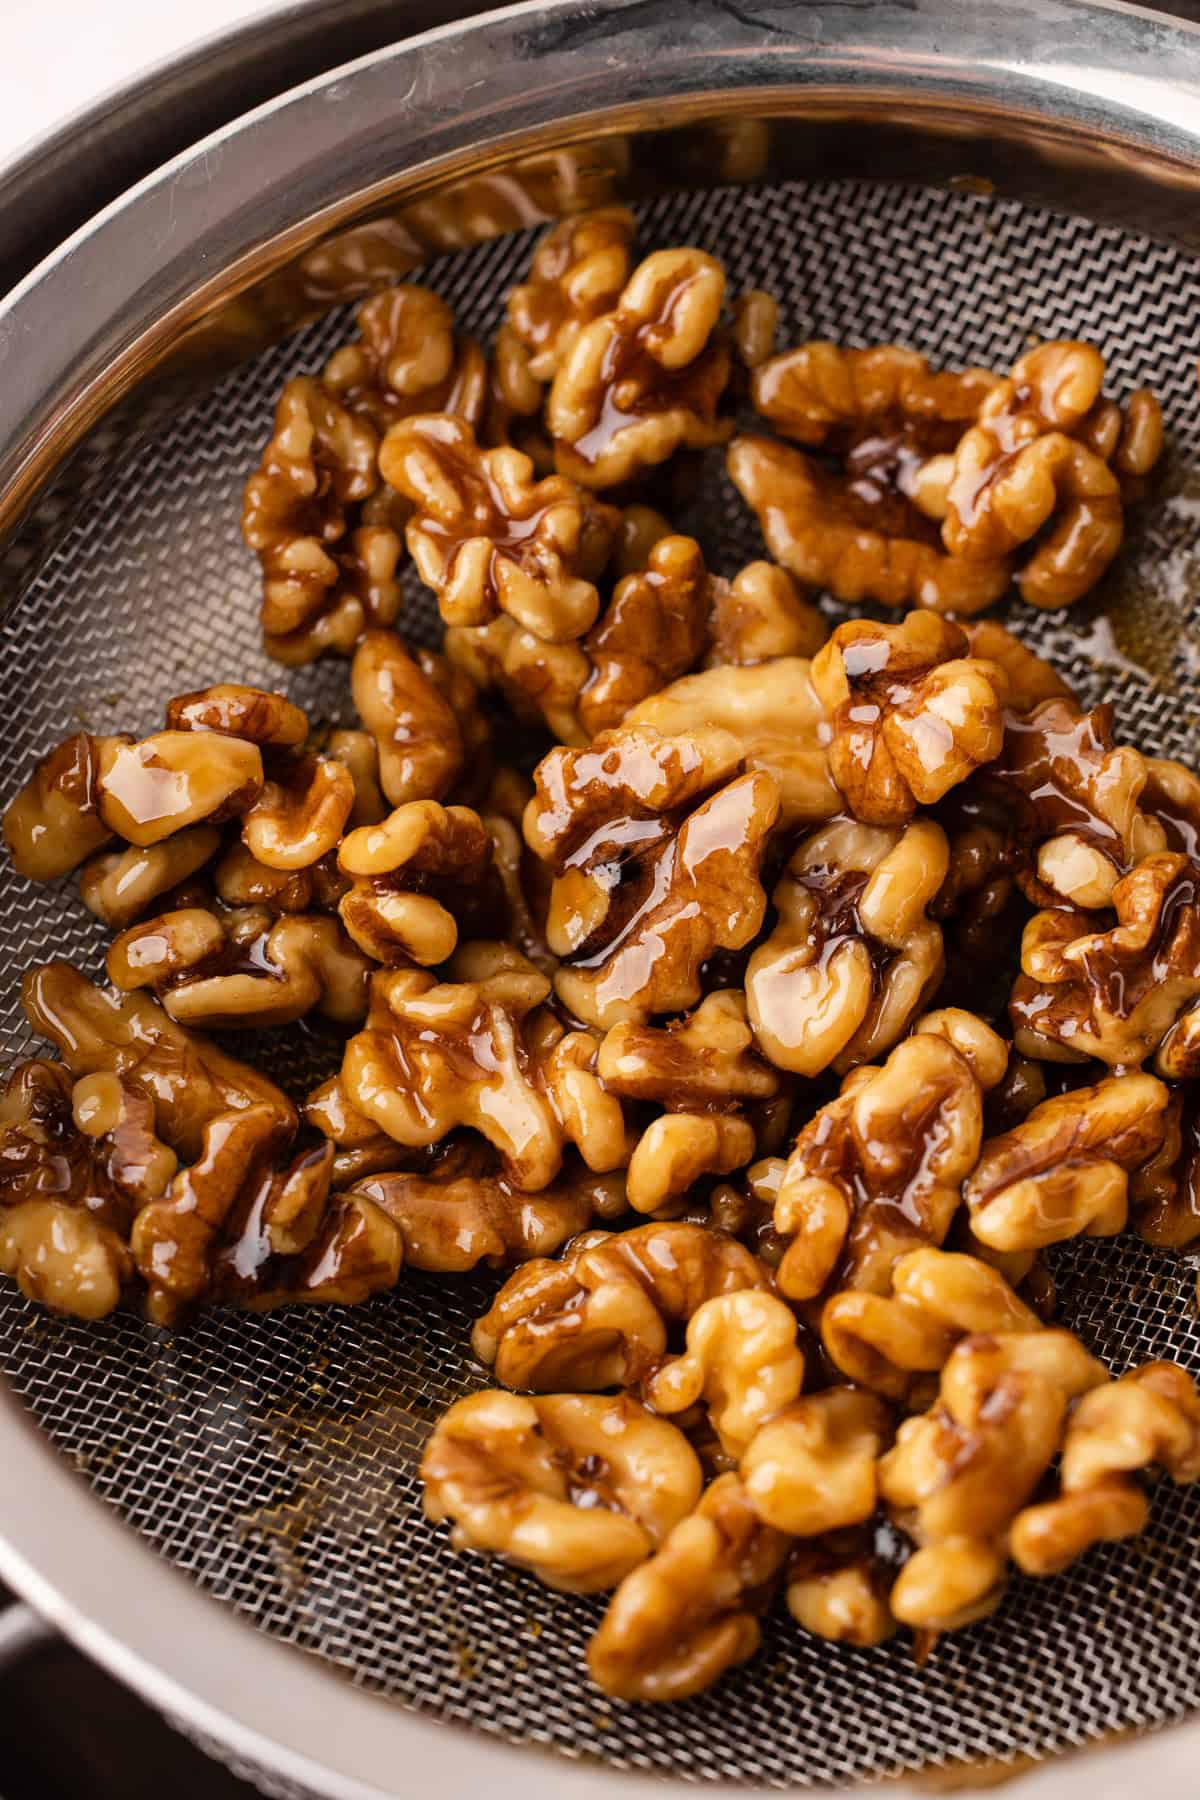
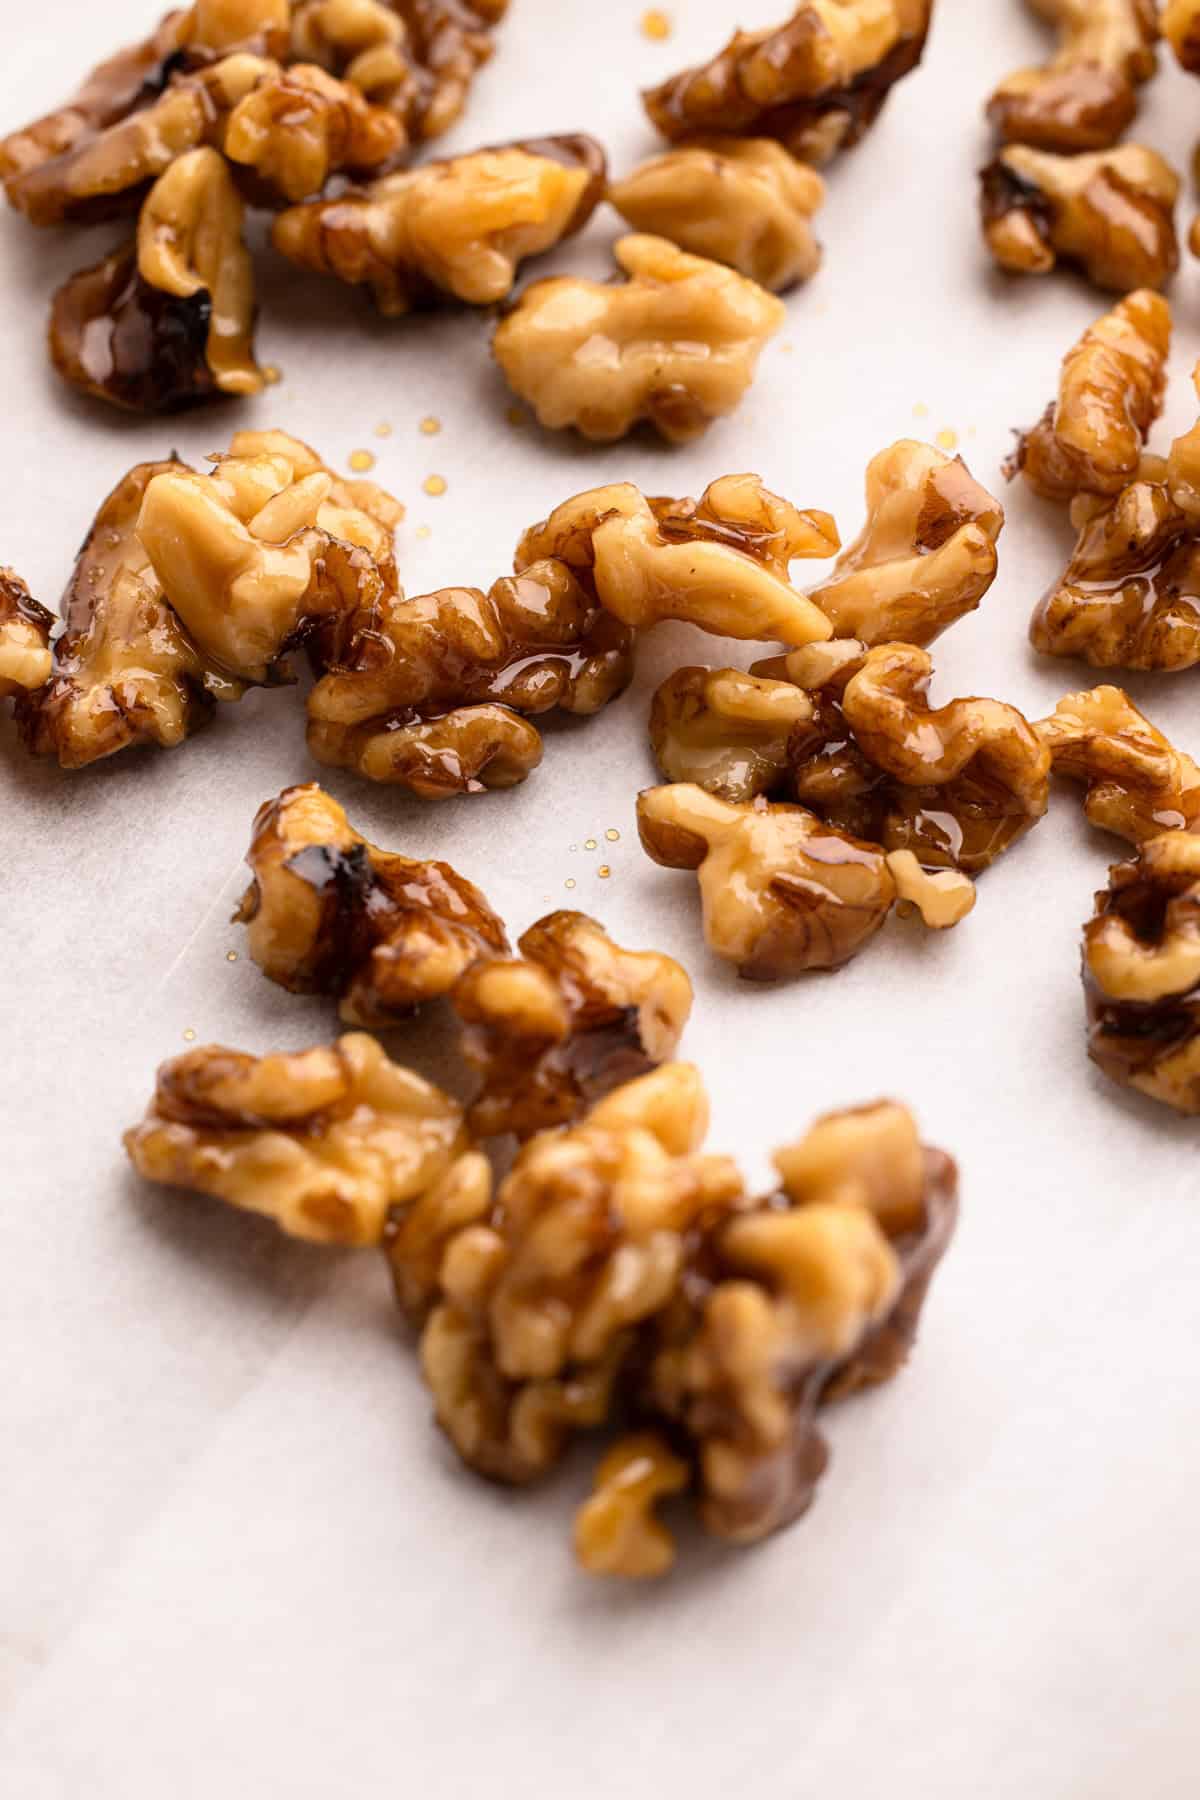
Step 2: Strain the maple syrup from the walnuts, reserving both. Transfer the walnuts to a parchment-lined baking sheet to cool.
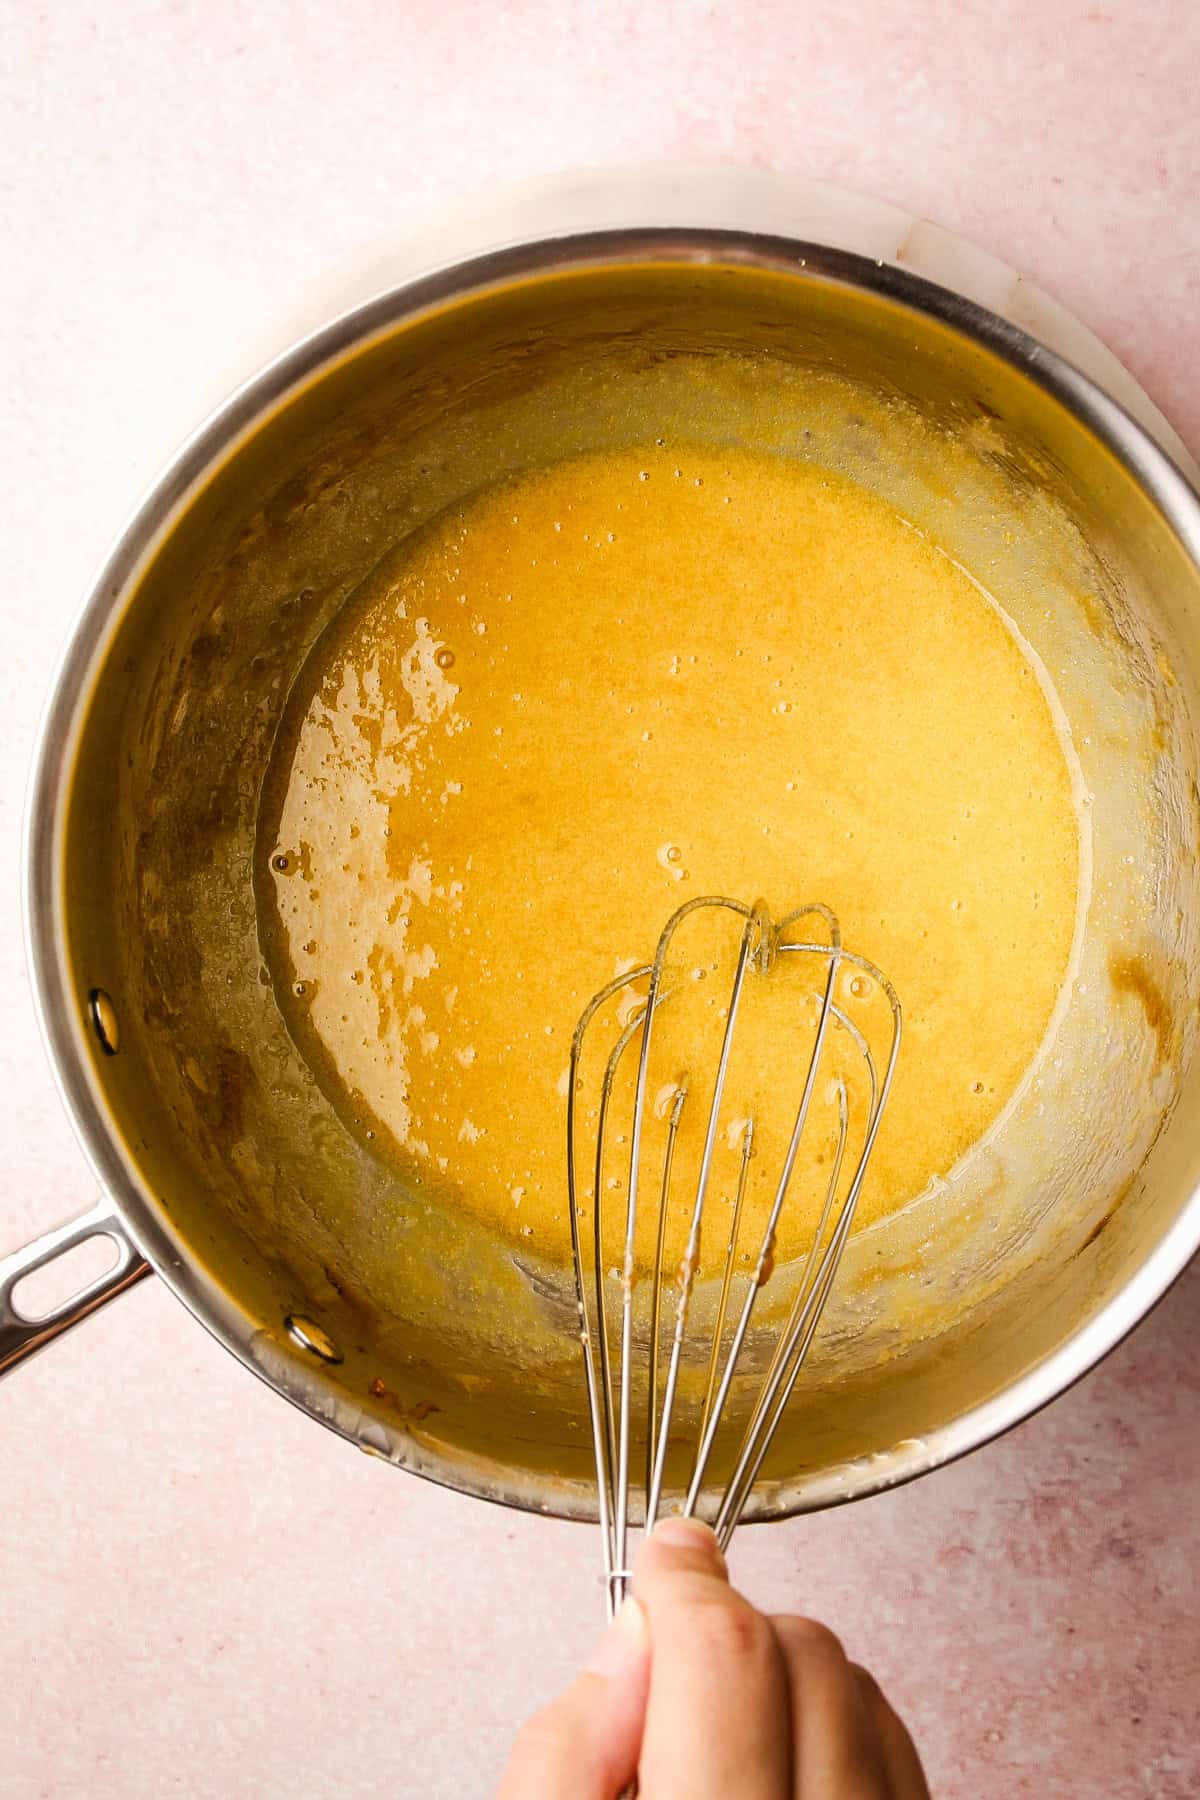
Step 3: Whisk together the custard ingredients in a medium pot (the same pot used for the maple syrup is fine).
Step 4: Slowly pour in the slightly cooled maple syrup. It may harden at first, but will melt into the custard as it cooks.
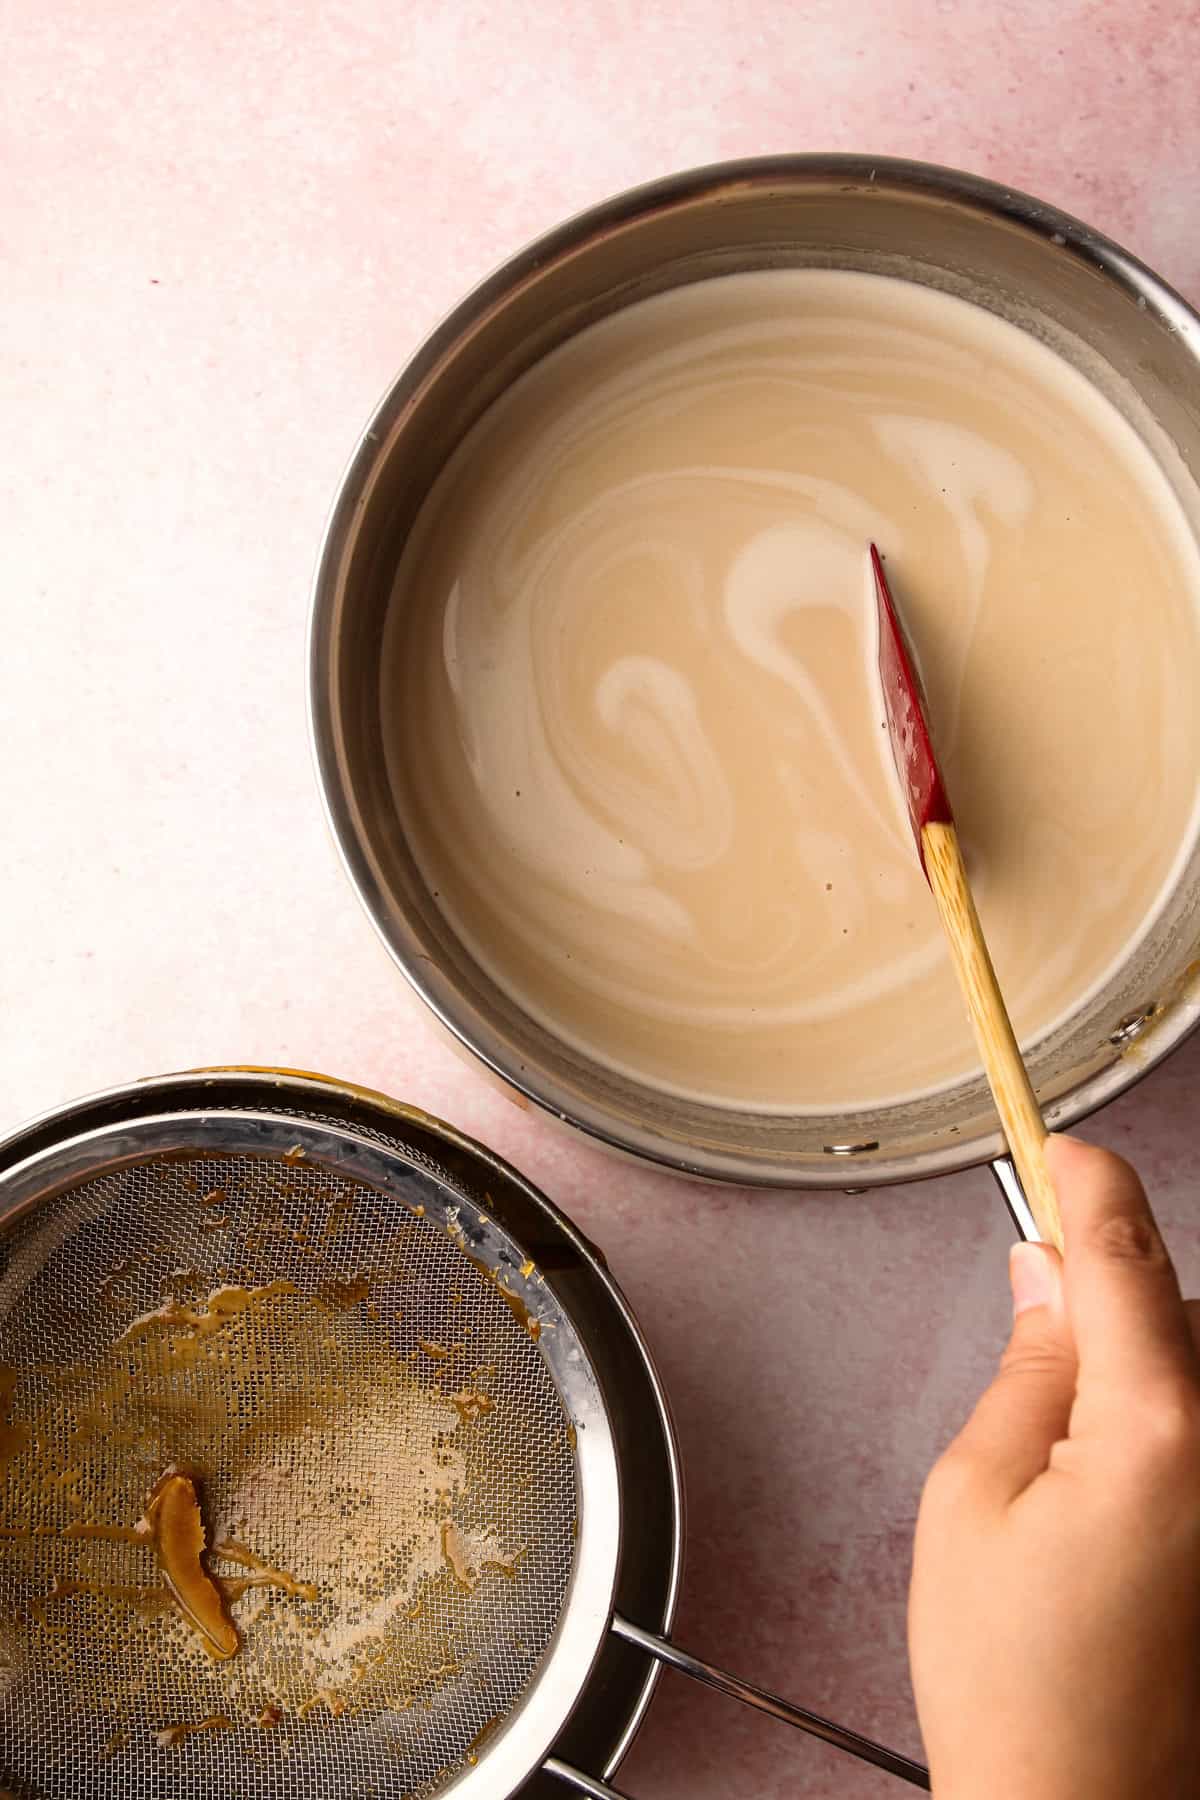
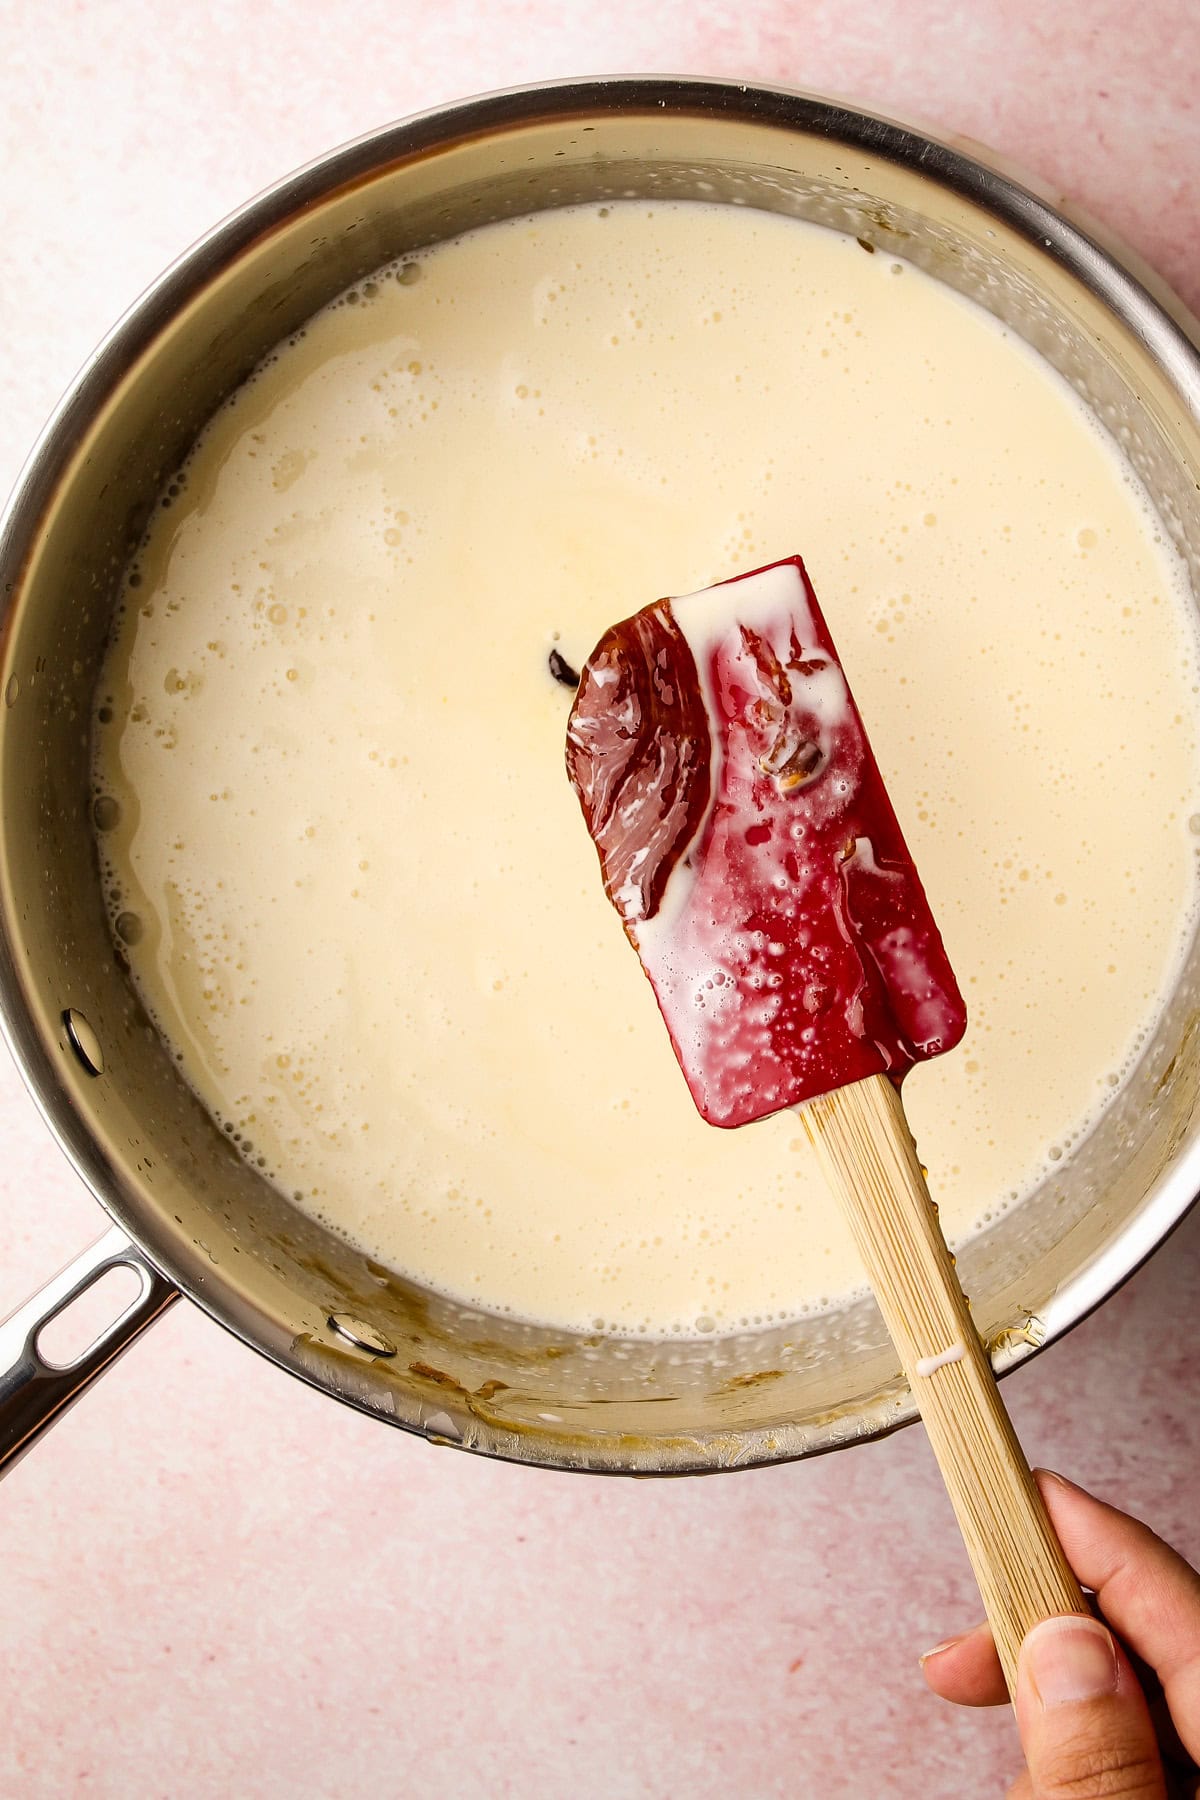
Step 5: Cook the custard, stirring constantly, until slightly thickened and it reaches 175°F, about 8 minutes. Strain through the reserved strainer. Chill the custard thoroughly in the refrigerator until at least 40ºF.
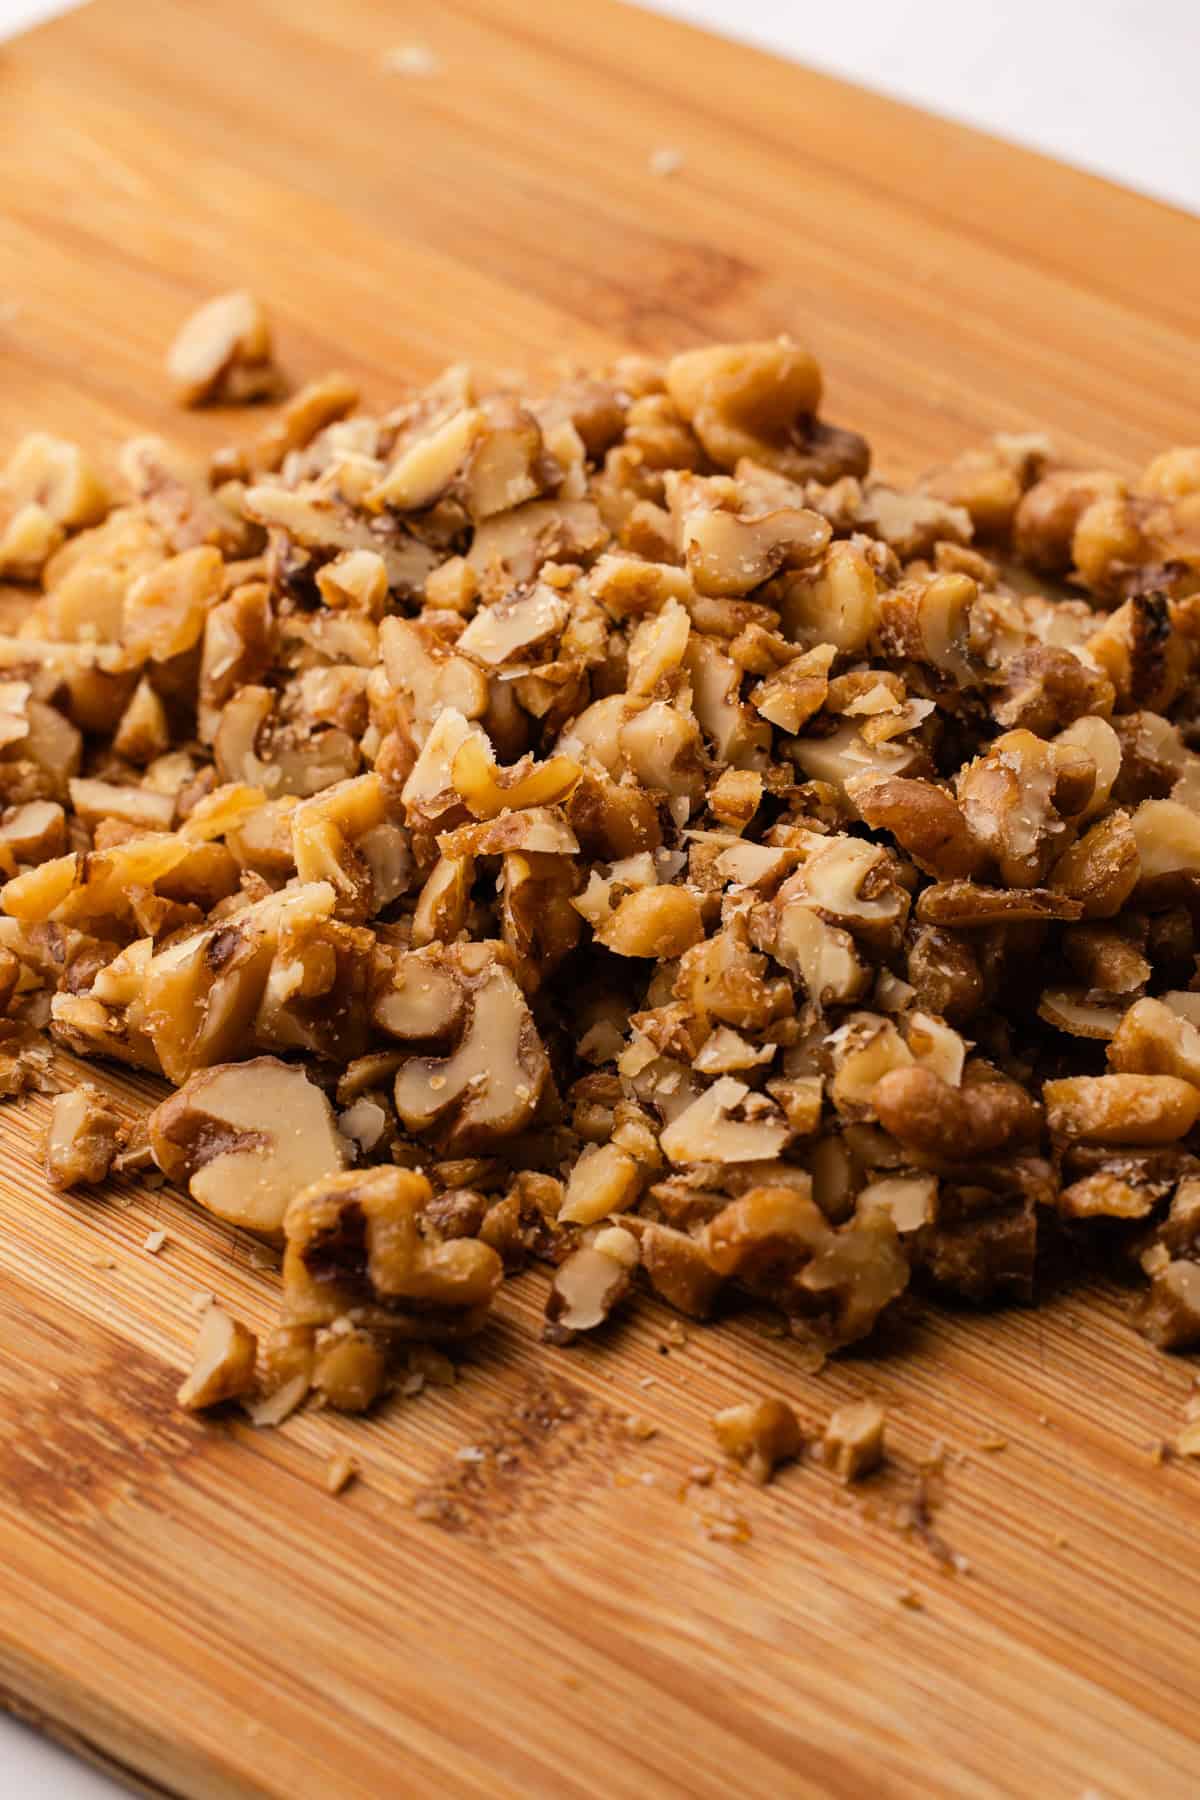
Step 6: Roughly chop the cooled candied walnuts.
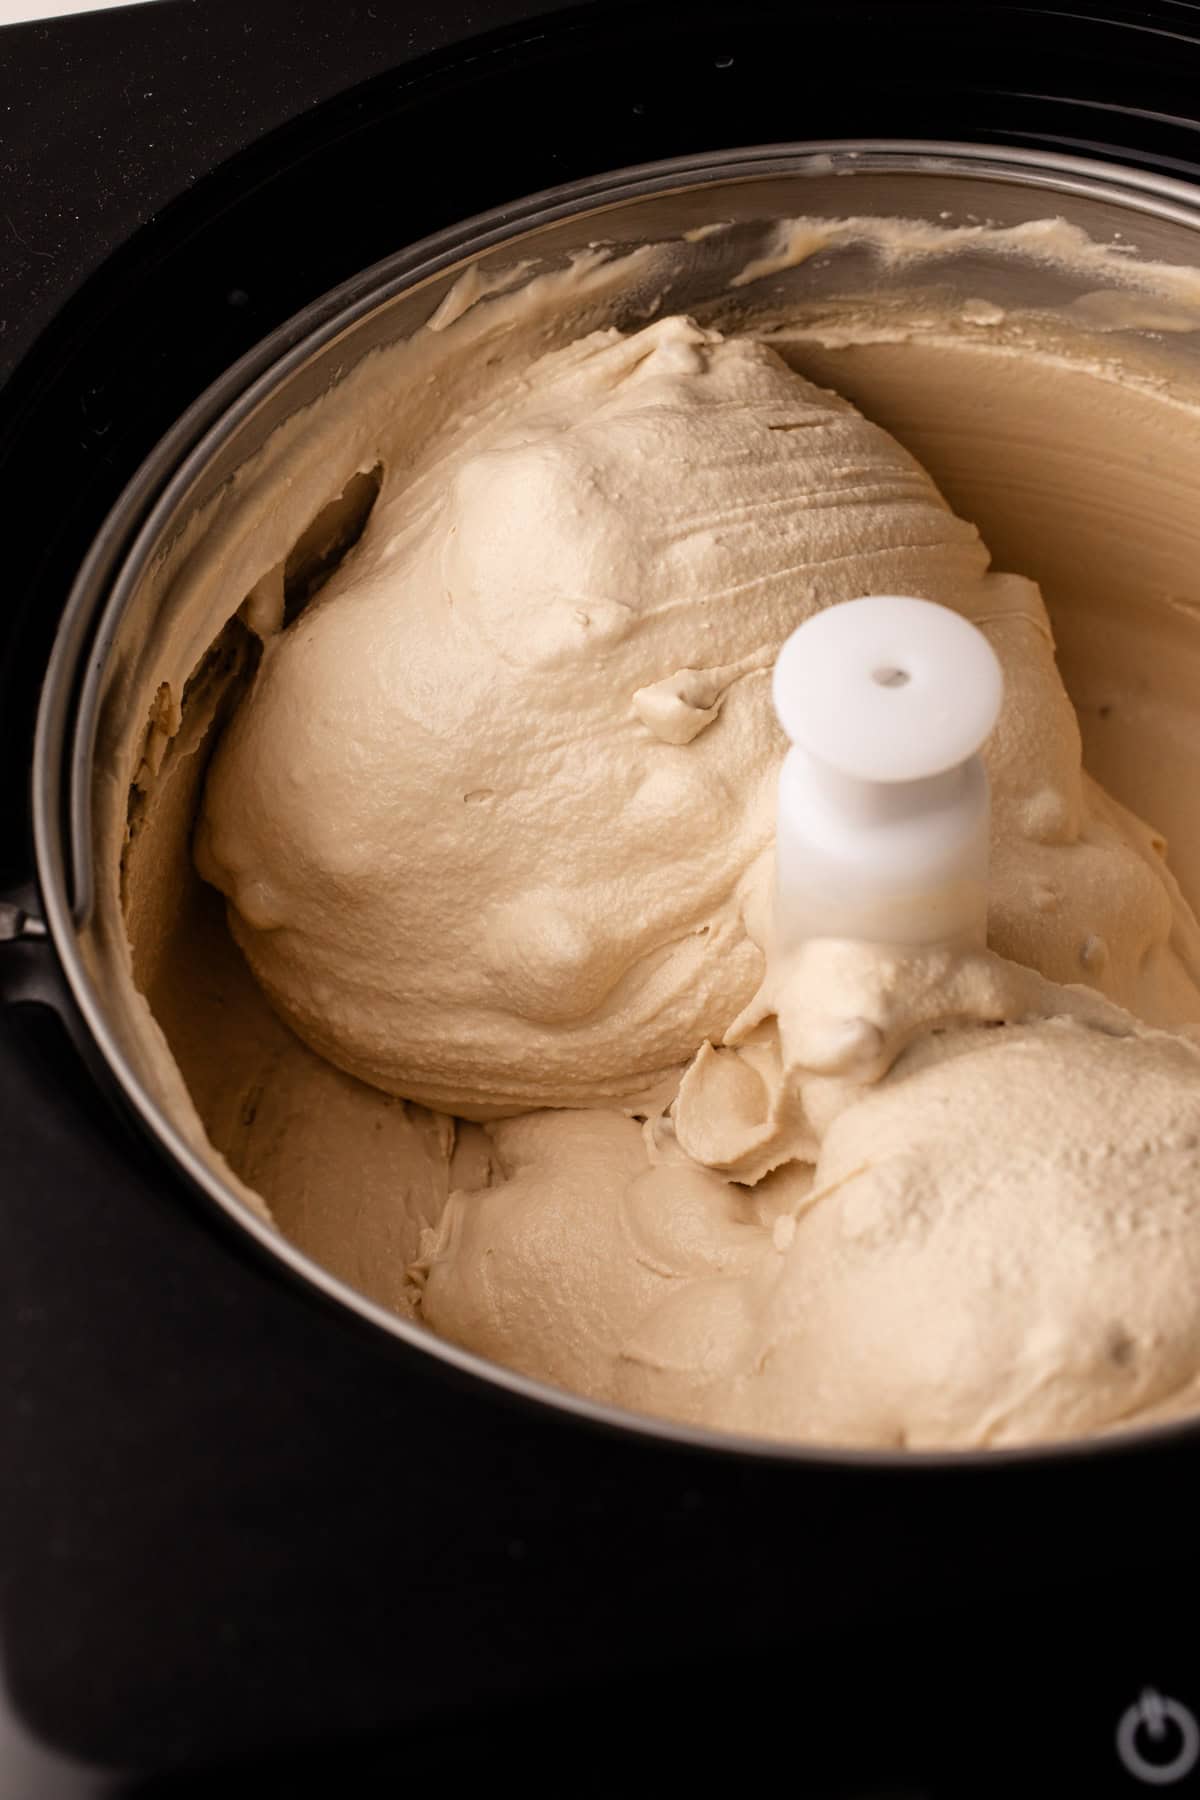
Step 5: Churn the custard according to your ice cream maker’s instructions. Once it reaches a soft-serve consistency, add the walnuts and stir to combine.
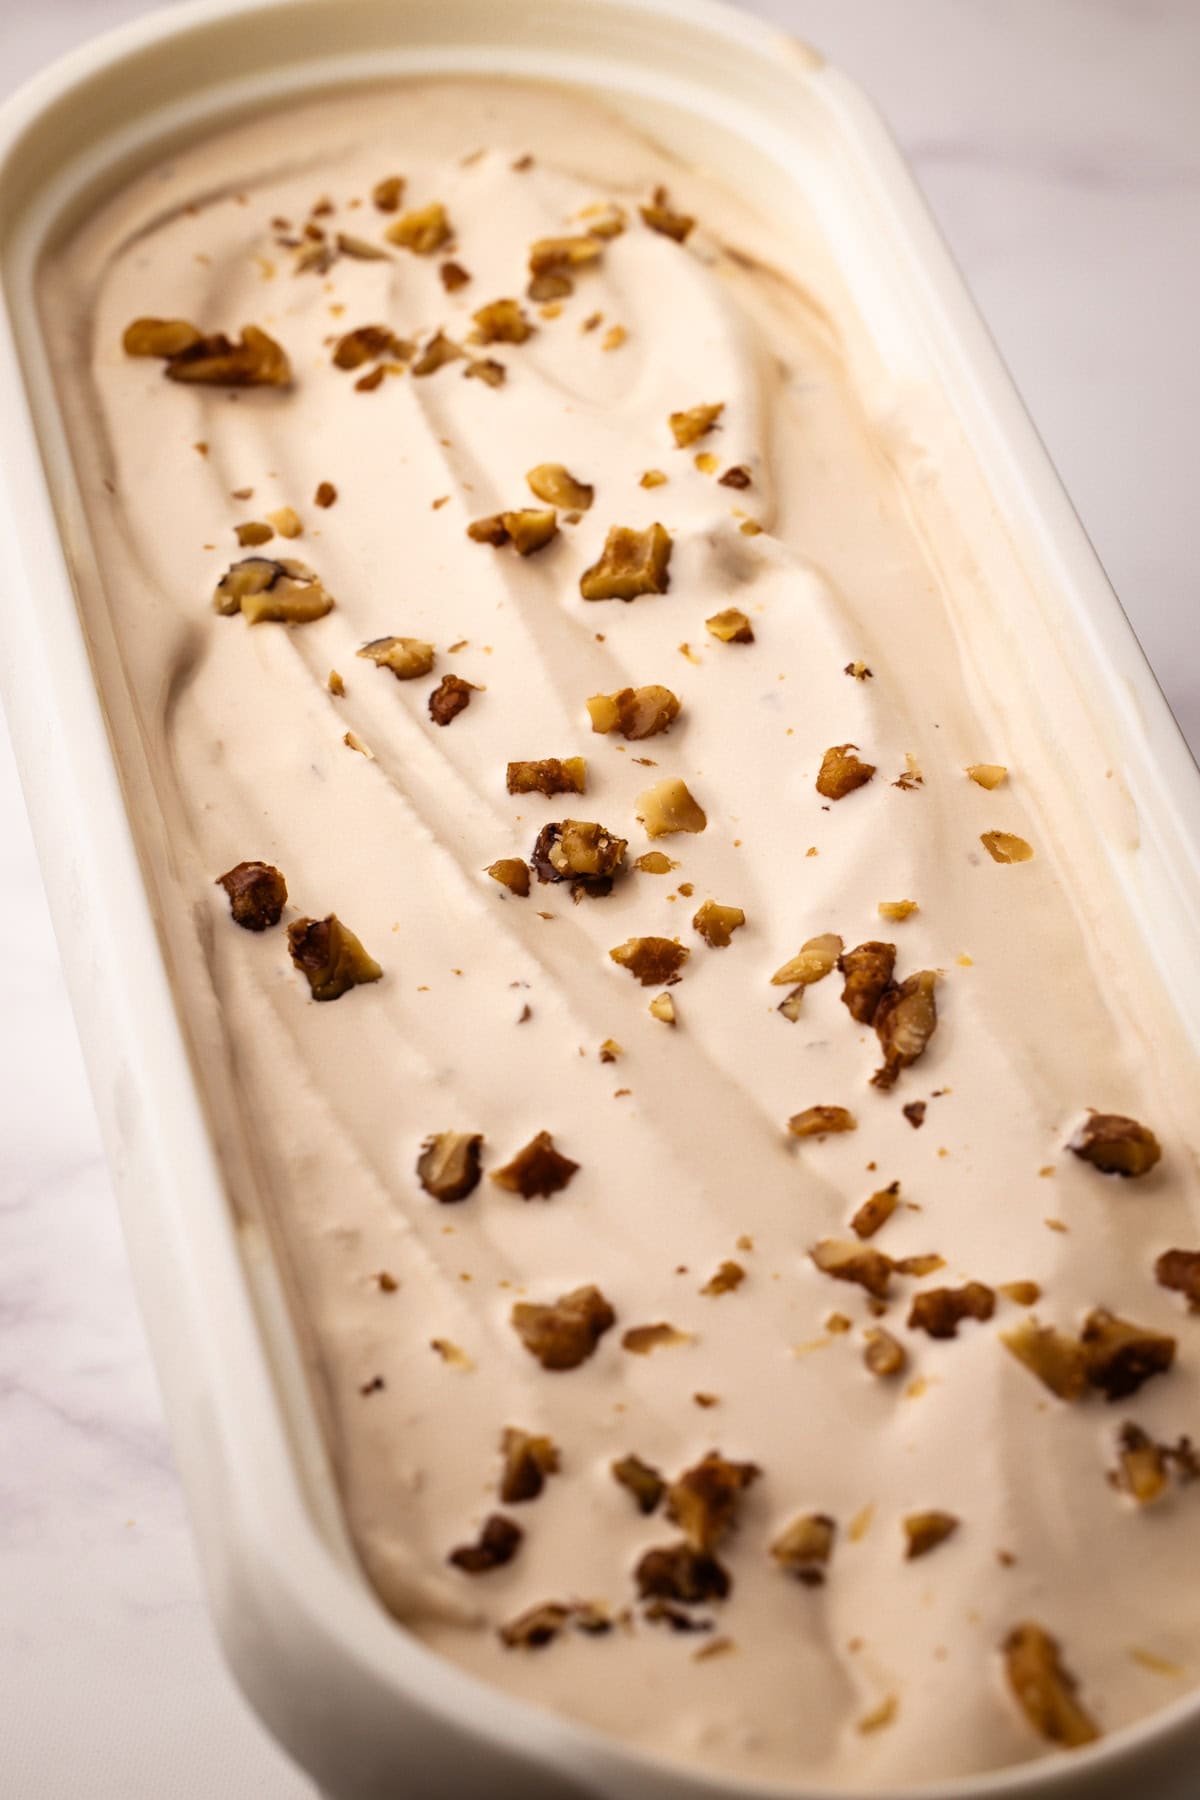
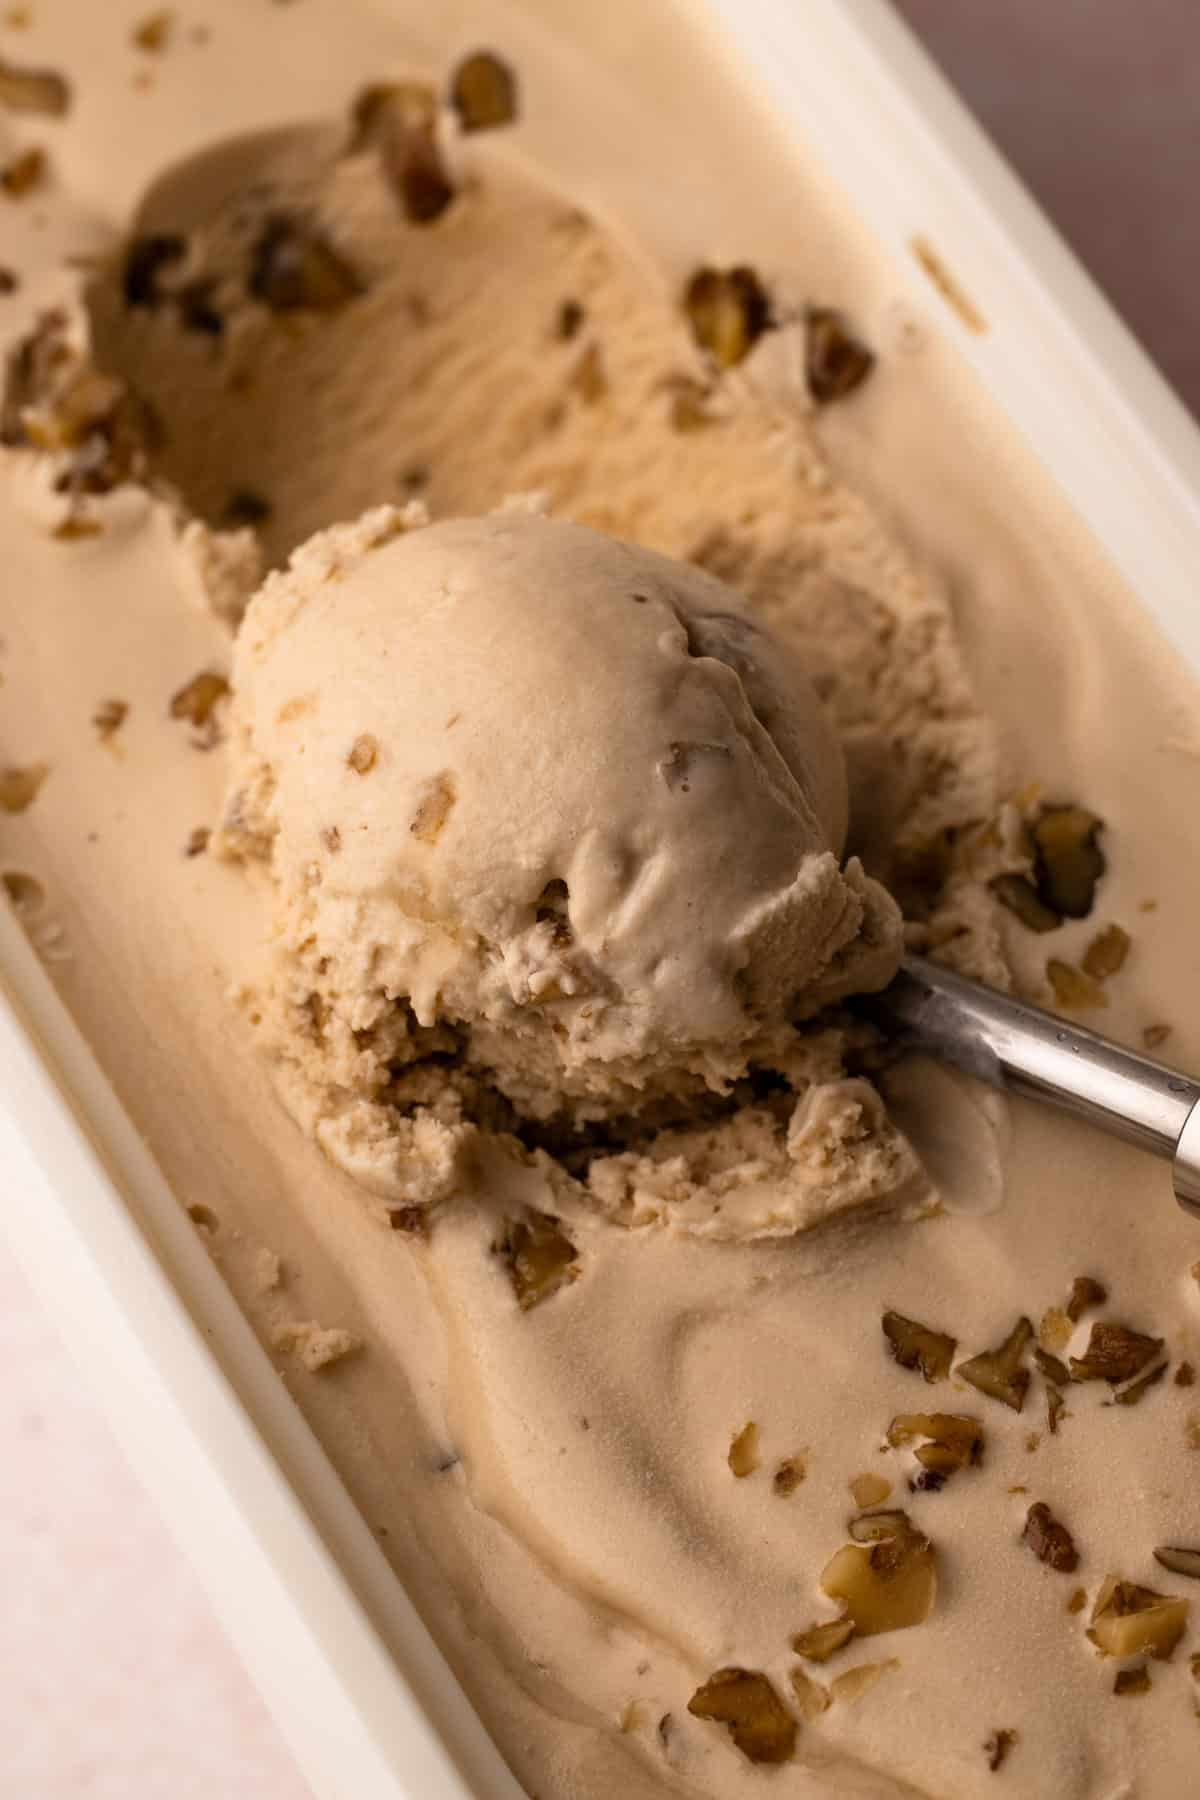
Step 6: Transfer to one or more airtight containers, sprinkle with additional walnuts if desired. Freeze until hard.
How to Store It
Storing the ice cream properly is important to preserve its creamy consistency and prevent ice crystals from forming. The ice cream can be stored in one large container or several smaller containers. While ice cream containers are great if you make ice cream often, any freezer-safe container you already have at home will work. For best results, press a piece of parchment paper directly on the surface of the ice cream before covering and freezing.
Here are some general best practices for storing ice cream:
- Transfer the churned ice cream immediately to an airtight container
- Press parchment paper onto the surface before putting on the lid
- Shallow containers are best
- Avoid temperature fluctuations as they create an icy texture
- Consume within 1-2 weeks for the best texture and quality.
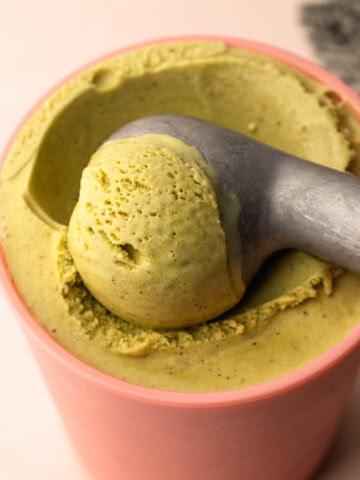
More Ice Cream Recipes


I am so honored when you make a recipe from my site! If you make this Maple Walnut Ice Cream recipe, please leave a star ⭐️⭐️⭐️⭐️⭐️ rating with your experience! If you have any questions about this recipe, feel free to comment here, and tag me on Instagram!
Full Recipe
Maple Walnut Ice Cream
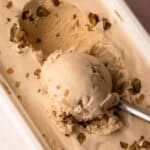
This Maple Walnut Ice Cream starts by cooking walnuts directly in maple syrup, creating both the candied walnuts that are mixed in after churning and the maple syrup used to flavor the custard. As the syrup cooks, the maple flavor becomes more concentrated while taking on some of the walnuts’ flavor. The result is a rich, creamy custard-style ice cream with a distinct maple flavor and candied walnuts that add the perfect textural contrast. The custard itself uses classic ingredients, with the addition of maple syrup and optional maple extract to help boost the maple flavor.
- Prep Time: 00:20
- Churning / Freezing: 08:00
- Cook Time: 00:15
- Total Time: 8 hours 35 minutes
- Yield: about 3 pints
- Category: Ice Cream
- Method: Churned
Ingredients
- ¾ cup (240 grams) maple syrup
- ¾ cup (85 grams) unsalted walnuts (raw or toasted)
- 1 cup (227 grams) heavy cream
- 2-½ cups (565 grams) whole milk
- 2 large eggs, plus 2 large egg yolks
- ¼ cup (50 grams) granulated sugar
- ½ teaspoon coarse kosher salt (see note)
- ½ teaspoon maple extract (see note)
Instructions
- In a heavy-bottomed medium pot, stir together the maple syrup and walnuts. Turn the heat to medium and bring the syrup to a boil. Set a timer and continue to boil for 2 minutes. Remove the pot from the heat and let cool slightly, about 10 minutes. Place a heatproof strainer over a heatproof bowl. Carefully strain off the maple syrup from the walnuts, reserving it in the bowl. Transfer the maple-soaked walnuts to a parchment-lined baking sheet in an even layer. Be careful, as the syrup can still be hot. Let cool completely, and set aside until ready to add to the ice cream. Set aside the strainer and the bowl, it will be needed later.
- In the now-empty pot, combine the heavy cream, whole milk, eggs, egg yolks, granulated sugar, salt, and maple extract. Whisk together until well combined. Slowly pour in the slightly cooled maple syrup. It may harden as you pour it in, this is okay, it will melt into the custard as it cooks.
- Cook over medium heat, stirring and scraping constantly with a rubber spatula, especially along the edges and the bottom of the pot to make sure everything is incorporated, including any hardened maple syrup, until the mixture reaches 175°F on an instant-read thermometer, about 8 minutes. The mixture will be slightly thickened. To check if the custard is set without an instant-read thermometer, coat a wooden spoon with the custard. Draw a horizontal line on the back of the spoon with your finger. If the line “holds,” then your custard is set. If the line collapses immediately, the custard needs another minute or so. Do not boil the mixture.
- Immediately shut off and remove the pot from the heat. Continue to stir the custard for 1 minute. This helps bring it all the way up to 180ºF.
- Strain the custard through the fine-mesh strainer into the heatproof bowl. Stir together any residual maple syrup from the bowl into the custard.
- Cool the custard to room temperature. Cool it in an ice bath if desired to bring the temperature down more quickly.
- Chill the custard thoroughly in the refrigerator until at least 40ºF, preferably overnight.
- Roughly chop the cooled candied walnuts.
- Freeze the custard, following the recommended manufacturer’s instructions of your ice cream maker, until the ice cream has reached a soft-serve consistency, then add in the walnuts and stir to combine.
- Transfer the ice cream to one or more airtight containers. Place a piece of parchment on the surface to prevent any freezer burn. Freeze until firm, at least a few hours.
Notes
Maple Walnut Ice Cream is best consumed within a week, but will last for several in the freezer.
If you need to freeze your ice cream canister, make sure to do so 24 hours before you plan to spin your ice cream.
This recipe was tested using Diamond Crystal coarse kosher salt. If you use Morton's kosher salt or fine salt, decrease the volume by half.
The walnuts can be toasted if desired to help refresh their flavor but I couldn't detect a difference in flavor between non-toasted walnuts and toasted.
If using maple extract, choose an all-natural version (my favorite is this one from Frontier Co-op). If you can’t easily find an all-natural one, skip it. It’s better to let the flavor of the real maple syrup shine on its own.
See my ice cream tool kit for all of the tools I use in my kitchen.
Some of the links on this page may be affiliate links. Everyday Pie is a participant in the Amazon Associates Program. As an Amazon Associate I earn from qualifying purchases, at no extra cost to you.
Leave a Reply