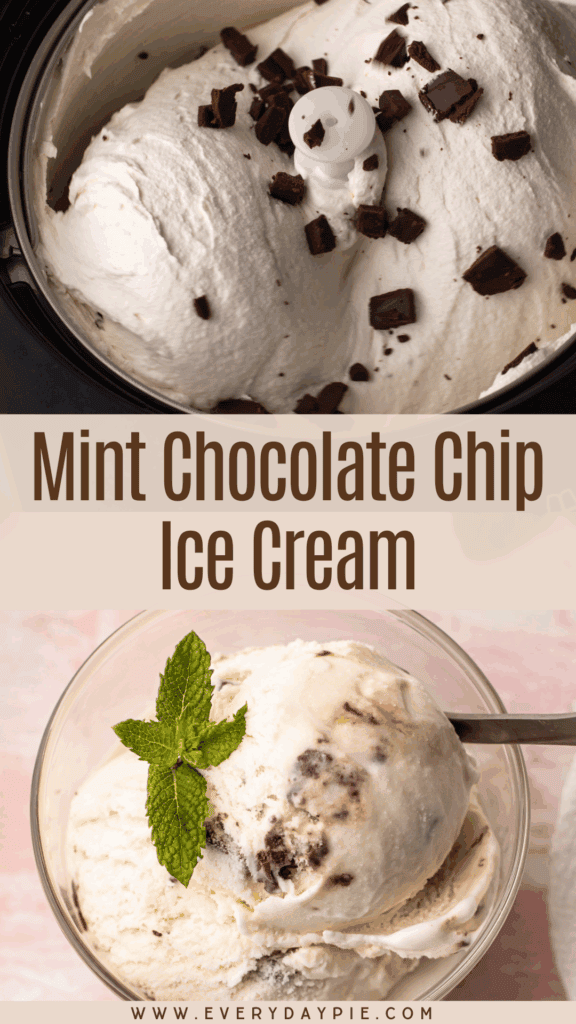
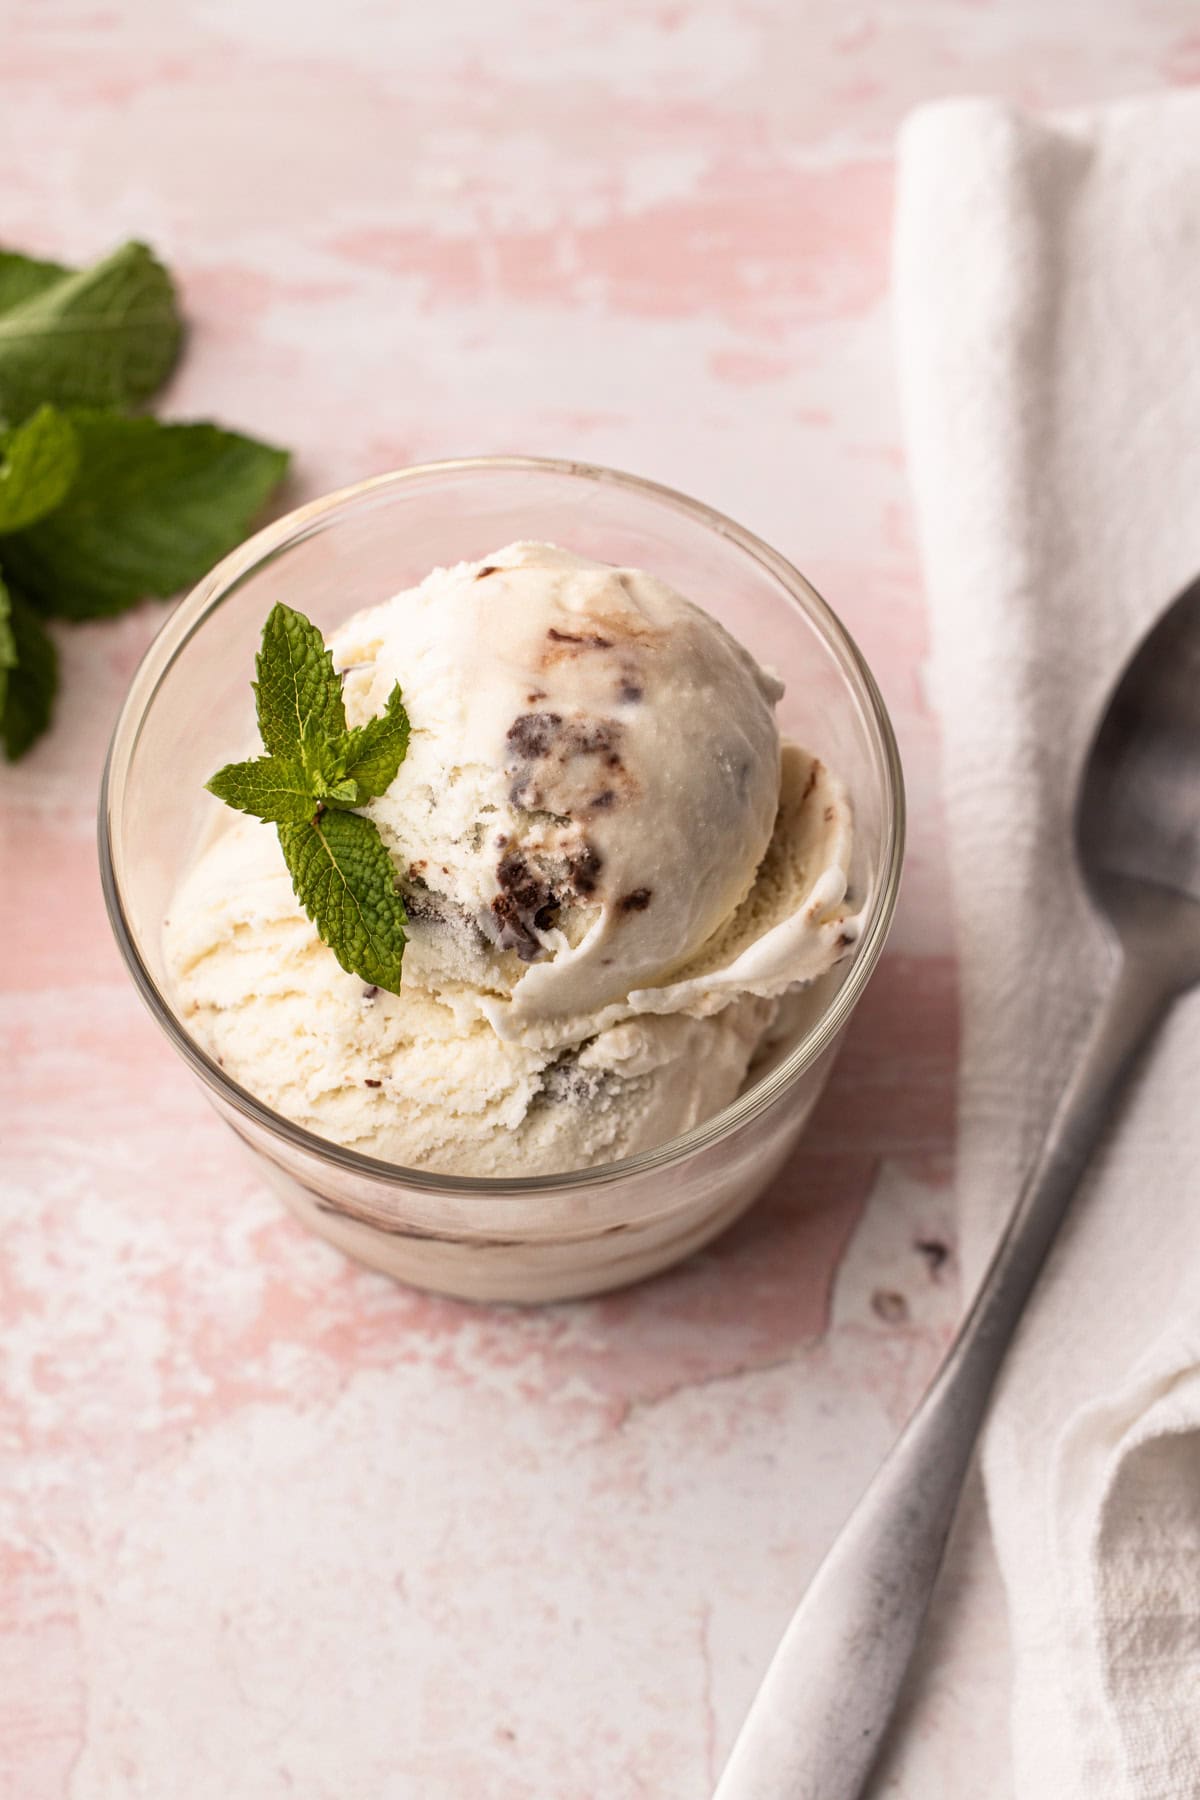
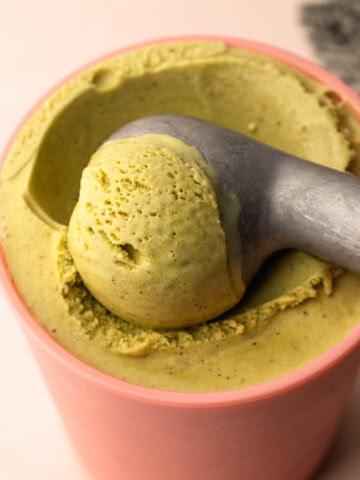
This homemade Mint Chocolate Chip Ice Cream uses a combination of fresh mint and mint extract for a layered, complex flavor, with homemade chocolate chunks that have a soft, fudgy texture mixed in.

Want to save this recipe?
Enter your email & I'll send it to your inbox. Plus, get weekly updates from me!
Mint ice cream is one of those flavors that, when made in small batches at home, truly feels special...almost otherworldly. It’s 100% worth the effort because it's something that just can’t be replicated by anything from a store or a scoop shop. The flavor is fresher, the texture is creamier, and when you use real mint (as you should), it brings a deep, herbal complexity that extracts alone just can’t match.
At one of the restaurants I used to work in, we made it every summer using mint from the garden just outside the kitchen. I’ve also used a similar steeping technique when making this No-Bake Mint Chocolate Chip Pie, and I wanted to bring that same depth of flavor to this recipe.
I started developing this recipe for homemade mint ice cream about two years ago, but I kept running into a problem: the overwhelming taste of grass. I don't know if my taste buds have changed, or if my memory might have failed me, but I never remembered the ice cream we made in the restaurant being overly grassy. So I felt stuck over the last two summers, trying to develop a fresh-mint-only recipe that wasn't so grassy. Plus, my kid, who loves mint anything, couldn’t handle the pints I was churning out, and I aim to please, so I knew this summer I had to finally get the recipe right.
And where I settled was a recipe that is partially fresh mint, for enormous depth of flavor, buttressed by the clean flavor of mint extract. And if that wasn’t enough of an assignment, I also wanted to make it mint chip, but I’m very picky when it comes to chocolate in my ice cream. I hate the sensation of hard, brittle chocolate that doesn’t melt easily. I toyed around with adding chocolate swirls or going for a stracciatella effect, but ultimately decided to make my own chocolate chunks. Luckily, a simple trick, thanks to food science, pointed me in the right direction to achieve smooth, fudgy “chips” that stay firm in the ice cream but melt into rich, velvety chocolate once they hit your mouth.
Like many of my other ice cream recipes (such as my Peach Ice Cream or Grapenut Custard ), this is a custard-style ice cream that is cooked on the stovetop first and then spun by an ice cream maker. I almost always prefer custard-style (almost! but with some exceptions, such as this Chocolate Ice Cream or Buttermilk Ice Cream recipe). Alright, let's get into the details!
Ingredients Needed
Here is an overview of the ingredients needed for this recipe. The full recipe is listed below in greater detail.
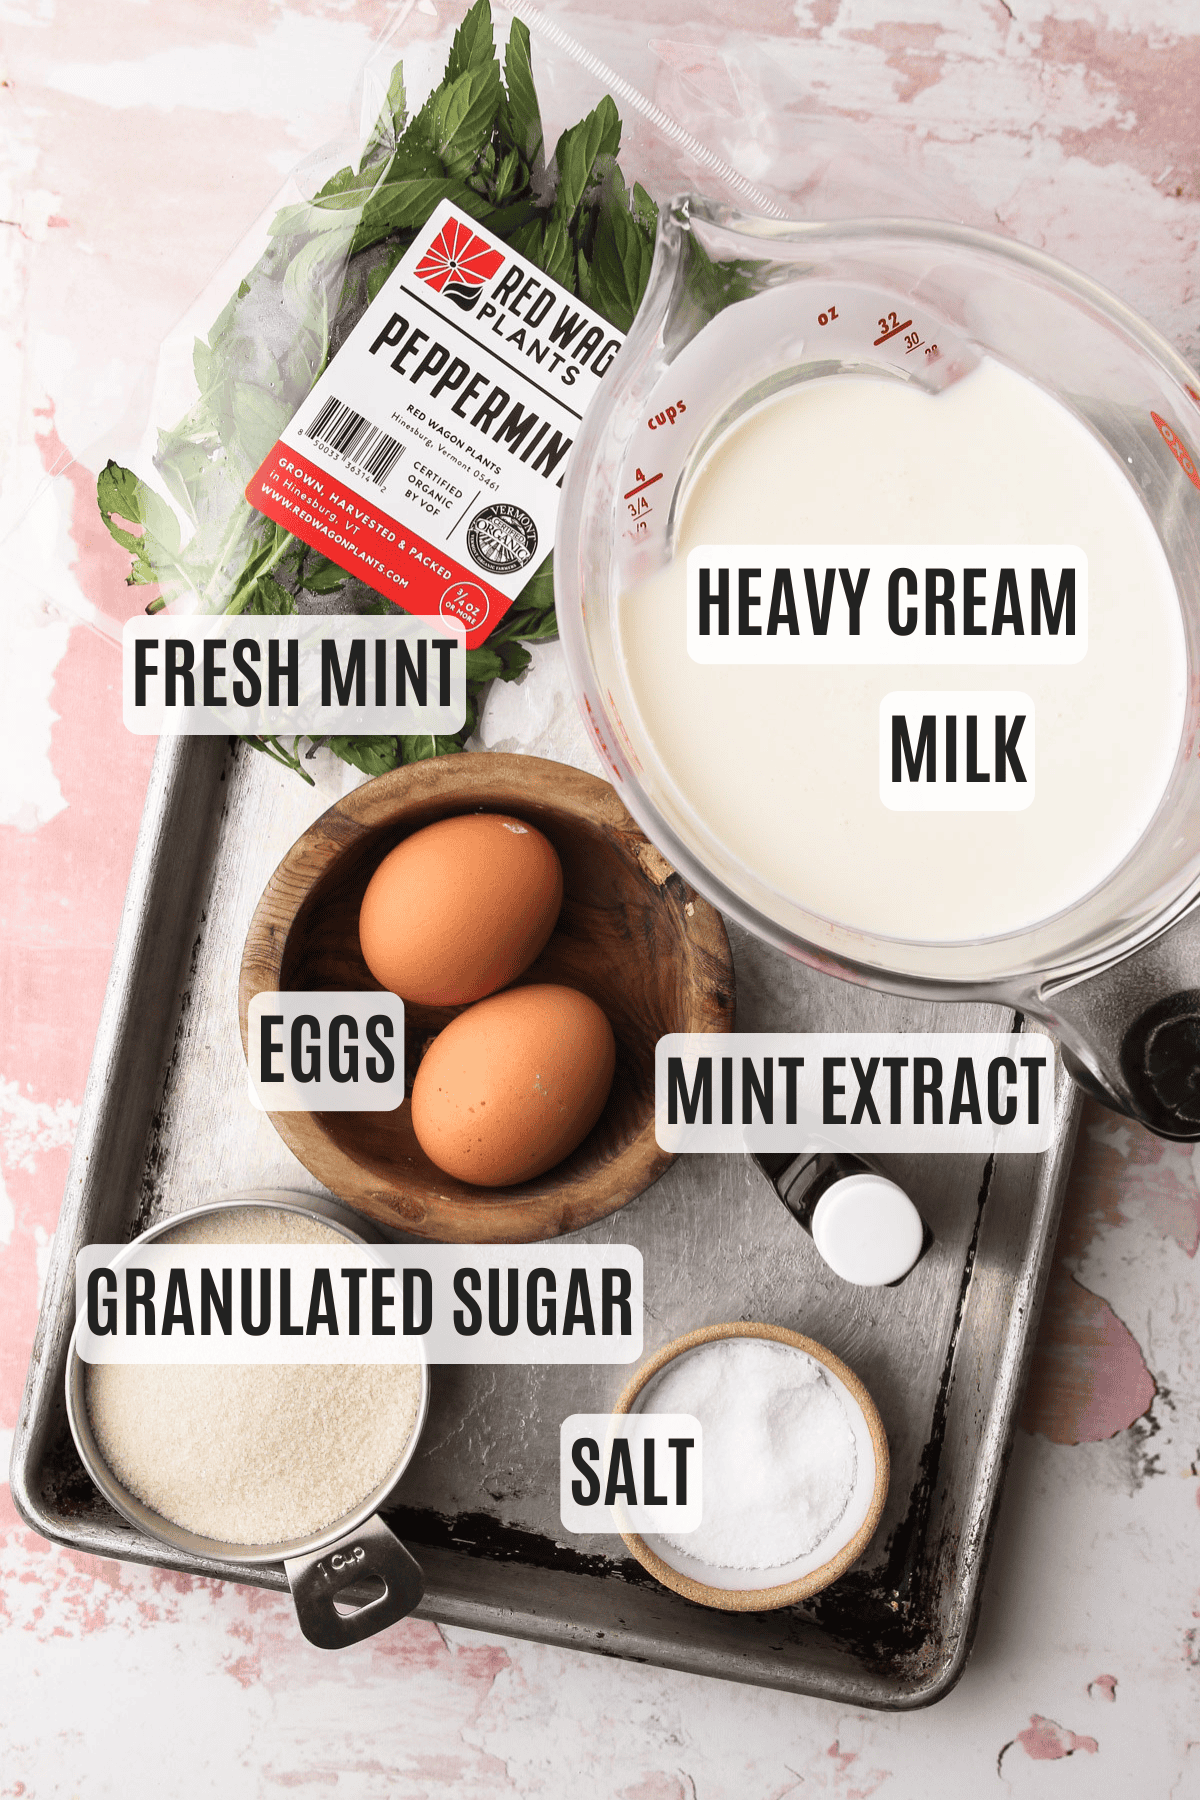
- fresh mint (see more on this ingredient below)
- mint extract
- whole milk
- heavy cream
- granulated sugar
- eggs
- coarse kosher salt
- semi-sweet or dark chocolate (not pictured above, but used for the chocolate chunks!)
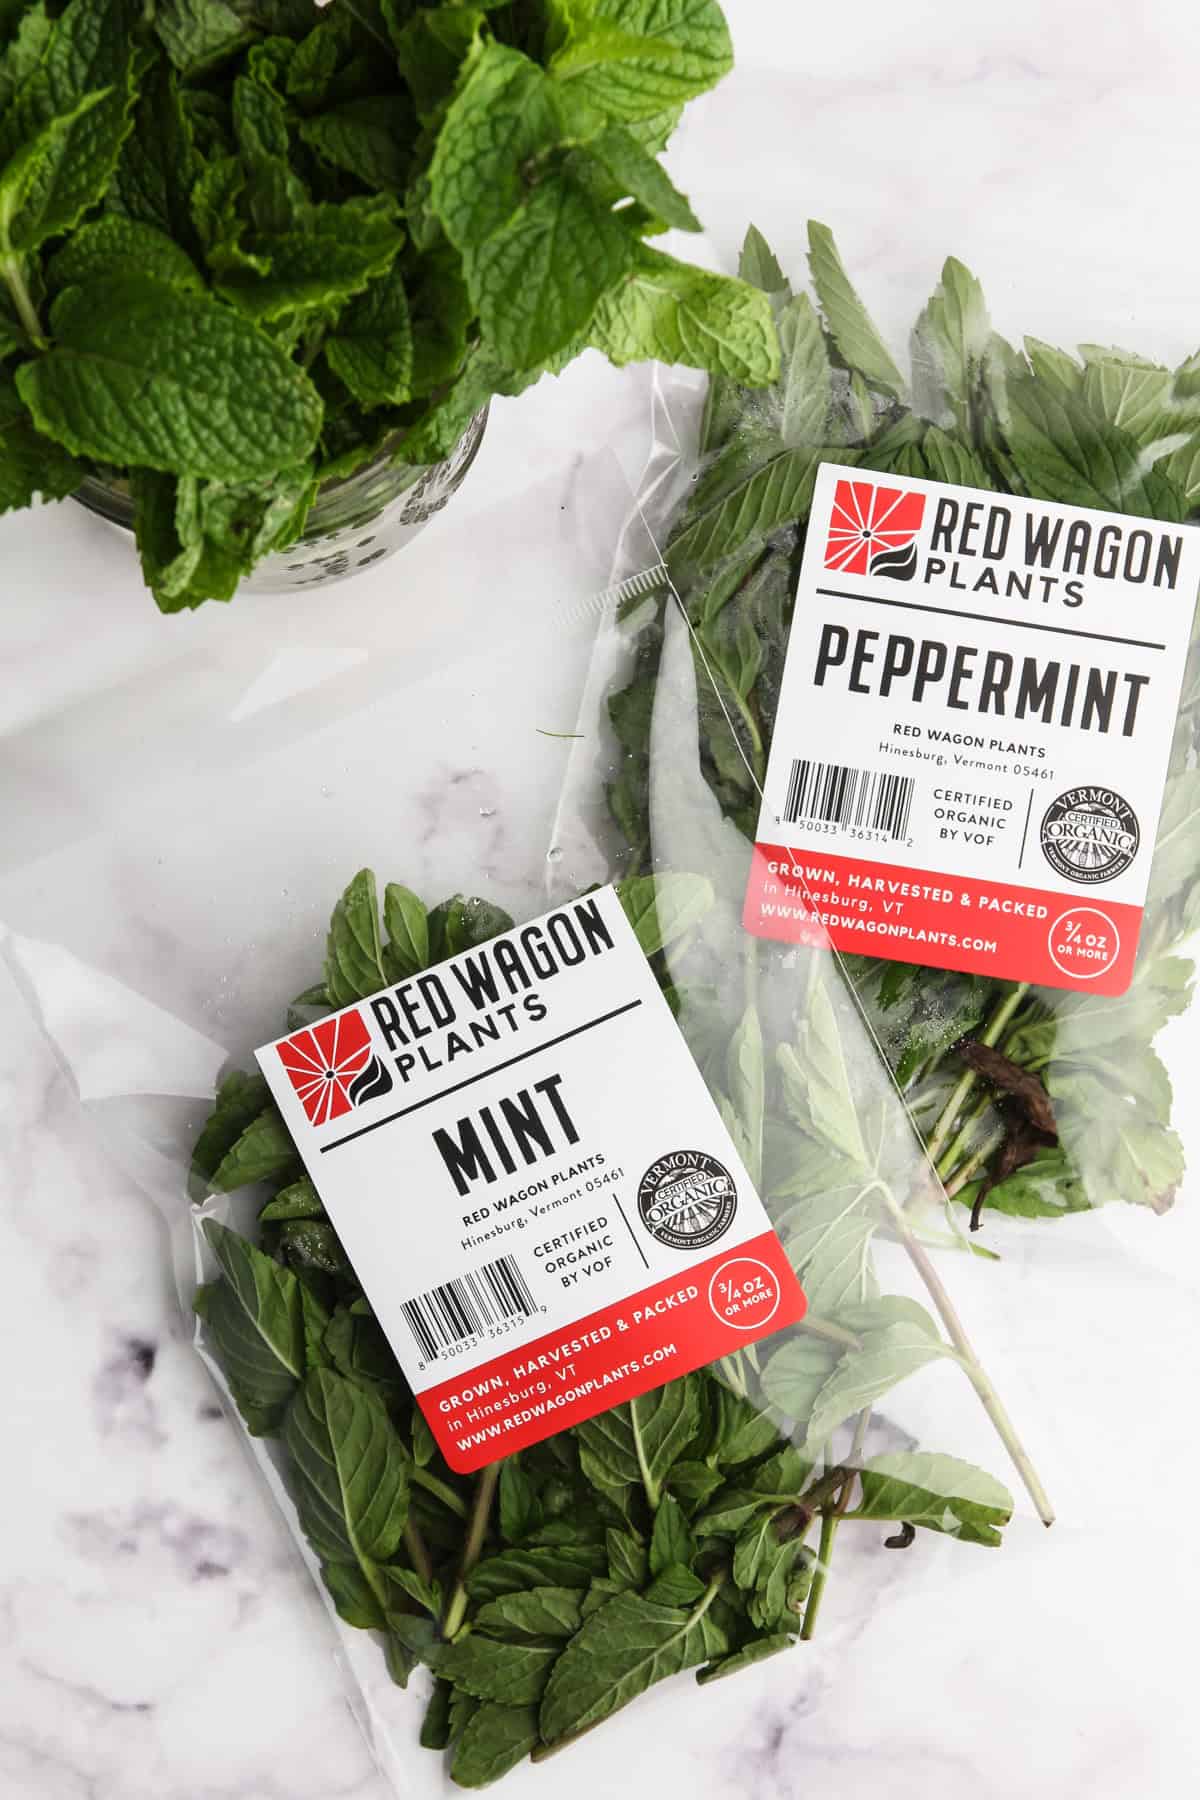
Types of Mint
If you're a gardener or visit your local farm for a CSA pick-up, you know there's more than meets the eye when it comes to mint. These days, there are so many different varieties to explore. If you want to experiment with heirloom or more unique types of mint, go for it. For this recipe, though, I focused strictly on spearmint and peppermint, since they're the most common and widely available.
When buying mint at the store, it usually doesn’t list the specific varietal. In most cases, it’s spearmint. It has a mellow, sweet flavor but can be quite herbaceous and grassy, which, as I noted, is something that will definitely come through in the ice cream if too much is used or if it’s steeped for too long.
Peppermint can be found in stores occasionally and has a much stronger mint flavor due to its high concentration of menthol. That’s what gives it the sharp, cooling sensation we often associate with mint.
I tested this recipe with both varieties, and either one works. My personal preference was a mix of the two, but there’s no need to overthink it. Using just “mint” or spearmint is perfectly fine here.
How to Make the Mint Custard Base
Often, ice cream recipes call for a large amount of egg yolks (I have one that does too—my French Vanilla Ice Cream), which makes for a super-rich result. That’s all well and good when that’s the kind of flavor you’re going for, but for this mint ice cream, I really wanted the mint to shine. So I limited the amount of yolks, and instead used just two whole eggs, which makes for a custard with a balance of lightness and creamy texture. It still lets the pure mint flavor shine without being muted in color, texture, or taste by the richness of too many yolks.
The mint is steeped for a short period of time, just 15 minutes. As I tested the recipe, I kept reducing the steeping time to prevent the herbaceous, grassy flavor from taking over. This shorter steep still allows the fresh mint flavor to infuse into the milk and cream without overpowering it. Since the mint is steeped, and we're then left with hot cream, which means the eggs will need to be tempered. Don't be worried, though; this is a simple process.
Here is a quick visual overview of the steps needed to make the custard for this mint ice cream:
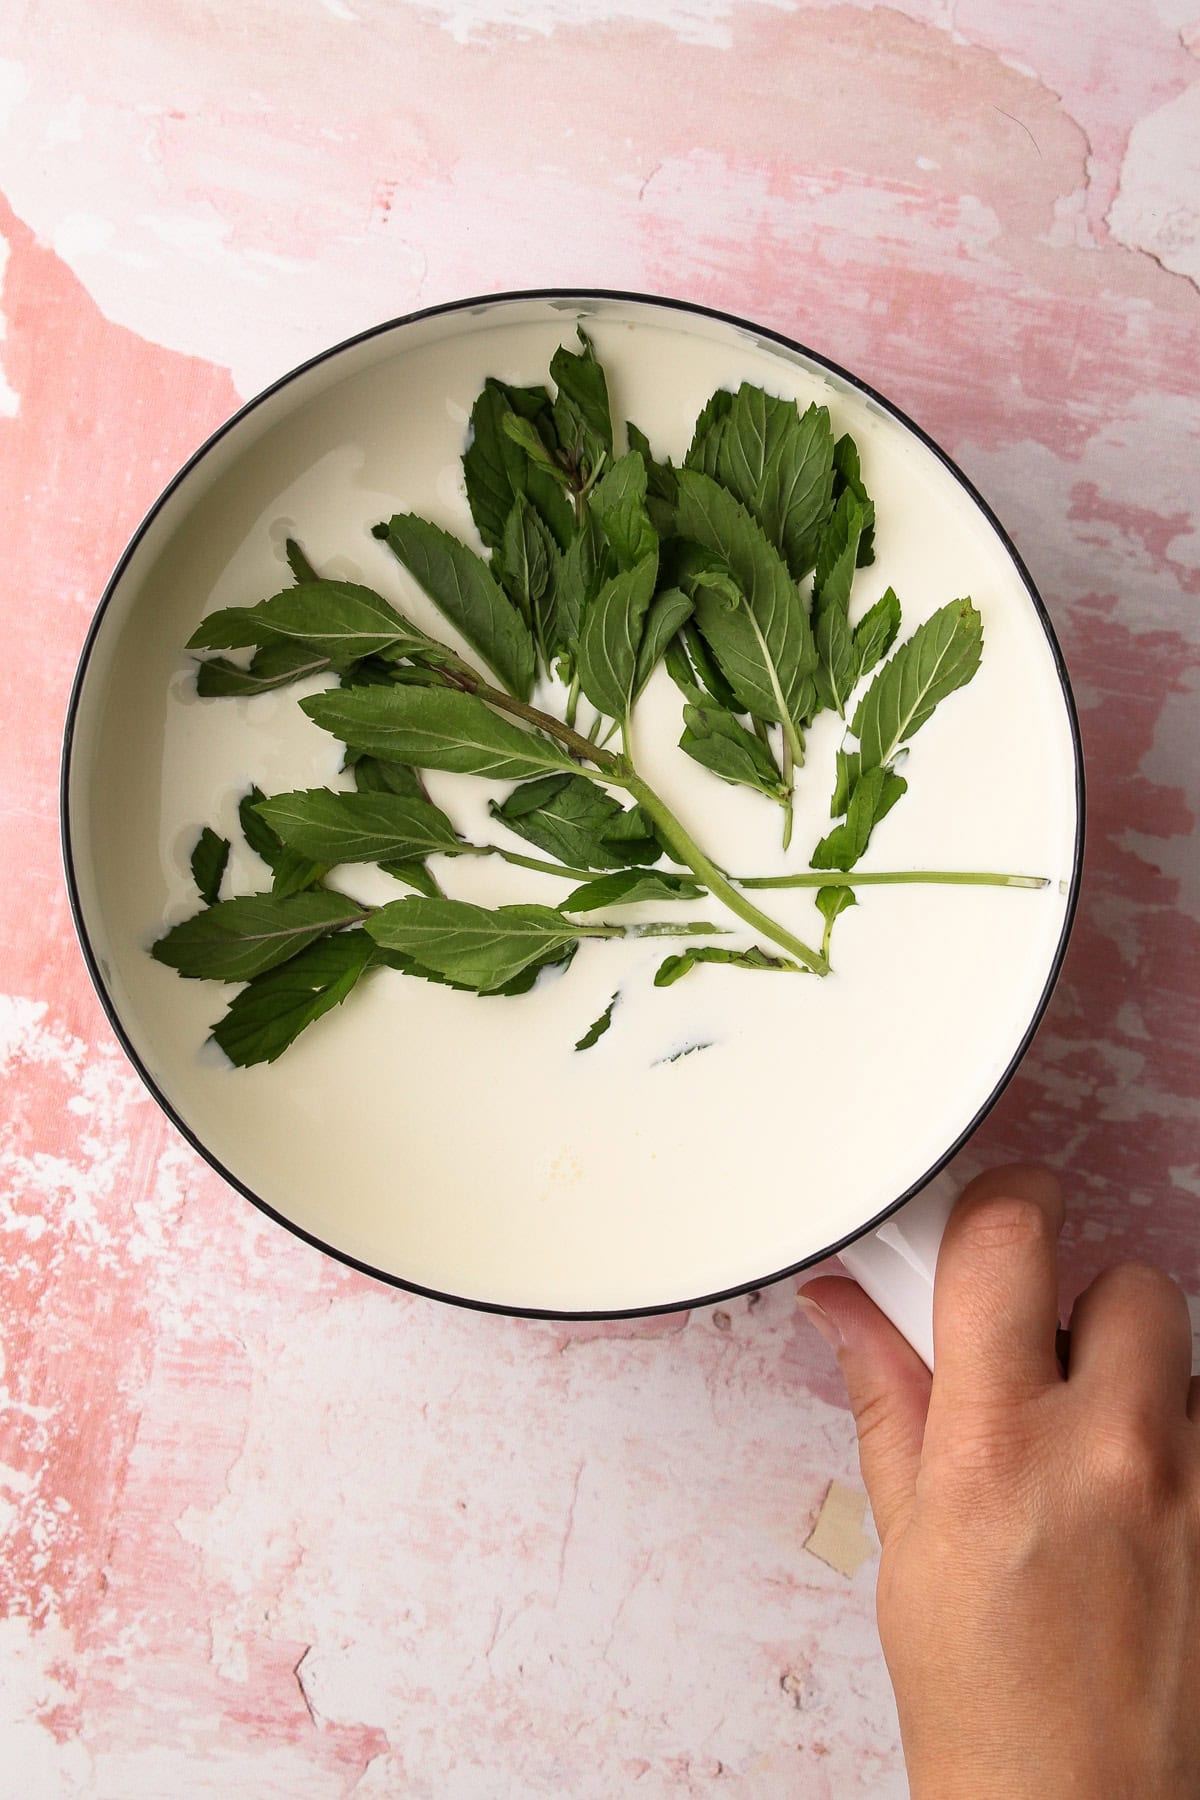
1. Steep the mint in the cream and milk for 15 minutes
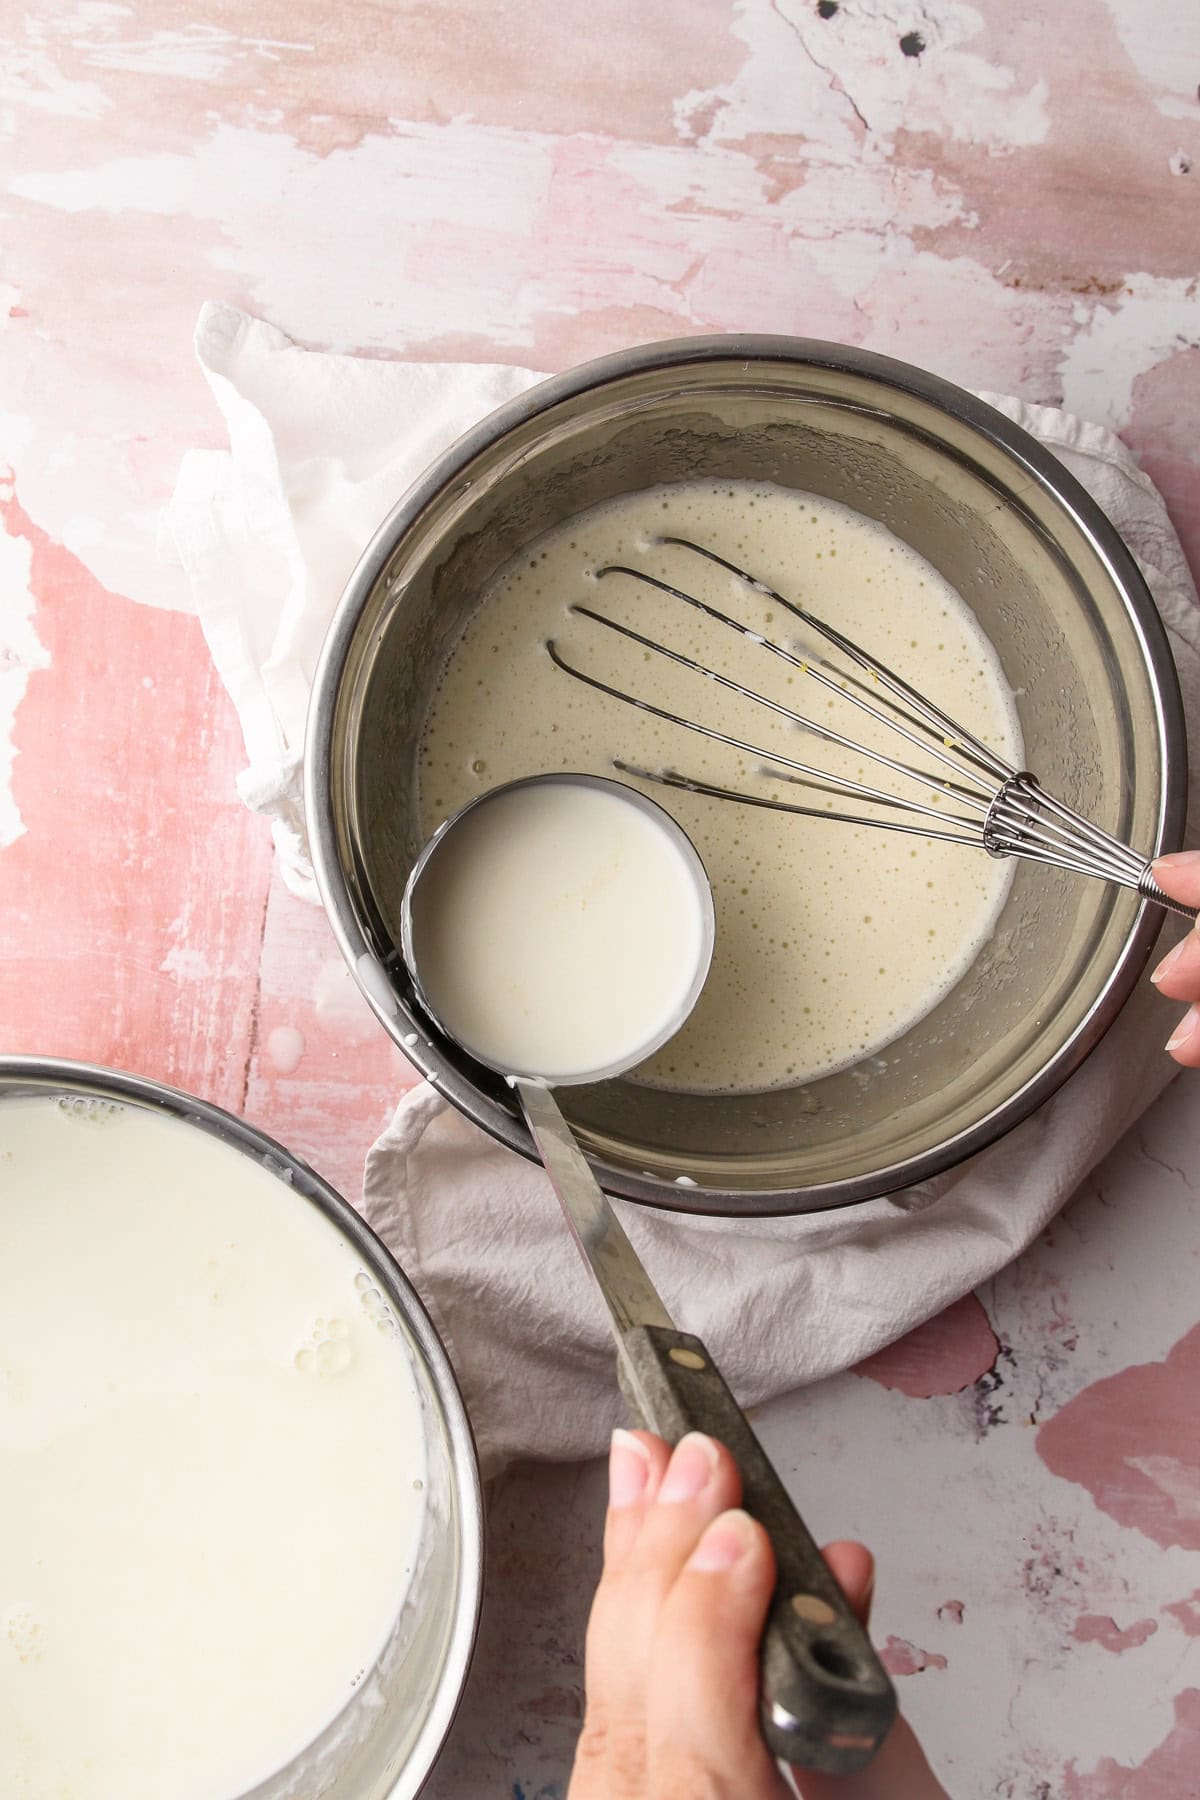
2. In a separate bowl, whisk together the eggs, sugar, salt, and remaining ½ cup of milk. Slowly whisk in about ½ cup of the hot cream mixture into the egg mixture.
3. Repeat this process 3 more times,
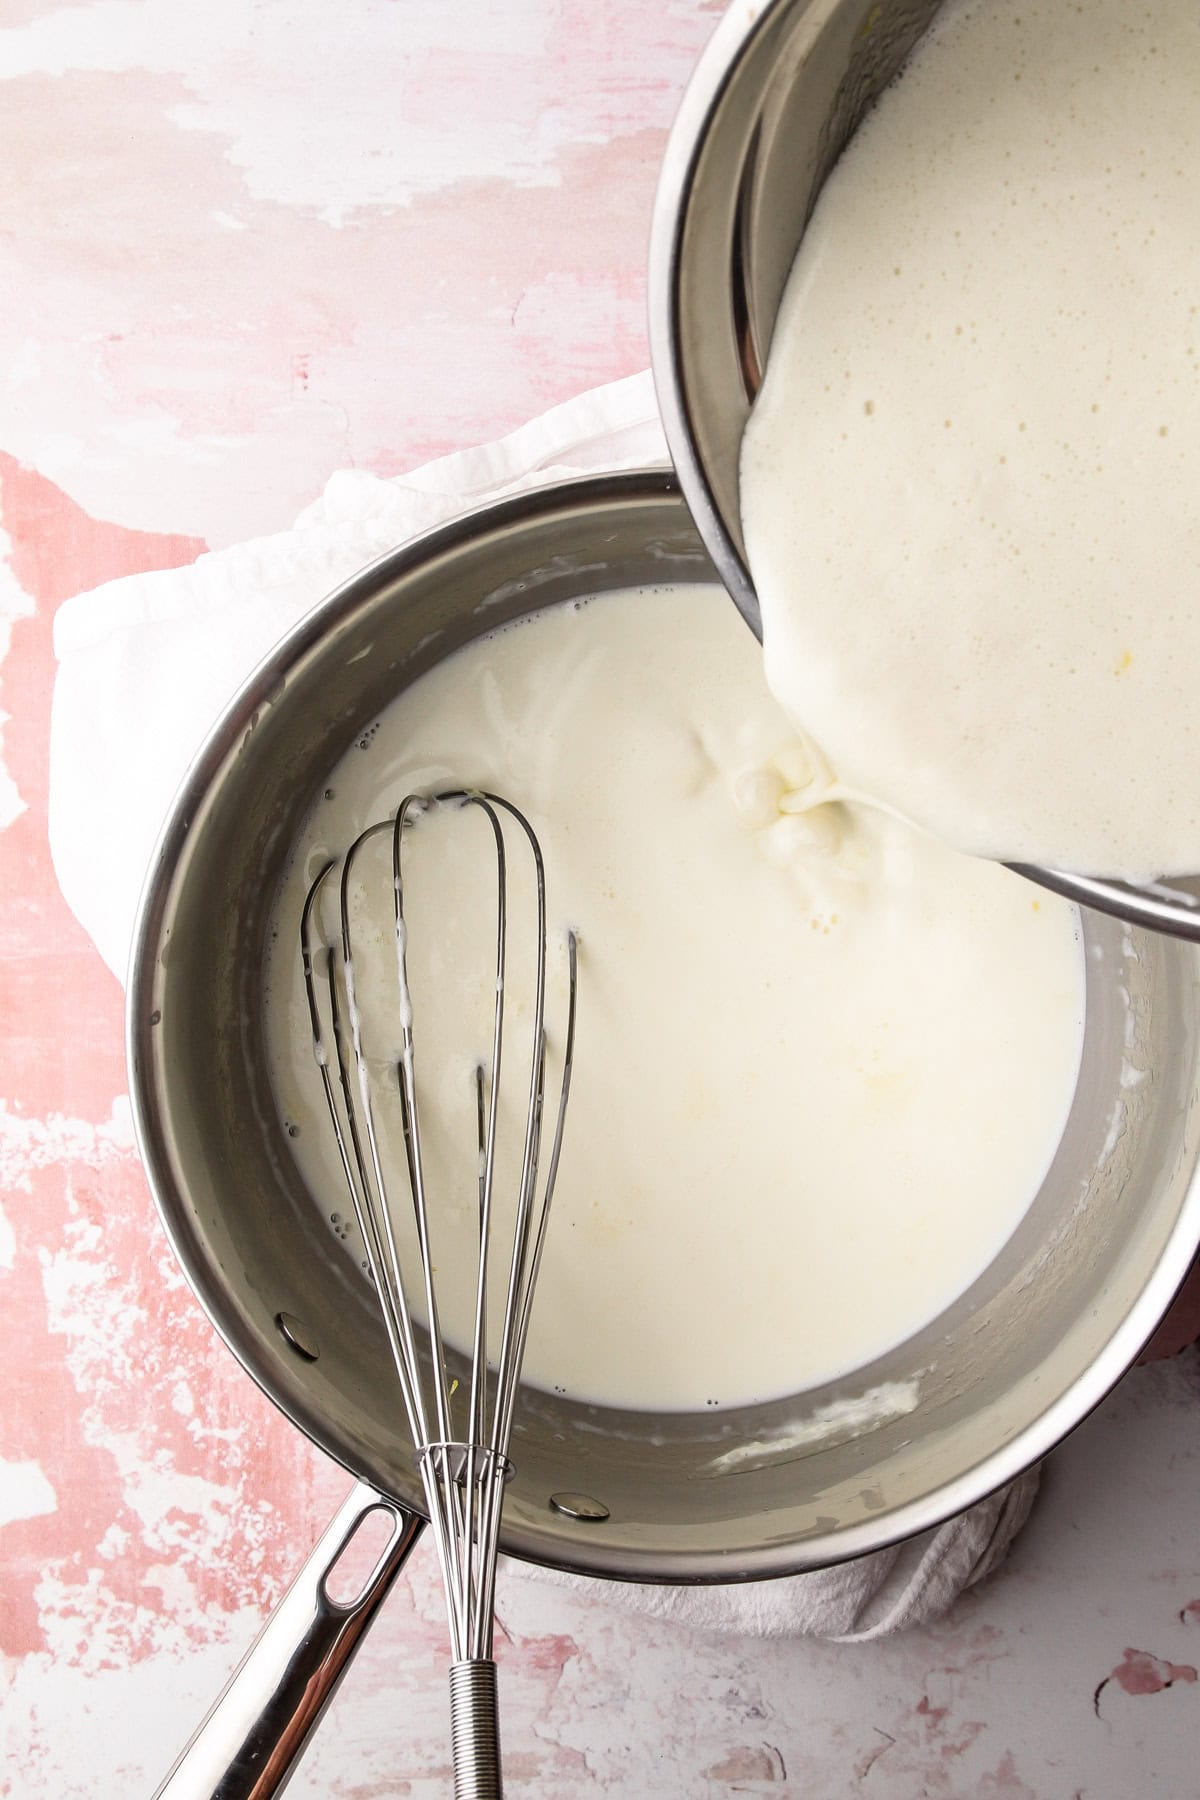
then, while stirring constantly, return the tempered egg mixture back to the pot with the remaining cream mixture.
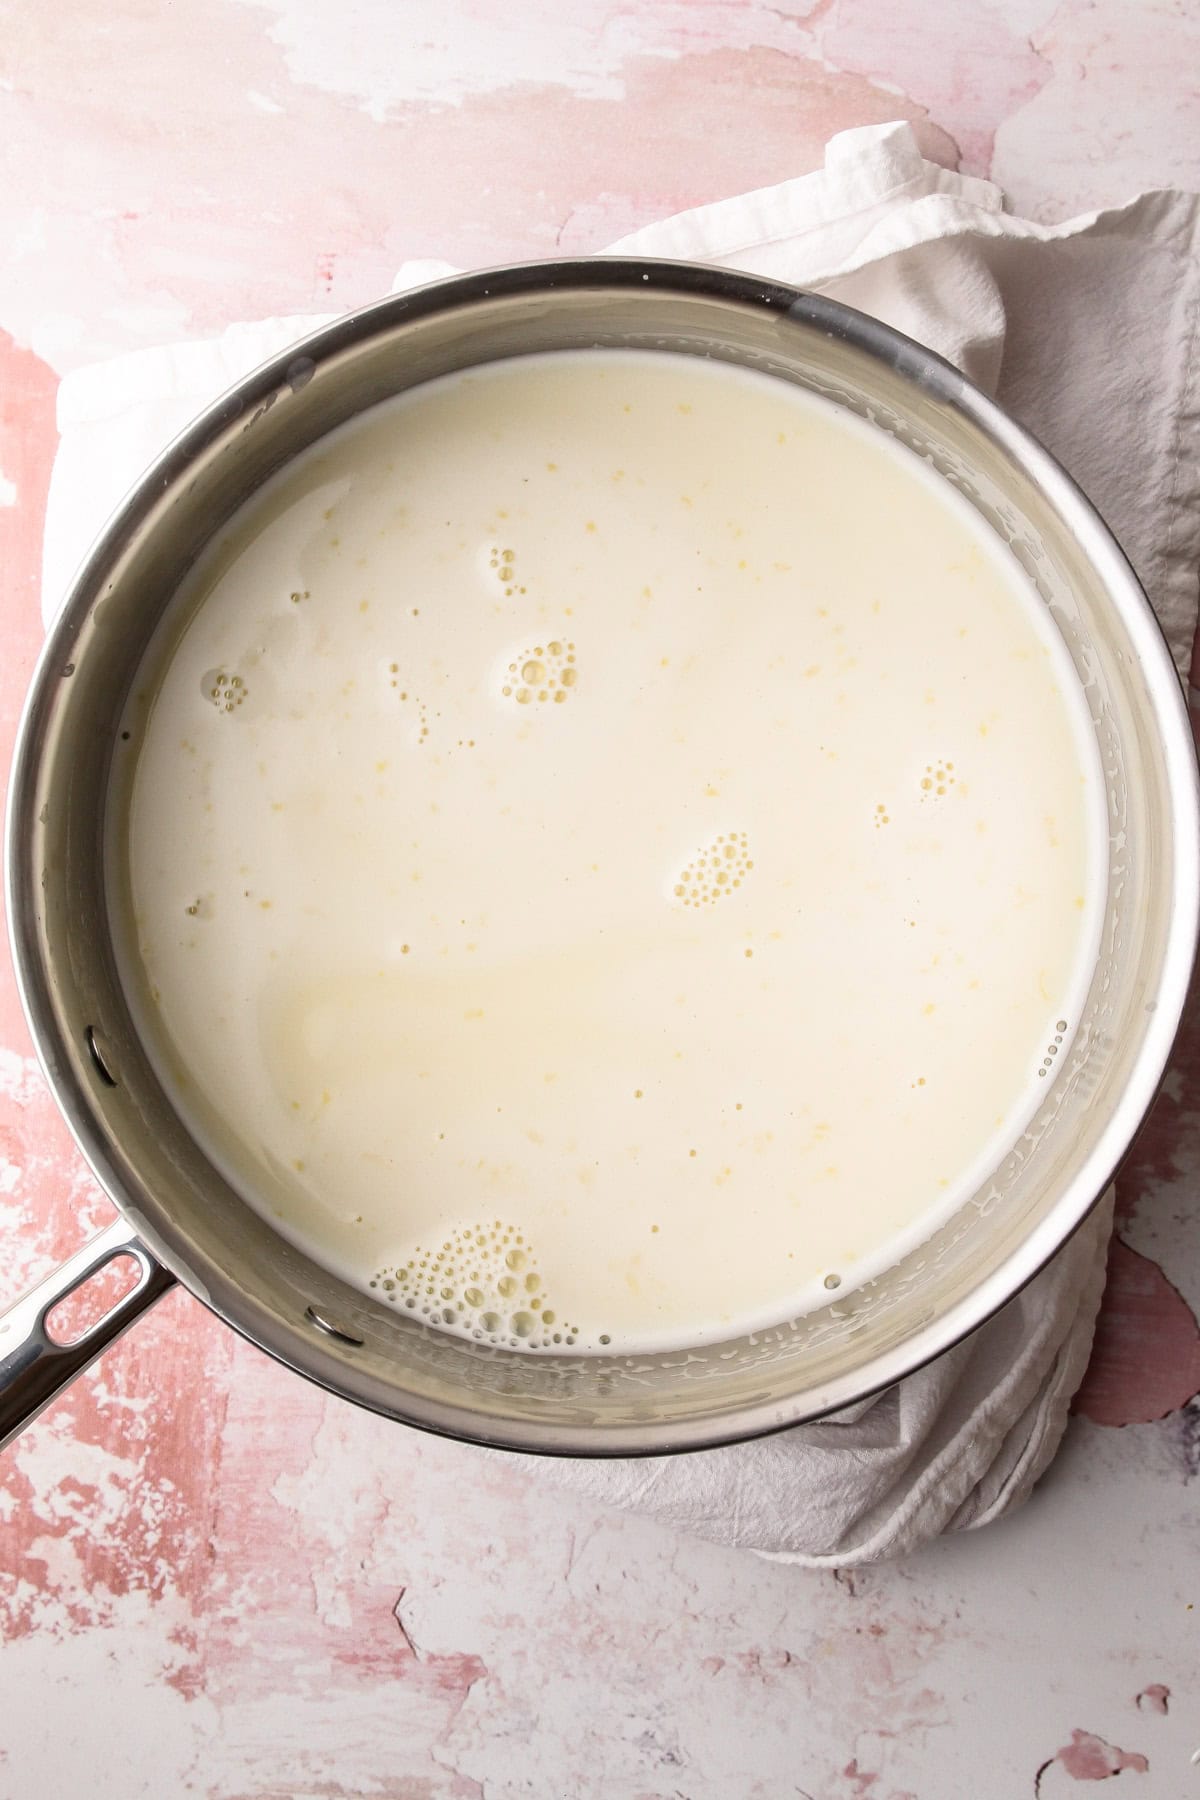
4. Cook over medium heat, until it reaches 175°F on an instant-read thermometer, about 8 minutes.
Tips for Successful Custard Making
If you’ve never tempered eggs or made a custard before, here are a few tips to help you get it right.
- Read through the recipe and get everything set up beforehand. It might sound like a banal tip, but I can’t emphasize enough how important it is when making custard to know the steps ahead of time and have all your mise en place ready to go.
- Use a medium heavy-bottomed saucepan which helps distribute heat evenly and reduces the risk of scorching or burning the custard. Using too large of a pot can increase the speed at which the eggs cook due to increased surface area.
- Use medium to medium-low heat. Controlling the temperature is important to avoid curdling, or cooking the eggs too quickly.
- Stir constantly, taking care to get in the edges of the pan. A rubber spatula is best.
- Don’t walk away. This process takes about 10 minutes at most.
- Use a thermometer, if possible. The recipe calls for cooking the custard to 175Fº initially. Once it reaches 175Fº, pull it off the heat and stir for about a minute to let the custard slowly come up to 180Fº, before straining into an ice bath.
- Strain the cooked custard. Often the chalazae from the egg white tends to get cooked, and it’s best to strain that out.
Making the Fudgy Chocolate Chunks
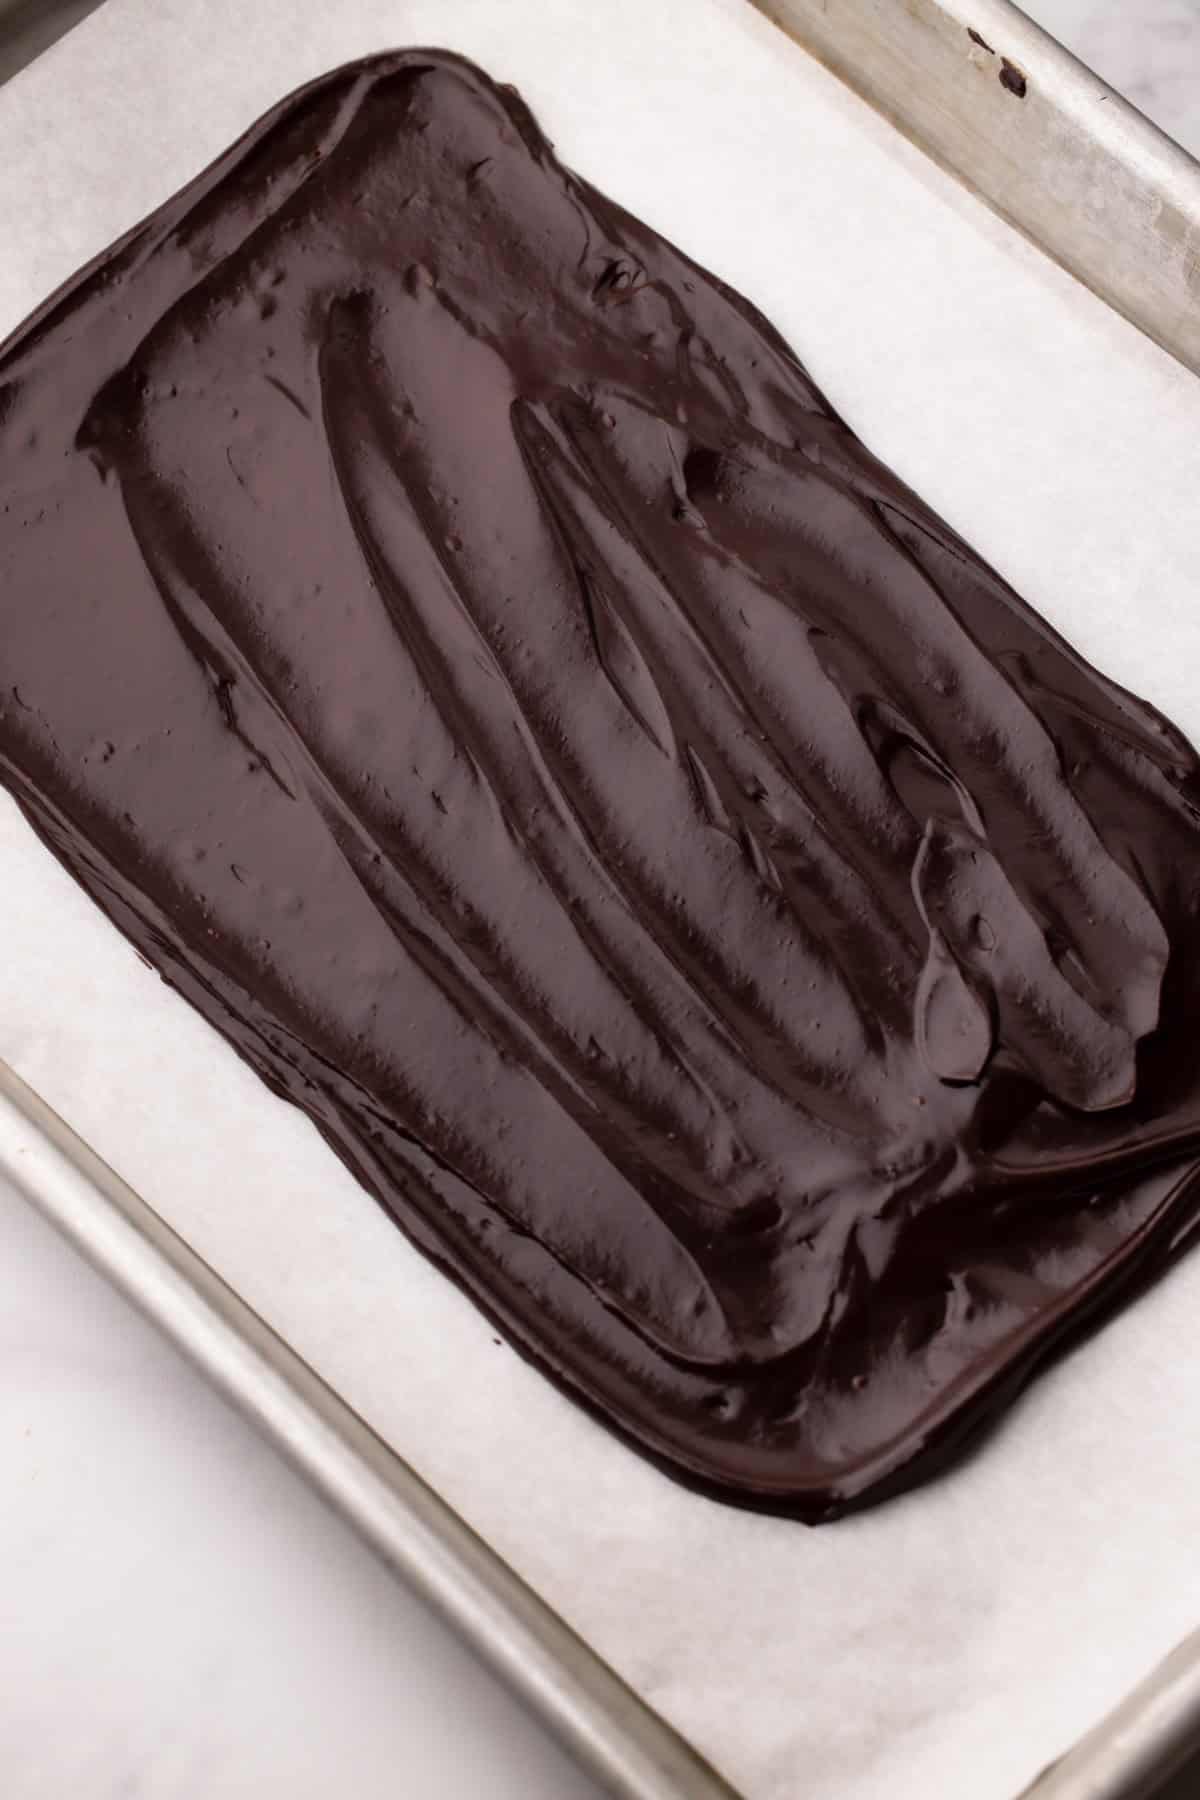
Instead of biting into hard, brittle chocolate chunks that shatter in cold ice cream, I was aiming for pieces that were firm but fudgy: chocolate chips that would melt in your mouth and seamlessly blend into the creamy mint ice cream.
From developing my hot fudge recipe, I knew that introducing water would be useful for a few reasons. If you know a bit about chocolate, you might be surprised by this, because chocolate and water usually don’t mix well. A few stray drops can cause chocolate to seize. But in this case, adding the right amount of water from the start allows it to to integrate into the chocolate. And, heating the chocolate up with the water breaks its temper, so it doesn't have that brittle snap. The amount of water you add in will vary depending on the cacoa percentage of your chocolate. The higher the cacao percentage, the more water you'll need: for chocolate up to 60%, start with 2 tablespoons; for 66% to 72%, use 3 tablespoons. Add only as much water as you need, to not dilute it's flavor. Also, don't skip the added salt called for in the recipe, it really helps send the flavor of the chunks over the edge.
Once frozen, you chop or break it into chunks and keep them stored in the freezer until ready to stir into the churned ice cream.
Freezing + Storing the Ice Cream
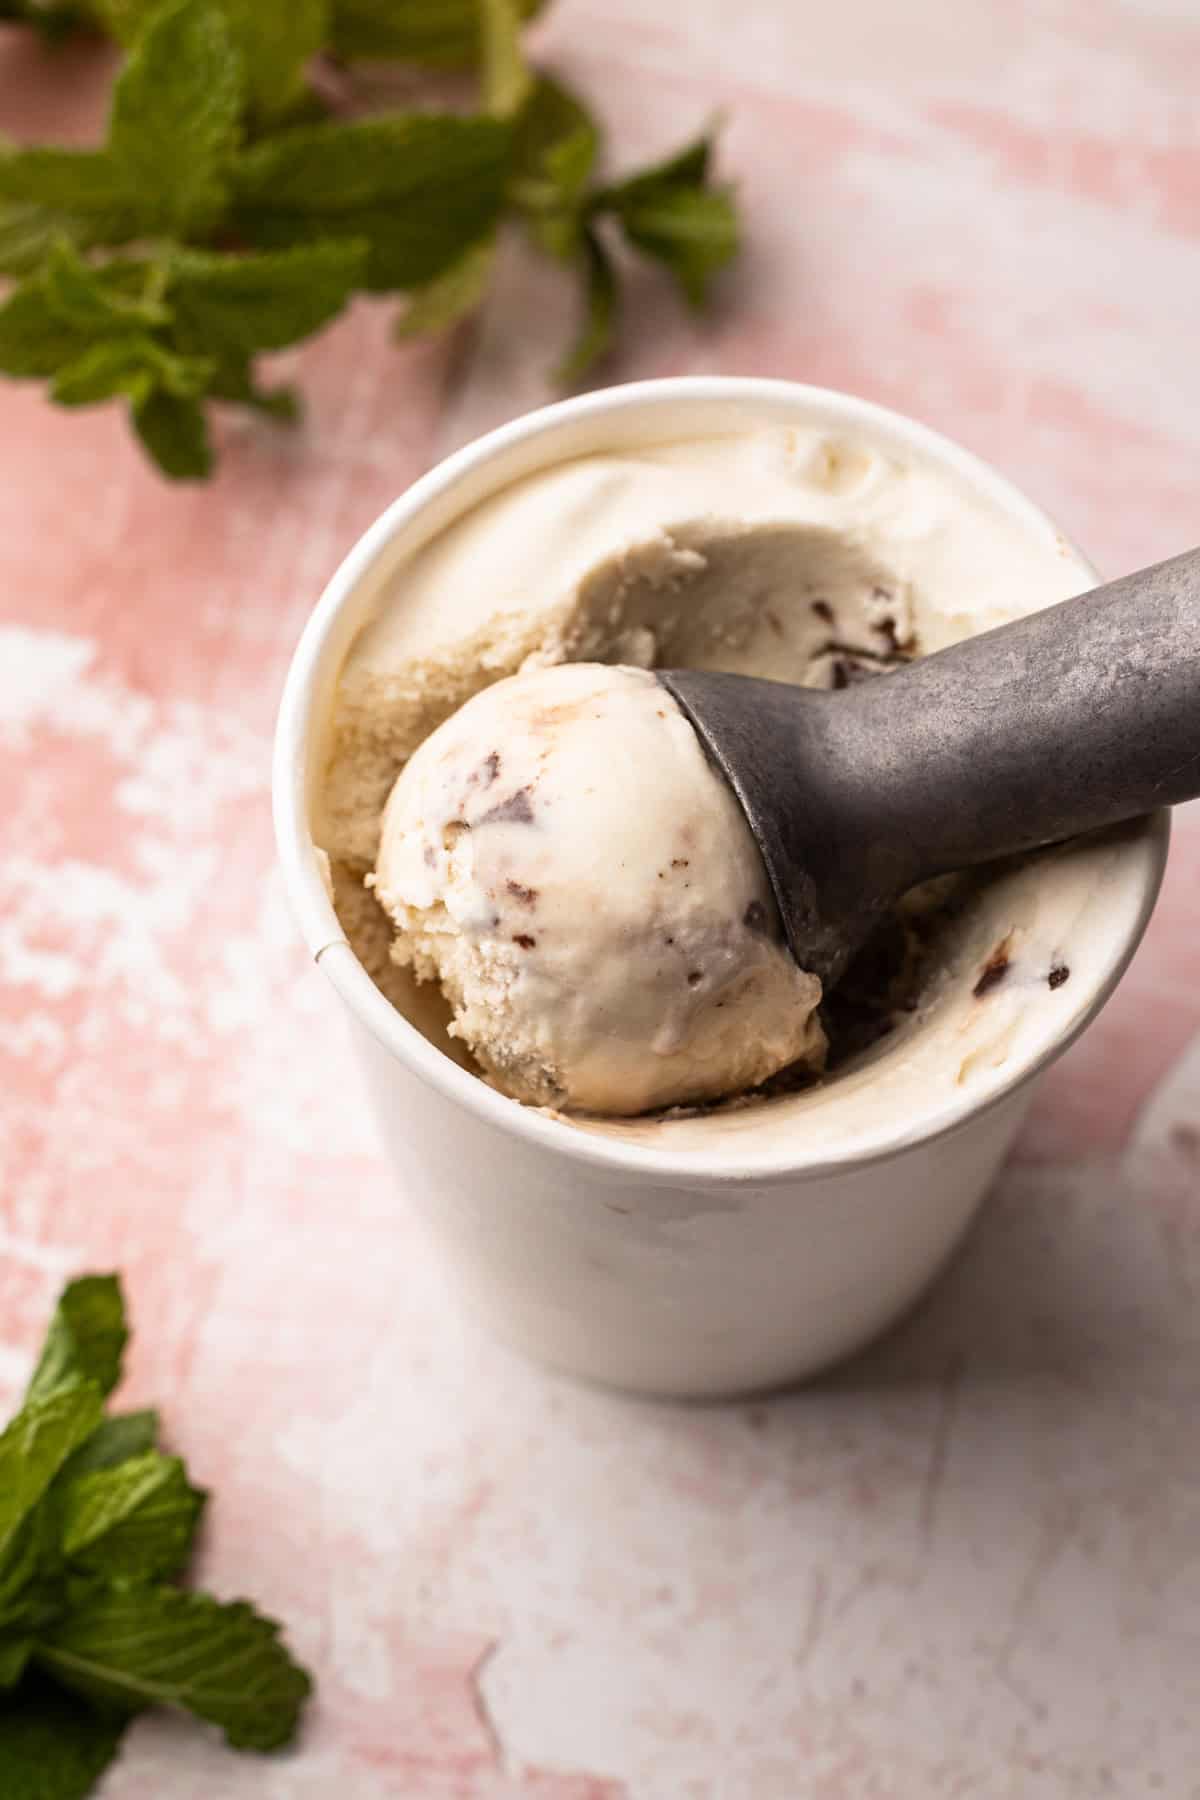
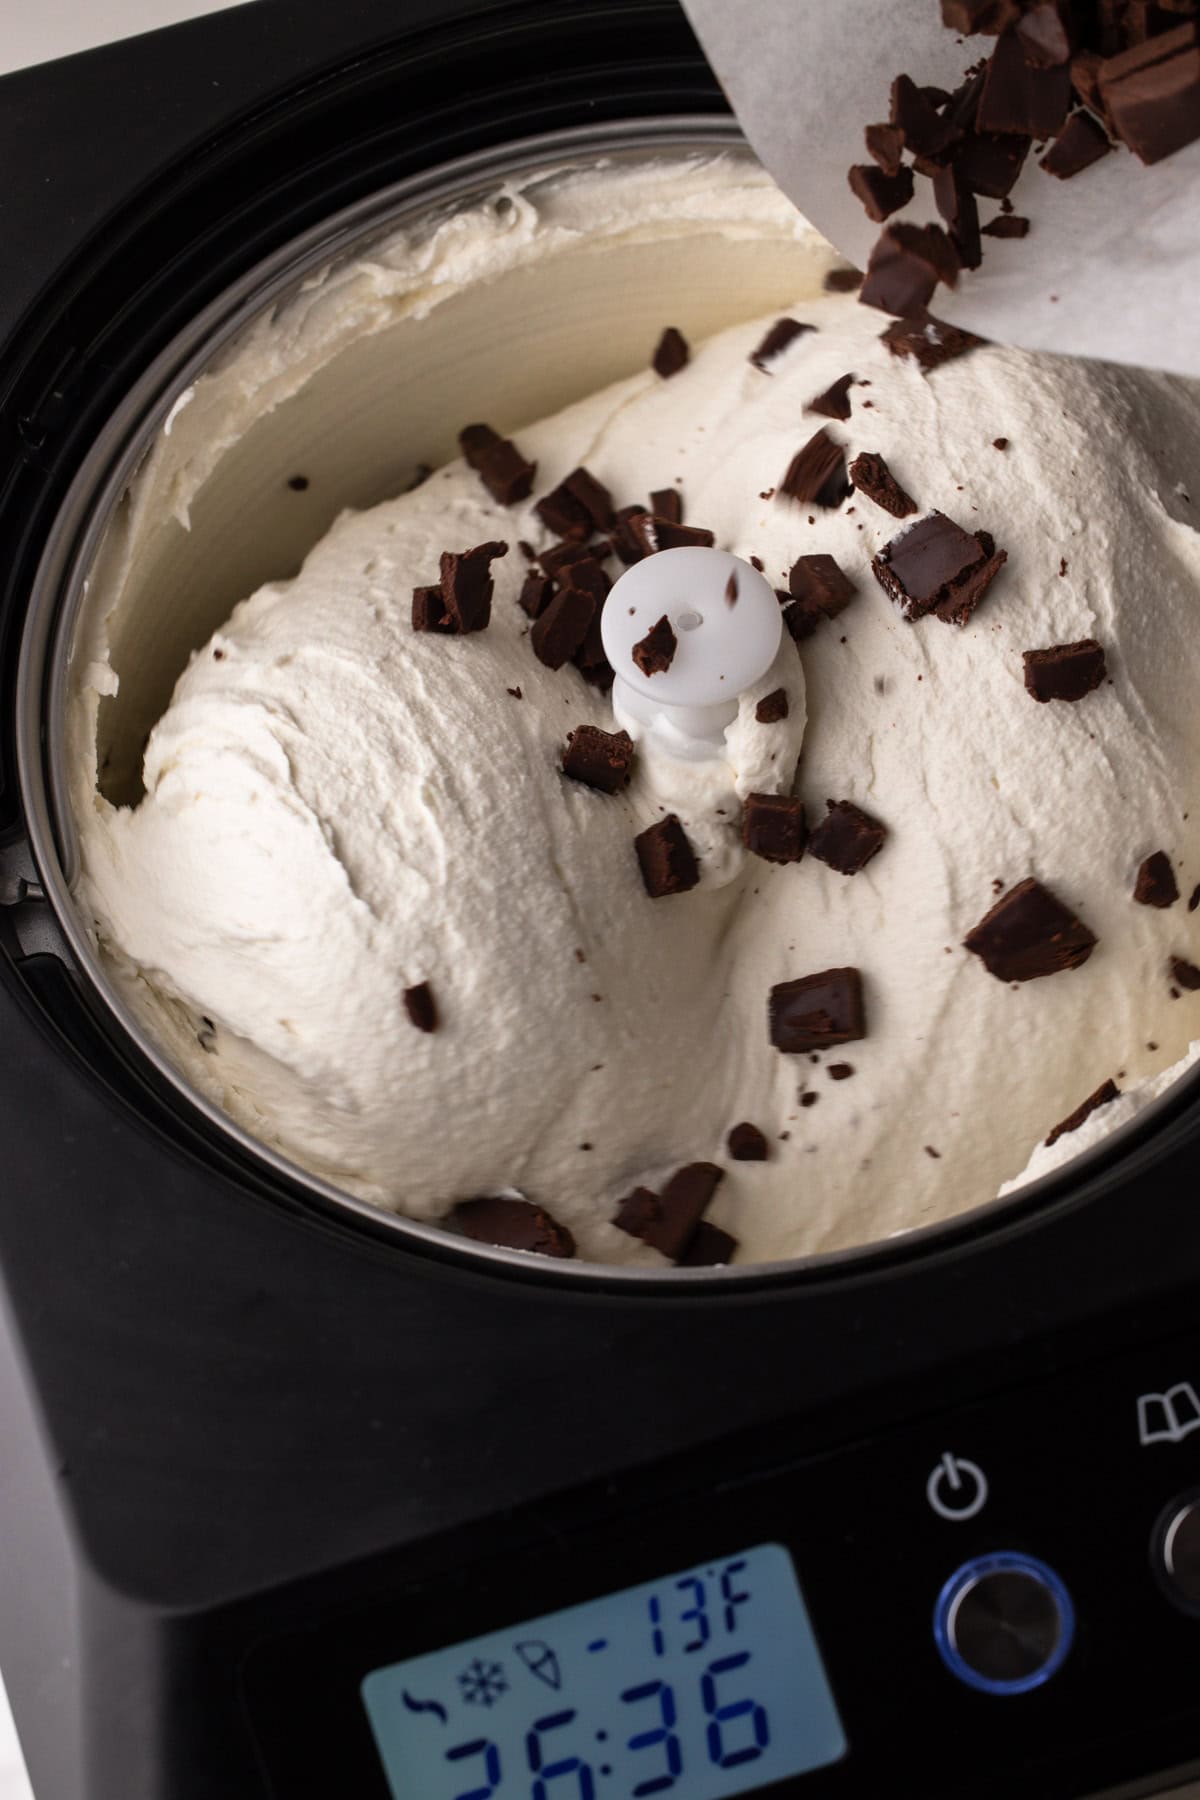
Generally speaking, churn until the ice cream reaches the soft serve stage. In my machine, I notice a change in the noise it makes when the ice cream is ready. Follow your machine's directions as the churn time can vary depending on the type.
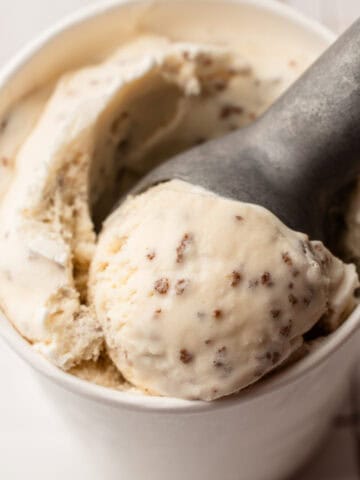
After the ice cream has been churned, it needs to harden in the freezer for a period of time to fully sets up the ice cream to the correct consistency. You can harden the ice cream in one large container or multiple small containers. While dedicated ice cream containers are convenient for frequent ice cream making, any container available in your home can be used. See my Ice Cream Tool Kit for my recommendations.
More Ice Cream Recipes

I am so honored when you make a recipe from my site! If you make this Mint Chocolate Chip Ice Cream recipe, please leave a star ⭐️⭐️⭐️⭐️⭐️ rating with your experience! If you have any questions about this recipe, feel free to comment here, and tag me on Instagram!
Full Recipe
Mint Chocolate Chip Ice Cream

This Homemade Mint Chocolate Chip Ice Cream uses a combination of fresh mint and extract, for a complex depth of flavor, and homemade fudgy chocolate chunks. This custard-style recipe is a traditional ice cream recipe and does require an ice cream machine to freeze it.
- Prep Time: 00:10
- Cook Time: 00:10
- Total Time: 12:20
- Yield: about 3 pints
- Category: Ice Cream
- Method: Traditonally Churned
Ingredients
For Mint Ice Cream Base:
- 2 cups (455 grams) heavy cream
- 1½ cups (340 grams) whole milk, divided
- 1 cup lightly packed mint leaves (about 5-7 sprigs)
- 2 large eggs
- ¾ cup (150 grams) granulated sugar
- ¼ teaspoon coarse kosher salt (see note)
- 1 teaspoon mint or peppermint extract
For Chocolate Chunks:
- 1 cup (115 grams) coarsely chopped dark or milk chocolate
- 2-3 tablespoons water, plus more as needed (see note)
- ¼ teaspoon coarse kosher salt
Instructions
- In a heavy-bottomed medium pot, heat the cream, 1 cup of the milk and the mint leaves over medium heat, stirring frequently, until steaming. Remove the pot from the heat, cover the pot and let the mint steep for 15 minutes.
- Meanwhile, set up an ice bath by filling a large metal bowl with ice and a splash of water.
- In a separate medium metal bowl, whisk together the eggs, sugar, salt, and remaining ½ cup of milk until well combined.
- Remove the mint from the pot using a slotted spoon, pressing on the mint briefly to squeeze out some of the cream. Discard the mint.
- Slowly whisk in about ½ cup of the hot cream mixture into the egg mixture. Repeat this process 3 more times.
- Then, while stirring constantly, return the tempered egg mixture back to the pot with the remaining cream mixture. Rinse out the bowl and place it inside the large bowl to complete the ice bath set-up.
- Stir in the mint extract to the custard base. Cook over medium heat, stirring and scraping constantly with a rubber spatula, especially along the edges and the bottom of the pot, until the mixture reaches 175°F on an instant-read thermometer, about 8 minutes. The mixture will be slightly thickened. To check if the custard is set without an instant-read thermometer, coat a wooden spoon with the custard. Draw a horizontal line on the back of the spoon with your finger. If the line “holds,” then your custard is set. If the line collapses immediately, the custard needs another minute or so. Be careful not to bring the mixture to a boil; this will curdle the custard.
- Immediately shut off and remove the pot from the heat. Continue to stir the custard for 1 minute. This helps bring it all the way up to 180ºF.
- Strain the custard through a fine-mesh strainer into the inner bowl of the prepared ice bath.
- Cool the custard in the ice bath to room temperature, stirring occasionally.
- Meanwhile, make the chocolate chunks: Line a rimmed baking sheet with parchment paper. Wash and dry the pot you used to cook the custard, fill it with an inch of water, and heat it over medium heat until simmering. Add the chopped chocolate, water, and salt to a medium metal bowl and set it over the pot. Cook, stirring frequently, until fully melted. Transfer the chocolate mixture to the parchment-lined baking sheet and spread into a thin, even layer. Transfer to the freezer and chill until frozen. Chop or break into pieces and keep frozen until ready to use.
- Once the custard has reached room temperature, chill it thoroughly in the refrigerator until at least 40ºF, preferably overnight.
- Freeze the custard, following the recommended manufacturer’s instructions of your ice cream maker, until the ice cream has reached a soft-serve consistency, then add in the chocolate chunks.
- Transfer the ice cream to one or more airtight containers. Place a piece of parchment on the surface to prevent any freezer burn. Freeze until firm, at least a few hours.
Notes
If you need to freeze your ice cream canister, make sure to do so 24 hours before you plan to spin your ice cream.
This recipe was tested using Diamond Crystal coarse kosher salt. If you use Morton's kosher salt or fine salt, decrease the volume by half.
Place a wet towel underneath your bowl of eggs and sugar to stop the bowl from dancing around on the countertop while whisking.
The amount of water you add in will vary depending on the cacoa percentage of your chocolate. The higher the cacao percentage, the more water you'll need: for chocolate up to 60%, start with 2 tablespoons; for 66% to 72%, use 3 tablespoons. Add only as much water as you need, to not dilute it's flavor. Also, don't skip the added salt called for in the recipe, it really helps send the flavor of the chunks over the edge.
Mint Chocolate Chip Ice Cream is best consumed within a week, but will last for several in the freezer.
Some of the links on this page may be affiliate links. Everyday Pie is a participant in the Amazon Associates Program. As an Amazon Associate I earn from qualifying purchases, at no extra cost to you.
Leave a Reply