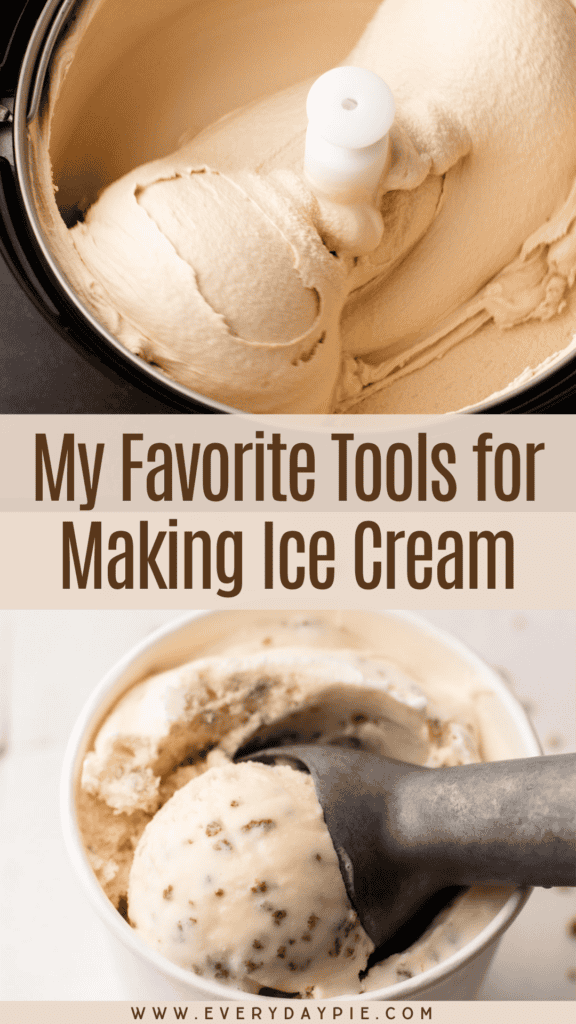
Want to take your homemade ice cream to the next level? After churning batches for over a decade in both professional kitchens and at home, I’ve put together a list of my Essential Tools for Making Ice Cream at Home. The right equipment doesn’t just make the process easier, it also actually leads to better ice cream.
Want to save this recipe?
Enter your email & I'll send it to your inbox. Plus, get weekly updates from me!
Sometimes when it comes to culinary pursuits, the tools are less important than the technique and knowledge someone holds...but ice cream making isn’t one of those things. Having the right equipment is one of the most important ways to set yourself up for success.
While there are plenty of no-churn “ice cream” recipes and alternative methods that don’t require a machine, that’s not what this list is about. This is for the dedicated home ice cream enthusiast who wants to be able to easily and frequently make great batches of real homemade ice cream in their own kitchen. Most of the ice cream recipes on my website are custard-based, and this ice cream equipment list is prepared with that in mind.
Why trust my list? After well over a decade making ice cream in both professional kitchens and in my own home, I’ve worked with the good, the bad, and plenty of mediocre equipment in between. Along the way, I’ve learned which tools to skip, what’s worth the splurge, and what’s truly essential for consistently great ice cream.
An Editorial Note
This article gives a quick overview of my actual ice cream tool kit first (directly below), followed by a deeper look at my favorite tools and a few solid alternatives. All of the tools I'm sharing here are truly ones I have used both in and out of professional kitchens for a long time or own. However, there are a few exceptions where a piece of equipment I use in my home kitchen may no longer be available, and I'm offering what I know to be trusted alternatives.
Affiliate disclaimer: Most of the links on this page are affiliate links, meaning I may make a very small commission from products purchased at no extra cost to you.
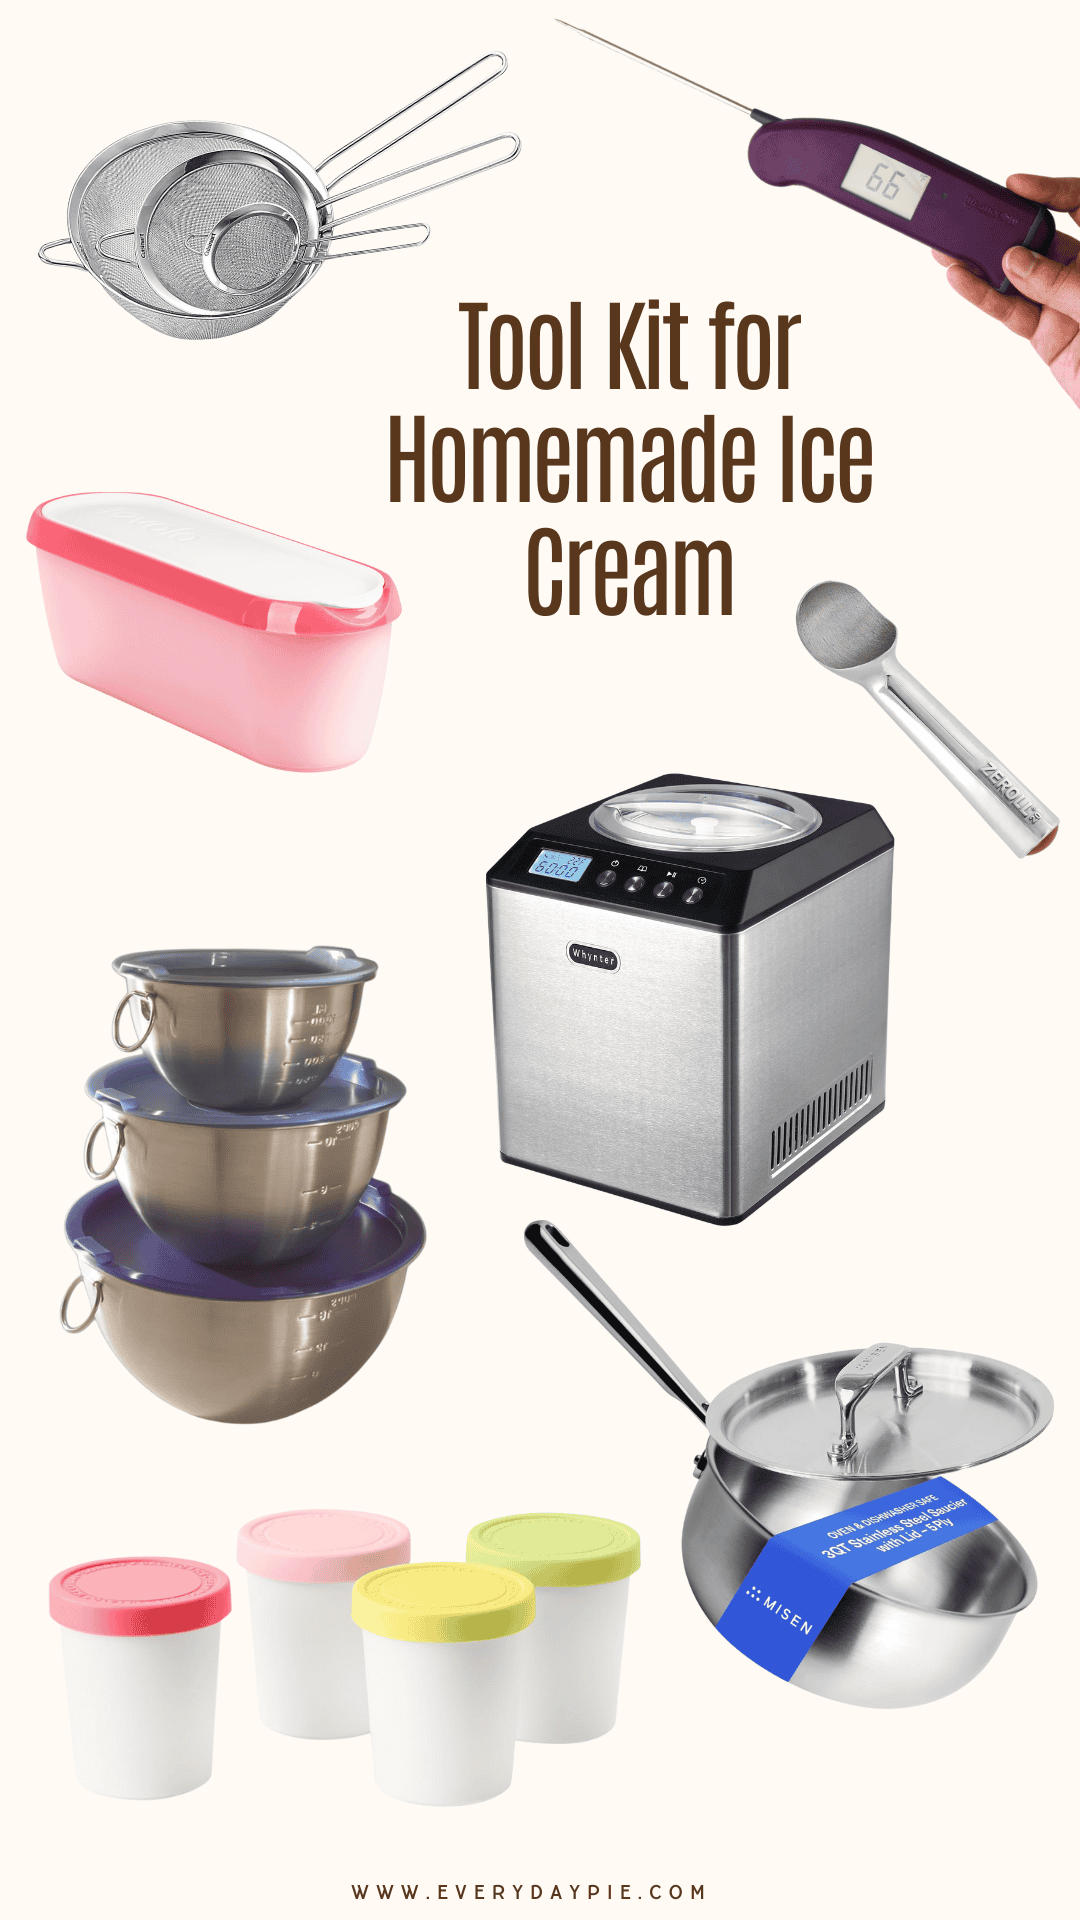
My Ice Cream Making Tool Kit
 Buy Now →
  Buy Now →
  Buy Now →
  Buy Now →
3-Quart Stainless Steel Saucier with Curved Sides
Buy Now →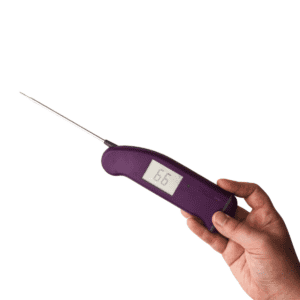 Buy Now →
 Ice Cream Machines
There are three main types of ice cream churners: freezer bowl machines (which require pre-freezing the bowl), compressor machines (which don't need any preparation), and the original hand-crank (or electric) rock salt-and-ice bucket set-up. What makes them true ice cream makers is that that they freeze and churn the base at the same time, creating proper texture and structure. A Ninja Creami or a Ninja Swirl is not an ice cream machine. Those machines make ice cream adjacent frozen desserts, not ice cream.
I’ve owned and operated so many different types and brands of ice cream machines, ranging from the inexpensive countertop frozen canister ice cream machines to a kitchen aid attachment to my built-in compressor ice cream machine. There is no doubt, the built-in compressor is hands down my favorite, but all of them will achieve the necessary task of turning a custard or philadelphia-style base into ice cream.
If I had to recommend a model to a beginner ice cream maker, this inexpensive but trusted model is a great entry point. For a bigger version, this 2-Quart one is a bit more expensive, but a better size for families. When you’re ready to level up, go for the 2.1-quart Whynter with a built-in compressor. It’s more of an investment, but it saves time and handles full batches with ease. I don’t recommend the smaller version, as it often requires cutting recipes in half to fit. If space is an extreme issue, and you already have a Kitchen Aid mixer, the ice cream attachment might work well for you (though mine only lasted 3 summers, and then it cracked).
Ice Cream Machines
 Buy Now →
1.5 Quart Entry-Level Ice Cream Maker
Buy Now →Built-in Compressor Ice Cream Maker
Buy Now →
KitchenAid Ice Cream Maker Attachment
Buy Now →Storing Ice Cream
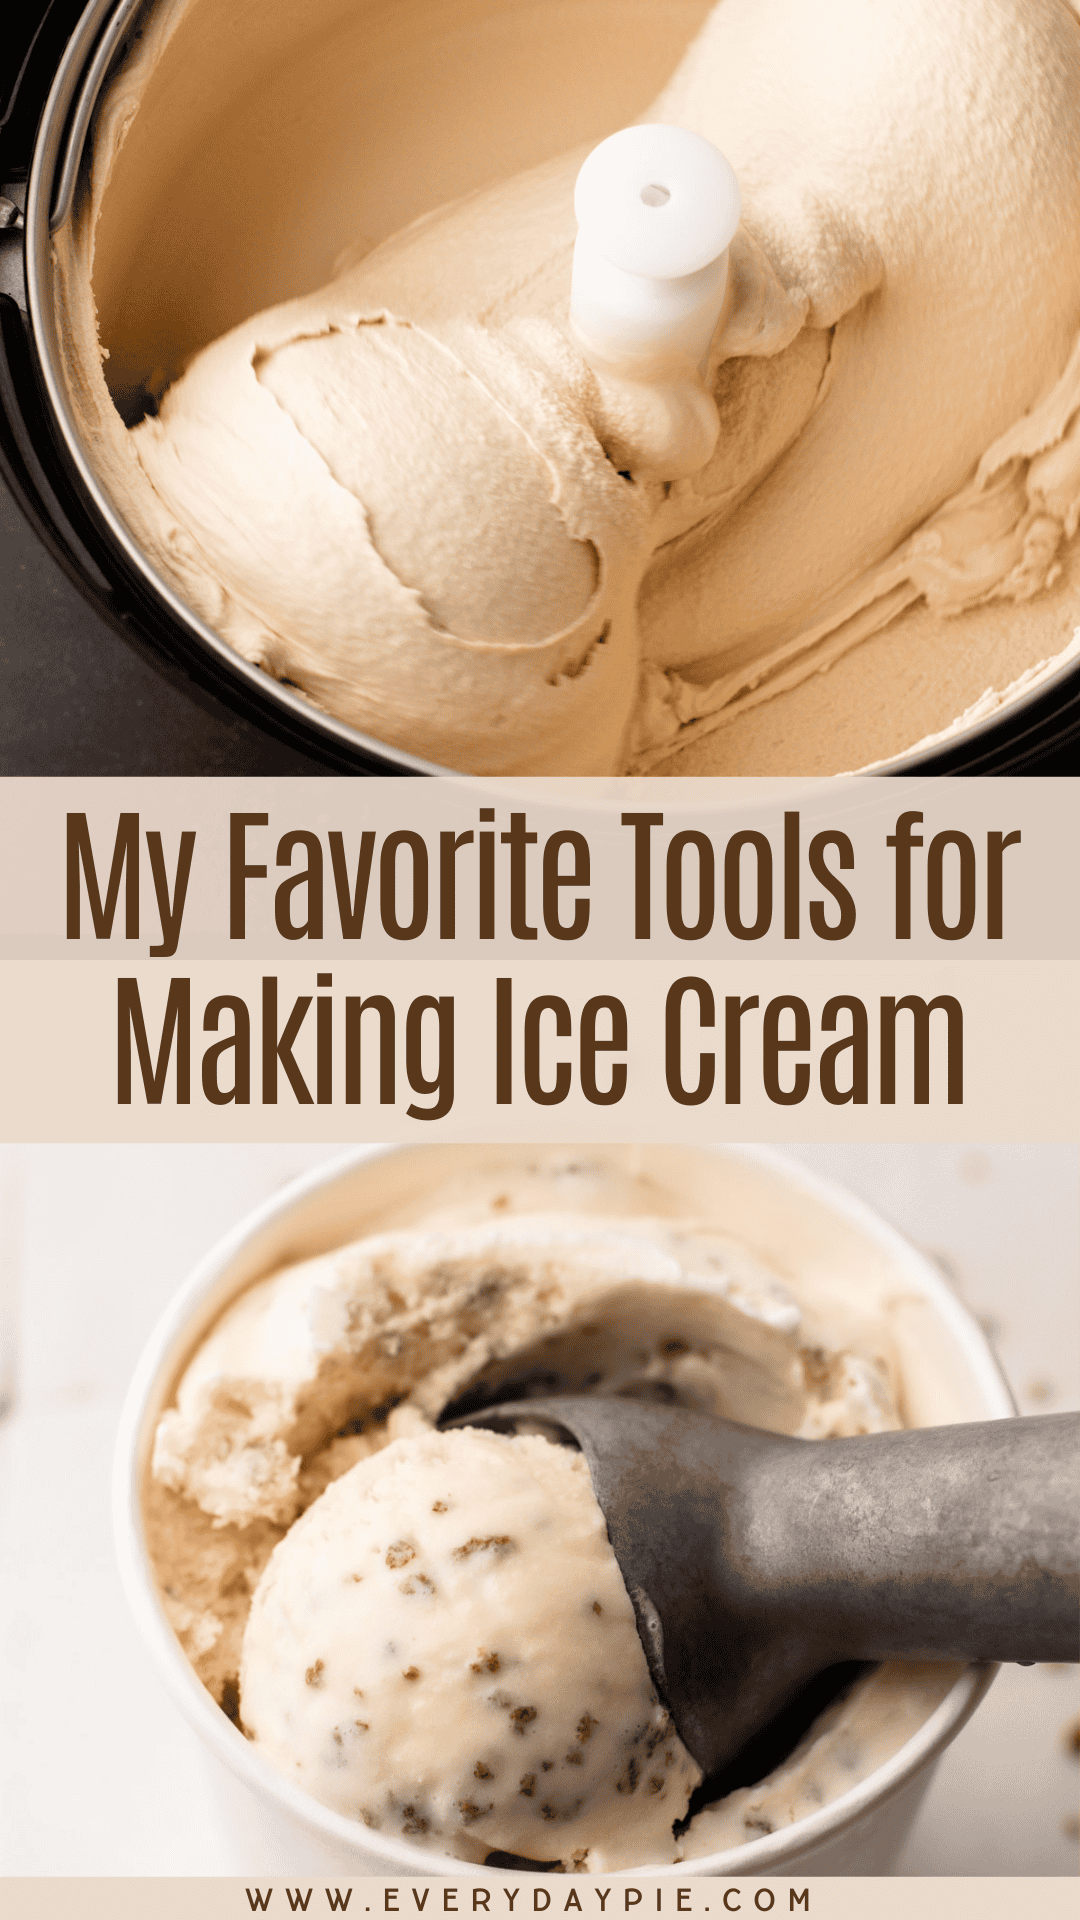
Storing your ice cream is important! You can use one large container or divide it into smaller ones. I’ve tried all kinds of storage solutions over the years, from recycled take-out quarts (careful of any residual odors in them!) to specialty ice cream containers. My favorite are disposable pint containers made specifically for ice cream. They freeze smaller portions, are easy to scoop from, and do a great job minimizing ice crystals thanks to their snug fit. They're inexpensive and practical, but the big downside is that they aren't reusable. I've tried other versions of this, including compostable ones, but they don't work the same as the ones made specifically for ice cream.
Another option I do like that is reusable are these small mini ice cream containers. They are convenient because they provide individual portion sizes allowing anyone to grab a container from the freezer without the need for scooping. But you'll need a lot of them to hold a regular sized batch of ice cream.
I’ve also used larger rectangular ice cream tubs. Their shallow shape makes scooping easier, but I’ve found that ice crystals tend to form faster in these containers. I’ve also tried the classic reusable quart-sized containers, which seal well and do a decent job of keeping air out, but the hard sides of the plastic container make it tough to get ice cream out of the bottom without practically sticking your whole hand in there. And then you’ve got sticky hands, which I personally hate. I still use both since I have them, and reusable options are important for lots of reasons, but these disposable pint containers definitely do the best job.
Ice Cream Storage Containers
Buy Now → 
Mini Reusable Ice Cream Storage Containers
Buy Now →
1.5 Quart Reusable Ice Cream Tub
Buy Now →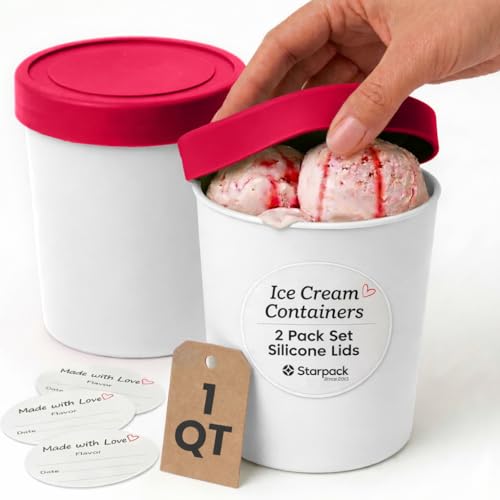
1 Quart Reusable Ice Cream Containers
Buy Now →Instant Read Thermometer
If you’re making custard base for your ice cream, a reliable instant-read thermometer is one of the most helpful tools you can have. It takes the guesswork out of cooking the egg and dairy mixture to the right temperature. My recipes all call for the custard to be cooked to 175ºF, and then it's taken off the heat and the residual heat will bring it up to 180ºF. I use my Thermapen for this, and for just about everything else, which is why it’s one of my most recommended tools, not just for ice cream.
If you don’t have a thermometer, you can still judge when the custard is ready by watching closely: the mixture will thicken slightly when it's ready, releasing a bit of steam, and if you coat the back of a wooden spoon with it, a line should hold when you run your finger through it. But trust me, a thermometer makes it much more fool-proof.
A Fast Instant-Read Thermometer
Buy Now → A Good Quality Saucepan
You can make a custard in any pot, but a good-quality heavy-bottomed saucepan will help distribute the heat evenly and reduces the risk of scorching or burning the custard. Using too large of a pot can increase the speed at which the eggs cook due to increased surface area, so a medium sized pot is best. And my favorite? One that has tapered sides, so no custard gets stuck in the crevice. This saucier from Misen was one I purchased after testing a bunch of different stainless steel pots that balanced both performance and the price.
A Heavy-Bottomed Saucepan
3-Quart Stainless Steel Saucier with Curved Sides
Buy Now →Kitchen Basics
There aren’t many ice cream specific tools needed beyond your basic kitchen gear, but a silicone spatula, a whisk, and a heatproof strainer are definitely must-haves. I also recommend having a few metal bowls. Metal conducts heat more efficiently and they are ideal for making an ice bath to quickly chill the custard, which I always suggest doing.
Several of my ice cream recipes call for an immersion blender because it helps ensure the mixture is homogenized. A stick blender is portable and makes it easier to use, and to clean than a standard blender. But a regular blender works too.
You'll also need a container for storing the custard overnight, which can be just about anything that doesn't hold any odors from previous food held in it. Nothing will ruin a precious custard faster than the leftover smell of onion in a plastic container. I recommend glass mason jars, but whatever you typically use to storage food is fine.
And of course, we must talk about ice cream scoops, right? Weirdly, scooping ice cream is a dreaded task for me, but this special ice cream scoop makes it just that much easier. It has a heat-conductive liquid in the handle that uses the warmth of your hand to make for smooth and and easy scooping. Just do not put it in the dishwasher, it's hand-wash only. And a classic, spring release scooper is also useful to have too!
Common Kitchen Tools Used for Ice Cream
 Buy Now →
  Buy Now →
Buy Now →
Buy Now →
Buy Now →
Buy Now → Pin it For Later:
Some of the links on this page may be affiliate links. Everyday Pie is a participant in the Amazon Associates Program. As an Amazon Associate I earn from qualifying purchases, at no extra cost to you.
Leave a Reply